
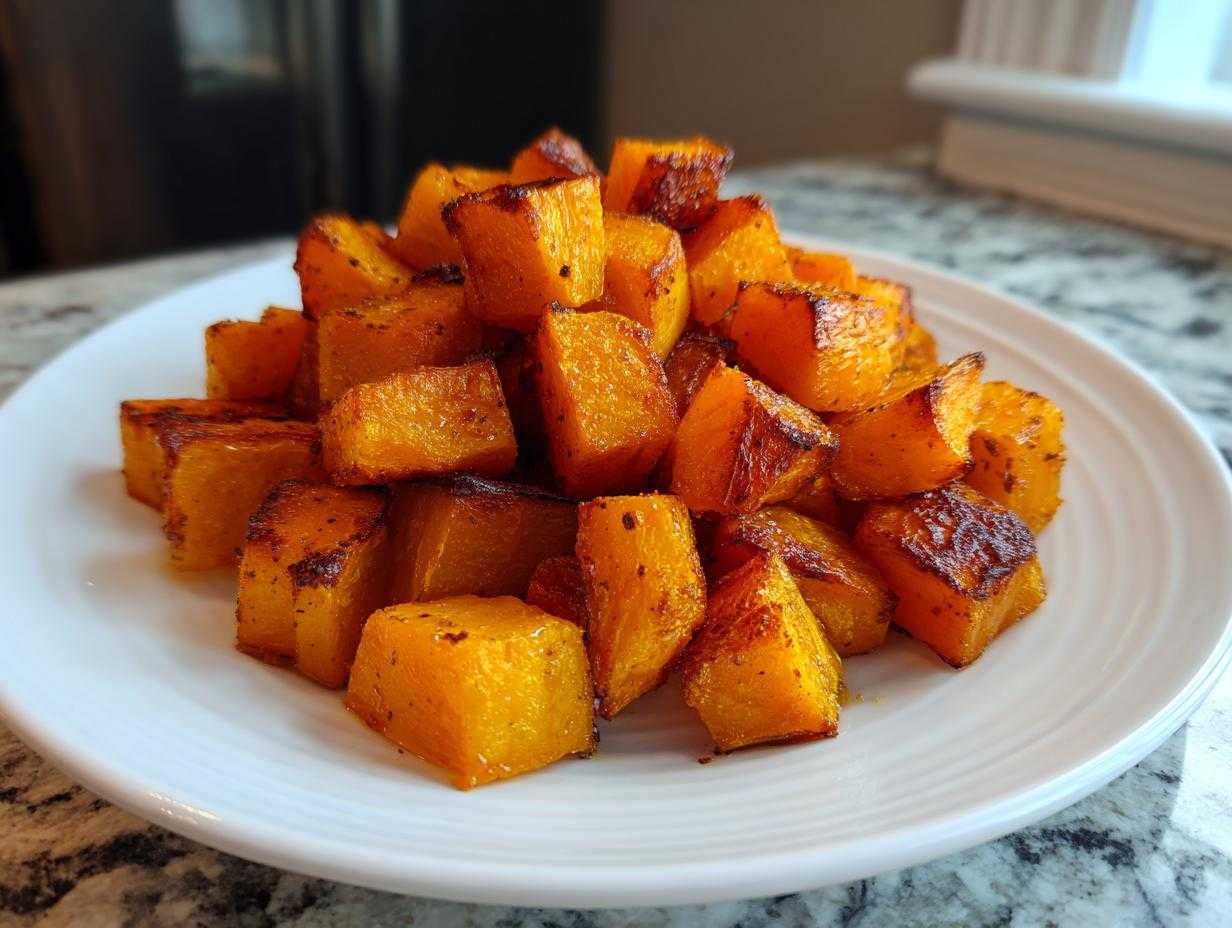
You know, there are holidays, there are busy weeknights, and then there’s the need for that perfect, non-negotiable side dish that steals the show without stealing your entire afternoon. Believe me, I spent years wrestling with squash that was either mushy or rock-hard. But I finally cracked the code for truly amazing roasted butternut squash! This recipe is my go-to because it nails the texture every single time: deeply caramelized edges giving you that little sweet crunch, contrasting with an unbelievably creamy inside. This isn’t complicated gourmet cooking; it’s just mastering the heat and the spacing. Once you see how perfectly these cubes come out, you’ll realize you have found the absolute best butternut squash recipe for everything from a quick Tuesday dinner to Thanksgiving centerpiece duty!
Why This is the Best Roasted Butternut Squash Recipe
I know you’ve tried roasting squash before and ended up with sad, gray results. That stops right here! This is the recipe people ask for year after year because it’s totally reliable. You can find more quick vegetable wins over at our easy weeknight sides collection, but this one is special.
- It’s genuinely fast—we’re talking 30 minutes ready to eat.
- It’s forgiving! You can mess up a little and it still tastes amazing.
- The texture is exactly what everyone wants in an oven roasted vegetable dish.
Achieving Creamy Inside Crispy Edges Squash Texture
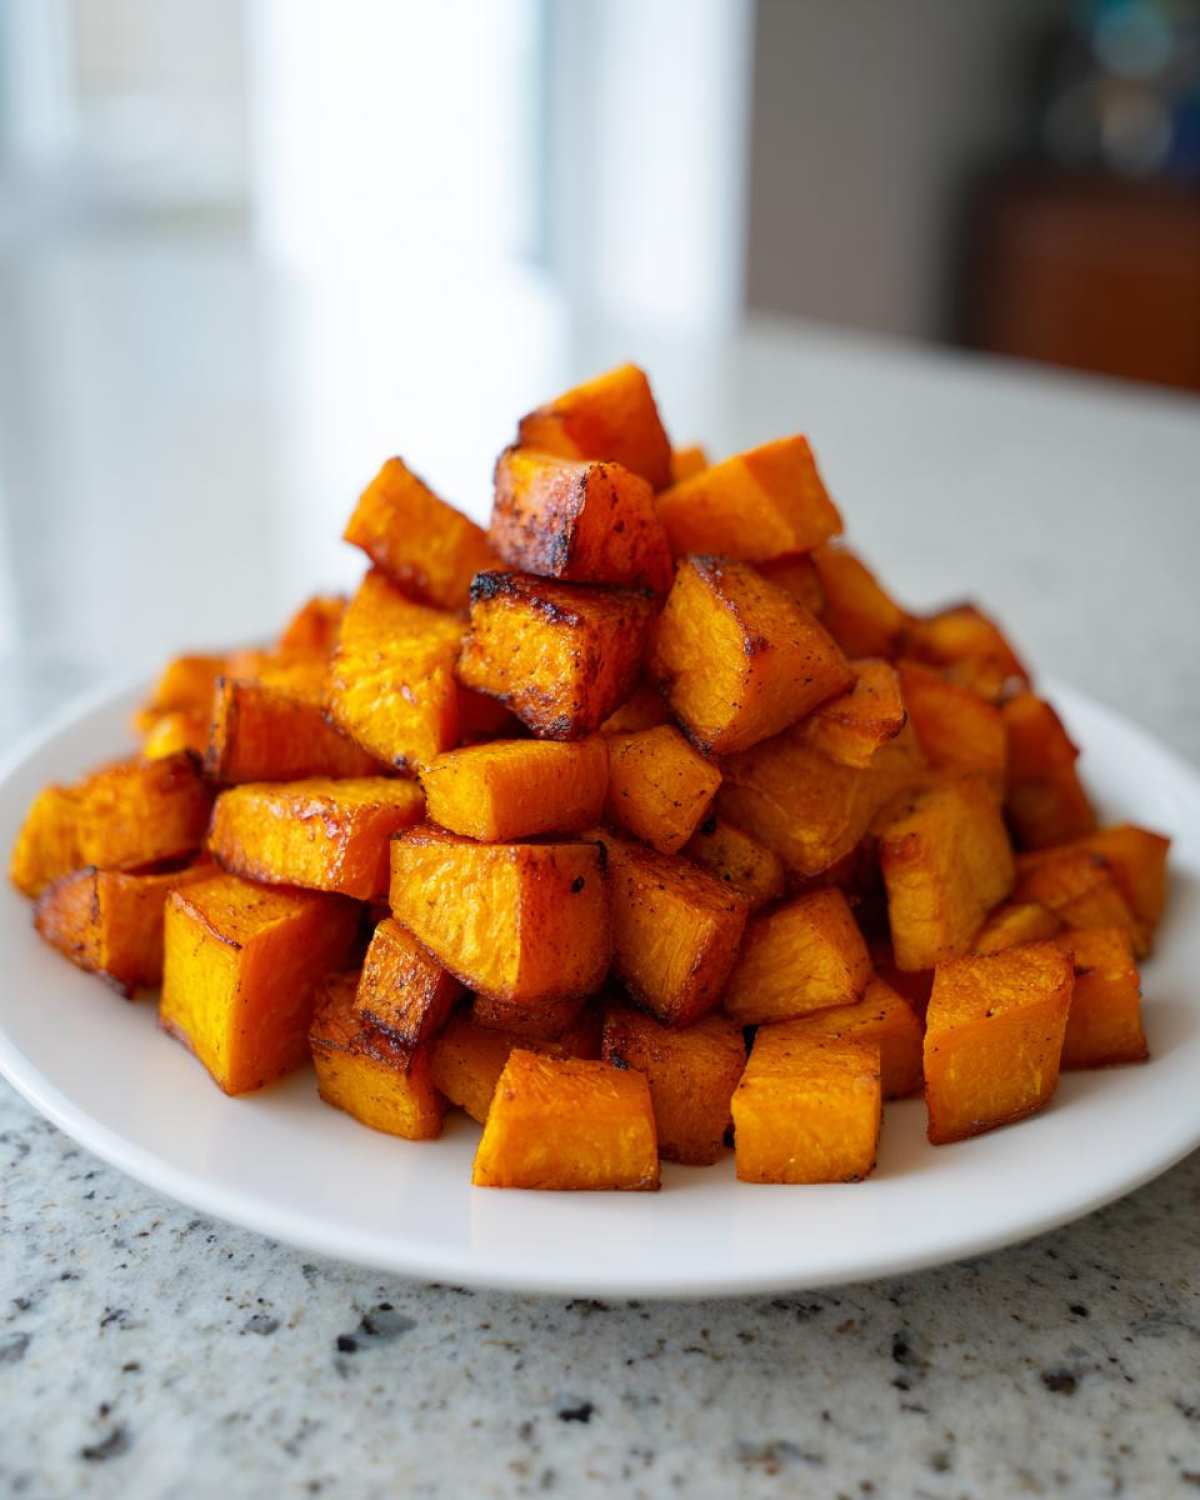
The absolute secret to that dream texture—that creamy inside crispy edges squash heaven—is high heat and space! You have to resist the urge to pile the cubes onto your pan. If they touch too much, they just steam, and steaming is the enemy of caramelization. Trust me on the single layer!
Simple 5 Ingredient Squash Flavor Profile
We keep the seasoning focused because the natural sweetness of the squash needs room to shine. With just oil, salt, pepper, garlic powder, and the optional maple syrup, you hit that perfect sweet and savory squash balance. That little bit of syrup does wonders!
Ingredients for Perfectly Roasted Butternut Squash Cubes Roasting
Okay, pulling this together is ridiculous because it requires almost nothing! I always keep my ingredients simple so the squash flavor takes the spotlight. When you’re shopping, look for a medium squash that feels heavy for its size. Don’t get distracted by the fancy herbs yet; we need these core items first.
- 1 medium butternut squash (aiming for about 3 lbs total weight here)
- 3 tablespoons of good olive oil—don’t skimp!
- 1 teaspoon kosher salt
- 1/2 teaspoon black pepper
- 1/2 teaspoon garlic powder
- 1 tablespoon maple syrup (this is optional, but I highly recommend it for extra deliciousness!)
Remember, these measurements are designed for that perfect 1-inch cube size we are aiming for. Precision matters when you want that crispy outside!
How to Roast Butternut Squash: Step-by-Step Instructions
Okay, friends, this is where we turn a hard, awkwardly shaped vegetable into pure gold. Making really good roasted butternut squash is mostly about preparation and respecting the heat of your oven. Don’t rush the first few steps—they set up the entire glorious bake! You can check out my full guide on roasting various vegetables if you want to explore more, but for this recipe, follow my tried-and-true method below. We are aiming for perfection, just like how we treat caramelized onions!
Preparing the Butternut Squash for Roasting
First things first: forget those flimsy plastic peelers! Use a sturdy vegetable peeler, or just grab your biggest, sharpest knife and carefully chop the skin off. Then, slice it open and scoop out all those stringy seeds—a spoon works great for scraping the insides clean. The most important thing? Cut those halves into uniform 1-inch butternut squash cubes roasting. If you have tiny pieces next to huge chunks, the little ones will burn before the big ones are even tender. Keep ’em all the same size!
Seasoning for Sweet and Savory Squash
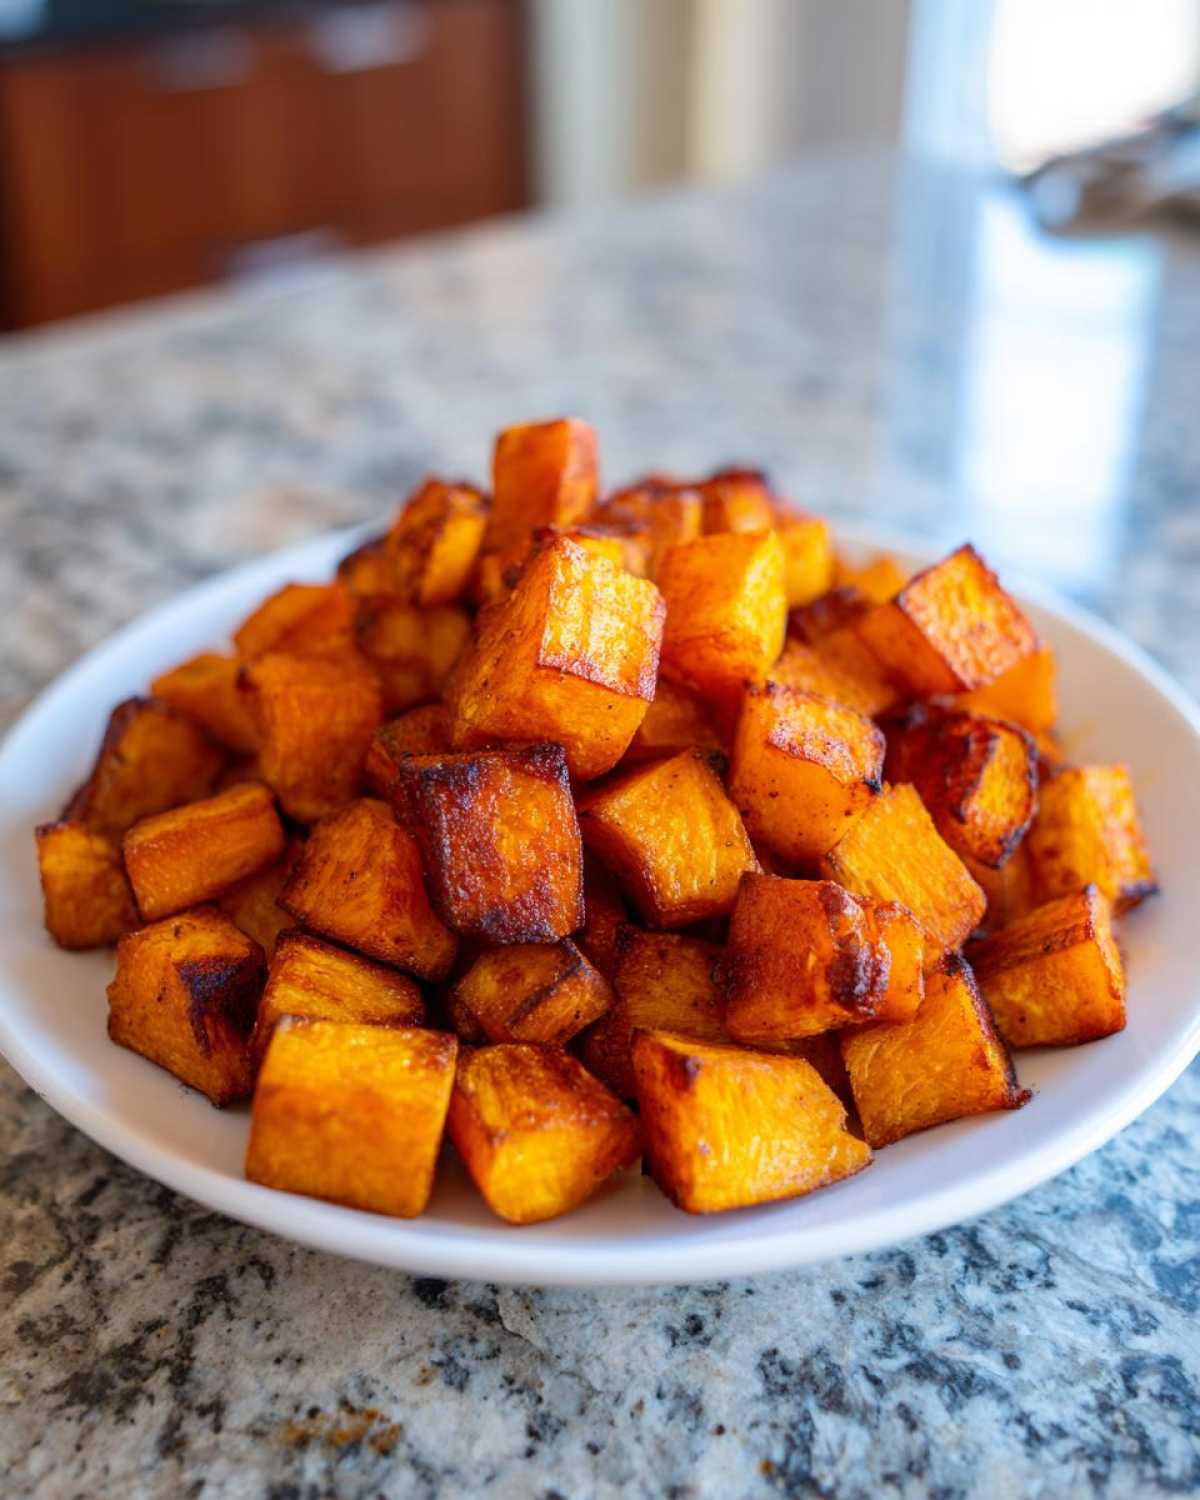
Toss your perfectly cut cubes into a big mixing bowl. Drizzle on all your olive oil, salt, pepper, and garlic powder. Now is the moment for that optional sweetener! If you want that hint of depth for your sweet and savory squash, drizzle on that tablespoon of maple syrup before you mix everything up. Toss it well by hand so every single piece gets a nice, even coating. You want them glistening, not drowning!
The Key to Caramelized Butternut Squash: Spacing on the Pan
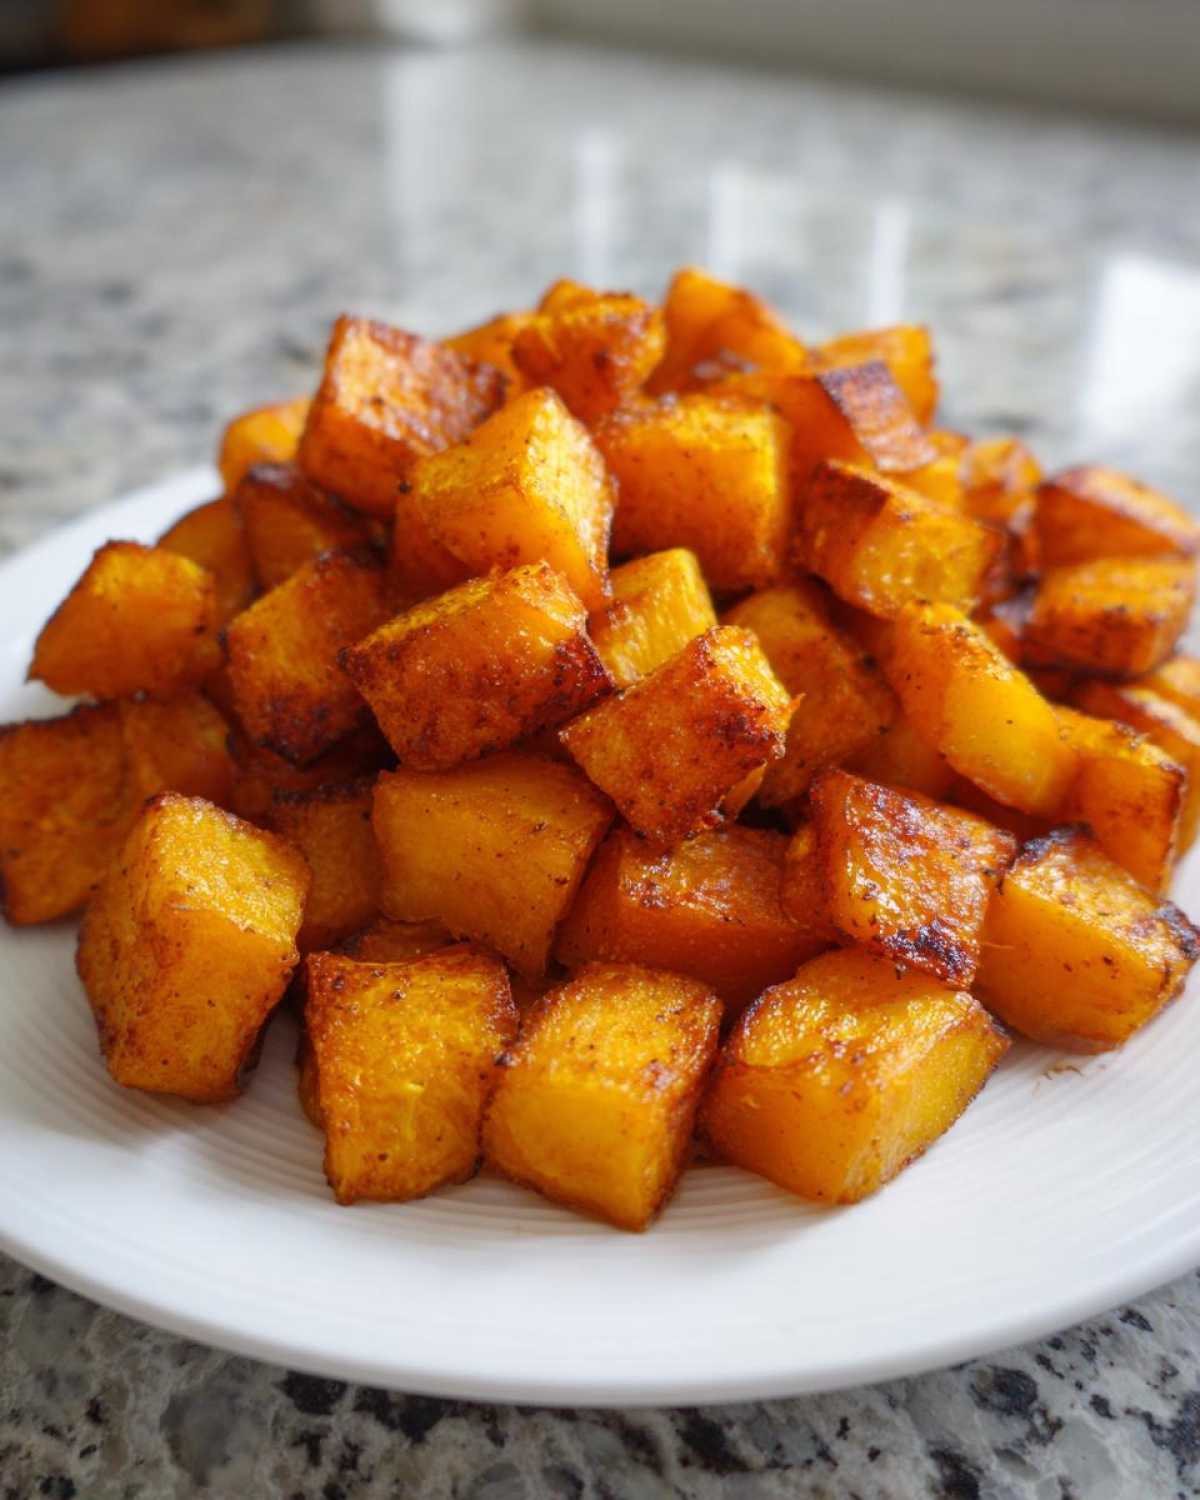
This is the moment of truth! Line your sheet pan (and yes, use parchment paper, your sink will thank you later). Layout those seasoned cubes in a single layer, making sure they aren’t touching shoulder to shoulder. Seriously, if they are piled up, they steam, and steamed squash is sad squash. If you have to dirty two baking sheets instead of cramming everything onto one, do it! That space ensures the hot air can circulate and give you those beautiful, dark, caramelized butternut squash edges we crave. Pop them in your 400°F oven and go grab a coffee!
Tips for Perfect Roasted Butternut Squash Every Time
Even after you think you’ve mastered the basics, there are always little tricks that push a good vegetable side dish into truly fantastic territory. I always use these tips when I’m whipping up a big batch of roasted butternut squash, especially when I’m hosting!
If you’re worried about the squash not being flavorful enough, try adding some dried herbs along with your basic seasonings before roasting. I find that a teaspoon of dried thyme or rosemary blends beautifully with the savory notes. It really elevates this into a gourmet vegetable side dish without adding much fuss.
Now, about the texture—sometimes I’m roasting for a big crowd, and the pan just won’t fit everything in that perfect single layer. Never fear! If you can’t spread them out enough, cover the sheet pan loosely with foil for the first 15 minutes. This steams them just slightly to get started, but then you MUST remove the foil for the last half of the cooking time. That lets the hot, dry air hit those cubes and create the necessary browning you need for that sweet exterior.
And please, if you are making a huge meal, **roast the squash in batches**. It might take an extra ten minutes total, but maintaining that high oven temperature means you get consistent results across the board. It’s worth the extra time for that truly excellent simple fall vegetable side we are aiming for!
Serving Suggestions for Your Roasted Butternut Squash
Once you pull these gorgeous, caramelized cubes out of the oven, the big question is, what are you going to do with them? Honestly, this roasted butternut squash is so delicious it could be the star of the meal, but it shines perfectly next to hearty mains. These cubes make fantastic last-minute additions to any holiday spread, easily becoming one of those must-have Thanksgiving side dish ideas if you season them right.
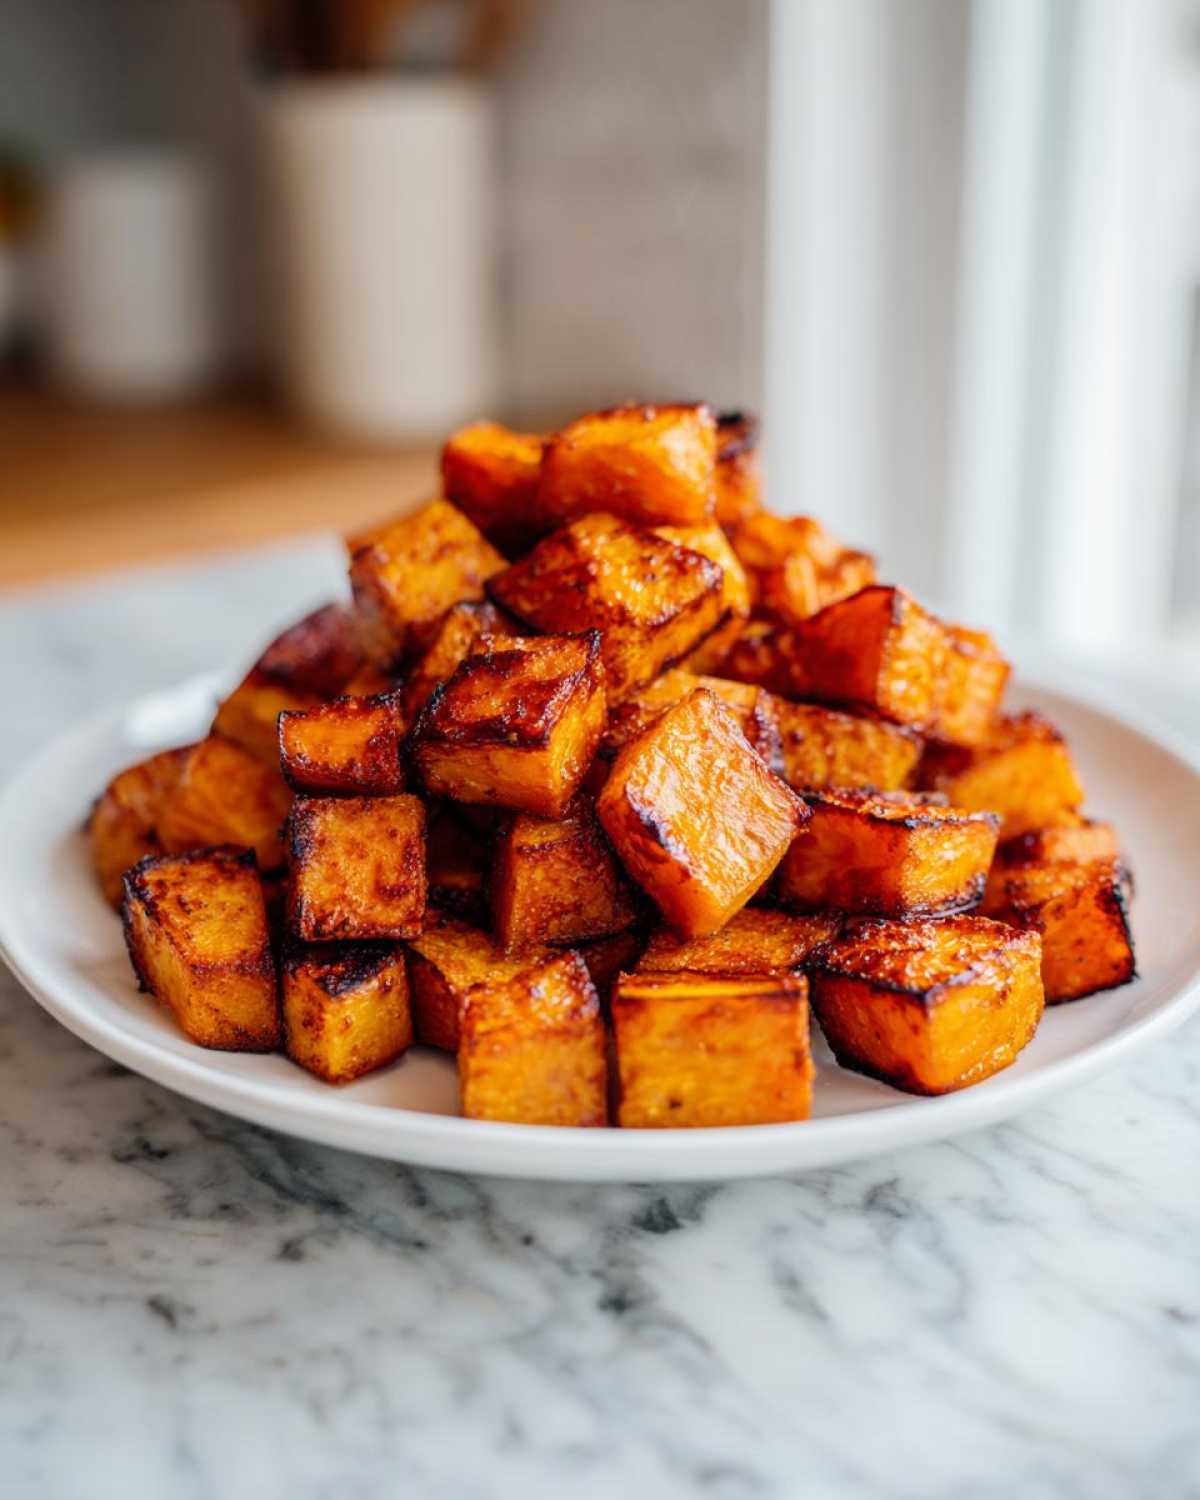
They’re also fantastic sprinkled over a big green salad for lunch the next day, or just eaten straight off the cutting board while the pan is still warm—don’t judge, I do it all the time!
Making Roasted Butternut Squash for Dinner
If you’re looking for a super easy weeknight solution, these squash cubes are perfect alongside a simple protein. I often roast chicken thighs or a pork loin roast at the same time (just adjust the oven temp slightly if needed!). This combination creates such a satisfying and healthy roasted squash recipe that feels gourmet but took almost zero effort. Who knew such a simple vegetable could carry a whole dinner?
Storage and Reheating Instructions for Roasted Butternut Squash
Don’t you hate it when leftovers lose their crunch? I totally get that! If you actually manage to have any of this amazing roasted butternut squash left over, it keeps really well in the fridge. Pop those tender cubes into an airtight container and they should stay perfectly fine for about four days. You can gently re-season them if you like.
For reheating, please skip the microwave if you can! Microwaving just turns them steamy and soft again. Instead, spread the cold cubes out on a clean baking sheet and pop them back into a 350°F oven for about 7 to 10 minutes. This quick blast of heat wakes up those caramelized edges and gives you back that lovely tender texture. It’s the best way to revive them!
Ingredient Notes and Substitutions for Roasted Butternut Squash
My core recipe uses maple syrup just to bring out that hint of sweetness, but what if you’re completely out? No big deal! You can absolutely skip it. If you want that sticky glaze, though, plain honey works beautifully as a direct substitute. They behave almost identically when roasted.
If you’re looking for different flavor profiles, remember I mentioned herbs earlier? They make fantastic additions! If you want to try a more savory profile, check out my herby version which swaps the syrup for extra garlic and fresh sage. You can also swap out the olive oil for avocado oil if you need something with a higher smoke point, though olive oil gives a better classic flavor for me.
The salt and pepper are non-negotiable for flavor pop, but honestly, measuring spices is where you get to play chef!
Frequently Asked Questions About Roasted Butternut Squash
I get so many questions whenever I post pictures of this dish—it seems everyone struggles with getting that perfect bake! I gathered the most common things people ask me about when trying to make the best roasted butternut squash recipe. Don’t worry if you’ve had issues before; we’ll figure out the hiccups for your next batch!
If you want to dive deeper into maximizing your veggie roasting game, check out my general guidelines over at this roasted squash guide.
Can I roast butternut squash without peeling it first?
You absolutely can, but you need to be careful! If you leave the skin on, make sure you roast it long enough so the skin gets soft—otherwise, you’ll be fighting a tough layer while trying to eat your side dish. For these 1-inch cubes, though, I still think peeling first makes cubing much easier and cleaner!
How do I know when my roasted butternut squash is done?
Forget watching the clock exactly! The two signs you want are texture and color. First, pierce a cube with a fork—it should slide in with zero resistance. Second, look for that deep golden-brown, almost slightly blackened caramelization on the edges. If it’s pale, it needs more time spreading out on that pan to crisp up!
Share Your Delicious Roasted Vegetables Experience
I really hope this recipe transforms your weeknight routine! Now that you’ve made the ultimate roasted butternut squash, please hop down to the comments and let me know! Did you stick with the maple syrup, or did you try another sweetener? I’d love to hear what seasonings you ended up using for your batch too. Don’t forget to share pictures on social media—tag me so I can see your beautiful caramelized veggies! You can browse more of my favorite delicious roasted vegetables right here!
Print
Simple & Perfectly Caramelized Roasted Butternut Squash
- Total Time: 45 min
- Yield: 4 servings
- Diet: Vegetarian
Description
Follow these steps to roast butternut squash cubes until they have crispy edges and a creamy interior, making an easy weeknight or holiday side dish.
Ingredients
- 1 medium butternut squash (about 3 lbs)
- 3 tablespoons olive oil
- 1 teaspoon kosher salt
- 1/2 teaspoon black pepper
- 1/2 teaspoon garlic powder
- 1 tablespoon maple syrup (optional, for sweetness)
Instructions
- Preheat your oven to 400°F (200°C). Line a large baking sheet with parchment paper for easier cleanup.
- Peel the butternut squash. Cut it in half lengthwise and scoop out the seeds using a spoon.
- Cut the squash into uniform 1-inch cubes. Uniform size helps the squash cook evenly.
- Place the squash cubes in a large bowl. Drizzle with olive oil.
- Add the salt, pepper, and garlic powder. If you want a sweet and savory flavor, add the maple syrup now.
- Toss the squash until all pieces are lightly coated with oil and seasonings.
- Spread the seasoned squash cubes in a single layer on the prepared baking sheet. Do not overcrowd the pan; use two sheets if necessary to ensure caramelization rather than steaming.
- Roast for 25 to 35 minutes, flipping the cubes halfway through the cooking time.
- The squash is done when it is tender when pierced with a fork and the edges show deep golden brown caramelization.
- Remove from the oven and serve immediately as a simple fall vegetable side.
Notes
- For extra flavor, toss the squash with 1 teaspoon of dried thyme or rosemary before roasting.
- If you prefer softer edges, cover the baking sheet loosely with foil for the first 15 minutes of roasting, then remove the foil for the remaining time.
- If you are making a large batch, roast the squash in batches to maintain high oven temperature and achieve better caramelization.
- Prep Time: 15 min
- Cook Time: 30 min
- Category: Side Dish
- Method: Oven Roasting
- Cuisine: American
Nutrition
- Serving Size: 1 cup cooked
- Calories: 180
- Sugar: 8
- Sodium: 450
- Fat: 8
- Saturated Fat: 1
- Unsaturated Fat: 7
- Trans Fat: 0
- Carbohydrates: 26
- Fiber: 5
- Protein: 3
- Cholesterol: 0

