
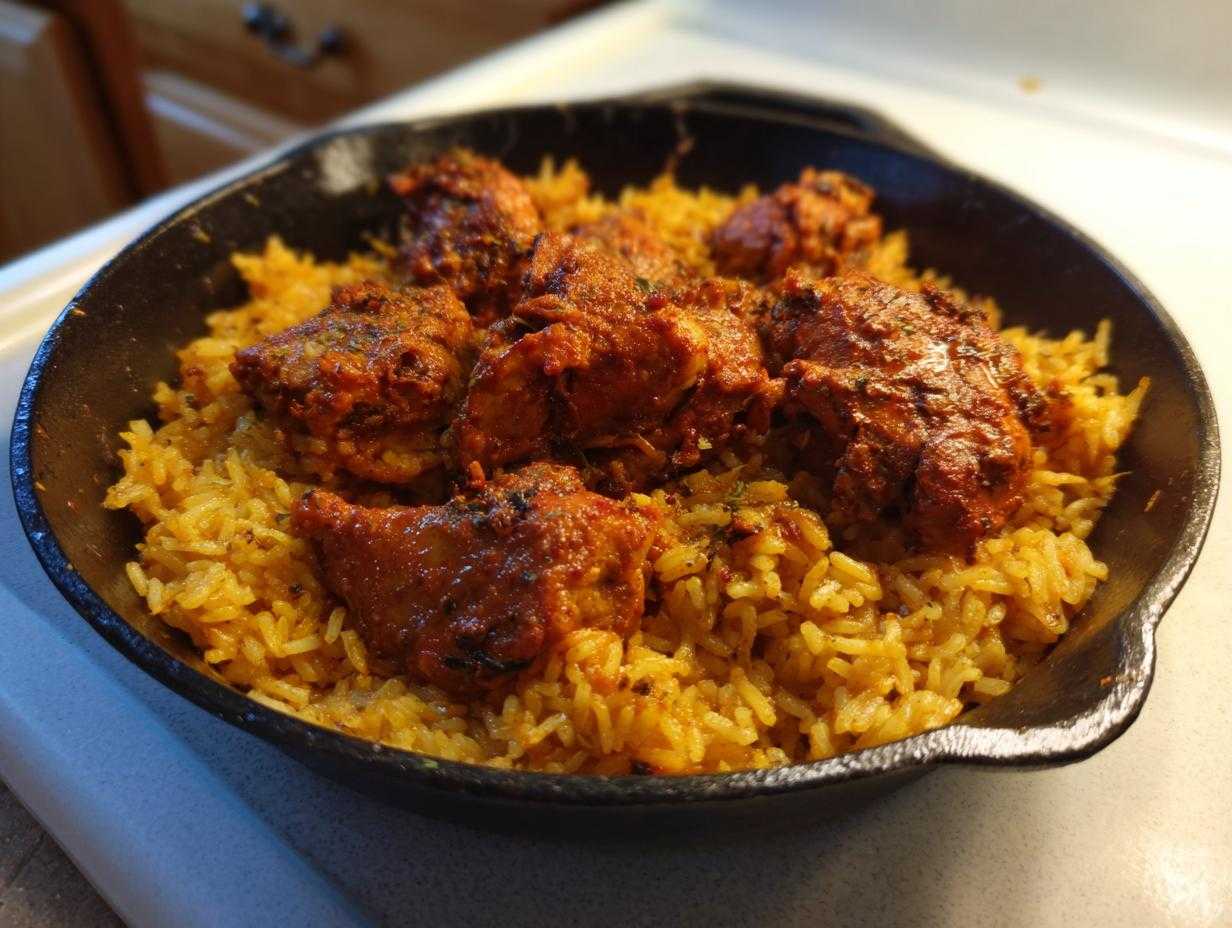
Oh my gosh, you guys know how much I *love* big, bold flavors, right? But when it’s Tuesday night and the fridge is screaming at me, I just can’t face a mountain of dishes. That’s why I live and breathe for these one-pan meals! Forget soaking bowls and scrubbing pots; this One Pan Tandoori Chicken & Rice is revolutionary. Seriously, I was intimidated by Tandoori for years, thinking I needed a special clay oven or hours of prep, but trust me, this simplified version delivers that gorgeous, tangy yogurt marinade and those incredible spice notes right on top of perfectly cooked rice. It’s my secret weapon for feeling like I cooked something truly special without breaking a sweat. Minimal cleanup, maximum impact—that’s the goal!
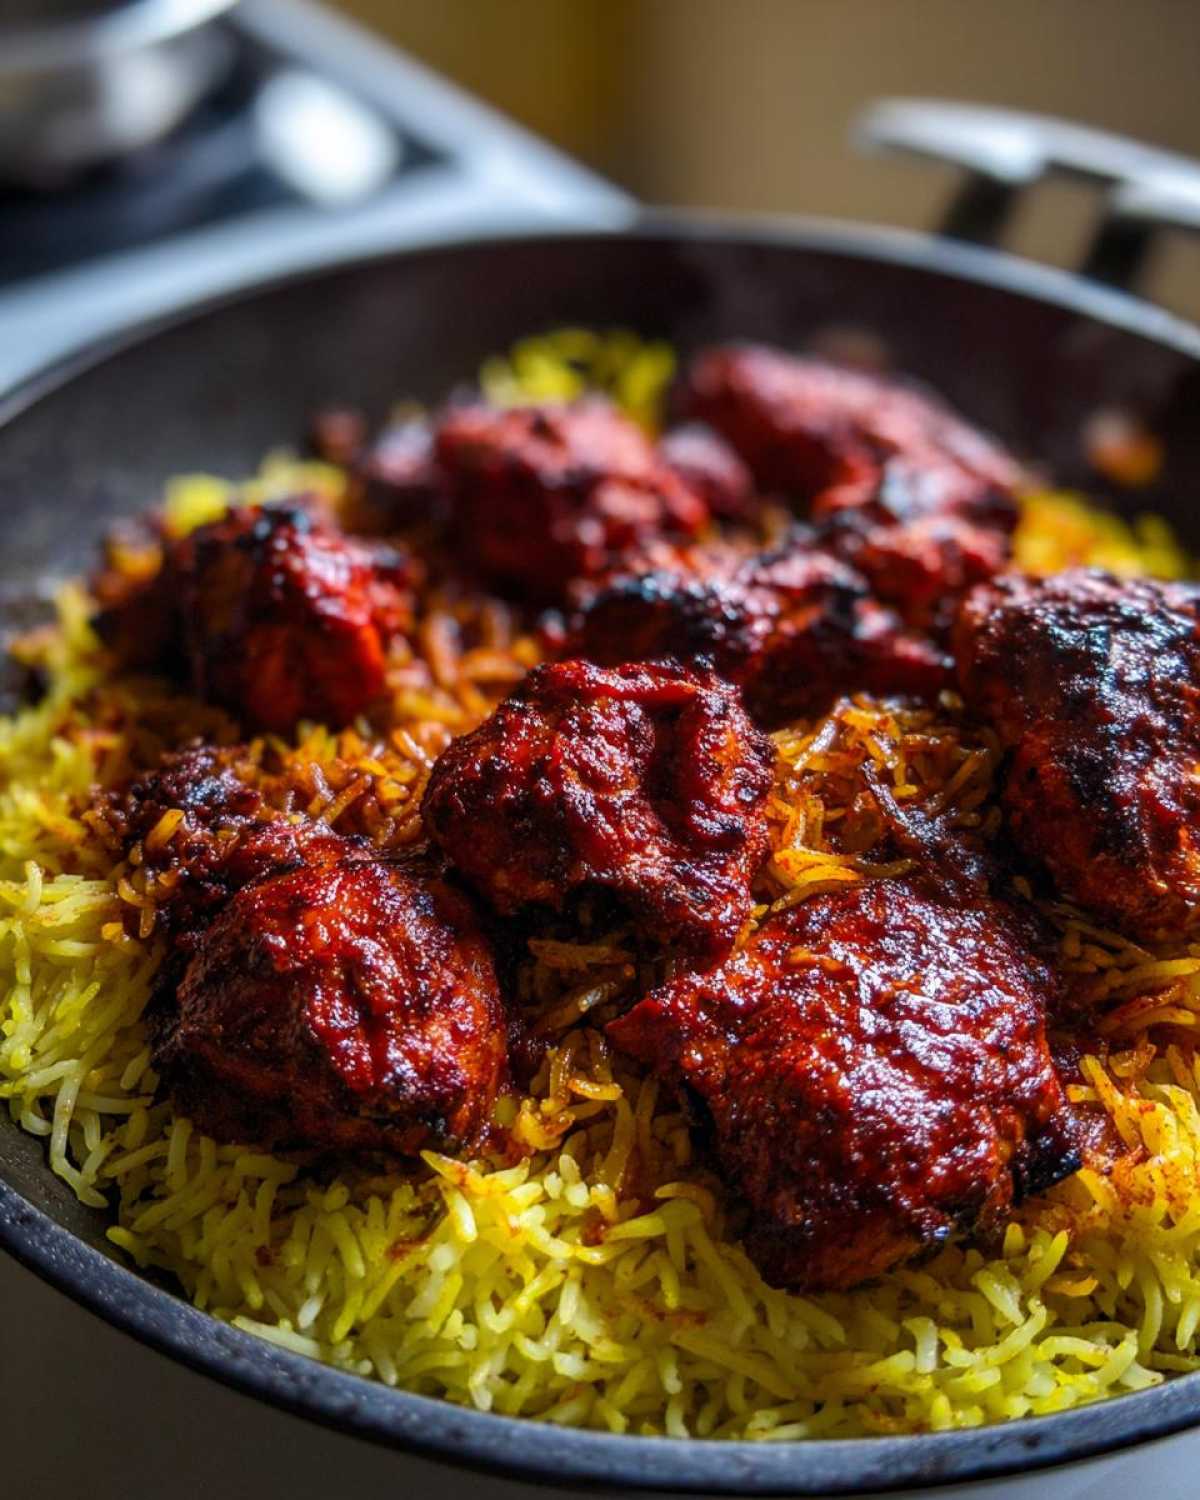
Why This One Pan Tandoori Chicken & Rice is Your New Weeknight Staple
I developed this recipe because I needed something that tasted complex but cleaned up in literally one minute. If you’re looking for amazing One Pan Dinner Ideas that actually taste restaurant-worthy, this is it!
The Power of One Pan Dinner Ideas
- Everything bakes together, which means the rice gets these amazing, subtly spiced juices dripping down from the chicken while it cooks. It’s truly the best way to make Flavorful Rice Cooked with Chicken!
- You only wash one dish. End of story.
Achieving Quick Tandoori Flavor
The yogurt marinade does all the heavy lifting here. It tenderizes the chicken beautifully, so you don’t need hours of soaking time. We get that fantastic, bright Tandoori zing in under an hour, start to finish.
Essential Ingredients for One Pan Tandoori Chicken & Rice
Okay, this is where we set ourselves up for success! Don’t skimp on the marinade ingredients here; these spices are what make the magic happen. Since we are doing this all in one pan, clarity on measurements is key, so it all cooks perfectly together. Grab your shopping list, because here’s exactly what you’ll need for this amazing Easy Marinade Chicken dish.
- 1.5 lbs boneless, skinless chicken thighs, cut into 1-inch pieces
- 1 cup basmati rice, make sure you rinse it really well!
- 1 cup plain whole milk yogurt – don’t use low-fat, trust me on this one
- 2 tablespoons lemon juice (freshly squeezed is always my vote)
- 1 tablespoon ginger paste
- 1 tablespoon garlic paste
- 2 teaspoons ground cumin
- 2 teaspoons ground coriander
- 1 teaspoon turmeric powder
- 1 teaspoon smoked paprika (this gives us that smoky hint!)
- 1 teaspoon cayenne pepper (adjust this based on how spicy you dare to go!)
- 1 teaspoon salt
- 1/2 teaspoon black pepper
- 1/2 cup chicken broth
- 1 small onion, thinly sliced
- 1 tablespoon vegetable oil
- Fresh cilantro, chopped, for the glorious finish
That’s it! See? It looks like a lot of spices, but it’s all just measuring spoons, and then you’re ready to mix that gorgeous marinade!
Ingredient Notes and Substitutions for Your One Pan Tandoori Chicken & Rice
I always get questions when people see the ingredient list for my Easy Marinade Chicken dishes, and that’s smart! We want this to work perfectly the first time. The most important thing I want to stress is the yogurt. You absolutely need full-fat, plain yogurt here. The higher fat content helps keep the chicken incredibly moist while it bakes in the oven, and it keeps the marinade from breaking down under the heat. Low-fat stuff gets watery, and we don’t want that runny mess!
And about that rice—remember how I said to rinse it? That little step is vital for any Easy Chicken and Rice Recipe, especially when you’re baking. Rinsing washes off the surface starch. If you skip that, your rice ends up clumpy and gluey instead of fluffy, and we can’t have that in our Minimal Cleanup Dinner!
If you find yourself out of smoked paprika, don’t panic. Smoke flavor is tricky to replicate perfectly, but you can sub in regular paprika for the color, and then add just a tiny pinch—like, half a teaspoon—of regular chili powder or cayenne extra to boost the depth. It won’t be exactly the same, but it keeps that beautiful red-orange tint we want from the Tandoori style.
Step-by-Step Instructions for Baked Tandoori Chicken and Rice
Alright, now we get to the fun part where it all comes together without creating a disaster zone in the kitchen! This uses the stovetop first to build flavor, and then the oven to finish everything evenly. Trust me, the way the spices smell when this hits the heat is just heavenly.
Marinating the Chicken for Best Flavor
First things first: the marinade! Whisk together everything from the yogurt through the black pepper until it’s a beautiful, thick paste. Then toss in your pre-cut chicken pieces. Make sure every single bit is coated—I sometimes use my hands for this part because I want maximum coverage. Cover the bowl, and ideally, let it hang out in the fridge for at least 30 minutes. If you can swing it, let it go for two or three hours; the yogurt really gets into those thighs and keeps them juicy later on in the oven. Since we are using thighs, they are super forgiving, which is why I love them for these Baked Tandoori Chicken and Rice recipes!
Preparing the Rice Base in the Skillet
Get your oven heating up to 400°F (200°C) while you’re on the stovetop. Heat that tablespoon of oil in your cast iron skillet—it needs to be oven-safe, remember! Toss in your sliced onion and sauté it for just about three minutes until it softens up a bit. Next, dump in your rinsed rice and stir it around for a minute; we just want to lightly toast those grains. Then, pour in the chicken broth and give it one quick scrape along the bottom to free up any tasty brown bits. Bring that mixture to a simmer right on the heat.
Baking the One Pan Tandoori Chicken & Rice
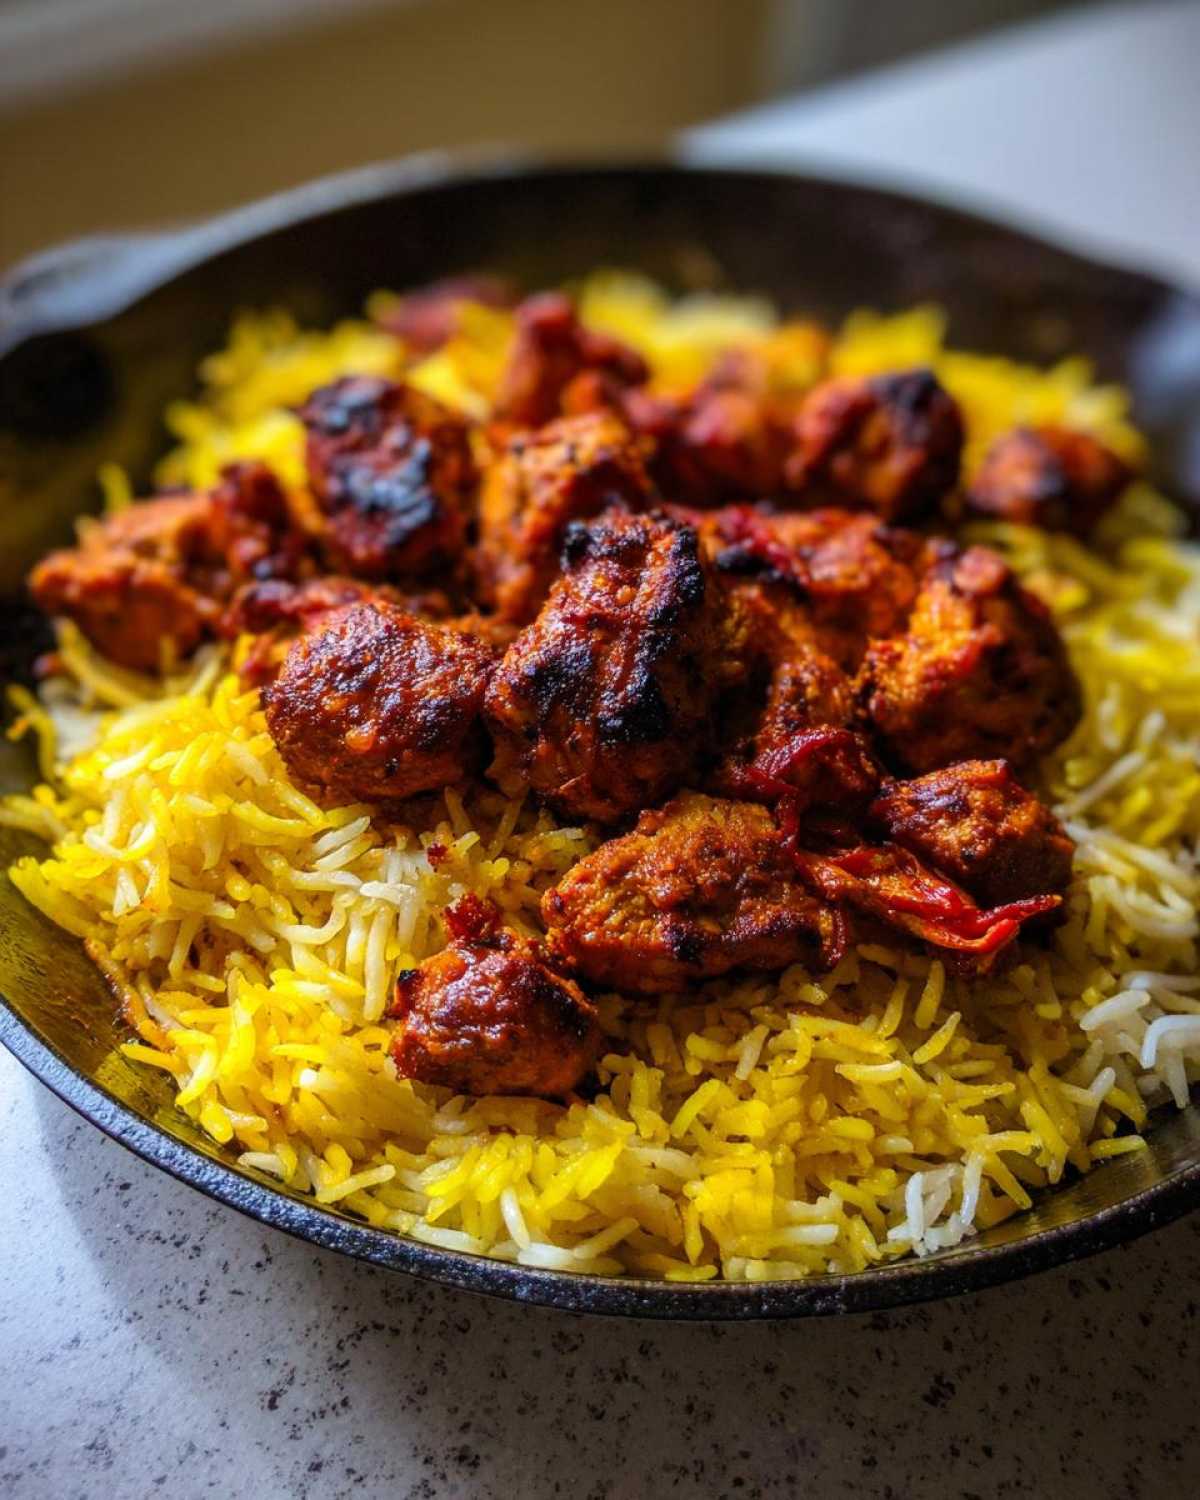
This is crucial: Arrange your marinated chicken pieces *on top* of the simmering rice mixture. Don’t stir them in! We want the rice to steam underneath the chicken, absorbing the flavor from above. Cover that skillet super tight—foil works just as well as a lid—and pop it straight into the waiting oven for 25 minutes. When that time is up, carefully take off the cover. Gently fluff the rice with a fork, trying hard not to disturb the chicken too much, and put it back in, uncovered, for 5 to 10 more minutes. We want the liquid fully absorbed and the chicken nicely browned on top!
Tips for Success with Your One Pan Tandoori Chicken & Rice
Even though this is a super easy One Pan Dinner Ideas situation, there are two things I’ve learned over the years that guarantee you get that perfect fluffy rice and juicy chicken every time. You don’t want a soggy bottom layer or dry chicken tops, right? Taking a little extra care at the beginning pays off huge!
Choosing the Right Skillet
You absolutely must use something with a heavy bottom, like a good cast iron skillet, for the first few minutes on the stovetop. If you use a really thin pot, the bottom layer of rice will scorch before the heat even starts to travel up to the chicken in the oven. Cast iron holds and distributes that heat so evenly, which is the secret to getting that beautiful, flavorful base for our Easy Chicken and Rice Recipe.
Preventing Sticky Rice in Your One Pan Dinner Ideas
I know I harp on rinsing the rice, but seriously, it’s the number one trick to avoid that gluey mess. Those extra starch particles create steam that gets trapped when you cover the pan. Also, make sure your 1/2 cup of broth is measured correctly. Too much liquid means steam city, and not enough means you’ll have hard, uncooked grains at the end! Stick to the ratio, rinse the rice, and you’ll have lovely, separate grains.
Serving Suggestions for Flavorful Rice Cooked with Chicken
Since this is the ultimate Minimal Cleanup Dinner, we don’t want to dirty ten extra bowls! So when it comes to serving our Flavorful Rice Cooked with Chicken, I keep it super simple and cool. A dollop of plain yogurt right on top cuts through the spice beautifully. If you want a little crunch without turning on the stove, I love throwing a handful of just chopped cucumber and maybe a squeeze of lime over everything.
If you have five extra minutes, an outrageously simple side salad is the best companion. My go-to is just a quick toss of cabbage and carrots with lemon juice—you can check out my easy crunchy cabbage salad recipe for inspiration. It adds that necessary freshness!
Storage and Reheating Instructions for One Pan Tandoori Chicken & Rice
The best part about this recipe? It makes fantastic leftovers! I always hope to have some because eating this the next day is almost as good, especially since the spices have more time to settle overnight. When you’re done eating, let the skillet cool down completely—don’t put a hot pan in the fridge, please, that’s not safe!
Once cooled, transfer the remaining chicken and rice into an airtight container. The container should be relatively shallow so you aren’t layering the rice too thick, which helps it reheat evenly. It stays perfectly good in the fridge for about three days. No need to fuss with separating the chicken and the rice; it all stays together!
For reheating, I prefer the microwave because it’s fast. Pop a portion in a microwave-safe dish, sprinkle maybe a teaspoon of water or a tiny splash of broth over the rice part, cover it loosely, and heat in short 45-second bursts, stirring in between. The extra moisture helps everything steam back up without drying out. If you want to use the oven—which gives a slightly better texture—just spread it on a baking sheet, add a tablespoon of water, cover it with foil, and heat at 350°F (175°C) until warm through. Easy peasy!
Frequently Asked Questions About This Weeknight Indian Meal
You guys always ask the best questions, especially when we’re trying a new twist on a classic like this Weeknight Indian Meal. I totally get it; you want to make sure your first try at this Baked Tandoori Chicken and Rice comes out perfectly!
Can I use chicken breasts instead of thighs in this One Pan Tandoori Chicken & Rice?
You absolutely can, but you have to watch them like a hawk! Chicken breasts are much leaner, and since this is a relatively high-heat bake, they can dry out super fast. If you swap them out, use the same marinating time, but when you get to that final uncovered baking stage, start checking them around the 20-minute mark. You might need to pull them out 3 to 5 minutes sooner than the thighs to keep them tender.
Is this recipe suitable for a One Pot Indian Food approach?
One hundred percent, yes! This is the definition of a fantastic One Pot Indian Food triumph. We brown the onions and toast the rice in the skillet, marinate and cook the chicken right on top, and use that same vessel for baking. When we stir it all together at the end, the whole meal is done in that one pot. Minimal cleanup, maximum flavor—that’s my motto!
How can I make the Tandoori flavor smokier without a tandoor?
I use smoked paprika, which does a lot of the heavy lifting, but if you want that extra *oomph* of smoke, here’s a little trick: once the rice is fully cooked and the chicken looks done after the final 5-10 minutes, turn your oven setting to BROIL. Watch it *very* carefully, maybe for just 60 to 90 seconds, until you see a little bit of char on the edges of the chicken. Remember to remove the foil first! This gives you that beautiful slightly charred finish you associate with high-heat cooking, just be careful not to burn the rice beneath!
Share Your One Pan Tandoori Chicken & Rice Experience
That’s it! Our **One Pan Tandoori Chicken & Rice** is ready to grace your dining table. I really, truly hope you try this out next time you’re craving something bold but want to keep the dishwashing to an absolute minimum. I put so much into making this recipe simple and trustworthy for you all, and I cannot wait to hear how it turned out!
Please, please, please leave a star rating right here on the page if you loved it! And I’m dying to know one specific detail: how fluffy did your rice turn out alongside that beautifully spiced chicken? Did you manage to keep the two layers separate during the initial bake, or did everything blend together into a glorious mess? Tell me all about your experience below in the comments!
Happy cooking, everyone!
Print
One Pan Tandoori Chicken and Rice
- Total Time: 50 min
- Yield: 4 servings
- Diet: Vegetarian
Description
Cook flavorful Tandoori-spiced chicken and rice together in a single pan for easy preparation and minimal cleanup.
Ingredients
- 1.5 lbs boneless, skinless chicken thighs, cut into 1-inch pieces
- 1 cup basmati rice, rinsed
- 1 cup plain whole milk yogurt
- 2 tablespoons lemon juice
- 1 tablespoon ginger paste
- 1 tablespoon garlic paste
- 2 teaspoons ground cumin
- 2 teaspoons ground coriander
- 1 teaspoon turmeric powder
- 1 teaspoon smoked paprika
- 1 teaspoon cayenne pepper (or to taste)
- 1 teaspoon salt
- 1/2 teaspoon black pepper
- 1/2 cup chicken broth
- 1 small onion, thinly sliced
- 1 tablespoon vegetable oil
- Fresh cilantro, chopped, for garnish
Instructions
- In a bowl, combine the yogurt, lemon juice, ginger paste, garlic paste, cumin, coriander, turmeric, smoked paprika, cayenne pepper, salt, and pepper. Mix well to create the marinade.
- Add the chicken pieces to the marinade. Toss to coat completely. Cover and refrigerate for at least 30 minutes, or up to 4 hours.
- Preheat your oven to 400°F (200°C).
- Heat the vegetable oil in a large, oven-safe skillet (cast iron works well) over medium-high heat on the stovetop.
- Add the sliced onion to the skillet and cook for 3 minutes until slightly softened.
- Add the rinsed basmati rice to the skillet and stir for 1 minute to toast lightly.
- Pour the chicken broth into the skillet and bring to a simmer, scraping up any browned bits from the bottom.
- Arrange the marinated chicken pieces evenly over the rice mixture in the skillet. Do not stir the chicken into the rice.
- Cover the skillet tightly with a lid or aluminum foil.
- Transfer the skillet to the preheated oven and bake for 25 minutes.
- Remove the skillet from the oven, remove the cover, and gently fluff the rice with a fork, ensuring the chicken remains mostly on top.
- Return the uncovered skillet to the oven and bake for another 5-10 minutes, or until the chicken is cooked through and the rice has absorbed all the liquid.
- Garnish with fresh cilantro before serving directly from the pan.
Notes
- For a deeper color, use Kashmiri chili powder instead of cayenne pepper.
- If you do not have an oven-safe skillet, sear the chicken briefly on the stovetop, then transfer everything to a baking dish before adding the broth and baking.
- Rinsing the rice removes excess starch, which helps prevent the final dish from becoming too sticky.
- Prep Time: 15 min
- Cook Time: 35 min
- Category: Dinner
- Method: Baking
- Cuisine: Indian
Nutrition
- Serving Size: 1 serving
- Calories: 450
- Sugar: 5
- Sodium: 650
- Fat: 15
- Saturated Fat: 6
- Unsaturated Fat: 9
- Trans Fat: 0
- Carbohydrates: 40
- Fiber: 2
- Protein: 40
- Cholesterol: 120

