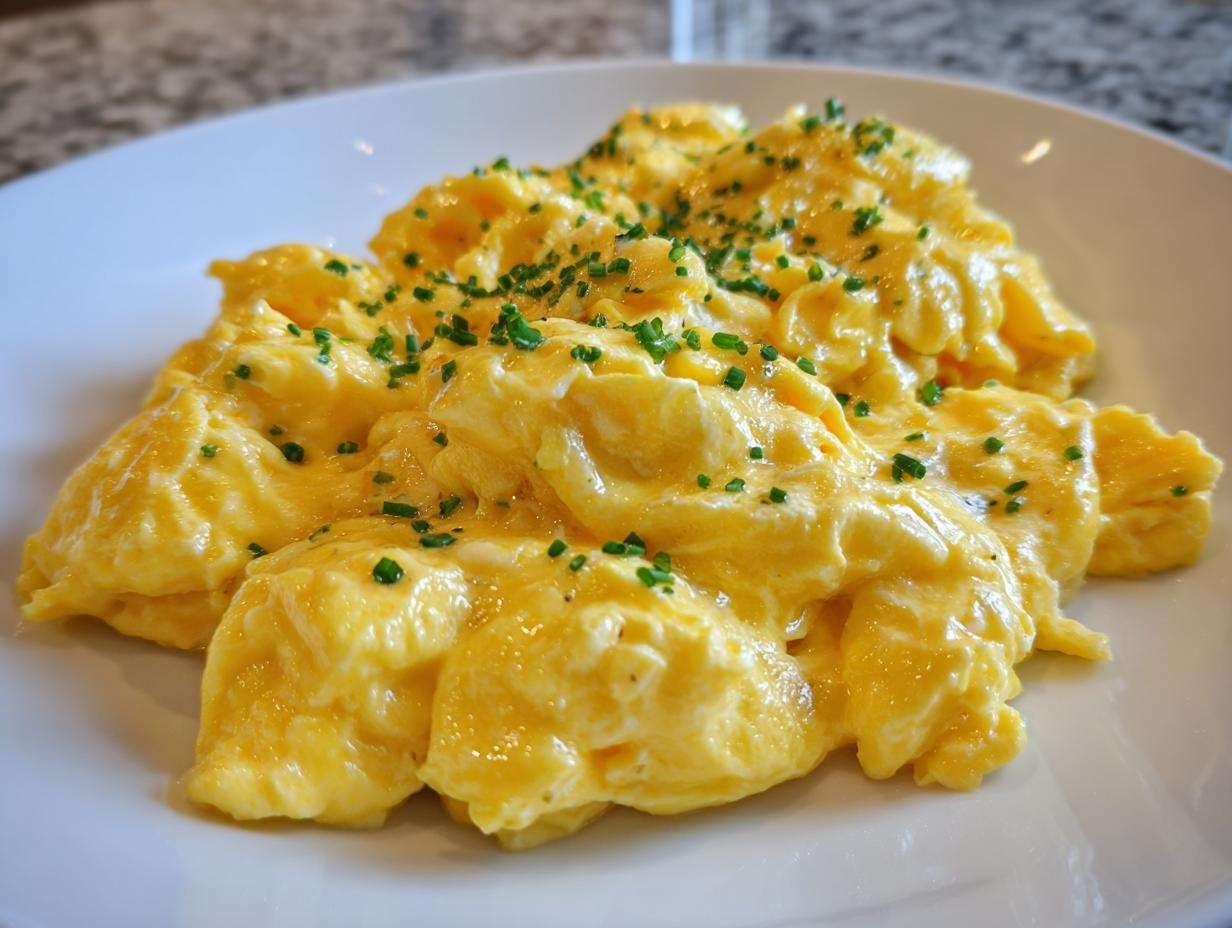
If you think you know scrambled eggs, slow down right there! For years, I struggled with eggs that were either dry, rubbery, or just plain sad. You know, the kind that just crumble apart? Forget all that. I’m going to show you the absolute best breakfast secret I ever learned: how to make the creamiest, fluffiest scrambled egg imaginable using a specific low-and-slow technique. Trust me when I say this method, inspired by the great Gordon Ramsay himself, totally changed my mornings. Mastering the perfect egg texture felt like unlocking a secret level in the kitchen, and I promise you, once you try this, you’ll never go back to high heat scrambling again. It’s ridiculous how simple this is!
Why This Creamy Egg Technique is Superior for Your Breakfast
Honestly, this isn’t just another breakfast recipe; it’s a total game-changer for your morning routine. We’re talking about the best scrambled eggs technique there is. Forget those dry crumbs you get when you rush things over high heat. In about seven minutes total, you’re going to have a batch of creamy eggs recipe perfection that tastes like they came from a fancy five-star brunch spot. We use three simple ingredients to create this luxurious texture.
The biggest win here is the texture. These eggs are soft, rich, and practically melt in your mouth. That’s the beauty of this method! It respects the humble egg by treating it gently rather than blasting it with heat.
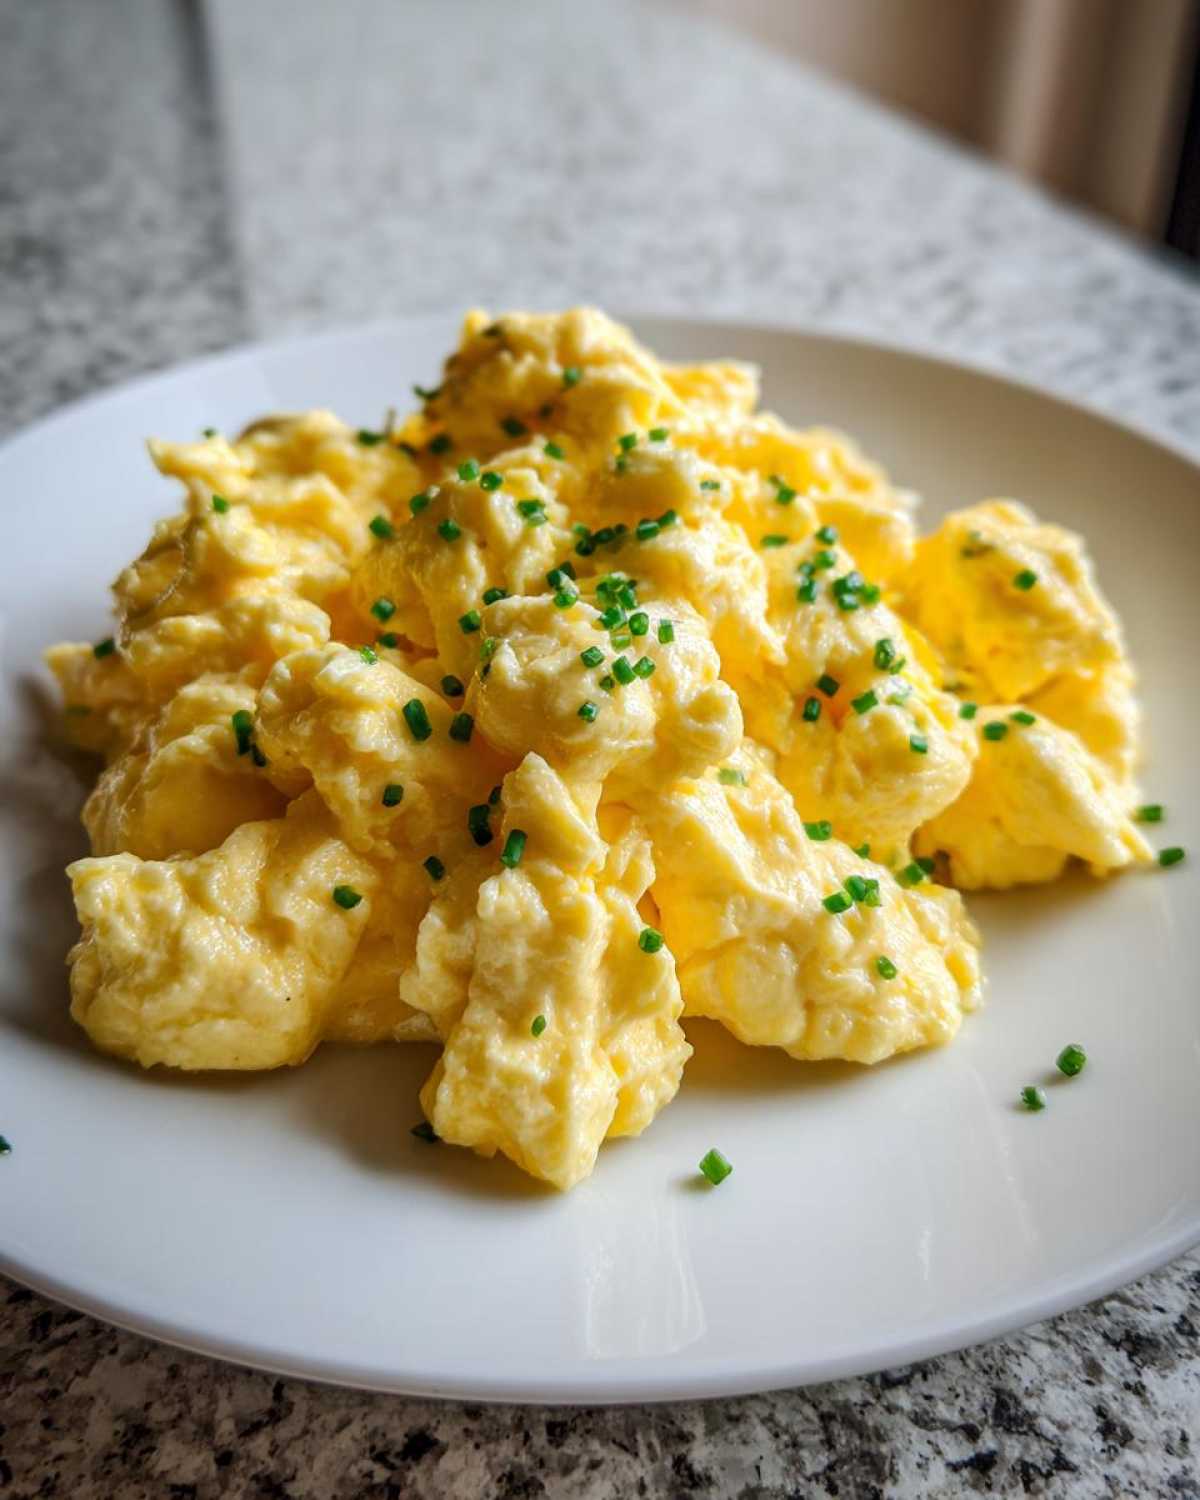
Achieving Fluffy Egg Perfection Every Time
The secret isn’t in adding bizarre extras; it’s all about the low-and-slow science. When I first tried scrambling eggs quickly, I always ended up disappointed. They just weren’t fluffy, they were tough! This technique requires you to get the pan on the stove *after* you start stirring, allowing the butter and egg mixture to warm up gradually together. This gentle warming keeps the proteins from seizing up too fast, which is what gives you that wonderfully light, pillowy texture instead of rubbery chunks.
Essential Ingredients for Fluffy Scrambled Egg Perfection
When you are making something this simple, I really believe the quality of what you put in totally shines through in the end. Since we are only dealing with a handful of things here, don’t cheap out where you don’t have to! Making these creamy eggs is all about respecting the few ingredients we are using, especially that beautiful egg.
Here is exactly what you need for one perfect serving of these creamy scrambled superstars. Seriously, measure these out—it makes a difference!
- 3 large eggs
- 1 tablespoon unsalted butter
- 1 tablespoon crème fraîche or sour cream (optional, but trust me on this!)
- A tiny pinch of salt (we add it early)
- A tiny pinch of black pepper (we add this later)
- 1 teaspoon chopped fresh chives (just for that visual pop at the end)
Ingredient Notes and Creaminess Boosters
Let’s talk about that optional spoonful of crème fraîche or sour cream. This isn’t just for flavor; it’s actually part of the process to guarantee creamy eggs! When you add it right at the very end, off the heat, the fat and acid instantly stop the eggs from cooking further. This is critical because it locks in that soft, custard-like consistency.
Also, please use good, unsalted butter! Since butter is one of the primary flavors in this dish, using something high quality makes a huge difference in the final taste of your scrambled egg masterpiece. Don’t skip it!
Step-by-Step Instructions for the Best Scrambled Egg Technique
Okay, this is where people usually panic, but don’t worry, I’m going to walk you through exactly how to cook perfect eggs using this gourmet method. It’s all about timing and heat control. I always pull out my non-stick pan and my trusty rubber spatula because this process requires constant movement. Remember, we aren’t making tough diner eggs; we are crafting soft, beautiful curds! If you need more inspiration for easy breakfast recipes beyond this, make sure you check out some of my other favorites over at our main breakfast hub.
You’ll want to get a small saucepan—not a huge skillet! This recipe is for one serving, so keep the size small to ensure even heating. Ready to start assembling? Make sure your wonderful egg ingredients are all measured and sitting next to the stove before you even think about turning on the fire.
- First things first: start cold! Put your 3 large eggs, that tablespoon of unsalted butter, and the pinch of salt directly into the small, *cold* saucepan. Don’t turn the heat on yet! This initial step is critical to avoid scorching the milk solids in the butter.
- Now, place that cold saucepan over medium-low heat. This is where the magic starts, but you cannot stop moving! Begin stirring constantly with your rubber spatula. Make sure you scrape the bottom and sides of the pan as you go, ensuring no part of the egg mixture sits still for longer than a second.
- Keep stirring, keep scraping. This phase takes patience—usually about 3 to 5 minutes. You’ll see the mixture start to thicken very slowly. It won’t happen fast; if it does, your heat is too high, so pull it back!
The Crucial Low-Heat Cooking Phase
This is the moment of truth! You need to watch carefully. When the eggs are thick enough that they look set but still appear very wet and slightly undercooked—like a soft, very runny custard—you must pull the pan off the burner immediately. Don’t hesitate! The residual heat sitting in that saucepan will continue to cook the egg mixture just enough to get it perfect, but if you leave it on the flame, it will overcook in seconds.
Finishing and Seasoning Your Egg Dish
Once the pan is off the heat, this quick egg preparation needs final additions right away so the residual heat can’t keep working its magic too much. If you are using it, stir in that tablespoon of crème fraîche or sour cream right now, mixing it in briskly until just combined. This stops the cooking process dead in its tracks and adds fantastic richness.
Give it a tiny dash of black pepper—wait to salt heavily until the end if you prefer, though we put a pinch in initially. Next, plate it immediately onto warm toast! These incredibly creamy eggs wait for no one. Garnish with those fresh chopped chives you prepared earlier. Enjoy that beautiful texture!
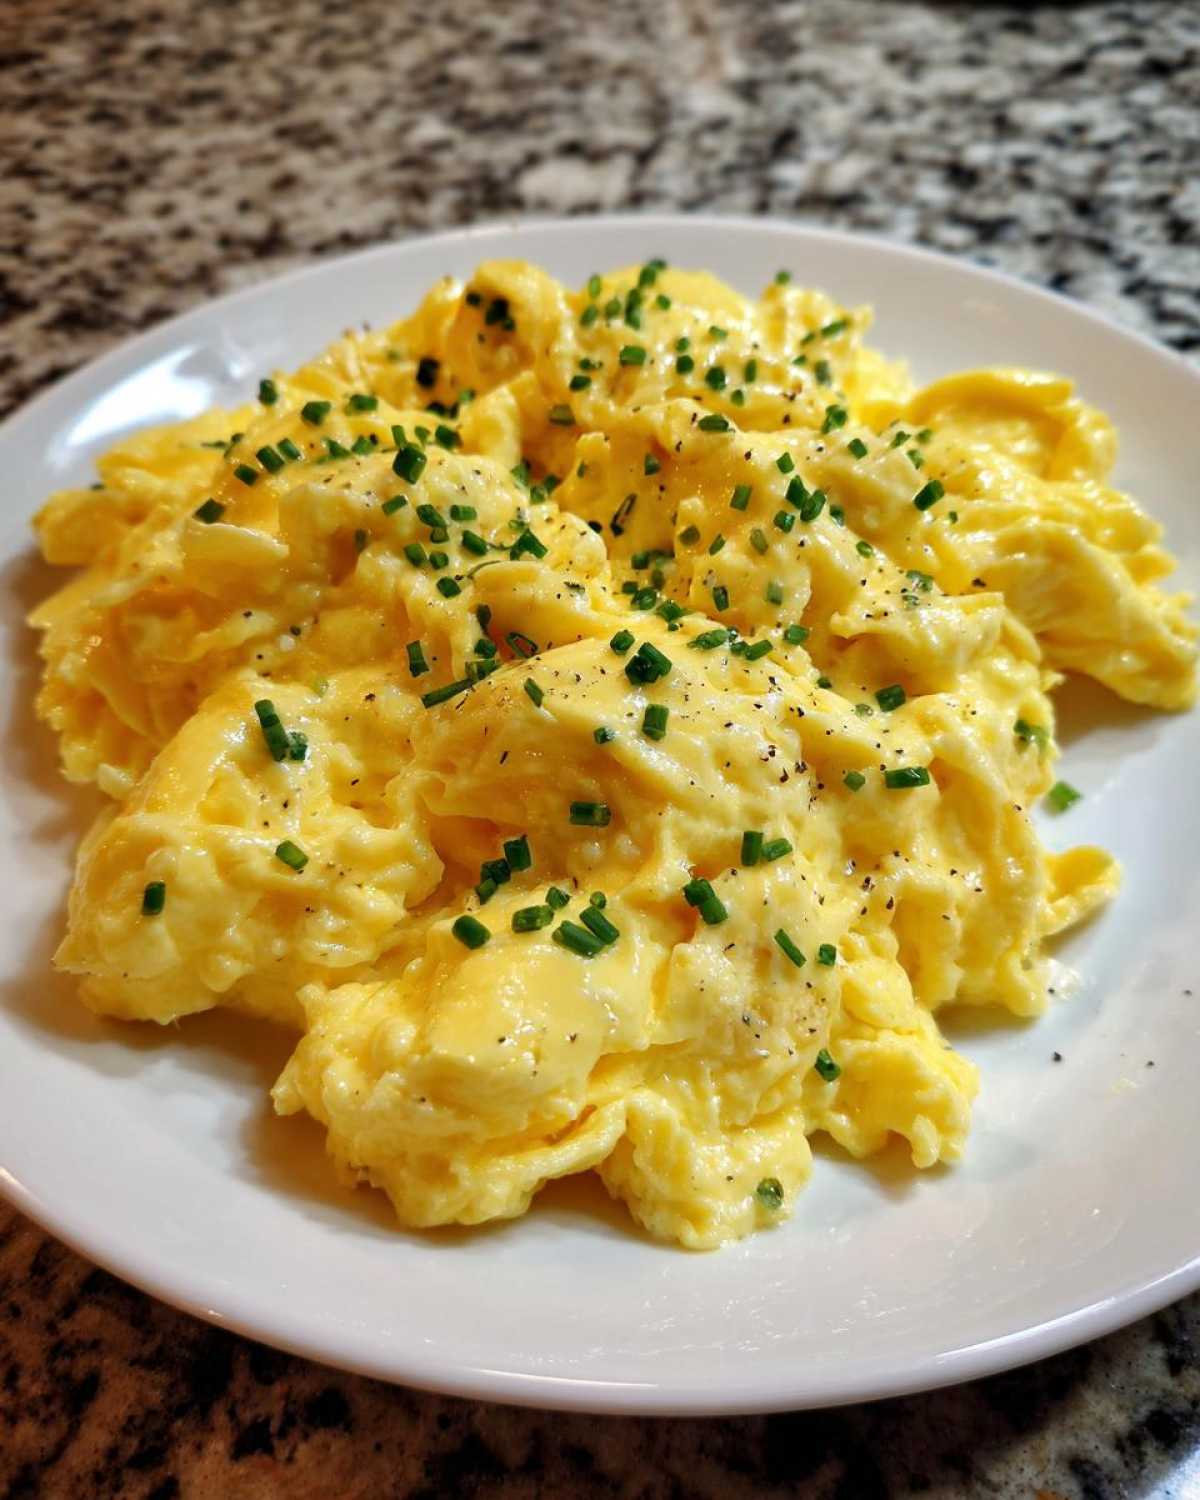
Tips for Success with Your Creamy Egg Recipe
I’ve made this recipe literally hundreds of times now, and I can tell you my little ‘Notes’ section wasn’t just filler—those are my hard-earned rules for getting that perfect, silky texture every single time you cook an egg this way. The biggest mistake people make is thinking they can rush perfection! You simply can’t.
First, if you don’t already have one, invest in a good quality non-stick pan for this! Since we are stirring constantly and scraping the bottom with a spatula, trying to do this in stainless steel is just asking for disaster and a huge cleanup headache. Trust me on the non-stick pan choice for the easiest results possible.
The danger here is definitely rushing the heat. If you turn the dial up to medium-high hoping to be done in two minutes, you miss the whole point of the low-and-slow method. Rushing the process results in dry, rubbery eggs that are completely tough—the absolute opposite of the creamy texture we are aiming for! Keep that heat low; patience truly rewards those who wait for the best scrambled eggs.
Speaking of tools, you absolutely must use a good rubber spatula here. Forget wooden spoons for this one! A flexible silicone or rubber spatula lets you get right into those corners and scrape the bottom of the pan perfectly, ensuring none of that lovely, thickening egg mixture seizes up and burns. It’s all about that constant, gentle movement against the pan’s surface.
If you’re looking for even more inspiration on what to do with those eggs when you aren’t scrambling them this way, take a peek at our collection of other quick egg ideas. Sometimes you just need variety for those busy mornings!
Variations on the Perfect Egg: Flavor Twists
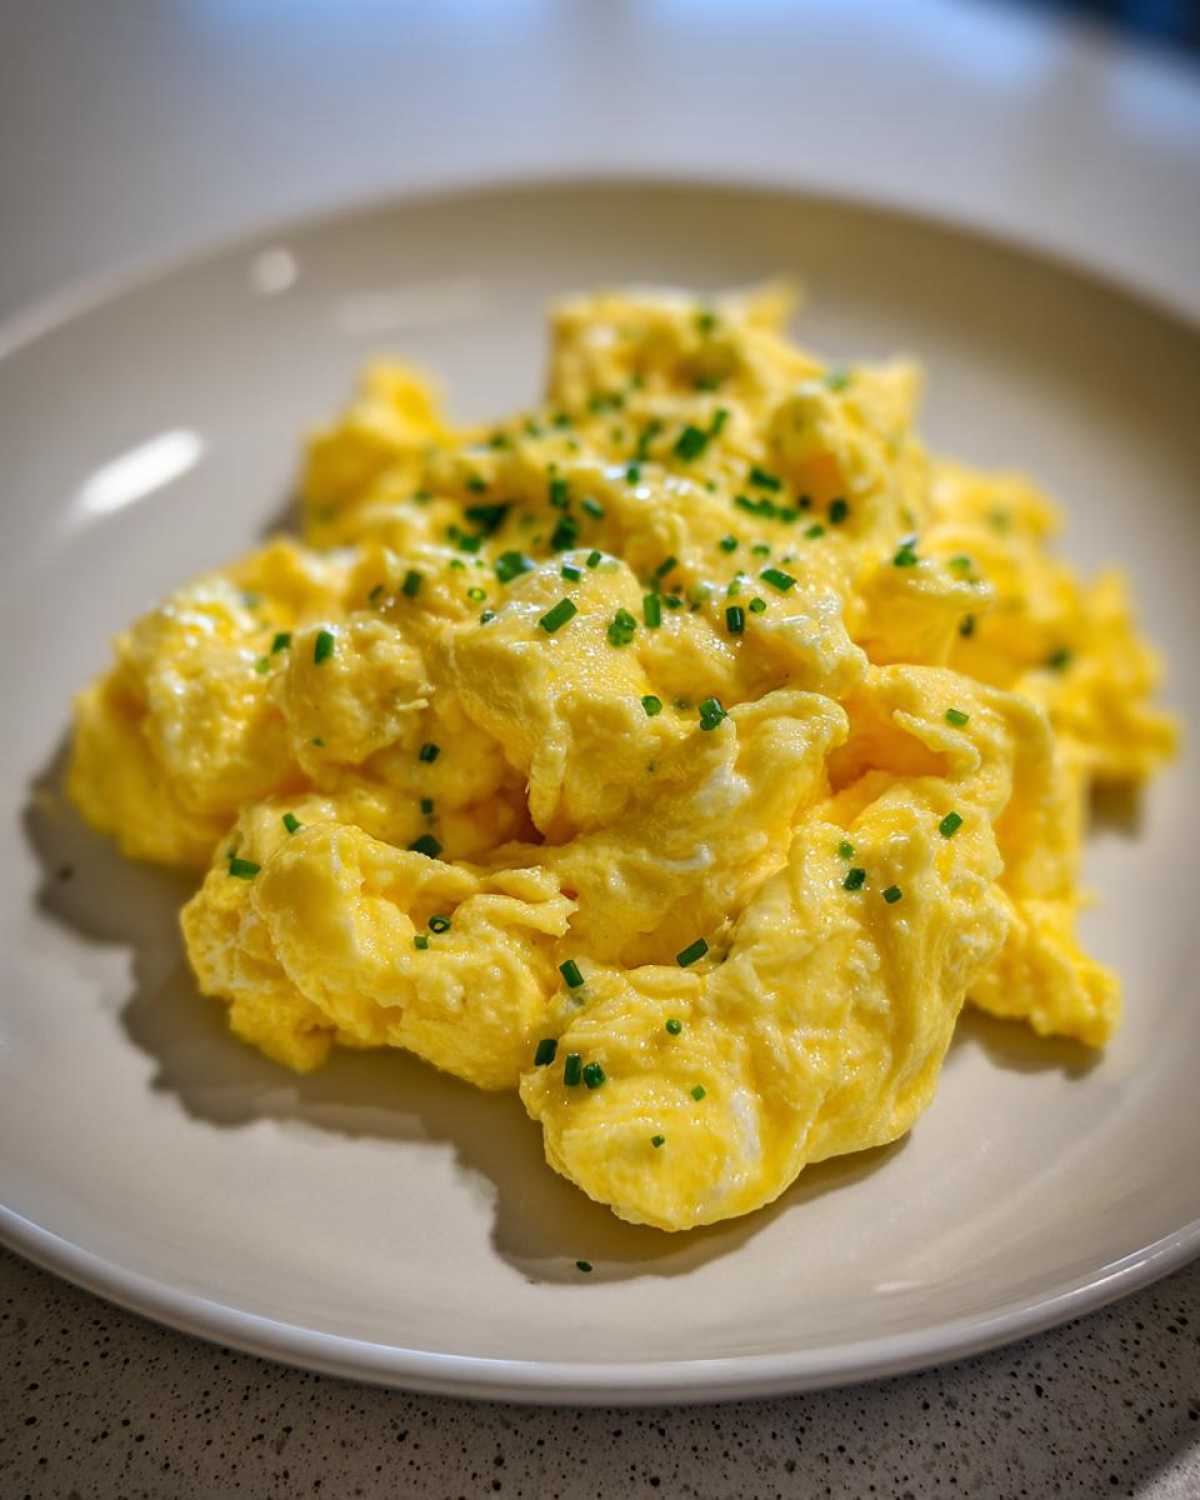
Isn’t that beautiful? A simple, perfect, creamy egg base. But you know me—I can never leave well enough alone! While this base recipe stands proudly on its own as the ultimate way to prepare an egg for breakfast, it’s also the perfect canvas for some fun, simple flavor additions. You just have to remember one crucial rule: add the flavorings *after* you take the pan off the heat, or right at the very end when you are stirring in the crème fraîche.
If you add cheese or spices too early, the high heat will break down the proteins improperly, and you end up back at dry, boring eggs instead of our gourmet version. But adding something at the end? That’s just adding personality!
Here are a few ways I like to jazz mine up:
- Gourmet Cheese Swirl: Right when you remove the pan from the heat and are about to stir in the crème fraîche, toss in about a tablespoon of finely grated Gruyère or sharp white cheddar. Stir it gently until it just melts into the steam. That saltiness blends beautifully with the richness of the butter.
- A Bit of Heat: If you like a little kick in your breakfast, wait until the eggs are plated, and then drizzle just a few drops of your favorite high-quality hot sauce over the top. I’m a big fan of something vinegar-based, as the acidity cuts through the richness of the creaminess perfectly.
- Herb Power-Up: Chives are lovely, but you can swap those out based on what’s fresh! Try folding in a teaspoon of finely minced fresh tarragon or a tiny bit of finely chopped parsley right before serving. Just make sure any tougher herbs, like rosemary, are used *very* sparingly—you want flavor, not chewiness!
See? It’s so versatile! You can take this one simple technique and make it feel brand new every morning. It just goes to show you that the right method for cooking the egg makes all the difference, no matter what you ultimately put in it!
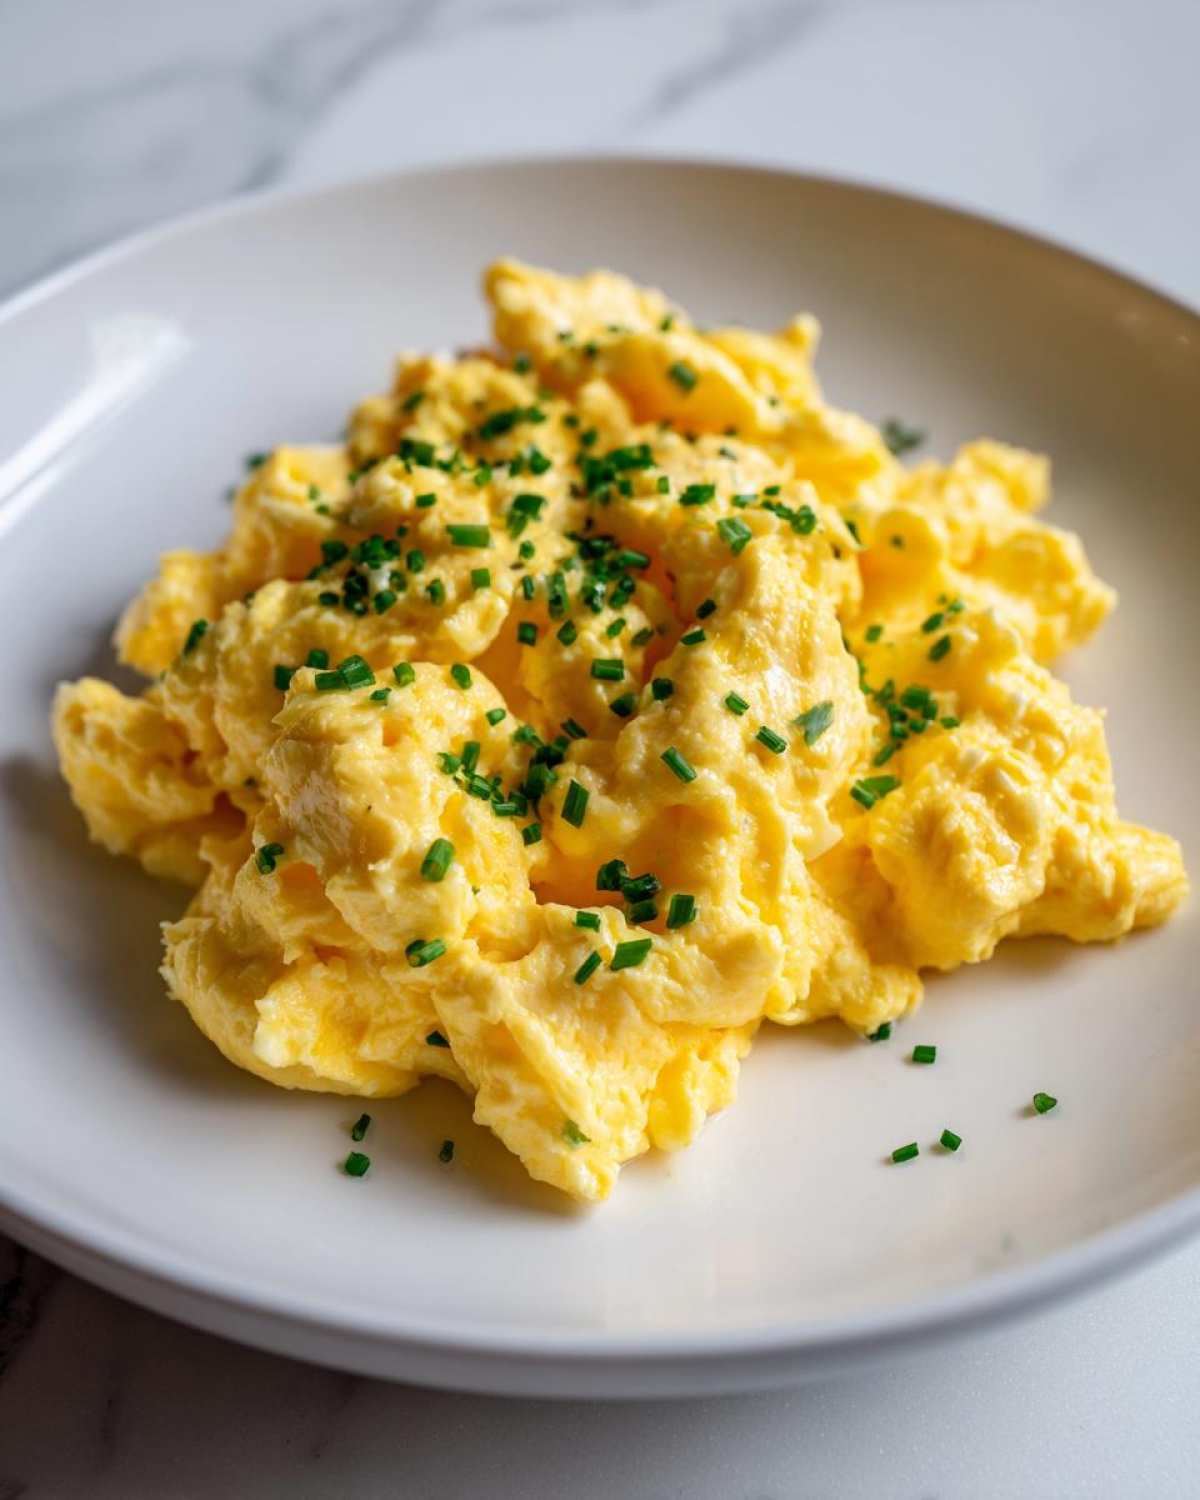
Serving Suggestions for Your Fluffy Egg Meal
Now that you’ve mastered the best scrambled eggs technique known to humankind (and done it in under ten minutes!), the only thing left is deciding what glorious vehicle you’re going to use to transport this creamy perfection from the pan to your belly! Because these eggs are so rich and custardy, they pair beautifully with simple things that absorb that richness or things that offer a sharp contrast.
If you’re looking for quick fixes for hectic mornings—those wonderful easy breakfast recipes we all crave—keep it minimal. A thick slice of toasted sourdough bread is honestly all you need. Butter it generously and pile those soft eggs right on top. A light sprinkle of flaky sea salt right before digging in makes a huge difference. You can also whip up some sliced avocado on the side for healthy fats; it complements the richness of the butter and crème fraîche so well!
But if you’re planning a proper weekend brunch—maybe you’re hosting and need some more impressive brunch recipes with eggs—we have to step it up just a bit! These gourmet eggs deserve a great setting.
Here are my favorite ways to elevate these creamy eggs into a full, satisfying meal:
- Smoked Salmon Spectacular: Lay down a bed of fresh, peppery arugula or watercress on a plate. Top that with the creamy scrambled mixture, and then drape a few thin slices of good quality smoked salmon over the top. The saltiness of the salmon and the pepperiness of the greens are the perfect counterpoint to the richness of the egg.
- Make it a Hash: If you have a few extra minutes to make this an easy weeknight egg dinner, toss some diced, roasted sweet potatoes or finely diced sautéed mushrooms with a tiny bit of dried thyme right before plating. Spoon the eggs over that savory base! Remember, even this simple addition works toward making your overall portfolio of easy weeknight egg dinner ideas much stronger.
- The Green Addition: Don’t underestimate the power of greens! A quick side of wilted spinach or sautéed asparagus spears adds color and nutrients without overpowering the star of the show. Just be sure to lightly sauté them so they retain a little bite—we don’t want mushy vegetables here!
Honestly, once you have the technique down to churn out perfect creamy eggs this fast, you’ll find excuses to make them all the time. They manage to feel both luxurious and incredibly simple at the same time!
Storage and Reheating Instructions for Leftover Egg Portions
Okay, let’s be real for a minute. This recipe, in its purest form, is designed to yield just *one* amazing serving. The whole charm of this creamy, fluffy egg preparation is that it’s made fresh, pulled from the heat exactly at that custardy moment! Any leftovers are usually from when I scale up the recipe to feed my whole family breakfast.
If you *do* end up with extra creamy scrambled eggs, you need to know they will never be quite as ethereal as when they are fresh off the stove. Once chilled, those proteins firm right up, and you lose that delightful melt-in-your-mouth quality. If you’re looking for true refrigerator staples for busy weeks, you might want to check out some of my other ideas for make ahead egg dishes, like baked casseroles.
But if you have a small container of leftovers sitting in the fridge, don’t just toss the poor things! You just have to reheat them with extreme care to try and salvage some of that creaminess. Never, ever microwave them! Microwaving will make them steam and turn instantly rubbery—it’s the cardinal sin of reheating eggs.
Here’s my trick for bringing them back to life, even if it’s just a temporary reprieve:
- Use a tiny non-stick skillet over the absolute lowest heat setting you have—think melt level, not simmer level.
- Add a teaspoon of fresh butter or, even better, a splash of milk or a half-teaspoon of crème fraîche right into the pan with the cold eggs.
- Gently fold the eggs, constantly scraping the bottom with your spatula, just until they are warm through. Do not let them sit still for more than a few seconds.
Seriously, aim to warm them just enough so they are edible and palatable. This method saves your leftovers, but if you want my honest opinion? Make one serving at a time using this technique, or plan ahead with a different egg alternative for true meal prep!
Frequently Asked Questions About Cooking the Perfect Egg
I get so many messages asking little clarifications about this method! It’s amazing how many different ways people end up trying to cook an egg, which is why I try to anticipate the common sticking points. Mastering this creamy texture hinges on a few key details, and hopefully, sorting out these FAQs will make your next batch even better! If you ever need a simple side dish that requires minimal effort, check out my thoughts on making easy stovetop homemade applesauce while your eggs are warming up!
Can I use milk instead of crème fraîche in this egg recipe?
Oh, that’s a common question, especially for those who don’t keep crème fraîche on hand! Yes, you technically *can* use whole milk or heavy cream instead, but I have to warn you: it won’t be the same result. Milk tends to be much thinner than crème fraîche. Since this technique relies on that final addition to stop the cooking and inject rich fat solids, milk doesn’t provide the necessary body, and you might end up with eggs that are a bit too loose or runny compared to the thick, luxurious texture we are aiming for in this creamy eggs recipe.
How do I make these eggs suitable for meal prep?
If you are looking for meal prep egg recipes, this specific low-and-slow technique really isn’t the right fit, bless its heart! This method shines because you pull the egg off the heat when it’s on the verge of being underdone, letting carry-over heat finish it. Once you refrigerate that custard-like mixture, it firms up into a solid block, and reheating it rarely brings back that silky texture.
For true meal prep where you cook once and eat all week, you are much better off looking into savory breakfast bakes or using a muffin tin to make baked, protein-packed egg cups. Those hold their texture much better when reheated throughout the week!
Why do my eggs keep getting dry even when I take them off the heat early?
That usually comes down to one of two things. First, check your heat setting before you started stirring—if it was already medium-high, the bottom layer cooked too fast before the rest of the mixture warmed up. Second, are you stirring constantly? Even a 20-second break where one section of the egg sits still on the warm bottom of the pan can cause that section to overcook and dry out the whole batch. Remember, constant scraping is key to achieving that even, fluffy texture!
Is using a rubber spatula really better than a whisk for mixing the eggs?
For the initial mixing *before* the heat goes on, a whisk is fine if you wanted to incorporate extra air. But once they are on the heat, you absolutely need a spatula, ideally a good quality silicone one! Whisks are great for beating air in, but terrible for scraping the bottom of the pan. We need to continuously push the setting curds from the bottom up and fold them over. A whisk will just drag across the bottom, leaving small burnt bits behind. Stick to the spatula for the best results in your fluffy egg recipes!
Nutritional Estimates for This Creamy Egg Serving
Now, I have to preface this by saying that because this recipe relies so heavily on the quality and precise amount of butter and crème fraîche you use (which can vary a bit!), these numbers are just estimates. But hey, getting a good idea of what you are eating is always smart, even when it’s the best scrambled egg you’ve ever made! This information is based on the exact measurements listed in the ingredients section, assuming you use the optional crème fraîche for that supreme creaminess.
For one serving of these rich, protein-packed eggs, here is a ballpark idea of what you are consuming:
- Calories: 250
- Protein: 18g (That’s a great start to the day!)
- Fat: 19g (Mostly good fats from the butter and egg yolk)
- Saturated Fat: 10g
- Total Carbohydrates: 2g
- Sugar: 1g
- Sodium: 150mg
You can see that this is a fantastic, low-carb, protein packed breakfast ready in minutes! The cholesterol number is a little higher, which is totally normal when you use three whole eggs—but remember, dietary cholesterol guidelines have changed, and for most healthy individuals, these are absolutely fine as an incredible, quick breakfast solution.
If you want to see other ways to get huge protein hits into your mornings that are just as fast, you should check out some of the recipes I have collected, especially my post on getting a massive 35g of protein in one slice over at our dedicated protein tracker page. Enjoy knowing that even with all that creamy, delicious butter, this perfect egg dish fuels you up right!
Print
Fluffy Scrambled Eggs (Gordon Ramsay Style)
- Total Time: 7 min
- Yield: 1 serving
- Diet: Vegetarian
Description
Learn the technique to make incredibly creamy and fluffy scrambled eggs using low heat and constant movement.
Ingredients
- 3 large eggs
- 1 tablespoon unsalted butter
- 1 tablespoon crème fraîche or sour cream (optional, for extra creaminess)
- Pinch of salt
- Pinch of black pepper
- 1 teaspoon chopped fresh chives (for garnish)
Instructions
- Place the eggs, butter, and a pinch of salt into a small, cold saucepan. Do not turn on the heat yet.
- Place the saucepan over medium-low heat. Begin stirring the eggs constantly with a rubber spatula, scraping the bottom and sides of the pan.
- Continue stirring without stopping. The eggs will start to thicken slowly. This process takes about 3 to 5 minutes.
- When the eggs are mostly set but still look wet and slightly undercooked (like a very soft custard), remove the pan from the heat immediately. The residual heat will continue to cook them slightly.
- If using, stir in the crème fraîche or sour cream now to stop the cooking process and add richness.
- Season with a small amount of black pepper.
- Serve immediately on toast, garnished with fresh chives.
Notes
- Use a non-stick pan for the easiest cleanup and best results.
- Keep the heat low; rushing the process results in dry, rubbery eggs.
- For a richer flavor, use a small knob of cold butter right at the end, off the heat.
- Prep Time: 2 min
- Cook Time: 5 min
- Category: Breakfast
- Method: Stovetop Cooking
- Cuisine: Modern European
Nutrition
- Serving Size: 1 serving
- Calories: 250
- Sugar: 1
- Sodium: 150
- Fat: 19
- Saturated Fat: 10
- Unsaturated Fat: 9
- Trans Fat: 0
- Carbohydrates: 2
- Fiber: 0
- Protein: 18
- Cholesterol: 550