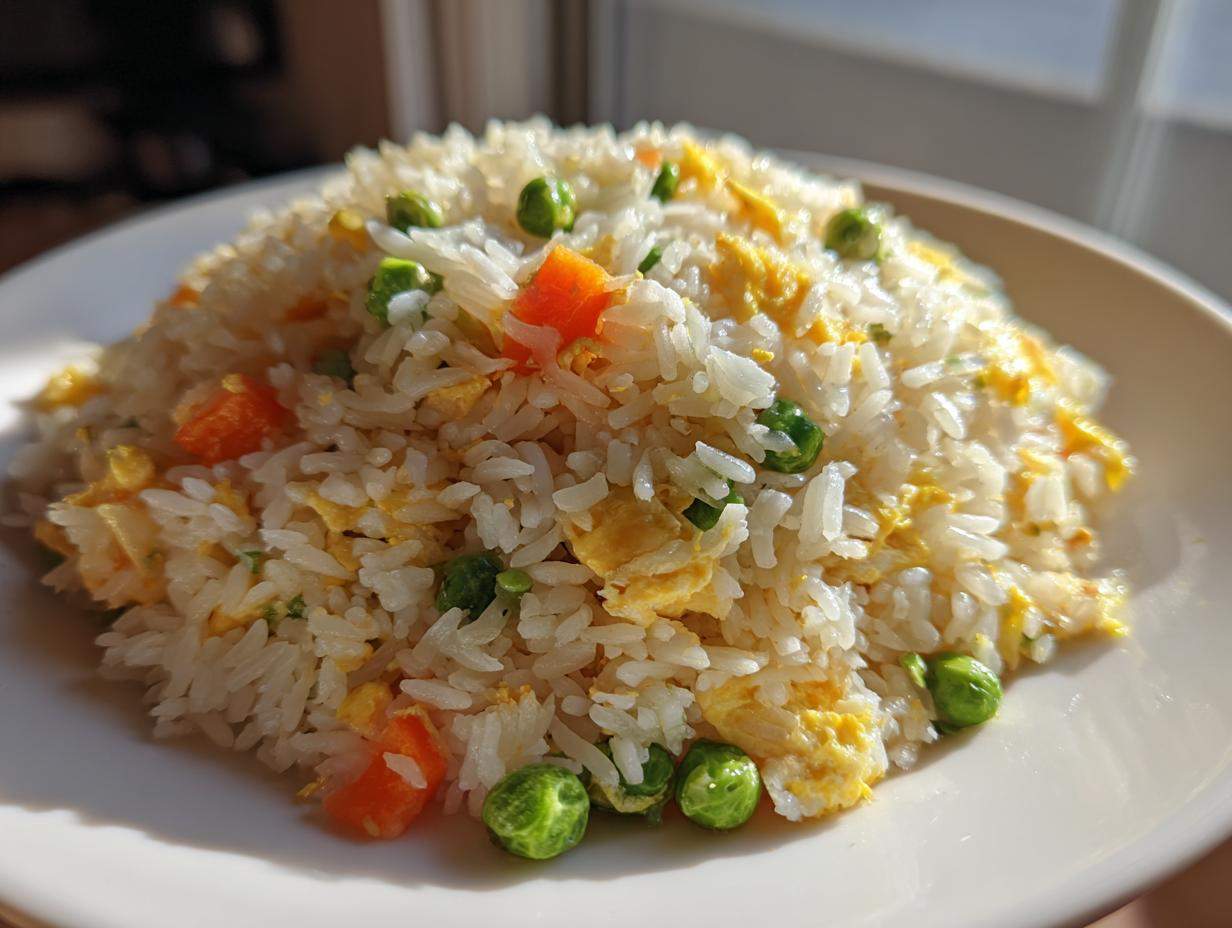
Oh my gosh, that moment when you open that white takeout box and the smell of savory, perfectly textured rice hits you? It’s pure comfort, right? But let’s be honest, sometimes that “restaurant-style” Egg Fried Rice ends up being a little too greasy, or worse—a gigantic, mushy scoop of sticky rice that tastes like salty sadness. Forget that! I spent years, I mean *years*, tweaking techniques I learned from watching every chef I could find, and I finally cracked the code. Trust me when I say this simple 20-minute method beats every Chinese takeout order you’ve ever placed. We are going for fluffy, perfectly seasoned, and absolutely zero mush. You can do this!
Why This is the Best Egg Fried Rice Recipe You Will Ever Make
If you’ve struggled with rice that clumps together like a giant sticky Frisbee, you’re not alone! That’s the number one thing we fix here. This isn’t just another recipe; this is The Best Egg Fried Rice Recipe guaranteed to give you that fluffy, light texture you crave. Seriously, you won’t need to order takeout again! I spent years perfecting this exact technique before I felt comfortable sharing it. Check out my guide for handling chicken fried rice too, because the base is the same!
- We use super cold, day-old rice for that perfect, light texture.
- High heat cooking means zero sogginess—hello, Restaurant Style Fried Rice At Home!
- The seasoning is simple but layered perfectly to beat blandness.
Achieving Fluffy Fried Rice Tutorial Every Time
Okay, listen up, because this is the most crucial secret that unlocks the magic. You absolutely, positively MUST use cold, day-old cooked rice. Freshly cooked rice is soaking wet with steam and starch. If you toss that into the pan, it just melts into a gooey mess. Cold rice, the kind sitting in your fridge for at least 12 hours, dries out. That dryness is what separates each individual grain when you stir-fry it. It’s the key to a successful Fluffy Fried Rice Tutorial!
Mastering the Wok Fried Rice Technique for Flavor
We aren’t just mixing ingredients; we are stir-frying! That means high heat, moving fast, and letting that oil get properly smoking hot. This high-temperature cooking process is what helps evaporate any lingering moisture, giving you the subtle smoky flavor they call ‘Wok Hei’ at the restaurant. Don’t be scared of the heat; embrace it! It’s the best part of the Wok Fried Rice Technique.
Classic Egg Fried Rice Ingredients You Need
This is a famously simple dish, which is part of what makes searching for Day Old Rice Recipe Ideas so rewarding! When the ingredients are few, you need to make sure you have the *right* ones, and that they are prepped perfectly. Since we are cooking this whole dish in about 10 minutes flat, having everything measured and ready to go (Mise en Place, my friends!) is non-negotiable. Seriously, have your eggs cracked and your rice fluffed before the oil even hits the pan.
Don’t worry about complex additions yet—we are nailing the classic base first. These are the foundational items for the Simple Egg Fried Rice Recipe that tastes like it came straight from a bustling kitchen:
- 3 cups cold, day-old cooked white rice (This is your MVP ingredient, remember!)
- 4 large eggs, lightly beaten—don’t add salt yet!
- 2 tablespoons neutral cooking oil, like canola or vegetable, divided (We use it in two stages, remember?)
- 1/2 cup frozen peas and carrots mix (Those little bags are a weeknight lifesaver!)
- 2 green onions, thinly sliced, making sure you keep the white parts separate from the green parts
- 1 tablespoon soy sauce (Use a good quality one, it makes a difference!)
- 1 teaspoon sesame oil (This is for finishing flavor, don’t use it for frying!)
- 1/4 teaspoon white pepper (Trust me on the white pepper; it adds that authentic subtle kick.)
If you’re looking for more ways to use up those leftovers, I’ve got a fantastic cheesy rice recipe that’s totally different, but just as quick!
Ingredient Notes and Simple Egg Fried Rice Recipe Substitutions
Because this is such a streamlined dish, every ingredient is working hard, so picking the right ones matters a ton! I want you to feel totally confident experimenting, but let’s talk about the heavy lifters first. When I perfected this Simple Egg Fried Rice Recipe, I tried everything, so I can steer you clear of the common swaps that just don’t pan out.
The biggest question I always get is about oil. You must use a neutral oil for the main stir-fry, like plain vegetable or canola oil. Why? Because we need that high smoke point! If you use olive oil or even coconut oil, they burn before the rice even gets hot, which gives you a bitter taste instead of that beautiful flavor you get from my Chinese green bean recipe. Save the sesame oil for the very last minute, like I do in the instructions, because burning it ruins its nutty aroma.
Now, let’s talk soy sauce. If you only have light soy sauce, go ahead and use that, but you might need to add a tiny splash more salt later if it tastes weak. What I really recommend is using a mix of regular soy sauce and a little bit of dark soy sauce if you can grab some. Dark soy sauce doesn’t add much salt, but it gives you that gorgeous, deep golden color that screams Restaurant Style Fried Rice At Home. It’s pure aesthetic magic!
And those green onions—don’t just toss them all in at the end! You see how I asked you to separate the white parts from the green parts? The white bits are tougher and can withstand that high-heat cooking with the veggies, building a foundational onion flavor. The leafy green tops? Those are delicate; they go in last merely to look bright and taste fresh. It’s a small step, but it shows the expertise that goes into making this the Best Egg Fried Rice Recipe!
How to Prepare Perfect Fried Rice: Step-by-Step Instructions
Alright, this is where the magic happens, and you have to move fast! This entire cooking process takes maybe 10 minutes flat, so once you start, there’s no pausing to check your phone. Get your wok (or the biggest skillet you own) screaming hot—we mean *hot*. Remember, this is the secret to How to Make Perfect Fried Rice and avoid that dreaded mushiness. We are layering the cooking so nothing overcooks. You want to follow this sequence exactly for the best Quick Dinner Rice Stir Fry!
Scrambling the Eggs for Your Egg Fried Rice
First things first: the eggs. Take those 4 lightly beaten eggs and pour them into your 1 tablespoon of shimmering hot oil in the wok. And I mean *quickly*—don’t walk away! You need to constantly move them around with your spatula, scrambling them fast. The goal here is to cook them until they are just set, but honestly, they should still look a little moist and slightly underdone when you pull them out. Why? Because they are going to sit on the plate for a minute while we cook the rice, and they’ll finish cooking then. If you cook them until they are dry now, they become rubbery later.
Pull those soft scrambled eggs out right away and put them on that plate you used for prepping your vegetables. This step ensures the eggs are tender and fluffy in your final dish!
Stir-Frying Vegetables and Breaking Up the Rice
Next, add your final tablespoon of oil to that same hot wok—keep that heat cranked up high! Toss in the white parts of your green onions and the frozen peas and carrots mix. Cook these for just 60 seconds. We’re just waking them up and warming them through; they should still have a little crunch. This quick blast of heat is essential for that great texture we aim for in a Fluffy Fried Rice Tutorial.
Now, add all 3 cups of your cold, day-old rice. This is your main event! Grab your spatula, and you need to be firm but gentle. Break up the clumps, pressing the rice against the super-hot bottom of the wok. You should hear sizzling! Keep tossing and pressing vigorously for a good 3 to 4 minutes. This high-heat agitation is what dries the rice out and stops it from clumping into one giant sticky ball. It’s hard work, but this is what makes or breaks your Egg Fried Rice!
Flavoring and Finishing the Egg Fried Rice
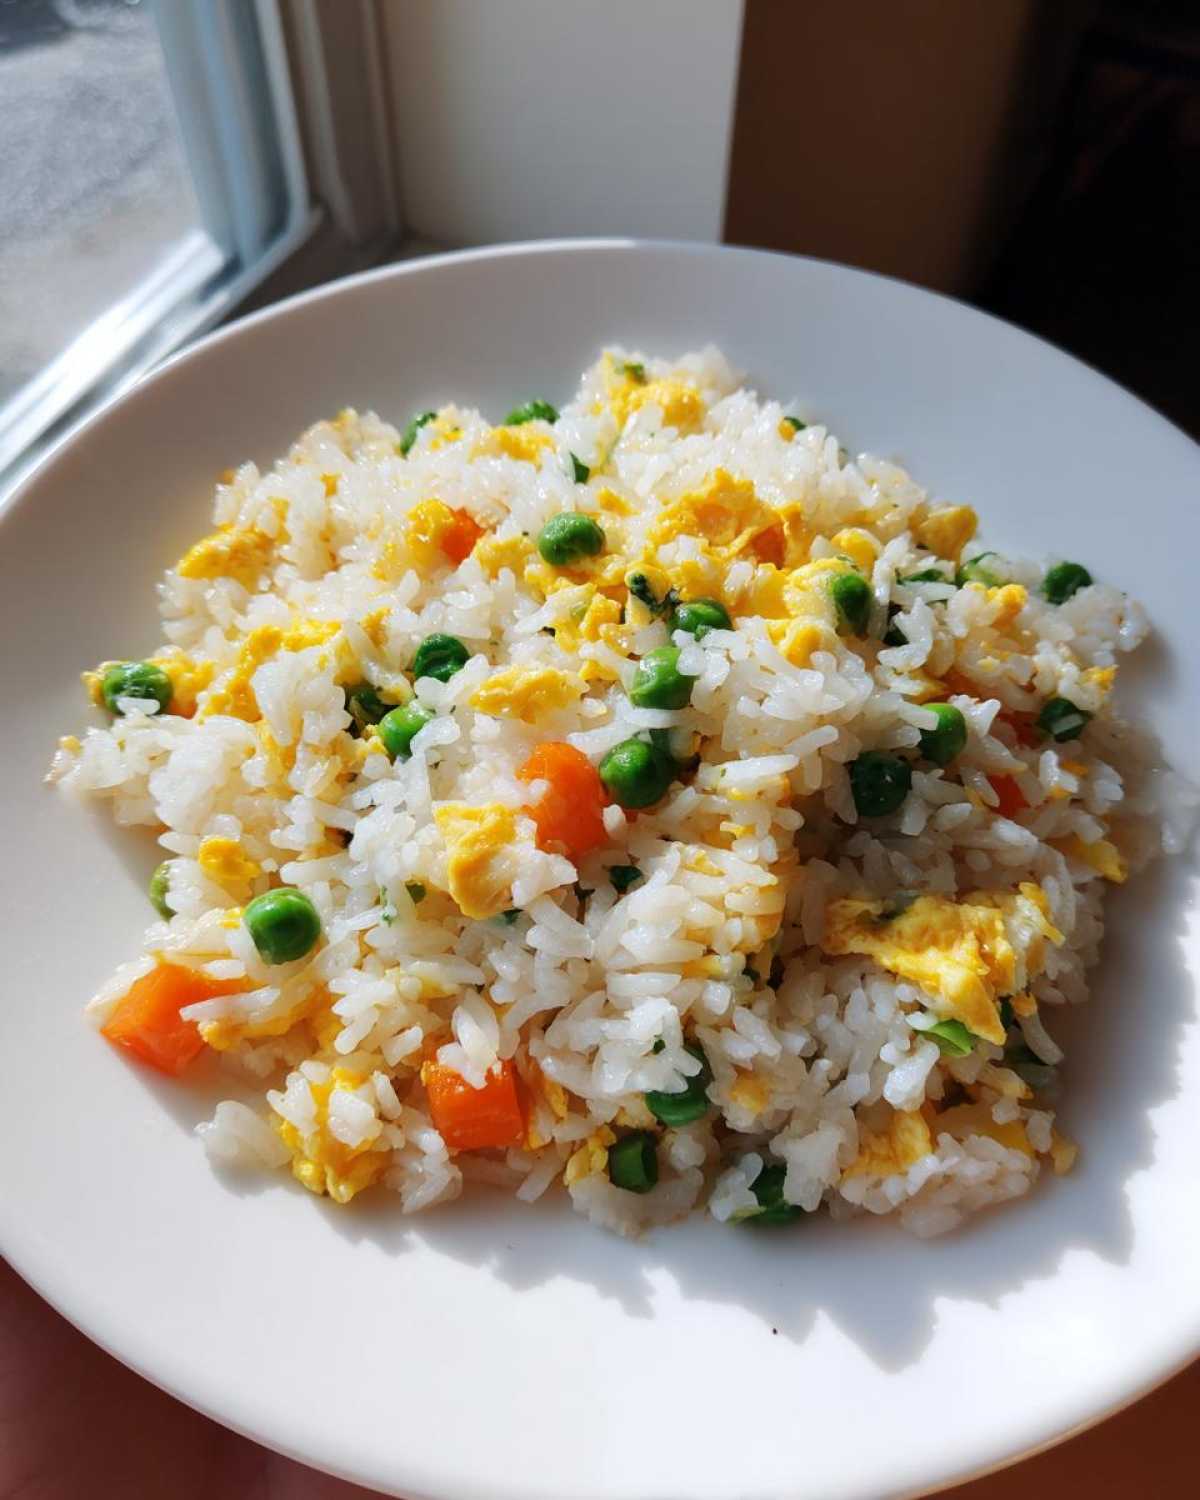
Once that rice is piping hot and seems to “dance” a little in the wok, it’s time for flavor layering. Push all the rice over to one side of the wok, leaving a nice hot clearing on the direct heat. Pour your tablespoon of soy sauce right into that clearing. Let it sizzle for just a second—it almost smokes—and that caramelizes the soy slightly before you mix it all back into the rice. That sizzle is crucial for deep flavor!
Now, toss everything together until the rice is evenly colored. Return those soft, scrambled eggs to the wok. Add your finishing touches: the sesame oil and that essential white pepper. Toss everything together quickly—maybe 60 seconds max—just to marry those flavors and make sure the eggs are warmed through evenly.
Last, but certainly not least, throw in those green leafy tops of the green onions! Give it one final, wild toss. You want those delicate greens to wilt just slightly but stay bright green. Serve this amazing homemade masterpiece immediately—it’s best straight from the heat. If you followed along, you’ve got the secret to the perfect Quick Dinner Rice Stir Fry!
For more fast cooking ideas, check out my tips on quick dinner rice stir-fry where I have some other speedy meals!
Tips for Success Making Restaurant Style Fried Rice At Home
We’ve done the hard part by getting the ingredients right and mastering that high-heat timing. But since you’re aiming for Restaurant Style Fried Rice At Home that truly knocks your socks off, I have a few extra insider nuggets that chefs don’t always write down. These little details are what take your Egg Fried Rice from good to unbelievably delicious!
First off, let’s talk pan choice, even if you aren’t using a traditional wok. You need a surface that holds heat really well and gets hot fast. If you are using a regular straight-sided skillet, do not use that thing until it is searing hot. If you have a carbon steel wok, use that! But if you’re like me sometimes and you have to cook for a bigger crew, you might need to cook in batches. Don’t try to jam four cups of rice into a 10-inch pan at once! You instantly drop the temperature, and bam—you go from stir-fry to steaming mush. If you have to do two batches, take the first batch out, keep it warm in a low oven, and then crank the heat for the second batch. It’s extra work, but it keeps that fluffy texture perfect!
Another great tip is about your spatula. You need a good, sturdy spatula—preferably one with a slightly aggressive edge, like wooden or hard plastic. You aren’t just folding the rice; you are actively pressing it against that hot metal surface to dry it out and toast those edges slightly. That light toasting is where the flavor comes from! If you use a soft silicone spatula, you’ll just end up mushing the grains instead of separating them.
Also, while white pepper is my absolute favorite addition for that classic flavor, don’t feel like you can’t swap it up if you are feeling adventurous. A little sprinkle of ground Szechuan peppercorns added right with the white pepper near the end gives a totally different, lovely numbing buzz that really elevates the dish for a fun twist. It’s a tiny adjustment but packs a huge flavor punch! Try these little additions next time you make this Quick Asian Rice Dish!
Variations for Your Egg Fried Rice
Once you have mastered the base—the cold rice technique and the high-heat toss—the world of Egg Fried Rice opens up! The beauty of this Quick Dinner Rice Stir Fry is how easily you can bulk it up or change the flavor profile just by adding one or two things when you throw in those frozen peas and carrots. Seriously, it’s so adaptable, and you can clean out your fridge with this method!
If you want to turn this side dish into a full, satisfying meal, you just need a little extra protein. The method stays exactly the same—you just cook your protein first, set it aside with the eggs, and then toss it back in at the very end with the eggs and sesame oil. This ensures everything stays perfectly cooked and doesn’t steam!
For a great shrimp version, you’d want to check out my recipe for Pineapple Shrimp Fried Rice! That one uses a little sweet tang that I know you’ll love, but let’s stick to our classic base for some easy tweaks.
Creating a Vegetable Egg Fried Rice Tutorial Masterpiece
If you’re looking for a hearty Vegetable Egg Fried Rice Tutorial that skips meat entirely, you can load this up! After you sauté your peas and carrots for that one minute, toss in some finely chopped mushrooms or even some finely diced bell peppers. Since they release water, just make sure they cook down a bit before you add the rice—maybe give them a full two minutes. You don’t want to add too much moisture, right? Also, finely chopped broccoli florets work wonderfully here, but again, make sure they aren’t soaking wet.
Adding Simple Protein Swaps
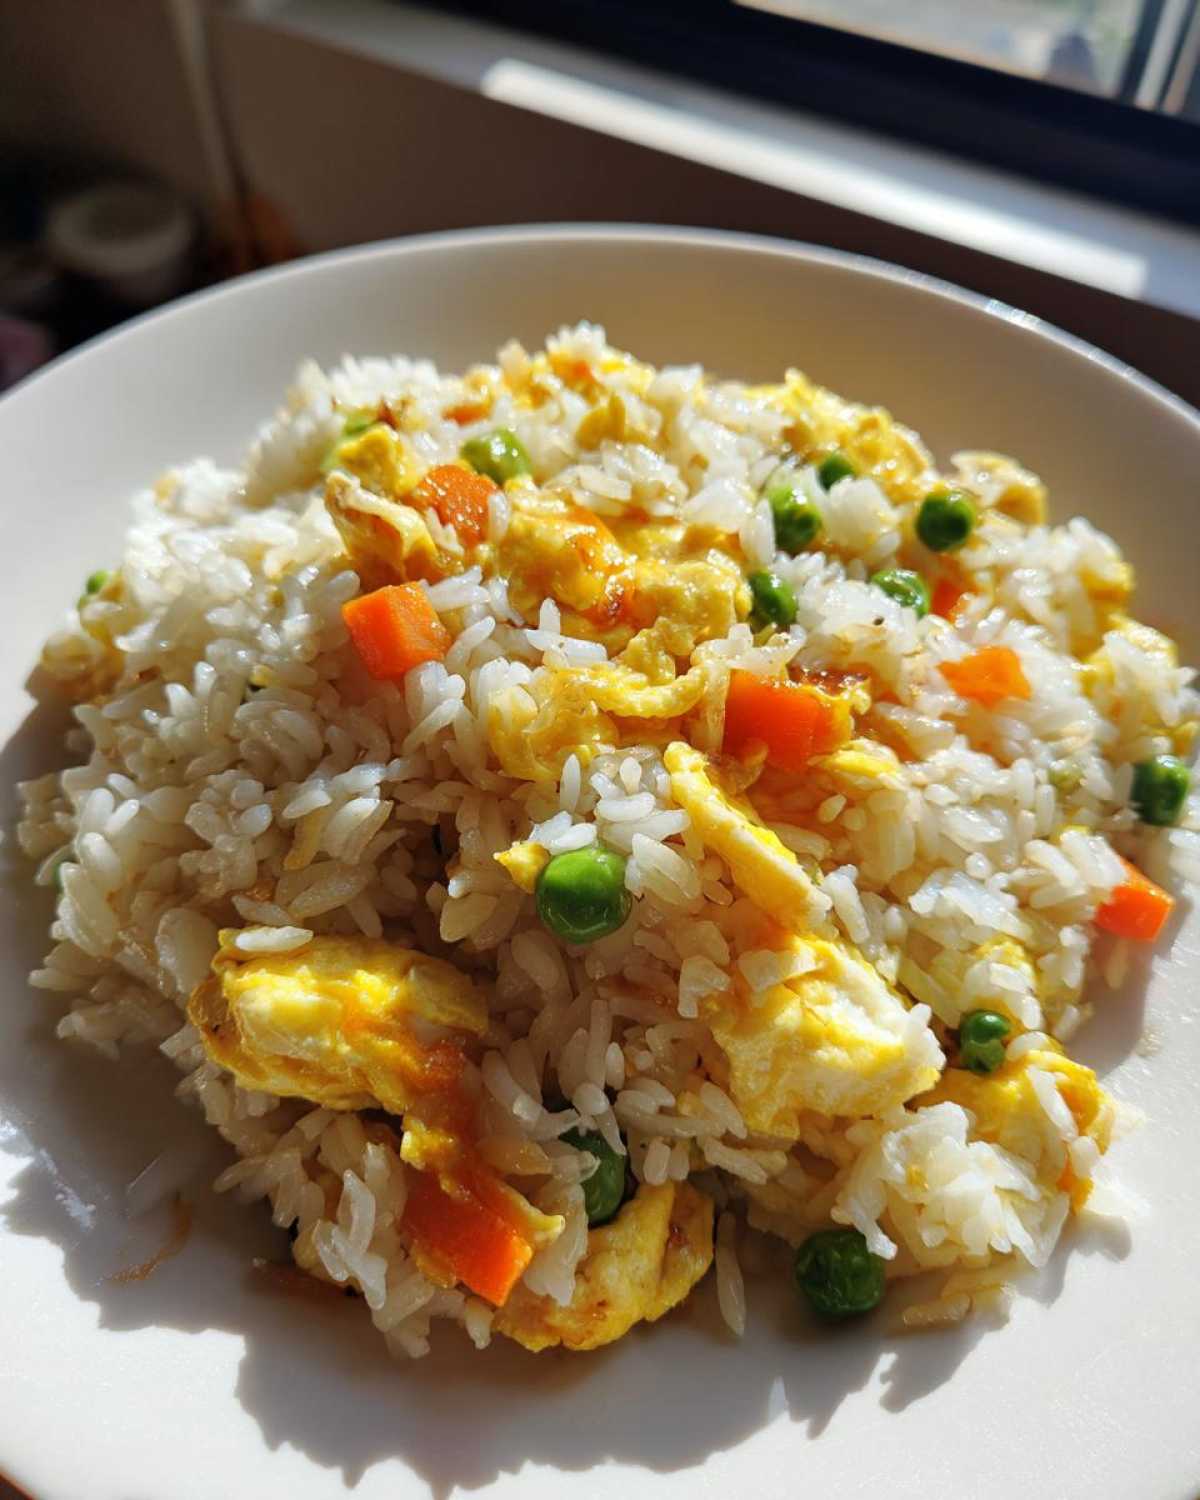
The easiest protein addition, hands down, is leftover cooked chicken or pork. Since it’s already cooked, you just treat it exactly like the frozen veggies: toss it in with the peas and carrots during that initial 60-second high-heat fry. It warms right up while you’re browning the rice, and you’re done! You don’t even need to clean an extra pan!
If you happen to have some pre-cooked shrimp in the freezer, thawing them quickly under cold water works great too. Throw them in right before you add your soy sauce, just to coat them in the flavor, and then return your eggs. Keep it simple, keep it fast!
Experimenting with Sauces (But Be Careful!)
I love using simple tamari instead of soy sauce if I need a gluten-free option, and it works perfectly well. But if you want a bigger flavor shift, you can try adding half a teaspoon of oyster sauce right alongside your soy sauce. Oyster sauce adds deep umami flavor and a little slickness that mimics the feel of high-end Chinese fried rice. Just remember, oyster sauce is salty, so taste before you add any extra salt or soy sauce! Don’t mess with the core technique, but feel free to play with the finishing sauces!
Storage and Reheating Instructions for Leftover Egg Fried Rice
Listen, if you manage to have any leftovers of this incredible Egg Fried Rice, you’re doing better than my family usually does! But assuming you sneak a little away for lunch the next day, you need to know the right way to store it so it tastes just as amazing. Remember how we talked about the enemy being moisture? Well, the enemy doesn’t vanish once it’s in the fridge!
For safe storage, get that rice into an airtight container as soon as it cools down but definitely within two hours of making it. You can safely keep this in the refrigerator for about three, maybe four days max. Any longer than that, and honestly, the texture just starts to go downhill, even when reheating—and nobody wants sad rice!
The Best Way to Reheat Your Fried Rice
Do NOT, I repeat, DO NOT microwave this rice for three minutes straight until it’s steaming hot. You are just going to turn it back into that mushy clump we worked so hard to avoid! We need to reheat it using the same principle we cooked it with: quick, high heat!
The absolute best technique is getting a little bit of oil back in your wok or skillet over medium-high heat. You want that pan hot, but you don’t need it screaming like when you first cooked it. Toss the cold rice in, break it up with your spatula, and stir-fry just until it’s piping hot all the way through. This usually only takes about 3 to 5 minutes. You’re essentially giving it a super-speedy, miniature second fry! This quick blast dries out any moisture that seeped in during refrigeration and brings back that beautiful, almost toasted edge to the grains.
When reheating, you can add a tiny splash of water (just a teaspoon!) if it seems too dry, but usually, the residual moisture in the cold rice is enough once it hits that hot oil. If you reheat it this way, you’ll find that your leftovers are nearly as good as the fresh batch. It’s the perfect way to enjoy your Quick Asian Rice Dish the next day!
Can I Freeze Leftover Egg Fried Rice?
Technically, yes, you *can* freeze it, but with a big caveat. Fried rice doesn’t freeze quite as well as plain white rice does, because the eggs and the small amount of oil can change texture once thawed. If you must freeze it, make sure you pull out about half the amount you think you’ll eat in one go, store it in a freezer-safe bag pressed flat (to cool fast!), and aim to use it within one month.
When reheating from frozen, skip the gentle reheat. Thaw it slightly in the fridge first, then toss it into a very hot, lightly oiled wok and stir-fry actively until all the ice crystals are gone and it’s steaming hot. It takes longer—maybe 8 minutes—but it’s the only way to save the texture when defrosting!
Frequently Asked Questions About Making Egg Fried Rice
I know you’ve got questions! When you attempt to cook something that seems this simple, like this Quick Asian Rice Dish, the little details are what make me nervous, right? Did I use the right rice? Why are my eggs disappearing? Don’t you worry, my friend. I’ve gathered the absolute most common things people ask when they try to nail down their Chinese Takeout Fried Rice Secrets at home. If I still missed yours, drop it in the comments below!
Can I use jasmine rice for this Egg Fried Rice recipe?
Absolutely, yes, you can use Jasmine rice! In fact, that’s what most Chinese takeout spots use, so you are already on the right track for authentic flavor. However, I need to stress this again like I’m stressing over a burning pot: it doesn’t matter what type of rice you use—long grain, Jasmine, basmati—if it’s cooked fresh, it’s going to be mushy. The absolute, non-negotiable rule? It has to be cold and dry from the fridge. If you use fresh Jasmine rice, you’ll end up with a sticky mess, no matter how well you stir-fry it. Cold rice equals fluffy rice!
How do I get the smoky flavor in my Egg Fried Rice?
Ah, you’re asking about “Wok Hei”—the breath of the wok! This is the signature slightly smoky, charred, caramelized flavor you get from professional restaurants. They achieve it because they use incredibly high-BTU burners that get the metal of the wok way, way hotter than your home range can manage, causing vaporized oil and gases to kiss the food. You can’t totally mimic that at home, but you get close by sticking to two things: HIGH HEAT and not overcrowding your pan. Make sure your oil is shimmering before the rice goes in, and cook in small batches if you need to. That rapid evaporation when the cold rice hits the hot oil is the closest you’ll get to Wok Hei in your kitchen!
What’s the difference between white pepper and black pepper in this dish?
That 1/4 teaspoon of white pepper is actually a big deal for achieving that authentic taste! Black pepper is sharper, earthier, and has a stronger bite. White pepper is milder, earthier, and has a subtle floral quality that pairs much better with the delicate soy sauce and sesame oil in classic Egg Fried Rice. It rounds out the flavor profile without punching you in the face like black pepper sometimes does. If you only have black pepper, use about half the amount, because it is much stronger!
To learn more about avoiding common pitfalls, you should check out my detailed post on how to avoid mushy fried rice—it covers everything about moisture control!
Can I skip scrambling the eggs separately?
You could technically throw the eggs in after the rice, but I absolutely advise against it if you want the Best Egg Fried Rice Recipe experience! If you dump raw egg onto the hot rice, it tends to stick to the grains unevenly, resulting in some bites that are just plain egg while others have none. By scrambling them first, they cook into soft, distinct ribbons that are easy to mix back in at the end. This technique ensures you get flavor and texture in every single mouthful. It’s a key part of the whole process!
Share Your Perfect Fried Rice Experience
Wow! You’ve made it through the process! You’ve tamed the heat, you’ve conquered the clump, and you now hold the secret to making restaurant-quality Egg Fried Rice right there on your stovetop. Honestly, I am so excited for you to taste the difference that day-old rice and high heat make!
This recipe has been on my family’s weekly rotation for years now because it’s so fast and so satisfying. It truly is the perfect Quick Dinner Rice Stir Fry when you need something delicious on the table in less than 30 minutes.
Now, I desperately want to hear about your success! Did you manage to get that nice little char on the rice? Did your family notice the difference between your old rice and this fluffy, new version? Please, please drop a rating below using the star system—your feedback truly helps future readers who are nervous about using high heat!
And honestly, if you managed to get a picture before everyone devoured it (which is tough, I know!), I would absolutely love to see it! Tag me on social media or feel free to share any extra tips you discovered along the way in the comments. We are all learning together, and I’m always looking for new ideas from home cooks like you—maybe even swapping out veggies for a fun take on Easy Weeknight Fried Rice!
Thank you so much for cooking with me today. Happy eating, and enjoy that perfectly seasoned, flavorful rice!
Don’t forget to check out my recipe for easy weeknight fried rice for more lightning-fast meal ideas!
Print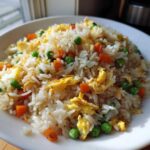
The Ultimate Authentic Chinese Egg Fried Rice
- Total Time: 20 min
- Yield: 2 servings
- Diet: Vegetarian
Description
Follow these steps to make restaurant-style egg fried rice using day-old rice for a fluffy, flavorful result.
Ingredients
- 3 cups cold, day-old cooked white rice
- 4 large eggs
- 2 tablespoons neutral cooking oil, divided
- 1/2 cup frozen peas and carrots mix
- 2 green onions, thinly sliced, white and green parts separated
- 1 tablespoon soy sauce
- 1 teaspoon sesame oil
- 1/4 teaspoon white pepper
Instructions
- Lightly beat the eggs in a small bowl. Set aside.
- Heat 1 tablespoon of oil in a wok or large skillet over high heat until shimmering. Add the beaten eggs and quickly scramble them until just set but still slightly moist. Remove the eggs from the wok and set aside.
- Add the remaining 1 tablespoon of oil to the hot wok. Add the white parts of the green onions and the peas and carrots. Stir-fry for 1 minute until heated through.
- Add the cold rice to the wok. Break up any clumps with your spatula. Stir-fry vigorously for 3 to 4 minutes, pressing the rice against the hot surface to ensure it heats evenly and dries out slightly. This high heat prevents mushiness.
- Push the rice to one side of the wok. Pour the soy sauce into the cleared space and let it sizzle for a few seconds before mixing it into the rice.
- Return the scrambled eggs to the wok. Add the sesame oil and white pepper. Toss everything together quickly for 1 minute until well combined and heated through.
- Stir in the green parts of the green onions just before serving.
Notes
- Use cold, day-old rice; fresh rice contains too much moisture and will result in mushy fried rice.
- Cook over high heat throughout the process to achieve a slightly dry texture, similar to restaurant versions.
- Do not overcrowd the pan; cook in batches if necessary to maintain high heat.
- Prep Time: 10 min
- Cook Time: 10 min
- Category: Main Course
- Method: Stir-Frying
- Cuisine: Chinese
Nutrition
- Serving Size: 1 serving
- Calories: 450
- Sugar: 3
- Sodium: 650
- Fat: 18
- Saturated Fat: 4
- Unsaturated Fat: 14
- Trans Fat: 0
- Carbohydrates: 58
- Fiber: 3
- Protein: 17
- Cholesterol: 250