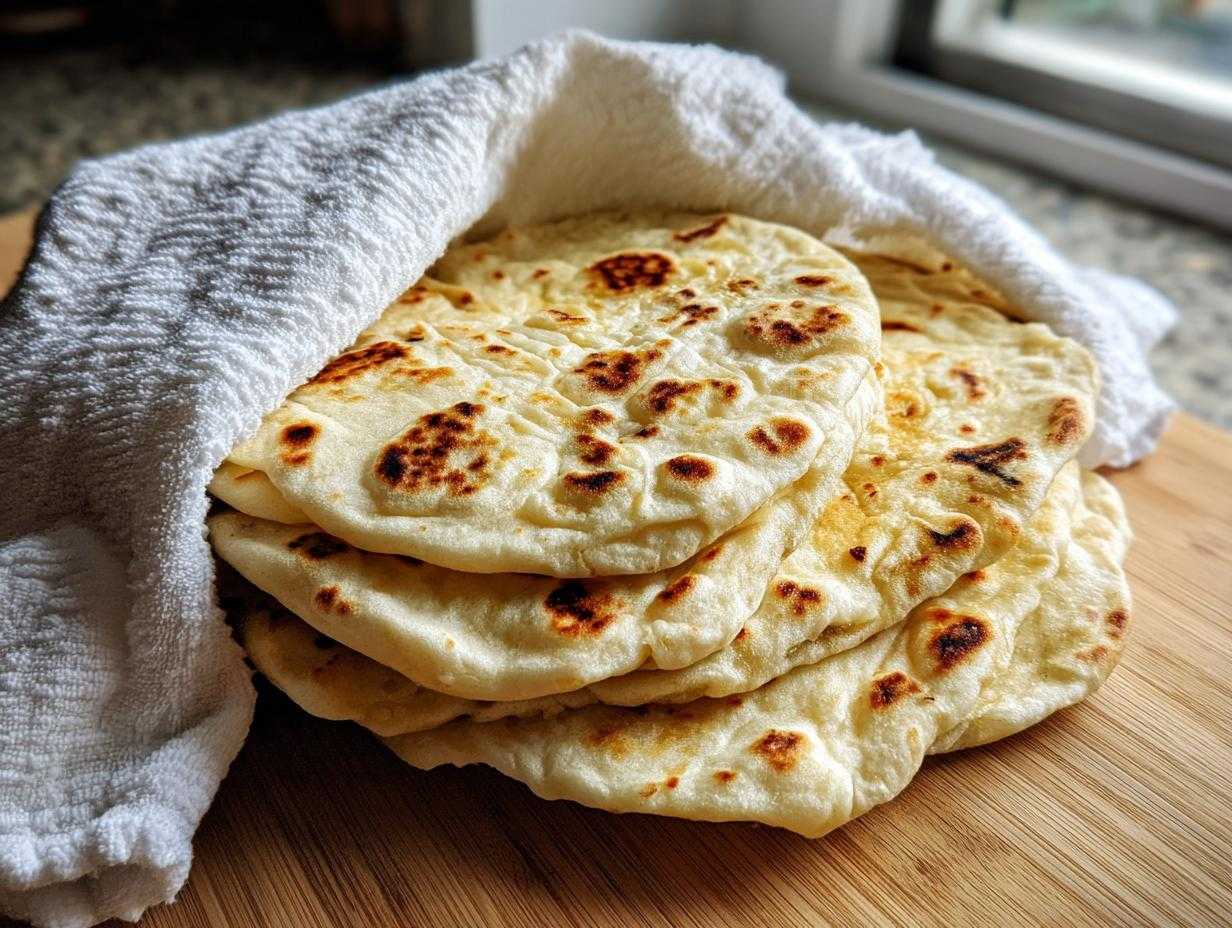
Oh my gosh, there is simply nothing better than the smell of bread baking, right? I mean, forget the bakery—when you pull something fluffy and warm right out of your own oven, it’s pure magic. I spent years fighting with flat, sad disks of dough that refused to balloon up, and honestly, I almost gave up. But I finally cracked the code, and that code is all about heat, heat, heat!
This isn’t any flatbread recipe, trust me. This is the blueprint for truly spectacular, soft pita bread that puffs up like little pillows every single time, thanks to a few non-negotiable steps. If you’ve ever dreamed of scooping up hummus with a perfect, warm pocket, then you absolutely need this guide to making Homemade Pita Bread from Scratch. Once you nail this high-heat technique, you’ll feel like a total baking boss. Let’s get this dough rising!
Why This Homemade Pita Bread from Scratch Recipe Works (The Secret to Pockets)
You’re going to get 8 gorgeous, pocketed pitas from this recipe, and the reason they puff up isn’t luck—it’s science! The absolute key to that signature inflation is super-high, direct heat. We need to shock the dough. When the interior hits that extreme temperature quickly, the water in the dough turns instantly to steam. That steam has nowhere to go but out, forcing the dough to balloon open and create that beautiful pocket. If you’re going to check on one thing, make it that preheat time. Seriously, don’t rush it!
The other non-negotiable step for successful Homemade Pita Bread from Scratch is the yeast activation. If that yeast isn’t bubbling happily, your dough won’t have the strength to trap that steam later on when it hits the heat. We treat the yeast gently at the start—warm water, not hot, and a little sugar to feed it—and then we let it do its work during the rise. It’s a partnership we honor here!
Gathering Ingredients for Homemade Pita Bread from Scratch
Every single ingredient listed here plays a crucial role, so try your very best not to swap things out, especially at the start. We want that perfect, soft dough structure. You will need:
- 1 teaspoon active dry yeast
- 1 teaspoon sugar
- 1 cup warm water (make sure this is between 105-115°F—too hot and you kill the yeast!)
- 2 1/2 cups all-purpose flour, plus more for dusting
- 1 teaspoon salt
- 2 tablespoons olive oil
If you want a deeper dive into how ingredients work together in bread making, I have a fantastic article on crusty homemade bread that breaks down flour types!
Step-by-Step: How to Make Pita Bread from Scratch
Okay, this is where we turn those beautiful ingredients into actual dough. Don’t worry if bread dough feels intimidating; pita dough is actually really forgiving! We’re going to work slowly through the steps to make sure we get lovely, soft pita bread the first time around. Just follow my lead, and you’ll be way ahead of the game compared to grabbing that store-bought stuff. It’s so much more satisfying when you know you made the whole batch of Homemade Pita Bread from Scratch yourself.
Activating Yeast and Mixing the Homemade Pita Bread Dough
First things first: wake up that yeast! In a little bowl, just mix your yeast, sugar, and that warm water—remember, we want it cozy, not scalding hot. Set that aside for about 5 to 10 minutes. You are waiting for the magic sign: it needs to look foamy and smell slightly yeasty. If it’s flat, dump it and start over with better water—that’s how we guarantee a good rise!
Once the yeast is happy, grab your big mixing bowl. Toss in the flour and salt. Now, pour in your activated yeast mixture and the olive oil. Mix it all up until it looks kind of messy, what I call a ‘shaggy dough.’ Don’t try to make it perfect yet; just make sure everything is incorporated.
Kneading and the First Rise for Soft Pita Bread from Scratch
This step builds the gluten structure we desperately need for that big puff! Turn that shaggy mess out onto a surface dusted ever-so-lightly with flour. Now, knead! You need to push, fold, and turn rhythmically for about 5 to 7 minutes. When you’re done, the dough should feel totally smooth and elastic when you poke it. If you want to learn more about the kneading process for things like baguettes, I break down the technique in my guide to soft, fluffy French bread.
Next, we let it rest. Lightly oil your clean bowl, roll the dough ball in it so it gets coated everywhere, and cover it up tightly with plastic wrap or a really damp kitchen towel. Find a warm spot—maybe near the stove or even in an oven that’s turned off—and let it sit for a good hour to an hour and a half. We need it doubled in size!
Shaping and Resting the Pita Dough Balls
Once your dough has magically expanded, gently punch the air out—no need to be rough! Now, divide that big beautiful cloud into 8 equal pieces. Roll each piece tight into a smooth little ball. It’s important they are smooth because that helps them roll out evenly.
Cover those 8 dough balls up again—this prevents a dry skin from forming on them, which would definitely hinder the puff later. Let them rest for just 15 minutes. This short break lets the gluten relax so you can roll them nice and thin without them fighting you back!
Crucial Cooking Methods for Puffy Pita Bread Instructions
We’ve nurtured this dough, and now it’s time for the grand finale! Remember how I kept harping on high heat? This is where that matters most. Whether you’re using an oven or your stovetop, we need serious, sustained heat to create that instant burst of steam. If the surface isn’t hot enough, the dough dries out slowly instead of puffing instantly—and sad, flat pita bread is the result. This knowledge is the key to unlocking perfect Homemade Pita Bread from Scratch!
We are going to look at the two best ways to cook them: screaming hot oven or smoking hot cast iron. Both methods are fast, so have your cooling towel ready, because you’ll be cooking these 8 babies in quick succession!
Preheating for Maximum Pita Puff
For the oven method, this step is non-negotiable. You need a pizza stone or a nice, heavy, upside-down baking sheet in the oven. Crank that temperature up to 500°F (260°C). And I mean, let it hang out there for at least 30 minutes after it hits temperature. You need that stone to be radiating heat like crazy. If you’re using the stovetop, heat up your best cast-iron skillet over medium-high heat until it’s screaming hot—it should be almost smoking when you drop the first one in.
I find the stovetop method a little faster overall, but the oven gives a more uniform bake. If you’ve never cooked fruit purees on the stovetop, you might want to check out my guide on easy stovetop homemade applesauce just to get used to heating that cast iron properly!
Rolling Technique for Homemade Pita Bread from Scratch
Now we shape them! Take those rested dough balls and work with one at a time on a lightly floured surface. You want to roll them into circles about 6 inches across. The thickness has to be just right—aim for about 1/8 of an inch. That’s thin, but not paper-thin; you should still be able to see your hand faintly through it.
Be gentle here! If you press too hard or roll the dough over and over, you start working out all the beautiful air we established during the first rise, and that’s when the pockets fail. We are shaping, not tightening the structure. Don’t overwork it!
Once rolled, you’ll cook them immediately (Steps 8 and 9 in the full recipe) according to your chosen method. Remember, the oven ones go directly onto that blazing hot stone, and the stovetop ones sizzle right onto the dry skillet. Watch the magic happen—they should balloon up in under a minute!
Ingredient Notes and Substitutions for Homemade Pita Bread from Scratch
I know everyone’s pantry looks a little different, and sometimes you’re staring down a bag of whole wheat flour instead of the AP flour called for in the main recipe. That’s totally fine! My goal with this Homemade Pita Bread from Scratch recipe is for you to be successful, even if you have to make a small tweak here or there. The most important thing to remember is that the dough needs enough strength to trap the steam, so be conservative with flour swaps.
If you’re tempted to swap out all the all-purpose flour for whole wheat, I’d advise against it in this specific recipe. Whole wheat has bran that cuts the gluten strands, which makes the dough weaker. But you can absolutely substitute up to half of the white flour with whole wheat flour. Just know that your pitas might bake up looking a little less sky-high and be slightly denser, which isn’t necessarily a bad thing—it just changes the texture profile a bit!
Speaking of things that might happen, let’s talk about what happens when things go wrong. The biggest concern people have when making Homemade Pita Bread from Scratch is that the bread just lays flat. Nine times out of ten, that means your heat wasn’t high enough, or possibly (though less likely here) your dough relaxed too much and lost its structure before baking. Don’t let one flat one discourage you! You just need to crank that heat up even higher or let the cooking surface preheat for an extra 10 minutes next time.
Also, please don’t try to reduce the salt! Salt is vital here; it controls the yeast so it doesn’t go crazy and develops that lovely, subtle flavor we need in a great flatbread. Oil content stays the same because it’s key to keeping the cooked pita soft and pliable later on.
Tips for Success When Making Soft Pita Bread from Scratch
I want you to feel like you’ve got a secret weapon for baking when you move on to this Homemade Pita Bread from Scratch recipe. It really boils down to respecting two things: the hydration of your dough and the temperature of your cooking surface. Get these right, and you’ll never buy store-bought pita again!
Here are my top three takeaways that ensure those beautiful, billowy pockets every single time:
- Don’t Be Shy About Heat: I can’t stress this enough. Preheat your oven and stone/sheet for a bare minimum of 30 minutes at 500°F. If you use the stovetop, your cast iron needs to be seasoned and scorching hot. If the surface isn’t hot enough, the outside sets before the steam builds up, and you get a tortilla instead of a pocket. You absolutely need that explosive temperature difference!
- Keep the Dough Covered: When you’re resting the dough balls after dividing (Step 5), keep them covered! Dry dough is the enemy of the pocket. If the surface dries out, it becomes stiff and won’t expand when the steam hits it. A light damp towel works wonders.
- Handle Gently When Rolling: When you roll those individual balls out to 1/8 of an inch thick, be assertive but not aggressive. You are aiming for evenness so the heat distributes perfectly across the surface. If you press too hard in one spot, you’ve accidentally created a weak point or merged air pockets, which leads to uneven puffing or no pocket at all.
If you want to try another incredibly satisfying baked good that relies on precise temperature control, you have to check out my recipe for the best soft and chewy chocolate chip cookies. It’s all about consistency, just like with these pitas!
Storage and Reheating Instructions for Freshly Baked Pita Bread
Okay, you’ve just pulled your batch of beautiful, puffy pitas off the surface, and they smell incredible! The absolute, most important thing you should do right now is Step 10: stack them up and wrap them snugly in a clean kitchen towel. This traps all that residual heat and moisture, which keeps every single pita soft and pliable. Trust me, eating a pita that’s cooled down without this step is like eating cardboard. You want that pillowy softness, and the towel is your best friend for keeping them that way while you finish the rest of the batch.
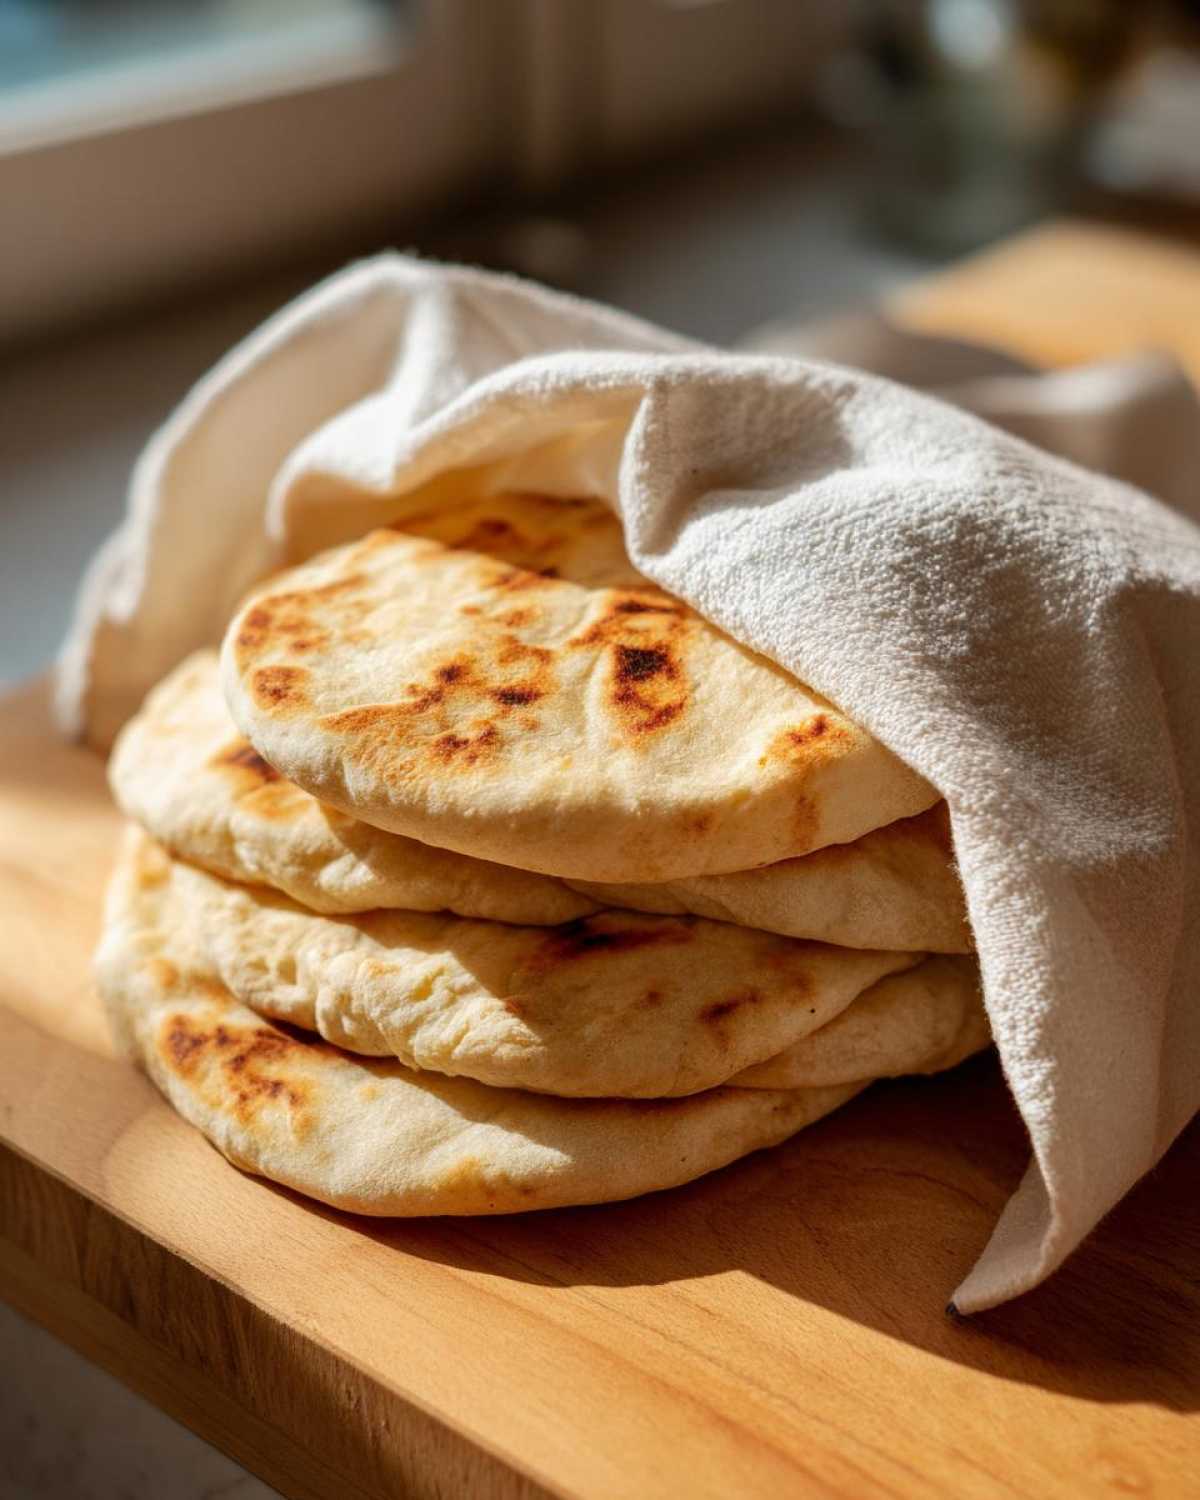
Pita bread is definitely at its peak flavor and texture on the day you make it. Honestly, after about an hour, even wrapped well, they start to firm up a little. But don’t panic if you don’t eat them all right away! These are still excellent for a couple of days.
If you have leftovers, store any cooled pitas—once they are completely cooled down after the initial towel wrap—in an airtight container at room temperature. They usually stay good for about three days this way. Any longer than that, and I start worrying about them drying out completely, so plan accordingly!
When you’re ready to eat them later, all they need is a quick refresh. You don’t want to microwave them much; that makes them rubbery. The best way to reheat them is super fast. You can pop them straight into a toaster for just a minute on a low setting, or throw them back onto a baking sheet in a 350°F oven for maybe 3 minutes. If you’re making my honey bran muffins, you know how important it is to reheat gently so they don’t dry out, and the same goes for these soft breads!
Occasionally, if I know I won’t use them within three days, I freeze them. Lay them flat, stick a piece of parchment paper between each one so they don’t stick together, wrap the whole stack tightly in plastic wrap, and then toss them in a freezer bag. They freeze beautifully for up to two months, and they reheat perfectly from frozen just by popping them in the toaster for slightly longer!
Pita Bread Troubleshooting: Why Didn’t My Homemade Pita Bread from Scratch Puff?
Oh, honey, don’t you worry one bit if your first attempt at Homemade Pita Bread from Scratch resulted in something that looked more like a cracker than a pocket! It happens to everyone, even me sometimes when I’m distracted trying to keep the dog out of the flour bin. Bread troubleshooting is just part of the process, and with pitas, the issues almost always boil down to two main culprits: heat or dough hydration.
If you’re dealing with pita bread troubleshooting, the first thing I tell everyone to look at is that cooking surface temperature. Did your oven reach 500°F? Did the cast iron skillet sit there long enough to get ready? If it wasn’t hot enough, the dough dried out before the steam could build pressure. That’s the number one reason for failure, hands down.
The second big reason is dough dryness. Sometimes we add just a pinch too much flour during kneading or shaping, or maybe you let the dough balls sit uncovered for too long before rolling. If the outer layer isn’t pliant, it just snaps instead of ballooning. This is why covering those dough balls is so important!
If you’ve checked your heat and you’re sure your dough was nice and elastic, try this small adjustment next time: give your dough an extra teaspoon of water when you mix the initial ingredients. A slightly wetter dough often translates to a more explosive pocket when it hits that blazing heat. But don’t fear—every flat pita is just a chance to perfect your technique for the next batch of Homemade Pita Bread from Scratch!
Serving Suggestions for Your Homemade Pita Pockets
Oh, you’ve done the hard work, now it’s time for the best part: eating! I always feel like a champion when I have a stack of warm, fresh pita bread ready to go. The way they smell when they come off the heat is just intoxicating, and honestly, eating them plain is a victory in itself!
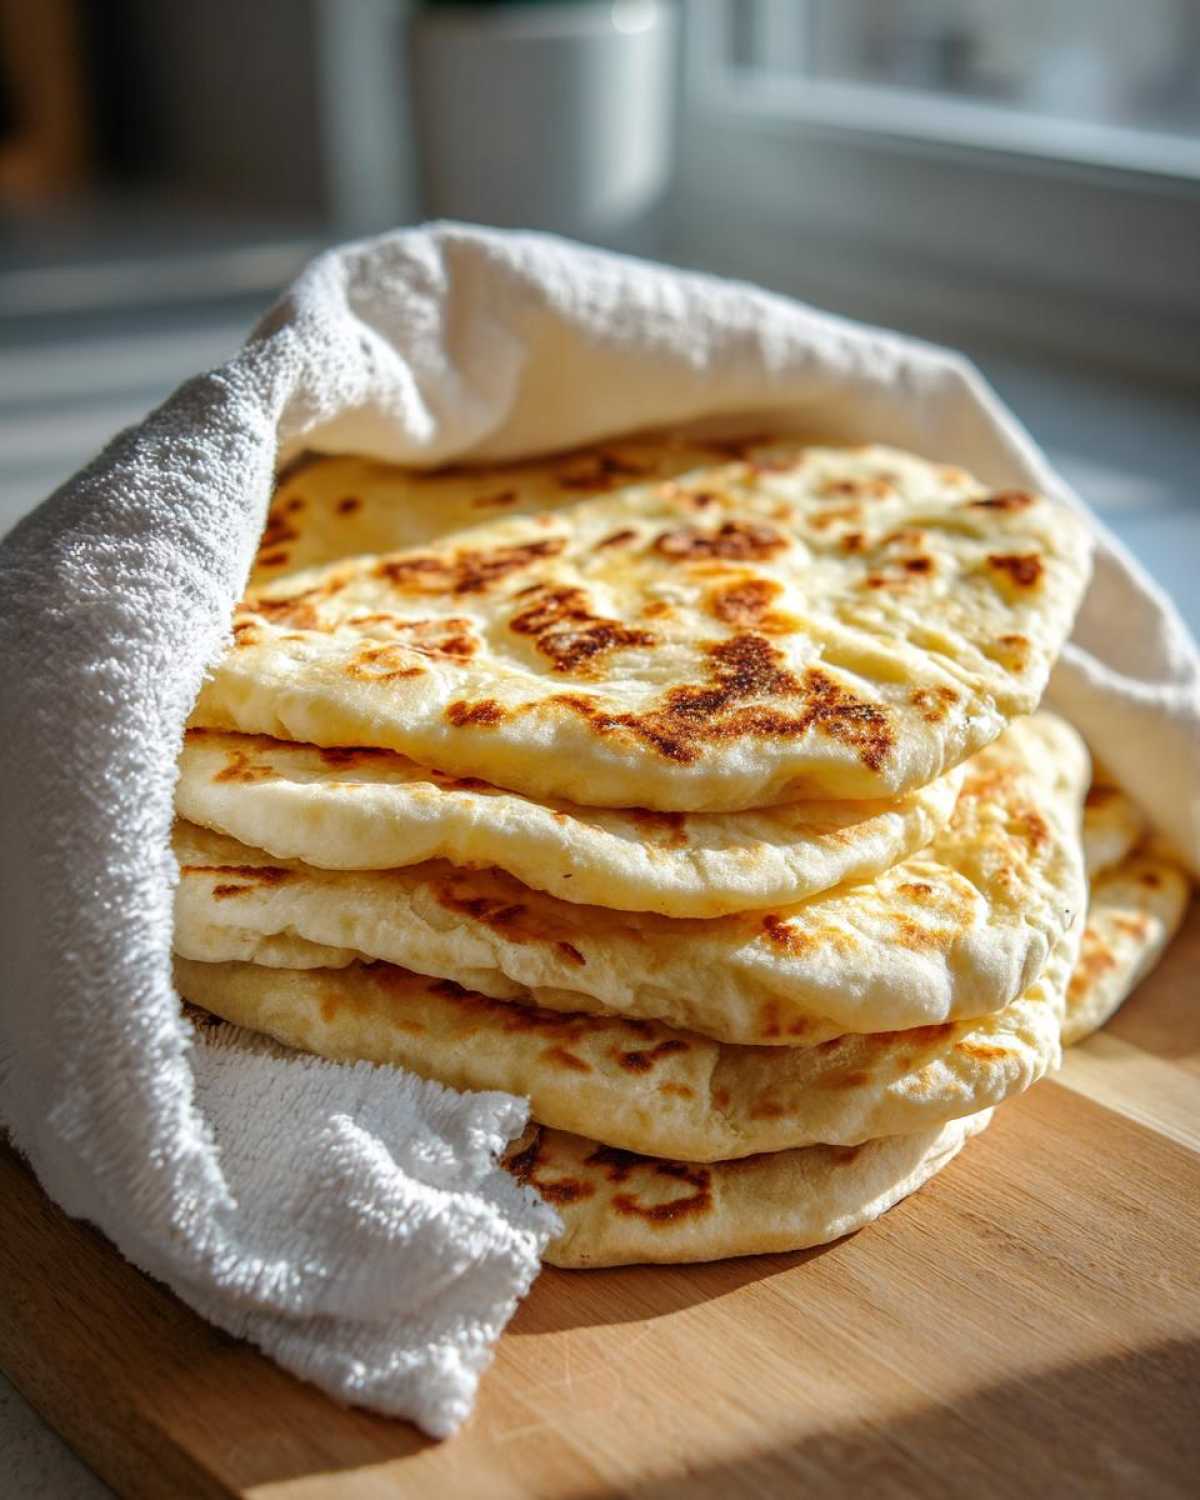
Because these are so soft, they are the ultimate vehicle for dips. You absolutely must have hummus or baba ghanoush nearby. They scoop like a dream without tearing! Don’t be shy about just tearing them open right away, either, as that’s the whole point, right? That soft inner layer is waiting to be used.
If you want to turn them into a full meal, slice them open carefully—remember, they are delicate and puffy!—and stuff them silly. They are perfect for gyro meat, or my family loves loading them up with fried eggplant and feta. They hold everything in so much better than a flimsy tortilla.
For a truly special weekend dinner, pair those warm pockets with something rich. I swear, stuffing them full of leftover stew or maybe even a flavorful curry is divine. If you’re looking for a fantastic main dish idea that pairs perfectly with this bread, check out my recipe for quick, easy, creamy homemade butter chicken. That sauce soaking into the soft bread? Heavenly.
Want to make them last a little longer? Cut them into triangles, toss them with a drizzle of olive oil, a little salt, and maybe some dried oregano, and toss them in the 400°F oven for just 5 or 6 minutes. You’ll have the crunchiest, most flavorful pita chips ready for salsa or any dip you can dream up!
Frequently Asked Questions About Homemade Pita Bread from Scratch
I always get so many questions once people realize how simple it is to make Homemade Pita Bread from Scratch. Most people are worried about the yeast or what flour to grab, so I wanted to wrap up with the most common things I hear people asking. If you follow these tips, you’ll nail that puff!
Can I use instant yeast instead of active dry yeast for homemade pita bread?
Yes, you absolutely can! Instant yeast is fantastic because it lets you skip the whole ‘proofing’ step where we mixed the yeast, sugar, and water at the start. If you’re using instant yeast, just skip that initial mixing step entirely. You can mix the instant yeast right in with your flour and salt in Step 2. You’ll still want to let the dough rise for the full time mentioned in the yeast pita bread tutorial, which is about an hour and a half to two hours for that first big rise. It saves a few minutes but is just as effective!
What is the best flour for soft pita bread from scratch?
For the absolute softest, puffiest pita bread experience, all-purpose flour is your best friend for this easy pita bread recipe. AP flour has the perfect balance of protein—enough to build structure but not so much that it makes the bread tough or chewy, which is what you sometimes get with bread flour. Bread flour has a higher protein content, which means more gluten development. While that’s wonderful for crusty loaves, for soft pita bread, it can sometimes lead to a tougher chew and might even resist puffing because the exterior crust sets too firmly before the steam can push it open fully.
How long do Homemade Pita Bread from Scratch last?
Honestly, nothing beats them fresh, right out of the towel! But to answer your question about how long Homemade Pita Bread from Scratch lasts: they are best eaten the day they are made. If you want them to stay soft, keep them wrapped tightly in a clean kitchen towel for about 24 hours. After that, they start losing moisture.
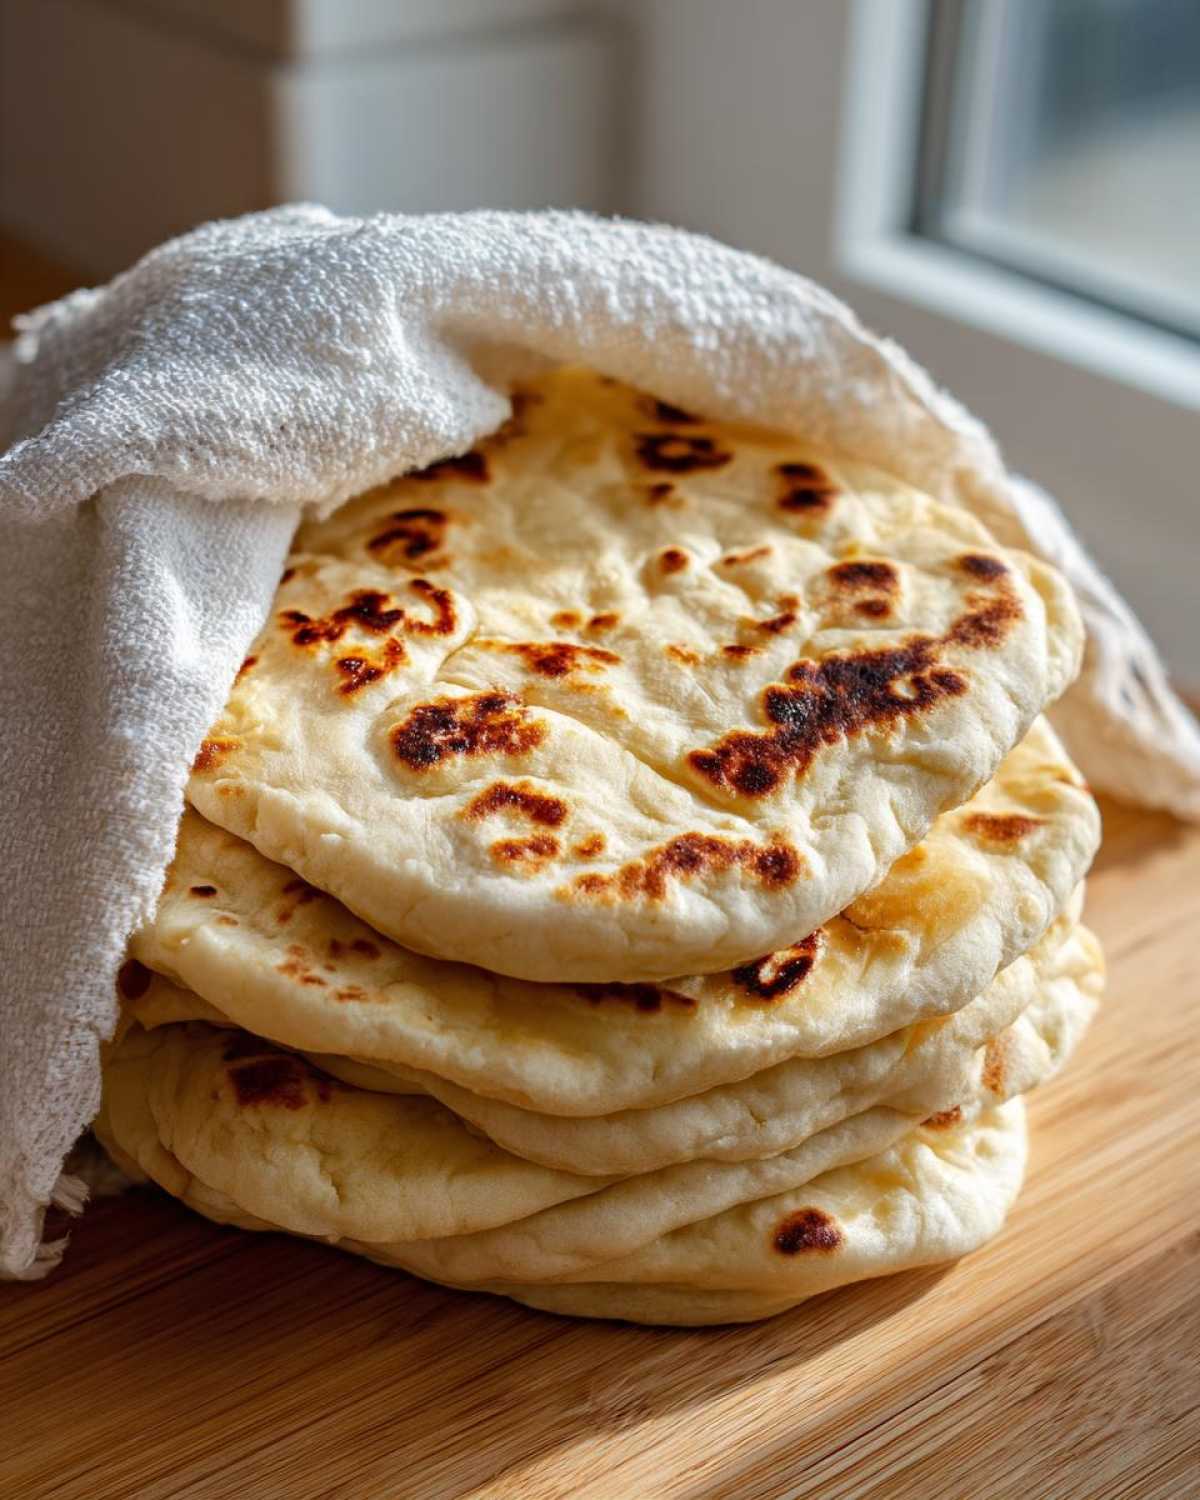
If you’re not making them all in one day, they will keep well in an airtight container at room temperature for up to three days. If you need them to last longer than that, definitely portion them out, wrap them tightly in plastic wrap (a crucial step—don’t let air in!), and freeze them for up to two months. They’ll be ready to toast up perfectly whenever you need them next!
If you’re looking for a slightly less involved recipe, check out my easy pita bread recipe—it’s a great place to start if you’re new to yeast work! And for more details on handling the yeast, take a look at my full yeast pita bread tutorial.
Rate Your Perfect Homemade Pita Bread from Scratch
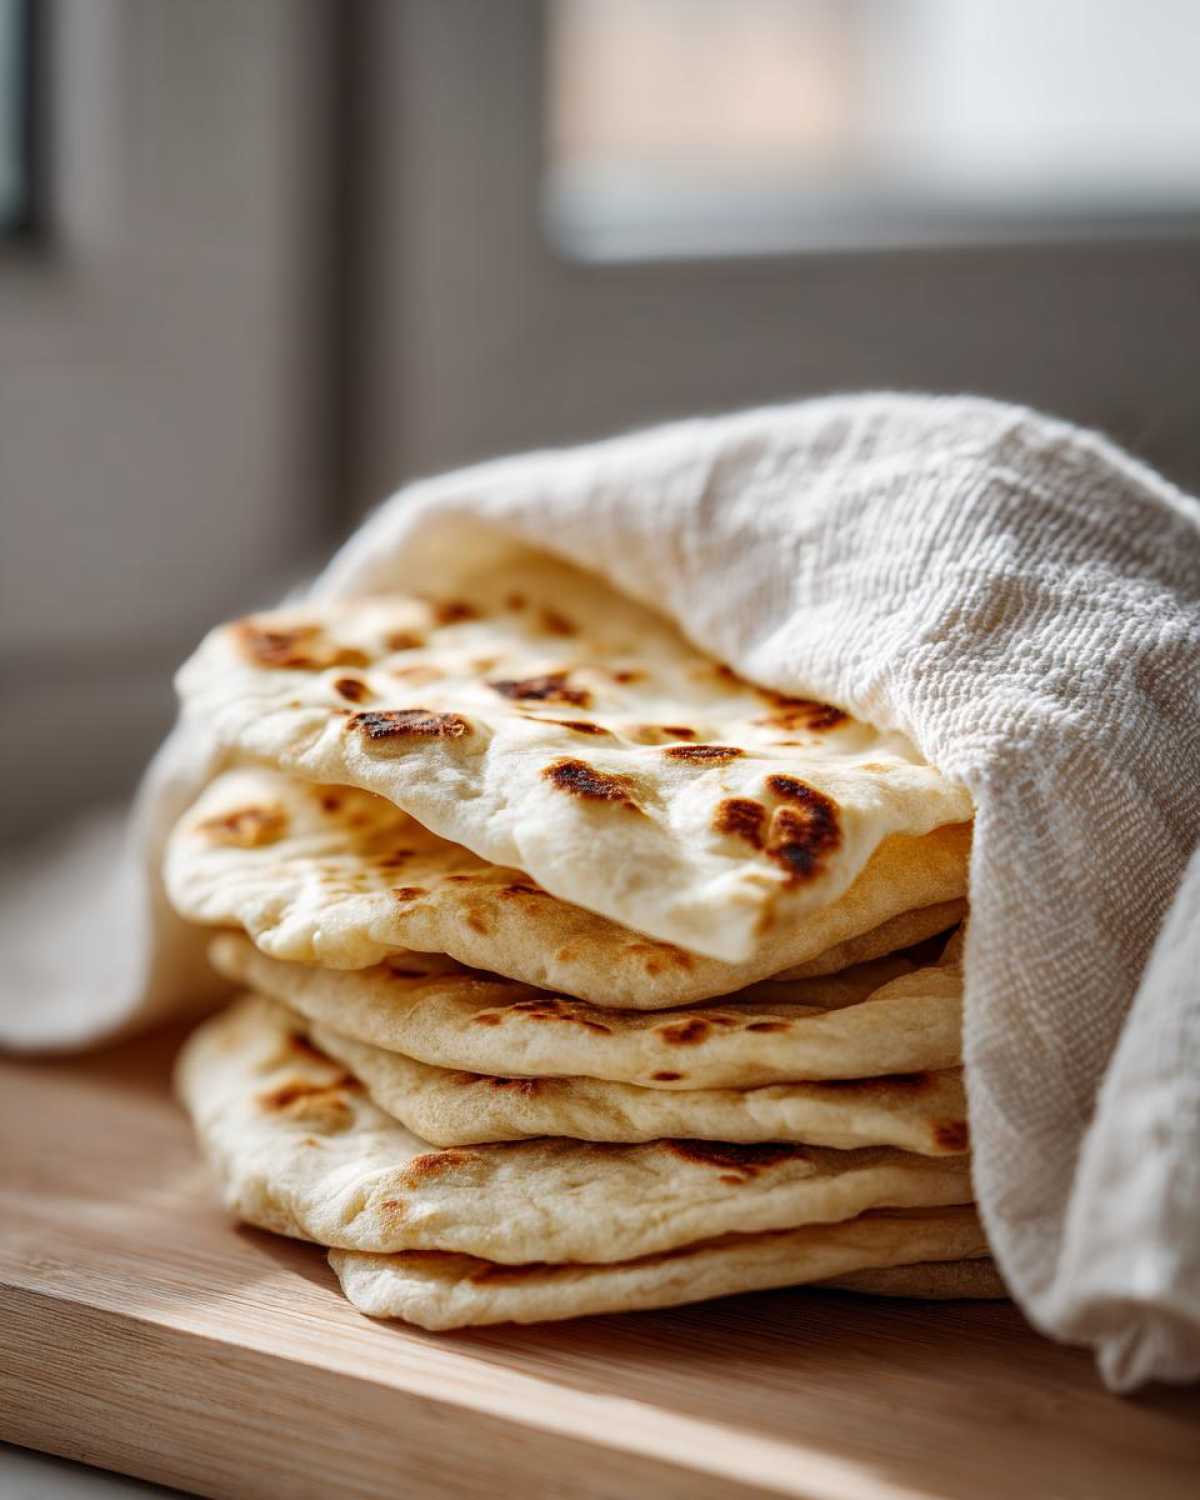
Alright, baking pals, you made it! Hopefully, you have a glorious pile of warm, puffy pillows wrapped up in a towel right now. I genuinely want to know how you did! Did you hit that perfect pocket every time? Did you use the oven or the cast iron skillet? Details matter!
Please, take a second to leave a star rating down below right now. It helps me know that this Homemade Pita Bread from Scratch process worked for you just as well as it works for me every single time I roll out a batch. I rely on your feedback!
More importantly, hop into the comments section and tell me about your success. Did you manage to get that huge, airplane-wing puff? Or maybe you found a brilliant trick for keeping them warm while you cooked the second batch? Share your kitchen wins! I love reading about how this recipe turns out for you, and your tips might just help the next person who is nervous about trying yeast bread for the first time. Happy dipping!
Print
The Best Homemade Pita Bread Recipe for Perfect Pockets (Soft & Fluffy)
- Total Time: 1 hour 50 min
- Yield: 8 servings
- Diet: Vegetarian
Description
Follow these steps to make soft, puffy pita bread from scratch using simple ingredients. This guide focuses on high heat to achieve the signature pocket.
Ingredients
- 1 teaspoon active dry yeast
- 1 teaspoon sugar
- 1 cup warm water (about 105-115°F)
- 2 1/2 cups all-purpose flour, plus more for dusting
- 1 teaspoon salt
- 2 tablespoons olive oil
Instructions
- Activate the yeast: In a small bowl, mix the yeast, sugar, and warm water. Let it sit for 5 to 10 minutes until foamy.
- Mix the dough: In a large bowl, combine the flour and salt. Pour in the yeast mixture and olive oil. Mix until a shaggy dough forms.
- Knead: Turn the dough onto a lightly floured surface. Knead for 5 to 7 minutes until the dough is smooth and elastic.
- First rise: Place the dough in a lightly oiled bowl, turning to coat. Cover the bowl with plastic wrap or a damp towel. Let it rise in a warm place for 1 to 1.5 hours, or until doubled in size.
- Divide and rest: Punch down the dough gently. Divide it into 8 equal pieces. Roll each piece into a smooth ball. Cover the balls and let them rest for 15 minutes.
- Preheat: Preheat your oven to 500°F (260°C) with a pizza stone or heavy baking sheet inside for at least 30 minutes. If using a stovetop, heat a cast-iron skillet over medium-high heat until very hot.
- Shape the pitas: On a lightly floured surface, roll each dough ball into a circle about 1/8 inch thick (roughly 6 inches in diameter). Do not overwork the dough.
- Bake (Oven Method): Carefully place 1 or 2 pitas directly onto the preheated stone or baking sheet. Bake for 2 to 3 minutes until the pita puffs up completely. Remove immediately.
- Cook (Stovetop Method): Place one rolled pita onto the hot, dry skillet. Cook for about 30 seconds until bubbles appear. Flip it. Cook the second side for about 1 minute until it puffs. Flip again briefly if needed.
- Keep warm: Stack the finished pitas and wrap them in a clean kitchen towel to keep them soft while you cook the remaining bread.
Notes
- For puffing, the oven or skillet must be very hot. High, direct heat creates steam inside the dough quickly, causing the pocket to form.
- If you use whole wheat flour, substitute up to half of the all-purpose flour with whole wheat flour. The texture may be slightly denser.
- If your pitas do not puff, the dough might be too dry, or the heat was not high enough.
- Store cooled pitas in an airtight container at room temperature for up to 3 days. Reheat briefly in a toaster or oven to soften.
- Prep Time: 20 min
- Cook Time: 15 min
- Category: Bread
- Method: Baking or Stovetop
- Cuisine: Middle Eastern
Nutrition
- Serving Size: 1 pita
- Calories: 160
- Sugar: 1
- Sodium: 180
- Fat: 3
- Saturated Fat: 0.5
- Unsaturated Fat: 2.5
- Trans Fat: 0
- Carbohydrates: 30
- Fiber: 2
- Protein: 5
- Cholesterol: 0