
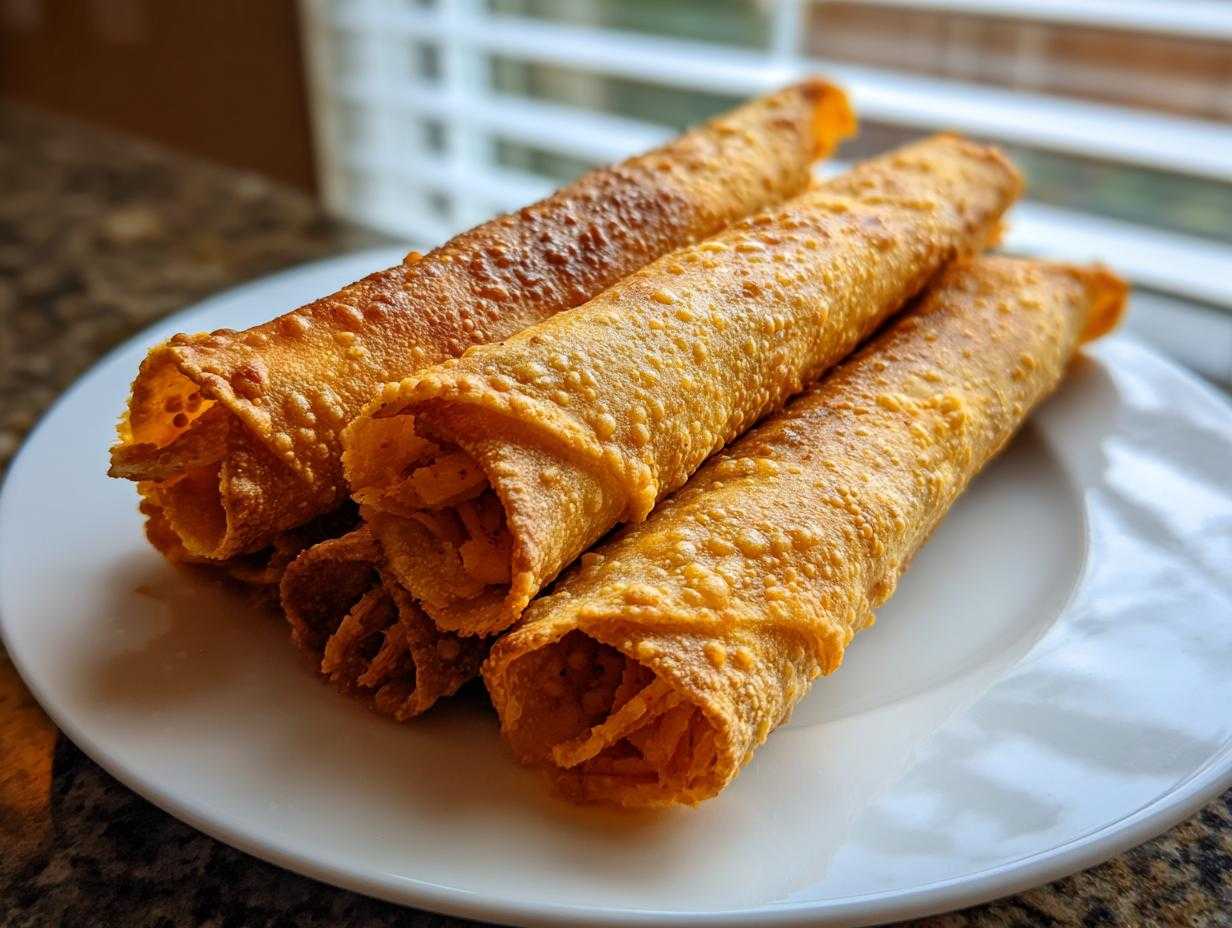
Oh my gosh, if you are staring down a craving for something seriously crunchy, savory, and completely satisfying, stop right now! You absolutely need to try these Chicken Taquitos. I mean it, this recipe is my absolute secret weapon when the game is on, or honestly, when I just need dinner on the table in under 40 minutes without breaking a sweat. Forget those takeout versions; these homemade Chicken Taquitos deliver the perfect shatter-crisp exterior every single time. I usually make a huge batch because they disappear faster than you can say queso!
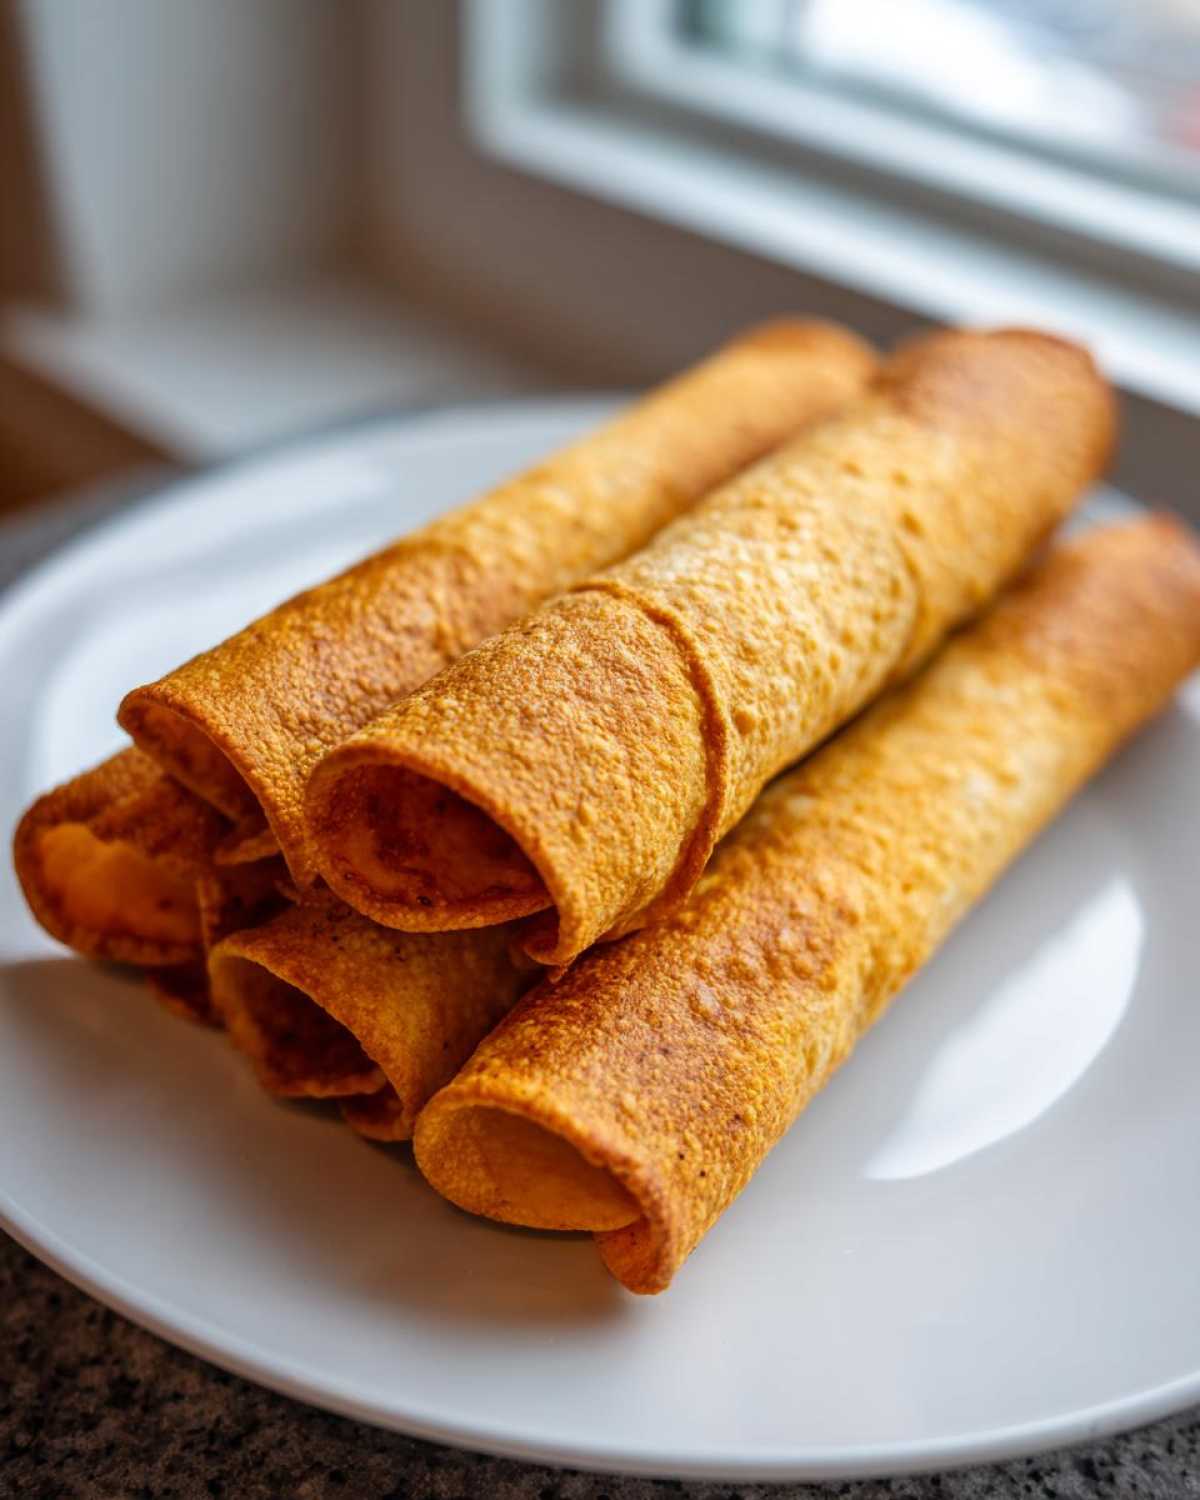
Why This Easy Chicken Taquitos Recipe Works So Well
I’m telling you, these aren’t just any rolled tacos; they’re the best! I’ve tweaked this recipe so many times, and I keep coming back to these core principles because they just work. Having a recipe for easy summer appetizers is a must, but this one is year-round gold. If you’re wondering why my Easy Chicken Taquitos Recipe is always my go-to, check out these highlights:
- It’s ridiculously fast—we’re talking 35 minutes total, start to finish. You can whip these up faster than I can decide what TV show to watch!
- The texture payoff is amazing. Whether you bake them, air fry, or fry them up, they get incredibly crispy. Trust me, crunch matters.
- The filling is simple but packed with flavor—that little bit of cheese, salsa, and the perfect spice blend makes these truly excellent Chicken Taquitos.
Quick Prep and Cook Time for Homemade Chicken Taquitos
The reason we hit that 35-minute mark is all about smart shortcuts! The secret weapon here is using pre-cooked, shredded chicken. Seriously, if you have some rotisserie chicken hanging out, you’re halfway there. Mixing the filling takes maybe ten minutes, tops. Then, depending on your method, they are cooked through and ready to eat in 20 minutes or less. It’s a true lifesaver on a busy Tuesday!
Achieving the Best Crispy Chicken Taquitos
Texture is everything when it comes to a good taquito, right? Mushy isn’t an option in my kitchen! We talk a lot about the three ways to get that dream crunch coming up—baking, air frying, or traditional frying—and honestly, they all deliver spectacular results if you prep the tortillas right. Getting that perfect golden shield around the savory filling is the ultimate goal. Seriously, wait until you bite into these Best Crispy Chicken Taquitos!
Ingredients for Perfect Chicken and Cheese Taquitos
Okay, let’s talk about what goes into these amazing rolls. I keep this recipe super streamlined because when you’re whipping up a batch of Homemade Chicken Taquitos for a crowd, you don’t want a massive ingredient list hanging around! Everything here is designed to stick together well and cook evenly. You’ll need the full list of amounts for about 12 taquitos, but honestly, just double it now, you know you want to.
Here’s what you need grabbing from the pantry and fridge. I always spring for the good stuff when it comes to flavor additions—don’t skimp on the salsa! A really bright, good quality salsa makes all the difference in this filling.
- 2 cups cooked, shredded chicken (This is where the convenience really kicks in!)
- 1 cup shredded Monterey Jack cheese (This melts beautifully for those gooey pockets!)
- 1/2 cup salsa (mild or medium—your call, but this adds moisture!)
- 1 teaspoon chili powder
- 1/2 teaspoon cumin
- 1/4 teaspoon garlic powder
- 12 small corn tortillas (Crucial! We need those small ones for rolling.)
- 1 tablespoon vegetable oil (Only needed if you are pan-frying.)
- Cooking spray (If you’re baking or air frying!)
Ingredient Notes and Simple Chicken Filling Ideas
The star here is obviously the chicken. If you are short on time, please, please just buy a rotisserie chicken. Pulling that meat off the bone is faster than boiling two chicken breasts, and it already has great flavor built-in. For the cheese, Monterey Jack is my favorite for these Chicken and Cheese Taquitos because it gets stringy and soft without getting greasy. Pepper Jack is a killer substitute if you like a little sneaky heat!
Now for an extra shot of flavor to elevate these simple Shredded Chicken Rollups: try adding one tablespoon of chopped fresh cilantro to the mix. If you’re feeling bold and have a can lingering, try stirring in two tablespoons of drained, diced green chiles. It gives the filling a wonderful little zing that just sings against the cumin and chili powder. It’s my secret for making them taste like they took way more effort!
How to Make Chicken Taquitos: Step-by-Step Instructions
Alright, this is where the magic really happens! Making Homemade Chicken Taquitos is totally straightforward, but you have to follow the sequence, especially for the tortillas—if you skip the softening step, you’ll end up with broken taquitos, and nobody has time for that headache. We are going to break this down into super manageable chunks so you can master these in no time. I promise, once you nail this process, you’ll be making making taquitos at home every weekend!
Preparing the Flavorful Shredded Chicken Tortilla Rollups Filling
First things first, let’s get that filling mixed up completely. Grab a medium-sized bowl—nothing too fancy here. Dump in all your shredded chicken, that beautiful Monterey Jack, and all those spices: chili powder, cumin, and garlic powder. Then, scoop in half a cup of salsa. Don’t just dollop it in; you want everything incorporated evenly. Give it a solid stir with a sturdy spoon or even your hands until you don’t see any dry pockets of cheese or spice clinging to the sides. We’re looking for a moist, cohesive mixture that holds together when you squeeze it lightly. That’s your cue that the filling is ready for rolling!
Softening Tortillas to Prevent Cracking When Making Taquitos
Listen up, this is the single most important trick for making truly beautiful, non-cracked Chicken Taquitos. Corn tortillas, fresh out of the package, are stiff little soldiers, and if you try to roll them, they *will* snap right in half. We need to make them cooperative!
Stack all 12 of your tortillas together. Wrap that stack tightly in a slightly damp paper towel—damp, not soaking wet! Then, pop that bundle into the microwave. You are going to cook them for about 30 to 45 seconds. Keep an eye on them! You want them hot and extremely pliable. A perfectly steamed tortilla bends like it’s asking for it. If they start to cool down while you’re rolling, just pop them back in for 15 seconds. Seriously, this step is non-negotiable if you want those pristine, tight rolls.
Rolling and Securing Your Homemade Chicken Taquitos
Okay, take one super soft tortilla at a time. It helps to work quickly while they are warm! Place about two tablespoons of your filling mixture right down near one edge of the tortilla. Don’t overfill! Too much filling equals an explosion while cooking, and nobody wants that mess.
Now, roll it up tight, just like you would a little burrito or a sleeping baby burrito! You want that first edge to wrap snugly over the filling. Once you have it rolled, if you are feeling nervous or if your roll feels a little loose, don’t hesitate—stab a toothpick right through the seam to hold it closed. It’s a lifesaver, especially if you’re deep-frying. Just remember to pull those little guys out before you serve them!
Cooking Methods for the Best Crispy Chicken Taquitos
Okay, this is probably my favorite part because it’s where the transformation happens! We have a flavor-packed, soft little tube of deliciousness, and now we need to turn it into one of the Best Crispy Chicken Taquitos on the planet. The best news is I’ve perfected three different methods for you, depending on what equipment you have available or how much oil you want to deal with. Honestly, if you prep the tortillas right in the previous step, all three methods are practically foolproof!
Baked Chicken Taquitos Instructions
If you’re trying to keep things a little lighter or you need to make a huge batch all at once, baking is your friend. Preheat your oven to a nice hot 400°F (200°F). Lay those rolled-up taquitos seam-side down on a baking sheet. I know, I know, they look pale, but trust the process! Give them a good light spritz with cooking spray—this helps brown the exterior beautifully. They need about 15 to 20 minutes in total. Here’s the key: after about 10 minutes, you must take them out and flip them over! This ensures that every side gets golden brown and perfectly crisp. Check out my specific Baked Chicken Taquitos Instructions for more oven timing secrets!
Air Fryer Chicken Taquitos Technique
If you own an air fryer, you already know this machine is a miracle worker for crisping things without deep-frying. For gorgeous Air Fryer Chicken Taquitos, preheat your basket to 375°F (190°C). You absolutely must place the taquitos in a single layer in the basket. Do not try to stack them! If they are touching too much, they steam instead of crisping up, and we want crunch, remember?
Give them a quick spray of oil too, just like you would for baking. They cook super fast in here—usually 8 to 10 minutes total. Just like the oven method, you need to pull the basket out halfway through and flip them so all sides get deeply golden. My full guide on Air Fryer Chicken Taquitos details just how much spray is enough!
Pan-Frying for Traditional Crunchy Chicken Rollups
For that undeniable, restaurant-quality shatter, you have to go old-school with pan-frying. Heat up about half an inch of vegetable oil in a sturdy skillet over medium-high heat. You want that oil hot enough so that when you drop a tiny bit of raw tortilla in, it immediately starts bubbling happily. This usually takes about 350°F heat.
Now, listen for the safety warning: Carefully place your rolled taquitos seam-side down into the hot oil! I always use tongs for this so my fingers stay far away from the hot oil splatter. You’re basically just giving them a bath. They only need about 2 to 3 minutes per side until they hit that deep, beautiful golden-brown crunch. Once they look perfect, pull them out right away and set them on a plate lined with paper towels to drain off any excess oil. These traditional Crunchy Chicken Rollups are worth the extra cleanup, I promise!
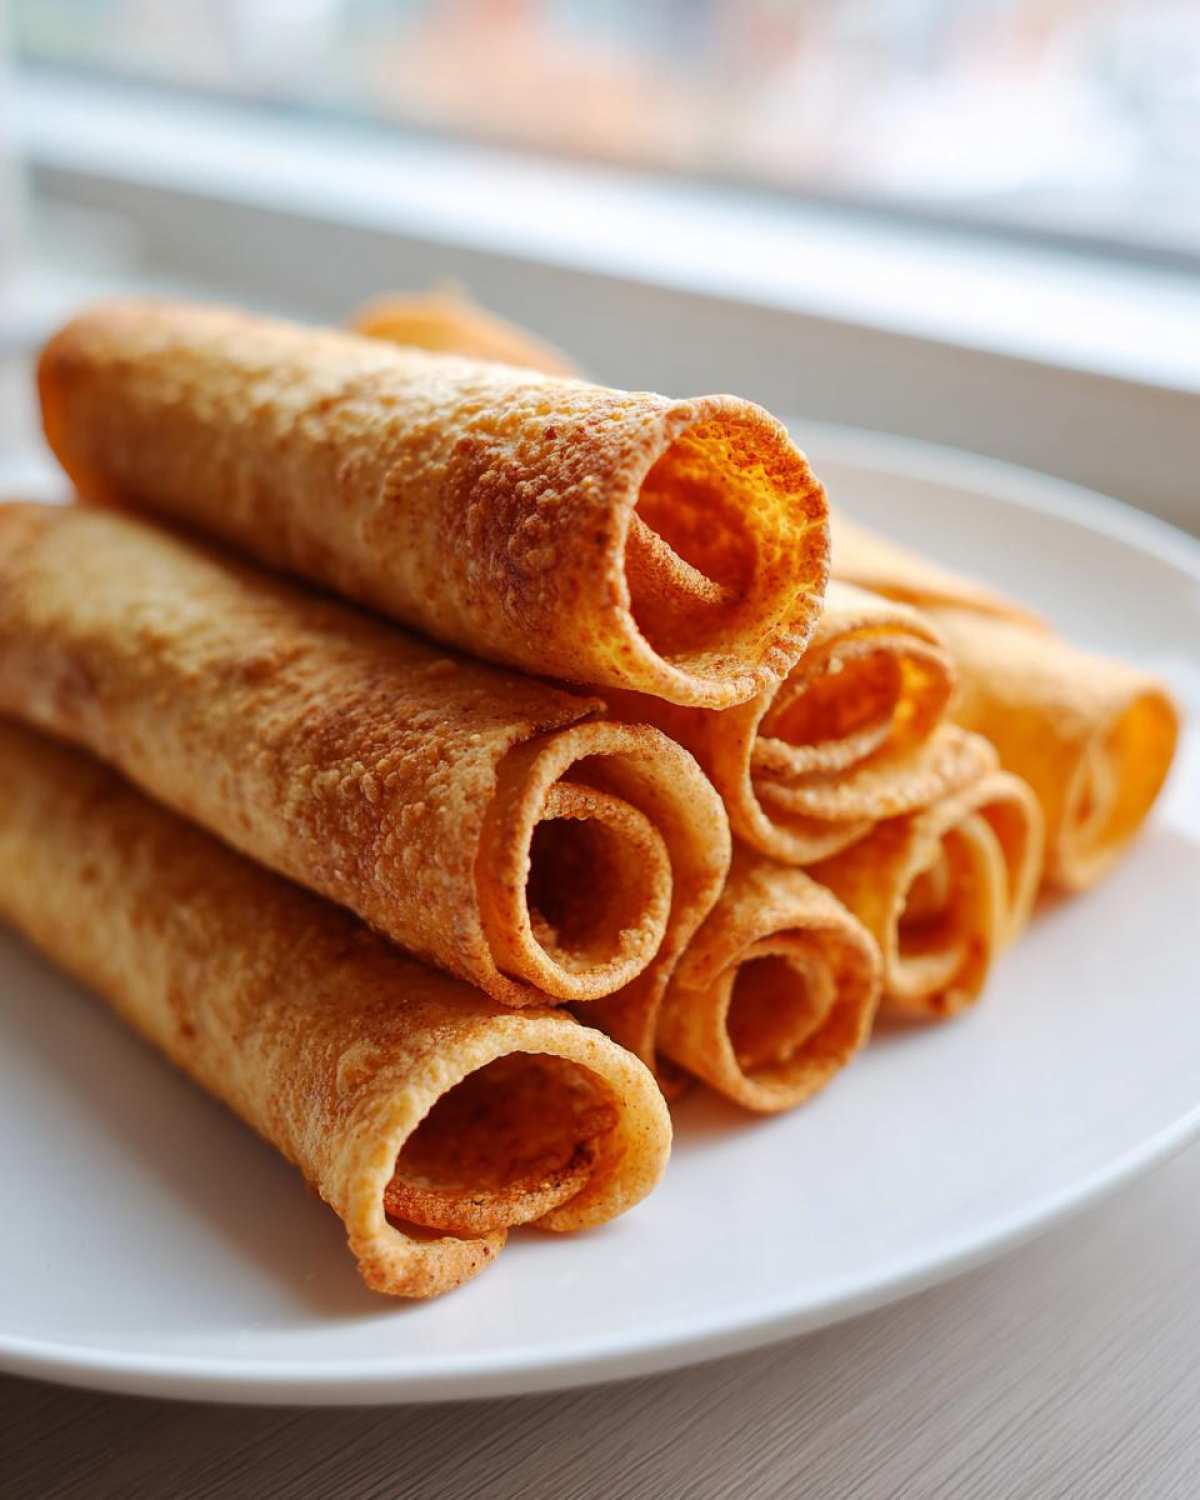
Serving Suggestions and Taquitos Dipping Sauces
You cannot, I repeat, *cannot* serve a perfect, crispy taquito naked! That’s just a crime against good snacking, no matter how flavorful the filling is. These little rolled wonders absolutely demand a glorious landing pad of creamy, spicy, or tangy deliciousness. When people ask me about my go-to nacho cheese sauce recommendation, I always tell them if you have time for the taquitos, you have time for a quick dip!
The real key to making these Chicken Taquitos shine is having a variety of dipping options ready. It’s all about customization! Make sure you have at least two different things for people to choose from. It makes them feel really fancy, even if you just pulled them out of the freezer an hour ago.
Here are the absolute must-haves for any spread of Chicken Taquitos Dipping Sauces:
- Cool Sour Cream or Mexican Crema: Essential for cutting through the spice and the heat of the frying oil.
- Chunky Salsa or Pico de Gallo: For that fresh, acidic bite that contrasts the savory chicken.
- Guacamole: Because everything is better with creamy avocado. You can never go wrong here.
- A good, thick Queso: If you are in full comfort food mode, skip the cheese in the filling and just serve these with a huge bowl of liquid gold.
Now, here’s a super fast tip for elevating your dipping game that always impresses guests. Mix together half a cup of sour cream, the juice of one lime—not a splash, the whole thing!—and a tiny pinch of salt. Whip it briefly until it’s slightly fluffy. That homemade, bright lime crema is what I use when I’m pretending I spent all day cooking! It takes literally sixty seconds and makes these Shredded Chicken Tortilla Rollups taste gourmet.
Make-Ahead and Freezer Friendly Chicken Taquitos Tips
I get it, sometimes 35 minutes is still too long, or you just have an evening where you want to do zero cooking. That’s why I absolutely love that these Chicken Taquitos freeze like a dream! Knowing I have a tray of uncooked, perfectly filled rolls waiting in the freezer for an after-school snack or a last-minute gathering? That’s stress reduction right there. This is one of the best parts about learning Freezer Friendly Chicken Taquitos! The key is making sure they are assembled, but absolutely *not* cooked yet, before you stow them away.
If you’re planning on serving these at your next big party, assemble them the day before! You can store them covered in the refrigerator for up to 24 hours. Just make sure they stay sealed up tight so the tortillas don’t dry out while chilling. When you’re ready, just proceed with your chosen cooking method, adding a few extra minutes to the baking or air frying time since they are starting cold.
For long-term storage, we head straight to the freezer! After you’ve finished rolling all your Shredded Chicken Rollups, lay them out on a baking sheet. Make sure they aren’t touching one another. This is called flash-freezing, and it’s crucial if you don’t want them to turn into one giant, frozen chicken log!
Toss that tray into the freezer for about an hour or two until the taquitos are rock solid. Once they are completely frozen stiff, you can just grab them off the tray and toss them into a heavy-duty freezer bag or an airtight container. You don’t even need to separate them with parchment paper once they are solid!
When you are ready to cook them from frozen—which is totally fine, by the way—you’ll just need to increase your cooking time. For baking, add about 5 to 10 minutes extra. For the air fryer, aim for about 12 to 15 minutes total, flipping halfway, until they are heated all the way through and super crispy. See? Easy weeknight dinner solution right there!
Frequently Asked Questions About Making Taquitos at Home
I get so many questions whenever I post these crispy delights online! It seems like everyone wants to know the little details on how to nail these Making Taquitos at Home, especially when it comes to swapping things out or dealing with leftovers. I’ve collected the three questions I get asked the most. Trust me, getting these little details right makes the difference between a good taquito and the *best* taquito!
Can I use flour tortillas instead of corn for these Chicken Taquitos?
Technically, you *can*, but I really, really advise against it if you want that authentic crunch! Traditional Mexican taquitos are made with corn tortillas. Flour versions are often more like flautas or chimichangas—they don’t crisp up quite the same way and they tend to puff up more when you heat them. Corn tortillas get those amazing little bubbles and that signature, snappy shell we’re aiming for. Stick with the small corn ones for the true taquito experience; they are the backbone of these Chicken Taquitos!
What is the best way to reheat leftover Crunchy Chicken Rollups?
Oh, surviving the day-after taquito situation is an art form, my friend. You absolutely cannot put these in the microwave if you want them to stay crunchy; they’ll just get sweaty and sad. If you have any leftovers that are already cooked, the air fryer is your superhero. Set your air fryer to about 375°F (190°C) and pop the Crunchy Chicken Rollups in there for just 3 to 5 minutes. They come out tasting almost brand new! If you don’t have an air fryer, a quick 10 minutes in a hot oven (around 375°F) on a baking sheet will also work wonders to crisp them back up.
My taquitos are cracking when I roll them. What am I doing wrong?
This is the number one most common complaint, and nine times out of ten, it comes down to one thing: you didn’t steam the tortillas long enough! Resist the urge to skip the microwave step when you are rolling up your Homemade Chicken Taquitos. If you’re working with tortillas straight from the package, they are brittle. Remember what I said? Wrap them well, heat them until they are steaming hot and super flexible, and then work fast! If you notice a tortilla getting stiff mid-roll, just stop, re-wrap it, and give it another 15 seconds in the microwave before continuing.
Storage and Reheating Instructions for Leftover Chicken Taquitos
So, what happens when you actually manage to have leftover Chicken Taquitos? Because let’s be honest, it’s rare in my house, but it happens! Storing them correctly is super important if you want to enjoy them again the next day without sacrificing that beautiful crispness we worked so hard to achieve. The microwave is your mortal enemy here, I don’t care how fast it is; it will turn your crunchy taquitos into sad, steamed tubes of regret. Don’t even think about it!
If you have cooked taquitos, let them cool down completely to room temperature first. That’s the first rule of safe storage. Once they are cool, you can store them in an airtight container in the refrigerator. I find that if I line the container with a paper towel on the bottom before adding the taquitos, it helps absorb any residual moisture that might try to make them soft overnight. They should keep perfectly fine in the fridge for about three to four days.
Now, for the reheating part—this is where we bring back that snap! The best way, hands down, for reviving any leftover pan-fried, baked, or air-fried Crunchy Chicken Rollups is the air fryer. Seriously, it works like magic. Set your air fryer temperature to roughly 375°F (190°C). You don’t need to spray them with extra oil since the fat is already absorbed, but you can if you like them extra greasy!
Pop the cooled taquitos in a single layer in the basket. We’re just waking them up, not cooking them from raw, so this takes no time at all. About 4 to 6 minutes should do the trick. They come out piping hot, perfectly firm, and authentically crispy. If you don’t have an air fryer, your next best bet is definitely the oven; pop them on a baking sheet at 350°F for about 8 to 10 minutes until they feel hot all the way through. Happy eating!
Share Your Game Day Chicken Rollups Success
Okay, that’s it! You have officially mastered the simplest, quickest, and crunchiest Chicken Taquitos recipe around. I sincerely hope these become as much of a staple in your house as they are in mine—especially when you need a quick game day appetizer that actually fills people up!
Now, I genuinely want to hear from you! Did you bake them until they were golden, or did you go full-throttle with the pan-frying method? Tell me in the comments below which cooking technique you chose and what your favorite dipping sauce turned out to be. Did you try that lime crema I mentioned? I always love seeing your photos, so if you made a huge glorious plate of these Shredded Chicken Rollups, please snap a picture and share it on social media! Tag me so I can cheer you on. Happy rolling!
Print
Easy Crispy Chicken Taquitos Recipe
- Total Time: 35 min
- Yield: 12 taquitos
- Diet: Vegetarian
Description
Follow these steps to make crispy homemade chicken taquitos, perfect for a quick meal or appetizer.
Ingredients
- 2 cups cooked, shredded chicken
- 1 cup shredded Monterey Jack cheese
- 1/2 cup salsa (mild or medium)
- 1 teaspoon chili powder
- 1/2 teaspoon cumin
- 1/4 teaspoon garlic powder
- 12 small corn tortillas
- 1 tablespoon vegetable oil (for pan-frying)
- Cooking spray (for baking or air frying)
Instructions
- In a medium bowl, combine the shredded chicken, cheese, salsa, chili powder, cumin, and garlic powder. Mix until the filling is evenly combined.
- Prepare the tortillas: Wrap the stack of tortillas in a damp paper towel and microwave for 30 to 45 seconds until they are warm and pliable. This prevents cracking when rolling.
- Warm a small skillet over medium heat. Lightly brush or dip each tortilla in the oil, or simply warm them briefly in the microwave if you plan to bake or air fry.
- Place about 2 tablespoons of the chicken mixture near one edge of a tortilla. Roll the tortilla tightly around the filling. Secure the seam with a toothpick if necessary.
- Choose your cooking method:
- Baking: Preheat oven to 400°F (200°C). Place taquitos seam-side down on a baking sheet. Spray lightly with cooking spray. Bake for 15 to 20 minutes, flipping halfway, until golden and crisp.
- Air Frying: Preheat air fryer to 375°F (190°C). Place taquitos in a single layer in the basket. Spray lightly with cooking spray. Cook for 8 to 10 minutes, flipping halfway, until crispy.
- Pan-Frying: Heat about 1/2 inch of vegetable oil in a skillet over medium-high heat. Carefully place taquitos seam-side down in the hot oil. Fry for 2 to 3 minutes per side until golden brown and crisp. Drain on paper towels.
- Remove toothpicks before serving. Serve immediately with your favorite dipping sauces.
Notes
- For extra flavor, mix 1 tablespoon of chopped cilantro into the chicken filling.
- If you are making these ahead of time, assemble them and store them uncooked in the refrigerator for up to 24 hours or freeze them on a tray before transferring to a freezer bag.
- Serve with sour cream, guacamole, or your preferred salsa for dipping.
- Prep Time: 15 min
- Cook Time: 20 min
- Category: Appetizer
- Method: Baking, Air Frying, or Frying
- Cuisine: Mexican
Nutrition
- Serving Size: 1 taquito
- Calories: 150
- Sugar: 1
- Sodium: 250
- Fat: 7
- Saturated Fat: 3
- Unsaturated Fat: 4
- Trans Fat: 0
- Carbohydrates: 14
- Fiber: 1
- Protein: 9
- Cholesterol: 25

