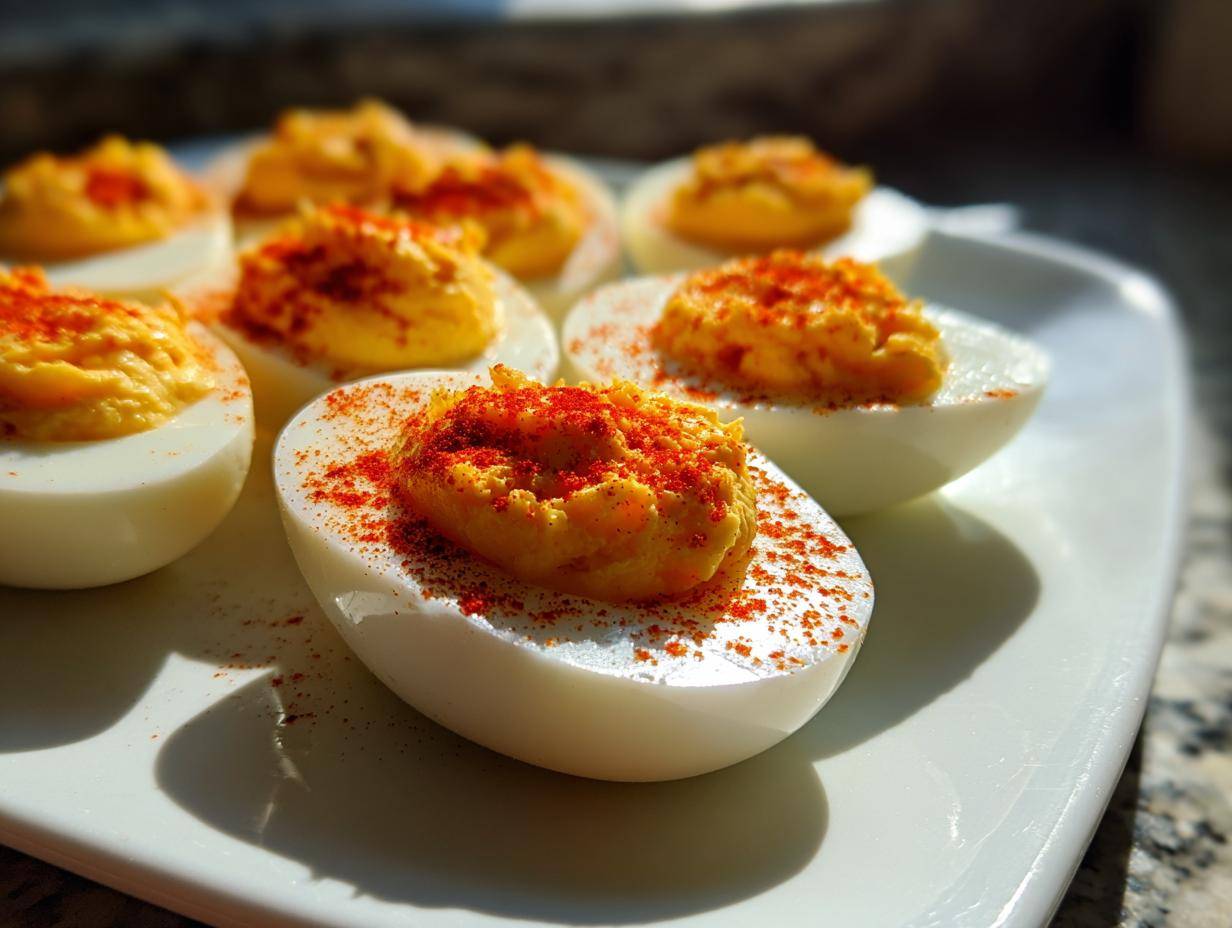
If you need one foolproof, guaranteed-to-disappear appetizer for any party, potluck, or Sunday dinner, you’ve found it. Seriously, I’ve made thousands of these things over the years—for everything from major holidays to quick game days—and I’ve finally nailed down the absolute best way to make classic deviled eggs. Forget those watery, grainy messes you sometimes see! My method guarantees an unbelievably creamy filling every single time, and we’re talking fast. We’re kicking off the preparation in under 20 minutes, and they’re always the first thing gone!
This isn’t some fussy, overly complicated version either. It’s the traditional recipe, elevated just slightly through technique. Once you try this simple method—and trust me, I have a whole post dedicated to party prep—you’ll never go back to the old way. I promise!
Why You Will Make These Classic Deviled Eggs Again and Again
Honestly, once you see how quickly this comes together, it’ll be on your rotation for every single gathering. They are just so dependable, which is what we all need when hosting!
- They are genuinely quick finger foods; the total hands-on time is super minimal, making them one of the best easy appetizer recipes out there.
- The texture? Total perfection. We achieve that ultra-smooth, rich mouthfeel that makes people scrape the filling bowl clean. They are the definition of creamy deviled eggs.
- This recipe focuses only on traditional deviled eggs ingredients, so you don’t need to run out for weird supplies.
- These are the ultimate potluck staples because they travel well and are always crowd-pleasers, whether it’s Thanksgiving sides or just a casual get-together.
If you’re looking for more quick inspiration, check out my whole collection of easy appetizer recipes!
Essential Ingredients for Perfect Classic Deviled Eggs
Okay, let’s talk supplies. The beauty of classic deviled eggs is that they only need the basics, but using good quality versions of those basics really changes everything. Don’t overcomplicate it; we aren’t doing fancy pesto swirls here—we want that perfect, nostalgic flavor. You’ll want to make sure you have everything ready before you even think about boiling the water! If you’re planning ahead for big events like Christmas or Easter, make sure you swing by my holiday snacks guide for other must-haves.
Here’s what you need for about two dozen perfect halves:
- 12 large eggs, which need to be hard-boiled and fully peeled when you get to this step.
- 1/2 cup good quality mayonnaise. This is crucial for creaminess, so don’t skimp!
- 1 tablespoon of regular yellow mustard—none of that fancy Dijon for this classic version, please!
- 1 teaspoon of white vinegar for that essential, tiny bit of tang.
- 1/4 teaspoon salt and just a small dash (1/8 teaspoon) of black pepper.
- And finally, paprika for the garnish—it’s non-negotiable for the look!
Step-by-Step Guide: How to Make Creamy Classic Deviled Eggs
This is where the magic happens, and honestly, it’s so easy you’ll laugh you ever stressed about making how to make perfect deviled eggs before. The secret isn’t what goes *in* the filling; it’s how you treat the eggs and how you mix the yolks. Stick exactly to these steps for the best results. I’ve linked a few more deep dives on technique here if you get really obsessed!
Perfectly Boiling and Cooling the Eggs
Don’t just dump your eggs into boiling water! We want perfect whites and yolks that aren’t sadly ringed in green or gray. Start by putting all 12 raw eggs into a saucepan and covering them with cold water so the water line is about an inch over the top of the eggs. Bring that water to a rolling, aggressive boil over high heat.
As soon as it hits that full boil, shut off the burner immediately. Put the lid on tight and just let them sit there, off the heat, for exactly 12 minutes. This gentle steaming finishes the cooking process beautifully. When the timer goes off, you have to move fast! Scoop the eggs directly out of the hot water and drop them into a big bowl filled with ice water—an ice bath. They need to chill completely, like 10 minutes minimum. This rapid cooling is critical; it stops the cooking right away so you never get that ugly sulfur ring, and believe me, it makes peeling them ten times easier!
Creating the Smooth Filling for Your Classic Deviled Eggs
Once those eggs are cool, peel them carefully. Slice them in half lengthwise and scoop every single yolk into a medium bowl. Keep those empty white halves arranged neatly on your platter, because they need to be filled right after the yolks are done!
Now, mash those yolks with a fork until they look like powder—no big lumps allowed. This is where I always do an extra trick: If you really want your filling to be velvety, push those pulverized yolks through a fine-mesh sieve right into the bowl. It adds maybe two extra minutes, but it guarantees that beautifully creamy deviled eggs texture.
Next, whisk in your mayonnaise, yellow mustard, vinegar, salt, and pepper. Mix it hard! You aren’t done until everything is folded together, and the filling looks completely smooth and creamy, like a thick paste. Taste it here and adjust salt if you need to!
Filling and Garnishing the Classic Deviled Eggs
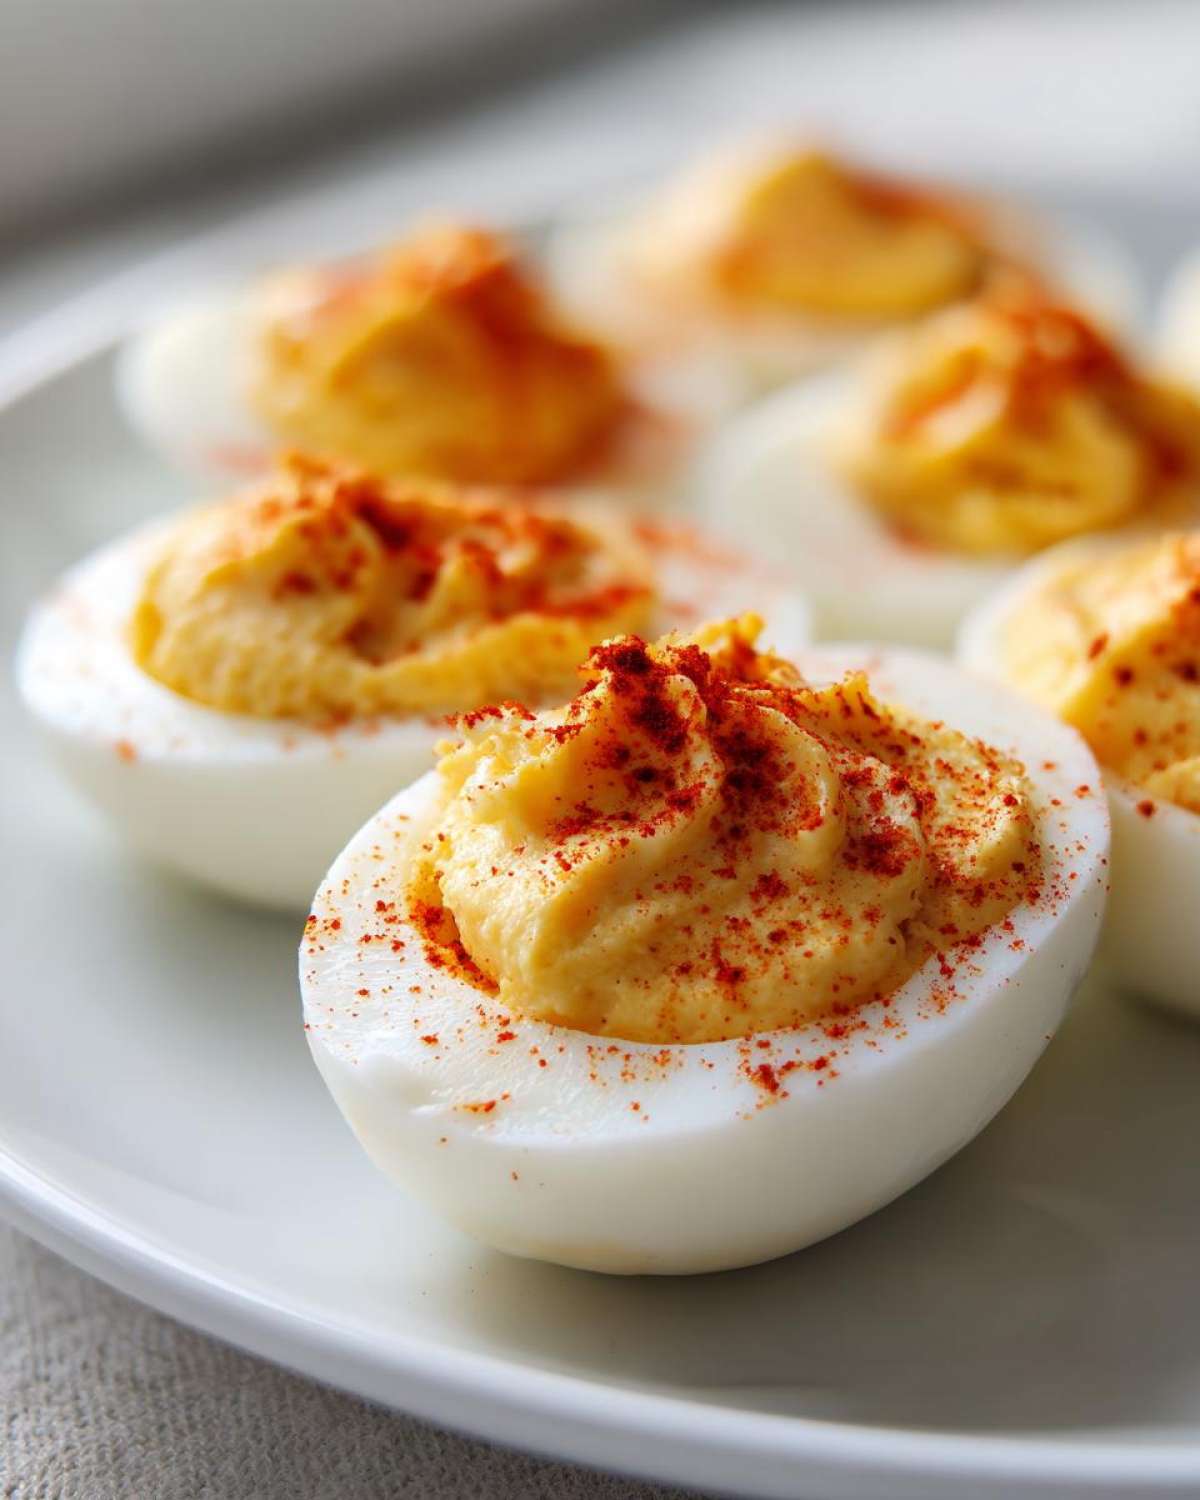
You have two choices for filling which I learned the hard way are slightly different! For speed, I just use two little teaspoons to dollop the yolk mix back into those white cups. If you want them to look really professional (like for Easter), load the mixture into a piping bag fitted with a large star tip. Pipe the mixture onto the whites—it looks amazing!
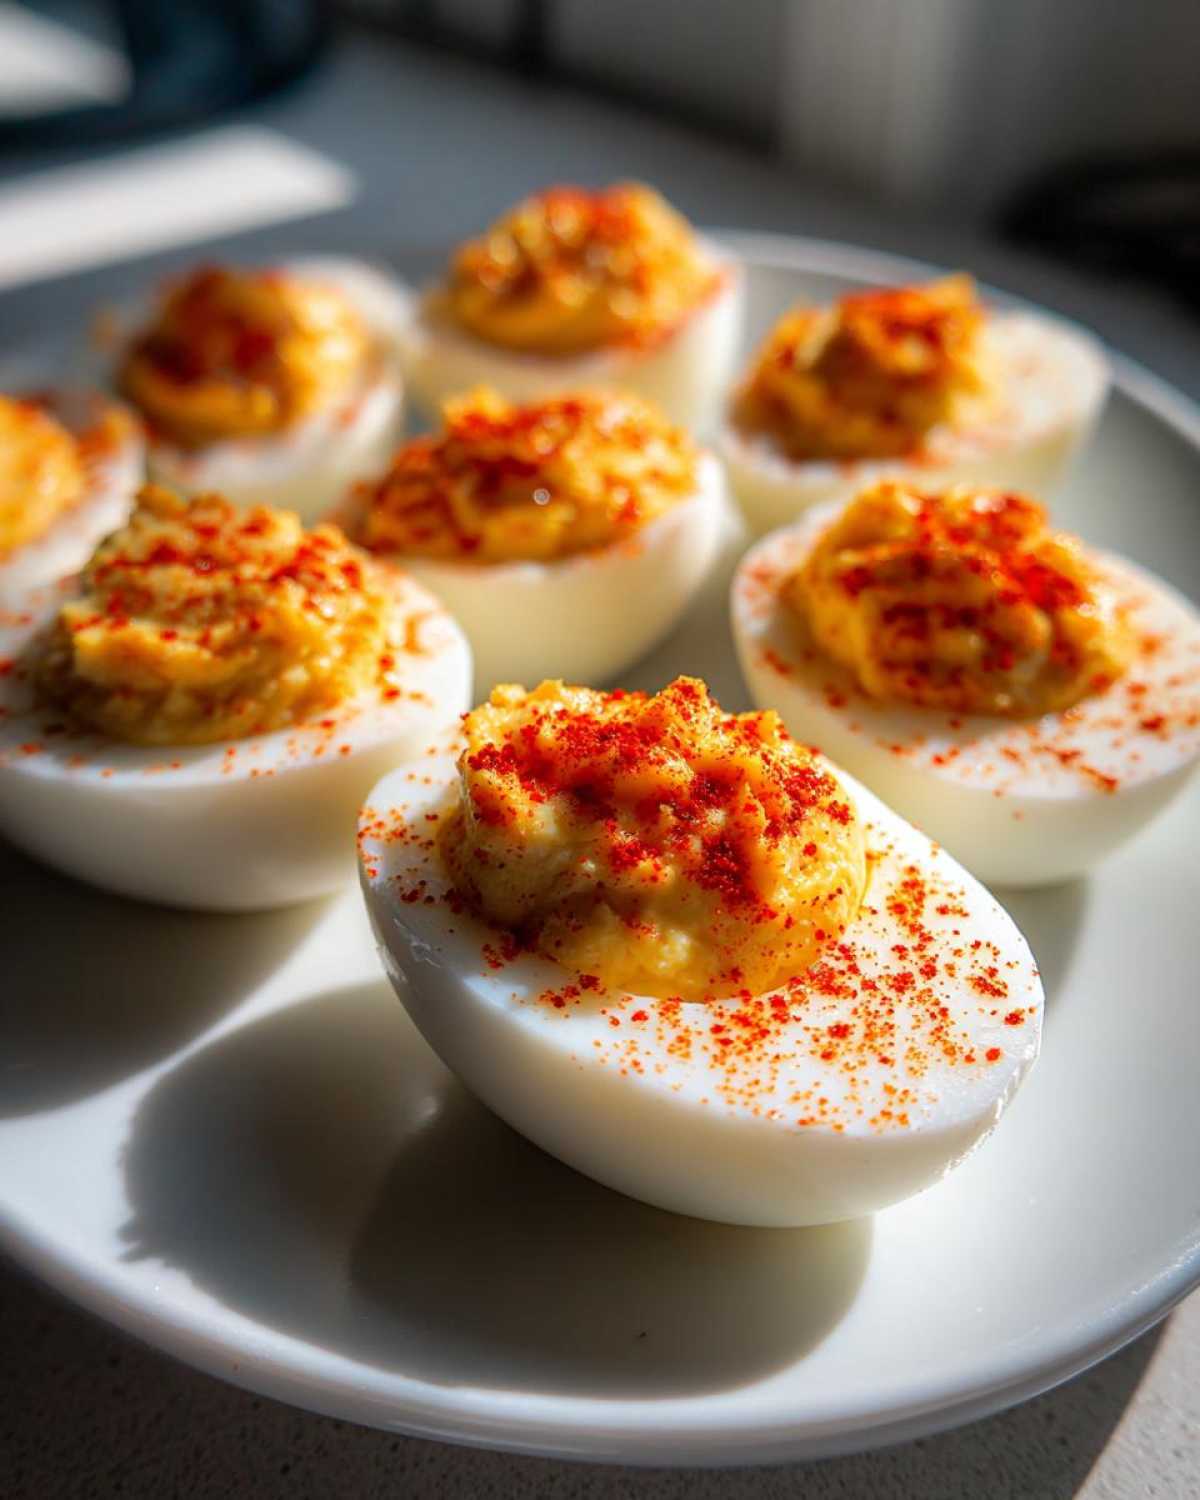
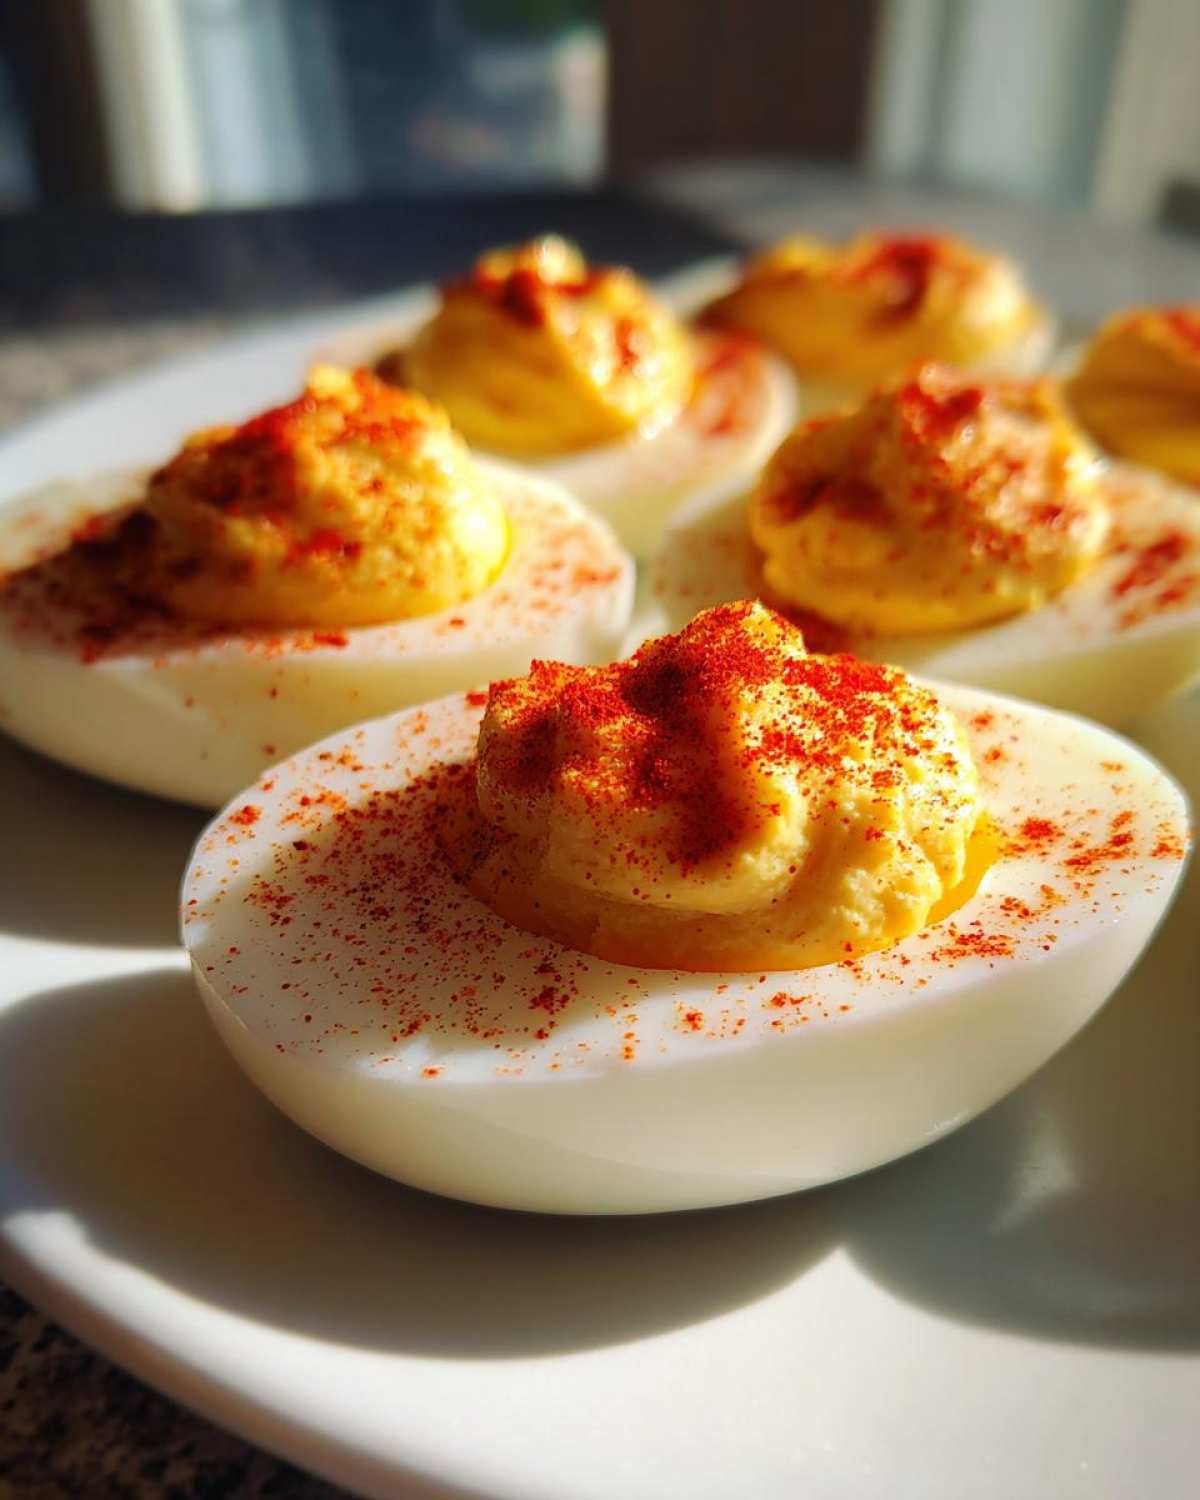
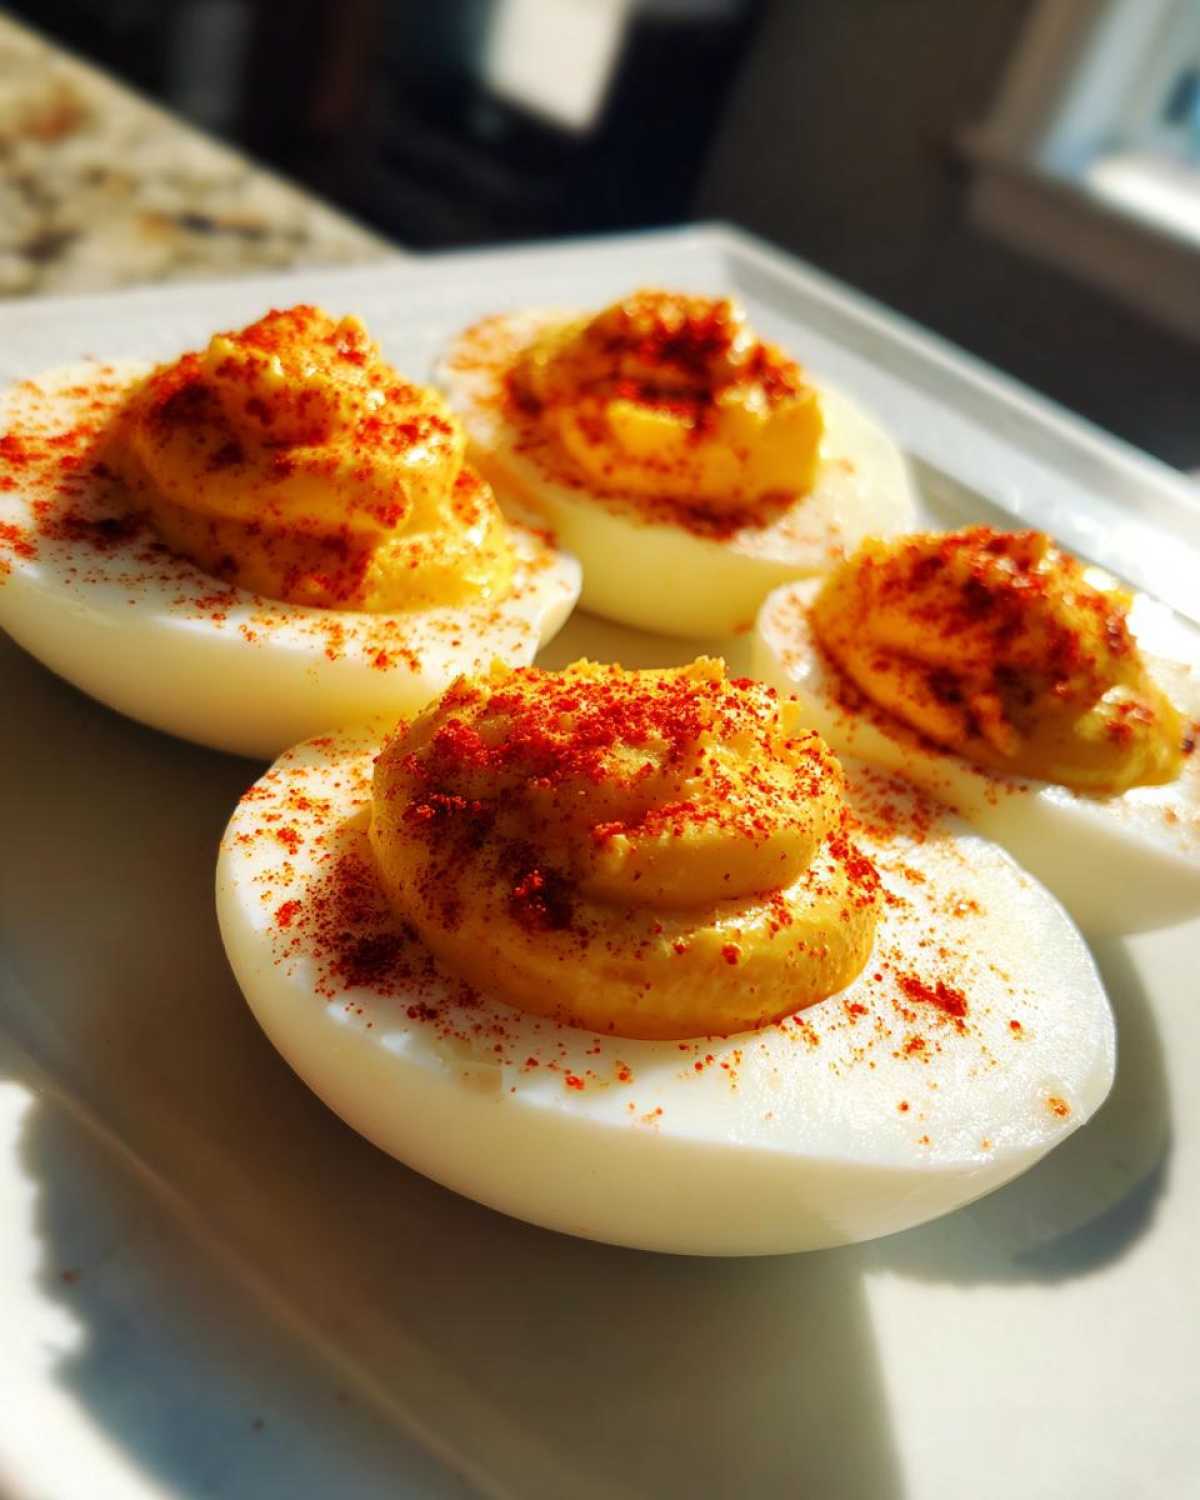
Finally, the classic finishing touch: Lightly dust every single one with paprika. It’s pretty, it adds a tiny bit of flavor contrast, and it’s the official signature of traditional deviled eggs.
Expert Tips for the Best Deviled Egg Recipe Results
Even with a straightforward recipe, a couple of little secrets can bump these up from just ‘good’ to ‘remember that appetizer?’ I’ve tested everything under the sun to figure out how to stop them from looking sad or grainy. Focusing on that smooth texture is what separates a so-so platter from a true party favorite. If you’re serving these for the first time this year, check out my guide on Southern style deviled eggs for variation ideas!
Achieving Ultra-Creamy Texture
I keep saying it because it’s true: if your filling looks bumpy, you have to go back to the yolks! If you skipped the fine-mesh sieve trick earlier, that’s okay, but for next time, please try the food processor. Just toss the cooked yolks in there with the mayo and mustard, pulse it a few times, and you get an unbelievably smooth paste with zero elbow grease required. It’s cheating, but it’s glorious cheating when you need truly creamy deviled eggs.
Adding a Tangy Southern Style Deviled Eggs Kick
Now, if you want to bring in that rich, slightly sharp flavor popular down South, this is where you do it! Forget the vinegar and instead, swap it out for 1 teaspoon of sweet pickle relish. The relish brings acidity, sweetness, and even little textural bursts all in one go. It gives you that amazing tangy egg filling that people always ask about when they taste Southern style deviled eggs. It’s a game-changer for holidays!
Make Ahead Appetizers: Storing Your Classic Deviled Eggs
One of the best things about these classic deviled eggs is that they qualify as a fantastic make ahead appetizers. We all need a little breathing room before the guests arrive, right? The short answer is yes, you can prep ahead, but there’s one huge caveat that you absolutely must follow for food safety and texture control.
You have two options for making these ahead of time. Option one, which I prefer for maximum freshness, is boiling and peeling the eggs the day before, keeping them tucked away in the fridge. Then, you only mix the yolk filling and pipe everything the morning of the party. They stay noticeably fresher that way.
If you need to fully prepare them, you can fill the eggs entirely—yolks and paprika and all—but they must go straight into the refrigerator and be covered tightly. Use plastic wrap that gently touches the tops of the paprika to stop them from drying out or picking up fridge smells. If you do this, try to serve them within 24 hours. Honestly, they taste best when filled the same day, but this method works perfectly for many party food ideas!
For more hosting tips and shortcuts, you should bookmark my guide on make ahead appetizers!
Serving Suggestions for Classic Deviled Eggs
These little bites are absolute powerhouses on any buffet table. They transition seamlessly from a light snack to a substantial part of a larger spread. Because they are so rich, they pair wonderfully alongside fresher, lighter items. I always make sure I have a big bowl of them ready because they are guaranteed potluck staples.
When I plan my spreads, these are always my anchor. They look great nestled right next to a vegetable platter or a bowl of fresh shrimp. For bigger feasts, they are the perfect starter next to something tangy or acidic. For all my best hosting secrets, check out the party food ideas collection!
Variations on Traditional Deviled Eggs
While the recipe above gives you that perfect, nostalgic hit, sometimes you want to jazz things up just a tiny bit without confusing your guests! These little tweaks are easy to incorporate right into the mixing stage and they make your simple egg recipes feel brand new. They’re fantastic additions to your annual lineup of holiday snacks.
My favorite switch-up is using smoked paprika instead of regular paprika for garnish. It gives the whole tray an amazing, subtle woody depth that tastes incredible against the tanginess of the filling. It’s a visual upgrade, too!
If you like a bit of heat, try mixing in just a couple of dashes of your favorite hot sauce—I usually reach for Cholula—right when you add the mustard. Be cautious, though; start small! For a brighter, herbaceous twist, fold in about a tablespoon of freshly chopped dill right at the end. It really wakes up the whole appetizer. You can see more ways to celebrate at family events in my holiday snacks guide!
Frequently Asked Questions About Classic Deviled Eggs
I know when you’re planning those big spread of party food ideas, little questions can pop up and derail your timing. Here are the things people ask me most often about getting these simple egg recipes just right! For more on making a great spread, don’t forget to check out my thoughts on party food ideas!
How do I stop my deviled egg filling from looking grainy?
Graininess comes from not breaking down the yolk enough before adding the creamy elements. Honestly, if you struggled with this, go back and mash the yolks until they are dust first before you add the mayo and mustard. If beating them just isn’t cutting it, use a fine-mesh sieve! Press those mashed yolks through it once—it takes just a minute—and you’re guaranteed a smooth, cloud-like texture for your filling. That extra step really delivers on the creamy deviled eggs promise!
Can I make these creamy deviled eggs a day ahead of time?
Yes, but be careful! I highly recommend only boiling, peeling, and storing the egg white halves separately in an airtight container the day before. You can even make your yolk filling and keep that stored separately too. The absolute best way to serve them is filling them the morning of the party. If you fill them completely (yolks and paprika and all) the day before, they can start to dry out slightly or weep liquid, so filling shortly before you need them is ideal for presentation.
What is the secret to perfectly peeling hard-boiled eggs for classic deviled eggs?
It all goes back to two things: age and temperature shock! If you use eggs that are super fresh (like, just bought from the farm), they are often a nightmare to peel. Eggs that are about a week old peel much easier. But the most critical trick is the ice bath. You must plunge those hot eggs into ice water immediately after cooking. That temperature drop makes the white contract away from the shell membrane, and most of the shell just slips right off! This step is essential for making beautiful classic deviled eggs.
Nutritional Snapshot of These Classic Deviled Eggs
Since everyone always asks, here’s a quick look at what you’re serving up when you make these classic deviled eggs. Remember, this is just an estimate, okay? Every brand of mayonnaise is different, and how much paprika you sprinkle on top makes a tiny difference, so take these numbers as a great guideline rather than gospel.
Based on 1/24th of the recipe (two small halves), here’s what the data generally shows:
- Serving Size: 2 halves
- Calories: 90
- Fat: 8g (with 2g of that being saturated fat—it’s the mayo and yolk working together!)
- Carbohydrates: 0.5g
- Protein: 3g
- Cholesterol: 95mg
They have almost no sugar, which is great, and they pack a decent little protein punch to keep people going between the main courses. These are definitely richer than a plain hard-boiled egg because of that creamy filling, but when they’re as delicious as these are, totally worth it!
Print
Classic Creamy Deviled Eggs
- Total Time: 37 min
- Yield: 24 halves
- Diet: Vegetarian
Description
Make perfect, creamy deviled eggs using this simple recipe. This is a traditional appetizer ideal for parties and gatherings.
Ingredients
- 12 large eggs
- 1/2 cup mayonnaise
- 1 tablespoon yellow mustard
- 1 teaspoon white vinegar
- 1/4 teaspoon salt
- 1/8 teaspoon black pepper
- Paprika, for garnish
Instructions
- Place eggs in a saucepan and cover with cold water by one inch. Bring water to a rolling boil over high heat.
- Remove the pan from the heat, cover it, and let the eggs stand for 12 minutes.
- Immediately transfer the eggs to an ice bath (a bowl of ice water) and let them cool completely, about 10 minutes.
- Peel the cooled eggs. Slice each egg in half lengthwise.
- Carefully scoop the yolks into a medium bowl. Place the empty white halves on a serving platter.
- Mash the yolks with a fork until fine crumbs form.
- Add the mayonnaise, mustard, vinegar, salt, and pepper to the yolks. Mix until the filling is completely smooth and creamy.
- Spoon or pipe the yolk mixture back into the egg white halves.
- Sprinkle paprika over the top of each filled egg half before serving.
Notes
- To prevent gray rings around the yolks, cool the eggs quickly in an ice bath after boiling.
- For a smoother filling, press the mashed yolks through a fine-mesh sieve before mixing in the other ingredients.
- For a Southern style tang, substitute 1 teaspoon of sweet pickle relish for the white vinegar.
- Prep Time: 15 min
- Cook Time: 12 min
- Category: Appetizer
- Method: Boiling and Mixing
- Cuisine: American
Nutrition
- Serving Size: 2 halves
- Calories: 90
- Sugar: 0.5
- Sodium: 110
- Fat: 8
- Saturated Fat: 2
- Unsaturated Fat: 6
- Trans Fat: 0
- Carbohydrates: 0.5
- Fiber: 0
- Protein: 3
- Cholesterol: 95