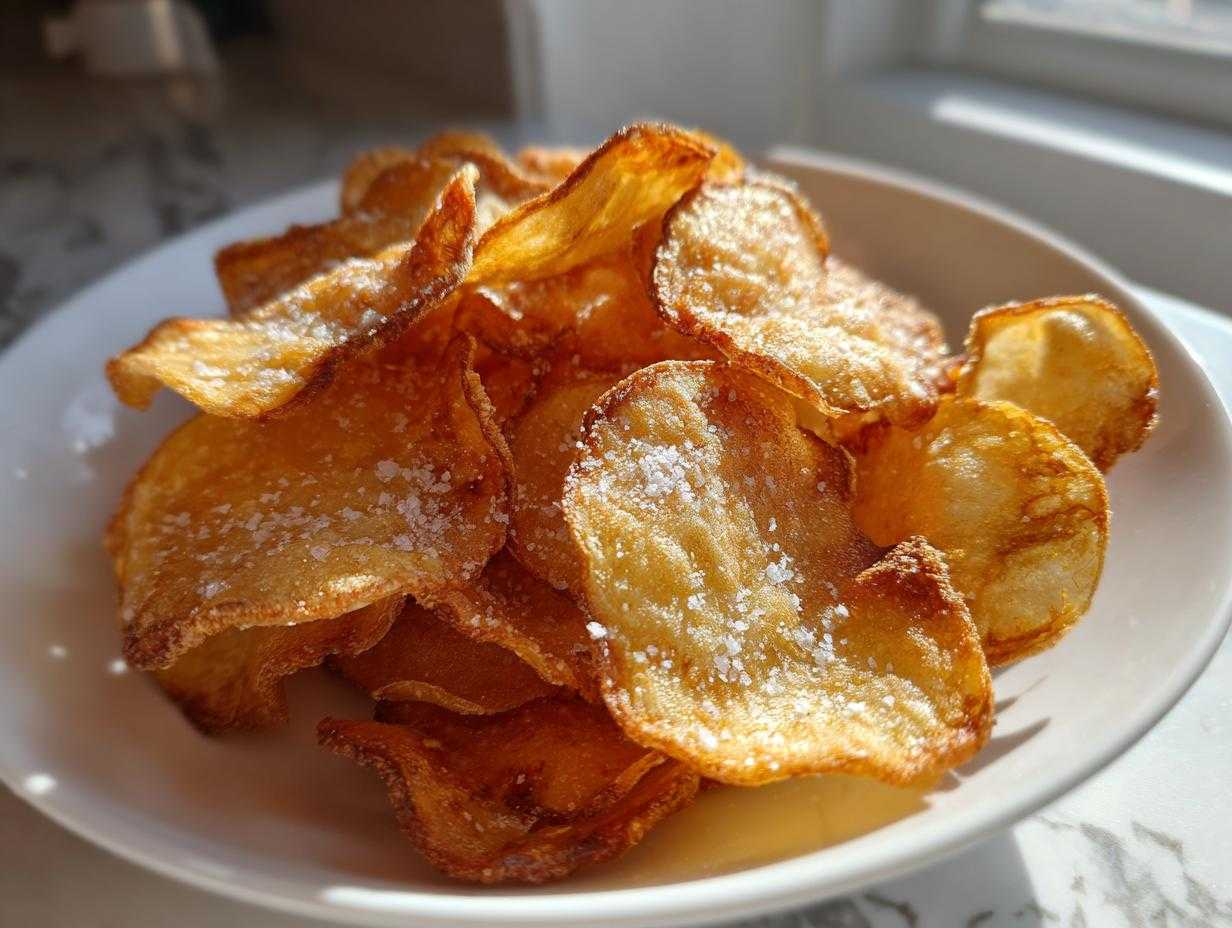
There is just nothing on this planet that beats the sound of a truly perfect, shatteringly crisp potato chip. I mean, that *crunch*! Store-bought versions are fine when you’re desperate, but honestly, they often fall flat on flavor and usually leave you wanting more. I spent years chasing that addictive, salty bliss right here in my own kitchen. I was determined to crack the code—how to make the best homemade potato chips that taste exactly like childhood, but even better. It took a few soggy, burnt, or simply dull batches, but trust me, I figured it out. This isn’t just one recipe; it’s your complete ultimate guide to getting that perfect crispness, whether you decide to deep fry them, bake them in the oven, or try the modern magic of the air fryer. Get ready to toss those bags of boring chips!
Why You Will Make These Homemade Potato Chips Recipe
Forget those flimsy, dull chips you buy in the store because these? These are champions. Seriously, you are going to love this approach because:
- The texture is absolutely shatteringly crunchy—the best you’ll ever make.
- It’s surprisingly easy once you master the starch removal trick.
- You get to choose your adventure: deep-fried authentic flavor, or crispy air-fried/baked versions!
- Hello, instant gratification! We’re talking about homemade snacks in under 40 minutes.
Essential Ingredients for Perfect Potato Chips
The beauty of making your own potato chips is how wonderfully simple the ingredient list is. You don’t need five different kinds of stabilizers or weird chemicals! We are keeping this as close to the classic, nostalgic flavor as possible.
You’ll mostly need three things, but pay attention to the potato type. For the absolute best results, always reach for large Russet potatoes. They have the perfect starch content we need!
- 3 large Russet potatoes (Don’t skimp; bigger potatoes mean fewer scraps!)
- Vegetable oil for frying (Use a high smoke-point oil like canola or peanut oil.)
- Salt (Good sea salt is best, or plain table salt works right before they cool!)
The Secret to Thin Sliced Potato Chips: Preparation Steps
Okay, listen up, because this prep work is where 90% of people mess up their homemade potato chips. You can have the best oil and the saltiest seasoning in the world, but if you skip these steps, you end up with floppy, pale potatoes, not chips. The magic here is all about uniformity and getting rid of starch. We’re aiming for those beautiful, paper-thin slices—we call these Thin Sliced Potato Chips for a reason!
After you slice them, you have to commit to the soak. Truly. Don’t think you can just rinse them quickly; they need time to release that sticky starch. And once they’re out of the water? They have to be bone dry. I mean desert-dry. Moisture is the enemy of crunch, and it will actively fight you if you let it linger on those slices. If you ever need a truly zesty side salad idea while your chips are soaking, check out this easy crunchy cabbage salad!
Slicing Technique and Starch Removal for Crispy Potato Chips
If you don’t have a mandoline slicer, you are going to work those arms off trying to get them thin enough by hand! A mandoline is your best friend here because every slice is exactly the same thickness—and that consistency is key for even cooking. After slicing, the potatoes go right into a big bowl of ice-cold water for at least 30 minutes. Why soak? Because the starch needs to leach out! If you leave it in, the chips will stick together and come out gummy instead of achieving that gorgeous, crisp texture we want in our potato chips.
Then, the critical final step before the oil bath: You must dry them completely. Lay them out on layers of paper towels and blot. Blot again! I even toss them gently in a clean kitchen towel just to make sure I’ve absorbed every last drop of moisture.
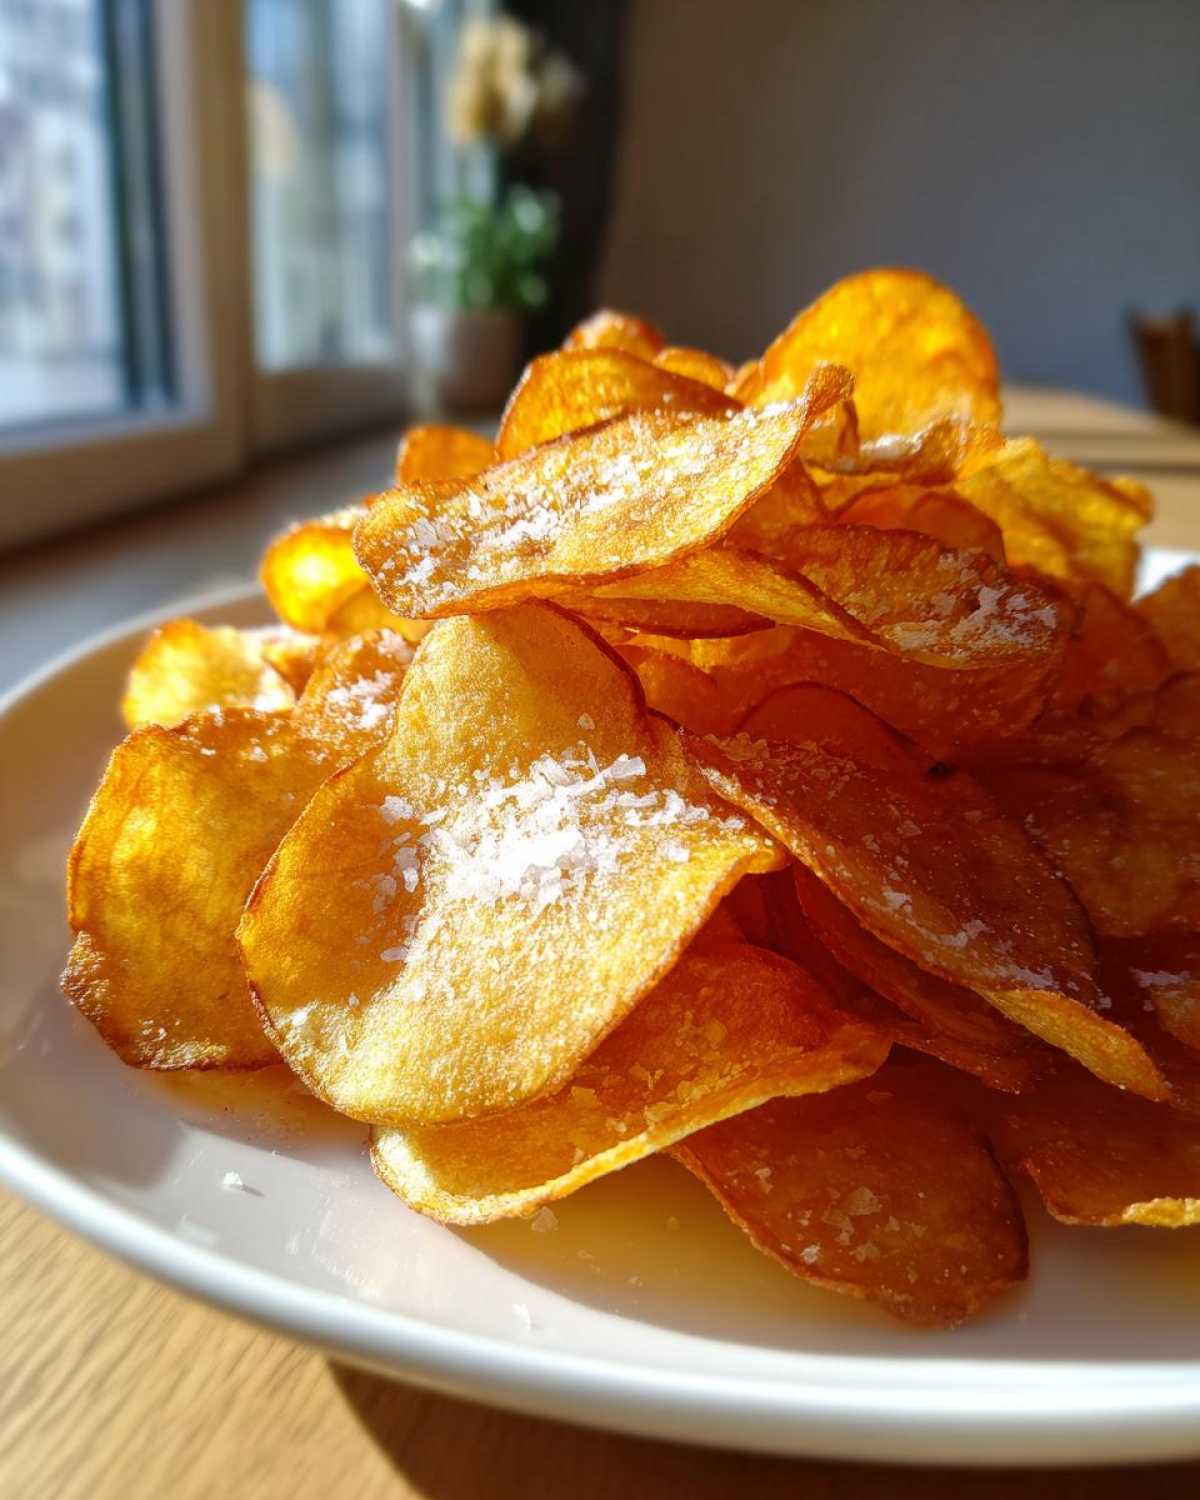
How to Make Crispy Potato Chips: Three Cooking Methods
Okay, so now that we have our perfectly sliced and dried potato rounds, it’s time for the fun part: deciding how we want to cook them! Since I promised you the ultimate guide, we can’t just stick to one way. We have three fantastic options to turn those raw slices into golden, crunchy potato chips. Each one gives you a slightly different result, but I assure you, they all deliver incredible flavor, especially if you followed the prep steps we just covered. If you’re looking for a great air-fried side, you might also want to check out my recipe for air fryer potato wedges!
Method 1: Deep Fried Potato Chips Authentic Results
This is the classic way, the method that gives you that true, salty, unmistakable Classic Potato Chip Flavor. You need to heat about two inches of oil in a heavy pot or Dutch oven until it hits that magic number: 350°F (175°C). Never dump too many slices in at once! Seriously, overcrowding makes the oil temperature plummet, and then you end up just soaking your potatoes in grease instead of frying them crisp. Work in small batches, gently lowering the slices in. They should only take about 3 to 5 minutes to turn that perfect shade of golden brown. Pull them out quick when they start to stiffen up, drain them on a wire rack, and salt immediately!
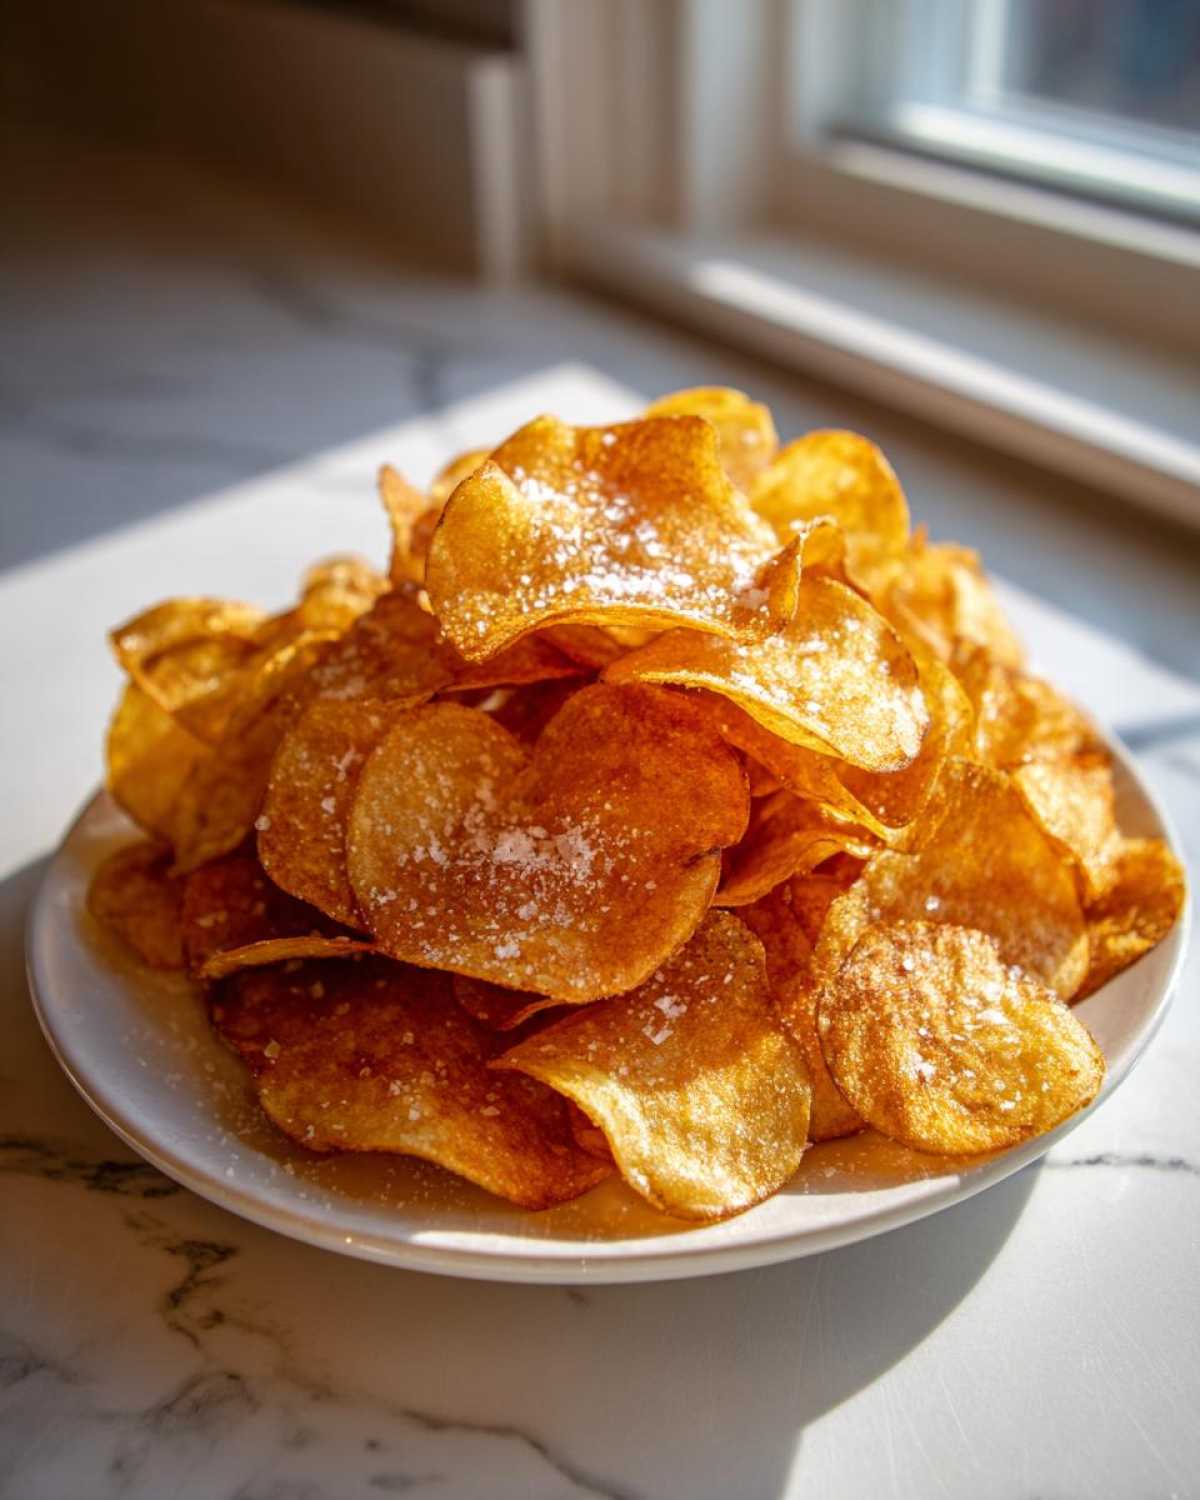
Method 2: Air Fryer Potato Chips Perfect Crunch
If you’re looking for the best way to get that crunch without the heavy oil, the air fryer is it! This is how you get those wonderful Guilt Free Potato Chips. Toss your dried slices lightly with just a tablespoon of oil—that’s it! Space them out in a single layer in your air fryer basket; you absolutely cannot stack them or they will steam, not crisp. Set your air fryer to about 375°F (190°C). They only take about 10 to 14 minutes, but you need to shake the basket every 4 minutes to ensure they all get some air time. They cook fast toward the end, so watch them closely!
Method 3: Oven Baked Potato Chips Healthy Alternative
Baking is fantastic if you’re making a huge quantity because you can spread them all out onto sheet pans. This is your go-to for Oven Baked Potato Chips Healthy preparation. Preheat your oven way up high, usually around 400°F (200°C). Lay the slices on parchment-lined baking sheets—again, only one layer, please! Give them a light spritz of oil. Because they bake on a flat surface, they won’t curve up like the air-fried ones, so you need to flip them halfway through baking. They might take 15 to 20 minutes total. They will look less oily than the fried ones, but you still get that wonderful golden color and satisfying snap!
Seasoning Your Homemade Potato Chips for Maximum Flavor
You just pulled them out—golden, bubbling, and screaming hot! Stop right there! If you wait even thirty seconds too long, the salt slides right off, and you’ve missed your window. Seasoning has to happen instantly, right on the cooling rack or the paper towels, while the residual heat and slightest bit of oil help the salt stick. For that classic, simple taste, all you need is good salt, sprinkled lightly and evenly.
But why stop there? This is where you get creative with your Potato Chip Seasoning Ideas! Once you master the basic salt, try dusting them with garlic powder, paprika, or even some dried dill for a tangy twist. You can also mix in a little onion powder and dried parsley for a veggie dip flavor profile. I’ve even blended smoked paprika with a pinch of cayenne for a smoky kick. If you’re looking for a great dipping partner for your masterpiece, you absolutely have to try making my caramelized onions—they make an incredible chip dip base!
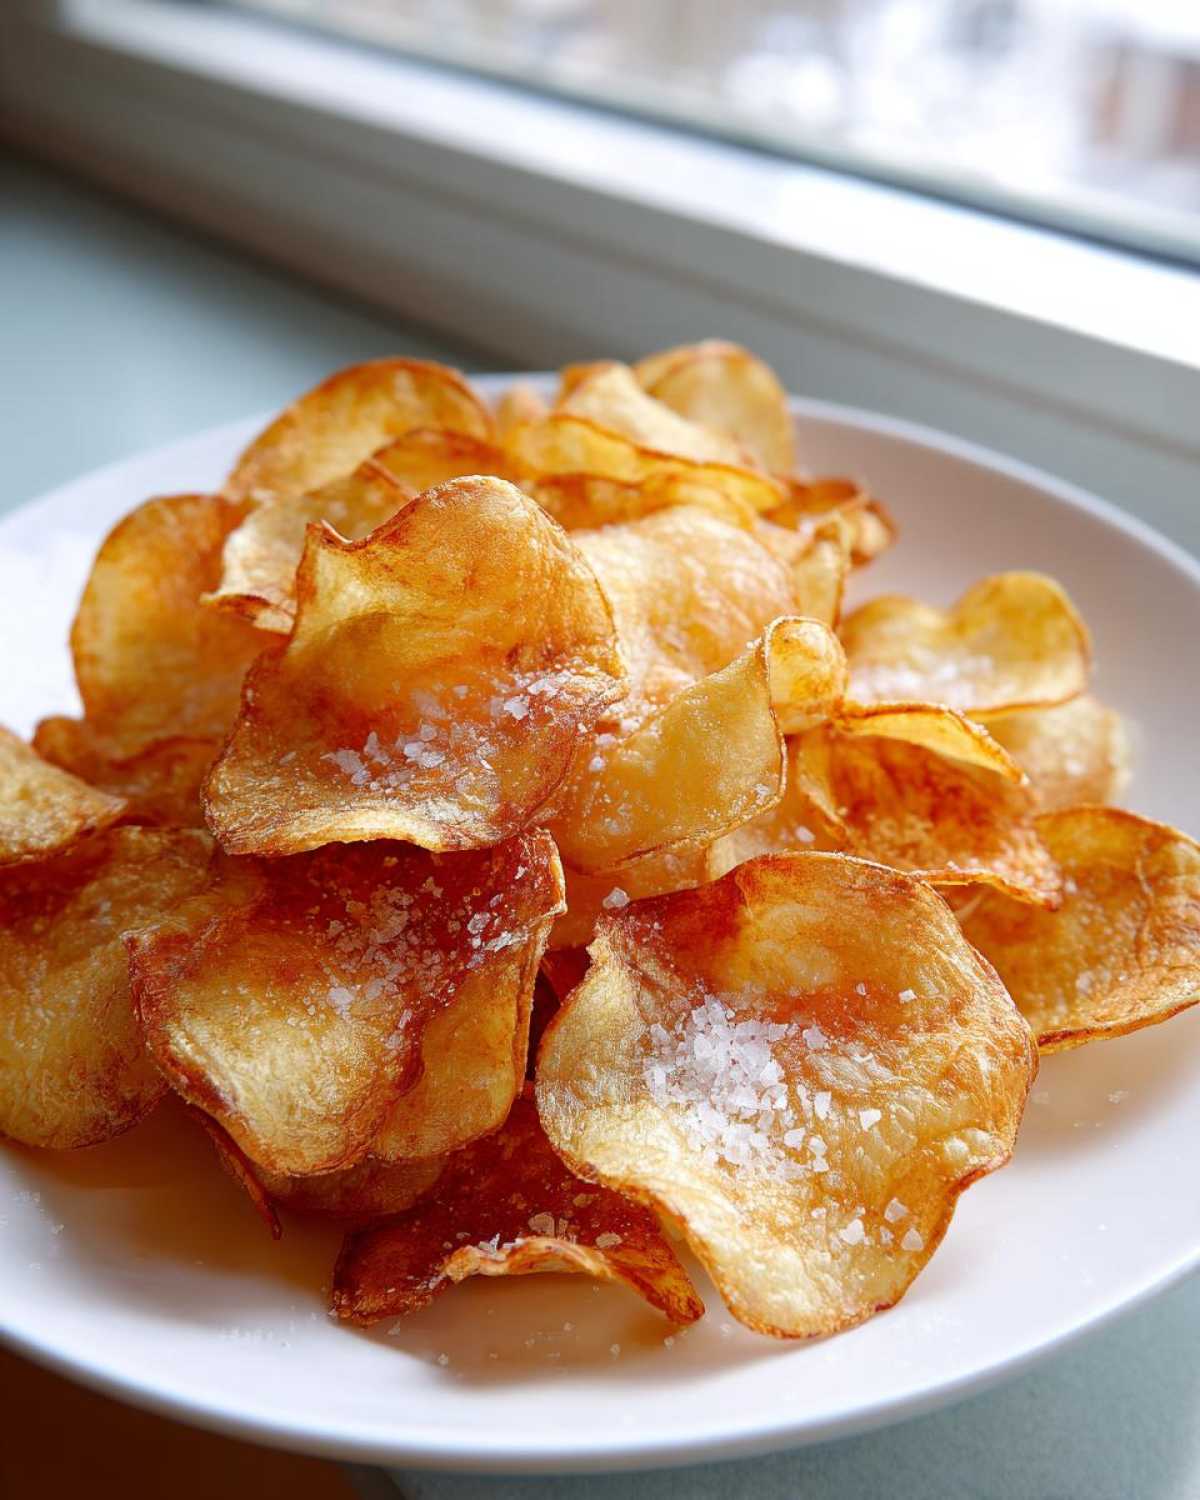
Tips for Success When Making Potato Chips
If you want to graduate from just making decent potato chips to truly mastering the art of the chip, you need a few insider hacks. Don’t sweat it if your first batch of fried chips looks a little dull; temperature control is everything! If you’re frying, always keep that oil steady at 350°F. If it dips too low, you get grease sponges, and nobody wants that. Use a thermometer, or if you don’t have one, drop a tiny scrap of potato in; it should sizzle excitedly but not explode.
Another big tip is about seasoning distribution. If you sprinkle all the salt in one spot while they are still on the rack, you end up with salty clumps and bare spots. I learned this trick: lift the cooling rack slightly and gently shake it back and forth over the sink or a separate sheet of parchment paper. This settles the salt evenly across all those crispy surfaces. Those simple Crunchy Snack Hacks are what take you from good to the best you’ve ever made at home!
Storage and Reheating Instructions for Potato Chips
So, you’ve made the perfect batch—now you have to keep them perfect! The worst thing is coming back to a bag of chips that went soft overnight. The key here is keeping air away, but NOT using the fridge! If you fried your potato chips, the fridge is a hard no; it makes them stale faster. Keep them in an airtight container at cool room temperature.
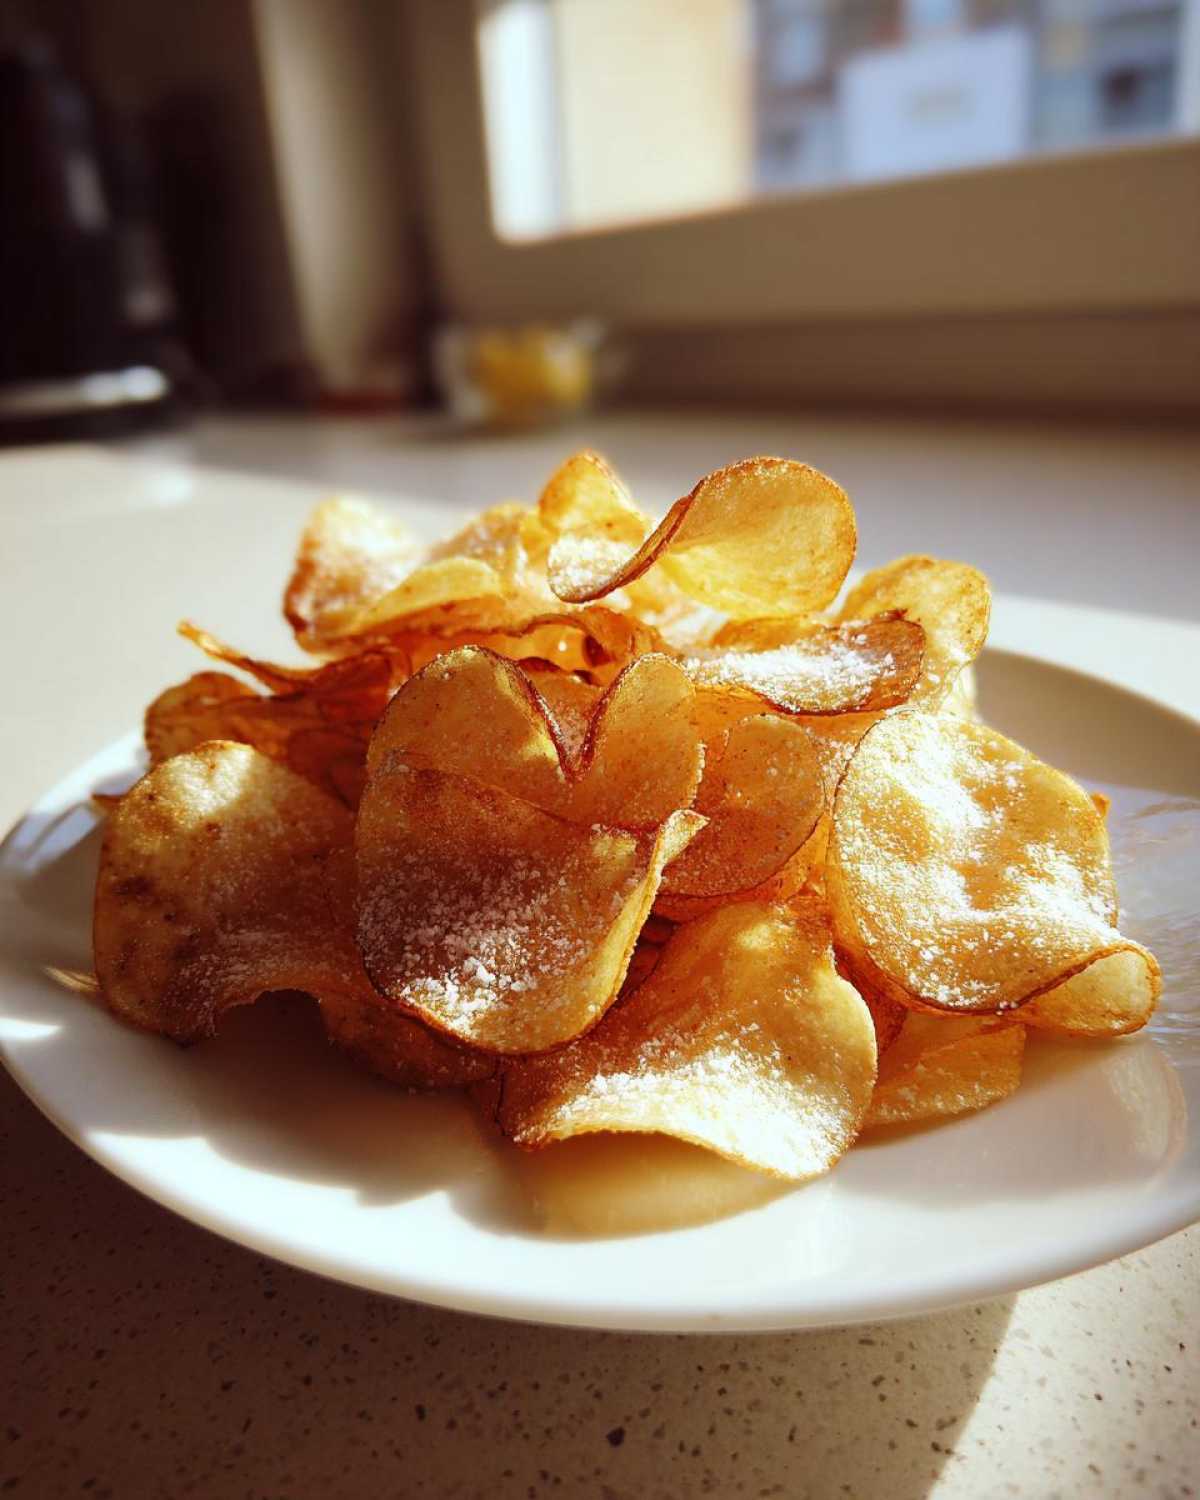
For the baked or air-fried varieties, they are a little more forgiving. If they soften up the next day, don’t despair! Just pop them back on a baking sheet in a 300°F oven for about five minutes. That little bit of dry heat wakes them right back up and restores that beautiful crunch. Trust me, these won’t last long enough to worry about long-term storage anyway!
Frequently Asked Questions About Potato Chips
I know you’re probably still standing over the cooling rack sneaking bites, but I wanted to field a few questions that always pop up when folks try making their own chips for the first time. Don’t worry if you run into a tiny snag; that’s why we have this little troubleshooting section! If you’re looking for more simple ideas, I always have new inspiration on my page for easy snack recipes.
Can I skip soaking the potato slices for potato chips?
Oh, I wish you could, but please don’t skip it! If you skip soaking, you leave behind all that surface starch. That starch is what makes things gummy when you fry or bake them. Essentially, you’ll end up with sad, unevenly cooked potato chips rather than that beautiful, crisp texture we are desperately chasing. Take the extra time; the payoff is huge!
What is the best potato for making crispy potato chips?
Hands down, Russet potatoes are the absolute winner here. They are built for crunching! They have a much higher starch content and lower moisture levels compared to waxy potatoes like Yukon Golds. That high starch is what puffs up and crisps beautifully when it hits the hot oil or the dry heat of the oven. They just give you that ideal, classic chip structure.
How do I know the oil temperature is correct for frying potato chips?
A thermometer is your best friend; aim for 350°F (175°C). If you don’t have one, try my old trick: drop a tiny sliver of potato into the oil. If it starts immediately sizzling happily and turns golden in about a minute, you’re good to go. If it just sits there quietly or starts turning dark brown instantly, your oil is either too cold or way too hot! You want that happy, steady sizzle for homemade potato chips.
Serving Suggestions for Your Movie Night Snacks
Now that you’ve conquered the chip-making, what’s better than sitting down for a true cinematic experience? Only the perfect accompaniment! These homemade potato chips are the superstar of any casual hang, making them the ultimate Movie Night Snacks. You absolutely have to have a dip worthy of their crunch!
I always pair mine with a big bowl of freshly made spicy queso. Seriously, my 10-minute nacho cheese sauce is the perfect cheesy companion, but a creamy onion dip works wonders too. Grab your favorite cold soda or an ice-cold beer, and enjoy the best snack movie night has ever seen!
Print
Simple Homemade Potato Chips
- Total Time: 35 min
- Yield: 4 servings
- Diet: Vegetarian
Description
Make crispy, thin potato chips at home using basic ingredients.
Ingredients
- 3 large Russet potatoes
- Vegetable oil for frying
- Salt to taste
Instructions
- Peel the potatoes.
- Slice the potatoes very thinly using a mandoline or a sharp knife.
- Place the potato slices in a bowl of cold water and let them soak for 30 minutes to remove excess starch.
- Drain the water and thoroughly pat the potato slices dry with paper towels. This step is important for crispness.
- Heat about 2 inches of vegetable oil in a deep pot or Dutch oven to 350°F (175°C).
- Fry the potato slices in small batches, being careful not to overcrowd the pot.
- Fry for 3 to 5 minutes, turning occasionally, until they are golden brown and crisp.
- Remove the chips with a slotted spoon and place them on a wire rack lined with paper towels to drain excess oil.
- Immediately sprinkle the chips with salt while they are still warm.
- Repeat with the remaining slices.
Notes
- For extra flavor, try seasoning with garlic powder or paprika after frying.
- If you do not have a thermometer, the oil is ready when a small piece of potato sizzles immediately upon entering the oil.
- Prep Time: 15 min
- Cook Time: 20 min
- Category: Snack
- Method: Frying
- Cuisine: American
Nutrition
- Serving Size: 1 serving
- Calories: 250
- Sugar: 1
- Sodium: 150
- Fat: 15
- Saturated Fat: 2
- Unsaturated Fat: 13
- Trans Fat: 0
- Carbohydrates: 28
- Fiber: 2
- Protein: 3
- Cholesterol: 0