
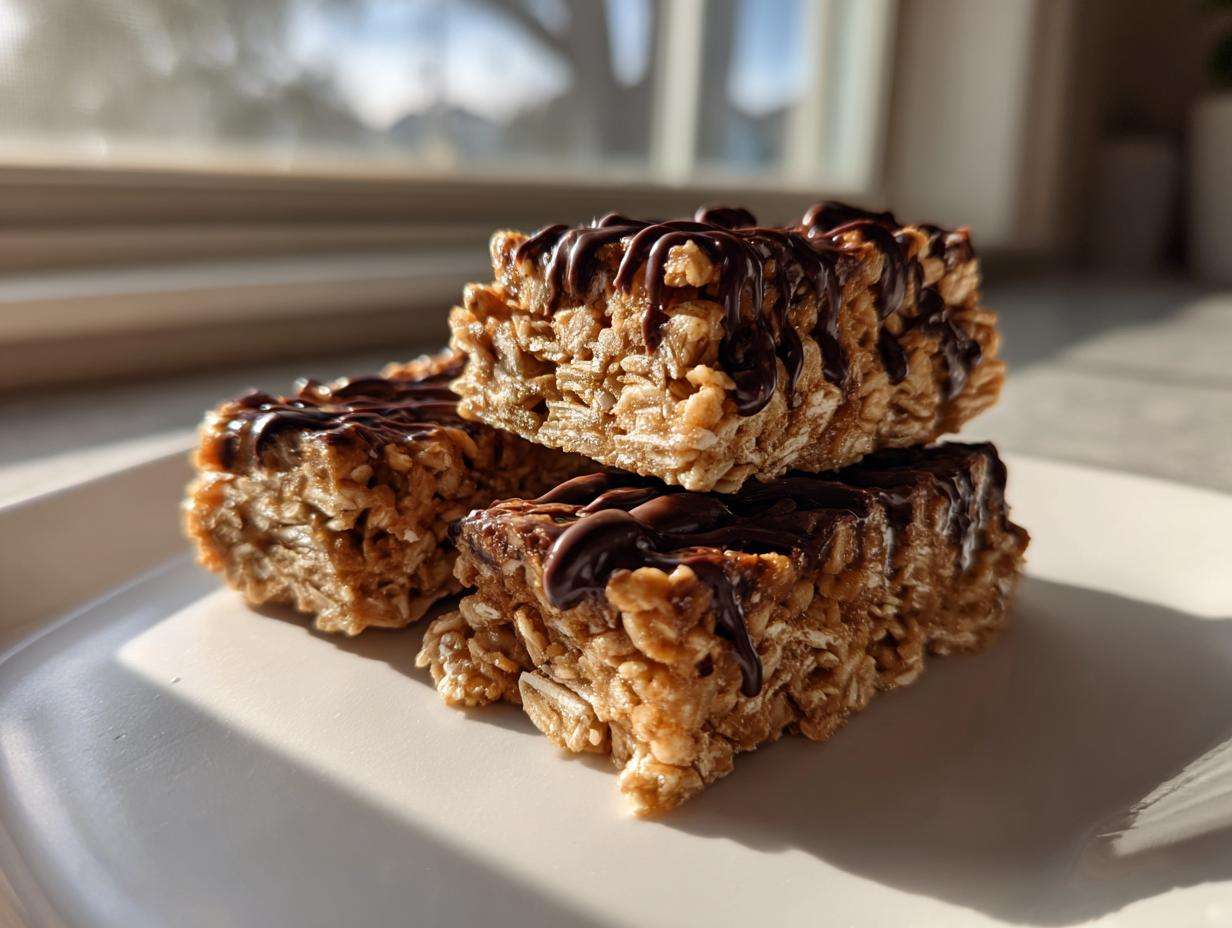
Oh, I totally get it. You’re running around, life is moving at a million miles an hour, and you need something that actually *works*—something packed with protein that tastes like a treat, not like cardboard! So many store-bought protein bars are loaded with stuff I can’t even pronounce. Honestly, that’s why I live for simple fixes. When I was juggling school, work, and just trying to keep the house running, I realized I needed snacks that required zero oven time. That’s how these 5-ingredient, no-bake peanut butter bars were born. I promise you, these are the easiest, best-tasting homemade protein bars you’ll ever mix up. Seriously, just dump, stir, chill, done!
Why You Need These Easy No-Bake Protein Bars
Listen, if you’re looking for protein bars that taste like actual dessert but take minutes to assemble—this is it. We’re ditching the complicated ovens and measuring out a ton of weird ingredients. These are designed for real life!
- They’re ready faster than running to the store.
- They satisfy that sweet craving without the sugar crash.
- They hold up perfectly in the fridge for weekly snacking.
The Easiest Protein Bars for Beginners
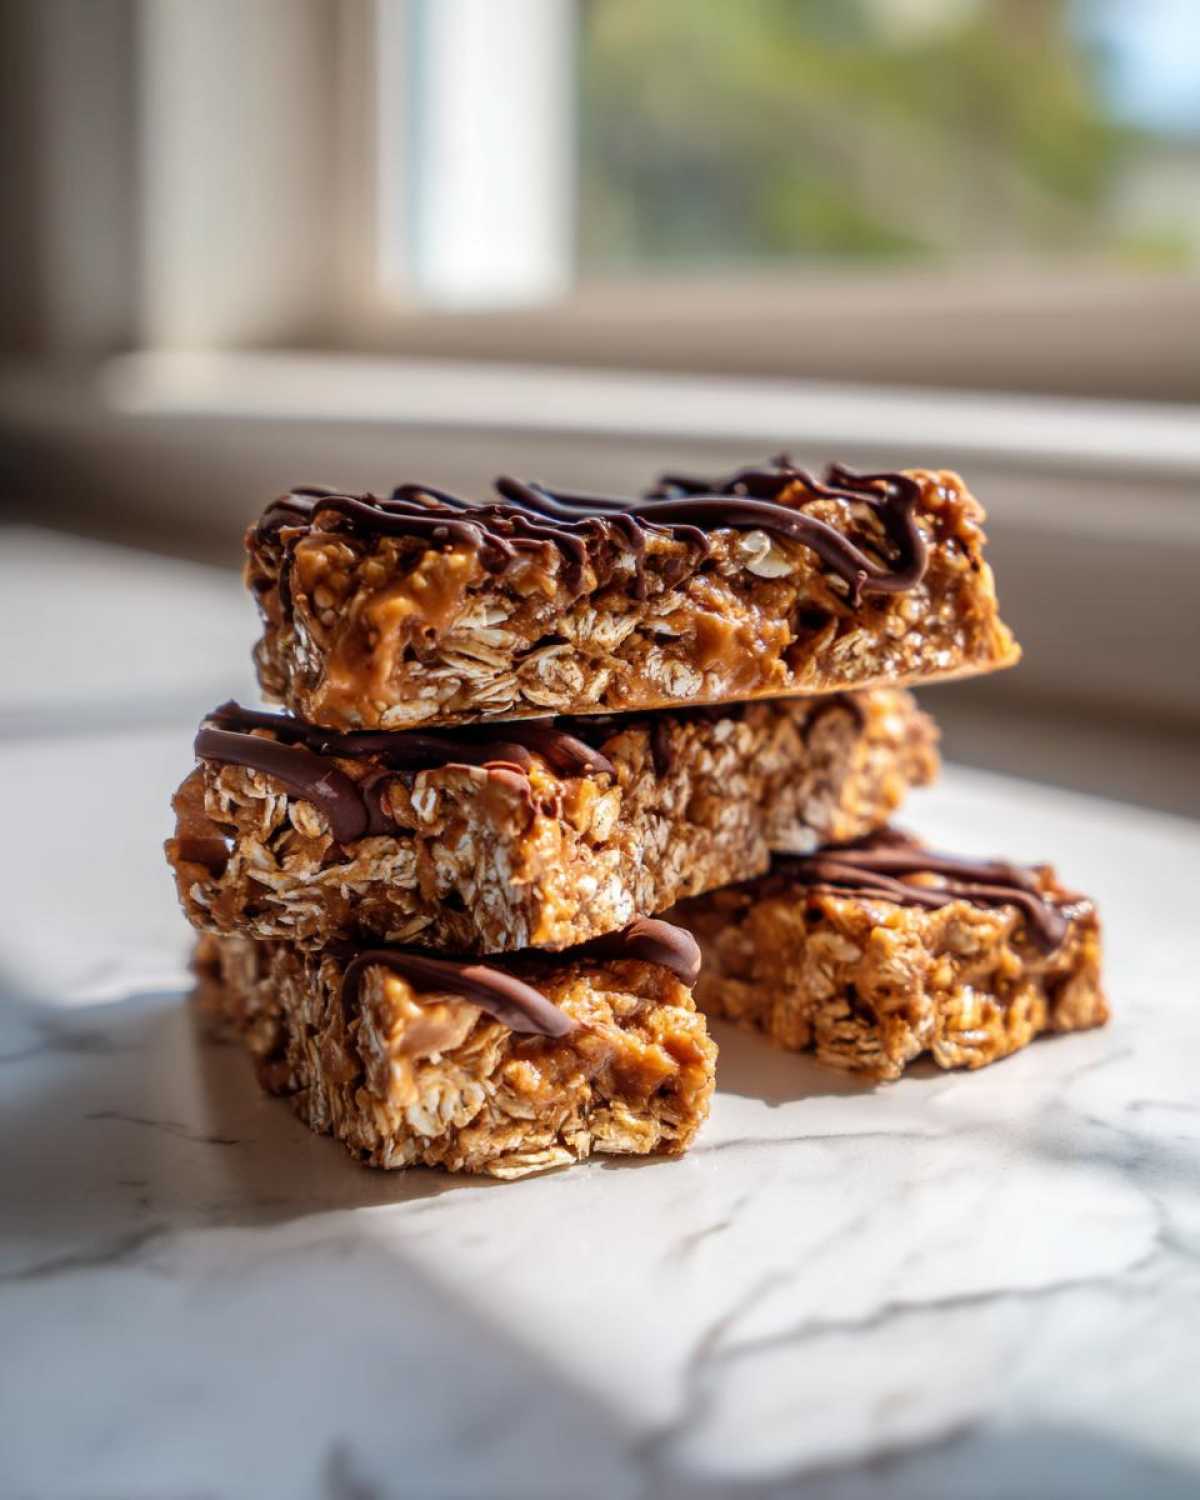
If you think baking is intimidating, start here! These are truly protein bars for beginners because the prep time is only about 10 minutes. No mixing bowls full of flour, no eggs to worry about. You literally just stir everything together in one bowl. That’s it!
Perfect Meal Prep Protein Bars
Meal prepping shouldn’t feel like a full-time job, right? That’s why I love that these meal prep bars hang out in the fridge so nicely. You spend 10 minutes mixing, you chill them for a couple of hours, and suddenly you have high-protein fuel ready all week long. Grab one before the gym or stash one in your desk drawer!
Gathering Ingredients for Your 5-Ingredient Protein Bars
Okay, let’s talk ingredients! The magic of these protein bars—and why they work so well without any baking—is focusing on just five core components. Seriously, five! This keeps things fast, keeps costs down, and ensures you always have what you need on hand.
Here’s exactly what you need to grab:
- 1 cup rolled oats (make sure they are rolled, not the instant kind!)
- 1 cup creamy peanut butter (we need that smooth binding power!)
- 1/2 cup vanilla or unflavored protein powder (your choice of type here)
- 1/4 cup honey or maple syrup (keep reading for a major tip on this!)
- 1/4 cup dark chocolate chips (just for a little celebratory drizzle on top!)
For more ideas on stocking up your pantry for homemade protein bars, check out my little guide on essential snack ingredients, it has great ideas for mixes! See what else you can mix in later.
Ingredient Notes and Substitutions for Homemade Protein Bars
Since we love keeping these accessible, let’s talk switches! If you need these to be vegan, just swap the honey for maple syrup—it works beautifully. That’s the easiest way to make these peanut butter protein bars totally plant-based.
Also, recipes can be tricky depending on your protein powder brand. If you mix everything up and it seems a little too stiff or dry, don’t panic! Just stir in water or milk, one teaspoon at a time, until it finally comes together into that perfect dough consistency. It shows you exactly how much moisture your specific ingredients need!
Step-by-Step Instructions: Making No Bake Protein Bars
This is where the magic happens, and trust me, it’s almost too easy! Since we aren’t using any heat for these protein bars, the most important part is getting the texture right before you chill them. Think of it like play-doh—it needs to hold its shape!
First things first: prep your dish! Line an 8×8 inch dish with parchment paper. Make sure you leave some overhang on the sides; this acts like built-in little handles so you can easily lift the whole block out later. That’s a huge time-saver when it comes to cutting your delicious easy protein bar recipe.
Mixing and Pressing the Protein Bars Dough
Grab your biggest bowl! We’re going to dump in the oats, the protein powder, that glorious peanut butter, and your sweetener—honey or maple syrup. Now, mix, mix, mix! You’re looking for a thick, uniform dough. Don’t worry if it seems stiff at first; you might need to ditch the spoon and just use your hands to really work it all together until there are no dry patches left. Remember, we want chewy protein bars, so get that muscle in there!
Once it’s all combined, press that mixture firmly and evenly into your prepared dish. Press down hard! Every little bit of squishing helps them stick together and keeps them from crumbling when you slice them up later. Seriously compact it!
Melting Chocolate and Chilling Your Protein Bars
Time for the drizzle! Pop your chocolate chips into a microwave-safe little bowl. If you melt them in 30-second bursts, stirring well between each one, you won’t burn them. You want shiny, smooth goodness here. Drizzle that melted chocolate right over the top of your pressed peanut butter mixture. It’s so pretty!
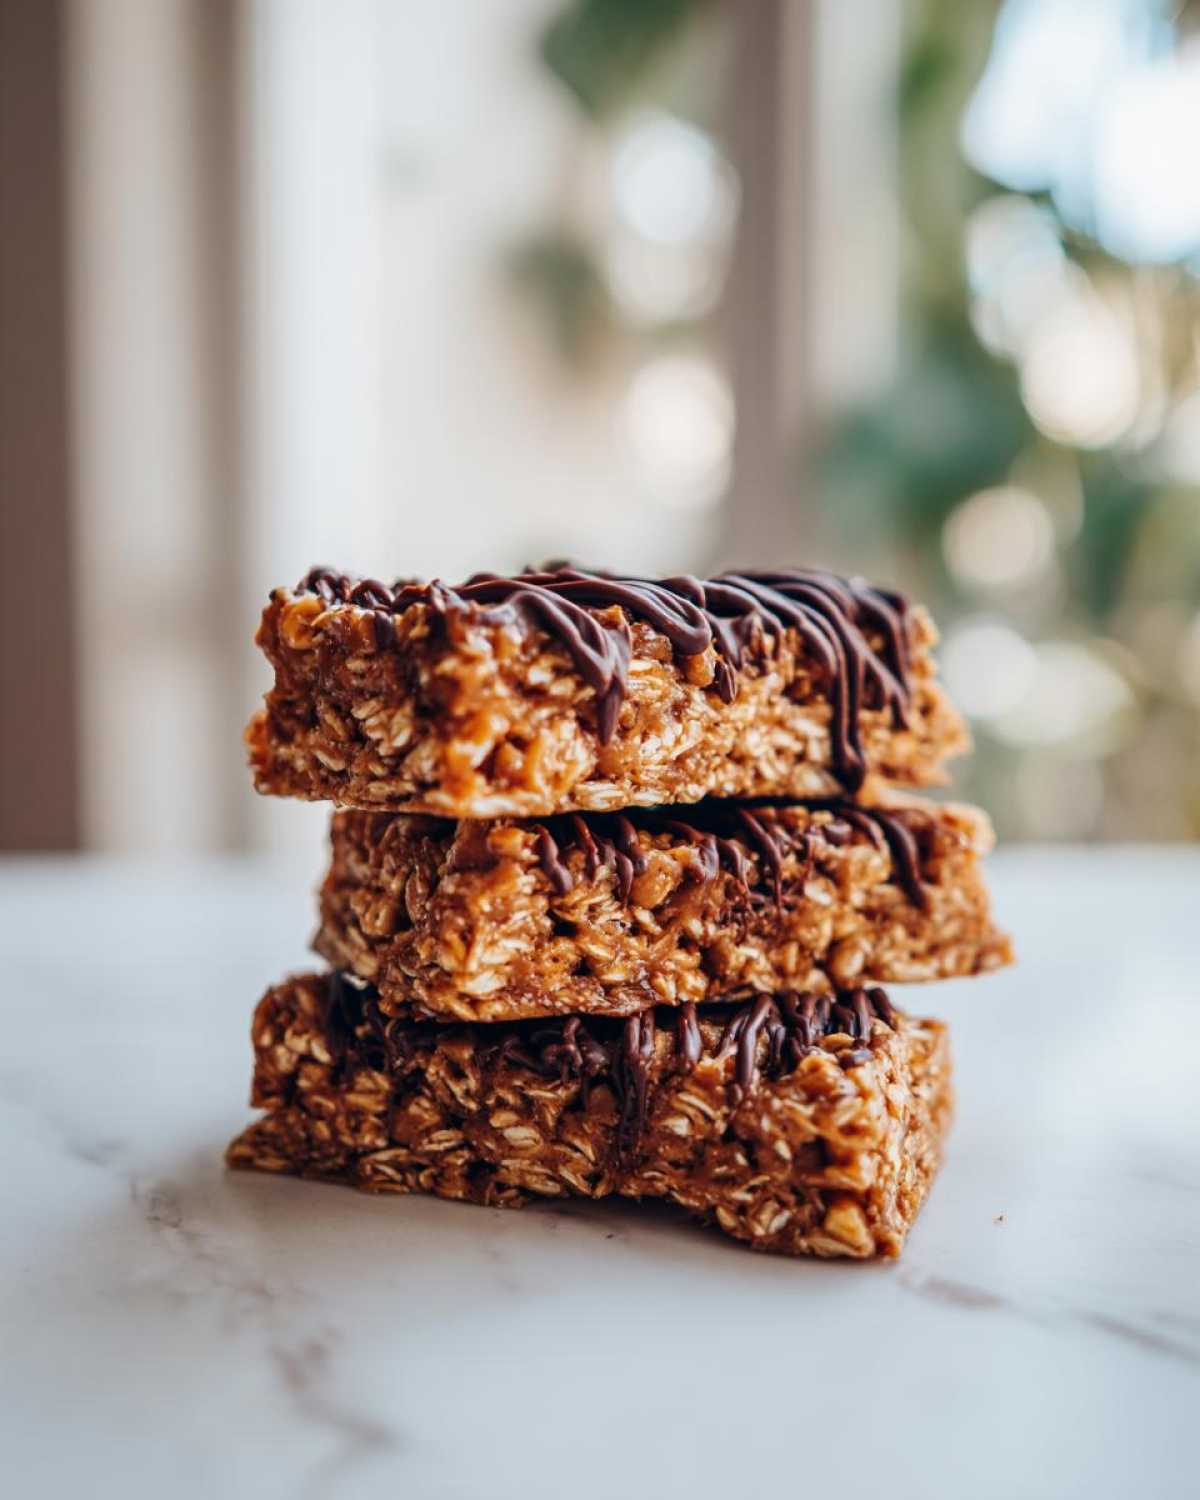
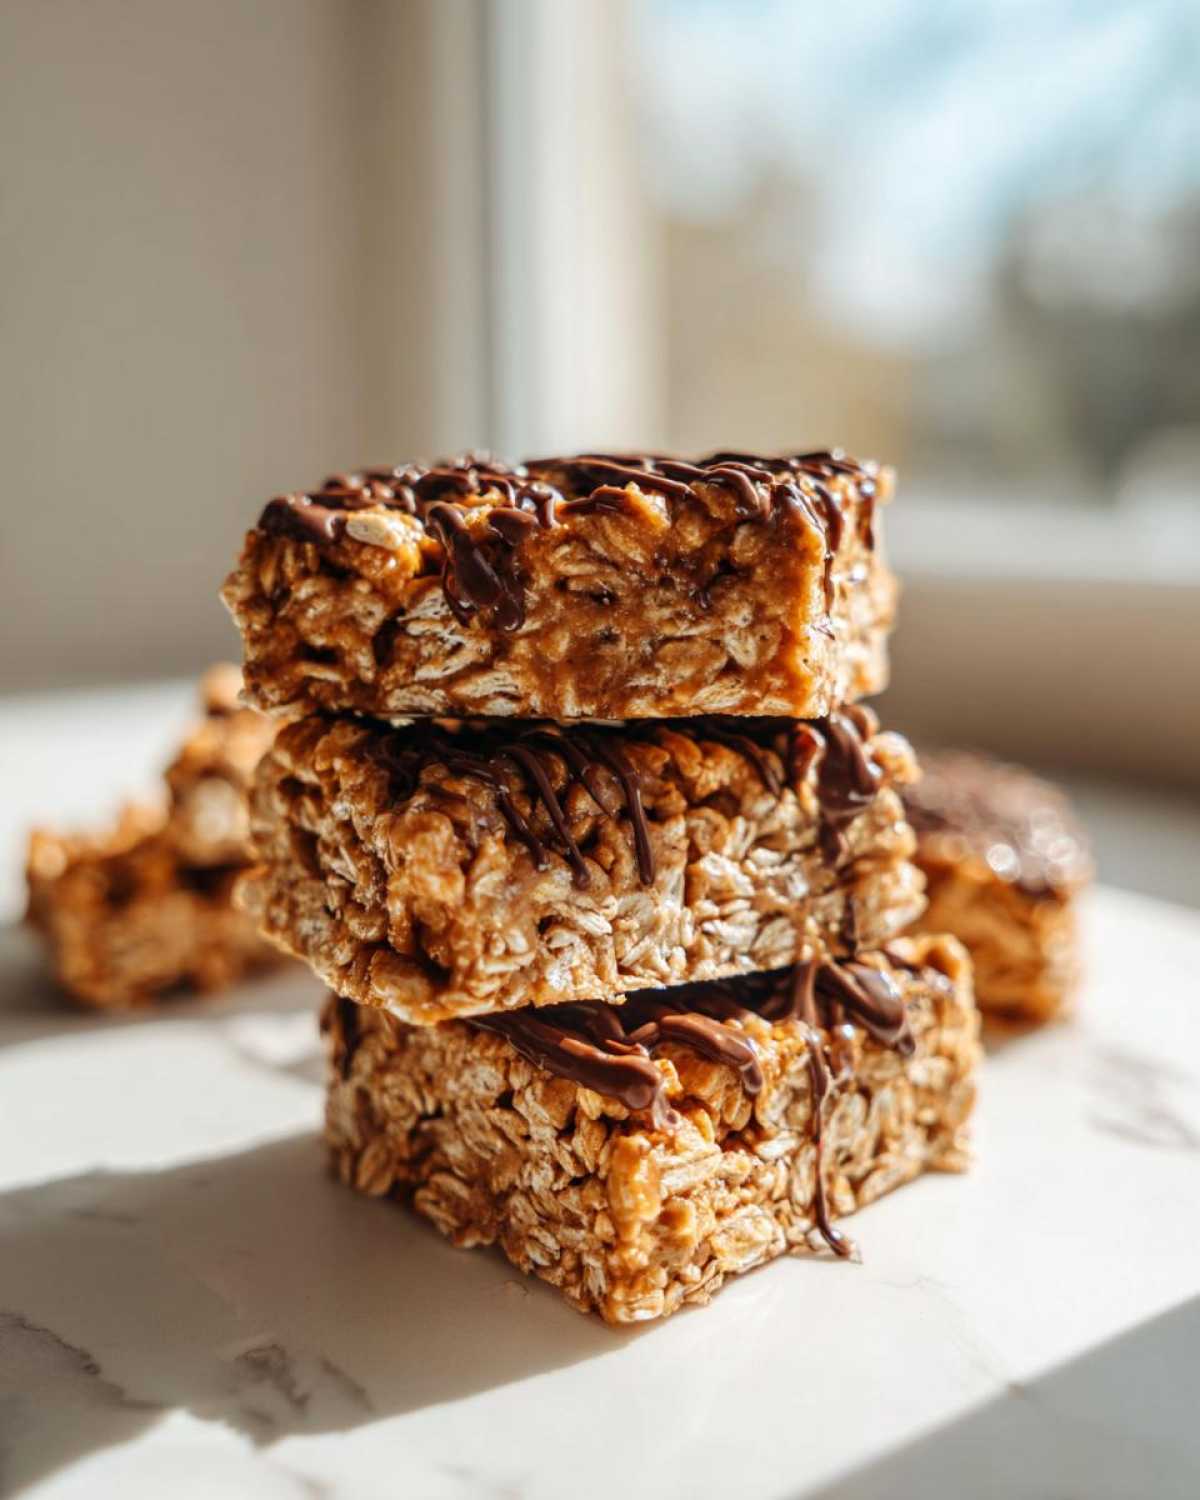
Now, sneak the pan into the refrigerator. You absolutely must chill these for at least 2 hours. This isn’t optional if you want clean cuts! Once they are rock solid, use those parchment paper handles to lift the whole slab out, and slice them into 10 or 12 perfect homemade protein bars. So easy!
Tips for Perfect Peanut Butter Protein Bars Every Time
If you’ve ever made protein bars that just fell apart the second you tried to cut them, I feel your pain! Since we aren’t baking anything, the structure relies entirely on the ratio of your sticky stuff (the peanut butter and honey) to your dry stuff (oats and powder). Keep that balance right, and you’ll have success! We all want those homemade protein bars to hold together, especially when we’re rushing out the door.
My biggest tip, especially if you live somewhere cold or your peanut butter is super thick right out of the jar, is to give your peanut butter a little warm-up first. Not melted, heavens no! Just microwave it for about 15 seconds. This makes it easier to mix evenly with the powder and oats. If you skip this, you might end up over-mixing later just trying to get things combined, and over-mixing makes them tough! For fantastic tips on structure for homemade protein bars, you might want to check out what the experts say right here.
Achieving the Best Texture in Your Homemade Protein Bars
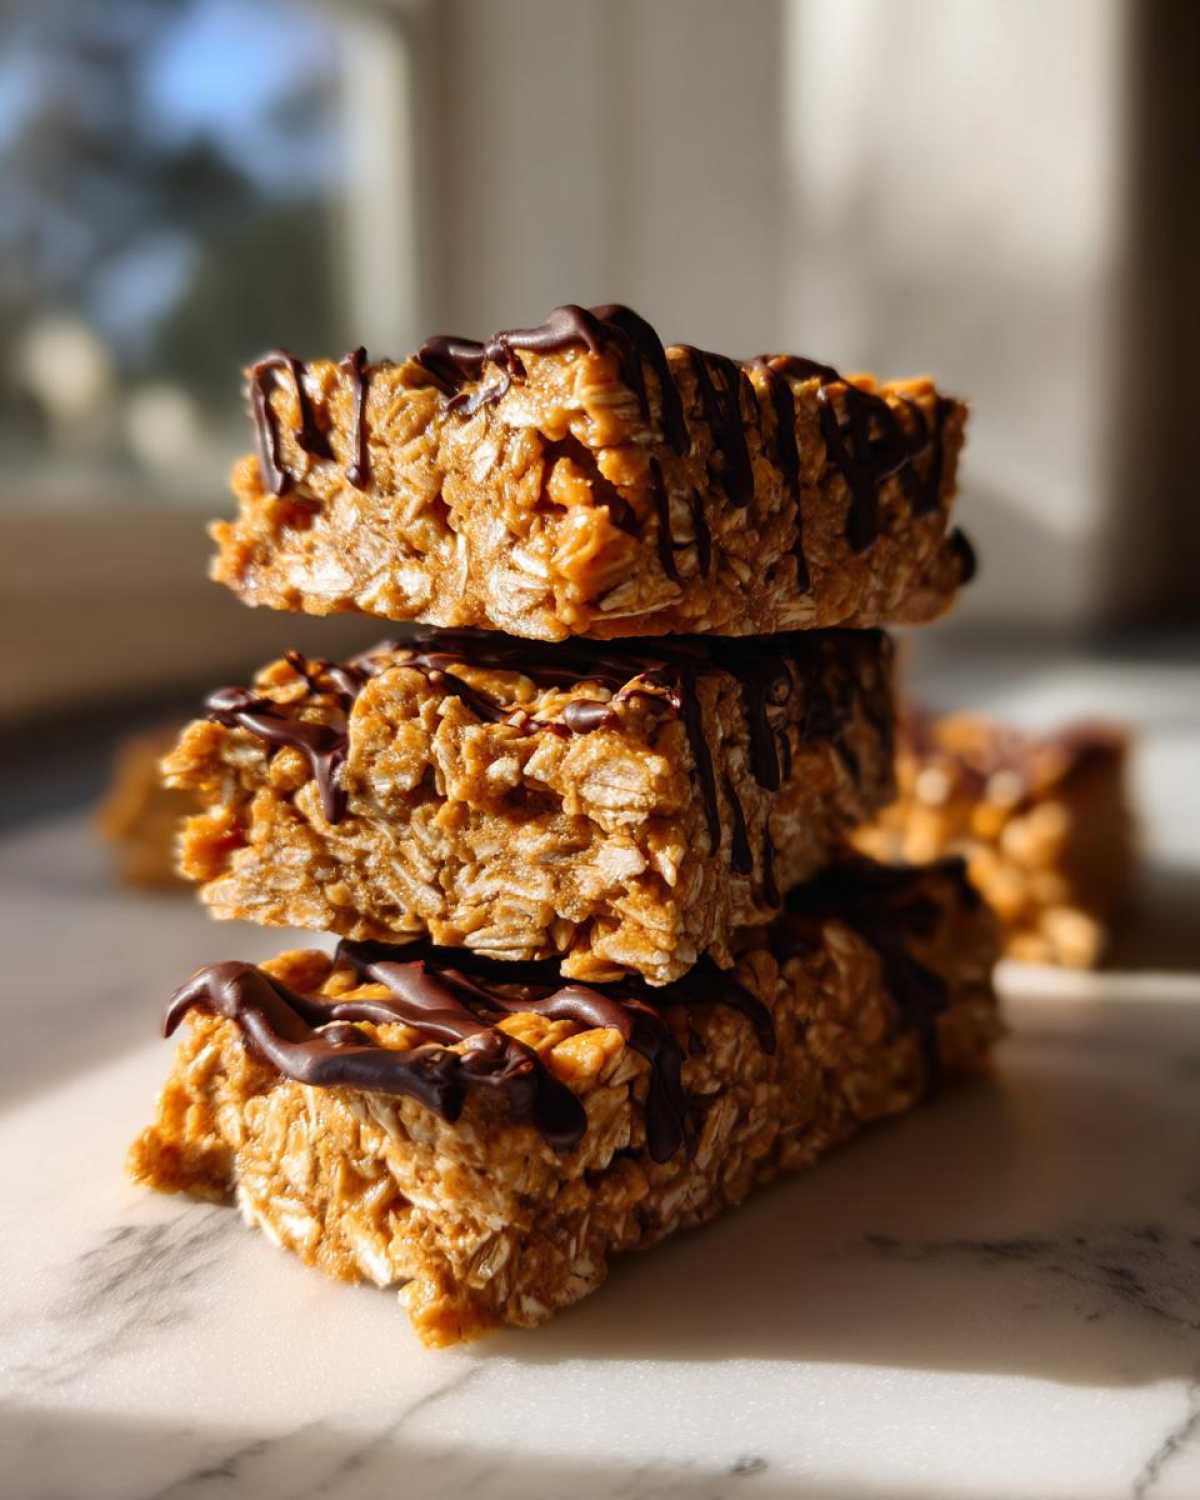
Texture is everything when you’re making homemade protein bars, right? We want chewy, not crumbly, and definitely not rock hard. If you follow the recipe closely, but you notice your mixture is still struggling to form a proper dough—meaning you see dry streaks of oat flour—don’t add more peanut butter right away! Remember that teaspoon of water trick I mentioned before? Try that first. A tiny bit of liquid can save a batch that seems too dry.
On the flip side, if you chill them and they still feel kind of gooey? Don’t stress! Just pop them back in the fridge or even the freezer for another 30 minutes. A little extra chill time ensures these aren’t just delicious, they are structurally sound protein bars that hold their shape!
Variations for Your High Protein Recipes
Okay, this base recipe is fantastic, but I love experimenting, especially once you get the hang of making protein bars! Because this is no-bake, the key is keeping your wet and dry ingredients balanced. If you swap out a binder like peanut butter, everything else shifts.
You can totally change up the flavor profile here! Try swapping the creamy peanut butter for almond butter or sunflower seed butter if you have a nut allergy. Just watch the consistency closely. If you use a different nut butter, you may need that extra teaspoon of water or milk because some brands are naturally way thicker than others. These adjustments lead to amazing high protein recipes that feel totally custom-made.
Making Vegan Protein Bars Recipe Swaps
We already talked about using maple syrup instead of honey for the vegan swap, but one major thing to watch is your protein powder! Different brands, especially plant-based powders like pea or soy, absorb moisture differently than whey. If your vegan protein bars recipe seems too crumbles-y, just add a tiny splash of non-dairy milk until it holds together.
For those looking for gluten free protein bars, this is already perfect as long as you make sure your rolled oats are certified gluten-free! See? Making these protein bars fit your life is super easy once you know the core structure.
Storing and Serving These Quick Protein Treats
Now that you made that amazing block of goodness, let’s talk about keeping your protein bars perfect! Because these are no-bake, they really love the cold. Store them in an airtight container and keep them in the refrigerator. They stay great for up to a week—if they last that long!
I find they taste best when served straight from the fridge; they stay nice and firm, which is perfect for satisfying those grab-and-go moments. Next time you need a quick lift, grab one before the gym or pop one in the kids’ lunchboxes. Seriously, these homemade protein bars make healthy snacking so much easier! If you’re looking for storage tips that keep them perfectly firm, lots of people have success following the advice on this guide to no bake protein bars.
Frequently Asked Questions About Homemade Protein Bars
Okay, I know you have questions when you try a new recipe, especially when it comes to the science behind good texture in protein bars! We want these to be chewy, not hard little bricks, right? That’s why I wanted to cover the most common things I hear when people try making these simple homemade snacks for the first time.
Can I bake these easy protein bar recipe instructions?
Oh, that’s a fun question! You totally *could* technically put them in the oven, but honestly, I wouldn’t recommend it for this blend of ingredients. This whole thing is designed to be no-bake! Baking them dries out the oats and the protein powder too quickly, and you end up losing that soft, chewy quality we’re aiming for in the best tasting protein bars. We rely on the fats and the sweetener binding everything together as they chill. Stick to refrigeration for the best result!
What is the best protein powder for these protein bars?
This is my favorite place to geek out a little! The best powder really depends on what you prefer, but you have to remember that different types act differently. If you use whey protein, you generally need a tiny splash more liquid because whey tends to absorb moisture really fast, which can sometimes lead to crumbling in other high protein recipes. If you use plant-based powder, like pea protein, it might not bind quite as tightly, so pressing that dough down really hard is key to making sure your protein bars don’t fall apart! If you’re trying to keep these low carb, look for a powder sweetened with stevia or erythritol to create low sugar protein bars.
If you’re exploring texture options for protein bars, this article has some great insights on keto versions, too! Check out sugar-free tips here.
Understanding the Nutrition in These Simple Homemade Snacks
I know some of you look at the ingredients list and immediately want to know the scoop on the macros, so here they are! Keep in mind, because we’re using different brands of peanut butter or protein powder, these numbers are just gorgeous estimates based on the recipes I used.
- Serving Size: 1 bar
- Calories: 220
- Protein: 12g
- Sugar: 7g
That’s what I call a win for quick protein treats! Because we control every single ingredient in these protein bars, you know exactly what you’re fueling your body with. Just remember, if you use almond butter instead of peanut butter, your fat count will shift a little, so these are always best kept cold to maintain that perfect structure!
Share Your Homemade Protein Bars Creations
Whew! We made it through the mixing and the chilling, and now you have a whole pan of glorious, chewy protein bars staring back at you! I really hope you love these—because making them feels like cheating when they taste this good. Seriously, tell me if they aren’t the best tasting protein bars you’ve made at home!
I absolutely love seeing what you all come up with in your kitchens! Did you use cashew butter instead of peanut butter? Did you add mini chocolate chips to the dough instead of just drizzling on top? Please, drop all the details down in the comments below! I read every single one, and your successes keep me inspired to keep sharing our family’s kitchen secrets. You can always learn more about why sharing recipes matters so much to us over at our story page.
If you can snap a picture of your perfect little stack of homemade protein bars, tag me on social media! I’d love to feature you on our page. It means the world to me that our simple recipes are making your busy life a little bit easier and a whole lot tastier. Thanks for pulling up a seat at our virtual table today, friends!
Print
Easy 5-Ingredient No-Bake Peanut Butter Protein Bars
- Total Time: 2 hr 10 min
- Yield: 10 servings
- Diet: Vegetarian
Description
Make these simple, no-bake peanut butter protein bars with just five ingredients. They are chewy, satisfying, and perfect for quick meal prep or a healthy snack.
Ingredients
- 1 cup rolled oats
- 1 cup creamy peanut butter
- 1/2 cup vanilla or unflavored protein powder
- 1/4 cup honey or maple syrup
- 1/4 cup dark chocolate chips (for topping)
Instructions
- Line an 8×8 inch baking dish with parchment paper, leaving an overhang on the sides for easy removal.
- In a large bowl, combine the rolled oats, protein powder, peanut butter, and honey or maple syrup.
- Mix all ingredients thoroughly until a thick, uniform dough forms. You may need to use your hands to fully incorporate everything.
- Press the mixture evenly into the prepared baking dish. Press down firmly to compact the bars.
- Melt the chocolate chips in a microwave-safe bowl in 30-second intervals, stirring until smooth.
- Drizzle the melted chocolate over the top of the bar mixture.
- Place the dish in the refrigerator and chill for at least 2 hours, or until firm.
- Use the parchment paper overhang to lift the block of bars out of the dish.
- Cut the block into 10 to 12 equal bars. Store the bars in an airtight container in the refrigerator for up to one week.
Notes
- For a vegan option, use maple syrup instead of honey and ensure your protein powder is plant-based.
- If the mixture seems too dry, add one teaspoon of water or milk at a time until it comes together.
- These bars taste best when kept cold, making them excellent for grab-and-go fuel.
- Prep Time: 10 min
- Cook Time: 0 min
- Category: Snack
- Method: No-Bake
- Cuisine: American
Nutrition
- Serving Size: 1 bar
- Calories: 220
- Sugar: 7
- Sodium: 110
- Fat: 13
- Saturated Fat: 3
- Unsaturated Fat: 10
- Trans Fat: 0
- Carbohydrates: 19
- Fiber: 3
- Protein: 12
- Cholesterol: 0

