
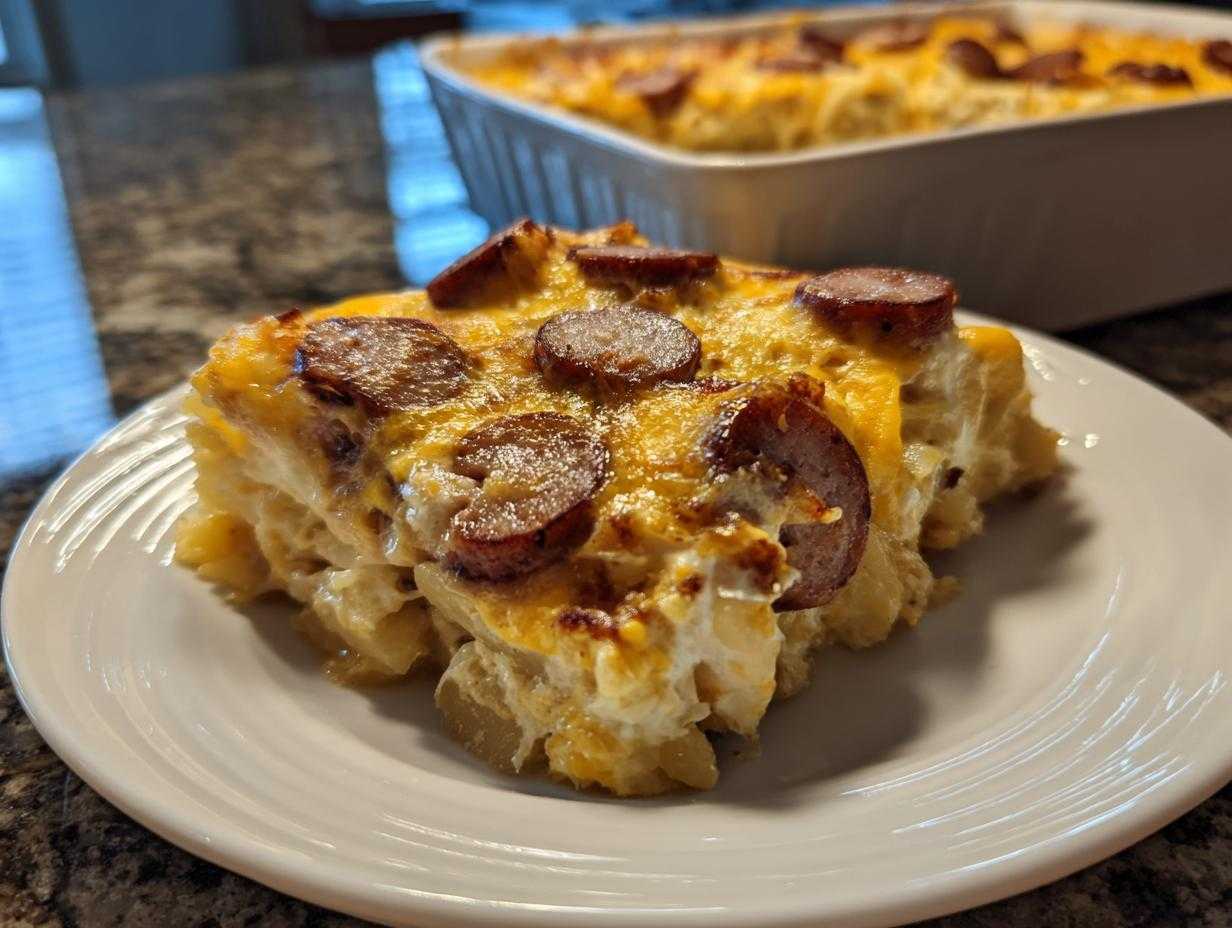
Oh, you know those nights? The ones where the calendar is screaming and you just need something warm, cheesy, and deeply satisfying to hit the table? Forget takeout! I’ve spent years perfecting my go-to emergency meal, and trust me, this **pierogi casserole** absolutely changes the game. It’s the definition of Polish comfort food without needing to spend hours slaving over a dumpling wrapper. We’re talking about transforming a bag of frozen pierogi into a rich, bubbly bake that tastes like it simmered all day long. If you need a hearty family meal that comes together faster than you can set the table, you are in exactly the right place. This is my tried-and-true recipe for busy weeknights!
Why This Creamy Kielbasa and Cheese Pierogi Casserole is Your New Favorite Comfort Food Casserole
Listen, I know casserole gets a bad rap sometimes, but this isn’t your Aunt Mildred’s dry tuna bake. This **pierogi casserole** is the real deal—creamy, packed with flavor, and it truly hits that spot when you need a major comfort win. Seriously, I rely on this recipe at least twice a month. If you’re looking for a **hearty family meal** that doesn’t require you to stress out after work, stick around because this is it.
- It’s unbelievably fast to assemble, making it the perfect **easy weeknight dinner**.
- It uses **frozen pierogi recipes** knowledge, meaning zero prep for the main dish!
- It delivers that rich, savory hit you expect from the best **comfort food casserole**.
Quick Assembly for Easy Weeknight Dinner Success
When I say quick, I mean it! Because we lean heavily on using frozen pierogi straight from the bag—no boiling them first, which is a huge time saver—the prep is genuinely just chopping the sausage and onion. You’re basically making a thick, savory gravy, tossing everything together, and dumping it in a dish. It’s the definition of a kielbasa casserole recipe that respects your time. Five minutes of actual work, tops!
The Ultimate Polish Comfort Food Casserole Experience
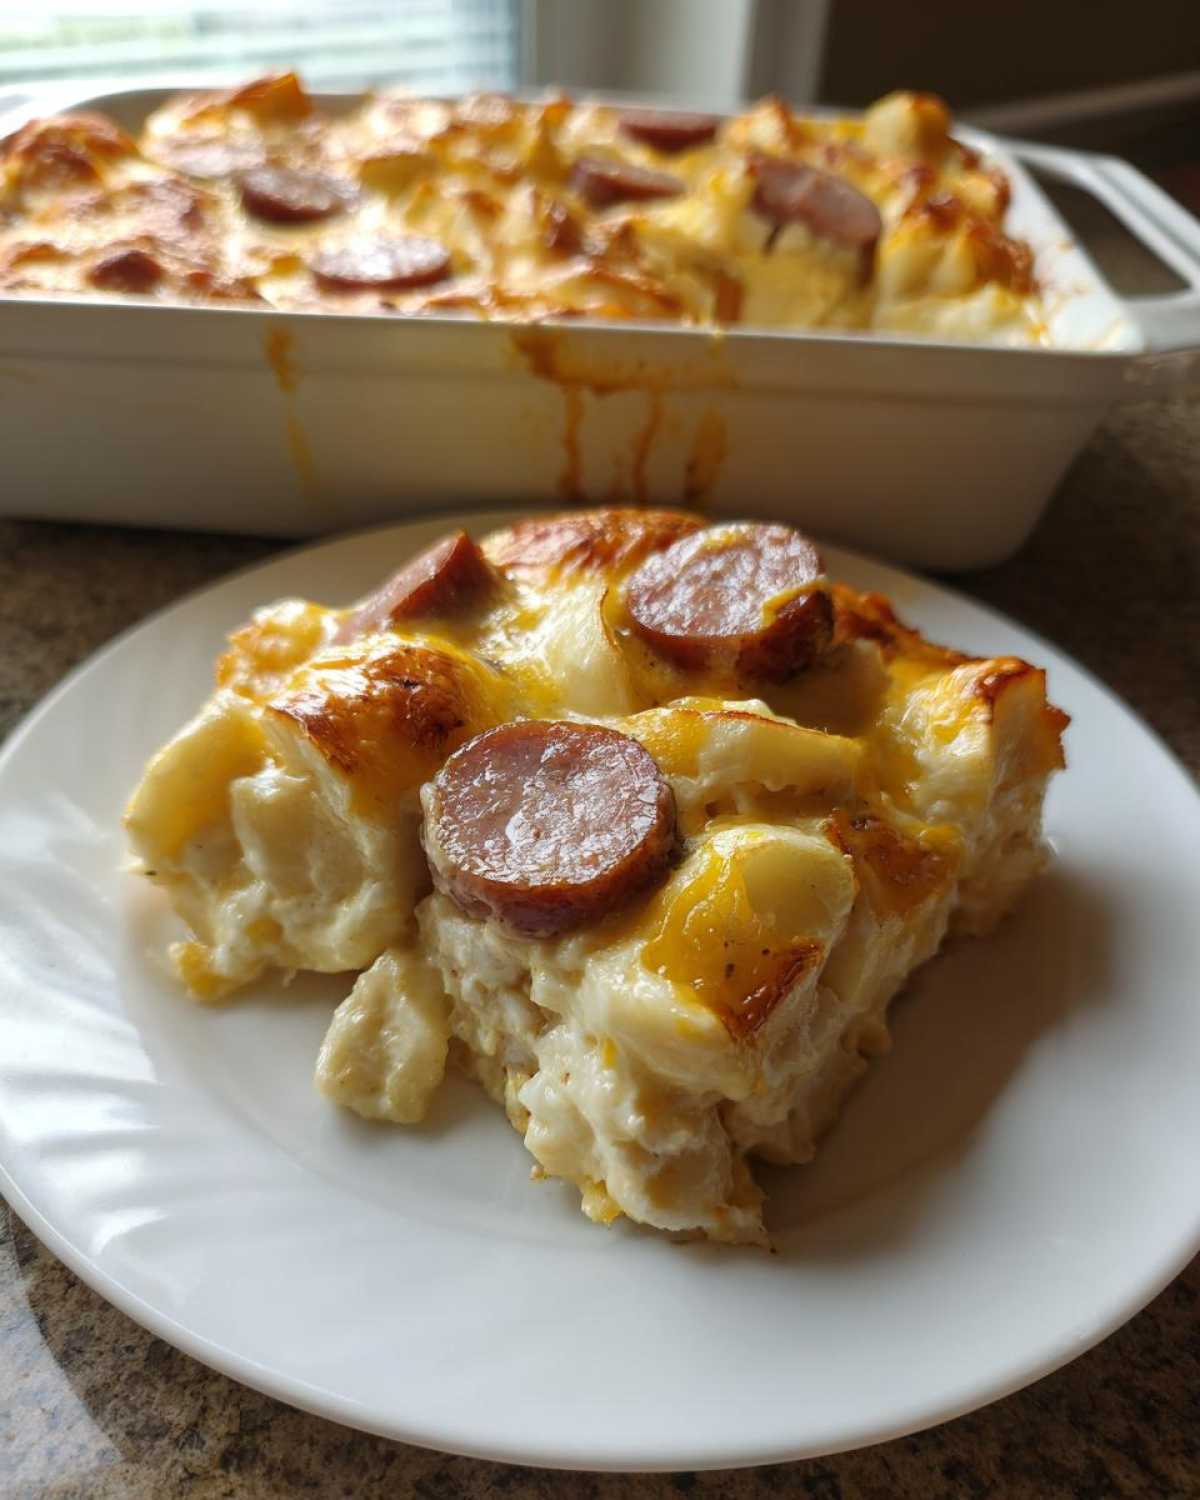
What makes this a true **polish comfort food** champion is the combination of sharp cheddar, tangy sour cream, and smoky kielbasa. That creamy sauce coats every single dumpling perfectly. When it bakes up, the top gets that glorious crust—golden and slightly crisp—while the inside stays melt-in-your-mouth perfect. It’s savory, it’s cheesy, and honestly, it tastes way more complicated than it actually is!
Gathering Ingredients for Your Cheesy Pierogi Bake
Okay, let’s talk shopping! Pulling this together is super simple because most of what you need is probably lurking in your fridge or freezer already. I always measure things out before I start heating up the stove—it just prevents that frantic scramble mid-sauté. Getting your prep right here is key to a perfect cheesy pierogi bake. You’ll need that kielbasa, definitely the frozen pierogi, butter for sautéing, the aromatics like onion and garlic, some flour for thickening, broth, sour cream, and two parts cheddar cheese!
Don’t forget the bacon if you want that extra smoky crunch on top—it’s totally optional, but I highly recommend it for major flavor points!
Ingredient Notes and Substitutions for Your Pierogi Casserole
When we talk about the very best **pierogi casserole**, we have to talk about the filling. I insist on using the traditional potato and cheese filling. Those hold up beautifully in the sauce. If you use sauerkraut or meat-filled ones, the texture will change dramatically, so stick to the classic for this one!
If you can’t find kielbasa, any good, firm smoked sausage works just fine. And listen, if you’re out of sour cream, full-fat plain Greek yogurt is a decent stand-in, but it can sometimes make the sauce a touch tangier than Grandma intended. For the cheese, make sure you shred it yourself if you can; the pre-shredded stuff has anti-caking agents that make the final melt a little less gooey. That’s a crucial trick I learned from fiddling with various **frozen pierogi recipes**!
Simple Casserole Assembly: Preparing the Pierogi Casserole
Alright, now that we have all our beautiful ingredients lined up, it’s time for the fun part: putting this amazing **pierogi casserole** together! Remember, we’re aiming for a **one pan dinner** situation here, mostly. We do need one big skillet for the initial browning, but trust me, that little bit of extra dishwashing is worth the incredible flavor payoff. First things first: get that kielbasa sliced up and into a skillet over medium heat. You want to brown it up nicely—don’t rush this step! Those little crispy edges infuse so much smoky flavor into the butter we use next. Once it’s looking beautifully colored, scoop it out and set it aside.
Next up is the sautéing of the onion and garlic, followed by building our roux. This is where we start turning simple pantry items into magic. Remember, this dish is all about that rich coating, and the roux is the foundation for that creamy sauce. Don’t worry if you haven’t made one in a while; it’s just butter and flour cooked together until it smells toasty, not burnt! Mastering the simple casserole assembly is key to keeping things quick.
Creating the Creamy Casserole Base
Once the roux is ready, slowly whisk in your chicken broth. Keep whisking until it smooths out and starts getting thick—it should coat the back of a spoon nicely. If you skip this thickening step, you end up with soupy pierogi heaven, and we want a firm casserole that holds its shape! Now for my top-tier authority tip right here: take the pan *off* the heat before you add the sour cream. Seriously! Adding cold sour cream directly to a simmering hot sauce is a fast track to a sad, curdled mess. Let it cool for just a minute, then gently whisk in that sour cream along with the seasonings and most of your cheddar. Whisk until it’s unbelievably smooth and luscious. Then, and only then, do you gently fold in those frozen pierogi and the browned kielbasa. This careful temperature moderation is why my **creamy casserole recipe** never breaks!
Baking Instructions for the Perfect Oven Baked Pierogi Dish
This part is the easiest! Once you’ve poured that gorgeous, creamy mixture into your greased 9×13 dish and sprinkled on the final dusting of cheddar and bacon—if you decided to go that delicious route—it’s time for the oven to do the heavy lifting. Get your oven preheated to 375 degrees Fahrenheit. We want a nice, hot environment to get things bubbly fast, especially since we used frozen pierogi that just need warming through plus developing that gorgeous crust.
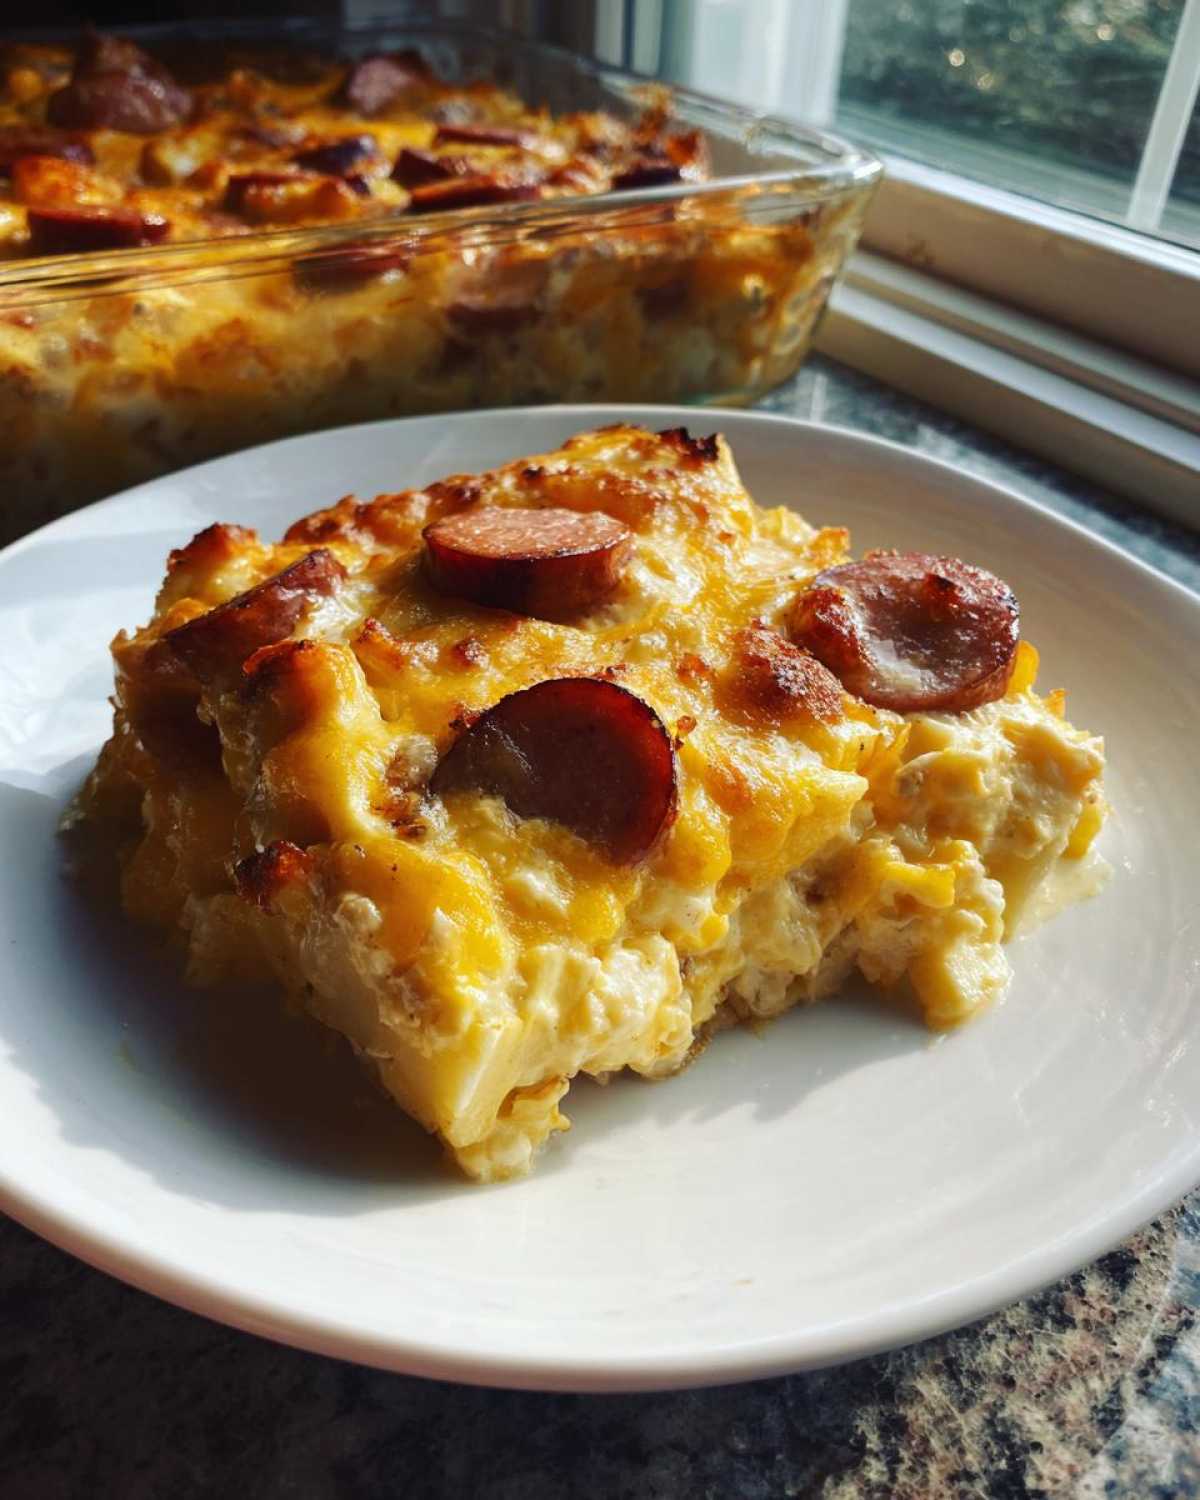
You’re looking at about 30 to 35 minutes for the full bake. Keep an eye on it, though! The best visual cue that your **oven baked pierogi** dish is ready for glory is when the edges are bubbling fiercely and that top layer of cheese has melted into a beautiful, lightly golden blanket. Trust me, the smell alone will bring everyone running to the kitchen. Don’t even think about serving it the second it comes out; let it settle for about five minutes so everything firms up slightly. You can grab more details on the technique here: perfecting your oven baked pierogi.
Alternative Cooking Method: Slow Cooker Pierogi Dinner Ideas
Look, I love my oven, but sometimes I just can’t face turning it on, or maybe I need the oven space for a side dish! That’s when this recipe transforms into my go-to **slow cooker pierogi** method. It’s fantastic because the environment in the Crockpot keeps everything incredibly moist—it’s almost impossible to dry this out!
For the slow cooker version, the assembly is almost identical. Seriously, just toss your browned kielbasa, frozen pierogi, and the entire sauce mixture right into your greased slow cooker pot. Skip the baking dish step entirely!
Now for the timing, which is the only big difference. You want to cook this on the LOW setting for about three to four hours. If you’re in a real pinch and need this fast, you can push it to HIGH, but keep an eye on it; it usually takes about an hour and a half to two hours on high. You don’t want mush, just perfectly tender dumplings!
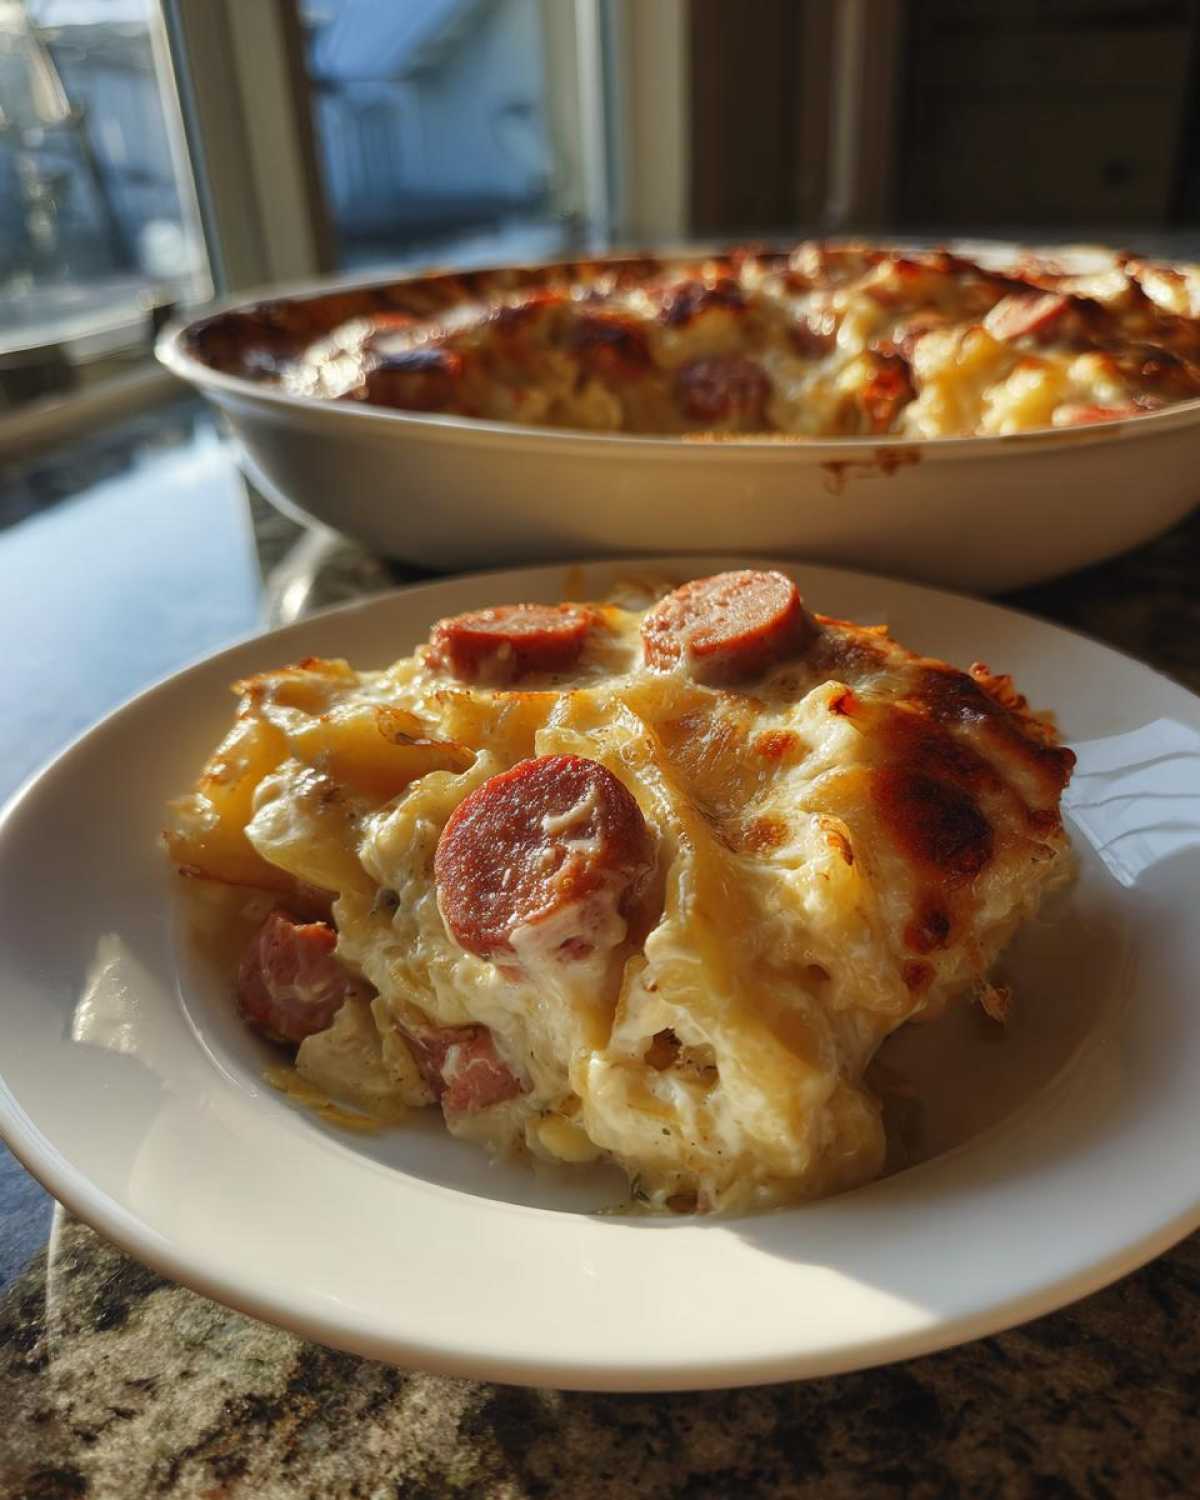
A critical note for your **crockpot dinner ideas**: Do NOT add the top layer of cheese and bacon until the very end. If you add the cheese at the beginning, it will melt right into the sauce and you’ll miss out on that delicious, bubbly, golden brown top crust we love in the baked version. About 15 minutes before you plan to serve, sprinkle that remaining cheddar and the bacon bits over the top, pop the lid back on, and let it heat just until everything is melted and gorgeous. This way, you get the ease of a slow cooker meal with the satisfying finish of baked comfort! You can find more amazing tips for cooking these kinds of dishes by checking out my guide on mastering slow cooker pierogi.
Tips for Success with Your Hearty Family Meal Pierogi Casserole
Even though this **pierogi casserole** is nearly foolproof, I’ve learned a couple of things over the years that take it from “really good” to “I need the recipe immediately!” These little tweaks are what elevate it into true **hearty family meal** territory.
First and foremost, that browning step for the kielbasa? Don’t skimp on it. You want color on those sausage pieces! That browning leaves smoky fond bits in the bottom of your skillet, and when you deglaze with the broth later, those bits become pure flavor gold in your sauce. That’s maximizing flavor right there.
Second, and this is crucial for texture: let it rest! I know it’s hard to wait when that cheesy smell is wafting through the house—it smells heavenly, right? But giving the casserole 5 to 10 minutes after it comes out of the oven allows that creamy sauce to tighten up just a bit. It stops it from turning into a lava flow when you first dig in, preventing sogginess on the bottom layer! You can check out a few more general pointers on nailing these kinds of baked dishes here: my best cooking success tips.
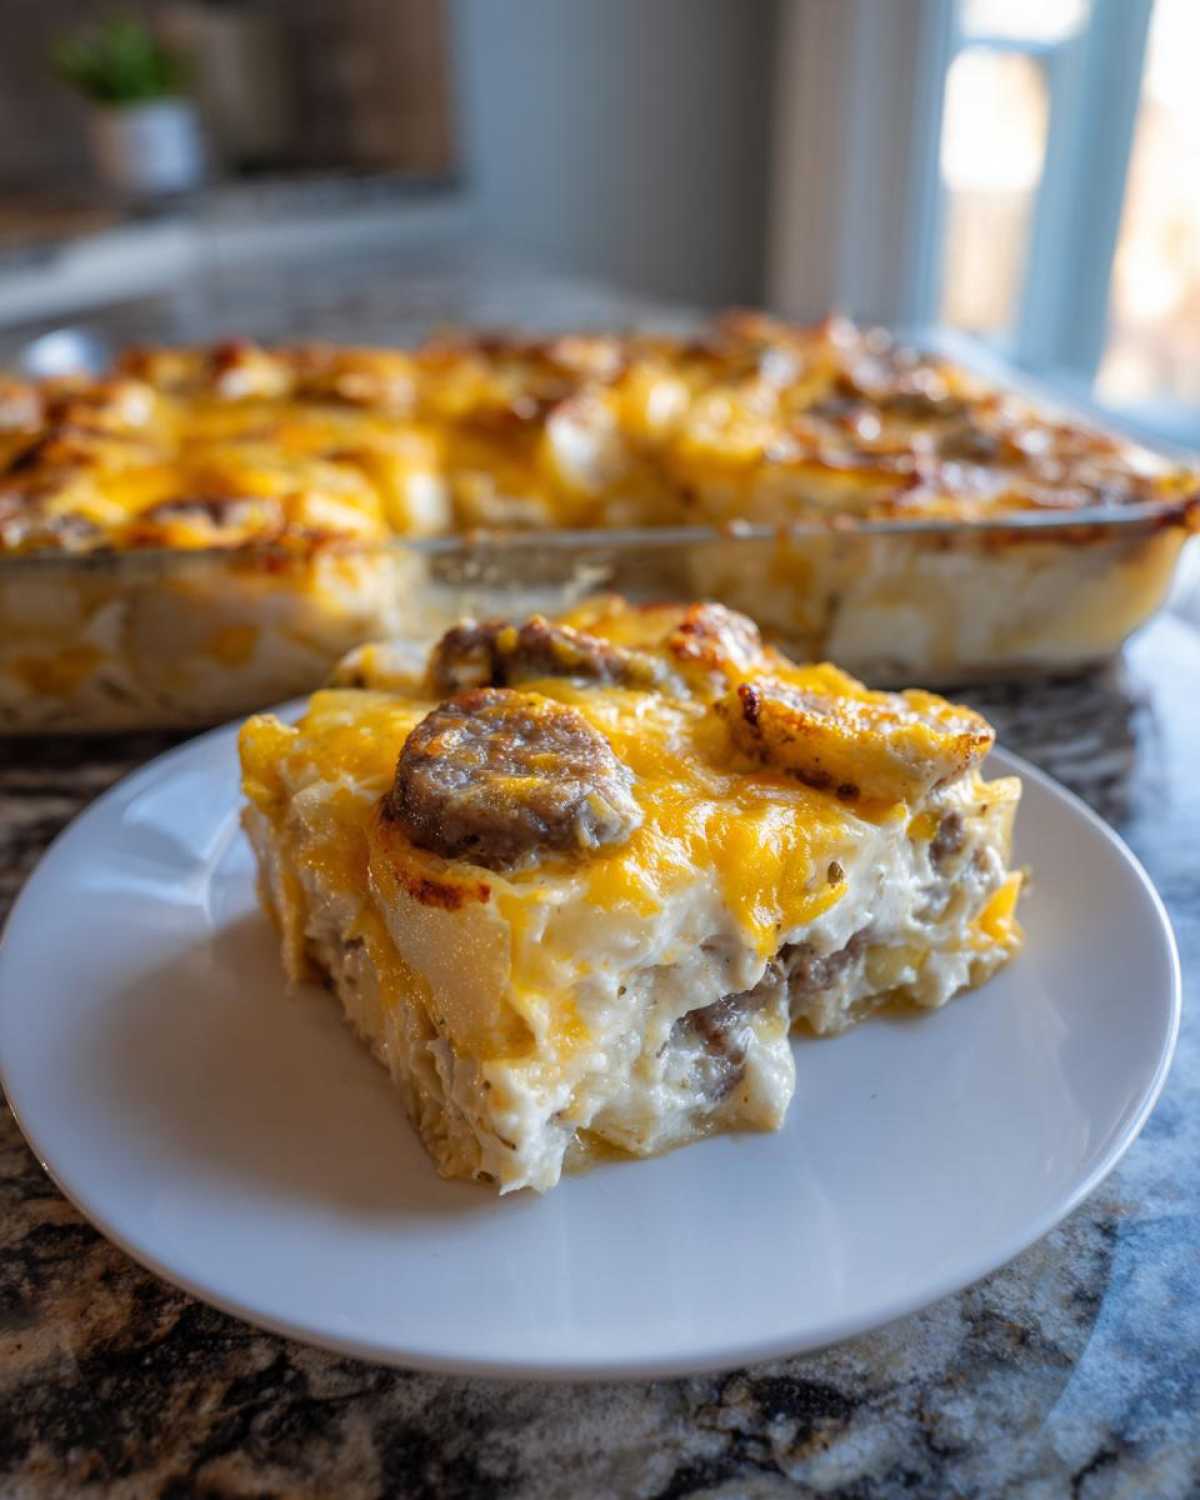
Finally, when folding the mixture together, be gentle! You’re not mixing bread dough; you’re just coating the pierogi. Overmixing those delicate dumplings can crack them open, and you end up with potato filling loose in your sauce instead of neatly wrapped squares. Gentle turns with a spatula, that’s the secret weapon for keeping this **comfort food casserole** beautiful!
Serving Suggestions for This Creamy Casserole Recipe
Now that you’ve got this decadent, rich **pierogi casserole** piping hot on the table, you might be thinking, “What goes next to that much cheese and sausage?” That’s an excellent question! Because this dish hits so hard on the comfort level—it’s heavy on the starch, fat, and savory notes—we want something bright and crunchy to cut right through it. You definitely don’t want another heavy side dish!
My absolute favorite thing to serve alongside this is something fresh and vinegary. If you want to keep that Polish comfort food theme going, a simple, sharp cabbage salad is perfect. I have a fantastic recipe for an easy, crunchy cabbage salad with a zesty vinaigrette that is non-negotiable at my house when I make this. The acidity cuts through the richness of the sour cream sauce like a dream.
If cabbage isn’t your thing, keep it simple. A quick side of steamed green beans tossed with a tiny bit of butter and salt works wonders. Or, if you’re feeding kids who love routine, even just a bowl of steamed broccoli or a simple garden salad with a light dressing balances out our hearty **creamy casserole recipe** beautifully. The goal here is contrast! You want that palate cleanser because you absolutely will want seconds of that cheesy pierogi goodness!
Storage and Reheating Instructions for Leftover Pierogi Casserole
Who are we kidding? If you’re making this **pierogi casserole**, you’re probably planning for leftovers because this recipe makes a generous amount. And honestly, it tastes just as good the next day! It’s the perfect cozy lunch the following afternoon.
When it comes to storage, treat leftovers like you would any great creamy dish. Once the casserole has cooled down slightly—don’t put piping hot food directly into the fridge, that’s just not safe!—cover the baking dish tightly with plastic wrap or foil. If you have exactly the right amount left, transfer it to a dedicated airtight container. It will keep beautifully in the refrigerator for about three to four days. Any longer than that, and you risk the pierogi getting a little too soft for my liking.
Reheating is where you have a couple of choices, depending on how fast you need that cheesy goodness!
Oven Reheating for Best Texture
If you want to restore that beautiful texture where the top layer is slightly set and golden, the oven is always my first choice. Preheat your oven to a moderate 350 degrees Fahrenheit. Pop the portion you want to eat into a small, oven-safe dish and cover it loosely with foil. The foil is important here because it keeps the moisture trapped so the pierogi don’t dry out while the cheese melts again. About 15 to 20 minutes should do the trick, or until it’s heated all the way through and bubbly on the edges. This method keeps it tasting almost the same as fresh!
Quick Microwave Reheating Alternative
Look, sometimes we are just impatient, and that’s okay! If you need leftovers in about 90 seconds flat, the microwave wins. Place a single serving on a microwave-safe plate. Again, cover it loosely—I usually use a paper towel draped over the top. The microwave heats fast, but it can turn creamy casseroles rubbery if you zap it too hard. Start with 60 seconds, check it, and then add 20 or 30-second bursts until it’s steaming hot. Be warned: the top cheese layer won’t look as pretty, but I promise the flavor inside is still perfect comfort food heaven!
Frequently Asked Questions About Making Pierogi Casserole
Can I use different types of pierogi in this pierogi casserole?
You absolutely can try different fillings, but for the best result in this **creamy casserole recipe**, stick to potato and cheese, or maybe even cheddar-only pierogi! The potato-based ones hold their shape so well when baked or slow-cooked. If you use fillings like meat or sauerkraut, the moisture content and acidity are different, which can throw off the balance of the rich sauce we worked so hard to create. I haven’t personally tested it with those, so I always recommend the classic cheese ones when following my guide on using frozen pierogi recipes!
What is the best way to make this a one pan dinner?
That’s the dream, right? Getting it into that 9×13 dish is already pretty close to an all-in-one meal, but if you want to minimize active cooking dishes, the **slow cooker pierogi** option is your best friend! Dump everything in the Crockpot and wash your cutting board and skillet later. If you insist on the oven, the only non-casserole dish is the skillet used to brown the sausage and make the sauce. You simply cannot skip that step because of the deep flavor it adds, but the assembly in the baking dish itself is the main event, making it very close to a true **one pan dinner**!
Is this pierogi casserole recipe suitable for vegetarians?
It’s so easy to swap! The bacon and kielbasa are fantastic for adding that smoky, salty depth, but you can totally skip them to make this a vegetarian **comfort food casserole**. If you omit the meat, I highly suggest sautéing some chopped mushrooms (like cremini or shiitakes) in that melted butter right before you add the onion. Mushrooms soak up all that fantastic flavor from the sausage drippings you might have left, or they add their own great savory texture. You’ll just need to remember to skip the bacon topping, too, of course. It’s still a wonderfully **hearty family meal** without the sausages!
Print
Creamy Kielbasa and Cheese Pierogi Casserole
- Total Time: 50 min
- Yield: 6 servings
- Diet: Vegetarian
Description
Make this easy, cheesy pierogi casserole using frozen pierogi, kielbasa, and a creamy sauce for a hearty family meal.
Ingredients
- 1 (12 ounce) package smoked kielbasa sausage, sliced
- 1 (16 ounce) package frozen cheese pierogi
- 1 tablespoon butter
- 1 small onion, chopped
- 2 cloves garlic, minced
- 1/4 cup all-purpose flour
- 2 cups chicken broth
- 1 cup sour cream
- 1 cup shredded cheddar cheese, divided
- 1/2 teaspoon salt
- 1/4 teaspoon black pepper
- 4 slices bacon, cooked and crumbled (optional)
Instructions
- Preheat your oven to 375 degrees Fahrenheit. Grease a 9×13 inch baking dish.
- In a large skillet over medium heat, cook the sliced kielbasa until lightly browned. Remove the sausage and set aside.
- Melt the butter in the same skillet. Add the chopped onion and cook until soft, about 5 minutes. Add the minced garlic and cook for 1 minute more.
- Whisk in the flour until smooth. Gradually whisk in the chicken broth until the mixture thickens slightly.
- Remove the skillet from the heat. Stir in the sour cream, 3/4 cup of the cheddar cheese, salt, and pepper. Mix well.
- Gently fold in the frozen pierogi and the cooked kielbasa into the sauce.
- Pour the mixture into the prepared baking dish. Sprinkle the remaining 1/4 cup of cheddar cheese and the crumbled bacon, if using, over the top.
- Bake for 30 to 35 minutes, or until the casserole is bubbly and the cheese is melted and lightly golden.
- Let the casserole rest for 5 minutes before serving.
Notes
- For a slow cooker version, combine all ingredients (except bacon topping) in a greased slow cooker. Cook on low for 3 to 4 hours or on high for 1.5 to 2 hours. Top with cheese and bacon during the last 15 minutes of cooking.
- You can substitute smoked sausage for kielbasa.
- Use potato and cheese pierogi for the best texture in this bake.
- Prep Time: 15 min
- Cook Time: 35 min
- Category: Dinner
- Method: Baking
- Cuisine: Polish
Nutrition
- Serving Size: 1 serving
- Calories: 550
- Sugar: 5
- Sodium: 950
- Fat: 35
- Saturated Fat: 18
- Unsaturated Fat: 10
- Trans Fat: 1
- Carbohydrates: 38
- Fiber: 2
- Protein: 22
- Cholesterol: 85

