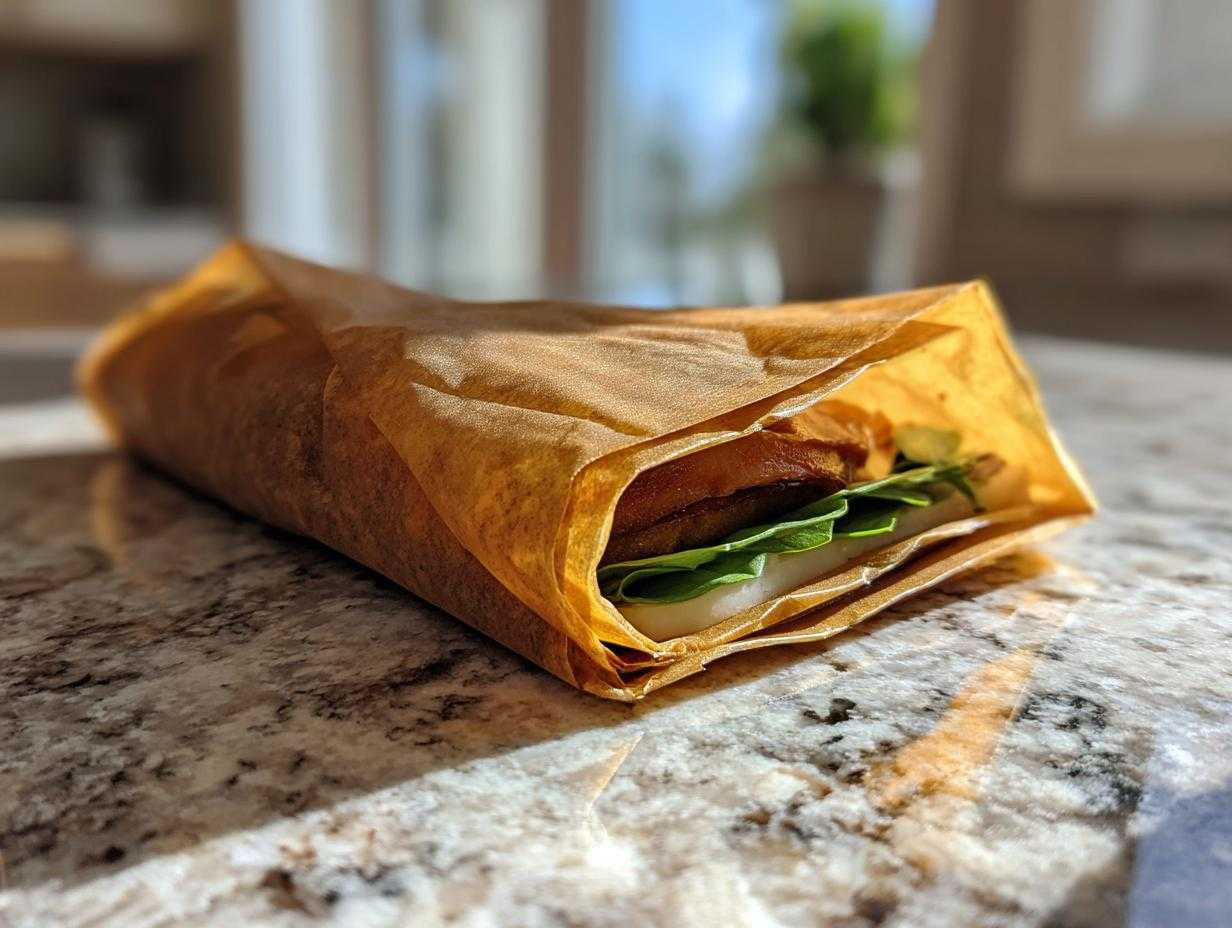
Oh, there’s nothing quite like packing up a basket on a sunny morning, right? The anticipation of finding that perfect grassy spot to unroll a blanket and share some simple food! But honestly, my heart sinks every time I look at the pile of plastic wrap I used for those perfect turkey and cheddar stacks. I finally decided enough was enough! I’m trying really hard to have more zero waste picnic essentials at home, and that means ditching the single-use stuff completely for our outings.
So, I’ve been testing out ways to keep my crusts crisp and my fillings intact without relying on crinkly plastic. I’m going to show you my absolute favorite, most reliable methods for making Eco Friendly Picnic Sandwich Wraps. Trust me, once you try these reusable techniques, you’ll never go back to that clear stuff again. They look so much nicer, too!
Why You Need Eco Friendly Picnic Sandwich Wraps Now
Okay, switching from plastic wrap isn’t just about looking trendy on Instagram—though they do look amazing! It’s about making a real difference and, frankly, making your picnic better overall. Once you see the benefits, you’ll be totally converted. I know I was!
Reducing Single-Use Plastic Waste
- It’s the easiest step towards a genuinely zero waste picnic setup. Think about how much plastic you throw out after just one outing!
- These reusable options last for ages, saving you money and keeping plastic out of the landfill.
Keeping Your Sandwiches Fresh for Longer
- Believe it or not, a good beeswax wrap or a sturdy silicone bag protects your sandwich way better than flimsy plastic wrap against curious ants or accidental squishing in the basket!
- They help regulate that tricky picnic environment, keeping the bread from getting soggy too fast.
Gathering Your Eco Friendly Picnic Sandwich Wraps Materials
Before we start showing off our wrapping skills, we need our toolkit! Ditching the plastic means switching to things that can be used again and again, or that just break down naturally when we’re done. It feels so much better bringing these supplies out, knowing they aren’t destined for the trash can later.
You don’t need a million things, just a few key items that do the job right. Remember, the quality of your wrap will really impact how well your sandwich survives the trip to the park!
The Primary Wrapping Options for Eco Friendly Picnic Sandwich Wraps
- Beeswax Wrap: This is my favorite for things like sliced cheese and sturdy bread. They are naturally pliable because they warm up right in your hands, and they mold around the food perfectly.
- Reusable Cloth Sandwich Bag: Think of these as little fabric pouches. They are great for kids or for holding items that need a bit more space, though they aren’t fully waterproof.
- Food-Grade Silicone Bags: If you have super wet fillings—like tomatoes that just *won’t* quit—silicone is your hero. They zip shut and offer fantastic structural protection for keeping sandwiches fresh.
Optional Moisture Barrier: Parchment Paper
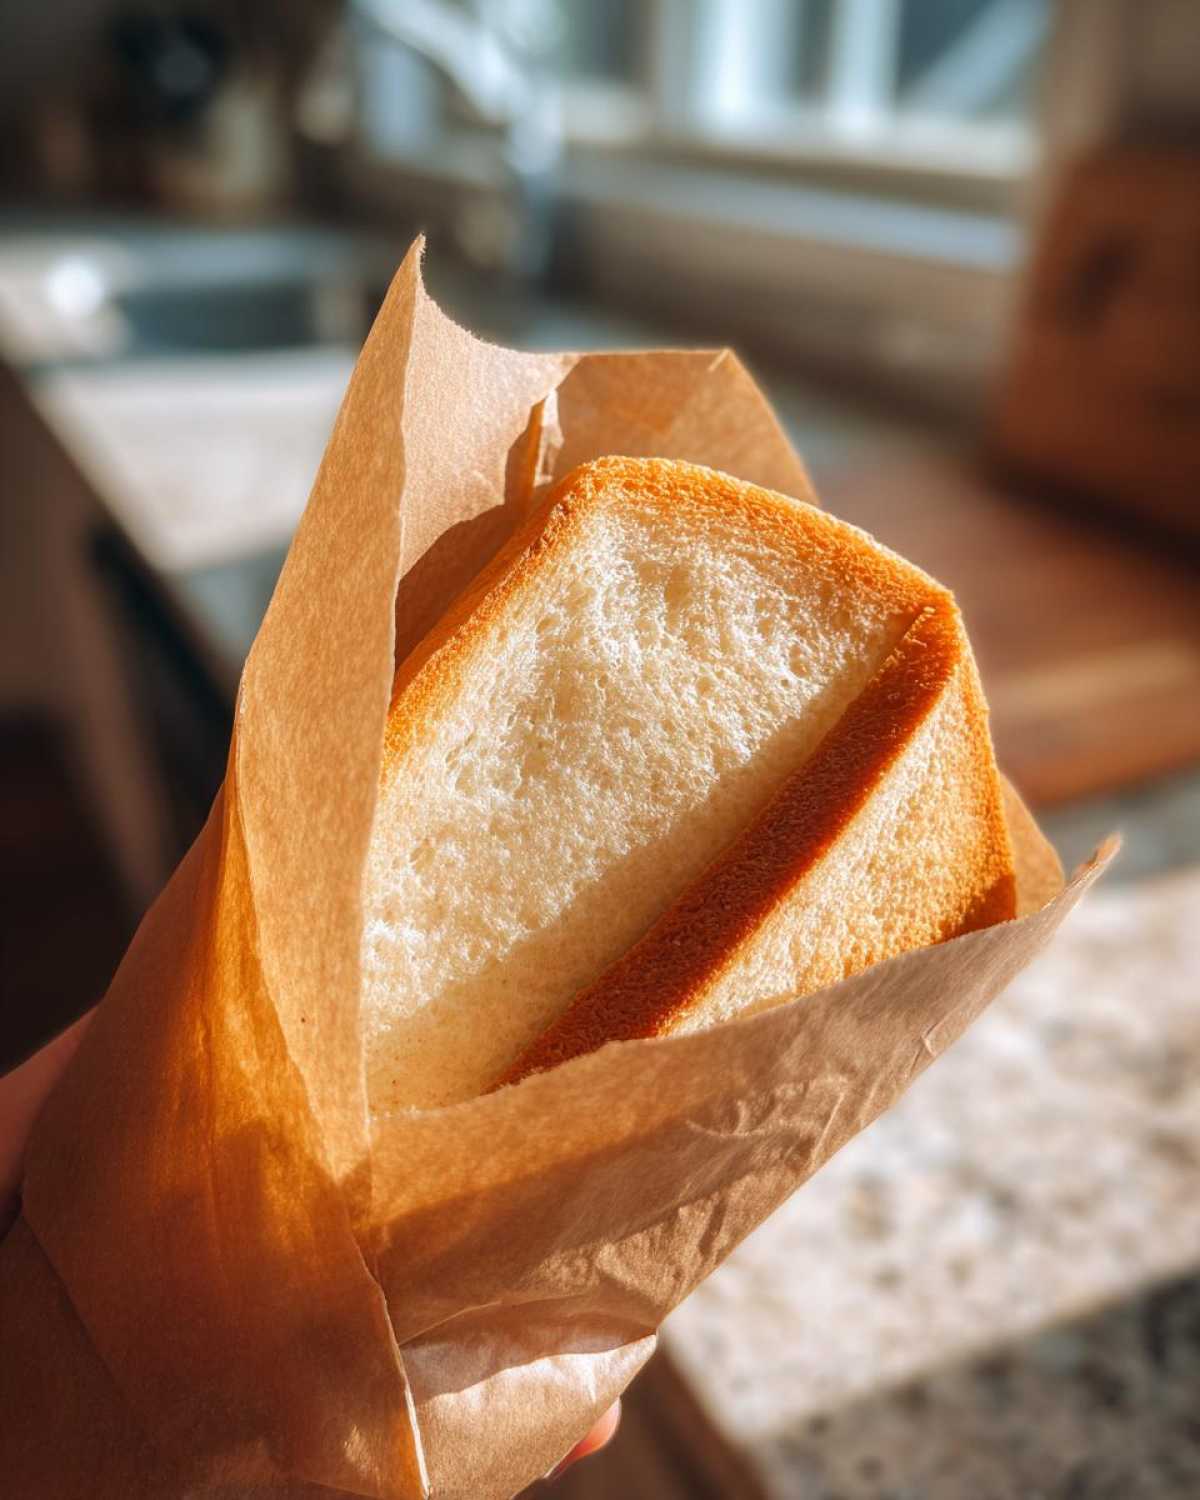
Now, sometimes even the best silicone bag can’t handle a runaway pickle slice, right? If you are making something delicate, like a sandwich with lots of juicy greens or creamy spreads, I always suggest a quick wrap in a small piece of parchment paper first. It acts like a little disposable raincoat for your bread before it goes into your forever wrap!
Step-by-Step Tutorial for Eco Friendly Picnic Sandwich Wraps
Alright, let’s get wrapping! This is the fun part where we turn a simple lunch into a beautiful, waste-free package. Don’t worry if your first few attempts look a little lopsided; it takes a minute to get the hang of it, but you’ll see how easy it is to pack a waste free lunch this way.
Preparing the Sandwich for Eco Friendly Picnic Sandwich Wraps
First things first, make the sandwich! This whole process is super quick—we are aiming for under 2 minutes total wrap time. But here’s the big warning: If you’re using beeswax or cloth, keep those lettuce leaves and tomato slices a little drier than normal. Excess moisture is the enemy of a good seal with those two options.
Technique 1: Sealing with Beeswax Wrap
Take your beeswax wrap and simply hold it in your palms for a second or two. Your body heat is what we need! This makes the wax soft and pliable. Lay your sandwich down near one edge, fold one corner over it, and then keep folding and pressing firmly as you go. You’re using that natural stickiness to create a tight seal around the food. Roll it away from you until it’s snug!
Technique 2: Securing Reusable Cloth or Silicone Bags
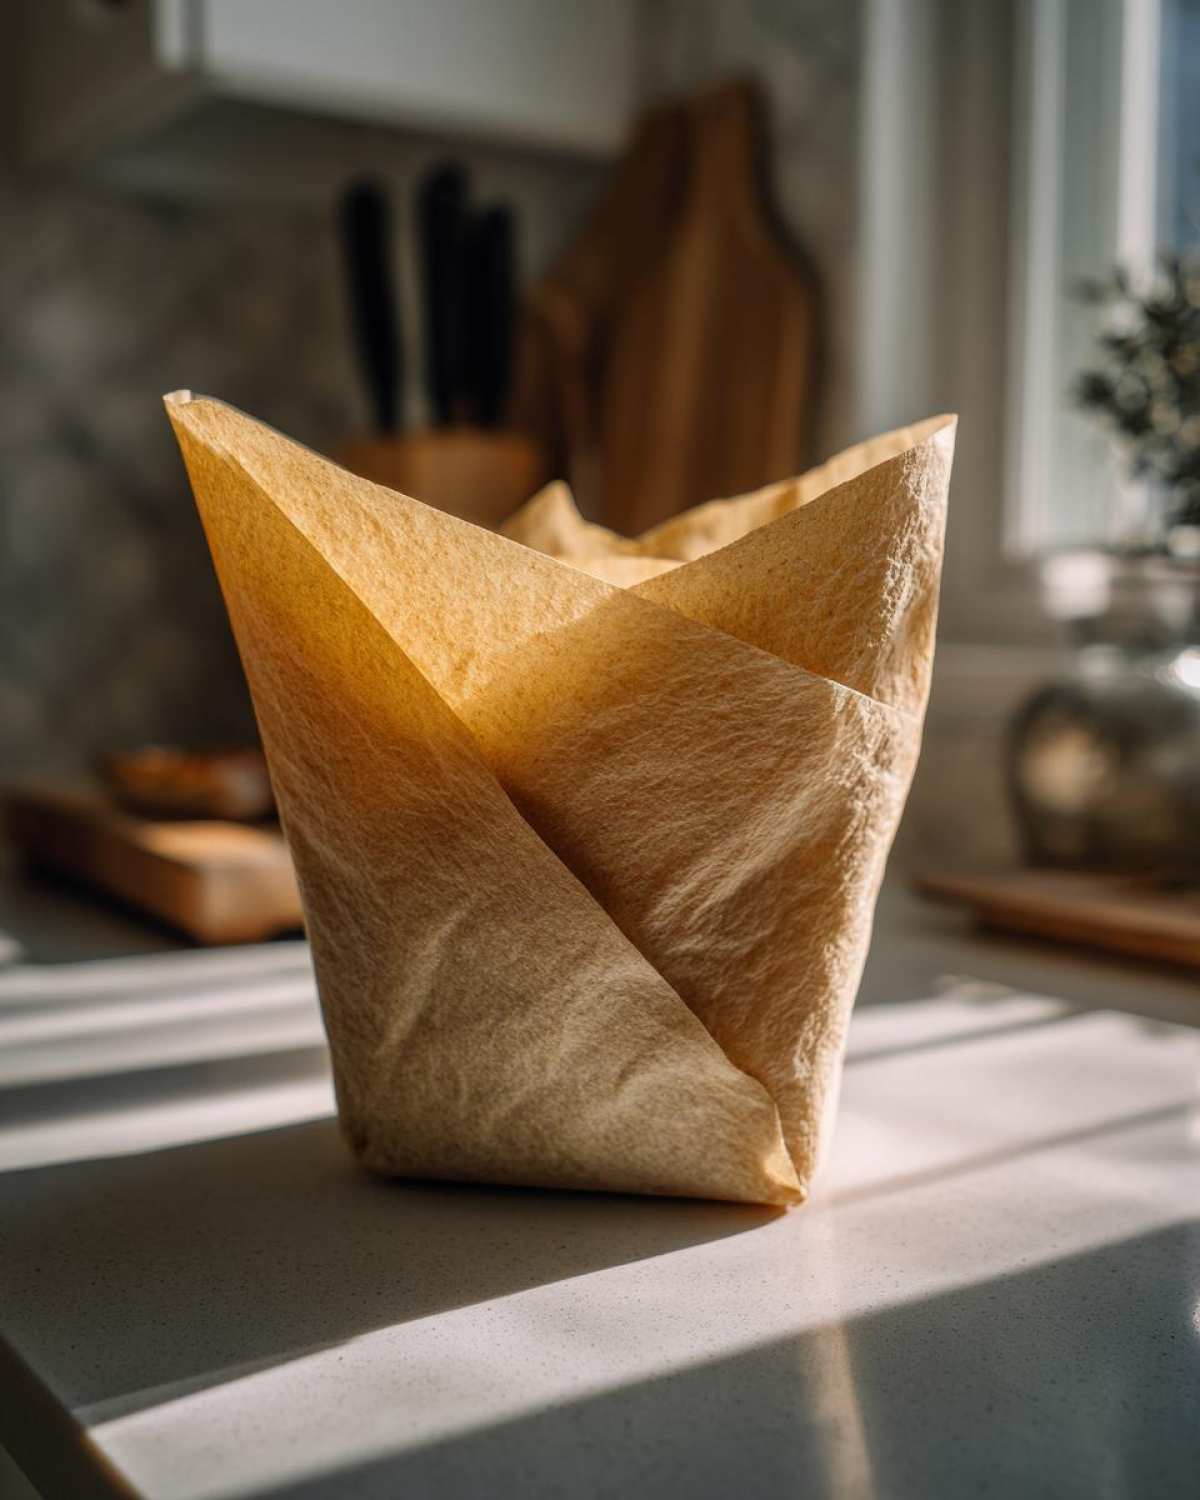
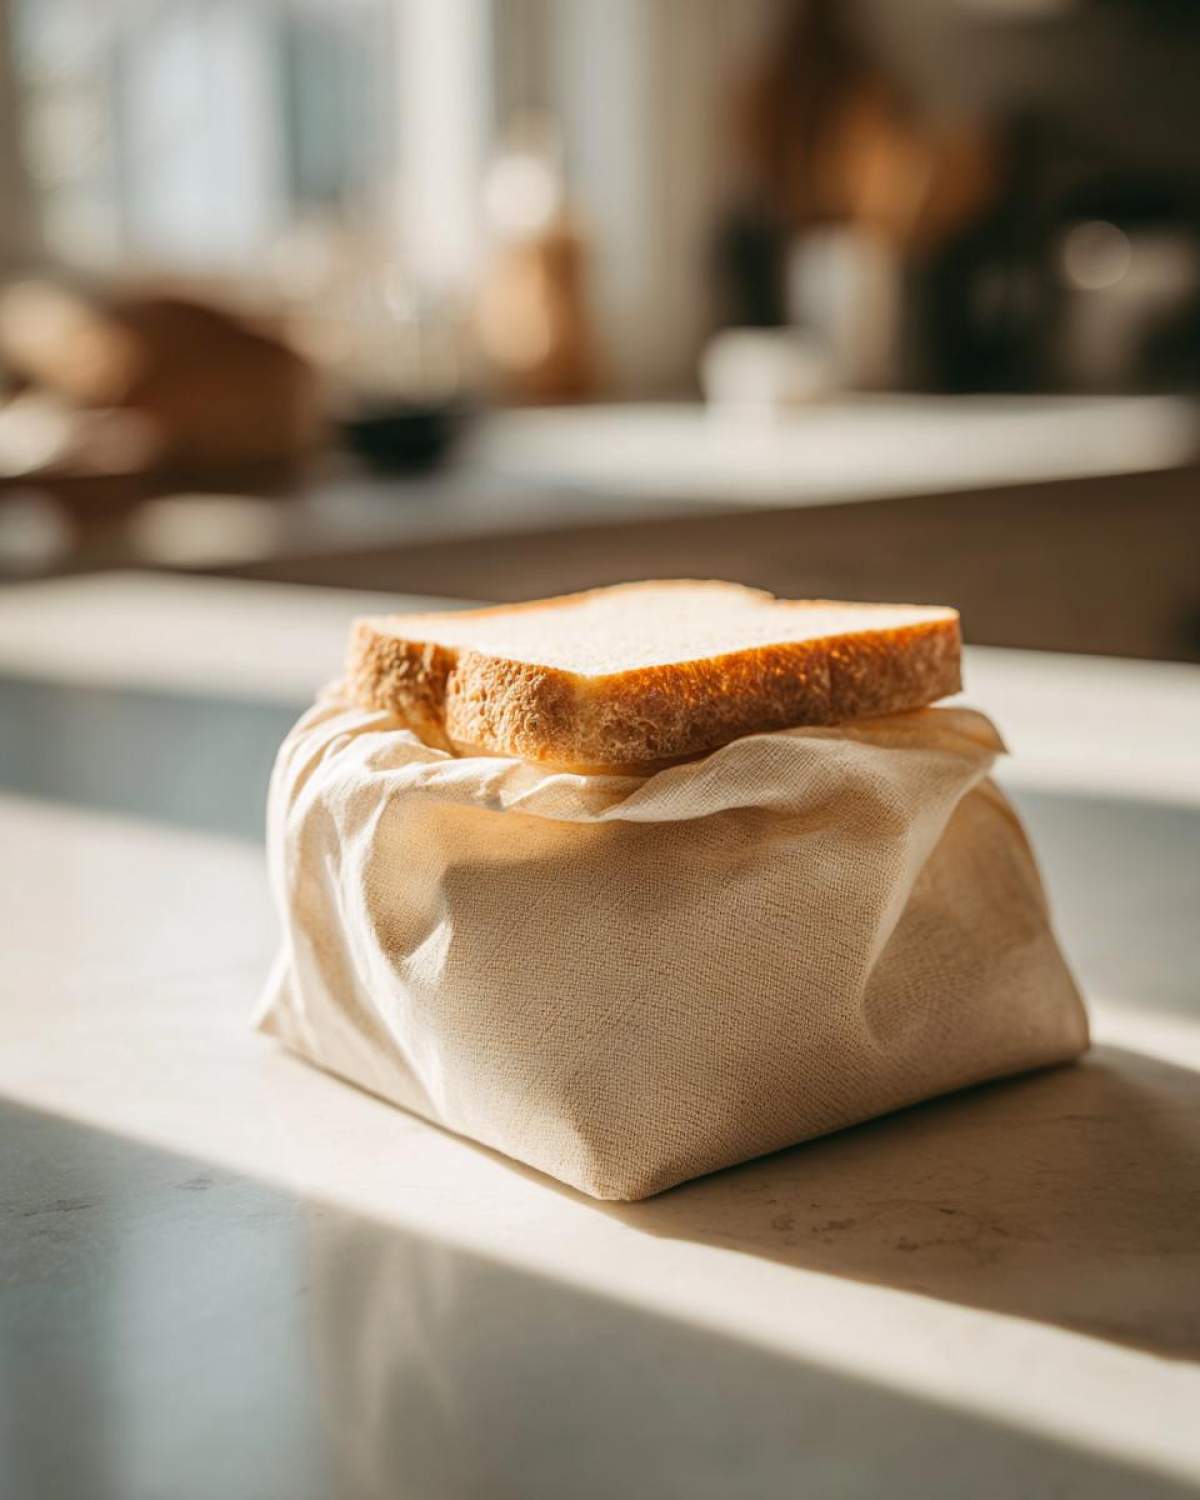
If you’re using a cloth or silicone bag, this is even simpler. Just tuck your sandwich inside. For the cloth ones, you usually have a tie or sometimes a flap that snaps over, so pull that closed snugly. For those heavy-duty silicone bags, just run the zipper or press the snap seal shut. Remember, those silicone options are the absolute best if you are worried about your basket getting jostled—they shield against crushing like a champ!
Tips for Perfect Eco Friendly Picnic Sandwich Wraps
We’ve got the wrapping down, but knowing how to care for these lovely reusable items is just as important if you want them to last forever! These handy reusable food storage solutions aren’t like throwing something away; they need a little love so they are ready for the next outing.
Caring for Your Beeswax Wraps
This is the most important rule for beeswax: NEVER use hot water! Seriously, hot water melts the wax right off, and then you’re left with just a sad, floppy piece of cotton. Just use cool or lukewarm water with a tiny bit of mild dish soap. Swish it around gently and hang it up or lay it flat to air dry. They dry super fast!
Best Practices for Moisture Control
I learned the hard way that even the prettiest wrapping can fail if your fillings are soupier than they should be! Always stick to that little parchment liner advice if you’ve got anything remotely wet. If you know you are packing something prone to sogginess, skip the beeswax wrap altogether and go straight for the silicone bag. That sturdy zipper closure really locks out unwanted moisture, keeping your lunch intact!
Sustainable Lunch Packing Ideas Beyond Eco Friendly Picnic Sandwich Wraps
Wrapping the sandwich is just the first step in planning a truly green outing! If you’re already committed to making beautiful eco friendly picnic sandwich wraps, you might as well go all the way, right? We want everything layered in sustainability, from the wrapping to the final basket setup. It’s about making a whole experience that feels good for you and the planet.
Choosing the Right Containers for Transport
These wraps are amazing, but they still need a safe place to ride in the picnic basket—especially if you’re driving over bumpy roads! Say goodbye to flimsy plastic containers. I’ve started using these sturdy stainless steel bento boxes. They stack perfectly alongside the wrapped sandwiches, and they take bumps like champs. No squishing your beautiful creation!
Integrating Zero Waste Picnic Essentials
Also, think about what you eat *with* the sandwich! It drives me crazy packing amazing zero waste wraps only to pull out a stack of paper napkins. I keep a little kit in my picnic bag now: a set of little cloth napkins (made from old tea towels, usually!) and some proper metal cutlery, not plastic forks. Makes everything feel so much more civilized, and it’s totally guilt-free!
Variations for Your Next Eco Friendly Picnic Sandwich Wraps Adventure
You know, once you master the wrapping game for sandwiches, you realize these tools are useful for everything! You don’t have to reserve your beeswax wraps just for lunch; they are absolute lifesavers for all those little extras that make a picnic special. Getting creative here really maximizes how often you use your zero waste gear.
Wrapping Small Baked Goods
My favorite little trick is using beeswax wrap for anything that might crumble or dry out. Think about muffins or scones—they always seem to go stale if you just toss them in a container. Warm up a small piece of beeswax wrap and mold it right around the base of a muffin cup. It holds in the moisture perfectly, and they look totally charming when you unwrap them!
Using Cloth Bags for Produce
Don’t forget those cute reusable cloth bags we talked about! While they aren’t great for retaining moisture in bread, they are fantastic for transport security on harder items. Toss in some carrot sticks, grapes, or a few whole apples. They keep your fruit from rolling around the bottom of the basket getting bruised, and they are easy for everyone to grab without digging through containers.
Serving Suggestions for a Green Picnic Planning Guide
Okay, we’ve got our beautiful, carefully wrapped sandwiches ready to go. Now, what else is coming in that basket? To keep this outing totally green, think about sides that don’t need tiny plastic baggies! Instead of chips in individual bags, I love making a big batch of something delicious that travels well, like veggie sticks with homemade hummus kept in a proper glass jar.
Also, if you’re looking for some great, easy foods to pair with those homemade wraps, you should check out some ideas for easy summer appetizers!
Things like olives, crunchy snap peas, or even some homemade mini quiches stored in a reusable tin complete the spread perfectly. Everything can be packed neatly, and you won’t have any plastic wrapper guilt at the end of the day!
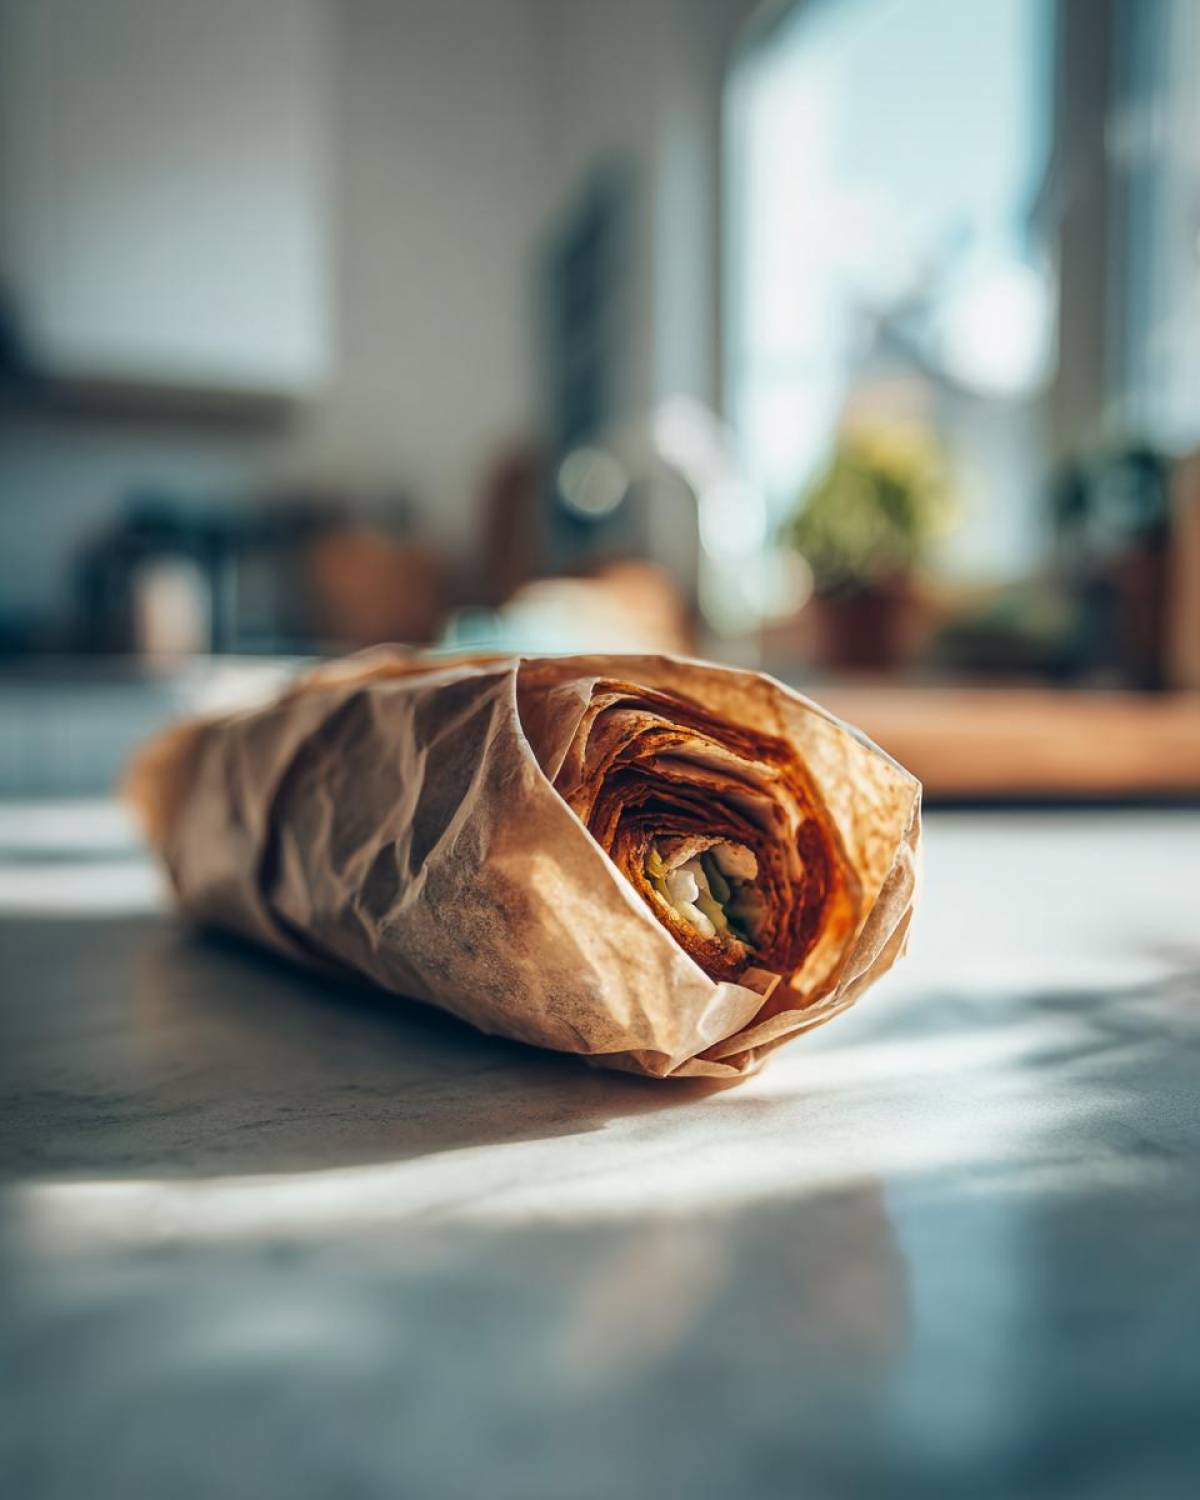
Storage and Reheating Instructions for Wraps
So, after the picnic is over and the crumbs are swept away, what do we do with our trusty wraps? We take care of them so they’re ready for next Saturday!
Remember, our reusable focus means these need a little cleaning. Just a quick, gentle wash in cool water with a tiny bit of mild soap is usually plenty for both beeswax and cloth wraps. You absolutely must let them air dry completely before folding them up. I hang mine over a dish rack. Don’t try to reheat anything wrapped in beeswax; the wax will melt right off! Just let them cool down completely before storing them somewhere dry.
Frequently Asked Questions About Eco Friendly Picnic Sandwich Wraps
I knew you’d have questions! When you start making these sustainable changes, it’s natural to wonder about the details, right? I’ve totally been there, asking if these super cool alternatives to plastic wrap for food are really going to hold up in the real world. Here are the things I hear most often!
Are beeswax wraps safe for all sandwich fillings?
They are incredibly safe, but they aren’t your best bet for super wet stuff. The wax is naturally antibacterial, which is amazing! But if you have tons of mayo or watery tomatoes, the wax might struggle to seal perfectly, leading to sogginess. I stick to drier things like cheese, roasted meats, or peanut butter sandwiches for my beeswax wraps.
Can I use these wraps for hot food?
Oh, absolutely not for the beeswax kind! Heat is the enemy of beeswax wraps because it turns the wax into a liquid mess. If you have a wrap containing something that’s still slightly warm—like a fresh-baked savory pastry—you risk melting the coating off the cloth. For picnic food, which is usually cold anyway, this isn’t usually an issue. Silicone bags can handle a *little* warmth, but I wouldn’t trust anything truly hot.
What is the best option for keeping sandwiches fresh against crushing?
That’s where the food-grade silicone bags really shine for eco friendly food transportation! While a beeswax wrap does a decent job if packed carefully, silicone bags offer rigid structure. They seal tight, and they won’t lose their shape if your heavier thermos tips over in the basket. They give you that sturdy protection you need while still being a reusable food storage solution!
Print
Eco Friendly Picnic Sandwich Wraps: Reusable Wrapping Techniques
- Total Time: 2 min
- Yield: 1 serving
- Diet: Vegan
Description
Learn practical, environmentally sound methods for wrapping sandwiches for picnics, replacing single-use plastic and foil with reusable or compostable alternatives.
Ingredients
- 1 large sheet of beeswax wrap OR 1 reusable cloth sandwich bag OR 1 food-grade silicone bag
- 1 sandwich (prepared to your liking)
- Optional: 1 small piece of parchment paper (for moisture barrier)
Instructions
- Prepare your sandwich. Avoid overly wet fillings if using cloth or beeswax wraps, as these are not fully waterproof.
- If using beeswax wrap, gently warm the wrap slightly with your hands to make it pliable.
- Place the sandwich near one corner of the beeswax wrap or inside the cloth/silicone bag.
- For beeswax wrap: Fold the corners over the sandwich, pressing firmly to seal the natural adhesive. Roll tightly to create a secure package.
- For cloth or silicone bags: Place the sandwich inside and securely close the bag using its built-in snap, tie, or zipper mechanism.
- If you need extra moisture protection for a delicate bread, wrap the sandwich first in a small piece of parchment paper before using the reusable outer layer.
- Place the wrapped sandwich inside your picnic basket or cooler bag.
Notes
- Beeswax wraps are best for drier sandwiches; they are naturally antibacterial and mold to the food shape.
- Wash beeswax wraps gently in cool water with mild soap and air dry. Do not use hot water.
- Silicone bags offer the best protection against crushing and moisture for transport.
- For zero waste, consider using cloth bags made from repurposed fabric.
- Prep Time: 2 min
- Cook Time: 0 min
- Category: Food Storage
- Method: Wrapping
- Cuisine: General
Nutrition
- Serving Size: 1 wrap
- Calories: 0
- Sugar: 0g
- Sodium: 0mg
- Fat: 0g
- Saturated Fat: 0g
- Unsaturated Fat: 0g
- Trans Fat: 0g
- Carbohydrates: 0g
- Fiber: 0g
- Protein: 0g
- Cholesterol: 0mg