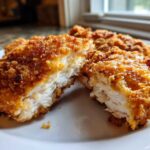
Oh my gosh, are you having one of those days where only the perfect, nostalgic, take-me-back-to-childhood nugget will do? I totally get it. Forget the freezer aisle; we’re making homemade chicken nuggets that actually taste incredible, and genuinely, they are so easy to pull off that you’ll wonder why you ever bought them frozen!
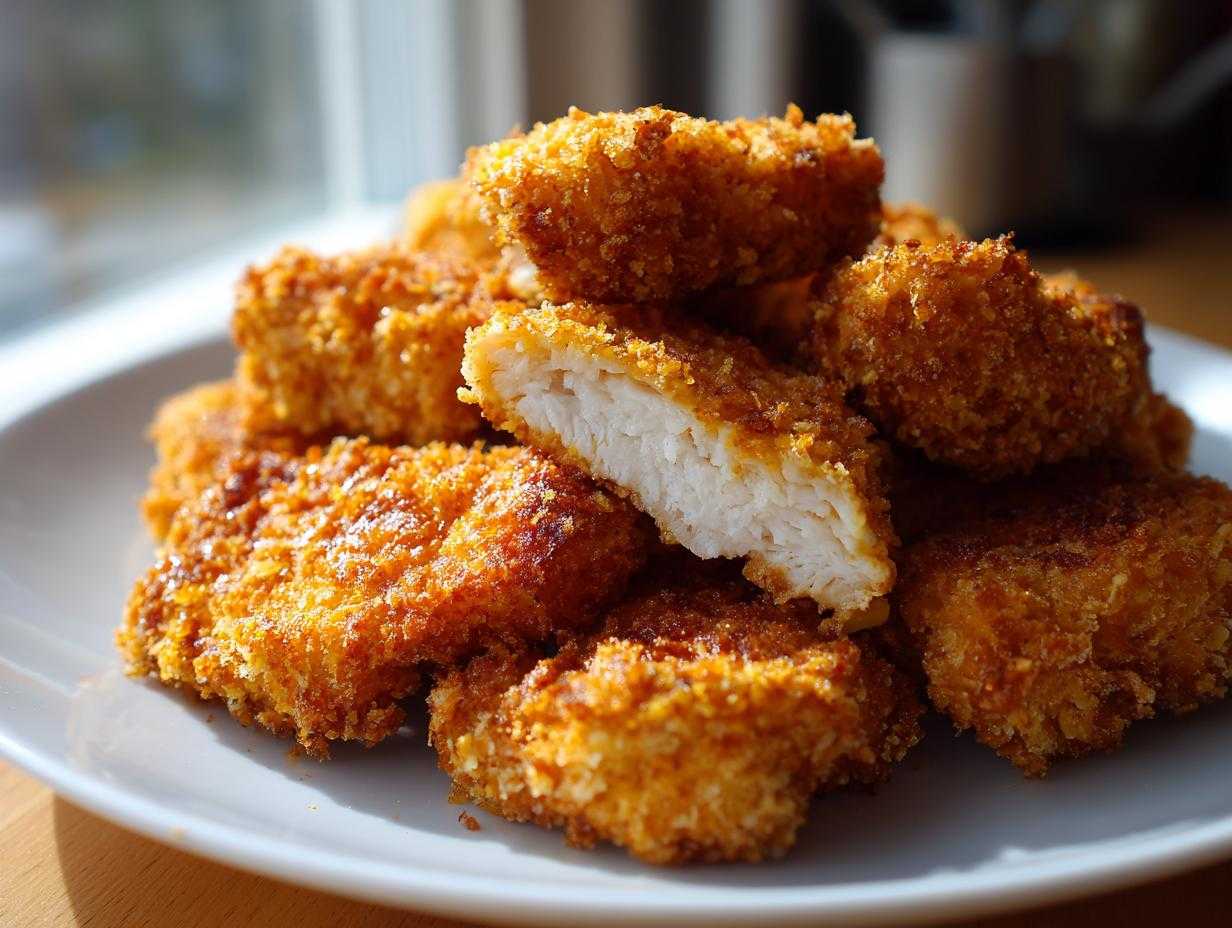
The secret to gold-standard results—seriously crispy on the outside, unbelievably juicy inside—is all about mastering the breading station. I went through so many soggy batches before I cracked the code. This recipe is your ticket to the ultimate crispy and juicy homemade chicken nuggets that you can bake or throw right into the air fryer. It’s my go-to quick weeknight chicken dinner when everyone is grumpy and needs something fast and satisfying!
Why This Recipe for Homemade Chicken Nuggets is Your New Go-To
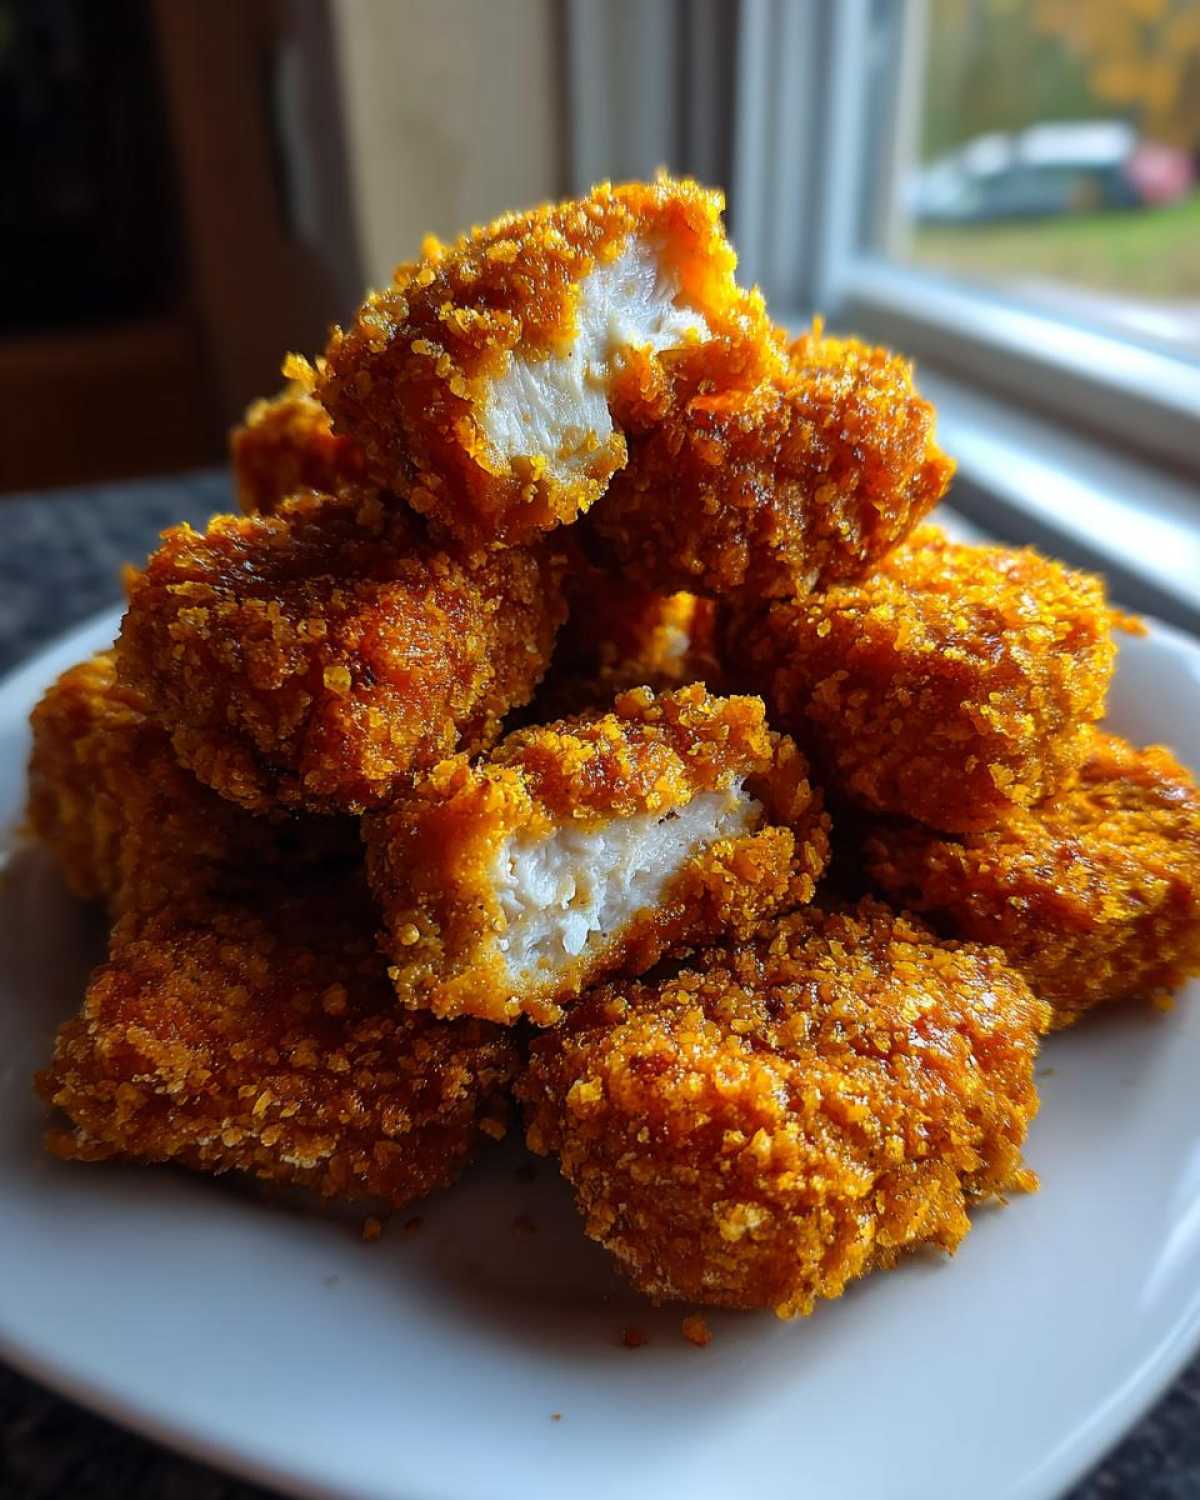
I know what you’re thinking: why bother when I can use the drive-thru? Trust me, the difference between store-bought and fresh is night and day, especially when you control what goes into that beautiful coating! This recipe stops being a ‘project’ and becomes a staple once you see how simple it is.
Here’s why I keep making these for my own crew:
- Seriously Crunchy Coating: We use Panko for that shatteringly crisp exterior. It’s non-negotiable, folks!
- Juicy Inside, Every Time: By cutting the chicken just right and using the right breading sequence, mushy centers are banished forever.
- Two Ways to Cook: Whether you dust off your sheet pans for baking or need that fast fix in the air fryer, these nuggets perform perfectly in both methods.
- Total Family Approval: This is the ultimate family friendly chicken recipe. If your kids are picky, this will be the batch that finally wins them over!
Essential Ingredients for Perfect Homemade Chicken Nuggets
Alright, let’s talk about what goes into these amazing things. Getting the ingredients right is half the battle for achieving that perfect bite. I’ve listed out everything you need below, but pay close attention because the quality of these basic items truly makes the difference between good and phenomenal homemade chicken nuggets.
You’ll need these core building blocks:
- 1.5 lbs boneless, skinless chicken breasts or ground chicken (cut into uniform, bite-sized nugget shapes, about 1 to 1.5 inches thick if using whole breasts).
- 1/2 cup all-purpose flour.
- 1 teaspoon salt.
- 1/2 teaspoon black pepper.
- 1/2 teaspoon paprika (sweet, not hot!).
- 1/4 teaspoon garlic powder.
- 2 large eggs, lightly beaten.
- 1 cup Panko breadcrumbs.
- 1/4 cup finely grated Parmesan cheese (This is totally optional, but I’m telling you, it pushes the crisp factor over the edge!).
- Cooking spray or oil for brushing/spraying later.
Ingredient Notes and Substitutions for Homemade Chicken Nuggets
So, about those breadcrumbs—please, please use Panko if you can get them! Standard breadcrumbs just don’t give you that incredible, airy crunch we are after. They soak up too much oil and get flat. Panko stays light and crisp, which is crucial for the best crispy chicken nuggets recipe.
Now, the chicken itself. If you are aiming for that classic ‘fast-food’ texture, I highly recommend using ground chicken instead of fresh breasts. It just changes the mouthfeel completely—it’s denser and surprisingly more tender. If you prefer whole chunks, cut those breasts evenly; nothing messes up the cooking time like having some pieces tiny and some massive!
If you want to sneak in extra flavor, try mixing 1 teaspoon of onion powder right into your flour mix. It’s a little trick I picked up to boost the savoriness, making these taste like the best copycat chicken nuggets without all the secret ingredients!
Setting Up Your Breading Station for Crispy Homemade Chicken Nuggets
Okay, this is where the magic of texture begins! You need three shallow dishes set up right next to your cutting board, and I mean *right next to it*. Efficiency is key here, especially when you’re whipping these up as a quick weeknight chicken dinner.
For Dish One, we have our seasoned flour mix (flour, salt, pepper, paprika, garlic powder). Dish Two is just your simple egg wash. And Dish Three holds the crispy champions: the Panko breadcrumbs, maybe with that Parmesan boost we talked about.
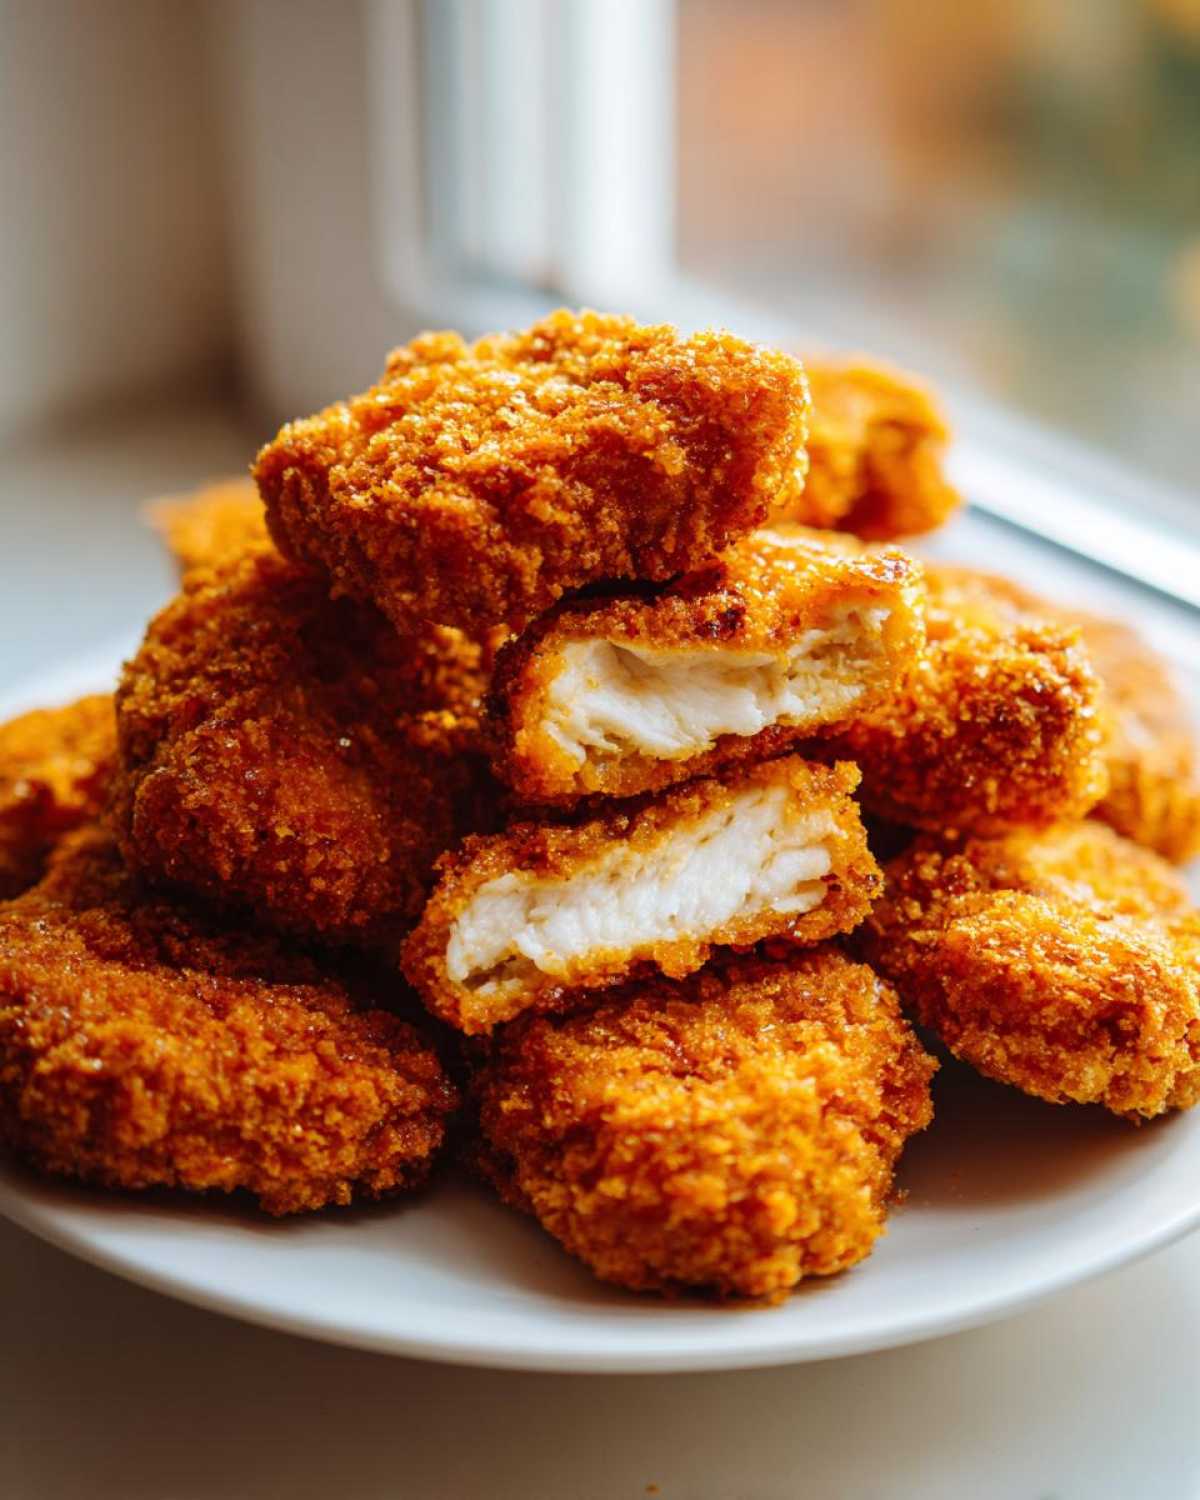
The absolute most important thing I learned about making sure these turn out perfect—and not looking like clumpy dough bombs—is shaking off the first coat. After dipping your chicken piece in the flour, hold it over the dish and give it a good little tap. Any excess flour needs to be gone before it hits the egg. If you skip this, the egg won’t grip the Panko properly, and you end up with sad, bare spots later. It’s vital for a perfect coat, whether you’re going into the oven or trying out the baked chicken nuggets recipe.
Step-by-Step Instructions for Juicy Chicken Nuggets Tutorial
This is where the rubber meets the road, and I promise you, watching these go from raw to golden is seriously satisfying. Remember our three stations set up? Now we put them to work! First things first—if you haven’t already, make sure those chicken pieces are cute and uniform. Even cooking is key to that juicy chicken nuggets tutorial magic!
Take one nugget at a time. Dredge it thoroughly in the seasoned flour mixture—really press it in, but then lift it and give it a good shake to get rid of the loose dust. Next, quickly dip it into that egg wash, letting the very extra drip back into the bowl. Finally, press that wet piece firmly into the Panko mix. You want the breadcrumbs to really stick all over! Lay the coated beauties on a clean plate while you finish the rest. Seeing that gorgeous coating happen is half the fun!
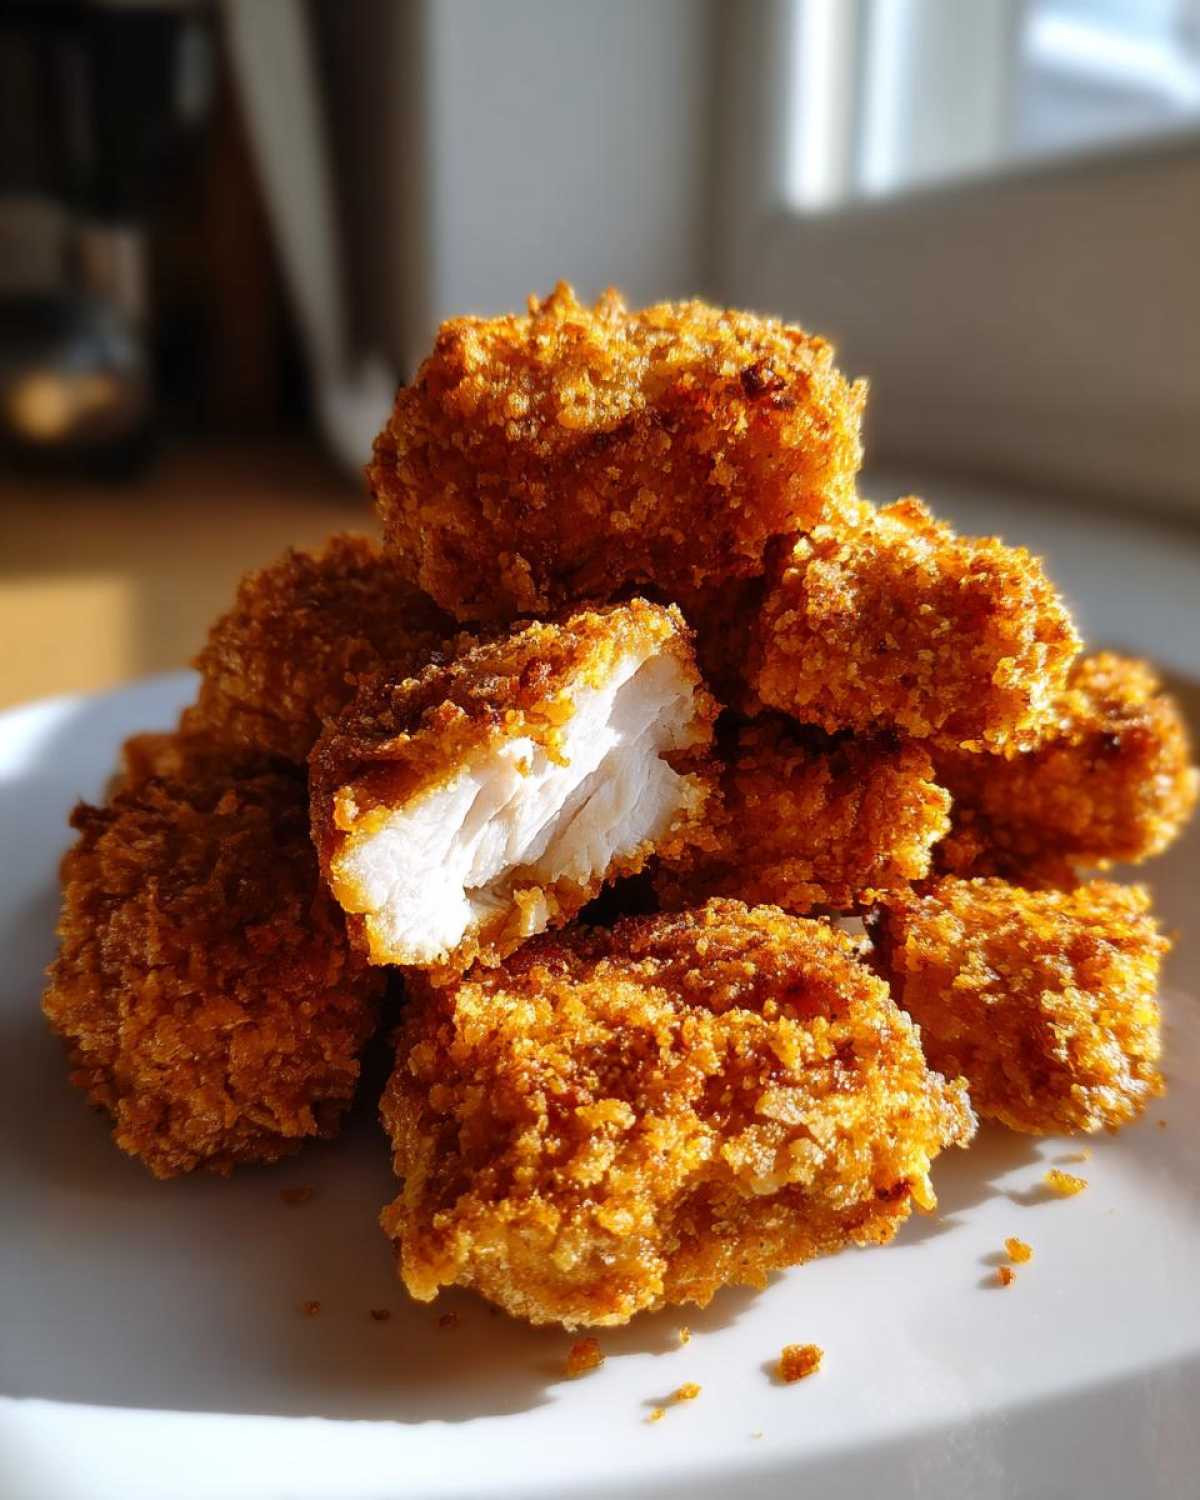
Once they are all breaded, it’s time for heat! You have two fantastic choices here. Preheat your oven to 400°F (200°C) or get that air fryer warming up to 375°F (190°C). When cooking poultry, being safe is the most important thing, so remember that these are done when they hit an internal temperature of 165°F (74°C). That’s the number we are aiming for, no matter which method you choose here at our amazing nugget tutorial!
Baking Homemade Chicken Nuggets Instructions
If you’re using the oven, line a baking sheet with parchment paper—it saves cleanup, trust me! Arrange your nuggets in a single layer—don’t crowd them, or they steam instead of crisping. Give the tops a nice, light spray with cooking oil or brush on a thin coat of oil. They’ll need about 15 to 18 minutes total. The crucial step here is flipping them halfway through cooking. That way, you get glorious golden brown spots on both sides, not just on the bottom where they sat on the tray!
Air Fryer Chicken Nuggets Instructions for Ultimate Crisp
For the crispiest possible result with minimal fuss, the air fryer is your best friend. You must arrange the nuggets in a single layer in the basket. Seriously, if they overlap, they won’t get that satisfying crunch. Spray the tops lightly with oil; this helps them brown beautifully. Cook them at 375°F for about 10 to 12 minutes. Don’t forget to shake that basket halfway through so all sides get exposed to that hot air vortex. They come out looking like they were deep-fried, I swear!
Tips for Success When Making Homemade Chicken Nuggets
I’ve figured out a couple of small tricks over the years that take these from great to absolutely unbeatable. First off, that uniform size we talked about during the cutting process? It matters! If you’ve got one big nugget next to a tiny one, the tiny one will be dry before the big one is cooked through. Keep them roughly the same thickness for even results.
Now, for those days when you don’t want to spend 30 minutes breading right before dinner, you can totally make these ahead! This is my favorite way to prep for busy weeks. After you bread them, lay the homemade chicken nuggets out on a baking sheet and pop that sheet into the freezer until they are rock solid. Then, transfer them into a freezer bag. When you’re ready to cook them later, just cook straight from frozen—remember to add about 3 to 5 extra minutes to the cooking time we listed above. You can find more details on how to keep them perfect for later.
And if you really want that soft, almost spongy interior that the fast-food joints are famous for? That texture comes from using ground chicken, not cutting breasts. It just packs down differently in the breading, giving you that specific mouthfeel. Try it once, and you’ll see what I mean!
Serving Suggestions: The Best Dipping Sauces for Homemade Chicken Nuggets
Listen, a great nugget deserves a great partner! Having these homemade chicken nuggets on the plate is only half the battle; the dipping sauce is key to the whole experience. You absolutely have to have a few options ready, especially when the kids are involved.
My absolute favorites are a tangy homemade honey mustard—don’t worry, I have the recipe ready for you later!—and a smoky BBQ sauce. Ranch dressing is always a crowd-pleaser, too. If you’re watching sodium, try making a quick, healthier version by whisking Greek yogurt with a little pickle juice and a dash of garlic powder. That tangy dip pairs like a dream! You can find my absolute favorites over at my sauce roundup, but honestly, even plain ketchup works when you’re starving!
Frequently Asked Questions About Homemade Chicken Nuggets
Can I use chicken thighs instead of breasts for this recipe?
Oh, absolutely! Chicken thighs bring a ton more fat and flavor than breasts, so your nuggets will be incredibly rich and moist. The downside is that dark meat sometimes doesn’t hold its shape quite as rigidly as breast meat after breading and cooking. If you use thighs, make sure to trim off any excess large pieces of fat first, and then dice them up so they are nice and uniform!
How do I modify this recipe to make copycat chicken nuggets?
If you’re chasing that classic, slightly smoother, fast-food texture—which honestly, sometimes hits the spot—the solution is simple: switch to ground chicken. Instead of cutting the meat, you form the ground chicken into small, flat shapes, maybe 1/2 inch thick. You still run them through the same breading station, but that ground texture mimics the famous versions perfectly! For more secrets on achieving this look, check out my full guide on copycat chicken nuggets.
Is skipping the egg wash really an option for homemade chicken nuggets?
Look, technically, yes, you *can* skip the egg. But I wouldn’t recommend it unless you have a specific allergy! The egg acts as the glue holding your beautiful Panko coating onto the chicken. If you skip it, you risk having half your breading fall off in the air fryer basket or on the sheet pan, leaving you with sad, patchy chicken bites. If you absolutely must skip it, try dipping the flour-coated pieces in a thin milk/mustard slurry instead, just to give the Panko something to adhere to.
Can I use Panko for the baked chicken nuggets recipe?
Yes, and you should! The beauty of the baked chicken nuggets recipe is that Panko is sturdy enough to hold up its texture, even without deep frying. The light spray of oil on top is crucial here. It helps the Panko crisp up in the oven heat rather than just drying out and looking pale. Panko is designed for maximum crunch, baked or air fried!
Can I use these for a make-ahead meal prep?
This is one of my favorite freezer meals! As I explained earlier, completely bread the nuggets and freeze them raw on a tray. When it’s time to eat, cook them straight from the freezer using the air fryer method—it reheats them better than the oven, restoring that perfect crispness quickly. They are fantastic for having on hand for an emergencies or when you need a super healthy homemade chicken nuggets option fast!
Storage and Reheating Instructions for Homemade Chicken Nuggets
So you made a huge batch—because you are smart, obviously! Leftover nuggets are the best lunch the next day, but you have to store them correctly or they get soggy overnight. Keep them in a shallow container in the fridge for up to three days. Don’t pack them tightly in plastic bags; that traps moisture and ruins the texture!
When you are ready to revive them, forget the microwave unless you absolutely have to. The best way to bring back that incredible crisp is to pop them back into the air fryer for about 3 to 4 minutes at 380°F. If you don’t have one, a hot oven set at 400°F for about 6 minutes, flipping once, works like a charm, too! They come right back to life!
Nutritional Estimates for Homemade Chicken Nuggets
I always look at the nutrition panel when I make these, just because I like to know what I’m eating, especially when I’m serving these yummy homemade chicken nuggets to the family regularly. Since we control everything—the cut of chicken, the amount of oil we spray—they end up being way better for you than anything takeout offers!
Keep in mind that these numbers are estimates based on the recipe provided, assuming we use the lighter baking or air frying method, which is what I always recommend. If you dip these in tons of store-bought sauce, those stats will obviously climb!
Here’s the breakdown per serving size (which is usually about 5 average nuggets):
- Serving Size: 5 nuggets
- Calories: 280
- Protein: 35g (That’s why they keep you full!)
- Fat: 8g (Keep that Panko dry during breading to keep this number down!)
- Carbohydrates: 15g
- Sodium: 450mg
- Sugar: Only 1g! Yes!
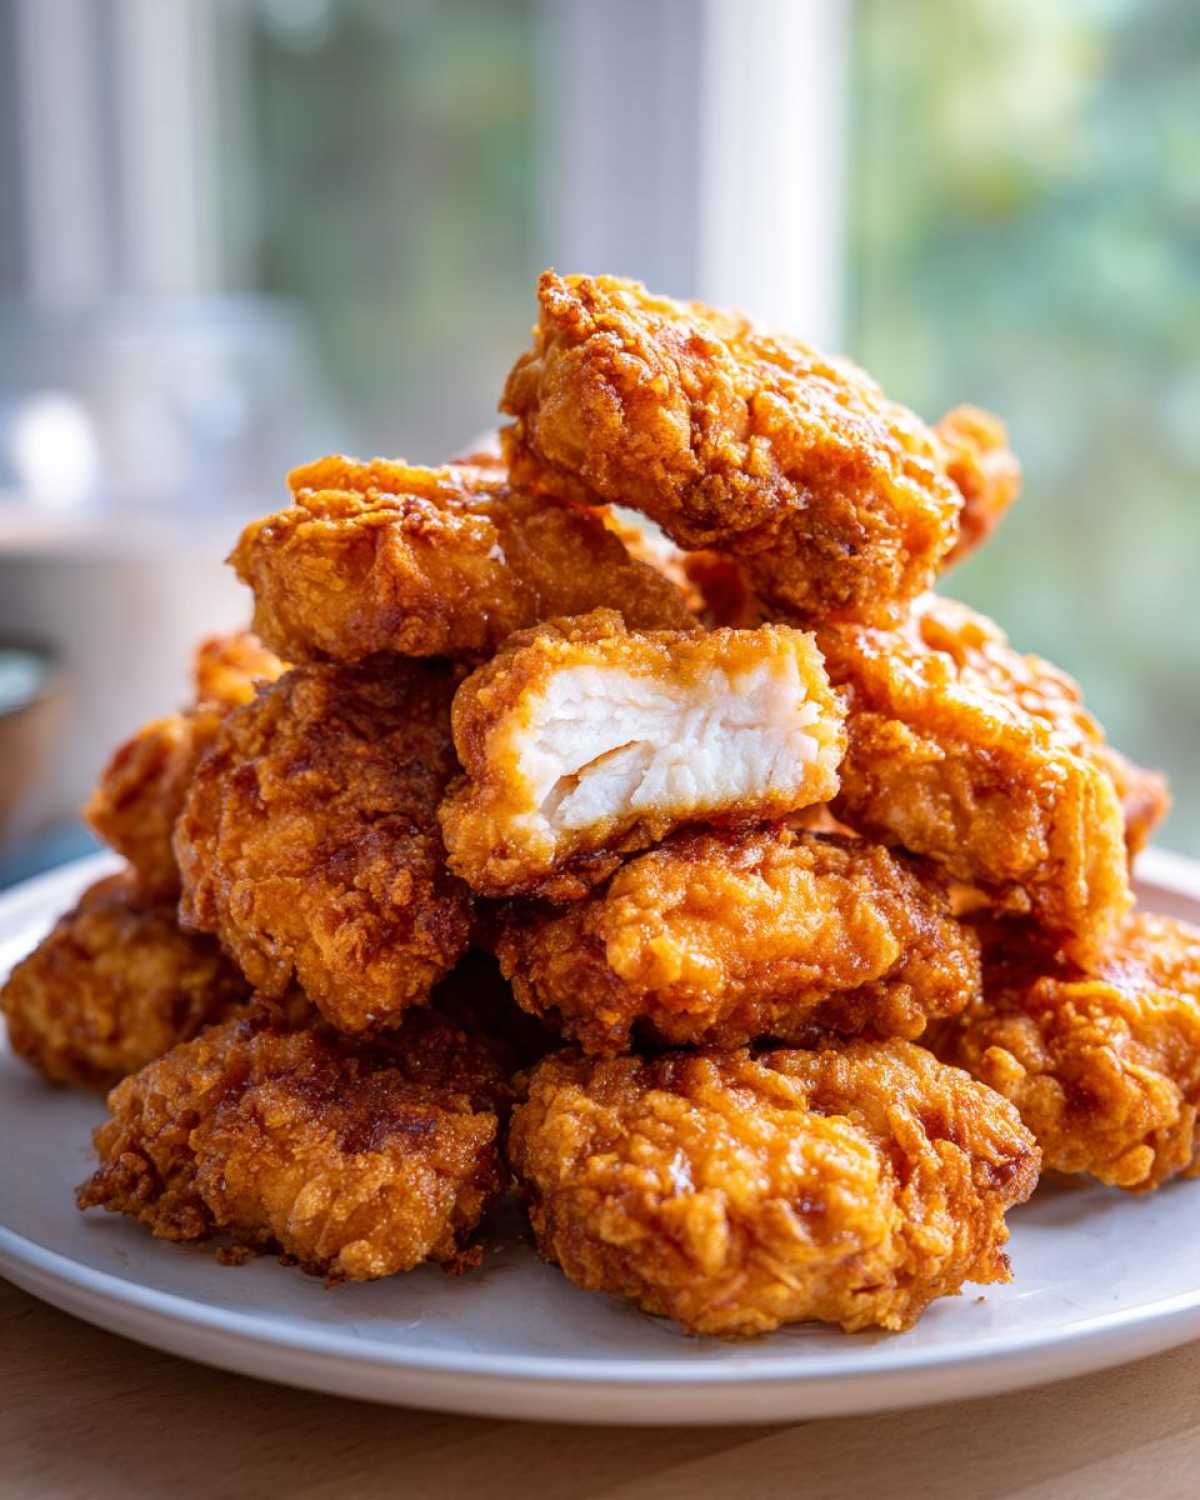
It’s important to remember that because everyone’s oven heats differently, and you might spray a little more or a little less oil, these are just great targets. If you are going heavy on the optional Parmesan cheese we talked about, you’ll see a slight bump in the fat and sodium, but honestly, it’s worth it for that extra crisp payoff. Enjoy knowing you made something delicious and relatively wholesome from scratch!
Share Your Crispy Homemade Chicken Nuggets Experience
Okay, friends, that’s all I’ve got for you on making the most glorious homemade chicken nuggets known to humankind! I truly hope you run to the kitchen right now and try these, either baked or air-fried. I put my heart and soul into perfecting this recipe, and I really want to know what you think!
Did you use the Parmesan trick? Did your kids inhale them before you even got a chance to try one? Please, please leave me a rating below—five stars if you think they deserve it! And if you snapped a picture of your gorgeous, golden nuggets, tag me on social media. I absolutely love seeing your creations.
If anything wasn’t quite clear, or if you tried a modification that blew your mind, drop your questions or comments in the box below. Don’t be shy! Hearing from you keeps me motivated to keep sharing all my best kitchen secrets!
Print
Ultimate Crispy & Juicy Homemade Chicken Nuggets (Oven & Air Fryer Friendly)
- Total Time: 33 min
- Yield: 4 servings
- Diet: Low Fat
Description
Make crispy, juicy chicken nuggets from scratch. This recipe works well for baking or air frying, making it a quick, family-friendly weeknight dinner.
Ingredients
- 1.5 lbs boneless, skinless chicken breasts or ground chicken
- 1/2 cup all-purpose flour
- 1 teaspoon salt
- 1/2 teaspoon black pepper
- 1/2 teaspoon paprika
- 1/4 teaspoon garlic powder
- 2 large eggs, lightly beaten
- 1 cup panko breadcrumbs
- 1/4 cup finely grated Parmesan cheese (optional, for extra crisp)
- Cooking spray or oil for brushing/spraying
Instructions
- If using whole breasts, cut the chicken into uniform, bite-sized nugget shapes, about 1 to 1.5 inches thick.
- Set up a standard breading station with three shallow dishes.
- In the first dish, combine the flour, salt, pepper, paprika, and garlic powder. Mix well.
- In the second dish, place the beaten eggs.
- In the third dish, combine the panko breadcrumbs and grated Parmesan cheese, if using.
- Dredge each chicken piece first in the flour mixture, shaking off excess.
- Dip the floured chicken into the egg mixture, allowing excess to drip off.
- Press the chicken firmly into the panko mixture to coat completely. Place coated nuggets on a clean plate.
- Preheat your oven to 400°F (200°C) or your air fryer to 375°F (190°C).
- For baking: Arrange nuggets on a baking sheet lined with parchment paper. Lightly spray the tops with cooking spray or brush with oil. Bake for 15-18 minutes, flipping halfway, until golden brown and cooked through (internal temperature 165°F).
- For air frying: Place nuggets in a single layer in the air fryer basket, ensuring they do not overlap. Spray lightly with oil. Air fry for 10-12 minutes, shaking the basket halfway through, until golden and crisp.
- Serve immediately with your favorite dipping sauces.
Notes
- For make-ahead preparation, freeze the breaded nuggets on a baking sheet until solid, then transfer them to a freezer bag. Cook directly from frozen, adding 3-5 minutes to the cooking time.
- If you prefer a copycat texture similar to fast food, use finely ground chicken instead of cutting breasts.
- For extra flavor, add 1 teaspoon of onion powder to the flour mixture.
- Prep Time: 15 min
- Cook Time: 18 min
- Category: Dinner
- Method: Baking or Air Frying
- Cuisine: American
Nutrition
- Serving Size: 5 nuggets
- Calories: 280
- Sugar: 1
- Sodium: 450
- Fat: 8
- Saturated Fat: 2
- Unsaturated Fat: 6
- Trans Fat: 0
- Carbohydrates: 15
- Fiber: 1
- Protein: 35
- Cholesterol: 105