Homemade Granola Clusters: Achieve Perfect Crunch and Clumps
There’s something truly special about a perfectly crunchy, clumpy granola. For years, I searched for that ideal texture, the kind you find in your favorite store-bought brands. I wanted that satisfying chew and crunch in every bite. That’s why I’m so excited to share this recipe for Homemade Granola Clusters. It’s a simple, loving approach to granola making. It brings that delightful store-bought clumping right into your own kitchen. It’s perfect for a quick breakfast or a hearty snack. This recipe is all about making something wonderful without any fuss. It’s how my grandmother taught me to cook.
Why You’ll Love These Homemade Granola Clusters
You’ll adore this recipe because it’s incredibly easy.
* It’s quick to whip up.
* You get that perfect, satisfying crunch.
* The clusters form beautifully, just like store-bought.
* It’s super versatile; customize it your way.
* It makes your kitchen smell amazing!
Gather Your Ingredients for Homemade Granola Clusters
Let’s get our kitchen ready for some delicious homemade granola! Gathering your ingredients is like laying out the building blocks for something truly special. My grandmother always said to get everything ready before you start mixing. It makes the whole process so much smoother. For our perfect homemade granola clusters, you’ll need a few key players.
Rolled Oats
We’re using 2 cups of rolled oats, also known as old-fashioned oats. These give our granola that wonderful texture and are the perfect base for those delightful clusters. Don’t use instant oats; they’ll get too mushy.
Mixed Nuts
Grab 1 cup of your favorite mixed nuts. I love a blend of almonds, walnuts, and pecans. Make sure they’re raw and unsalted. You’ll want to give them a rough chop. This helps them bind into the clusters better.
Seeds
We need 1/2 cup of seeds. Pumpkin seeds and sunflower seeds are fantastic choices. Again, raw and unsalted is best here. They add a great nutty flavor and extra crunch.
Coconut Oil
You’ll need 1/4 cup of coconut oil. Just pop it in a small bowl and melt it gently. Coconut oil is key for binding everything together and getting that lovely crispiness.
Liquid Sweetener
For sweetness and that sticky magic, we need 1/4 cup of liquid sweetener. Honey or maple syrup works beautifully. Both give a lovely flavor and help those clusters form.
Vanilla Extract
A teaspoon of pure vanilla extract is a must. It just makes everything taste better, doesn’t it? It really enhances the sweetness and adds a warm aroma.
Ground Cinnamon
We’re adding 1/2 teaspoon of ground cinnamon. This spice adds a comforting warmth that pairs so well with oats and nuts. It’s like a cozy hug in a bowl.
Salt
And finally, 1/4 teaspoon of salt. This might seem small, but salt is a flavor enhancer. It balances the sweetness and makes all the other flavors pop.
How to Make Perfect Homemade Granola Clusters
Now for the fun part – actually making these amazing homemade granola clusters! It’s a process that’s really quite simple, and trust me, the smell that fills your kitchen is just heavenly. My family always knew it was granola day when that warm, toasty scent started wafting through the house.
Preheat and Prep Your Baking Sheet
First things first, let’s get our oven ready. Preheat it to 300°F (150°C). This lower temperature is key for getting that perfect golden brown without burning. Then, grab a baking sheet and line it with parchment paper. Parchment paper is a lifesaver here. It stops the granola from sticking and makes cleanup a breeze. It also helps the clusters form nicely.
Combine Dry Ingredients
In a big bowl, toss together your rolled oats, chopped nuts, and seeds. Give them a good stir. You want everything to be nicely mixed. Make sure there are no big clumps of just oats or just nuts. Even distribution is what we’re aiming for.
Whisk Wet Ingredients Together
In a separate, smaller bowl, whisk together your melted coconut oil, honey or maple syrup, vanilla extract, cinnamon, and salt. Whisk it until it’s all smooth and well combined. This liquid mixture is what’s going to bind all our dry ingredients together and give them that lovely flavor.
Coat the Dry Ingredients
Now, pour that delicious wet mixture over the dry ingredients in the big bowl. Stir everything gently but thoroughly. You want to make sure every single oat, nut, and seed is coated in that sticky, flavorful liquid. This is crucial for getting that perfect crunch and those wonderful clusters.

Spread for Baking
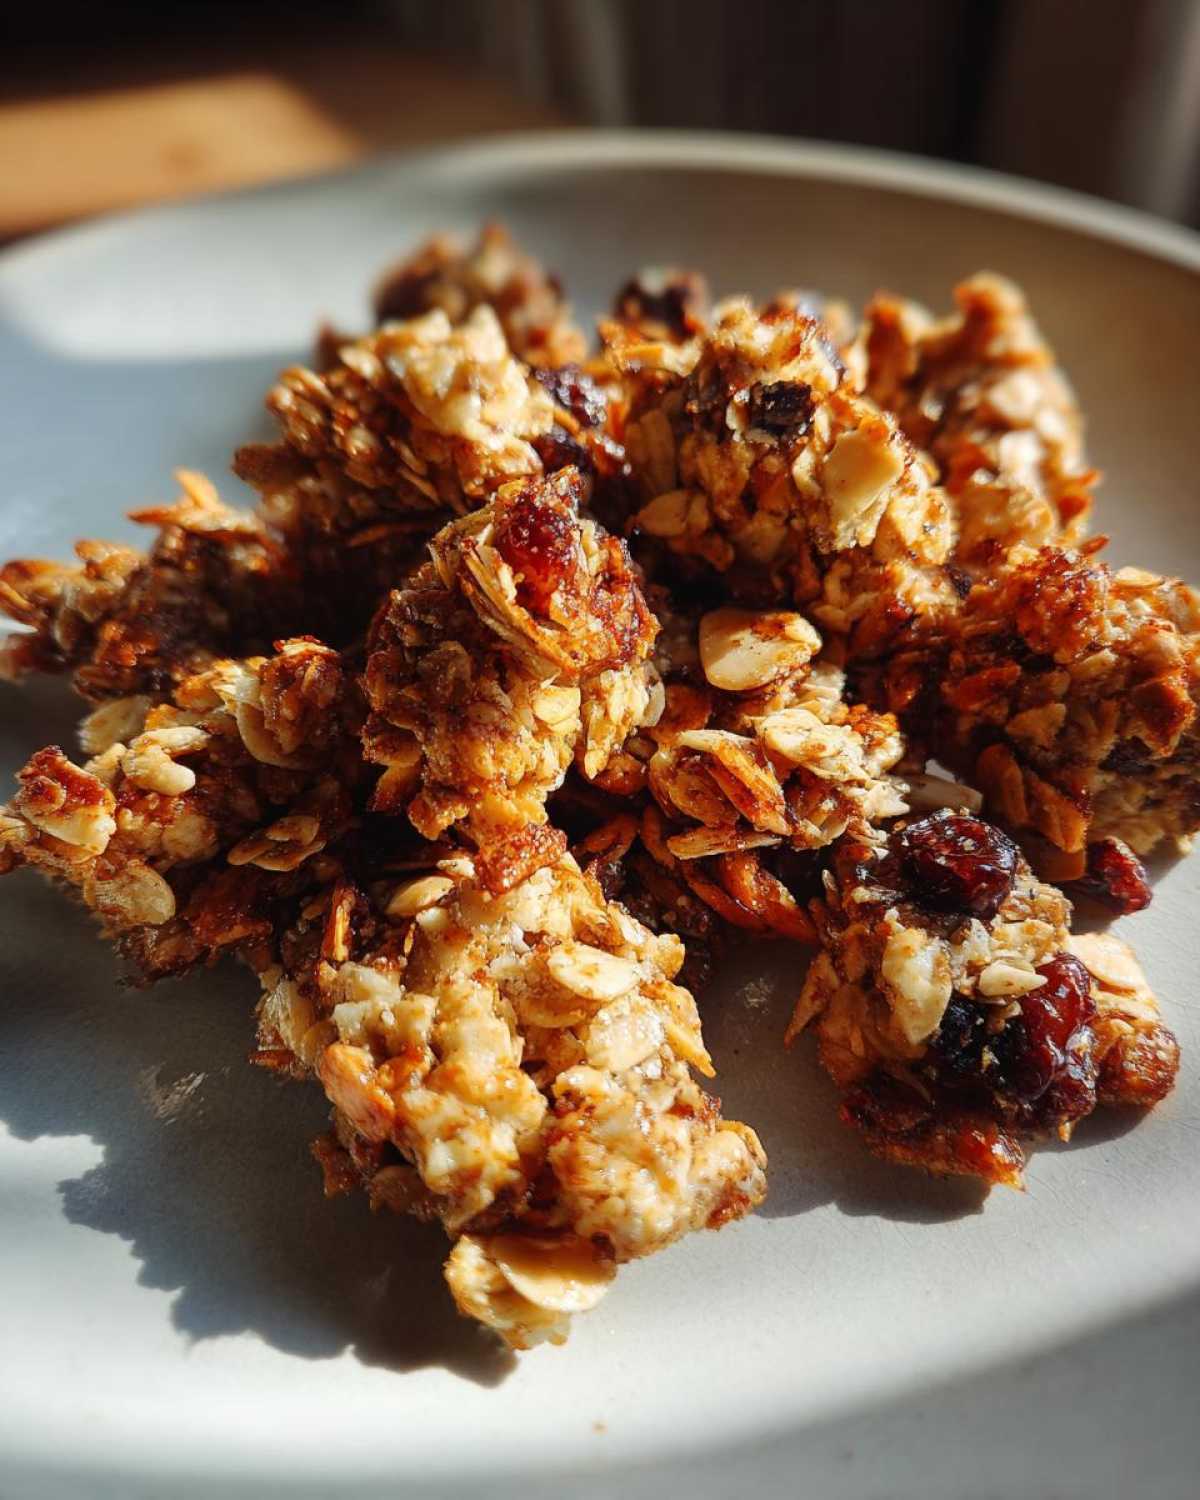
Time to spread the mixture onto your prepared baking sheet. Make sure it’s in a single, even layer. Don’t pile it up. For extra clumpy granola, gently press the mixture down with the back of a spoon or your hands. This is a little trick that really helps the clusters stick together.
Bake to Golden Perfection
Pop the baking sheet into your preheated oven. Bake for about 20 to 25 minutes. About halfway through, give it a gentle stir. This ensures even browning. Be careful not to stir too much, though! We want those clusters to stay intact. You’ll know it’s ready when it’s golden brown and smells wonderfully toasty.
The Magic of Cooling
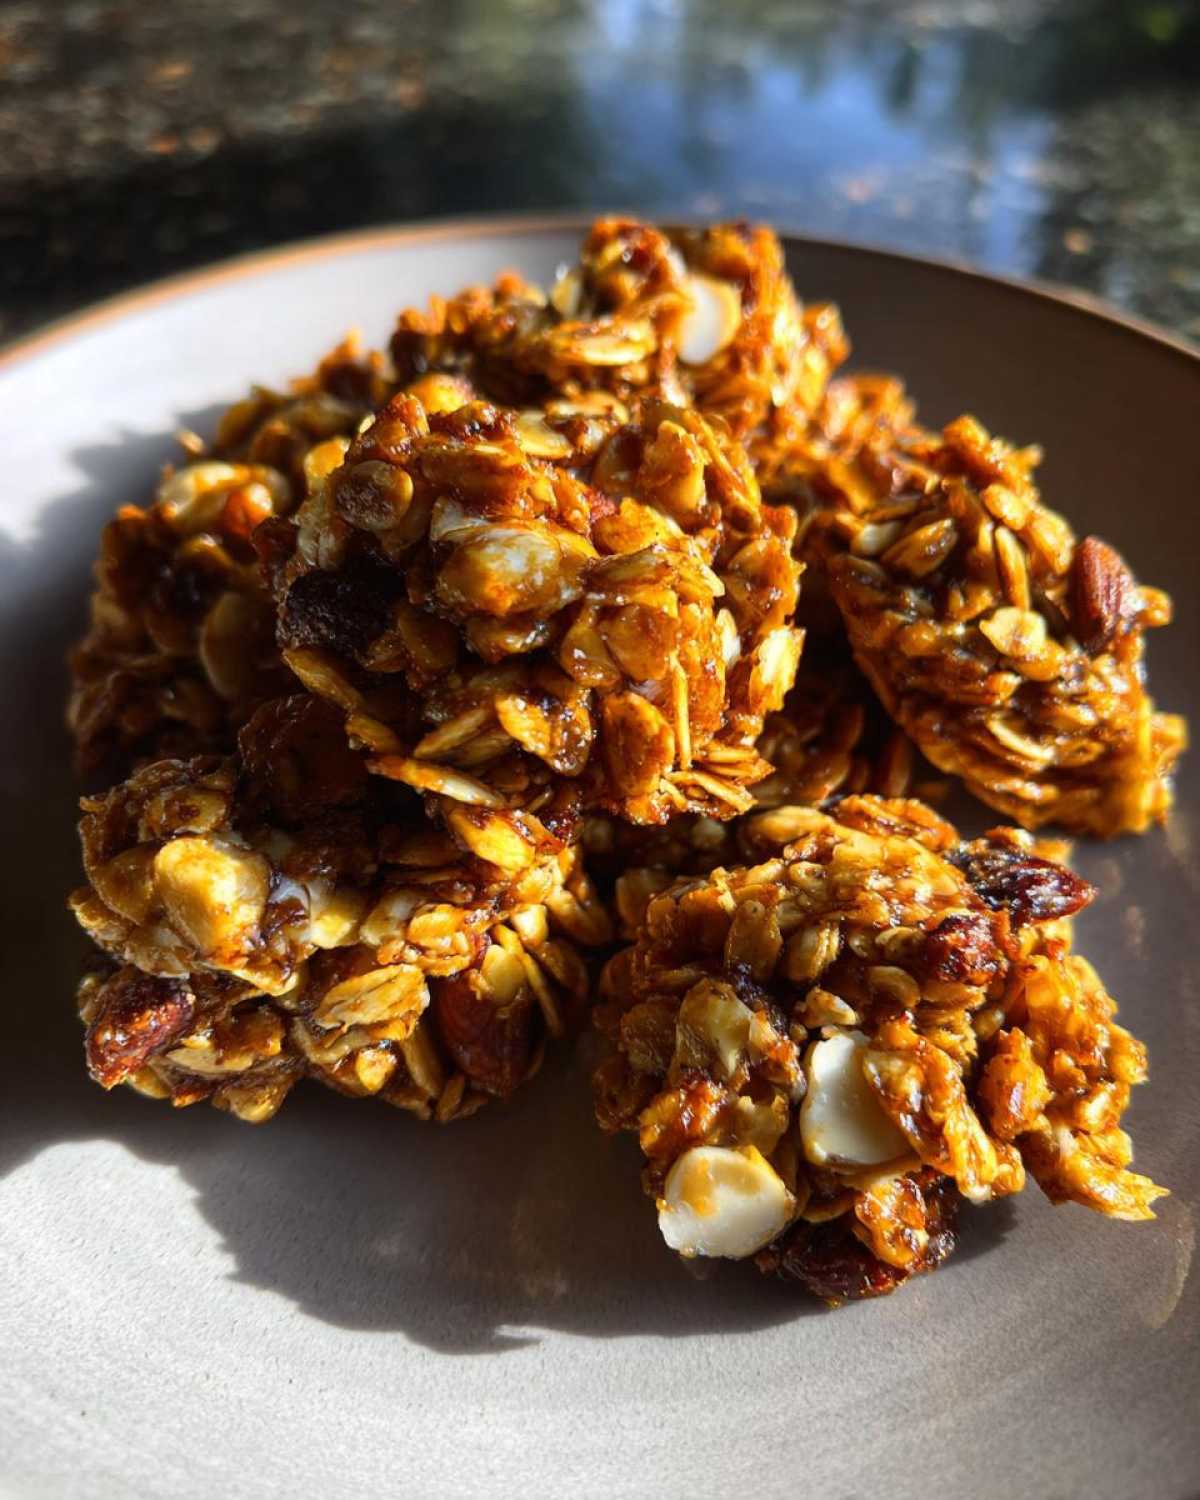
This is the most important step for clusters! Let the granola cool *completely* on the baking sheet. Seriously, don’t even think about moving it yet. As it cools, the bits of oats, nuts, and sweetener will stick together, forming those coveted granola clusters. Patience is rewarded here!
Breaking Apart Clusters
Once it’s fully cooled, you can gently break apart any really large clumps. Or, if you love big, chunky clusters, leave them as they are! You can also break it into smaller pieces if you prefer. Just use your hands for this.
Tips for Extra Crunchy Homemade Granola Clusters
Getting that perfect crunch and those delightful clumps is all about a few key techniques. I’ve learned over the years that a little attention to detail makes all the difference. These tips will help you achieve granola nirvana.
The Importance of Gentle Stirring
When you stir your granola halfway through baking, be gentle. Think of it like tucking it in. You want to encourage even browning, but avoid breaking up those beautiful clusters that are starting to form. A light toss is all it needs.
Don’t Overbake
Keep an eye on your granola in the oven. It should be golden brown and smell wonderfully toasty. If it looks too light, give it a few more minutes. But once it reaches that perfect color, take it out! Overbaking can make it bitter and tough, and it won’t have that satisfying crunch.
Cool Completely
This step is non-negotiable for clusters. Let your granola cool down entirely on the baking sheet. Resist the urge to poke it or break it apart too soon. The cooling process is where the magic happens. It allows the sweetener to harden and bind everything together, creating those lovely, chunky clusters we all love. It’s worth the wait, I promise!

Ingredient Notes and Delicious Substitutions for Homemade Granola Clusters
Sometimes, we all need to swap things out in the kitchen. Whether it’s what we have on hand or a dietary preference, this recipe is super flexible. I love how adaptable homemade granola is. It’s one of the reasons I keep making it!
Nuts and Seeds Variety
Feel free to mix up your nuts and seeds. Almonds, walnuts, and pecans are great. But don’t stop there! Try hazelnuts, cashews, or even macadamia nuts. For seeds, sunflower and pumpkin are classics. You can also add chia seeds or flax seeds. Just make sure they’re raw and unsalted. This keeps the flavor balanced.
Sweetener Options
Honey and maple syrup are my go-to sweeteners. They help create those lovely clusters. But you can also try agave nectar or brown rice syrup. Each sweetener adds a slightly different flavor. Agave is a bit milder. Brown rice syrup can make things extra chewy. Just use the same amount.
Adding Dried Fruit
Want to add some sweetness and chew? Dried fruit is wonderful. But be careful! Add your dried fruits *after* the granola has completely cooled. If you add them during baking, they can burn or get really hard. Raisins, cranberries, or chopped apricots are all delicious additions. They add a lovely burst of flavor.
Frequently Asked Questions about Homemade Granola Clusters
Got questions about making your own delicious homemade granola clusters? I get it! It’s natural to want to get it just right, especially when you’re aiming for that perfect crunch and those satisfying clumps. Here are some common things people ask, and I’m happy to share my insights.
How do I get my homemade granola to form clusters?
Ah, the million-dollar question for perfect granola clusters! It really comes down to a few things. First, the moisture from your liquid sweetener and oil helps bind everything. Second, gently pressing the granola mixture down on the baking sheet before baking is super important. It encourages those bits to stick together. Finally, and I can’t stress this enough, letting the granola cool *completely* on the baking sheet is where the magic truly happens. That’s when those clusters solidify.
Can I make this granola without nuts?
Absolutely! If nuts aren’t your thing, or if you have allergies, you can easily adapt this recipe. You can simply increase the amount of oats and seeds. For example, use an extra 1/2 cup of oats and another 1/4 cup of seeds. Some people also like to add puffed rice cereal for extra lightness and crunch. Just make sure your substitutions are raw and unsalted, just like the original ingredients.
How long does homemade granola last?
When stored properly, your homemade granola clusters will stay fresh and crunchy for about 2 to 3 weeks. The key is to keep it in an airtight container at room temperature. Avoid storing it in the fridge, as that can sometimes make it lose its crispness. I usually put mine in nice mason jars. They look pretty on the counter, too!
Can I add dried fruit to my homemade granola clusters?
Yes, you can definitely add dried fruit! It adds a lovely chewy texture and extra sweetness. However, and this is a big one, add your dried fruit *after* the granola has completely cooled. If you bake the dried fruit with the granola, it can burn or become very hard and unpleasantly chewy. My favorites are dried cranberries or chopped apricots.
Serving and Storing Your Homemade Granola Clusters
Now that you have these wonderful homemade granola clusters, how do you best enjoy them? I love having a big batch ready to go. It makes busy mornings so much easier.
Delicious Serving Ideas
These clusters are incredibly versatile. My absolute favorite way to eat them is with creamy Greek yogurt. A sprinkle on top adds the perfect crunch. They’re also delicious with a splash of cold milk, just like cereal. You can also top smoothie bowls with them for extra texture and flavor. Sometimes, I just grab a handful for a quick, satisfying snack.
Proper Storage
To keep your homemade granola clusters fresh and crunchy, proper storage is key. Once they’ve cooled completely, transfer them to an airtight container. Mason jars work wonderfully for this. Store the container at room temperature. This way, they’ll stay at their best for about two to three weeks. Avoid the refrigerator, as it can sometimes make them a little less crisp.
Estimated Nutritional Information
Creating homemade granola is so rewarding! While I can’t give exact nutritional numbers because everyone’s ingredients vary slightly, I can give you a good estimate. A typical serving of these homemade granola clusters (about 1/4 cup) usually contains:
- Calories: Around 200-250
- Fat: Approximately 12-15g
- Saturated Fat: Around 5-7g
- Carbohydrates: About 20-25g
- Fiber: Roughly 3-4g
- Sugar: About 8-10g (mostly from the sweetener)
- Protein: Around 4-6g
Please remember these are just estimates! The exact amounts will depend on the types of nuts and seeds you use, and how much sweetener you add. It’s a healthy way to start your day, packed with good fats and fiber. I always feel good knowing exactly what’s in my granola.
Print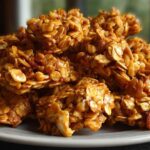
Homemade Granola Clusters: 4 Amazing Tips
- Total Time: 35 minutes plus cooling time
- Yield: About 4 cups
- Diet: Vegetarian
Description
Create delicious, crunchy homemade granola clusters that rival store-bought versions. This recipe is simple, encouraging, and perfect for breakfast or snacks.
Ingredients
- 2 cups rolled oats
- 1 cup mixed nuts (almonds, walnuts, pecans)
- 1/2 cup seeds (pumpkin, sunflower)
- 1/4 cup coconut oil, melted
- 1/4 cup honey or maple syrup
- 1 teaspoon vanilla extract
- 1/2 teaspoon cinnamon
- 1/4 teaspoon salt
Instructions
- Preheat your oven to 300°F (150°C).
- In a large bowl, combine the rolled oats, mixed nuts, and seeds.
- In a separate small bowl, whisk together the melted coconut oil, honey or maple syrup, vanilla extract, cinnamon, and salt.
- Pour the wet ingredients over the dry ingredients and stir until everything is evenly coated.
- Spread the mixture in a single layer on a baking sheet lined with parchment paper.
- Bake for 20-25 minutes, stirring halfway through, until golden brown and fragrant.
- Let the granola cool completely on the baking sheet. As it cools, it will form clusters.
- Break apart any large clumps if desired. Store in an airtight container.
Notes
- For extra clumping, gently press the granola down on the baking sheet before baking.
- Feel free to customize with your favorite nuts, seeds, or dried fruits.
- Add dried fruit after the granola has cooled to prevent burning.
- Prep Time: 10 minutes
- Cook Time: 25 minutes
- Category: Breakfast
- Method: Baking
- Cuisine: American
Nutrition
- Serving Size: 1/4 cup