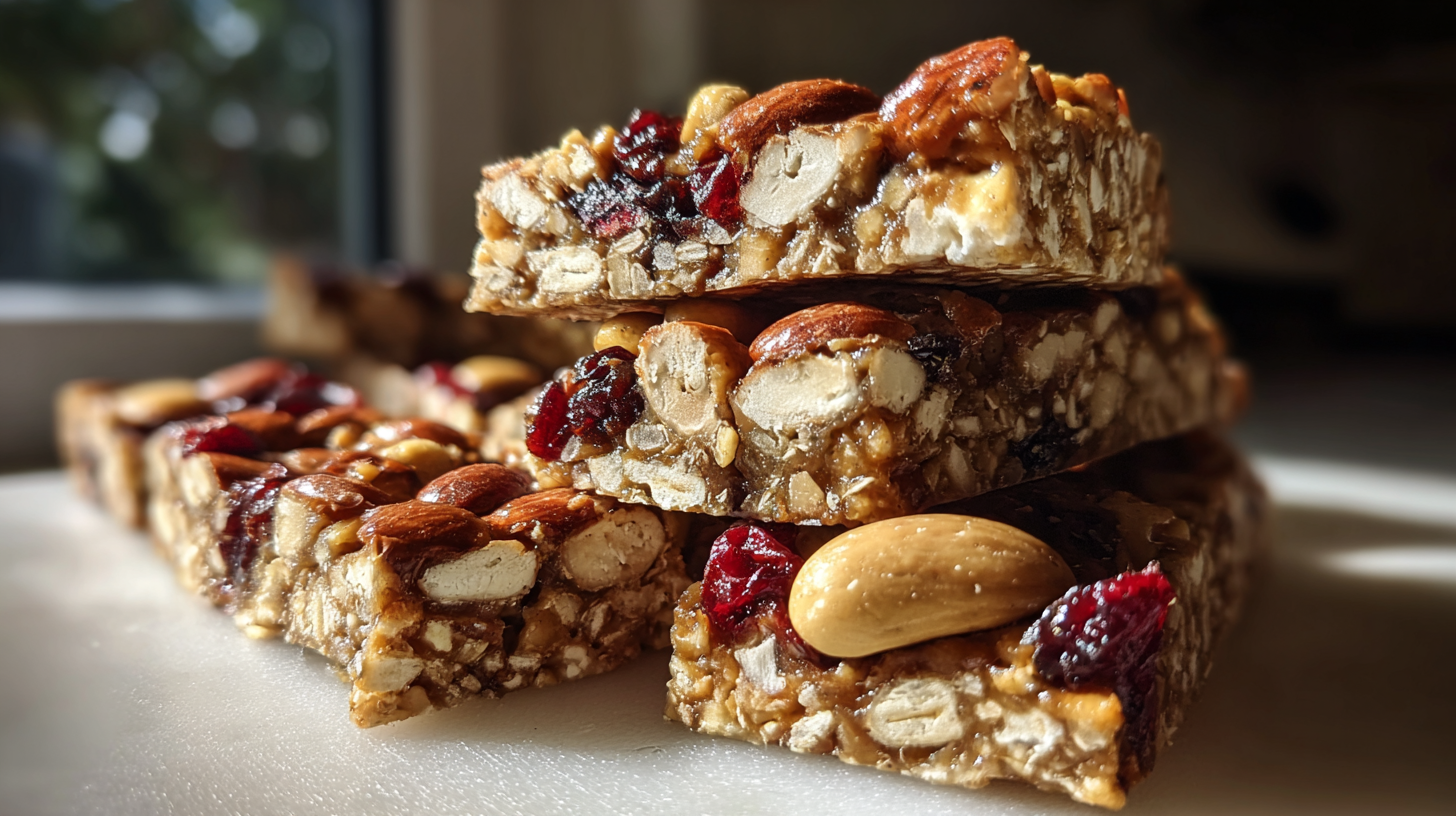
The Easiest No-Bake Trail Mix Granola Bars You’ll Ever Make
As a busy home cook, I’m always on the hunt for snacks that are both delicious and easy to make. That’s why I absolutely adore these **No-Bake Trail Mix Granola Bars**. They truly live up to their name! Forget the oven; this recipe from Clara Kohn at 911Recipes is a game-changer. You get to mix and match your favorite ingredients. It’s the perfect way to create a snack that’s uniquely yours. These bars are so simple, they’ll become your go-to treat.
Why You’ll Love These No-Bake Trail Mix Granola Bars
* Incredibly simple to prepare, perfect for busy schedules.
* Completely customizable to your taste preferences.
* A satisfying and healthy homemade snack option.
* No oven required, making them a year-round favorite.
* Packed with wholesome ingredients for sustained energy.
Gather Your Ingredients for No-Bake Trail Mix Granola Bars
Creating these delicious bars is a joy, and it all starts with gathering your goodies. I always like to have everything ready before I begin. You’ll need 2 cups of rolled oats as our base. For that satisfying crunch, grab 1 cup of your favorite chopped nuts—almonds, walnuts, or pecans work wonderfully. If you like a little extra texture, 1/2 cup of seeds like pumpkin or sunflower are a great addition, though totally optional. Then comes the fun part: 1/2 cup of chopped dried fruit! Raisins, cranberries, or apricots add a lovely chewiness and sweetness. Clara Kohn’s recipe makes it so easy to personalize this part.
How to Prepare Your No-Bake Trail Mix Granola Bars
Let me tell you, making these bars feels like a little bit of kitchen magic. It reminds me of baking with my own grandma, where simple ingredients came together to make something truly special. You’ll see just how easy it is to whip up a batch of these delightful No-Bake Trail Mix Granola Bars.
Step 1: Prepare Your Pan
First things first, grab an 8×8 inch baking pan. I like to line mine with parchment paper. Make sure there’s an overhang on the sides. This makes lifting the finished bars out so much easier, trust me!
Step 2: Combine Dry Ingredients
Now, get a big bowl. Toss in your rolled oats. Add your chopped nuts and seeds if you’re using them. Don’t forget your chopped dried fruit! Give it all a good stir to mix everything up nicely.
Step 3: Mix Wet Ingredients
In a separate bowl, we’ll make our binder. Whisk together your nut butter, honey or maple syrup, and the melted coconut oil or butter. Add in that splash of vanilla extract and a pinch of salt. Whisk until it’s all smooth and creamy.
Step 4: Combine Wet and Dry Mixtures
Pour that lovely wet mixture right over your dry ingredients in the big bowl. Use a spatula or a sturdy spoon to mix it all up. Make sure every bit of the oats and nuts gets coated. It should look like a beautifully combined, sticky mass.
Step 5: Press Mixture into Pan
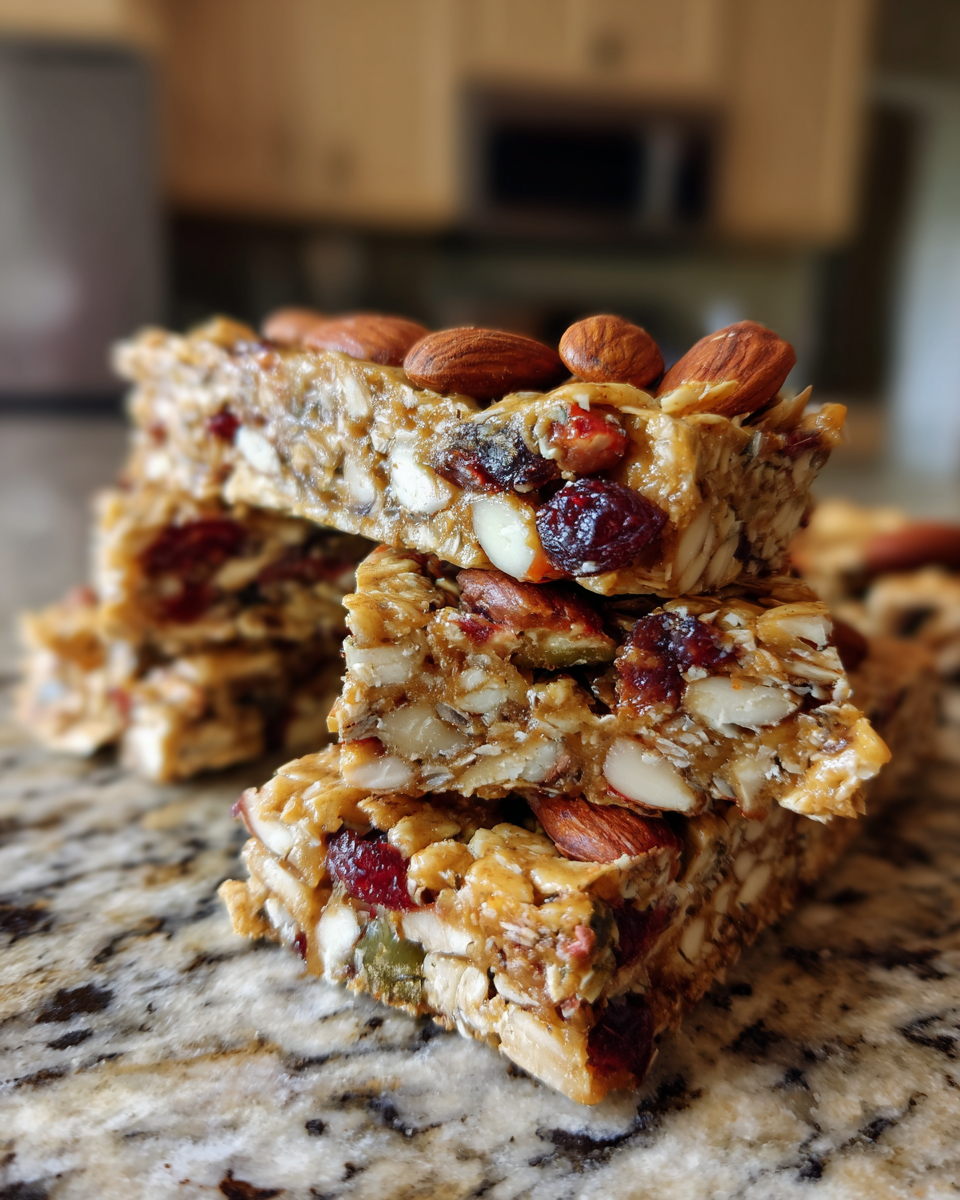
Time to get this into the prepared pan. Dump the mixture in and spread it out evenly. Now, here’s my little trick: press it down *really* firmly. I use the bottom of a glass or a flat spatula. The firmer you press, the better your bars will hold together. My kids always giggle when I’m pressing, but it really makes a difference!
Step 6: Chill Until Firm
Once it’s all pressed down, pop the pan into the refrigerator. You’ll want to let it chill for at least 2-3 hours. This is when the magic happens, and everything firms up beautifully.
Step 7: Cut and Serve Your No-Bake Trail Mix Granola Bars
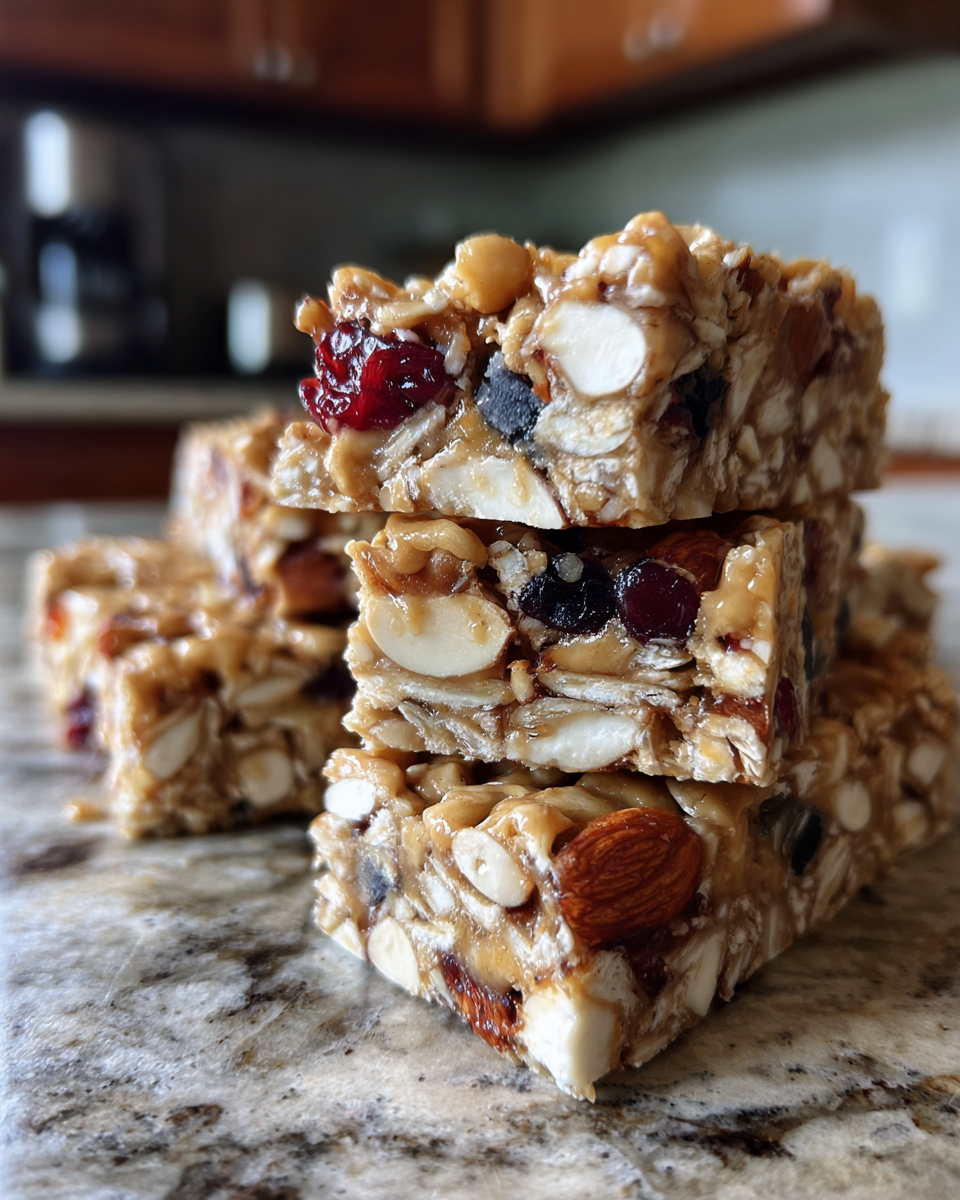
When it’s firm, use the parchment paper overhang to lift the whole block out of the pan. Place it on a cutting board. Now, you can cut it into your desired bars or squares. Enjoy your delicious homemade treats!
Tips for Perfect No-Bake Trail Mix Granola Bars
I’ve made these dozens of times, and a few little tricks really help.
* Make sure your nut butter is at room temperature. It mixes so much easier this way.
* Press the mixture down with significant force. This creates the most cohesive bars.
* For even firmer bars, consider adding a tablespoon of chia seeds to the mix.
Customizing Your No-Bake Trail Mix Granola Bars
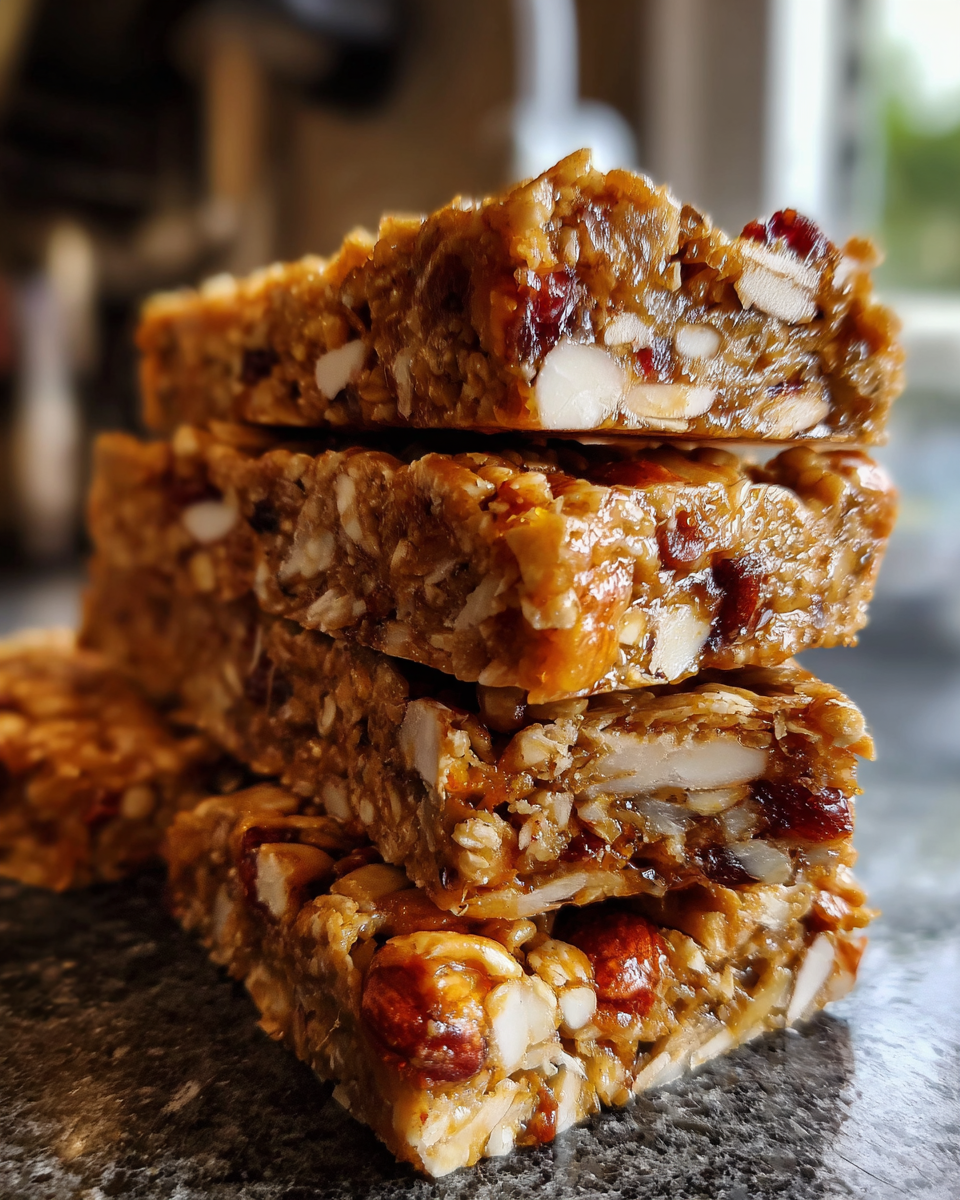
This is where the real fun begins! You can truly make these No-Bake Trail Mix Granola Bars your own. Don’t be afraid to experiment with different nuts like pecans or cashews. Swap raisins for dried cherries or blueberries. Maybe add some shredded coconut or a sprinkle of cinnamon for extra flavor. Think about creating a “tropical” version with dried mango and coconut, or a “berry blast” with cranberries and raspberries. It’s a wonderful way to use up bits and pieces from your pantry and cater to everyone’s cravings. For more ideas on creative snacks, check out our Sweet Treats section.
Storing Your Homemade Granola Bars
To keep your delicious homemade granola bars fresh, store them in an airtight container. I always keep mine in the refrigerator. They tend to soften up quite a bit at room temperature, and I prefer them nice and firm.
Frequently Asked Questions about No-Bake Trail Mix Granola Bars
Got questions? I’ve got answers! Making these is so straightforward, but it’s natural to wonder about a few things.
Can I use different types of nuts or seeds in my no-bake granola bars?
Absolutely! That’s the beauty of these bars. Feel free to swap out the nuts and seeds for your favorites. Almonds, cashews, pumpkin seeds, sunflower seeds – they all work wonderfully.
How long do these homemade granola bars last?
When stored properly in an airtight container in the refrigerator, these bars should last for about 1 to 2 weeks. They’re so good, though, they might not last that long!
What can I do if my mixture is too crumbly?
If your mixture seems too crumbly, it usually means you need a bit more binder. You can try gently warming your nut butter and honey mixture before adding it. A tablespoon or two more of the liquid binder can also help bind everything together.
Why You’ll Love These No-Bake Trail Mix Granola Bars
Seriously, these bars are a lifesaver for anyone needing a quick, tasty snack. They hit all the right notes:
- They’re incredibly simple to prepare. Perfect for busy schedules.
- You can customize them completely. Tailor them to your exact taste.
- They’re a satisfying and healthy homemade snack option. Good for you!
- No oven is required. This makes them a year-round favorite treat.
- They’re packed with wholesome ingredients. This gives you sustained energy.
Gather Your Ingredients for No-Bake Trail Mix Granola Bars
Let’s get our kitchen ready for some simple magic! We’re making these **No-Bake Trail Mix Granola Bars**. Clara Kohn’s recipe makes gathering ingredients a breeze. You’ll need 2 cups of rolled oats for that perfect chewiness. For crunch, grab 1 cup of your favorite nuts, chopped up small – think almonds, walnuts, or pecans. I also love adding 1/2 cup of seeds, like pumpkin or sunflower, for extra goodness, but they’re optional. Now for the sweet and chewy bits: 1/2 cup of dried fruit, chopped. Raisins, cranberries, or chopped apricots are fantastic choices. This is where you can really make them your own!
How to Prepare Your No-Bake Trail Mix Granola Bars
Let me tell you, making these bars feels like a little bit of kitchen magic. It reminds me of baking with my own grandma, where simple ingredients came together to make something truly special. You’ll see just how easy it is to whip up a batch of these delightful No-Bake Trail Mix Granola Bars.
Step 1: Prepare Your Pan
First things first, grab an 8×8 inch baking pan. I like to line mine with parchment paper. Make sure there’s an overhang on the sides. This makes lifting the finished bars out so much easier, trust me!
Step 2: Combine Dry Ingredients
Now, get a big bowl. Toss in your rolled oats. Add your chopped nuts and seeds if you’re using them. Don’t forget your chopped dried fruit! Give it all a good stir to mix everything up nicely.
Step 3: Mix Wet Ingredients
In a separate bowl, we’ll make our binder. Whisk together your nut butter, honey or maple syrup, and the melted coconut oil or butter. Add in that splash of vanilla extract and a pinch of salt. Whisk until it’s all smooth and creamy.
Step 4: Combine Wet and Dry Mixtures
Pour that lovely wet mixture right over your dry ingredients in the big bowl. Use a spatula or a sturdy spoon to mix it all up. Make sure every bit of the oats and nuts gets coated. It should look like a beautifully combined, sticky mass.
Step 5: Press Mixture into Pan
Time to get this into the prepared pan. Dump the mixture in and spread it out evenly. Now, here’s my little trick: press it down *really* firmly. I use the bottom of a glass or a flat spatula. The firmer you press, the better your bars will hold together. My kids always giggle when I’m pressing, but it really makes a difference!
Step 6: Chill Until Firm
Once it’s all pressed down, pop the pan into the refrigerator. You’ll want to let it chill for at least 2-3 hours. This is when the magic happens, and everything firms up beautifully.
Step 7: Cut and Serve Your No-Bake Trail Mix Granola Bars
When it’s firm, use the parchment paper overhang to lift the whole block out of the pan. Place it on a cutting board. Now, you can cut it into your desired bars or squares. Enjoy your delicious homemade treats!
Tips for Perfect No-Bake Trail Mix Granola Bars
I’ve made these dozens of times, and a few little tricks really help ensure success. Clara Kohn’s insights are so practical!
- Make sure your nut butter is at room temperature. It mixes so much easier this way.
- Press the mixture down with significant force. This creates the most cohesive bars.
- For even firmer bars, consider adding a tablespoon of chia seeds to the mix.
Customizing Your No-Bake Trail Mix Granola Bars
This is where the real fun begins with these No-Bake Trail Mix Granola Bars! You can truly make them your own. Don’t be afraid to experiment with different nuts like pecans or cashews. Swap raisins for dried cherries or blueberries. Maybe add some shredded coconut or a sprinkle of cinnamon for extra flavor. Think about creating a “tropical” version with dried mango and coconut, or a “berry blast” with cranberries and raspberries. It’s a wonderful way to use up bits and pieces from your pantry and cater to everyone’s cravings, just like we do at 911Recipes.
Storing Your Homemade Granola Bars
To keep your delicious homemade granola bars fresh, store them in an airtight container. I always keep mine in the refrigerator. They tend to soften up quite a bit at room temperature. I prefer them nice and firm, perfect for grabbing on the go!
Frequently Asked Questions about No-Bake Trail Mix Granola Bars
Got questions? I’ve got answers! Making these is so straightforward, but it’s natural to wonder about a few things. Clara Kohn’s approach is always about making things easy and delicious.
Can I use different types of nuts or seeds in my no-bake granola bars?
Absolutely! That’s the beauty of these bars. Feel free to swap out the nuts and seeds for your favorites. Almonds, cashews, pumpkin seeds, sunflower seeds – they all work wonderfully. Experimenting is part of the fun!
How long do these homemade granola bars last?
When stored properly in an airtight container in the refrigerator, these bars should last for about 1 to 2 weeks. They’re so good, though, they might not last that long! Make sure they are kept cool.
What can I do if my mixture is too crumbly?
If your mixture seems too crumbly, it usually means you need a bit more binder. You can try gently warming your nut butter and honey mixture before adding it. A tablespoon or two more of the liquid binder can also help bind everything together perfectly.
Nutritional Information Disclaimer
Please remember that the nutritional values provided for these No-Bake Trail Mix Granola Bars are estimates. They can vary quite a bit depending on the specific ingredients and brands you choose to use. We’re all about making it your own, so feel free to experiment!
Print
Amazing No-Bake Trail Mix Granola Bars
- Total Time: 2 hours 15 minutes (includes chilling time)
- Yield: 12-16 bars
- Diet: Vegetarian
Description
Create delicious no-bake granola bars at home with this easy recipe from 911Recipes. Perfect for a quick, customizable snack packed with your favorite nuts, dried fruits, and oats.
Ingredients
- 2 cups rolled oats
- 1 cup nuts (almonds, walnuts, pecans), chopped
- 1/2 cup seeds (pumpkin, sunflower), optional
- 1/2 cup dried fruit (raisins, cranberries, apricots), chopped
- 1/2 cup nut butter (peanut, almond)
- 1/3 cup honey or maple syrup
- 1/4 cup melted coconut oil or butter
- 1 teaspoon vanilla extract
- Pinch of salt
Instructions
- Line an 8×8 inch baking pan with parchment paper, leaving an overhang on the sides.
- In a large bowl, combine the rolled oats, chopped nuts, seeds (if using), and dried fruit.
- In a separate bowl, whisk together the nut butter, honey or maple syrup, melted coconut oil or butter, vanilla extract, and salt until smooth.
- Pour the wet ingredients over the dry ingredients and mix well until everything is evenly coated.
- Transfer the mixture to the prepared baking pan and press it down firmly and evenly. You can use a spatula or the bottom of a glass.
- Refrigerate for at least 2-3 hours, or until firm.
- Once firm, lift the granola bar mixture out of the pan using the parchment paper overhang.
- Cut into bars or squares.
- Store in an airtight container in the refrigerator.
Notes
- Feel free to customize with your favorite nuts, seeds, and dried fruits.
- For a firmer bar, you can add a tablespoon or two of chia seeds or flax seeds.
- If your nut butter is very stiff, you can warm it slightly to make it easier to mix.
- These bars are best stored in the refrigerator as they can soften at room temperature.
- Prep Time: 15 minutes
- Cook Time: 0 minutes
- Category: Snacks
- Method: No-Bake
- Cuisine: American
Nutrition
- Serving Size: 1 bar
- Calories: Approx. 200-250 (will vary based on ingredients)
- Sugar: Approx. 10-15g
- Sodium: Approx. 50-100mg
- Fat: Approx. 12-18g
- Saturated Fat: Approx. 3-5g
- Unsaturated Fat: Approx. 9-13g
- Trans Fat: 0g
- Carbohydrates: Approx. 20-25g
- Fiber: Approx. 3-5g
- Protein: Approx. 5-8g
- Cholesterol: 0mg