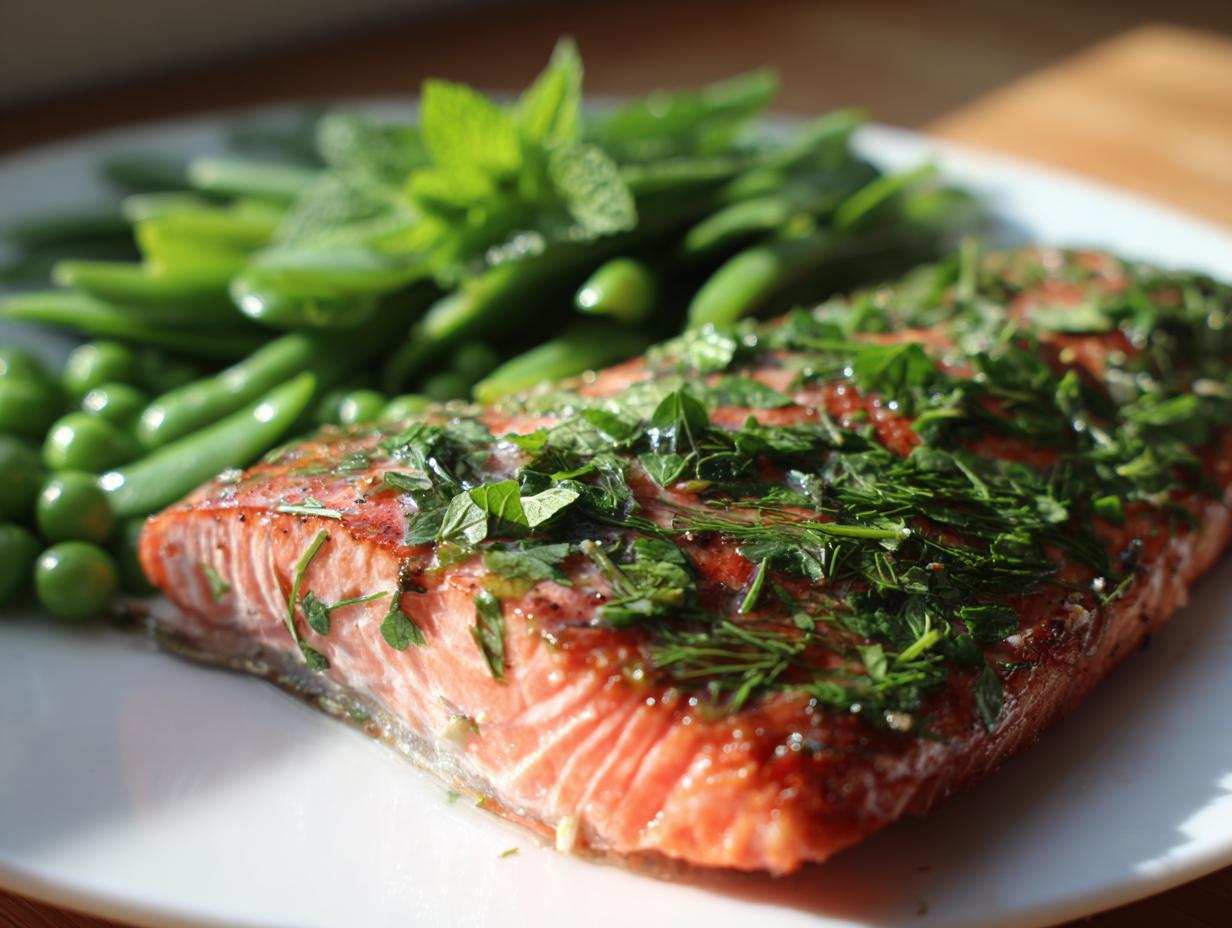
If you’re anything like me, when 5 PM hits, the last thing you want is a sink full of dishes looking back at you. Seriously, cleaning pots and pans after baking fish? No thank you! That’s why I basically live and breathe for easy sheet pan dinner recipes these days. I discovered that lining everything with parchment paper is the secret to my weeknight sanity, and this Sheet Pan Salmon with Spring Peas is the absolute shining star of my rotation right now.
We’re talking bright, zesty flavors, perfectly flaky fish, and sweet little peas—all cooked in about 15 minutes flat. My kitchen smells like a spring garden mixed with the bright ocean air, and honestly, the only thing I have to scrub afterward is the cutting board. This method for Sheet Pan Salmon with Spring Peas isn’t just easy; it’s the healthiest, fastest flavor bomb you can pull off before true burnout sets in.
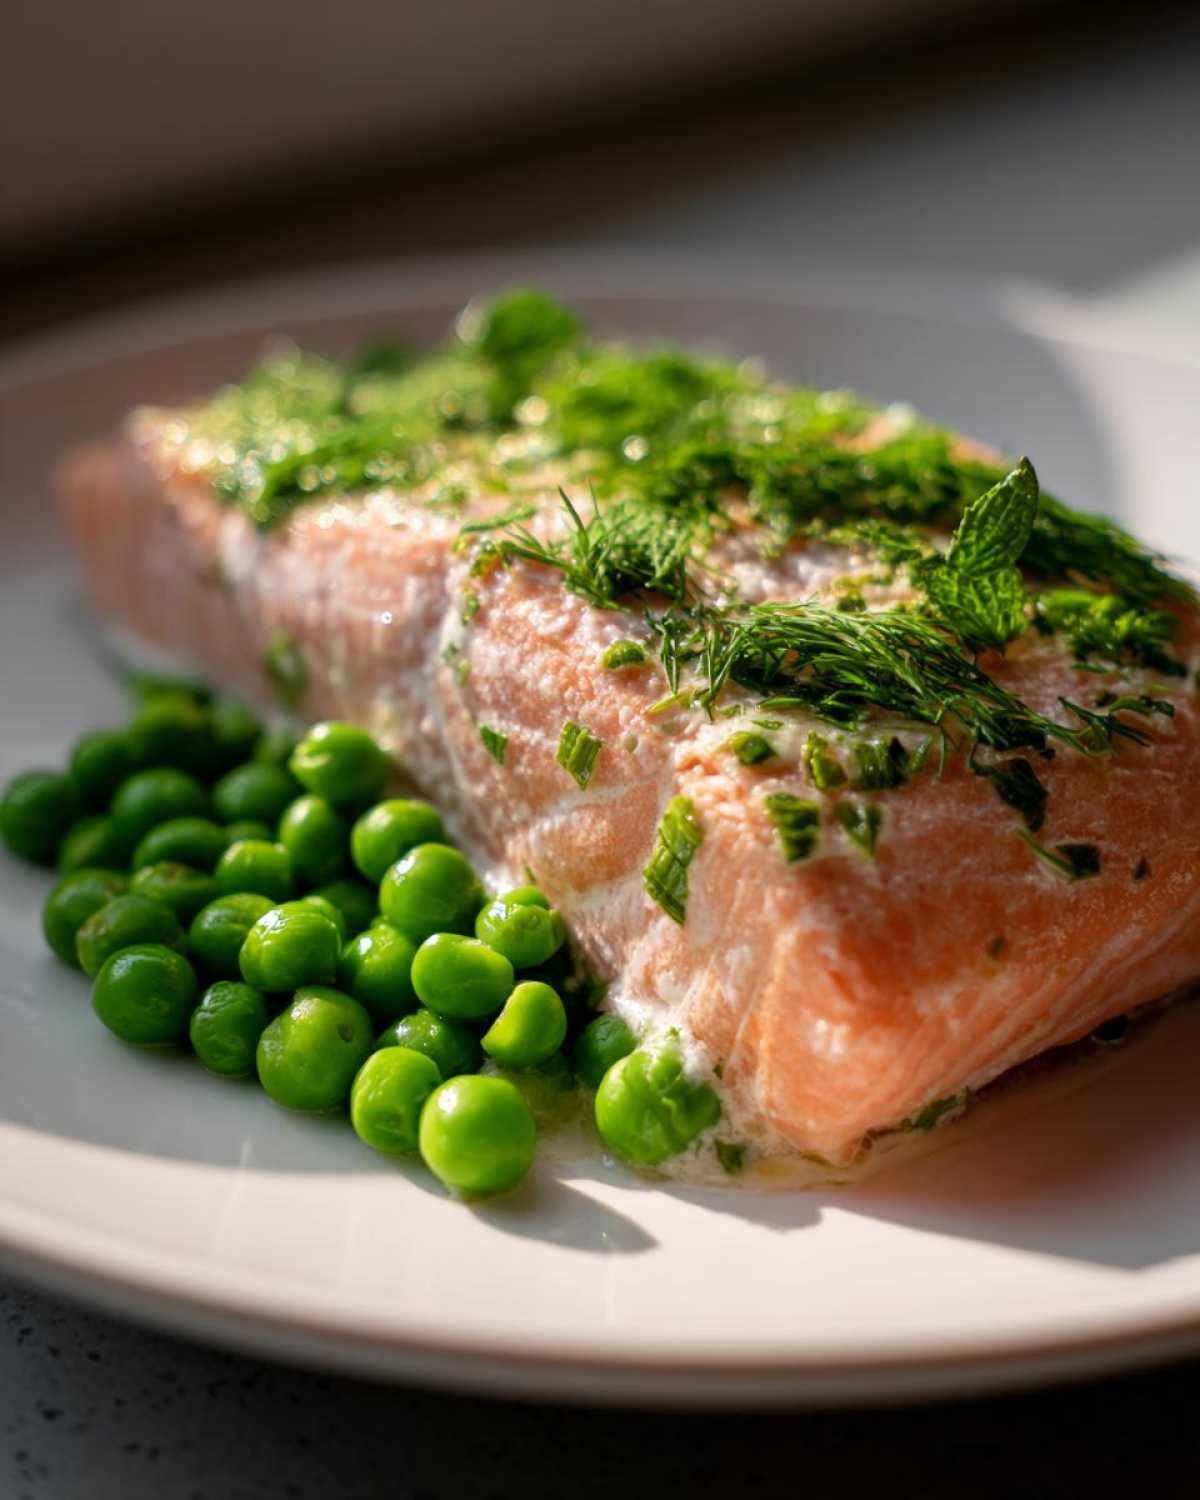
Why This Sheet Pan Salmon with Spring Peas Recipe Works for Busy Nights
I swear by this dish anytime I need dinner on the table fast. It hits every single checkmark when it comes to quick and healthy weeknight meals. Forget fussy sauces or layered cooking; this is pure efficiency, proving that amazing food doesn’t need hours of attention.
- It’s truly minimal cleanup dinners territory. Parchment paper is your best friend here—just lift and toss!
- The whole thing goes from counter to table in under 25 minutes, making it perfect for my evening rush.
- It’s packed with lean protein, giving you energy without weighing you down.
If you’re looking for more genius solutions like this, check out my collection of easy sheet pan dinner recipes. You won’t regret it!
Speed and Simplicity of Sheet Pan Salmon with Spring Peas
Honestly, about 10 minutes of chopping and mixing the bright lemon oil, and then the oven takes over. Seriously simple oven baking instructions mean you aren’t hovering! Because everything cooks at the same high heat, those 15 minutes are all you need for perfectly cooked fish.
A Healthy Weeknight Meal Option
Salmon is just fantastic for you, right? It’s flaky, satisfying, and loaded with all the good stuff. Pairing it with fresh spring peas keeps things light, making this one of my go-to healthy weeknight meals when I want something both nourishing and incredibly delicious.
Essential Ingredients for Sheet Pan Salmon with Spring Peas
Okay, the magic of a great one pan salmon meal starts with quality ingredients, but thankfully, this recipe keeps the list short and sweet. You’ll need four good-sized salmon fillets—about six ounces each, so they cook evenly. We always start with a tablespoon of good olive oil. That oil gets laced with the vibrant tang of one teaspoon of lemon zest and one tablespoon of fresh lemon juice. Don’t skip the zest, trust me; that’s where the big flavor punch comes from!
For seasoning, keep it simple: half a teaspoon of salt and just a quarter teaspoon of fresh black pepper. Then come the stars of the show: one cup of those gorgeous spring peas. And for the finishing glow, we use two tablespoons of chopped fresh dill, and if you’re feeling extra fancy like I sometimes do on a Friday, a tablespoon of fresh mint. Those herbs just scream springtime when they hit the hot fish.
Ingredient Notes and Substitutions for Sheet Pan Salmon with Spring Peas
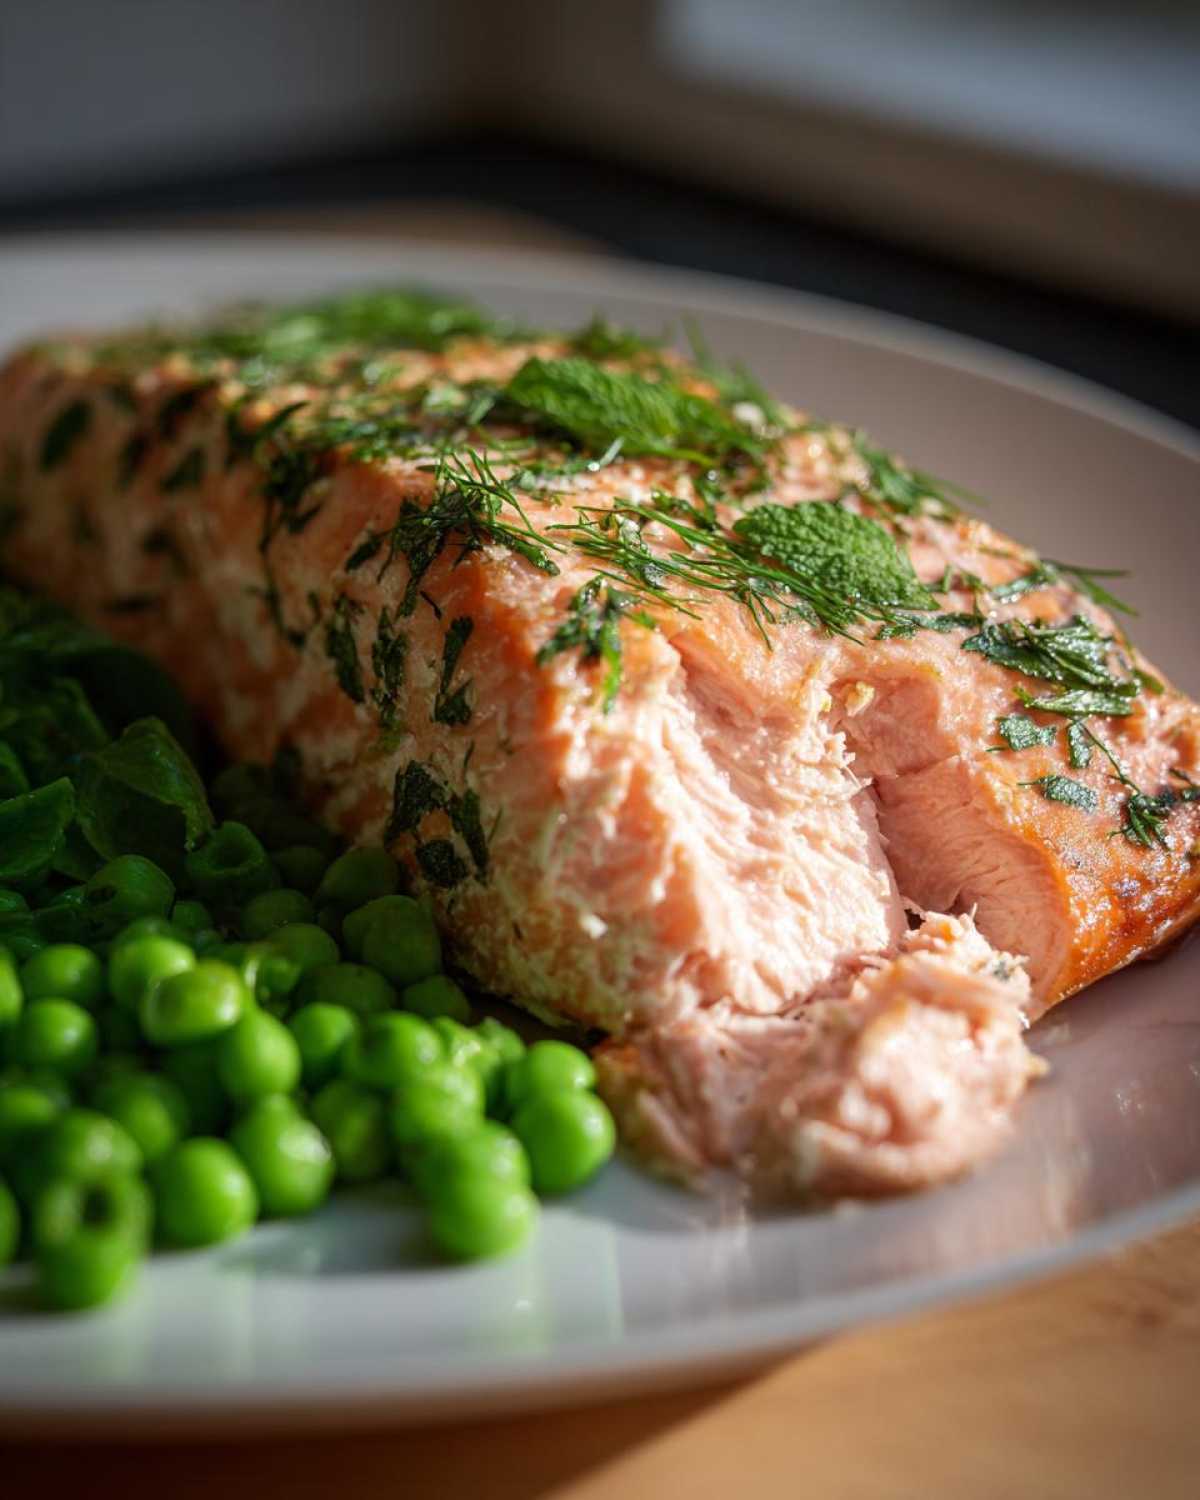
Let’s talk substitutions because life happens, right? If you can’t find fresh peas, frozen ones are totally fine—and hey, this is important—do *not* thaw them first! Just toss those frozen little green guys right onto the pan with everything else. They thaw and cook perfectly during those 15 minutes in the oven, which really helps keep this one of the best oven baked salmon instructions out there for speed.
If you want to amp this up into a full veggie load, I sometimes add asparagus spears to the pan. But here’s the trick: because asparagus cooks faster than salmon, toss them on with the peas, but only for the last eight minutes of baking time. If you’re clean out of fresh dill or mint, don’t panic. You can swap in about one teaspoon of dried dill directly into your lemon oil mixture, though I always prefer the brightness of the fresh stuff for these seasonal spring fish dishes.
Step-by-Step Instructions for Sheet Pan Salmon with Spring Peas
Alright, let’s get cooking! This is the part where everything comes together so quickly you’ll wonder why you ever bothered with multiple pans. Follow these steps exactly, and you’ll see why this is one of the best oven baked salmon instructions I’ve ever shared. It really is designed for maximum flavor payoff with minimum fuss.
Preparing the Salmon and Peas for Roasting
First thing, get that oven hot! You need to preheat it to 400°F (200°C). Now, for the cleanup hack: line a big baking sheet with parchment paper. Seriously, this is non-negotiable for me; it saves so much scrubbing later. Pop your four salmon fillets onto one side of that paper.
In a tiny little bowl—I mean, you only need a condiment dish for this—mix up your oil and seasoning blend: the olive oil, that zesty lemon, the juice, salt, and pepper. Take a pastry brush (or just use the back of a spoon if you’re feeling rustic!) and brush that whole mixture generously over the tops of all the salmon pieces. They should look nice and glistening.
Next up, the peas! Scatter those one cup of spring peas all around the salmon fillets right there on the sheet pan. We want them close enough to get those nice roasted edges but with enough space so they aren’t steaming, if you catch my drift.
Baking Time and Finishing Touches for Sheet Pan Salmon with Spring Peas
Time to slide this gorgeous platter into that hot oven. You’re aiming for 12 to 15 minutes. Now, word of warning: thickness matters here! If your fillets are super thick, aim for 15 minutes. If they are thinner, check them closer to 12 minutes. You are checking because you want that fish to flake super easily when you poke it with a fork.
Once they are perfectly flaky—and trust me, you’ll know—pull that sheet pan out of the oven. Don’t serve it yet, though! This is the finishing secret: immediately sprinkle all that lovely chopped dill and mint right over both the salmon and those gorgeous, tender peas. The residual heat releases all the aroma from the herbs, and you’re ready to dig in! Quickest dinner ever!
Tips for the Best Way to Cook Salmon on a Sheet Pan
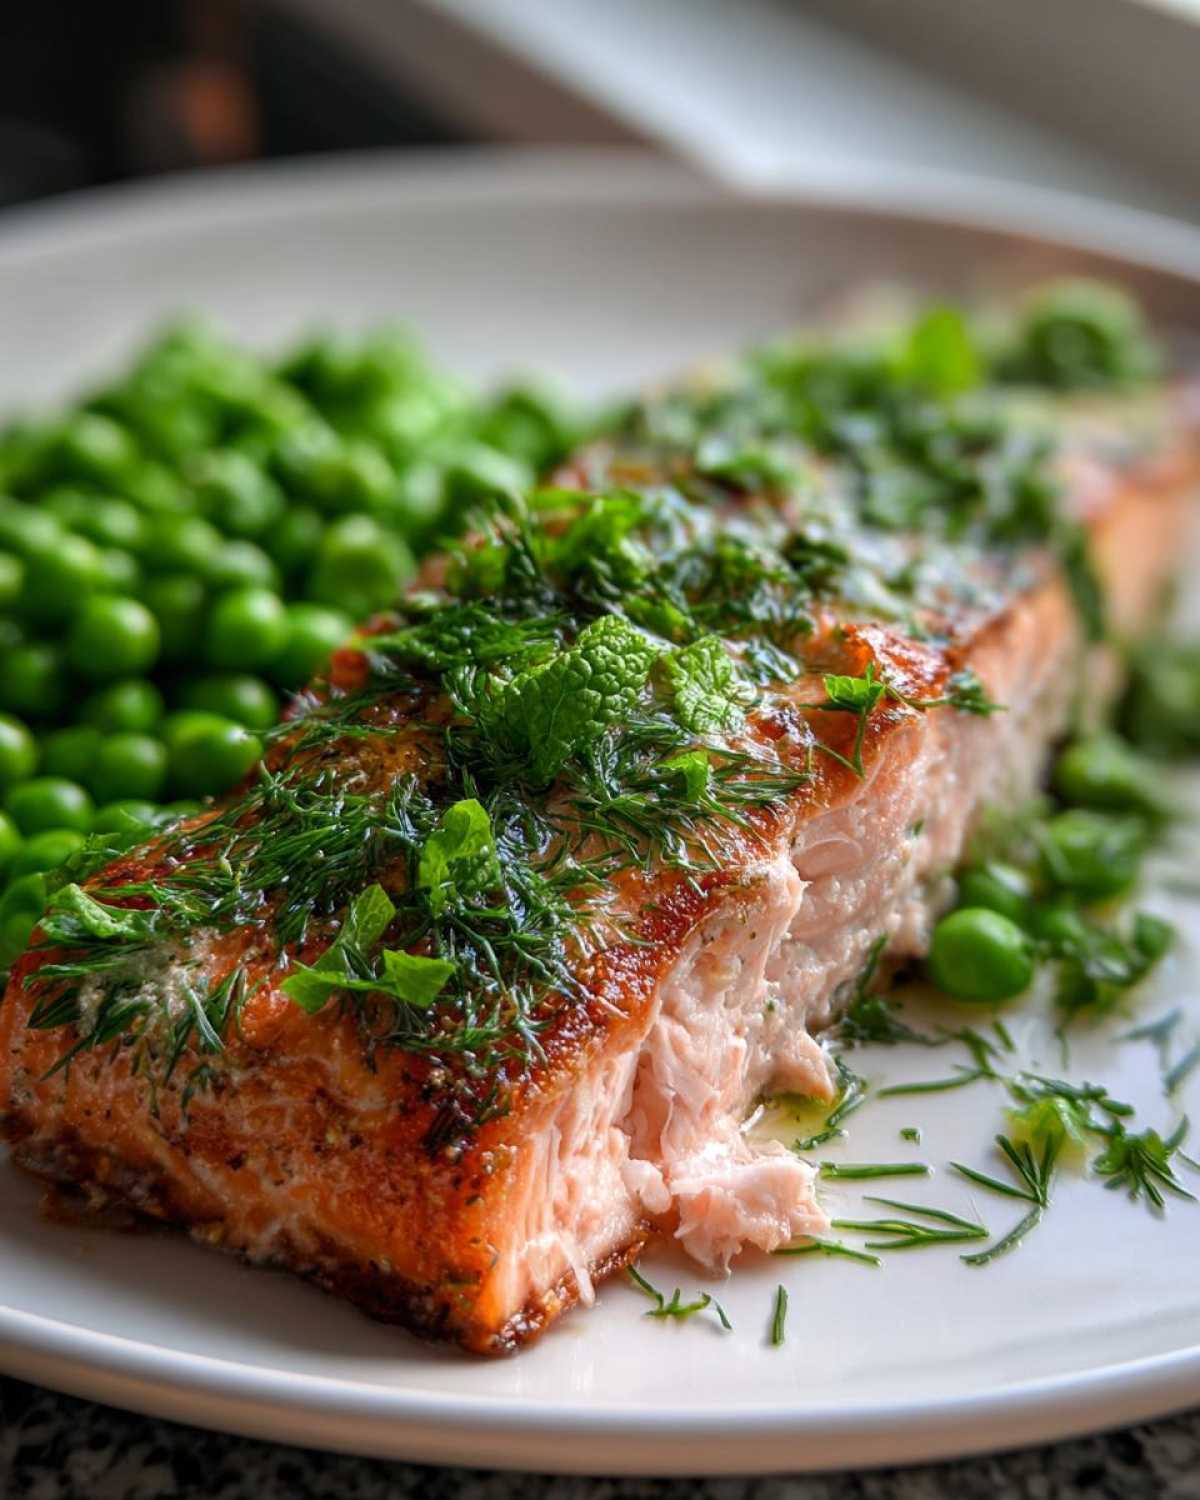
People always ask me how I keep my salmon from drying out when I cook it this way. It’s not just about the oil; it’s about strategy! Achieving that perfect, juicy interior, especially when you’re throwing vegetables on there too, takes a little bit of knowing the fish’s temperament. Uniformity is key here, so try to source fillets that are as close to the same thickness as possible. If yours are dramatically different, you might want to tent the thinner pieces loosely with foil halfway through cooking so they don’t turn into jerky while the thicker ones catch up.
And let’s talk space! While this is a one pan salmon meal, you can’t cram everything together like sardines! If you overlap the salmon pieces or pile the peas right on top of the fish, you end up steaming it all instead of roasting. Give everything some room to breathe on that baking sheet; that space allows that beautiful 400°F heat to circulate and kiss all sides of the fish and veggies equally. That high heat blast is what makes this so fast!
For my ultimate minimal cleanup dinners philosophy, I always double-check the parchment paper lining. You want the paper to cover the entire tray, folding up the sides slightly higher than you think you need to. If any of that lemon-oil mixture drips onto the metal pan itself, cleanup is still messy! Also, once you pull the tray out of the oven, let it rest for two minutes before sprinkling those fresh herbs on. That tiny bit of resting time means the salmon juices redistribute back into the flesh instead of running out onto the parchment when you try to plate it.
If you’re thinking about making fish a more regular feature in your cooking rotation, you should absolutely check out my thoughts on air fryer salmon! It uses a different technique but hits that speedy weeknight goal too.
Flavor Variations for Your Sheet Pan Salmon with Spring Peas
I love the bright lemon and dill combo we used in the main recipe—it’s just classic! But sometimes, you need to shake things up, right? We don’t want to get stuck in a rut, even if it’s a really delicious rut. Since this base recipe is so incredibly forgiving—you can swap the veggies easily, and the cooking method stays the same—we can play around a ton with the flavor profile for this Sheet Pan Salmon with Spring Peas!
If you enjoy playing with different herbs and spices, you have to check out my guide on bright lemon herb salmon. But here are a couple of my totally unscientific, kitchen-tested flavor swaps:
First up: The Asian Twist. Ditch the lemon zest and juice completely. Instead, mix your olive oil with a tablespoon of low-sodium soy sauce (or tamari if you need gluten-free), a teaspoon of fresh grated ginger, and a pinch of garlic powder. This works amazingly well with the little spring peas! Just make sure you cut back on the salt in the dry seasoning since the soy sauce brings plenty of savory flavor.
Another favorite of mine, especially when I want something warmer, is the Smoky Spanish profile. This is great if you swap the mint and dill for dried oregano and a generous half-teaspoon of smoked paprika. You can even throw in a tiny pinch of cumin with the salt and pepper. The smoked paprika makes the salmon turn this gorgeous sunset color, and it pairs surprisingly well with the sweetness of the roasted peas! It feels a little unexpected, but wow, does it deliver big flavor for such a quick meal.
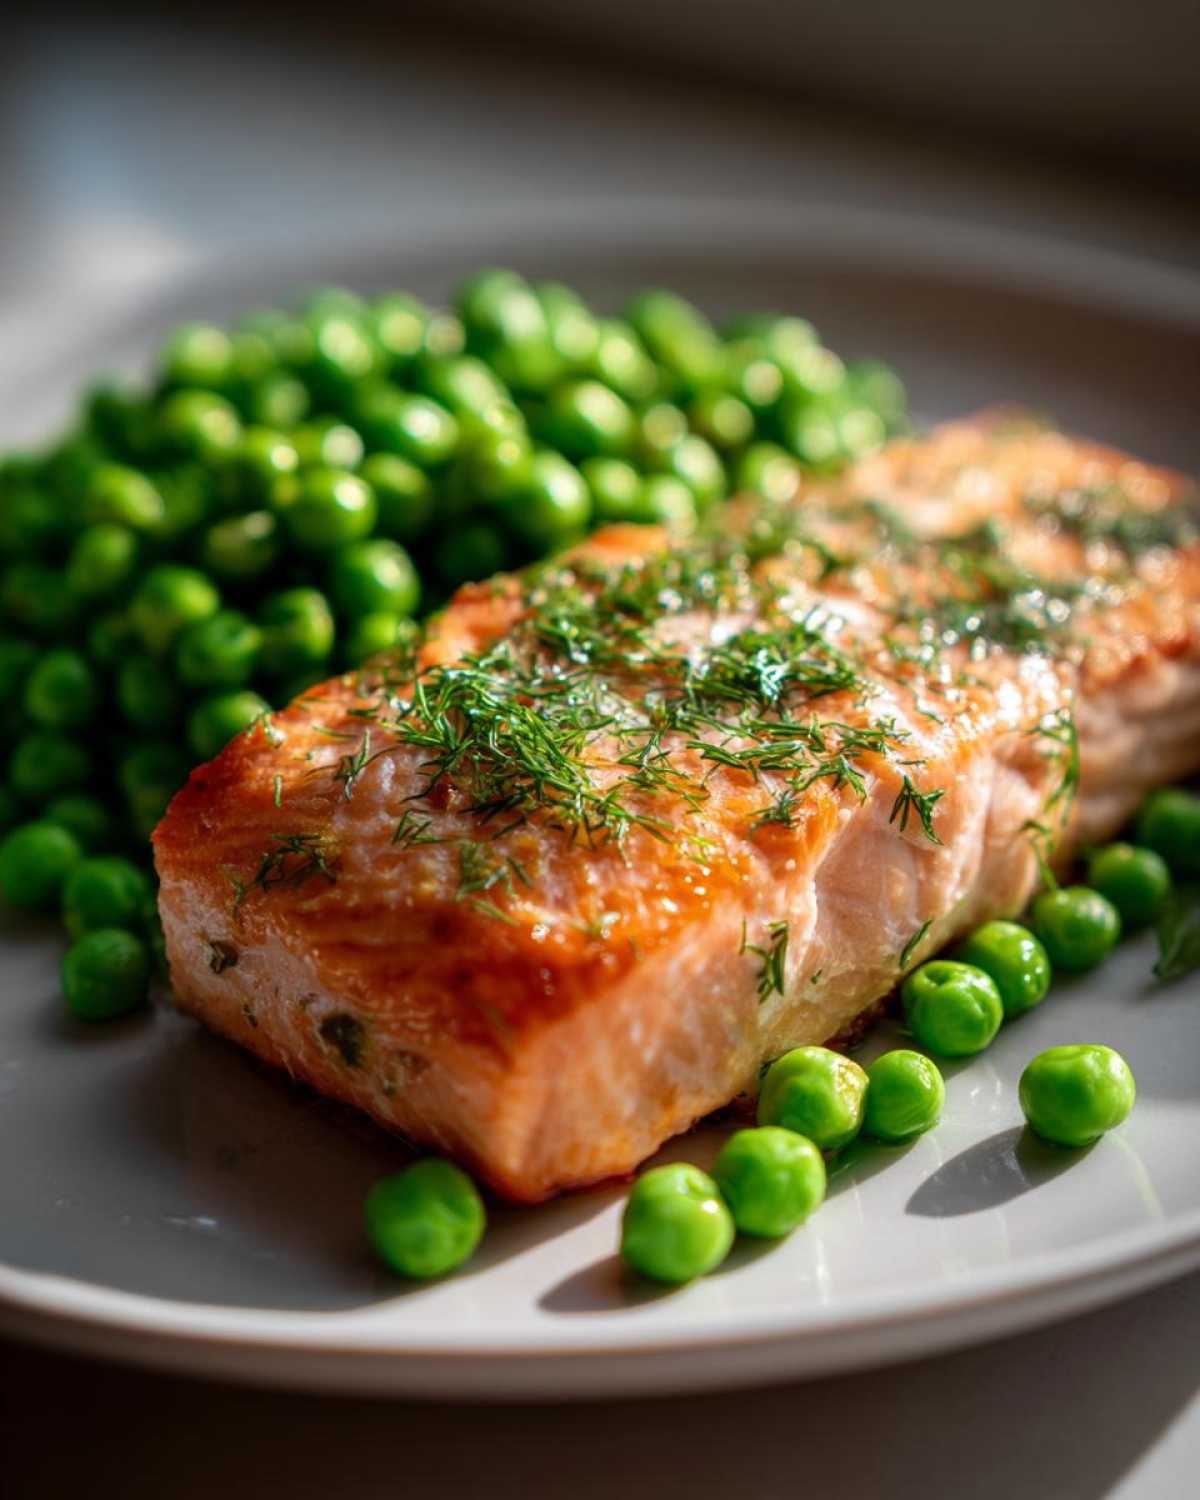
Remember, because this is such a quick salmon dinner idea, these flavor tweaks only take an extra minute to mix up, but they make the whole meal feel brand new. Don’t be afraid to experiment; the oven does all the heavy lifting for you!
Serving Suggestions for This Quick Salmon Dinner Idea
The beauty of this Sheet Pan Salmon with Spring Peas is that it’s practically a complete meal right there on the pan! Because the peas are so delicious and add that necessary fresh green component, you don’t need a massive side dish situation going on. Honestly, when I’m aiming for maximum speed, sometimes this dish *is* the meal, maybe with just a lemon wedge on the side for squeezing.
But if you’re hunkering down for dinner and need something more substantial, keep the sides light and fast because we already handled the labor with the sheet pan! My favorite thing to do is create a bed of something fluffy underneath the salmon. A piping hot bowl of fluffy quinoa is perfect—it soaks up any of those little flavorful drips of lemon and dill oil left on the plate. Rice works too, of course, but quinoa feels a little healthier and lighter, which fits so well with this style of quick salmon dinner ideas.
If you want to amp up the fresh, crisp factor instead of adding grains, a simple side salad is the answer. Don’t go overboard with crazy ingredients, though! We already have bright citrus and herbs on the fish, so you need something clean. A simple mix of baby greens with a very light vinaigrette is perfection. I actually have a guide on 16 refreshing summer salads you need to try, and ideas like a simple cucumber and tomato salad or just arugula with shaved parmesan would match this perfectly.
The goal is to keep it simple so that the gorgeous, perfectly cooked salmon remains the star. We did the hard work getting the fish just right; let’s not ruin that by spending another 30 minutes sautéing side dishes!
Storage and Reheating Instructions for Sheet Pan Salmon
Now, I’m going to be honest—leftover salmon is still good, but it’s never quite as amazing as when it comes straight off that hot sheet pan. But hey, leftovers are a lifesaver for lunch the next day, so we have to handle them right! If you do manage to have any of this delicious Sheet Pan Salmon with Spring Peas left over, the key is separation and gentle reheating.
If you know you’ll have leftovers, try scooping the salmon onto a plate separate from the peas *before* you even serve it up. Peas reheat wonderfully, but salmon tends to get a little… leathery if you blast it too hard. Storing them together is fine, but keeping them separate gives you more control during the microwave or oven phase.
When you’re ready to eat the leftovers, please avoid microwaving aggressively! That’s the fastest way to turn perfectly flaky fish into rubber. If you’re using the microwave, use 50% power for short 15-second bursts, maybe adding just a tiny splash of water or broth to the plate around the fish (not on top!) and covering it loosely with a paper towel. That moisture helps steam it gently.
But my favorite way? Reheat that salmon super gently in a toaster oven or conventional oven set to a really low temperature, maybe 275°F (135°C). Slide the fillet onto a small piece of foil, add a tiny drop of water or lemon juice, wrap it up loosely, and let it warm through for just about 8 to 10 minutes. This low-and-slow method keeps the structure intact. You can toss the peas in with it for the last minute if they were stored separately, or just microwave those quick little guys on their own!
Frequently Asked Questions About Sheet Pan Salmon with Spring Peas
I always get so many questions after sharing a recipe like this because everyone wants to make sure their salmon comes out perfect! Since this is one of my favorite easy berry cobbler recipe biscuit topping (kidding! Wrong link check, but you get the idea—I love simple comfort food!), I figured I’d just tackle the most common concerns about technique right here!
Can I use frozen spring peas in this Sheet Pan Salmon with Spring Peas recipe?
Yes, absolutely! I mentioned this when we talked ingredients, but I want to shout it from the rooftops: You do not need to thaw frozen peas for this recipe. Seriously. Just dump them straight from the freezer bag onto the sheet pan when you scatter them around the salmon. Because we are using a high heat of 400°F, they thaw out quickly and steam up perfectly to be tender by the time the fish is done. It’s such a lifesaver for speed!
What is the ideal internal temperature for cooked salmon?
This is the million-dollar question for any fish recipe! If you have a meat thermometer—and I highly recommend one for perfect results—you are aiming for an internal temperature of 145°F (63°C). That’s the safe zone set by the food safety folks. If you don’t have a thermometer, the visual cue is what I rely on: the salmon should look opaque all the way through, and when you gently press a fork into the thickest part, it should flake apart easily without any raw, translucent pink left in the center. Aiming for flakey, not stiff, is key for keeping it moist!
What are some other great spring vegetables to use in this one pan salmon meal?
Oh, I love experimenting with other spring vegetable recipes! If you can’t get peas or just want more color, asparagus is the classic partner, as I mentioned. But if you chop up your asparagus spears into about one-inch pieces, you can toss them right in with the raw peas because they generally cook in the same amount of time. Thinly sliced green beans are fantastic too, though they might need about 2 extra minutes of cook time. The rule of thumb is: If you’re adding something heartier, put it on the pan right when you put the salmon on. If it’s something delicate like fresh herbs, wait until the very end!
Share Your Sheet Pan Salmon with Spring Peas Experience
Okay, my friend, that’s it! We’ve made it to the end of what I truly believe is the simplest, tastiest, and cleanest dinner you can make this season. I’ve told you all my secrets for getting that salmon perfectly flaky and ensuring those peas are tender but not mushy—and doing it all on one little sheet of parchment paper!
Now, I really, *really* want to know what you thought! Did you stick with the dill and mint? Did you try the smoky Spanish variation I mentioned? Don’t be shy! Jump down to the comments section below and let me know how your Sheet Pan Salmon with Spring Peas turned out. A star rating would make my whole week, truly!
If you took a picture of your colorful plate, please snap it and tag me on social media! Seeing your beautiful cooking makes this whole process worthwhile. And if you’re looking for a crunchy, offsetting side dish to go along with that amazing fish? Make sure you check out my recipe for an easy crunchy cabbage salad with zesty vinaigrette! Happy cooking, and thank you for letting me share my favorite minimal cleanup hack with you!
Print
Sheet Pan Salmon with Spring Peas
- Total Time: 25 min
- Yield: 4 servings
- Diet: Low Fat
Description
Prepare a simple, flavorful salmon and pea dinner using one sheet pan for easy cleanup.
Ingredients
- 4 salmon fillets (about 6 oz each)
- 1 tablespoon olive oil
- 1 teaspoon lemon zest
- 1 tablespoon fresh lemon juice
- 1/2 teaspoon salt
- 1/4 teaspoon black pepper
- 1 cup fresh or frozen spring peas
- 2 tablespoons fresh dill, chopped
- 1 tablespoon fresh mint, chopped (optional)
Instructions
- Preheat your oven to 400°F (200°C). Line a large baking sheet with parchment paper for easier cleanup.
- Place the salmon fillets on one side of the prepared sheet pan.
- In a small bowl, mix the olive oil, lemon zest, lemon juice, salt, and pepper. Brush this mixture evenly over the tops of the salmon fillets.
- Scatter the spring peas around the salmon fillets on the baking sheet.
- Bake for 12 to 15 minutes, or until the salmon flakes easily with a fork and the peas are tender. Cooking time depends on the thickness of your fillets.
- Remove the pan from the oven. Sprinkle the chopped dill and mint over the salmon and peas before serving.
Notes
- If you use frozen peas, do not thaw them before adding them to the pan.
- For a complete meal, add asparagus spears to the sheet pan during the last 8 minutes of cooking.
- If you do not have fresh herbs, use 1 teaspoon of dried dill in the oil mixture instead.
- Prep Time: 10 min
- Cook Time: 15 min
- Category: Dinner
- Method: Baking
- Cuisine: American
Nutrition
- Serving Size: 1 fillet and 1/4 cup peas
- Calories: 310
- Sugar: 2
- Sodium: 350
- Fat: 16
- Saturated Fat: 3
- Unsaturated Fat: 13
- Trans Fat: 0
- Carbohydrates: 7
- Fiber: 2
- Protein: 34
- Cholesterol: 95