
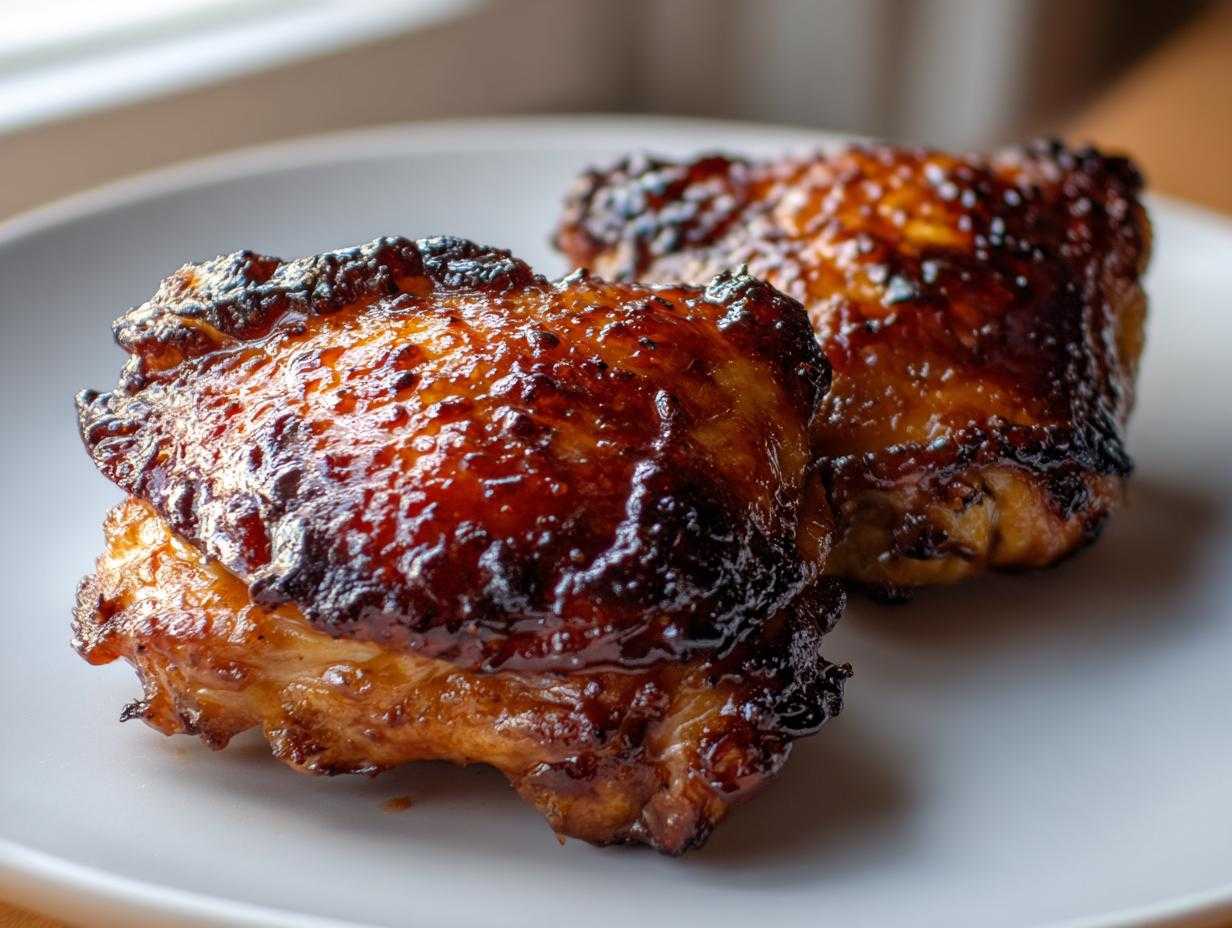
Oh my gosh, you know that craving I always get? The one where you absolutely need that perfect combination of sweet, salty, and savory all clinging to something tender and juicy? That is exactly what this recipe delivers! Forget those watery sauces you sometimes get; we are going straight for the gold standard: perfectly crisp-skinned, unbelievably juicy **Sticky Teriyaki Chicken Thighs**. I learned a long time ago that if you want that thick, glossy hug of sauce, you need the right canvas, which is why I insist on using bone-in, skin-on thighs. Don’t even get me started on how many times I messed up a glaze until I figured out the ratio that locks that sauce down. Trust me, this method guarantees you nail the texture on the first try. Get excited, because this is the **Easy Teriyaki Chicken Thighs Recipe** you’ll save forever.
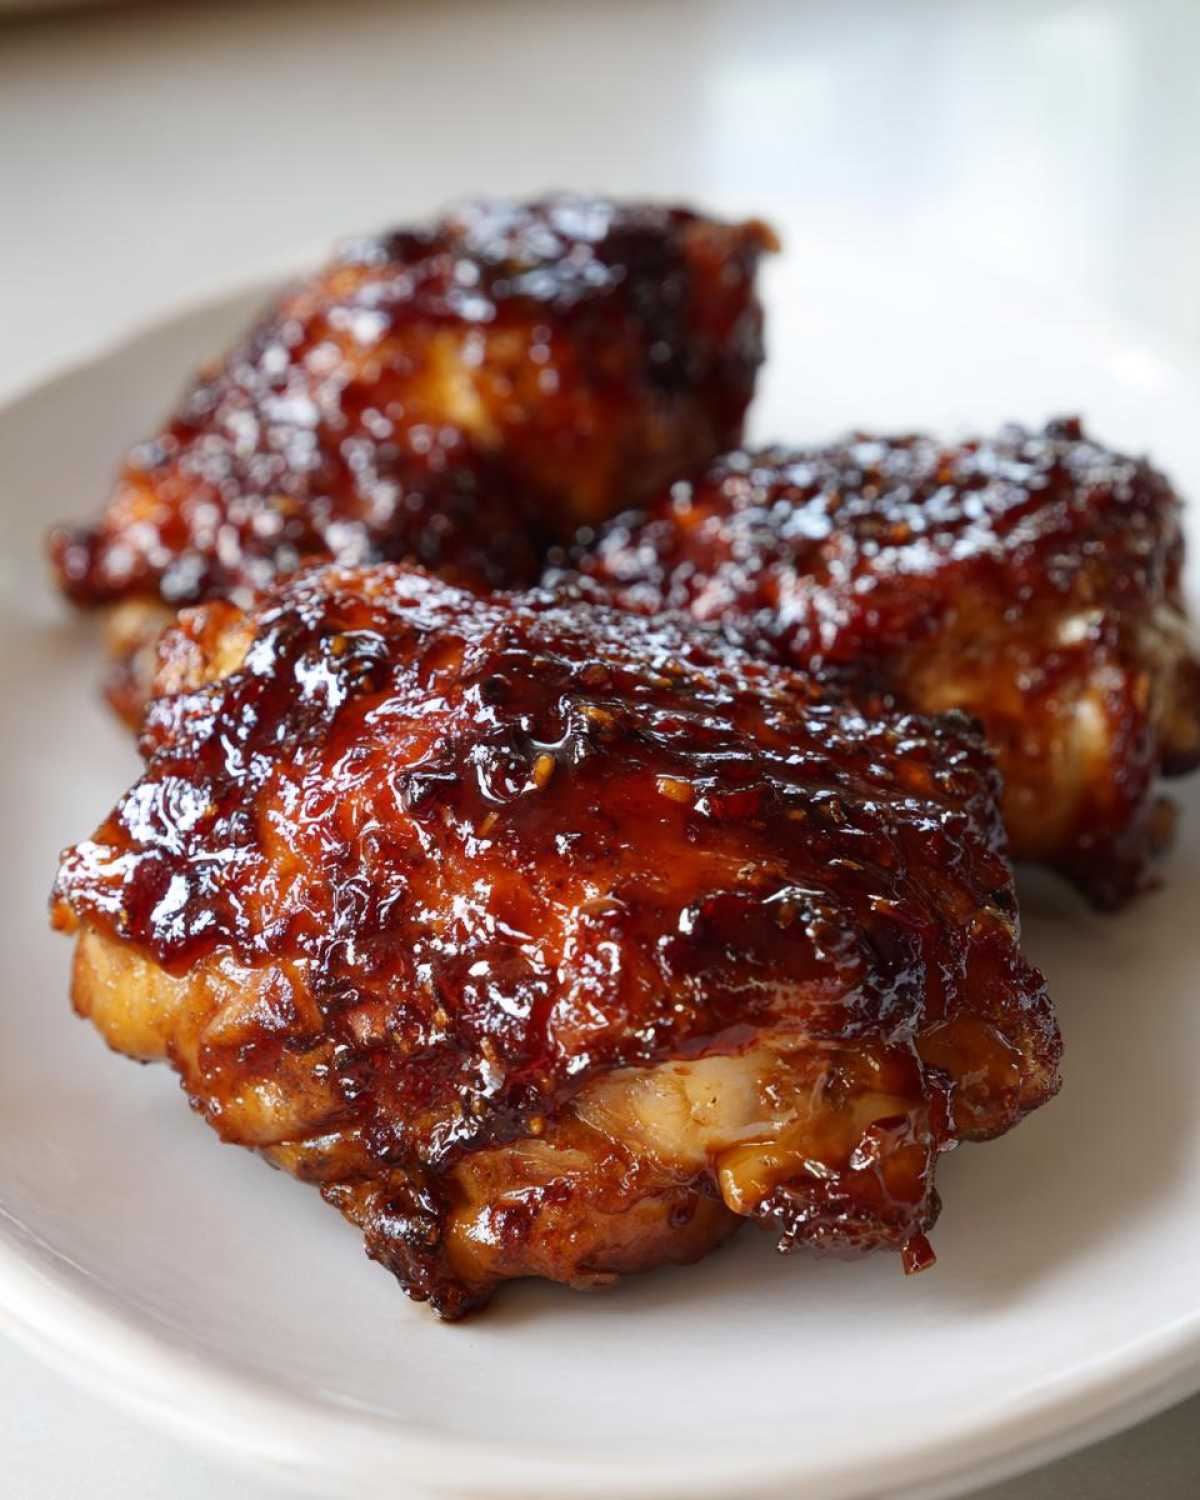
Why This is the Best Sticky Teriyaki Chicken Thighs Recipe
Why mess around when you can have the absolute best? These **Sticky Teriyaki Chicken Thighs** are my go-to weeknight hero. We are using thighs because they naturally stay juicy, period. Plus, the way that homemade glaze turns super thick and caramelizes? Magic!
- Unbeatable Juiciness: Bone-in chicken thighs keep everything moist.
- Perfect Glaze: We use a simple slurry trick for that thick, beautiful stickiness.
- Super Easy Method: A quick sear followed by the oven gets dinner done fast.
Honestly, this is the definitive recipe for the **Best Sticky Chicken Thighs** you’ll ever make, and cleanup is a breeze!
Recipe Details at a Glance
I always like keeping track of time so I can plan my evening, and this recipe is a winner because it’s so quick! It truly is a **Quick Weeknight Chicken Thigh Meal**.
- Prep Time: 10 minutes
- Cook Time: 30 minutes
- Total Time: 40 minutes
- Yield: 4 servings
Ingredients for Juicy Chicken Thighs with Homemade Teriyaki Glaze for Thighs
When we talk about making the absolute best **Sticky Teriyaki Chicken Thighs**, you have to respect the ingredients. I’m listing everything out here, but pay close attention to the little details, like using packed brown sugar—that makes a huge difference in the glaze chemistry! Using good quality mirin and soy sauce really helps build that authentic flavor profile we are after in this **Homemade Teriyaki Glaze for Thighs**.
If you have all these items ready to go, the cooking part is honestly a breeze.
- 6 bone-in, skin-on chicken thighs (you want about 2 lbs total—don’t skimp on the bone!)
- 1 tablespoon vegetable oil (I prefer something neutral for searing)
- 1/4 cup soy sauce (low sodium is fine if you watch the salt later)
- 1/4 cup mirin (this is key for sweetness and gloss!)
- 1/4 cup sake (if you absolutely cannot find it, water works, but sake adds depth)
- 1/4 cup packed brown sugar (remember, packed!)
- 2 cloves garlic, minced (grate mine too, but minced is fine here)
- 1 teaspoon fresh ginger, grated (fresh grated only, trust me on this)
- 1 tablespoon cornstarch (our magic ingredient for the stickiness!)
- 2 tablespoons cold water (to mix with the cornstarch)
Keep the thighs and the glaze liquids separate until action time. This list helps you pull everything out so you can move fast when that chicken is sizzling hot!
Essential Equipment for Making Sticky Teriyaki Chicken Thighs
You don’t need a full professional kitchen for this, but having the right tools makes achieving that restaurant-quality finish much easier. When aiming for that super crisp skin and the perfectly reduced sauce for your **Sticky Teriyaki Chicken Thighs**, setup matters!
Here are the things I pull out every single time I make this **Sweet and Savory Chicken Thigh Dinner** at home. It’s all about accessibility for this **Family Friendly Chicken Dinner**!
- Oven-Safe Skillet: This is non-negotiable if you want to use my sear-then-bake method. You need something sturdy where you can get a beautiful sear on the skin over high heat, and then immediately stick the whole thing into the oven without having to transfer it.
- Small Saucepan: This is dedicated entirely to making your **Homemade Teriyaki Glaze for Thighs**. It needs to be heavy-bottomed so that the sugars don’t scorch while simmering.
- Whisk: You absolutely need a good whisk for making the glaze slurry and ensuring that cornstarch dissolves perfectly. No lumps allowed!
- Tongs: Essential for flipping those hot, oily thighs in the skillet without splashing hot oil everywhere. Safety first, always!
- Meat Thermometer: Look, I love cooking by feel, but for chicken safety, you really need to hit that 165°F mark. This ensures your thighs are perfectly cooked but still super juicy—you don’t want to guess when it comes to poultry.
- Paper Towels: Don’t forget these! Pat the skin completely dry before it hits the oil is the secret weapon for crispy skin that holds the glaze beautifully.
Having these few items ready means the transition from searing to sauce-making to glazing is seamless. It really helps move this along as a **Quick Weeknight Chicken Thigh Meal**!
Step-by-Step Instructions for Perfect Sticky Teriyaki Chicken Thighs
Okay, let’s get cooking! This process is broken down so you can concentrate on getting that gorgeous texture. If you’ve mastered a Garlic Parmesan Chicken Bake before, you know how important the oven transfer is. For this recipe, we are doing a powerhouse sear and then finishing it off in the oven. It is the best strategy for truly crispy skin that holds onto that amazing sauce later. Grab your oven-safe skillet and let’s walk through how to nail these **Sticky Teriyaki Chicken Thighs**.
Preparing the Chicken Thighs
This first part is boring but absolutely essential for crispy skin. Take those six thighs and pat, pat, pat them dry with paper towels. I mean bone-dry! Any moisture left lingering on the skin will steam instead of sizzle, and we want crackly skin that grips the glaze. Once they are dry, give them a tiny sprinkle of salt and pepper. Don’t over-season them, though; the glaze brings most of the flavor!
Searing and Baking the Chicken
Heat your vegetable oil in that big skillet over medium-high heat until it shimmers. Lay the thighs in gently, skin-side down. Don’t crowd the pan! Sear them hard for a solid 6 to 8 minutes. You want that skin to look deep golden brown. Flip them gently. Now, transfer the whole skillet into your oven, preheated to 400 degrees Fahrenheit. Let them bake for about 15 to 20 minutes. Check the temperature—you are aiming for 165 degrees Fahrenheit internal temperature right near the bone for maximum safety and **Juicy Chicken Thighs Recipe** results.
Creating the Thick Teriyaki Sauce Chicken Glaze
While the chicken is baking, let’s make the star of the show—the sticky sauce for this **Thick Teriyaki Sauce Chicken**. In a small saucepan, combine the soy sauce, mirin, sake, brown sugar, garlic, and ginger. Bring that right up to a simmer over medium heat, stirring until that sugar disappears. Now, this is how we get the stickiness: In a tiny bowl, whisk the cornstarch and cold water until it’s totally smooth—that’s your slurry. Pour that slurry into the simmering sauce while whisking constantly. It will thicken up fast, getting glossy and beautiful in about a minute or two. Take it off the heat!
Glazing and Setting the Final Sticky Teriyaki Chicken Thighs
Once the chicken hits 165°F, pull it out. Now, get generous! Brush that beautiful, thick teriyaki glaze all over every surface of the thighs. Don’t be shy with it! Pop the pan back into the oven—or if you only used a frying pan, put it on medium-low heat—for just 2 or 3 more minutes. This quick blast sets the sauce, turning it shiny, dark, and truly sticky. That’s the grand finale for your **Pan Fried Teriyaki Chicken** or baked batch!
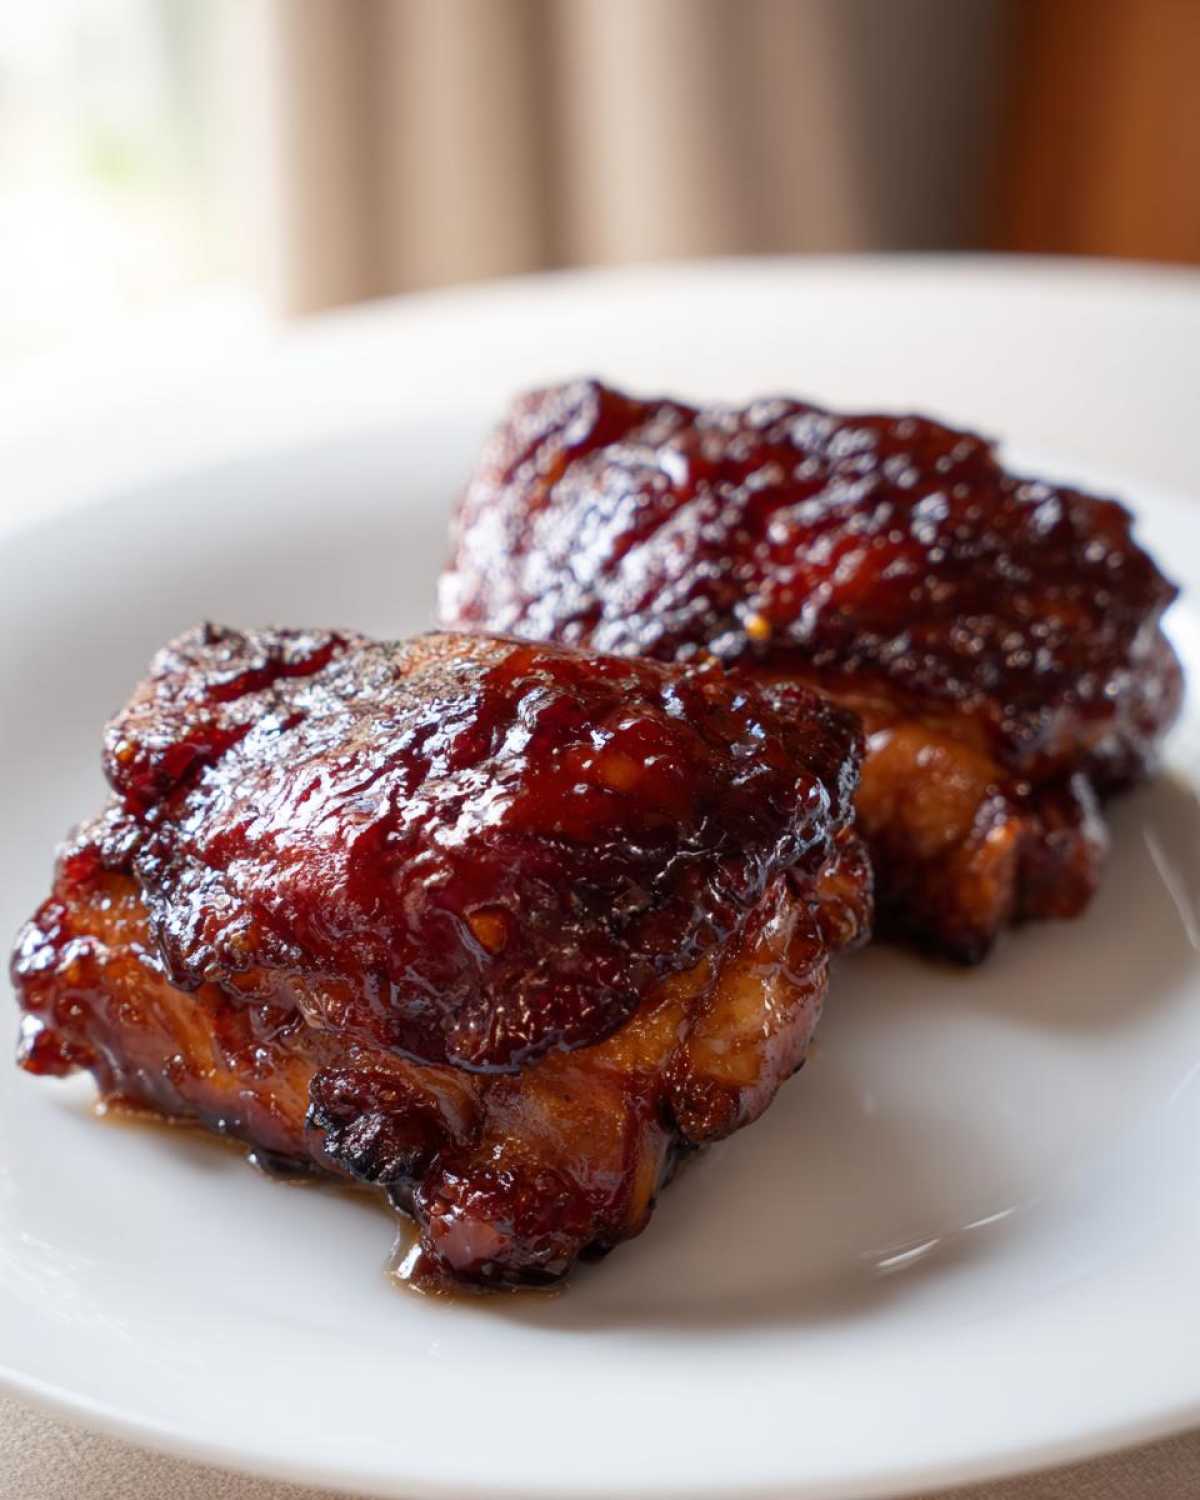
Tips for Success with Your Sticky Teriyaki Chicken Thighs
You want this recipe to shine every single time, right? I know I do! Achieving those perfect **Sticky Teriyaki Chicken Thighs** means paying attention to just a few little details that make a huge difference. Listen, I’ve made some mistakes so you don’t have to, especially when dealing with the skin and substitutions.
First off, let’s talk crispiness again. I cannot stress this enough: dry skin is golden skin. Use paper towels until you think you can’t possibly dry it anymore, and then pat it one more time! If you skip this, the heat has to evaporate that moisture first, and that steams the skin instead of searing it. That might be why your previous attempts turned out sad and flabby. It’s worth the extra minute of patting, I promise you!
When it comes to the glaze, remember that chilling slightly sets it up perfectly. If you try to brush on scorching hot sauce, it just runs right off. If you let your **Homemade Teriyaki Glaze for Thighs** cool for just five minutes after adding the cornstarch slurry, it will be much easier to paint onto the chicken before that final, beautiful caramelization step.
Because this recipe is built around the fat content of thighs, substitutions can be tricky. If you absolutely must use boneless, skinless thighs or breasts—a common swap for a lighter dinner—you need to drastically cut the baking time. Breasts cook in almost half the time, and if you leave them in for the full 20 minutes the thighs need, they’ll taste like cardboard. Keep that meat thermometer handy and pull them out the second they hit 165°F internally. Less cooking time means less time for the sauce to burn, too, so you might need to add the glaze toward the very end!
Also, if you’re feeling ambitious and want to see another fantastic way to use poultry with a glossy finish, check out my recipe for the One Pan Honey Garlic Chicken and Broccoli. It uses a similar glazing technique, but the flavor profile is totally different. Mastering these glazed meals just opens up so many doors for delicious **Asian Chicken Thigh Dinner Ideas**!
Serving Suggestions for Your Sweet and Savory Chicken Thigh Dinner
So, you’ve got these gorgeous, glistening **Sticky Teriyaki Chicken Thighs** ready to go. Fantastic! But you can’t just eat them standing over the sink, right? (Though I’ve definitely done that when they’re *that* good.) A **Sweet and Savory Chicken Thigh Dinner** really shines when you pair it with the right sides to soak up all that extra sauce—and trust me, you’ll have extra sauce because you made it thick!
Since this is firmly in the Japanese-inspired comfort food category, simplicity wins. We want things that are fast, fresh, and let that chicken flavor be the star. I usually cycle through three main options depending on how tired I am at the end of the day.
Steamed White Rice is Non-Negotiable
If you make nothing else, make plain steamed white rice. It’s the perfect, neutral sponge for that amazing sticky glaze. My favorite shortcut involves using my rice cooker, but if you’re doing it on the stove, just start it early so it’s warm and fluffy when the chicken is done. You can even make a quick, cheesy version if you’re feeling wild; I have a great Easy Cheesy Rice Recipe if you want something a little richer than traditional!
Adding Greenery: Steamed Veggies or Quick Salad
You need something green to cut through the richness of the chicken and the sugar in the glaze. Steamed broccoli is classic for a reason—it takes about five minutes, and you can just drizzle a tiny bit of soy sauce or even some of the leftover teriyaki marinade over it before serving. If you want something even cooler and crisper, a simple cucumber salad really hits the spot after eating rich, thick sauces.
What to Do with Leftover Glaze
Don’t throw that extra **Thick Teriyaki Sauce Chicken** glaze away! If you have any left in the saucepan after you brushed the chicken, just put it in a little jar. It’s fantastic drizzled over stir-fried vegetables or even used as a marinade next time you grill chicken breasts. Seriously, don’t waste a drop of that goodness!
Storage and Reheating Instructions for Sticky Teriyaki Chicken Thighs
I love making a big batch of these **Sticky Teriyaki Chicken Thighs** because they taste just as good, if not better, the next day! Leftovers are the perfect answer for a grab-and-go lunch, but you have to store them right to keep that glaze from becoming a sticky, hard mess on your plate.
For the absolute best results, I like to store the chicken and any extra sauce separately, but if you’re in a rush, just make sure any container you use is airtight. You can totally prep the glaze way ahead of time too! It’s one of those sauces—like the base for Make-Ahead Eggnog French Toast Casserole—that honestly gets better with a little rest. It’s great for busy weeknights!
Refrigerating Your Leftovers
Place the cooked chicken thighs in an airtight container. If you have extra sauce, put that in a small, separate container. You can easily keep these in the fridge for about three to four days. The cooler temperature might firm up the glaze a bit, but don’t worry; we bring it right back to life when reheating!
Freezing for Later Meals
Yes, you can freeze this **Easy Teriyaki Chicken Thighs Recipe**! If you know you won’t eat them within four days, wrap the cooled thighs tightly in plastic wrap, then tuck them into a freezer-safe zip-top bag. This doubles as a protective layer against freezer burn. They should be good for up to three months. Because they are so flavorful, they make amazing meal prep components!
The Best Way to Reheat That Sticky Sauce
Reheating is where the magic happens to restore that beautiful shine. Microwaving is fastest, but it can sometimes dry out the meat, so you need a trick! Place your thighs on a microwave-safe plate and add just a tablespoon of water or broth right next to the chicken (not on top of it). Cover the plate loosely with a slightly damp paper towel—this traps steam and keeps the meat tender. Heat in short 60-second bursts until warmed through.
If you want to reheat the glaze separately, pour the sauce into that same small saucepan you used before. Warm it gently over low heat, whisking slowly until it thins out and looks glossy again. Once the chicken is warm, just brush that glorious, restored sticky sauce over the top before serving. Voilà! It looks and tastes like it just came off the stove!
Frequently Asked Questions About Sticky Teriyaki Chicken Thighs
When you’re making something as specific as truly **Sticky Teriyaki Chicken Thighs**, of course, you’re going to have questions! I gathered up the ones I get asked most often, especially about getting that perfect texture and flavor profile, which is what sets this **Easy Teriyaki Chicken Thighs Recipe** apart.
Can I use chicken breasts instead of thighs for this Sticky Teriyaki Chicken Thighs recipe?
You absolutely can swap them out, but I have to warn you: chicken breasts are much leaner. They cook way faster, and if you leave them in the oven for the 15–20 minutes recommended for thighs, they will get dry. Your strategy has to change! You must use your thermometer, pull them out the second they hit 165°F internally, and you’ll need to watch that sauce really closely because the shorter cooking time means the glaze has less time to caramelize.
How do I make this Homemade Teriyaki Glaze for Thighs spicier?
That is a fantastic question for those of us who like a little kick with our sweet and savory! If you want to ramp up the heat in your **Homemade Teriyaki Glaze for Thighs** without throwing off the balance too much, either toss a half teaspoon of red pepper flakes into the saucepan when you start simmering the liquids, or mix a teaspoon of Sriracha right into your cornstarch slurry before you thicken the sauce. It blends right in and gives you a nice warmth on the back end!
What is the best way to ensure the chicken skin stays crispy?
If you take one thing away from this whole guide, let it be this! The single most important thing for crispy skin, which holds the delicious glaze you worked so hard on, is making sure that skin is bone-dry before it touches the hot oil. I mean it! Pat it down vigorously with paper towels until you feel like all the moisture is gone. You want the skin to sizzle and brown immediately when it hits the heat—any steaming moisture will prevent that sear and leave you with softer skin, no matter how you finish cooking the **Juicy Chicken Thighs Recipe**.
Nutritional Snapshot of This Easy Teriyaki Chicken Thighs Recipe
I always feel better knowing what’s in my food, especially when I’m doing a great dinner like this **Easy Teriyaki Chicken Thighs Recipe**! Because this recipe uses bone-in, skin-on thighs, which have natural fats, the numbers look a little different than if you were using dried-out breasts. But remember, we are aiming for juicy, flavorful, and satisfying!
Here are the estimated nutritional breakdowns per one chicken thigh serving. I always say these numbers are a guideline, though, because my stick of butter might be bigger than yours, right? Exactly! Ingredient brands and how much sauce you spoon onto your rice can change things up, so take these figures as a good starting point for your **Sweet and Savory Chicken Thigh Dinner** planning.
- Serving Size: 1 thigh
- Calories: 450
- Sugar: 22g (That’s the sticky glaze working its magic!)
- Sodium: 850mg (Soy sauce adds up, so watch high-sodium sides!)
- Fat: 25g
- Saturated Fat: 7g
- Unsaturated Fat: 18g
- Trans Fat: 0g (Hooray!)
- Carbohydrates: 25g
- Fiber: 1g
- Protein: 30g
- Cholesterol: 110mg
See? You’re getting a fantastic punch of protein along with that incredible flavor. It’s proof that eating well doesn’t mean sacrificing that sweet and sticky coating we all love on our **Sticky Teriyaki Chicken Thighs**!
Print
Sticky Teriyaki Chicken Thighs
- Total Time: 40 min
- Yield: 4 servings
- Diet: Low Lactose
Description
Make juicy chicken thighs coated in a thick, sweet, and savory homemade teriyaki glaze. This recipe works well pan-seared or baked.
Ingredients
- 6 bone-in, skin-on chicken thighs (about 2 lbs)
- 1 tablespoon vegetable oil
- 1/4 cup soy sauce
- 1/4 cup mirin (sweet rice wine)
- 1/4 cup sake (or substitute with water)
- 1/4 cup packed brown sugar
- 2 cloves garlic, minced
- 1 teaspoon fresh ginger, grated
- 1 tablespoon cornstarch
- 2 tablespoons cold water
Instructions
- Pat the chicken thighs dry with paper towels. Season lightly with salt and pepper.
- Heat the vegetable oil in a large, oven-safe skillet over medium-high heat. Place the chicken thighs skin-side down and sear for 6 to 8 minutes until the skin is golden brown and crisp.
- Flip the chicken thighs. If using the oven method, transfer the skillet to a preheated oven at 400 degrees Fahrenheit (200 degrees Celsius) and bake for 15 to 20 minutes, or until the internal temperature reaches 165 degrees Fahrenheit (74 degrees Celsius). If pan-frying only, reduce heat to medium-low and continue cooking until done.
- While the chicken cooks, prepare the glaze. In a small saucepan, combine soy sauce, mirin, sake, brown sugar, minced garlic, and grated ginger. Bring the mixture to a simmer over medium heat, stirring until the sugar dissolves.
- In a separate small bowl, whisk together the cornstarch and 2 tablespoons of cold water to create a slurry.
- Pour the cornstarch slurry into the simmering sauce, whisking constantly. Continue to cook for 1 to 2 minutes until the sauce thickens significantly and becomes glossy. Remove from heat.
- Once the chicken is cooked, brush the thick teriyaki glaze generously over all sides of the chicken thighs. Return the chicken to the heat (or oven) for 2 to 3 minutes to allow the glaze to set and become sticky.
- Serve immediately over rice, spooning any extra glaze over the top.
Notes
- For crispier skin, ensure the skin is completely dry before searing.
- You can substitute chicken breasts, but adjust the cooking time to prevent drying out.
- This glaze can be made ahead of time and stored in the refrigerator for up to one week. Reheat gently before using.
- Prep Time: 10 min
- Cook Time: 30 min
- Category: Dinner
- Method: Pan-Seared and Baked
- Cuisine: Japanese Inspired
Nutrition
- Serving Size: 1 thigh
- Calories: 450
- Sugar: 22
- Sodium: 850
- Fat: 25
- Saturated Fat: 7
- Unsaturated Fat: 18
- Trans Fat: 0
- Carbohydrates: 25
- Fiber: 1
- Protein: 30
- Cholesterol: 110

