

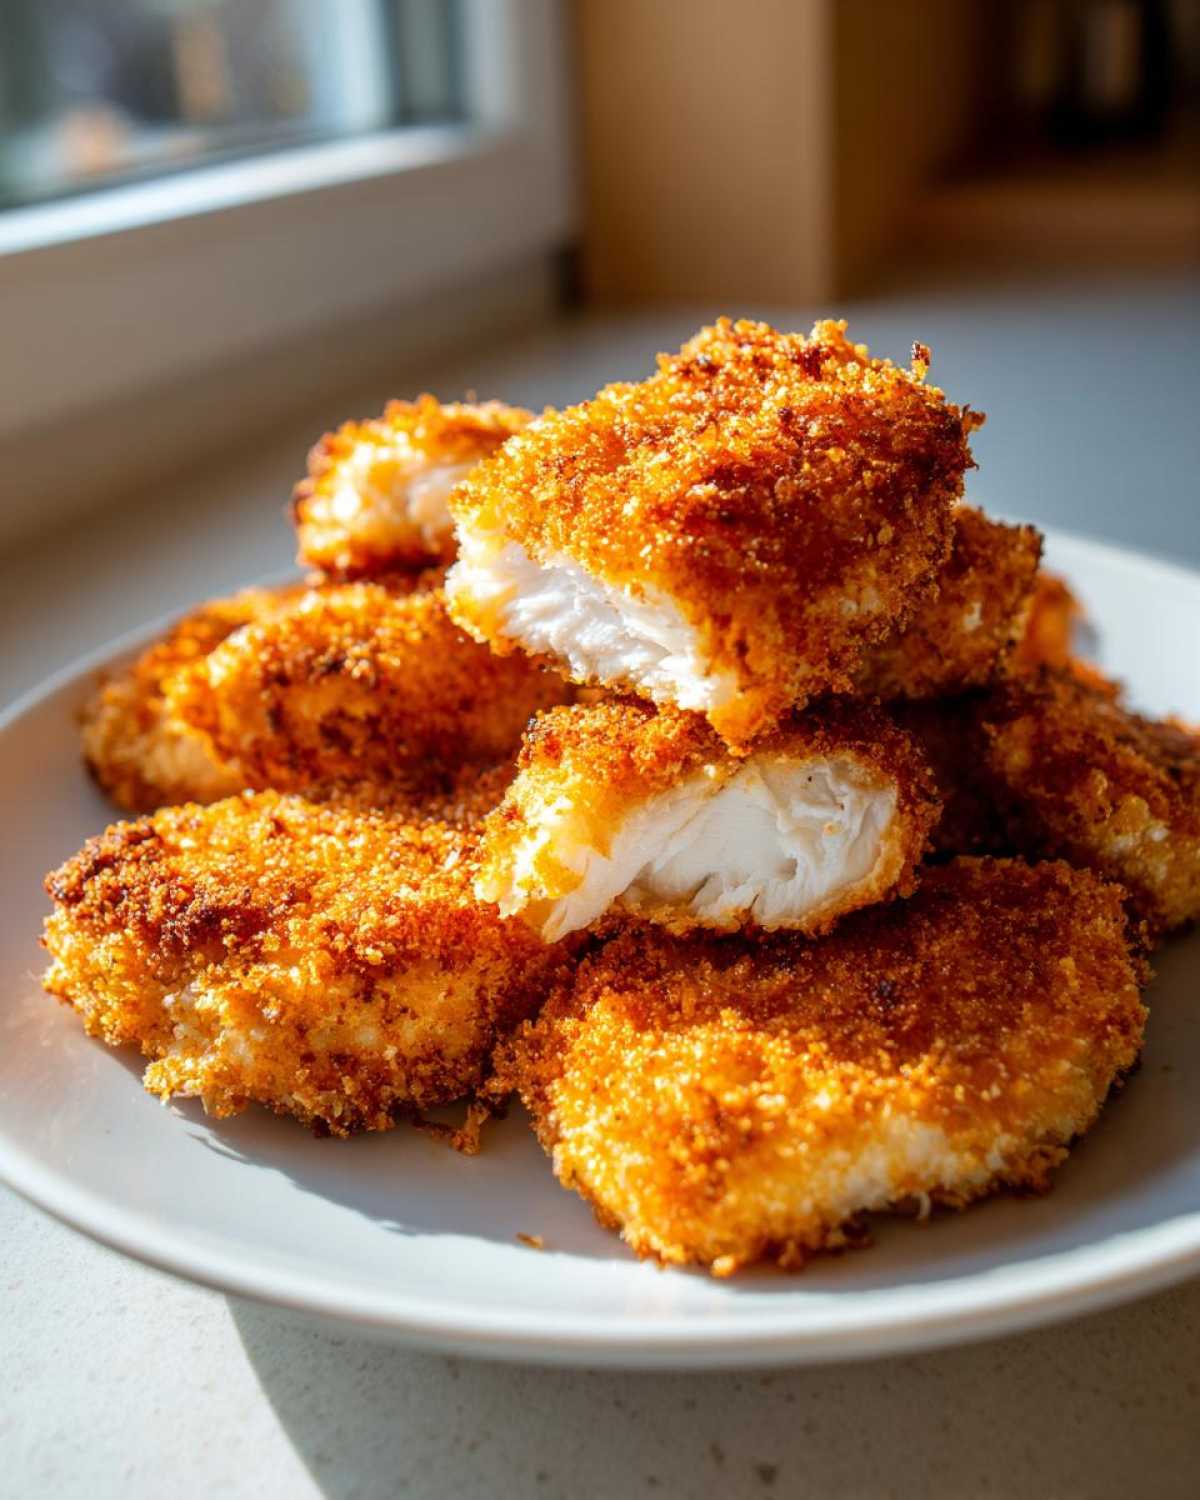
If you’re anything like me, you dream of that shatteringly crisp, golden coating you get from a perfect Japanese Katsu, but you absolutely hate the mess and the heavy feeling afterward. Deep frying is fun for about five minutes until your kitchen smells like an oil slick for three days! Well, I cracked the code, and I’m so excited to share it with you. Forget everything you thought you knew, because making Air Fryer Crispy Chicken Katsu Cutlets is honestly easier, faster, and gives you that crunch you crave without guilt. I spent weeks testing ratios—don’t worry, I did the messy work for you—to ensure these cutlets are juicy inside and unbelievably crunchy outside. It’s my favorite way to make this comfort food now!
Why You Will Master Air Fryer Crispy Chicken Katsu Cutlets
Listen, you are going to nail this because the air fryer is practically magic when it comes to breaded things. We are taking a classic that usually requires standing over a pot of spitting oil and turning it into something you can whip up super quickly for a weeknight dinner. Mastering these Air Fryer Crispy Chicken Katsu Cutlets means you get restaurant quality without the cleanup headache. Seriously, prepare to be amazed!
Unbeatable Crunch Without Deep Frying
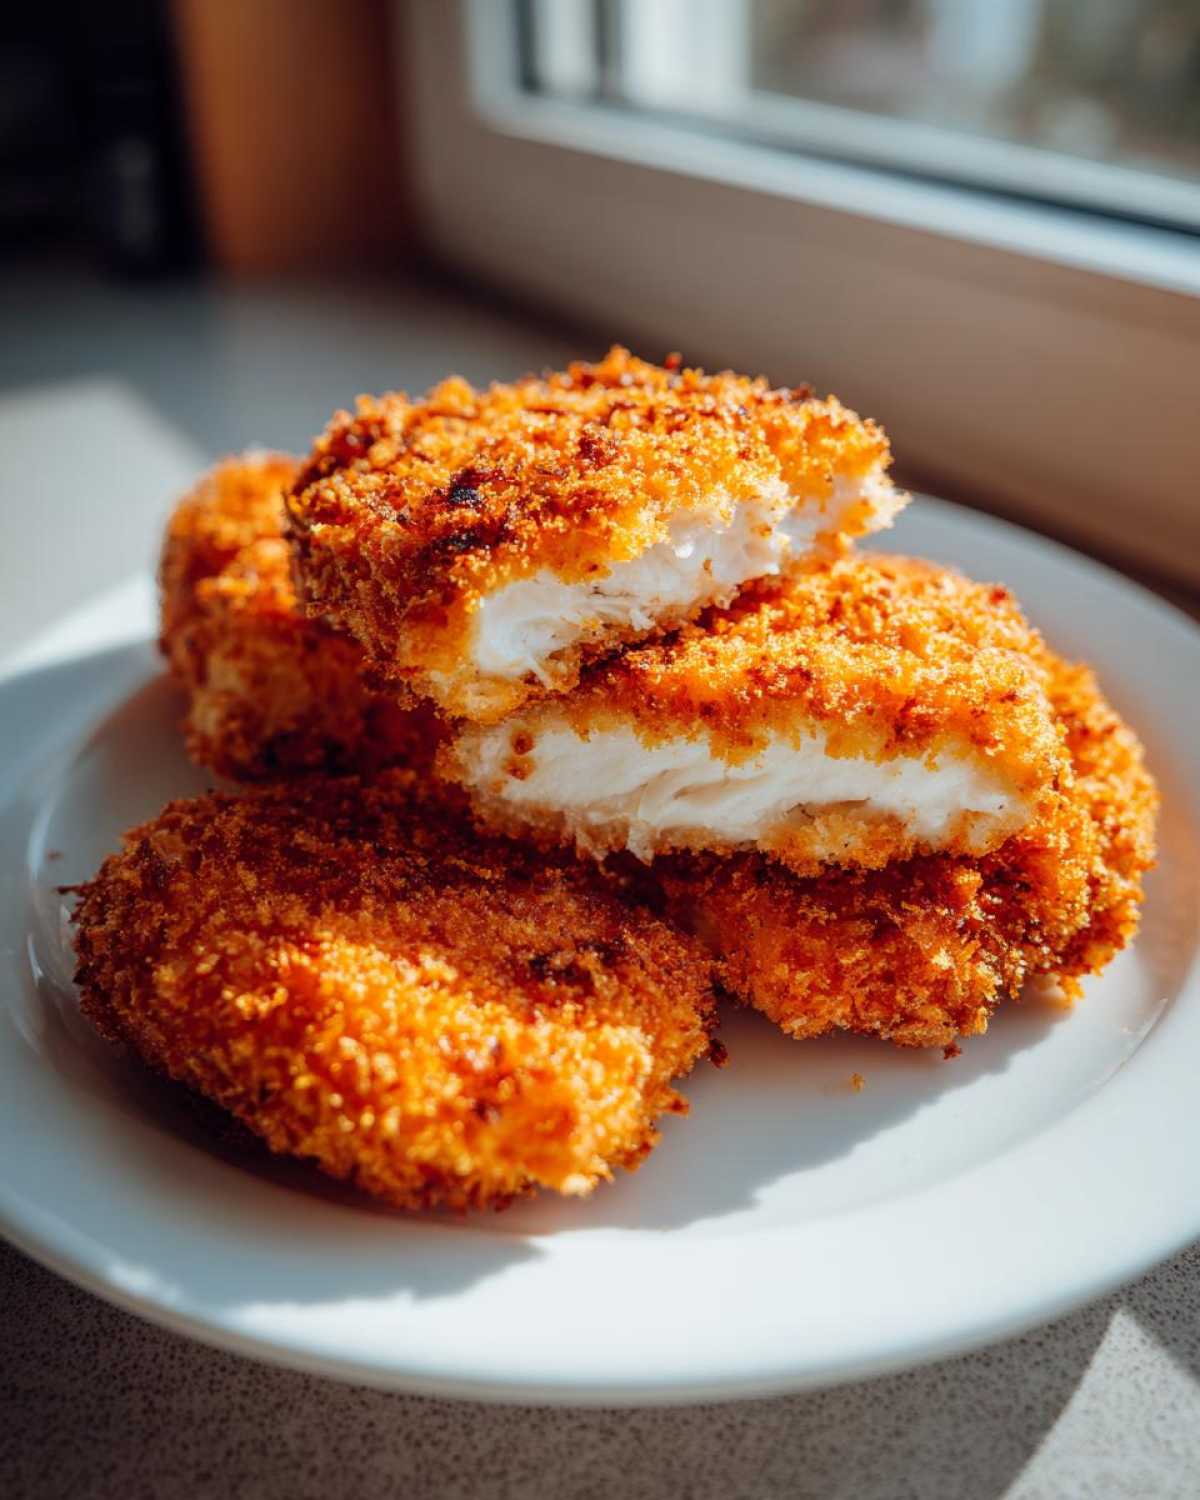
The Panko breadcrumbs combined with that blast of hot air create a texture that is just so satisfying. It’s a crispy, light shell that stays perfect without soaking up unnecessary oil. You get all the crunch you want, trust me!
Juicy Inside, Crispy Outside Guarantee
Because we pound the chicken breasts thin and cook them fast, the meat locks in all its juices. The secret is the high heat hitting the coating first, making it golden and crisp while the chicken stays wonderfully tender and moist right through to the middle. You simply can’t beat that contrast!
I found that using the proper spray really sets this apart compared to other health-conscious recipes. I actually linked a recipe here for one of my favorite low-fat sauces which pairs perfectly. Check out my creamy butter chicken sauce if you need dip ideas—though Katsu sauce is traditional, versatility is the spice of life!
Essential Ingredients for Perfect Air Fryer Crispy Chicken Katsu Cutlets
Okay, ingredient setup is what separates a good Katsu from an amazing one, especially when you’re aiming for the supreme crunch of Air Fryer Crispy Chicken Katsu Cutlets. You’ll need four boneless, skinless chicken breasts to start; these are our canvas! We aren’t going for thick, juicy steaks here, we want those thin, flat cutlets. For your seasoning mix, keep it simple: salt, pepper, and just a whisper of garlic powder—nothing complicated to compete with the Panko.
The real action happens at the breading station. You need three shallow dishes ready to go. If you want to see a side dish that’s just as easy and comforting as this Katsu, you should peek at my chicken broccoli rice casserole recipe later!
Preparing the Boneless Chicken Cutlets
Grab those four chicken breasts; they need to be uniform so they cook evenly in the basket. Use plastic wrap and a meat mallet—give them a few gentle but firm whacks until every piece is about half an inch thick. Season both sides lightly with salt and pepper right after pounding. This thinness is absolutely vital for success!
The Crunchy Chicken Coating Air Fryer System
This is where the magic happens. Dish one gets your all-purpose flour, dish two is for two beaten eggs for your wash, and dish three is the star: Panko breadcrumbs. You need those big, airy Panko flakes, not the fine stuff! The Panko is key to that light, airy texture you see at the restaurants. Make sure you mix a little extra seasoning right into those crumbs!
Step-by-Step Instructions for Air Fryer Crispy Chicken Katsu Cutlets
Alright, now that we have our perfectly pounded cutlets and our beautiful breading station ready, let’s put this Air Fryer Crispy Chicken Katsu Cutlets recipe into action. This isn’t a fussy recipe; it’s all about methodical steps! It moves quickly once you get into a rhythm. First things first: grab your air fryer and get it preheating. We want that basket hot and ready before the chicken even thinks about touching it.
Pounding and Setting Up the Breading Station
If you skipped ahead, go back and pound those chicken breasts thin—seriously, make them about half an inch thick. Once they’re pounded and lightly seasoned with salt and pepper, set up your three stations right next to each other. On the left, the flour. Middle, the beaten egg wash. And on the right, the seasoned Panko. Make sure your Panko dish is wide enough so you’re not struggling to coat the meat. I always check my seasoning mix one last time before I start dipping!
The Dredging Process for Maximum Adhesion
Now, we go in order: flour first! Every surface needs a light coating; then dust off the excess so you don’t muddy up your egg wash. Next dip into the egg, letting the real excess drip back into the bowl—you don’t want soggy breading. The final step is pressing it hard into the Panko. You need to physically push that Panko onto the chicken to get that amazing Crunchy Chicken Coating Air Fryer adhesion we are looking for. Don’t be shy here; make sure it’s completely encased!
Air Frying the Katsu Cutlets to Perfection
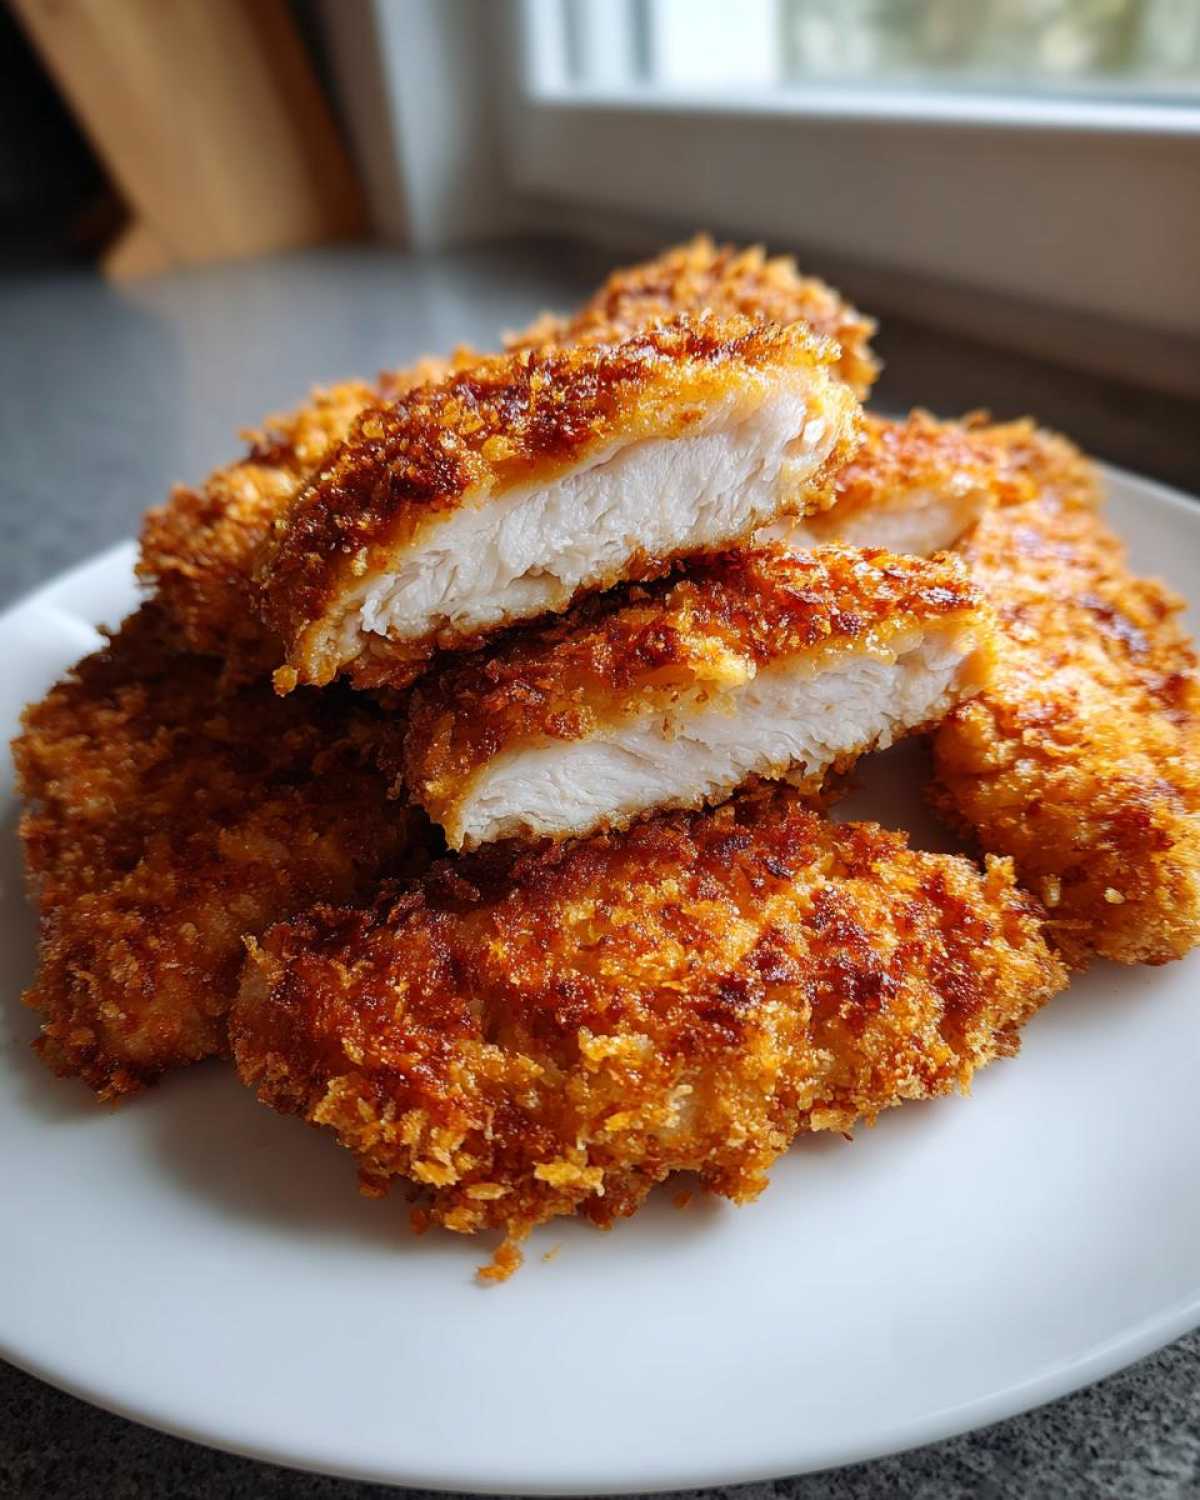
Preheat your air fryer to 380 degrees Fahrenheit—that’s 195 Celsius for my friends using metric—and let it run for a good five minutes. Spray your basket lightly. Place the breaded cutlets in a single layer; this is crucial! If they overlap, they steam instead of crisp. Generously spray the tops with your cooking spray. Pop them in for about 10 to 12 minutes total. Flip them gently halfway through and give that second side a light spray too. They are done when that coating is gorgeous golden brown and the internal temperature hits 165 degrees—no pink allowed!
When you pull these beautiful, crispy guys out, let them rest for two minutes. If you want to check out a recipe for some seriously good wings while you wait, these crispy fried chicken wings are addictive, though ours are much healthier!
Expert Tips for How to Make Katsu Crispy in Air Fryer
We’ve got the recipe down, but since we are using an air fryer, a few tiny tricks make the difference between good Katsu and *amazing* Katsu. Remember, we are fighting sogginess at every turn to guarantee that perfect golden exterior for our Air Fryer Crispy Chicken Katsu Cutlets. These tips are what I learned after about my fifth batch when they weren’t quite perfect yet!
The Secret to Extra Crunchy Chicken Coating Air Fryer
If you take only one piece of advice from me, let it be this: spray, spray, and spray again! Just before those breaded beauties go into the hot basket, hit the tops generously with your cooking spray. Then, when you flip them halfway through, spray that second side too! That bit of oil catches the heat and helps the Panko toast up incredibly fast, leading to that superior, extra crunchy finish you expect from the Crunchy Chicken Coating Air Fryer system.
Avoiding Soggy Chicken: Batch Cooking is Key
I know it’s tempting to jam every cutlet you have in there at once—we all want dinner faster, right? Don’t do it! If you overcrowd the basket, hot air can’t circulate properly around the chicken. Overcrowding equals trapped steam, and steam equals soggy Panko. Cook them in a single layer, even if it means doing two or three batches. Trust me, waiting an extra five minutes is worth getting that true crispiness on every single piece!
If you are interested in other ways to get things truly crispy without dunking them in oil, you simply must check out my recipe for crispy buttermilk fried chicken—I use a similar spray technique there too, just in a conventional oven!
Serving Suggestions and Katsu Sauce Pairing Ideas
Once those cutlets come out golden and smelling amazing, you need the right supporting cast! Traditionally, Katsu is served simply alongside a mound of finely shredded raw cabbage. It keeps things feeling light and crunchy, which is just what you want next to that rich fried texture. It cleanses the palate beautifully.
If you want something that screams authentic Japanese flavor, you absolutely need Tonkatsu sauce—it’s sweet, tangy, and slightly savory, and it’s non-negotiable for me! If you’re looking for a fresh, bright side that cuts through the richness, I have a recipe for an easy crunchy cabbage salad that works miracles alongside this meal. Keep it simple, keep it fresh!
Storage and Reheating Instructions for Air Fryer Katsu Cutlets
Oops, sometimes we make too much, which is never a bad thing! If you have any leftover Air Fryer Crispy Chicken Katsu Cutlets, you need to store them correctly so they don’t turn mushy overnight. Let them cool completely first, and then store them in an airtight container layered with a paper towel in the fridge. The paper towel helps wick away any moisture.
When you reheat them—and you *must* reheat them—skip the microwave entirely! That’s a fast track to tough, steamed chicken. Pop them right back into the air fryer at about 375 degrees for just 3 to 5 minutes. They come out perfectly crispy again, just like when they were fresh! They’re great reheated alongside some roasted veggies, like my favorite air fryer salmon recipe, if you need a different dinner idea for the next night.
Frequently Asked Questions About Air Fryer Chicken Katsu Recipe
I know you might have a few lingering questions now that we’ve perfected the technique for that ultimate crunch. That’s totally fair because getting breaded stuff right in the air fryer takes a little finesse! I’ve gathered the top questions people always ask about this Air Fryer Chicken Katsu Recipe so you can bake with total confidence.
Can I use regular breadcrumbs instead of Panko for this Easy Chicken Katsu Air Fryer?
You absolutely can, but I have to warn you, the texture will be different! Regular, fine breadcrumbs absorb moisture faster and tend to create a denser, almost harder crust. Panko results in that light, airy, shatteringly crisp coating we love. If you must use regular breadcrumbs for your Easy Chicken Katsu Air Fryer, I’d suggest reducing the cooking time by about one minute or checking for doneness earlier just to be safe. You might also want to increase your spray of oil, as they seem to dry out slightly quicker.
What is the best way to keep the Juicy Air Fryer Chicken Cutlets moist?
This is my biggest concern every time, too! First, you have to pound those chicken breasts down evenly to about half an inch. If one end is thick and the other is thin, the thin part will be dry by the time the thick part is cooked. Second, and this is huge, do not overcook them! Pull them out right when they hit 165 degrees Fahrenheit internally. These Juicy Air Fryer Chicken Cutlets cook fast, so an extra minute or two is the enemy of moisture!
How do I make this a Healthy Katsu Recipe Air Fryer?
The beauty of this recipe is that it’s already a fantastic Healthy Katsu Recipe Air Fryer option compared to frying! We rely on a light spray of oil instead of submerging it. To keep it leaning healthy, make sure you are using very lean boneless chicken breasts, as specified. Also, be mindful but not crazy about the spray; a quick, even coat is all you need. If you’re looking for other healthy but super tasty ideas, you absolutely have to try my easy cheesy rice recipe—it’s comfort food that’s surprisingly easy on the macros!
Nutritional Snapshot of Air Fryer Crispy Chicken Katsu Cutlets
I know you’re thinking about that gorgeous crunch, but sometimes we need to know what we’re eating! Since these Air Fryer Crispy Chicken Katsu Cutlets use much less oil than the deep-fried version, they are fantastic for fitting into a balanced diet. Remember, these numbers are estimates based on the recipe, so play around with your own specific ingredients!
Per serving, you’re looking at about 380 calories with 48 grams of protein, which is incredible! That fat content is only 10 grams total, giving you great value for that crispy payoff. If you’re interested in exploring some delicious low-carb or high-protein alternatives later, you should definitely check out my protein cheesecake recipe—it’s rich but surprisingly lean!
Share Your Crunchy Chicken Katsu Success
I honestly can’t wait to see what you all create! Making these Air Fryer Crispy Chicken Katsu Cutlets is so satisfying, and seeing your results is the best part of all this cooking! When you get that coating perfectly golden and crunchy, you need to shout it from the rooftops!

Once you try this recipe, please come back here and leave me a star rating. Let me know what you thought. Did the 380-degree flip trick work magic for you? I love hearing the real-life results from your kitchens!
And please, snap a picture of your beautifully plated Katsu—I want to see those perfect cutlets next to some shredded cabbage! Tag me on social media so I can admire your handiwork. Happy cooking, everyone—go enjoy that crunch!
Print
Air Fryer Crispy Chicken Katsu Cutlets
- Total Time: 27 min
- Yield: 4 servings
- Diet: Low Fat
Description
A straightforward recipe for making crunchy chicken katsu cutlets using an air fryer for a healthier alternative to deep frying.
Ingredients
- 4 boneless, skinless chicken breasts (about 6 oz each)
- 1/2 cup all-purpose flour
- 2 large eggs, beaten
- 1 1/2 cups Panko breadcrumbs
- 1 teaspoon salt
- 1/2 teaspoon black pepper
- 1/4 teaspoon garlic powder
- Cooking spray (oil-based)
Instructions
- Pound the chicken breasts between two sheets of plastic wrap until they are about 1/2 inch thick. Season both sides lightly with salt and pepper.
- Set up a standard breading station with three shallow dishes. Place flour in the first dish.
- Whisk the eggs in the second dish.
- Mix the Panko breadcrumbs, remaining salt, pepper, and garlic powder in the third dish.
- Dredge each chicken cutlet first in the flour, shaking off excess.
- Dip the floured cutlet into the egg wash, letting excess drip off.
- Press the cutlet firmly into the Panko mixture to coat both sides completely.
- Preheat your air fryer to 380 degrees Fahrenheit (195 degrees Celsius) for 5 minutes.
- Lightly spray the air fryer basket with cooking spray. Place the breaded cutlets in a single layer in the basket, ensuring they do not overlap. You may need to cook in batches.
- Spray the tops of the cutlets generously with cooking spray.
- Air fry for 10 to 12 minutes, flipping the cutlets halfway through the cooking time. Spray the second side lightly with cooking spray after flipping.
- Continue cooking until the internal temperature reaches 165 degrees Fahrenheit (74 degrees Celsius) and the coating is golden brown and crispy.
- Remove from the air fryer and let rest for 2 minutes before serving.
Notes
- For extra crispiness, lightly spray the breaded cutlets again just before placing them in the air fryer.
- Use thin chicken cutlets to ensure they cook through evenly before the coating burns.
- Serve immediately with Tonkatsu sauce or a side of shredded cabbage.
- Prep Time: 15 min
- Cook Time: 12 min
- Category: Dinner
- Method: Air Frying
- Cuisine: Japanese
Nutrition
- Serving Size: 1 cutlet
- Calories: 380
- Sugar: 2
- Sodium: 450
- Fat: 10
- Saturated Fat: 2
- Unsaturated Fat: 8
- Trans Fat: 0
- Carbohydrates: 25
- Fiber: 1
- Protein: 48
- Cholesterol: 140

