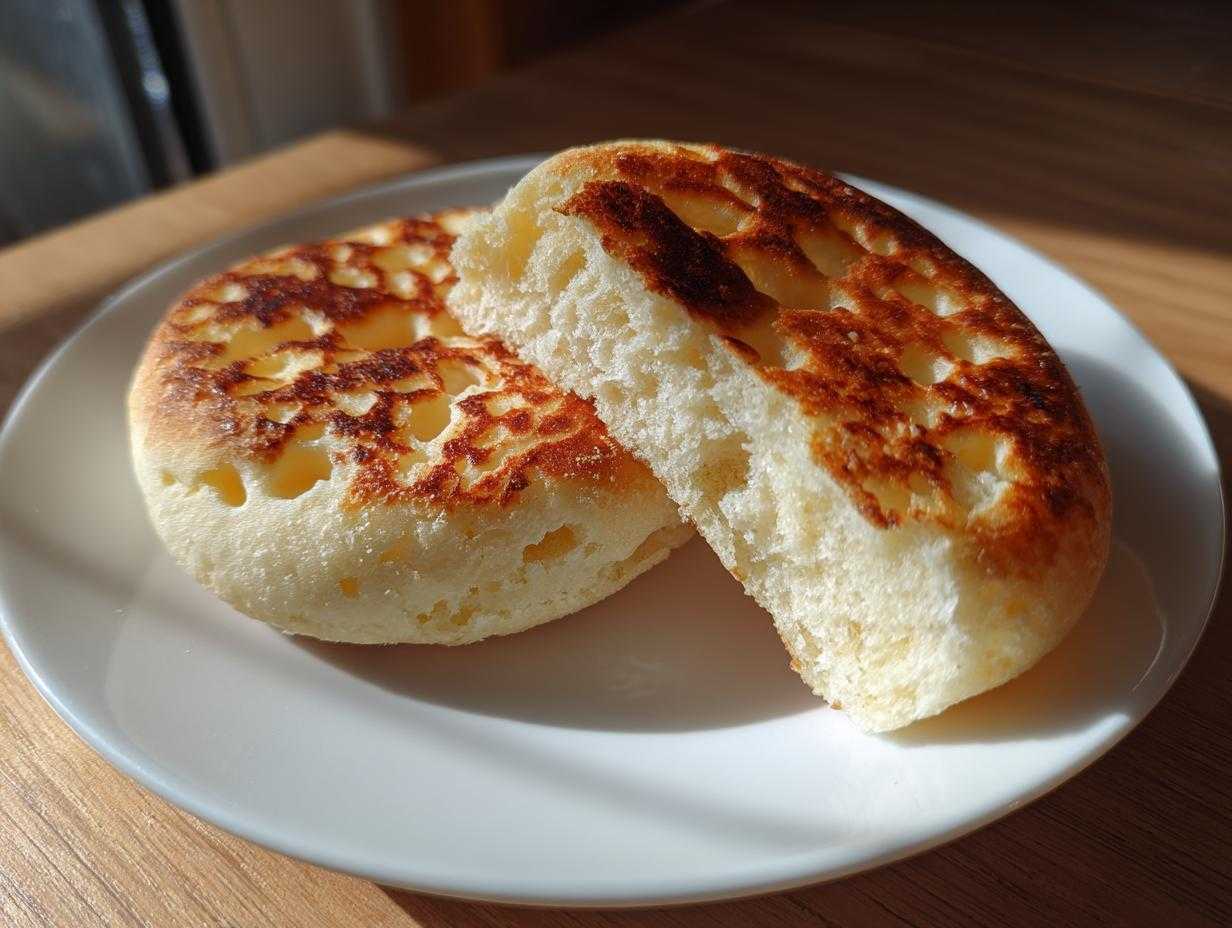
Oh, there is just nothing—and I mean *nothing*—better than splitting an English muffin open for breakfast when it’s still warm. Forget those sad, pale discs from the grocery store! Making English muffins at home is a total game-changer. Once you master this recipe, you’ll see why store-bought just can’t compete. We are targeting that beautiful interior texture, the one full of airy pockets that soak up melting butter like tiny sponges. Trust me, achieving those famous ‘nooks and crannies’ is easier than you think, and the smell alone while they cook on the griddle is worth the effort. Get ready for the fluffiest English muffins you’ve ever tasted!
Why This is the Best English Muffins Recipe (Achieving Bakery Style Muffins)
I’ve tried so many bread recipes over the years, but this one just nails the texture every single time. If you want that true bakery style muffin experience, it all comes down to a couple of small, important details. We aren’t aiming for a fluffy dinner roll here; we want that signature light, almost chewy structure that holds up beautifully when sliced and toasted.
- We use just enough yeast to give it lift without making it overly puffy.
- The dough handles differently from standard bread dough—it needs to stay slightly tacky.
- The secret ingredient in this process is patience during the cooking stage.
If you ever want to dive deeper into yeast breads in general, I have a great guide on some simple homemade yeast breads that might get you hooked on baking!
The Secret to Perfect Nooks and Crannies Bread
The ‘nooks and crannies’ aren’t just luck, they’re earned! First, don’t over-knead your dough. If you do, you kill off the pockets of air that become those wonderful holes. Second, and this is crucial, you have to cook them low and slow on the griddle. If the heat is too high, you burn the outside before the center cooks through, and you lose that open structure.
But here’s the biggest tip for keeping those pockets intact: never, ever slice the cooled muffin with a sharp knife. A knife pushes the crumb together. You absolutely must use a fork to gently tease the muffin apart, which preserves every single little pocket for your butter!
Ingredients Needed for Homemade English Muffins
Gathering your supplies is half the battle when you’re making breakfast bread from scratch. Don’t worry about fancy things; these use super basic pantry staples! I’ve tried cutting corners before, but trust me, for the fluffy English muffins we want, stick to these measurements. We need flour, salt, sugar, yeast, milk, butter, and whatever you choose for dusting our work surface and the baking sheet.
If you’re looking to branch out into other easy breads after you nail these, check out some tips on quick homemade bread making. But for now, focus on having everything ready to go!
Ingredient Notes and Substitutions for English Muffins
Let’s talk yeast first. This recipe specifically calls for active dry yeast, which means you have to wake it up in warm milk first. The milk needs to be warm—think bathwater temperature, not boiling hot. If it’s too hot, you’ll kill the yeast yeast right away! If you’re dusting your pan and griddle, I really prefer cornmeal. It gives the bottoms a nice, subtle crunch and prevents sticking way better than just using flour, though flour will work in a pinch if you’re desperate.
Step by Step Muffin Tutorial: Making Fluffy English Muffins
Alright, let’s get our hands a little dirty! This is where the magic really starts to take shape. If you follow these mixing and resting times exactly, I guarantee you end up with those perfect soft breakfast rolls that taste incredible toasted. Don’t rush the rises, please—that’s the biggest mistake people make with any yeast dough!
Mixing the Dough and First Rise for Easy English Muffins From Scratch
First things first, grab a big bowl for your dry ingredients: that’s your flour, salt, and sugar whisked together. In a separate, smaller cup, you need to dissolve your yeast in the warm milk. Wait about five minutes until it gets nice and foamy—that tells you the yeast is alive and ready to work! Pour that foamy milk mixture right into your dry ingredients, along with the melted butter. Mix it up until you have what I call a ‘shaggy dough.’ It won’t look pretty at this point, and that’s okay!
Now turn that shaggy mess out onto your counter, which should be lightly floured. You’ve got to knead this dough for a good five to seven minutes. You are looking for a smooth surface, not sticky at all. Once it feels nice and supple, place it into an oiled bowl, flip it over so it gets coated, cover it up tight, and leave it alone! Find a warm spot in your kitchen, and let it rise for a full hour, or until it’s doubled up in size. Patience is key here!
Shaping and Second Proofing Your English Muffins
When that hour is up, punch the risen dough down gently—we don’t want to knock all the air out, just release the big bubbles. Now, on a surface dusted with your cornmeal or extra flour, roll or pat that dough out until it’s sitting right about a half-inch thick. Seems thin, doesn’t it? Don’t worry, they puff up on the griddle!
Grab your 3-inch round cutter—a biscuit cutter works perfectly—and start stamping out your rounds. Don’t toss those scrappy edges! Press them together gently, re-roll, and cut out as many as you can. Place these raw rounds onto a baking sheet that you’ve already dusted generously with cornmeal. Cover them loosely again, and let them rest for just 30 minutes. They don’t need a huge second rise, just a little breather before they hit the heat.
Cooking Your English Muffins on the Griddle
Time to cook! This step separates the okay English muffins from the amazing ones. Your griddle or heavy skillet needs to be preheated completely over medium-low heat. Remember what I said? Low and slow! We want them golden brown, not burnt black discs. Place your prepared circles onto the dry, hot griddle.
Let them cook for a full 10 to 12 minutes on the first side. You’ll see them puffing up slightly! Flip them over carefully and cook the second side for another 10 to 12 minutes. If you see them browning too fast, turn the heat down immediately. They have to cook all the way through so you get that beautiful texture inside. Once they are golden on both sides, pull them off the heat and let them cool completely before you even think about splitting them open!
Equipment Needed for Perfect Homemade English Muffins
You don’t need a professional bakery setup to make these! Honestly, the equipment list for these wonderful homemade English muffins is surprisingly simple. Having these items ready before you start mixing makes the whole process flow so much better, especially when you’re dealing with yeast dough that needs attention.
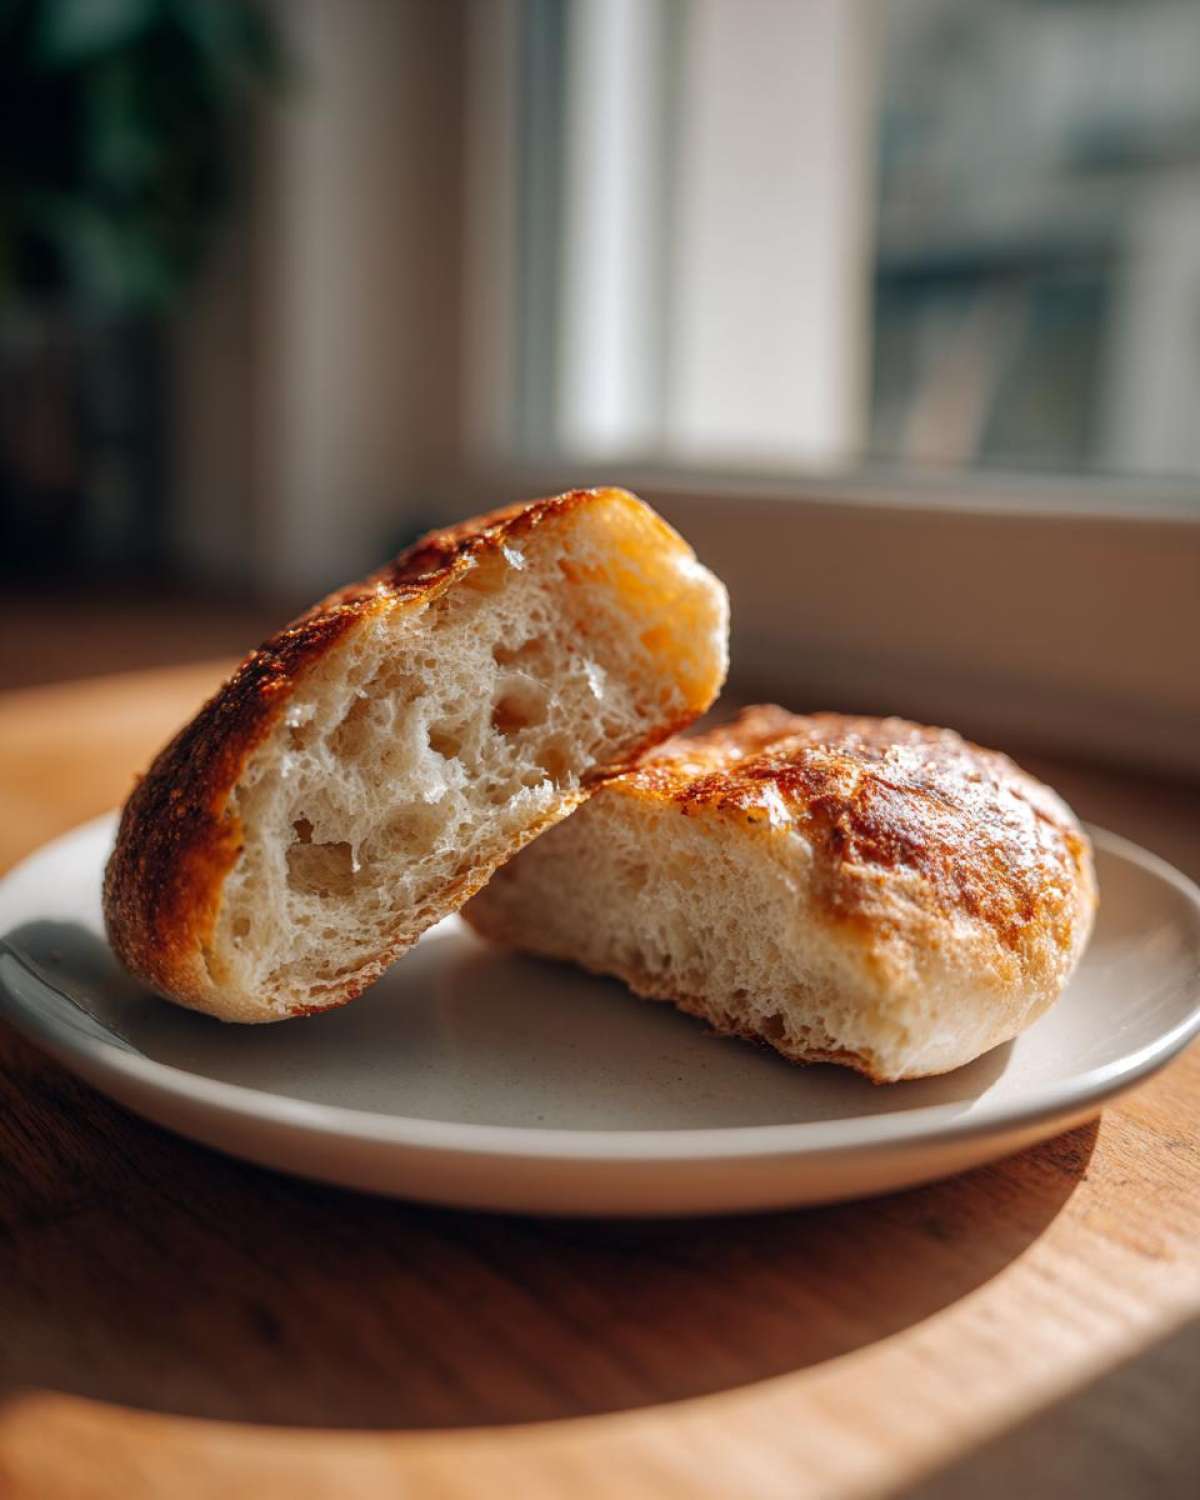
My biggest advice is to use the heaviest skillet or griddle you own. Thin pans just don’t hold even heat, and even heat is what makes the color right on the outside without burning the delicate center.
- A large mixing bowl is a must for the initial mix and the first rise.
- You absolutely need a quality, heavy-bottomed griddle or cast-iron skillet for cooking.
- A 3-inch round cutter—this could be a dedicated English muffin ring, a biscuit cutter, or even a sturdy glass rim.
- A rolling pin, though I sometimes just pat the dough out gently by hand!
- A baking sheet to hold the raw cut-outs during their final rest.
That’s it! No stand mixer required, though it certainly won’t hurt. If you have the cutter ready to go before your dough is done rising, you’re set up for success!
Tips for Success with English Muffins
Even with the best recipe, small details make the difference between good and great English muffins. My favorite tip comes straight from the recipe notes: always split your cooled muffins using a fork, not a knife! That fork teases apart the inside layers, which keeps all those beautiful tunnels open for butter. Don’t forget to check out these other breakfast baking recipes for more morning inspiration!
Also, pay close attention to your griddle temperature. If you cook them too hot, you burn the outside—that’s how you lose the inside structure. If your muffins are browning in under 8 minutes, crank the heat down immediately. They need that long, slow cook time to bake all the way through while staying light and fluffy!
Storage and Reheating Instructions for Buttery English Muffins
Once you manage to let these gorgeous buttery English muffins cool completely—which is tough, I know!—storage is easy. At room temperature, they hold up really well in a sealed plastic bag for about two or three days. They are fantastic for make ahead breakfast ideas!
But if you want to keep them longer, pop them straight into the freezer. Once totally cool, seal them tight. When you are ready to eat them, just pop them straight into the toaster. Skip the microwave; the toaster is the only way to reheat these properly and get that perfect crisp exterior!
Serving Suggestions for Toasted Muffins Recipe
Now that you have these amazing homemade English muffins, the real fun begins! Obviously, the classic way is the best way for me: split them open, toast them until they are golden, and slather them with good salted butter and strawberry jam. Those little nooks and crannies just drink up the melted goodness!
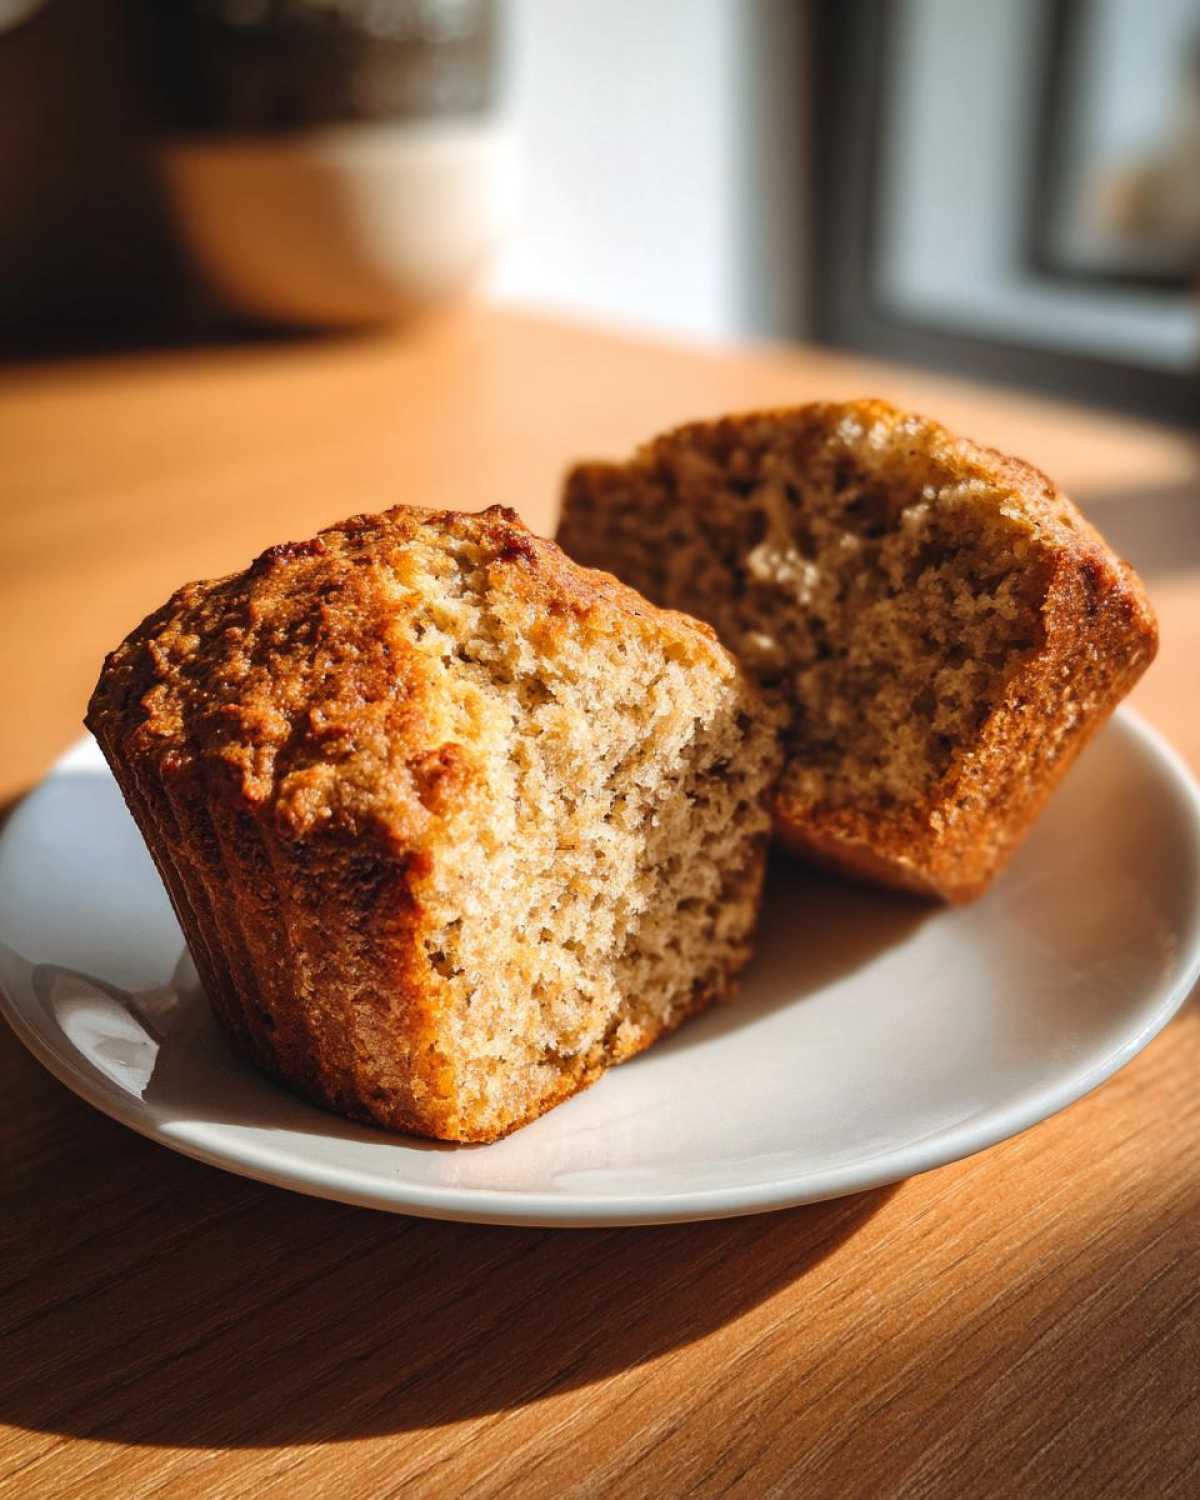
But don’t stop there! Since these are truly better than store-bought, they make incredible toasted muffins recipe bases for breakfast sandwiches. Think bacon, a fried egg, and maybe a slice of melted cheddar cheese. They are sturdy enough to handle anything you throw at them. They also make fantastic little bases for Eggs Benedict if you’re feeling fancy for a weekend brunch baking session!
Frequently Asked Questions About Homemade English Muffins
I get so many questions when people first try this recipe, which tells me I’m not the only one obsessed with making the best English muffins at home! It’s awesome that so many of you are ditching the pre-packaged stuff. Here are the ones I hear most often when people are aiming for those perfect better than store bought bread results.
Why aren’t my English Muffins fluffy enough?
This usually comes down to two things, honey. Firstly, make sure your yeast was actually alive before you mixed it in! If the milk was too hot, the yeast is dead, and you get flat cakes. Secondly, check how you are treating the dough. If you kneaded it way too long, you developed too much gluten, making it tough instead of fluffy. They should feel soft and springy when you press them before they go on the griddle.
Why do I need cornmeal on the sheets and the griddle?
It’s all about texture, remember? Cornmeal is crucial for these classic breakfast breads because it creates that subtle, slightly gritty texture on the outside that you expect from bakery style muffins. Flour sometimes burns too easily or just gets gummy when coating the griddle, but cornmeal stands up to the dry heat perfectly and gives the bottom a beautiful golden crust!
Can I make these English Muffins without an oven?
Yes, you absolutely can! And that’s one of the reasons this recipe is such a keeper. We never touch an oven for these! This entire recipe is designed around using a dry, preheated griddle or a heavy skillet on your stovetop. That’s what gives you those lovely, lightly toasted sides and overall appearance. These are truly homemade griddle cakes, through and through!
How do I get my English Muffins to rise faster?
Yeast loves warmth, so if your kitchen is chilly, it’s going to take forever. To encourage a quicker rise, I often preheat my oven to just 150°F for about two minutes, turn it OFF, and then put the covered bowl of dough inside. The residual warmth is perfect! Just be super careful not to let the oven actually heat up too much, or you’ll scorch the dough and kill the yeast. A spot near a sunny window works great too, if you don’t want to mess with the oven trick.
Are these homemade English Muffins better than what I buy?
In my honest opinion? A thousand times yes! Store-bought versions are made quickly with dough conditioners and preservatives. When you make these Homemade English Muffins, you get that fresh, rich flavor from the butter and milk, and you get to control the inside texture. You can’t beat the satisfaction of eating a freshly made, perfectly toasted muffin!
Share Your Best English Muffins Creations
Now that you’ve gone through the whole process—from activating the yeast to pulling those perfectly cooked rounds off the griddle—I’m dying to see what you made! Seriously, bread baking is better when shared.
Please, if you tried this recipe for your weekend brunch baking, leave me a star rating down below. I want to know exactly how successful you were in achieving those elusive, buttery, perfect nooks and crannies! Did you use cornmeal or flour for dusting? What did you top your toasted muffins with?
If you took pictures of your beautiful, fluffy English muffins, please tag me on social media! I love seeing my favorite classic breakfast breads turning out perfectly in other kitchens. Knowing that this recipe is spreading the joy of fresh breakfast is what keeps me in the kitchen!
Print
Simple English Muffins
- Total Time: 1 hr 45 min
- Yield: 8 muffins
- Diet: Vegetarian
Description
A recipe for making basic homemade English muffins.
Ingredients
- 2 cups all-purpose flour
- 1 teaspoon salt
- 1 tablespoon sugar
- 1 packet active dry yeast
- 1 cup milk, warm
- 2 tablespoons butter, melted
- Extra flour or cornmeal for dusting
Instructions
- In a large bowl, whisk together the flour, salt, and sugar.
- In a separate small bowl, dissolve the yeast in the warm milk. Let stand for 5 minutes until foamy.
- Pour the yeast mixture and melted butter into the dry ingredients. Mix until a shaggy dough forms.
- Turn the dough out onto a lightly floured surface. Knead for 5 to 7 minutes until smooth.
- Place the dough in a lightly oiled bowl, turning to coat. Cover and let rise in a warm place for 1 hour, or until doubled in size.
- Punch down the dough gently. Roll or pat the dough out to about 1/2 inch thickness on a surface dusted with flour or cornmeal.
- Use a 3-inch round cutter to cut out the muffins. Reroll scraps and cut again.
- Place the cut muffins on a baking sheet dusted with cornmeal. Cover loosely and let rise for 30 minutes.
- Cook the muffins on a dry, preheated griddle or heavy skillet over medium-low heat for 10 to 12 minutes, turning occasionally, until golden brown on both sides.
- Remove from heat and cool completely before splitting.
Notes
- Split the cooled muffins with a fork, not a knife, to preserve the nooks and crannies.
- Cook these slowly to ensure they cook through without burning the outside.
- Prep Time: 20 min
- Cook Time: 25 min
- Category: Breakfast
- Method: Griddle Cooking
- Cuisine: American
Nutrition
- Serving Size: 1 muffin
- Calories: 180
- Sugar: 2
- Sodium: 300
- Fat: 4
- Saturated Fat: 2
- Unsaturated Fat: 2
- Trans Fat: 0
- Carbohydrates: 32
- Fiber: 1
- Protein: 6
- Cholesterol: 15