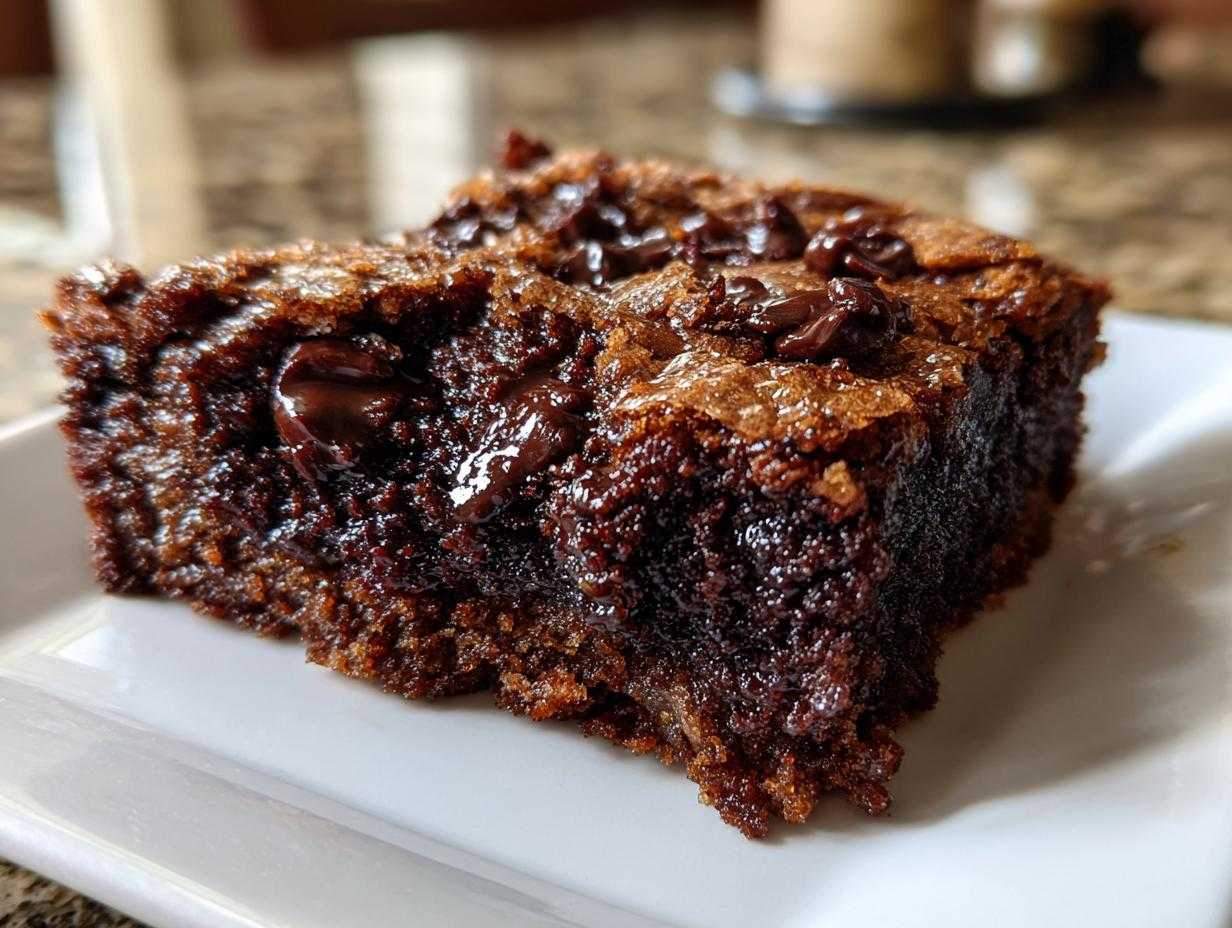
Oh, honey, sometimes you just need something that oozes pure, intense chocolate comfort, right? I’m talking about those desserts that look simple on top but hide a secret gooey treasure underneath. Forget fiddly layered cakes!
This is it. This is my go-to recipe for the *best* **chocolate cobbler** you will ever make. I spent way too many weekends trying to figure out why some batches turned out cakey all the way through and others never bothered to form that luscious sauce layer. Trust me, the secret lies in the boiling hot water we pour over the top—it’s pure, unadulterated magic! It’s an old-fashioned technique that creates that incredible self-saucing effect where a rich, molten fudge bottom appears magically while the top bakes up perfectly crumbly and cake-like. You don’t even need your electric mixer for this one; we’re keeping it simple and Southern!
Why This Old Fashioned Chocolate Cobbler Recipe Works So Well
When I crave real comfort food, this recipe for a classic **chocolate cobbler** is what I turn to. It’s not complicated, yet the results are intensely satisfying every single time. We’re talking true Southern baking here!
Here’s why this method beats all the others I’ve tried:
- The Self-Saucing Magic: It reliably creates that thick, gooey chocolate sauce right in your baking dish. It’s like having a lava cake but much easier!
- No Mixer Required: You just whisk everything together in two bowls. It’s such an easy chocolate dessert for a busy weeknight—minimal cleanup!
- Perfect Texture Balance: You get a light, slightly cakey top layer contrasted perfectly with that rich, warm chocolate pudding underneath.
You can see how we handle fruit fillings in a similar way over at my easy berry cobbler recipe, but the chocolate version is just pure decadence.
Ingredients Needed for Your Self Saucing Chocolate Cobbler Recipe
Honestly, the best part about this fudgy chocolate cobbler is how basic the pantry items are. No strange flours or fancy extracts needed! When it comes to baking, especially with chocolate, precision really matters, so make sure you measure everything correctly, especially the cocoa powder.
I always get a good quality, unsweetened cocoa powder—that makes a huge difference in how rich the final sauce tastes. This recipe proves that you don’t need a dozen items to make a truly decadent, homemade chocolate dessert.
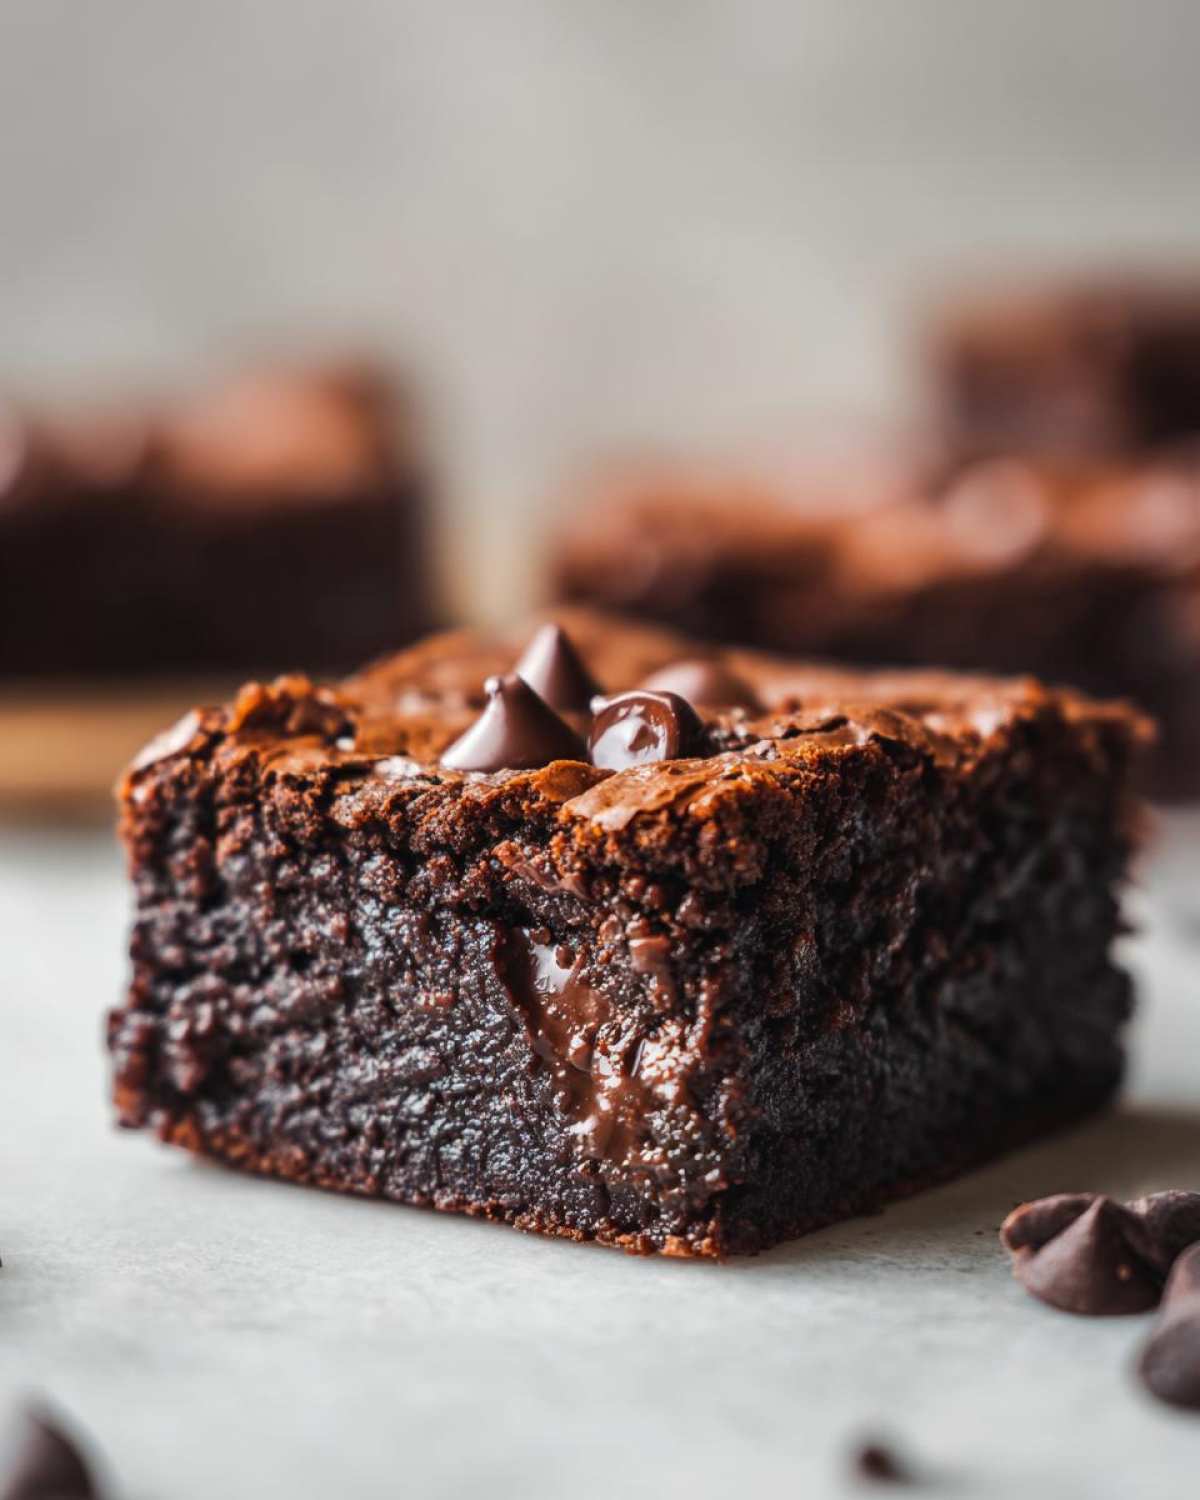
Dry Ingredients for the Chocolate Cobbler Batter
We mix all the dry stuff first to make sure the leaveners are evenly distributed. It’s all about getting that perfect rise on top!
- 1 cup all-purpose flour
- 1 cup granulated sugar
- 1/4 cup unsweetened cocoa powder
- 1 teaspoon baking powder
- 1/2 teaspoon salt
Wet Ingredients and Additions for this Chocolate Cobbler
These ingredients are what give us the volume and the moisture that turns into that amazing gooey chocolate sauce underneath when that boiling water hits it!
- 1 cup milk (Buttermilk works great here too!)
- 1/2 cup vegetable oil
- 1 teaspoon vanilla extract
- 1 cup boiling water – and yep, it has to be boiling right when you use it!
- 1/2 cup semi-sweet chocolate chips (These are critical for those extra pockets of melted goodness.)
Step-by-Step Instructions: How to Make Chocolate Cobbler
This is where the magic really happens! Remember, this isn’t like a standard cake where you mix everything into one harmonious batter. For this old-fashioned chocolate cobbler recipe, we build layers, and timing with that hot water is everything. Once you get this rhythm down, you’ll be making this decadent chocolate pudding cake for every gathering!
Preparing the Dish and Mixing the Batter for Your Chocolate Cobbler
First thing’s first: heat up that oven! We need the oven roaring hot—350 degrees F (175 degrees C)—and make sure you have an 8×8 inch baking dish ready. I always spray mine down really well with baking spray, or you can just lightly grease it with butter like my mom used to do.
Take all those dry ingredients we just measured out and whisk them together in a medium bowl. You want everything combined evenly, especially the baking powder, so the top rises nicely. Then, create a little well in the center. Pour in your milk, your oil, and that splash of vanilla extract. Mix it only until you see it come together—seriously, stop mixing the second the flour streaks disappear. Overmixing is what makes things tough, and we want this chocolate cobbler soft!
The Magic Step: Creating the Gooey Chocolate Sauce Bottom in This Chocolate Cobbler
Now, gently pour that slightly thick batter right into your prepared 8×8 dish. Try to spread it evenly, but don’t obsess over it. Next, scatter those semi-sweet chocolate chips right over the top of the batter. They’ll melt beautifully as they bake.
Here is the big secret, the thing that makes this a true **chocolate cobbler** and not just a brownie! Take that full cup of boiling water—it must be hot!—and very carefully pour it directly over the chocolate chips and the batter. Pour slowly and evenly across the whole dish. Do NOT stir it in! The way the batter and water separate is what creates the two distinct textures during baking. It’s so cool to watch, and it’s the core of this self saucing chocolate cobbler technique.
Baking and Resting the Fudgy Chocolate Cobbler
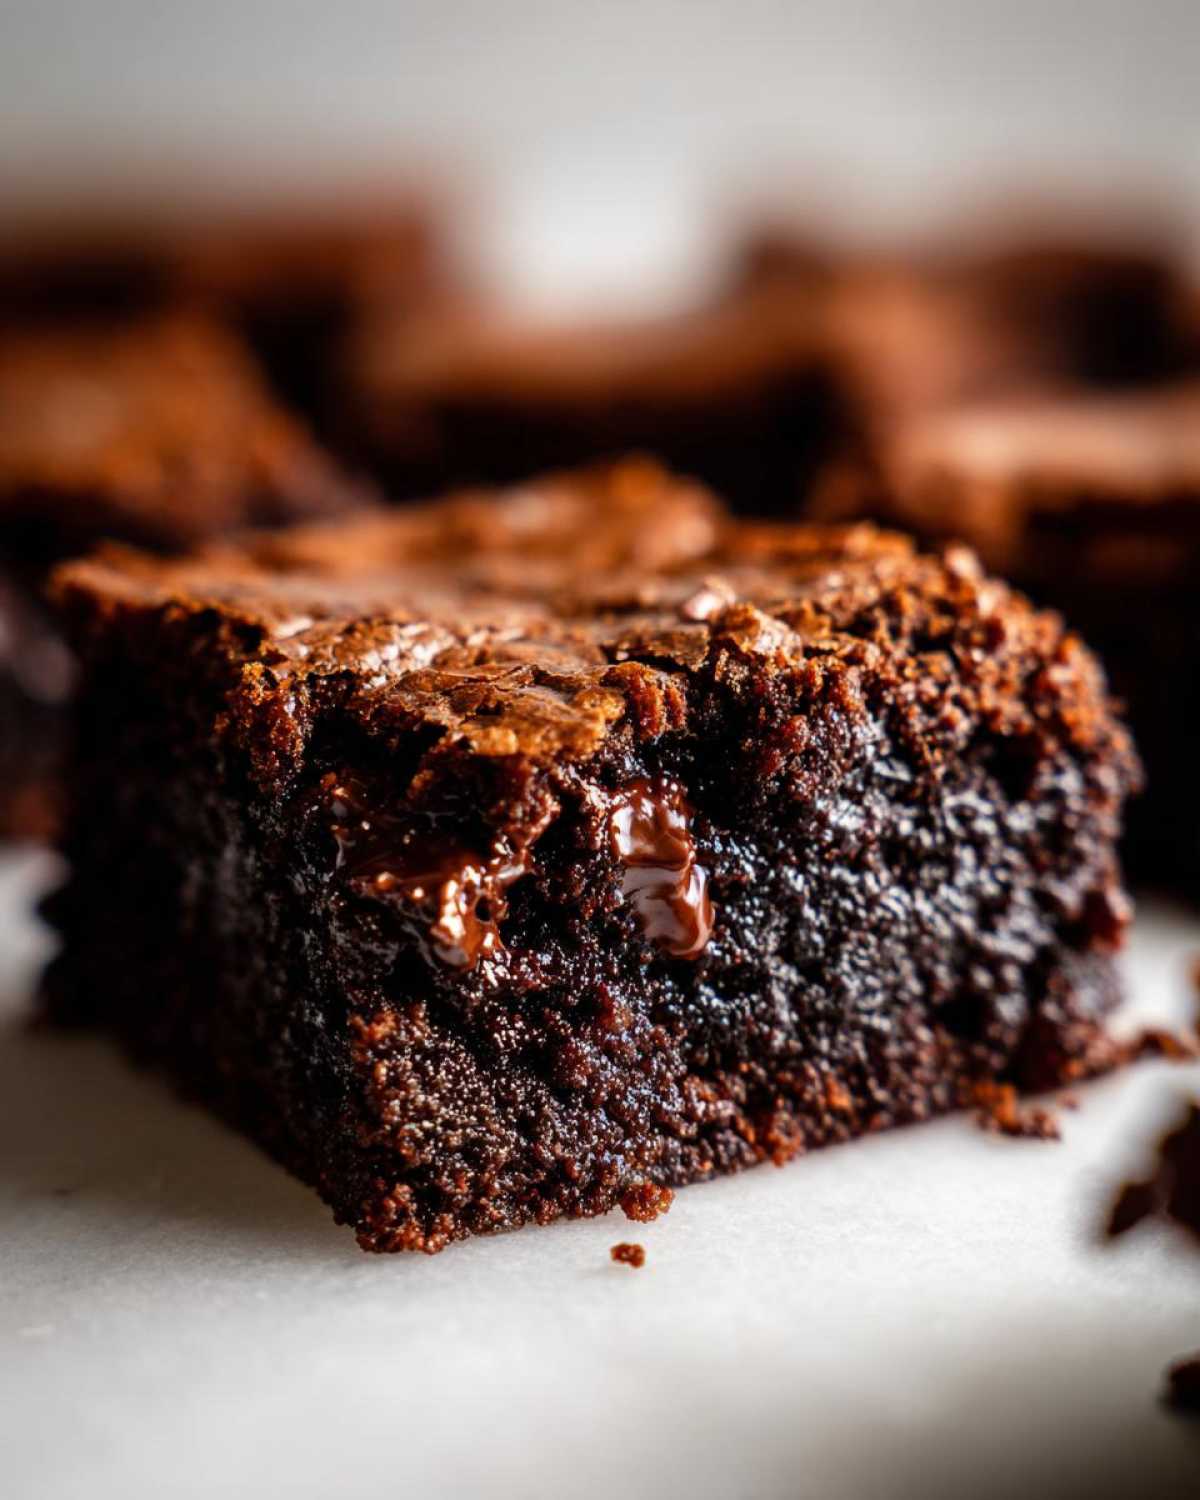
Pop that dish into your preheated oven. You’re looking at about 30 to 35 minutes. You’ll know it’s done when the top surface looks set and slightly firm, and you see the edges bubbling happily. If you happen to have a little bit of a runny layer on top, that’s just the glorious sauce wanting to come through. You can check out my thoughts on quick bakes like this one over at my quick chocolate mug cake recipe for ideas on fast treats!
Once it comes out, let it sit on the counter for about ten minutes before you even think about scooping it. This resting time lets the sauce settle and thicken up just enough so you get a perfect scoop of cake, plus plenty of that amazing gooey chocolate sauce.
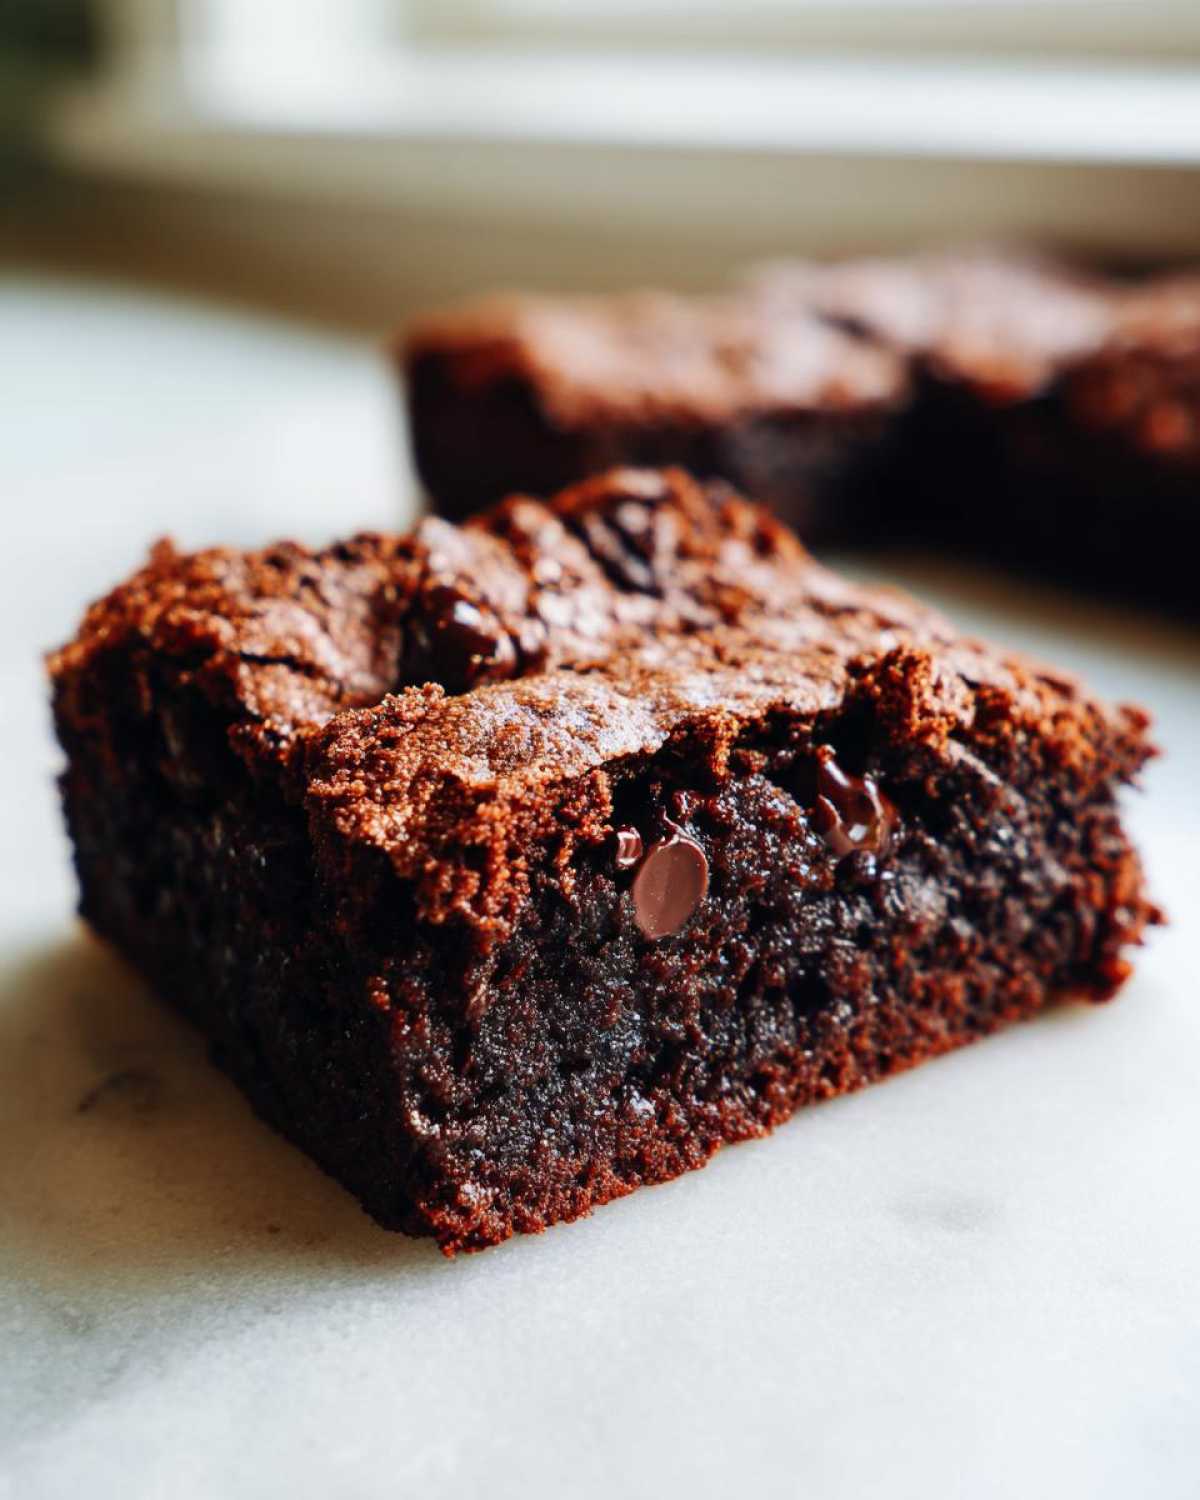
Tips for the Best Southern Chocolate Cobbler Experience
Getting that perfect textural contrast—a sliceable top layer and a river of molten fudge—is what separates a good batch from the best! Don’t rush the final steps, even though this is technically a quick chocolate bake. A slight temper in the oven helps the magic solidify.
My biggest tip for guaranteeing that thick, **gooey chocolate sauce** is making sure your water is truly boiling when you pour it over. If it’s just hot tap water, the chemical reaction that separates the batter won’t happen as effectively. Also, don’t be tempted to use milk instead of water for the liquid layer; that’s a common mistake that results in just a very moist cake, not the distinct sauce.
If you’re curious about getting the ultimate chewy texture in baked goods generally, I wrote down some secrets for my best soft, chewy chocolate chip cookies recipe that applies to keeping this dessert gooey, too!
Ingredient Notes and Substitutions for Your Chocolate Cobbler
Since this recipe relies on a very specific chemical reaction between the batter and the boiling water, most ingredients should stay exactly as written. Trust me, messing with the flour or cocoa ratio can stop the sauce from forming correctly! However, I’ve found a couple of safe swaps over the years.
If you only have buttermilk, go ahead and swap out the regular milk for it! That little bit of tang is actually wonderful against the richness of the chocolate. Also, while semi-sweet chips are my favorite for deep flavor, you can certainly use milk chocolate chips for a sweeter result, or even mix in some dark chocolate chunks if you’re feeling extra decadent. Just avoid using baking chips that are designed to hold their shape, because we need these to melt into that wonderfully gooey pool!
Serving Suggestions for This Decadent Chocolate Cobbler
You simply cannot eat this **warm chocolate dessert** straight from the oven without a topping! It’s practically against the rules of good baking. My absolute favorite way to serve this is scooping a generous portion right into a bowl while it’s still steaming hot so that gooey chocolate sauce runs everywhere.
Pair it with a really cold scoop of vanilla bean ice cream. The hot-cold contrast is just heaven! If you’re feeling less traditional, a dollop of fresh, slightly sweetened whipped cream works wonderfully too. For a creamy side, sometimes I even make a small batch of my creamy old-fashioned rice pudding to go alongside it!
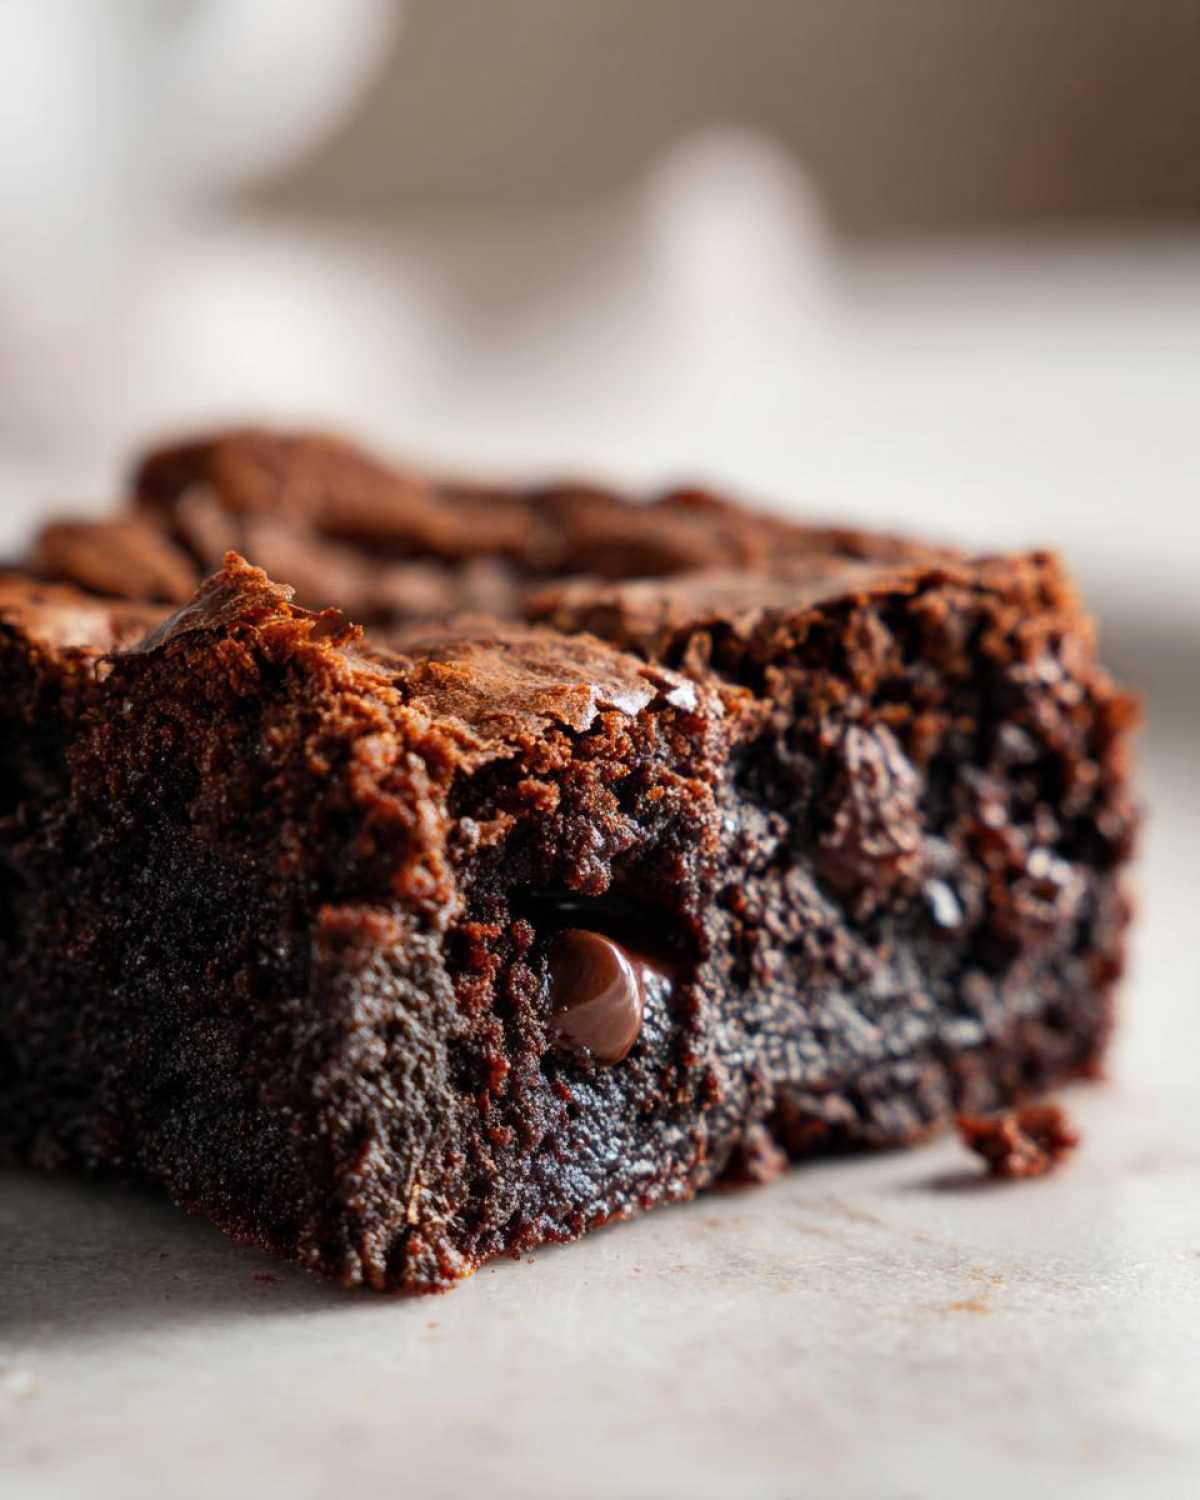
Storage and Reheating Instructions for Leftover Chocolate Cobbler
Now, let’s talk about leftovers, though honestly, this fudgy chocolate cobbler rarely lasts long enough to require serious storage planning! If you do manage to save some of this amazing dessert, you need to treat it right so it comes back to life beautifully.
You can leave the covered dish on the counter at room temperature for about a day if your kitchen isn’t too warm. If you have more than two servings left, or if it’s humid, definitely pop it into the fridge. Store it tightly covered in the 8×8 dish or transfer smaller portions to an airtight container. It keeps pretty well for up to four days in the fridge.
The trick is reheating it to bring that gooey chocolate sauce back. Don’t just microwave the whole thing cold—that makes the cake part rubbery! I find the best way to reheat a portion is right in the microwave for about 30 to 45 seconds on medium power. This warms the cake layer gently while melting that fudge bottom back into its luscious state.
If you want to restore that fresh-from-the-oven quality, cover an individual slice loosely with foil and pop it into a 325-degree oven for about 10 minutes. That gentle heat warms it through perfectly. And whatever you do, reheat it with a splash more milk or cream on the side—it helps bring back that moisture we love so much!
Frequently Asked Questions About Making Chocolate Cobbler
Why didn’t my chocolate cobbler form a sauce layer?
Oh, this is the saddest thing that can happen when you’re attempting this **easy weeknight dessert**! Usually, it means the water you poured over wasn’t truly boiling hot when it hit the batter. The heat is what causes the separation between the lighter cake batter on top and the heavy ingredients underneath to sink and form that rich sauce. Also, double-check that you didn’t stir after pouring the water; stirring mixes the layers together, resulting in a uniform texture, which defeats the whole purpose of a **self saucing chocolate cobbler**!
Can I bake this chocolate cobbler in a different size pan?
You absolutely can! The 8×8 dish is perfect for getting that nice, thick cake layer, but if you want a slightly thinner result—maybe you’re making a larger batch—you can use a 9×13 dish. If you switch to a 9×13, you might want to slightly increase the amount of milk and water called for in the recipe, and definitely watch the baking time. It will cook much faster, so start checking it around 25 minutes in. This makes it an even quicker oven dessert!
What can I use instead of boiling water? Can I use hot coffee?
I know people love to substitute, and while I usually stick to the recipe for this one, I have tried using hot brewed coffee instead of water a few times! If you use coffee, it really deepens that chocolate flavor, making this feel even more like a decadent chocolate lava cake dessert. Just make sure the coffee is piping hot, just like the water. It adds an extra layer of richness to the final **gooey chocolate sauce**.
Can I make this dessert ahead of time?
This is meant to be a warm chocolate dessert, so technically, you *can* make it ahead, but you’ll lose that amazing self-saucing effect if you try to serve it cold the next day. If you must prepare it in advance, bake it completely, let it cool, and then store it covered. When you reheat it, remember that low and slow heat in the oven works best for restoring the sauce, or just use the microwave for an individual portion.
Is this the best chocolate cobbler recipe for a family favorite?
In my book, yes! It’s so easy to whip up when company shows up unexpectedly, and everyone adores the surprise of the molten center. It’s truly a classic comfort food dessert that always gets rave reviews. For more classic family recipes, check out my guide on how to make chocolate cobbler!
Nutritional Estimates for This Homemade Chocolate Dessert
Since we are using simple ingredients, the estimates are pretty straightforward, but remember these vary based on the exact brand of oil and cocoa powder you choose. This is just a ballpark figure for enjoying this truly decadent treat, not something you should eat every night!
- Serving Size: 1 serving
- Calories: 350
- Fat: 18g
- Carbohydrates: 45g
- Protein: 5g
As you can see, it’s a satisfyingly rich, homemade chocolate dessert, heavy on the carbs and fats, which is exactly what you expect from a proper Southern-style baked good!
Share Your Perfect Chocolate Cobbler Bake
I always love seeing your results! Seriously, if you made this old-fashioned chocolate cobbler and it came out perfectly fudgy, please leave a comment below telling me what you served it with—and if you used coffee instead of water! Your feedback helps other bakers nail this recipe. Tag me in your photos so I can see your slice of baking heaven!
Nutritional Estimates for This Homemade Chocolate Dessert
Since we are using simple ingredients, the estimates are pretty straightforward, but remember these vary based on the exact brand of oil and cocoa powder you choose. This is just a ballpark figure for enjoying this truly decadent treat, not something you should eat every night!
- Serving Size: 1 serving
- Calories: 350
- Fat: 18g
- Carbohydrates: 45g
- Protein: 5g
As you can see, it’s a satisfyingly rich, homemade chocolate dessert, heavy on the carbs and fats, which is exactly what you expect from a proper Southern-style baked good!
Share Your Perfect Chocolate Cobbler Bake
I always love seeing your results! Seriously, if you made this old-fashioned **chocolate cobbler** and it came out perfectly fudgy, please leave a comment below telling me what you served it with—and if you used coffee instead of water! Your feedback helps other bakers nail this recipe.
Seriously, don’t be shy! Did you manage to get that picture-perfect gooey chocolate sauce layer? Did you use vanilla ice cream or maybe some homemade whipped cream? Let me know your favorite part!
If you loved this easy chocolate dessert but want to try something else comforting, feel free to browse my other recipes. Happy baking, and tag me in your photos so I can see your slice of warm chocolate heaven!
Print
Simple Chocolate Cobbler
- Total Time: 45 min
- Yield: 6 servings
- Diet: Vegetarian
Description
A straightforward recipe for a warm, rich chocolate cobbler dessert.
Ingredients
- 1 cup all-purpose flour
- 1 cup granulated sugar
- 1/4 cup unsweetened cocoa powder
- 1 teaspoon baking powder
- 1/2 teaspoon salt
- 1 cup milk
- 1/2 cup vegetable oil
- 1 teaspoon vanilla extract
- 1 cup boiling water
- 1/2 cup semi-sweet chocolate chips
Instructions
- Preheat your oven to 350 degrees F (175 degrees C). Lightly grease an 8×8 inch baking dish.
- In a medium bowl, whisk together the flour, sugar, cocoa powder, baking powder, and salt.
- Add the milk, oil, and vanilla extract to the dry ingredients. Mix until just combined; do not overmix.
- Pour the batter into the prepared baking dish.
- Sprinkle the chocolate chips evenly over the top of the batter.
- Carefully pour the 1 cup of boiling water over the chocolate chips and batter. Do not stir.
- Bake for 30 to 35 minutes, or until the top is set and the edges are bubbly.
- Let the cobbler cool slightly before serving.
Notes
- Serve warm with vanilla ice cream or whipped cream for best flavor.
- You can substitute buttermilk for regular milk for a slightly tangier result.
- Prep Time: 10 min
- Cook Time: 35 min
- Category: Dessert
- Method: Baking
- Cuisine: American
Nutrition
- Serving Size: 1 serving
- Calories: 350
- Sugar: 35
- Sodium: 200
- Fat: 18
- Saturated Fat: 5
- Unsaturated Fat: 13
- Trans Fat: 0
- Carbohydrates: 45
- Fiber: 2
- Protein: 5
- Cholesterol: 10