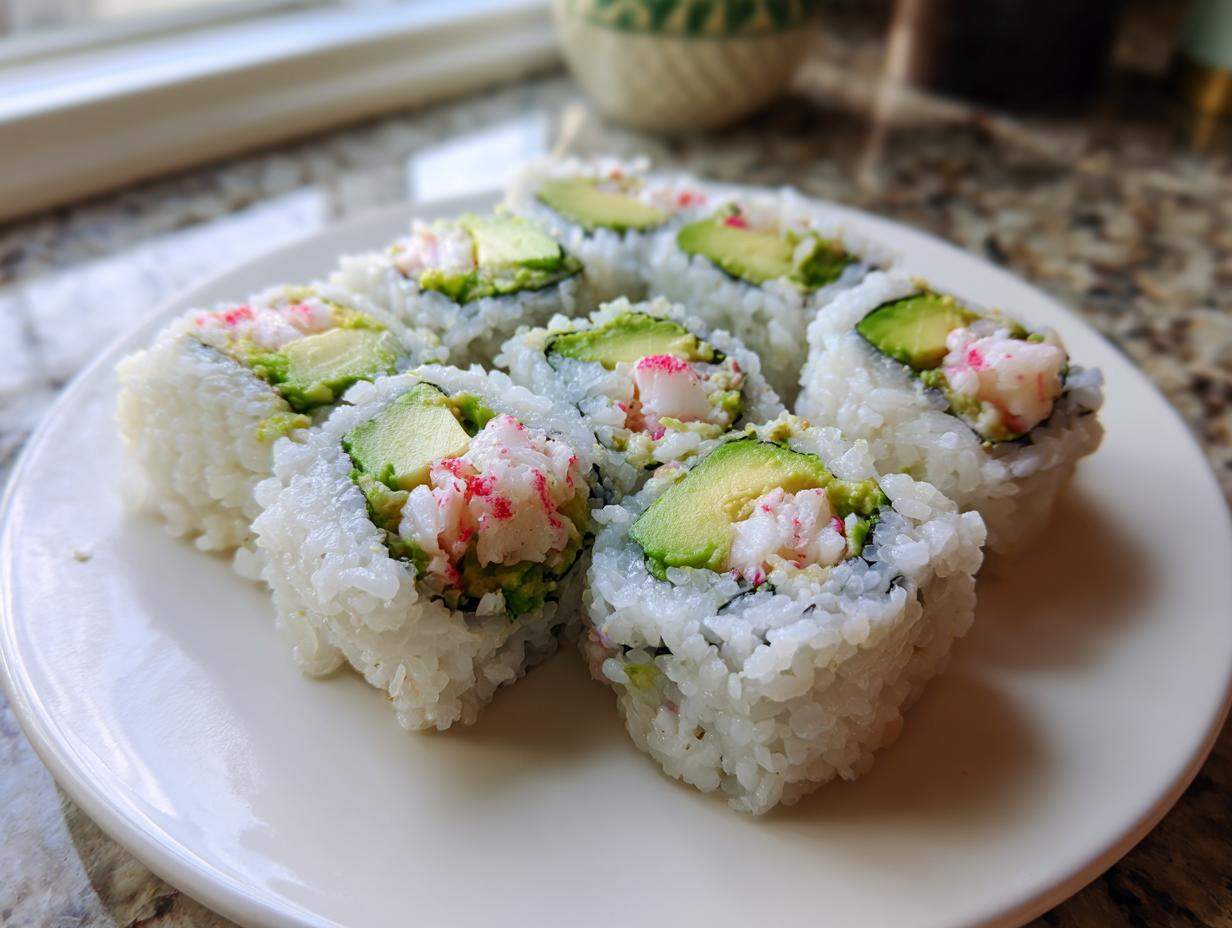
Listen, I remember the first time I tried to make sushi at home. I thought I was doomed! My rice ended up soupy, the fillings slid out everywhere, and I nearly threw my bamboo mat across the kitchen. It felt like only professionals could master those beautiful, tight cylinders. But trust me, that frustration is long gone, because I finally cracked the code for making restaurant-quality rolls right here in my own kitchen. If you’ve ever wanted to skip the takeout lines and make amazing **California Sushi Roll** happen for dinner, you’re in the exact right place. This guide strips away all the intimidating bits and shows you exactly how to get that perfect ratio of sticky rice to creamy avocado and crisp cucumber.
Why This Homemade California Sushi Roll Recipe Works for Beginners
You might think making any kind of sushi roll is too complicated, but I promise the California Roll is where you should start! It’s totally forgiving since the rice is on the outside, which saves you the fiddly work of perfectly tucking the nori edge every time. Plus, the fillings are everyone’s favorites, so you don’t need to hunt down any super exotic seafood! We’re focusing on simplicity here.
- We use imitation crab (surimi) which is readily available and perfect for these easy sushi rolls at home.
- The rice seasoning ratios are straightforward—no guesswork involved!
- We completely wrap the mat in plastic, which is the secret weapon against sticky rice nightmares.
The Best California Sushi Roll Ingredients You Need
Okay, let’s talk about the stars of the show! You can’t make a dynamite **California Sushi Roll** if your ingredients are lackluster. For this recipe, we are keeping things classic and accessible, just like the original versions you find in the best restaurants. Everything needs a little prep work, but trust me, the flavor payoff is huge. I’ve linked my favorite basic guide on getting the absolute best California roll ingredients if you want to dive deep into sourcing, but for now, let’s focus on what matters most when you put them together.
Sushi Rice Tutorial: The Foundation of Your California Sushi Roll
If the rice is wrong, the roll is wrong. Period. You absolutely must use short-grain sushi rice; the long-grain stuff just won’t get sticky enough to hold together. You need to rinse that rice until the water runs totally clear—that removes excess starch. Then, when you mix in the vinegar, sugar, and salt seasoning, use the rice paddle to *cut* through it. Don’t stir or mash! You’re folding that liquid in gently so you don’t break the grains. This whole cooking and seasoning process is the most important part of any sushi rice tutorial I ever give, so take your time here!
Selecting Fillings for Your Avocado Cucumber Sushi
For the crab, stick to imitation crab sticks (surimi) unless you’re feeling fancy—it gives the perfect flakey texture that people expect. The avocado has to be ripe! If it’s hard, it will fight you when you try to slice it thinly. Use a very sharp knife and slice it lengthwise into thin ribbons. For the cucumber, grab an English or Persian one, cut out the watery seeds first (seriously, don’t skip seeding!), and then slice it into those long, crisp matchsticks. This combination makes for the best avocado cucumber sushi experience!
Step-by-Step Guide: How to Make California Rolls
Alright, this is the moment of truth! We’ve prepped our stars, now we assemble the entire cast. If you follow this sequence, I guarantee you’ll feel like a total sushi pro by the time you wrap up. This is the clearest way I know to tackle **how to make California rolls** without tears or frustration! For a full breakdown of everything up to this point, check out my guide on how to make California rolls easily.
Preparing the Sushi Rice Seasoning and Cooling
While that perfectly seasoned rice is cooling down—which it absolutely must do—let’s make the sweet and sour magic. You just combine the rice vinegar, sugar, and salt in a tiny pot. Heat it up gently until everything dissolves. Don’t let it boil; we just want things mixed! Pour that over your warm rice and use that rice paddle to cut it in, remembering that slicing motion we talked about. The biggest physical tip here? You have to let that rice cool completely to room temperature before you touch it again. If it’s hot, it will steam the nori and make it slimy and useless!
Setting Up for Inside Out California Sushi Roll Construction
We are making an Uramaki roll here—rice on the outside! So, first things first, wrap your bamboo mat tightly in plastic wrap. This stops the rice from gluing itself permanently to the mat. Lay your nori sheet down, shiny side facing the bamboo. Now, dampen your hands—seriously, a little water prevents the stickiness! Grab about three-quarters of a cup of that cooled rice and spread it over the nori. Make sure to cover everything nicely, but leave that one-inch strip bare at the top edge farthest from you. If you want sesame seeds on the outside, sprinkle them lightly over that rice layer now. This plastic wrap trick is key to mastering any inside out sushi tutorial!
Mastering the Sushi Rolling Mat Techniques for Your California Sushi Roll
This section is where we conquer the dreaded roll! Now, carefully flip that whole sheet over so the rice side is touching the plastic-wrapped mat. See? Rice is protected! Line up your crab, avocado strips, and cucumber matchsticks in a tight little line near the bottom edge of the nori (closest to you). Now, lift that bottom edge of the mat up and over those fillings, tucking that edge of the nori just underneath the fillings themselves. Give it one gentle, firm squeeze. Keep rolling forward, pulling the mat away as you go so it doesn’t get caught in the roll. You’re aiming for firm, round pressure, not crushing it! Good sushi rolling mat techniques rely on gentle, continuous pressure.
Cutting the California Sushi Roll Pieces Perfectly
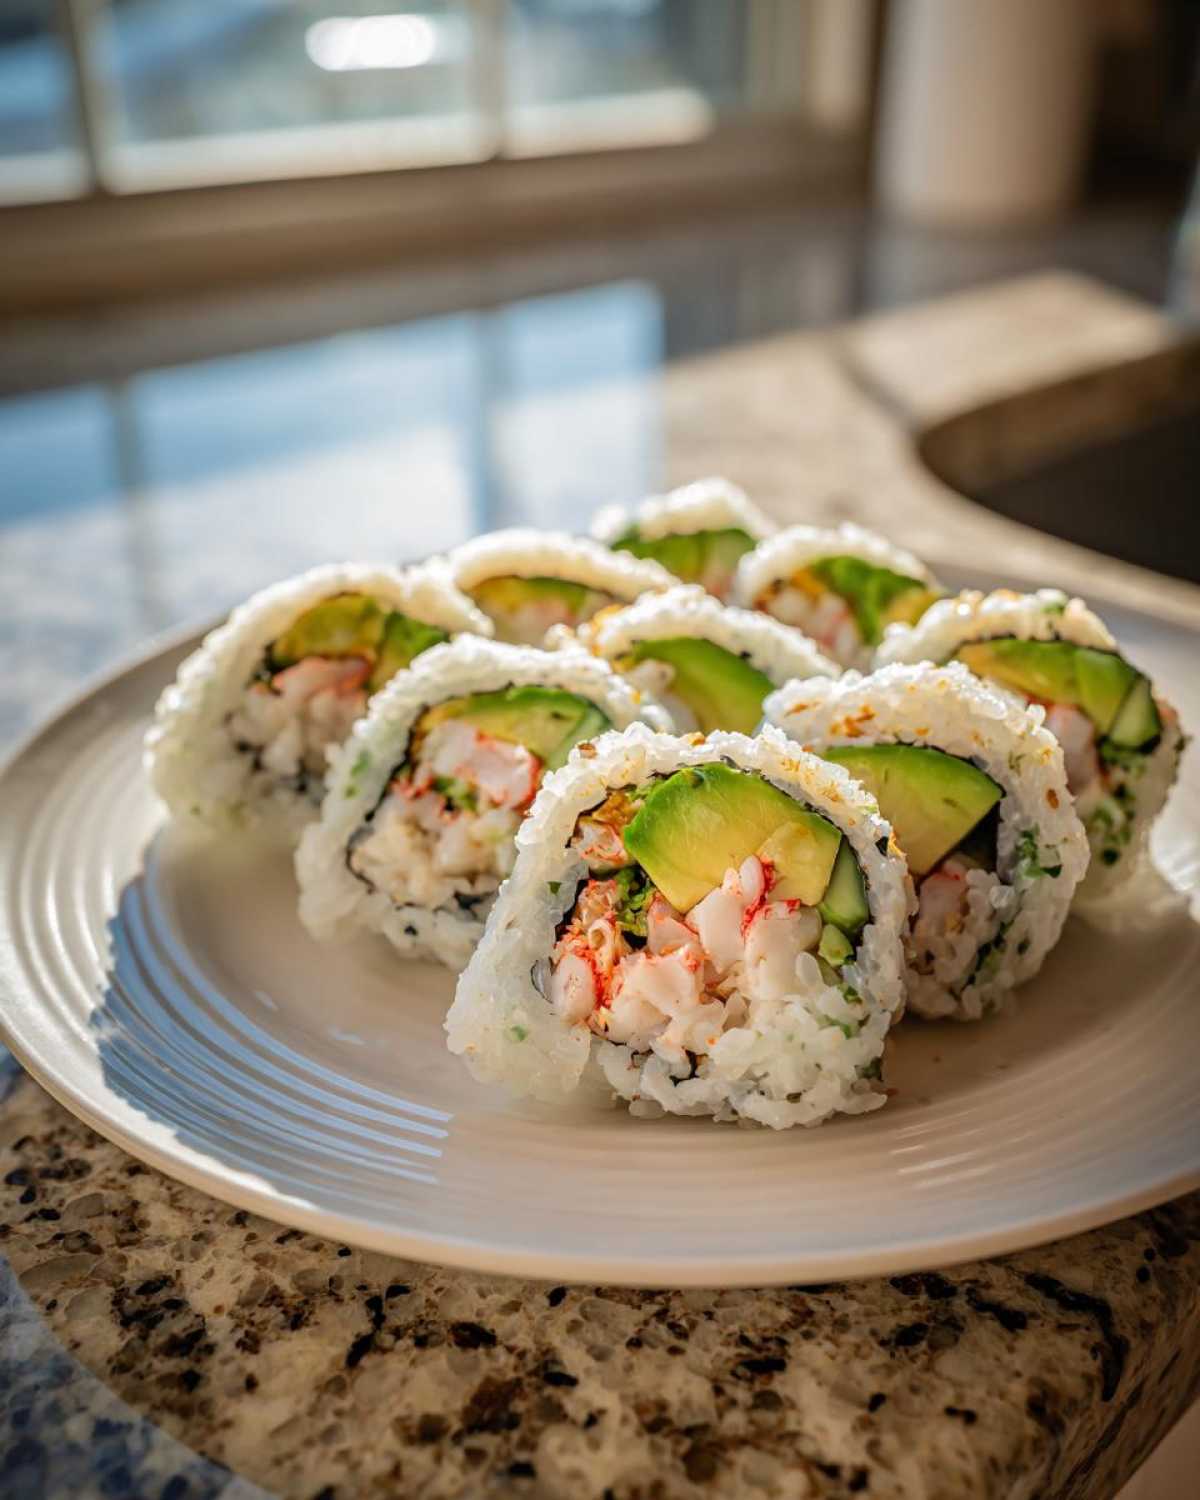
Once it’s rolled up, moisten that dry edge of nori with a tiny bit of water to seal the entire log shut. Give the roll one last professional squeeze in the mat to make sure it’s dense and holds its shape. Now for the clean cut! Grab your sharpest knife and dip the blade in water *before* every single slice. This prevents that sticky rice from dragging and mushing your beautiful work. Saw gently through the roll to get 6 or 8 perfect **homemade maki rolls**. It just takes a little patience with the knife!
Tips for Success When Making Your California Sushi Roll
I know it seems like a lot of steps, but once you get the workflow down, these rolls fly by! The biggest thing I learned is that you can’t rush the rice cooling—seriously, room temperature is non-negotiable for wrapping. If your rice is too warm, the nori melts and the whole thing turns into a sticky mess. Also, remember what I said about the knife; keeping it damp prevents tearing. If you’re finding your filling keeps popping out when you roll, use a little less filling next time, focusing on keeping the ingredients centered rather than piled high. These little adjustments will turn your attempts into true beginner sushi recipes successes!
Variations on the Classic California Sushi Roll
The beauty of the **California Sushi Roll**, besides being an uncooked sushi alternative, is how easily you can tweak it! Once you master the basic technique, feel free to customize your fillings. My favorite upgrade is swapping out the imitation crab for real lump crab meat—wow, what a difference that makes! If you want a little color and pop on the outside, toast some black sesame seeds instead of the white ones, or even mix in some bright orange tobiko (fish roe) with your rice layer for extra texture.
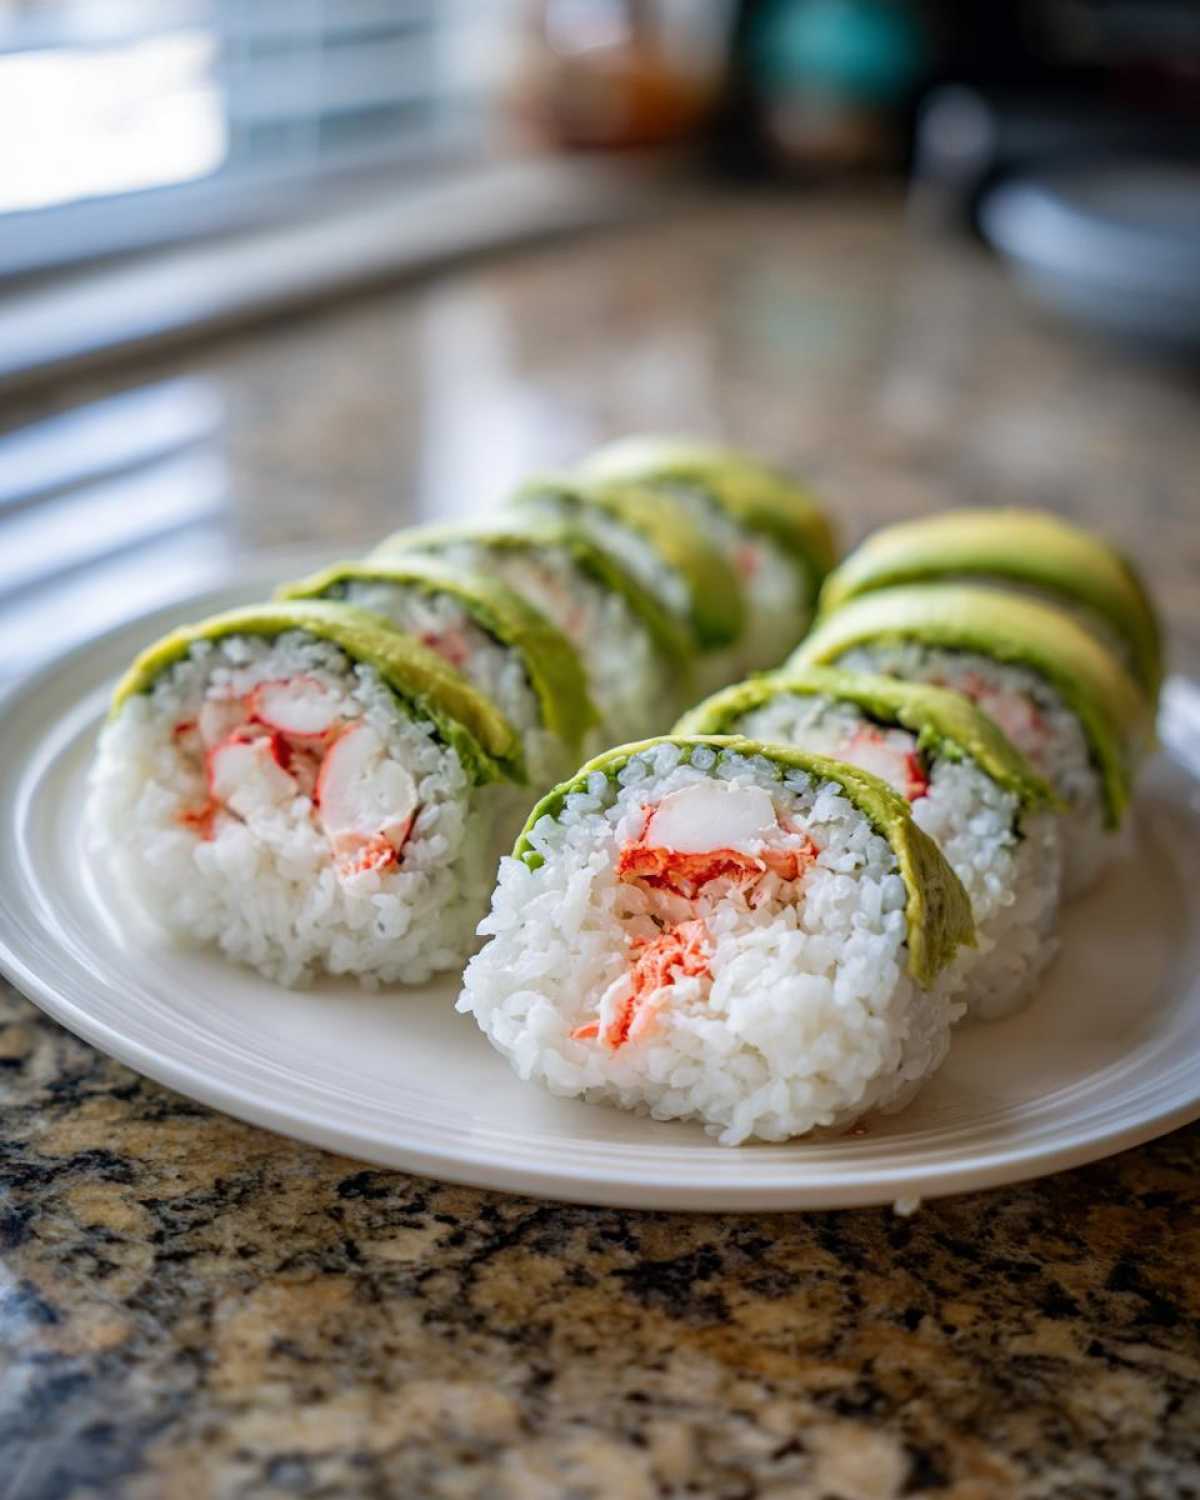
We sometimes add a thin layer of cream cheese inside, sitting right next to the avocado, though that pushes it toward a Philadelphia Roll vibe, I admit! Honestly, though, I always come back to the simple, perfect combination. Check out my guide on sushi fillings ideas for more inspiration next time you’re feeling adventurous!
Serving Suggestions for Your California Sushi Roll
You’ve done the work, you’ve rolled them perfectly, and now it’s time to eat! A **California Sushi Roll** is simple, but the accompaniments make it a complete experience. You absolutely must have the classic trio ready on the side. I always pour a small puddle of good quality soy sauce—don’t drown them, just enough for a light dip!
Then, you’ve got the fiery heat of wasabi. I usually mix just a tiny dab of wasabi paste into my soy sauce, but if you’re brave, put it directly on your roll before dipping. Don’t forget the pickled ginger (gari)! You eat that *in between* pieces, not on top of them. It’s the palate cleanser, keeping everything tasting fresh for the next bite.
If you’re making a full dinner out of this, these rolls pair wonderfully with something light and savory. If you want to keep the appetizer theme going, try making some simple edamame or perhaps whipping up some of my favorites for quick Japanese appetizers to go alongside your DIY sushi night!
Storage and Reheating Instructions for Leftover California Sushi Roll
Okay, you made too much! It happens. But here’s the deal: sushi is a “best eaten immediately” kind of food. The minute that rice cools and sits, it starts to change texture, which is a real shame after all that work.
If you absolutely must save some pieces of your **California Sushi Roll**, you need an airtight container first. Don’t just wrap it tightly in plastic wrap—that traps moisture and turns the rice gummy almost instantly. Place the pieces inside the container with a tiny paper towel laid on top to absorb any stray moisture.
Pop it in the fridge, but know that you’re only saving it for a few hours, maximum until the next day. And please, never, ever try to reheat sushi! It’s meant to be eaten cold or at room temperature. Reheating ruins the delicate texture of the nori and makes the rice hard. If it’s a day old, just eat it cold and enjoy the memory of your amazing rolling session!
Frequently Asked Questions About Making California Sushi Roll
I always get so many questions after people try this recipe for the first time! It’s totally normal to be unsure about a few things when you’re first diving into making sushi at home. Don’t worry, these issues are easy to fix once you know the trick. Here are the ones I hear most often when people are trying out these **classic sushi recipes**.
Can I use brown rice instead of white sushi rice for my California Sushi Roll?
Oh, that’s a good thought if you’re watching your diet, but honestly, I’d strongly advise against it for the **California Sushi Roll**. Brown rice doesn’t have the right starch content to get that gluey, sticky texture we need to hold the roll together. If you use brown rice, you’ll end up with a crumbly, sad mess, even if you season it perfectly. The structure just isn’t there! Stick to the short-grain white rice for the best texture possible.
What is the difference between a California Roll and a standard Maki Roll?
That’s where the “inside-out” part comes in! A traditional or standard Maki Roll has the sheet of nori seaweed on the outside, wrapping everything up snugly. The **California Sushi Roll** is what we call *Uramaki*, or inside-out roll. You put the rice on the outside of the nori, then when you roll it, the rice forms the outer layer, which we often coat in sesame seeds. It’s a small change, but it makes all the difference!
How do I prevent my sushi rice from sticking to my hands when making this California Sushi Roll?
This is the secret weapon for anyone making **homemade maki rolls**! You need to keep a small bowl of plain water right next to your rolling station. Before you touch the rice for spreading or shaping, quickly dip your fingers in the water. That thin barrier of water stops the rice from adhering to your skin immediately. It’s not messy; it’s just a quick dunk. That simple step is the difference between joyful rolling and wanting to scrap the whole batch!
Share Your Homemade California Sushi Roll Creations
Well, friend, that’s it! You’ve done the hard work, you’ve learned the rice technique, and I am so excited for you to take that first bite of a perfect, homemade **California Sushi Roll**. Seriously, what’s better than making something that tastes like it came from your favorite Japanese spot, knowing you did it all yourself?
I really, truly want to hear how it went! Did your rice stick? Did your avocado slice look perfect? Don’t be shy—drop a comment below and let me know how your first attempt at making these classic sushi recipes turned out. Did you stick to the classic fillings, or did you try adding something wild?
If you snap a picture of your beautiful rolls, tag me on social media! Seeing your kitchen successes makes my day. Happy rolling, and I hope you enjoy making this an easy part of your dinner rotation!
Print
Homemade California Sushi Roll Recipe
- Total Time: 50 min
- Yield: 4 rolls (24-32 pieces)
- Diet: Pescatarian
Description
Follow these steps to prepare a classic California Sushi Roll at home, featuring imitation crab, avocado, and cucumber.
Ingredients
- 2 cups short-grain sushi rice
- 2 cups water
- 1/4 cup rice vinegar
- 2 tablespoons sugar
- 1 teaspoon salt
- 4 sheets nori seaweed
- 8 ounces imitation crab sticks (surimi)
- 1 ripe avocado, thinly sliced
- 1/2 English cucumber, seeded and cut into thin matchsticks
- Toasted sesame seeds (optional, for coating)
- Plastic wrap
Instructions
- Prepare the sushi rice: Rinse the rice under cold water until the water runs clear. Cook the rice with 2 cups of water according to package directions or in a rice cooker.
- Make the seasoning: While the rice cooks, combine the rice vinegar, sugar, and salt in a small saucepan. Heat gently until the sugar and salt dissolve. Do not boil.
- Season the rice: Transfer the hot cooked rice to a large, non-metallic bowl. Pour the vinegar mixture evenly over the rice. Use a cutting motion with a rice paddle to mix the seasoning into the rice gently. Allow the rice to cool to room temperature.
- Prepare the rolling station: Cover your bamboo sushi mat completely with plastic wrap. Place one sheet of nori, shiny side down, on the mat.
- Spread the rice: Moisten your hands slightly. Take about 3/4 cup of cooled sushi rice and spread it evenly over the nori, leaving a 1-inch strip bare along the top edge (the edge furthest from you). This is an inside-out roll, so sprinkle toasted sesame seeds lightly over the rice if desired.
- Flip the nori: Carefully flip the nori sheet over so the rice side is now facing down onto the plastic-wrapped mat.
- Add fillings: Arrange a line of imitation crab, avocado slices, and cucumber matchsticks across the center of the nori, near the bottom edge (the edge closest to you).
- Roll the sushi: Lift the edge of the mat closest to you, folding it up and over the fillings, tucking the edge of the nori under the fillings. Gently press to shape the roll. Continue rolling forward, pulling the mat away as you go, until you reach the far edge.
- Seal and cut: Moisten the bare edge of the nori lightly with water to seal the roll. Press the mat around the roll to firm it up. Use a very sharp, damp knife to cut the roll into 6 to 8 equal pieces.
- Serve immediately with soy sauce, wasabi, and pickled ginger.
Notes
- For best results, use slightly cooled, not hot, sushi rice when assembling the rolls.
- Keep your knife blade damp when cutting the rolls to prevent the rice from sticking.
- If you prefer a traditional roll (nori outside), place the fillings on the nori first and roll without flipping the rice layer.
- Prep Time: 30 min
- Cook Time: 20 min
- Category: Appetizer
- Method: Rolling
- Cuisine: Japanese
Nutrition
- Serving Size: 1 roll (6 pieces)
- Calories: 350
- Sugar: 8
- Sodium: 650
- Fat: 5
- Saturated Fat: 1
- Unsaturated Fat: 4
- Trans Fat: 0
- Carbohydrates: 65
- Fiber: 3
- Protein: 15
- Cholesterol: 25