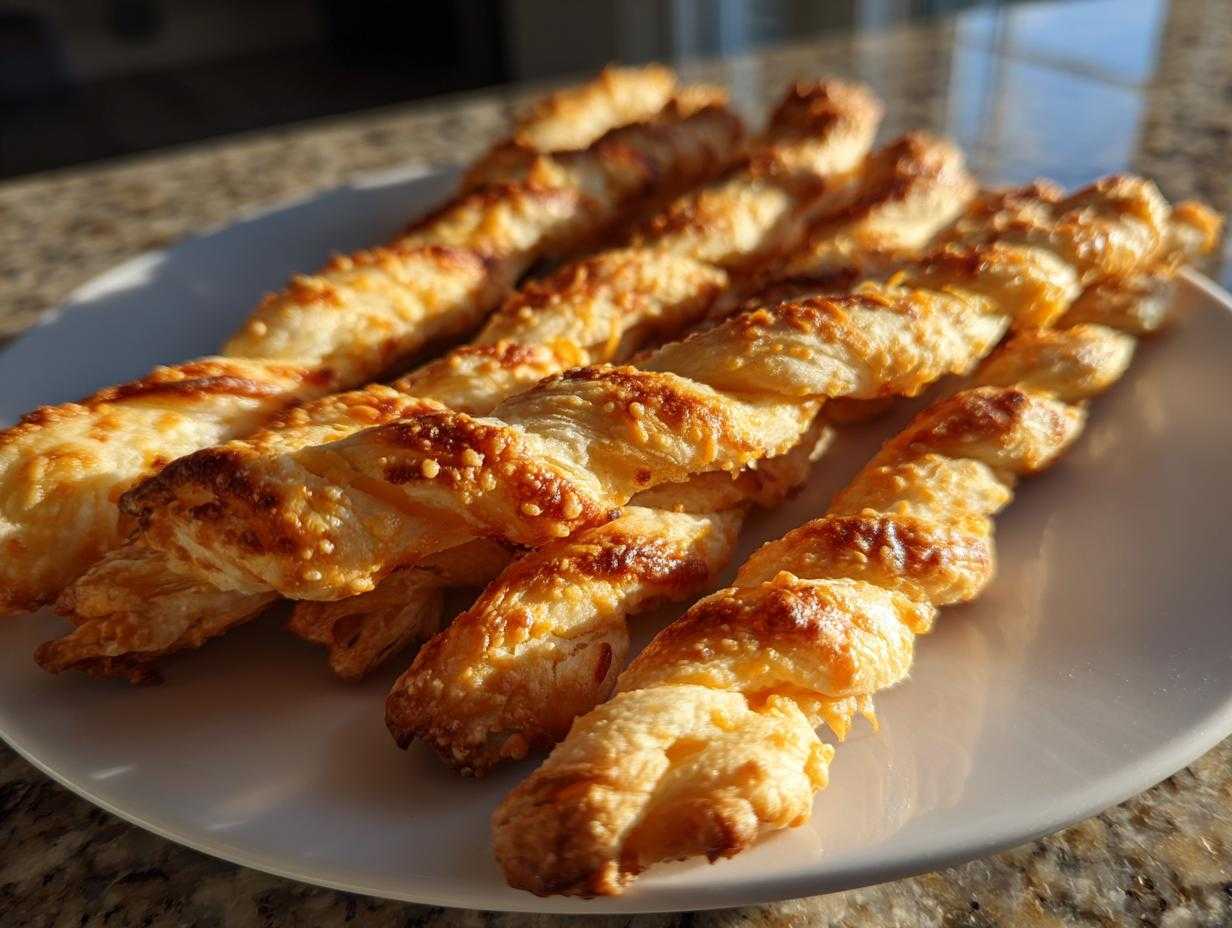
Oh, honey, let’s talk about party food! There is nothing—and I mean nothing—that vanishes faster from a snack table than a big bowl of perfectly crisp, cheesy goodness. Forget those sad little store-bought things; we are making the real deal today. This cheese straws recipe is absolutely my secret weapon when I host. If you want that signature snap and savory punch that screams old-school Southern hospitality, you’ve come to the right place.
This isn’t one of those fiddly puff pastry shortcuts (though those are fine too!). This is the traditional way, developed over years of testing so we get the ultimate texture. My aunt always brought these to every single family gathering, and when she finally handed over the index card, I realized the magic was just science—cold butter, sharp cheese, and zero fuss. I swear, guests always ask me, “What are these flaky, savory little bites?” because they are truly the best cheese straw recipe out there. Trust me, once you master this homemade dough, you’ll never look back!
If you’re planning ahead for a big event, be sure to check out my list of 18 easy summer appetizers that are always crowd-pleasers, but these straws are definitely topping that list right now.
Why This Classic Southern Cheese Straws Recipe Works (The Secret to Crispiness)
Okay, let’s get down to the nitty-gritty of why these crispy cheese straws are leagues above anything you’ll buy in a box. It all boils down to texture, right? We are aiming for shatteringly crisp, not chewy or soft like a breadstick. The entire result hinges on using ice-cold ingredients and moving quickly. That beautiful, sharp flavor you taste? That’s all about the cheese itself. You absolutely have to use genuine, aged, sharp cheddar cheese straws. Pre-grated stuff is coated in starches that mess with how our dough comes together.
The butter has to be stone cold, cut into tiny cubes, and treated gently. If you let that butter warm up even a little bit while mixing, you end up creating a pastry that puffs up a bit too much, which leads to a softer bite. We want that dense, savory shortbread texture that only comes from keeping things frigid!
Achieving the Perfect ‘Southern’ Texture for Your Cheese Straws Recipe
My biggest piece of advice, and this is non-negotiable for that perfect snap, is: stop your mixer early! Once you add that yolk and water, you mix just until the dough barely holds together. If you keep going, you develop the gluten too much, and those lovely straws turn into tough little ropes. Oops! Nobody wants that.
Then comes the chilling. Don’t even think about rolling it out right away. The dough needs at least 30 minutes in the fridge. This lets the fat (our precious cold butter) firm up again, which keeps those flakes separate during baking. If you try to rush the chilling, the dough sticks everywhere, it gets difficult to roll thin, and you lose that essential crispiness we’re fighting for.
Ingredients for the Best Homemade Cheese Straws Recipe
Alright, time to gather supplies for these amazing homemade cheese straws! Trust me, having everything ready before you start makes this process totally breezy. This ingredient list is pretty simple, which is why it’s such a fantastic go-to when you need quick party snacks. Remember, we aren’t using any crazy additions here—just pure, savory flavor from excellent base ingredients. Don’t skip the cayenne, even if you think you don’t like spice; it just wakes up the cheese flavor without actually making things hot!
I love that this recipe uses basic pantry staples mixed with that one key flavor maker: sharp cheddar. While you’re grabbing your flour, you might want to grab inspiration for other savory bakes, too. You can see some of my favorite flavor profiles in my guide for Italian herb and cheese bread, but for now, let’s stick to the classics!
- 1 cup all-purpose flour—standard stuff is great!
- 1/2 teaspoon salt—it has to be precise here.
- 1/4 teaspoon cayenne pepper—this is our little secret kick.
- 1/2 cup (that’s one stick!) unsalted butter—remember, it must be cold and cut into tiny pieces.
- 1 cup sharp cheddar cheese, freshly shredded—this is vital for the texture!
- 1 large egg yolk—just the yolk, we need the fat, not the wateriness of the white.
- 1 tablespoon cold water—just enough binder to bring it all together.
Step-by-Step Instructions for Your Cheese Straws Recipe
Now we put the pedal to the metal! Even though we talk about chilling and slow mixing for texture, this recipe for easy cheese straws really comes together fast once you get into the rhythm. The key here is organization. Have your baking sheets ready before you even start mixing the dry ingredients, because once the butter hits the flour mixture, time is money—or rather, time is crispiness!
We follow the steps exactly as written in that old card, and I promise you’ll have perfect savory strips ready in no time. If you’re looking for more quick nibbles, check out how I handle savory things like my favorite savory straws recipe after you get these in the oven!
Preparing and Chilling the Cheese Straws Dough
First things first: dry ingredients go in the bowl. Whisk them up so the little bit of cayenne is evenly spread everywhere. Then, toss in your ice-cold butter cubes. This is the messy, fun part! You need to “cut in” that butter until the mix looks like coarse cornmeal or those little peas you get in a bag. I usually use a pastry blender, but my fingers work just fine if you move fast so the butter doesn’t melt from the heat of your hands! Don’t panic if it looks crumbly; that’s your goal.
Next, add the cheese, stir it around, and then drizzle in your egg yolk and cold water mix. Stir gently until it just clumps up. Seriously, mix only until you see no more dry flour streaks. Gather that shaggy mess into a disk, wrap it tight, and send it straight to the fridge for at least half an hour. And here’s my expert tip: if your kitchen is running hot, pop your mixing bowl in the freezer for five minutes before you start! We need everything cold!
Cutting and Twisting the Cheese Straws Appetizer
Alright, oven time! Preheat the oven to 400 degrees F while the dough is finishing its chill. Line your baking sheets with parchment—this makes cleanup so much easier. Now, dust your counter lightly with flour. Roll that chilled dough out until it’s quite thin—I aim for about 1/8-inch thickness across the board. If it’s too thick, they won’t be the crisp straws we love.
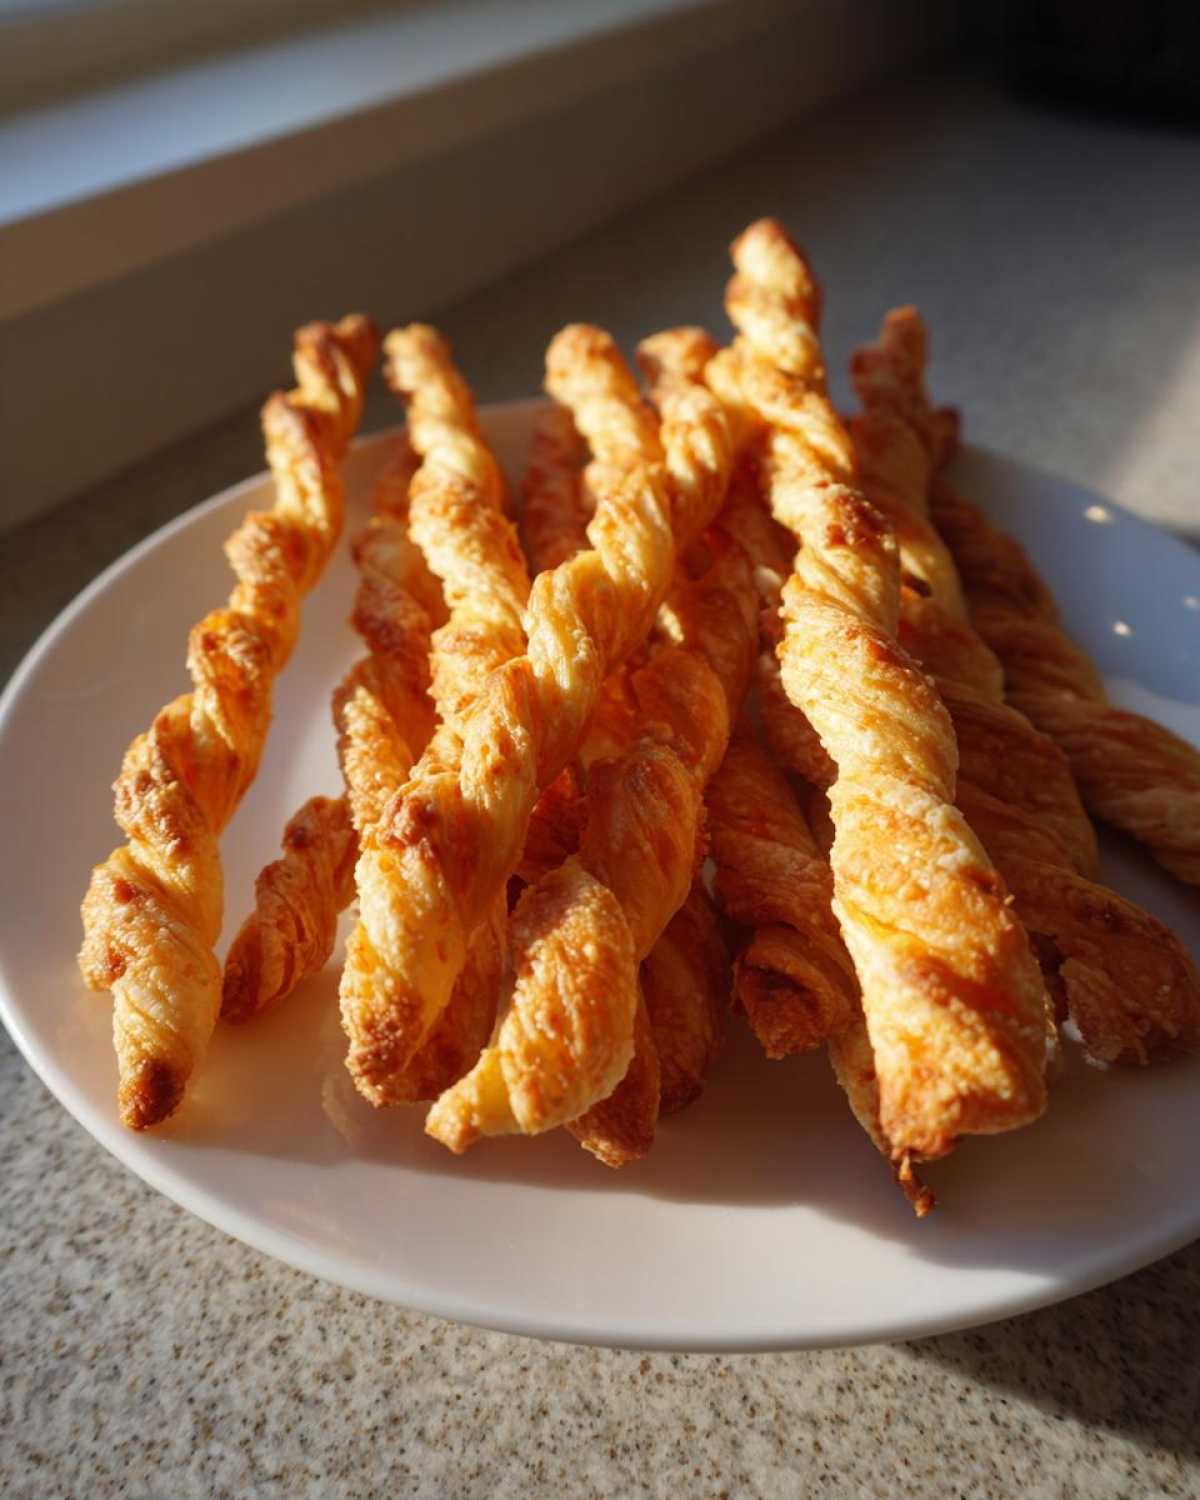
Grab a knife or pastry wheel and cut strips that are roughly 1/2-inch wide and about 5 to 6 inches long. This is where you make them fancy! Take one strip, hold the ends, and give it a gentle twist right in the middle—just one full turn! It looks so much better than a straight stick, though straight sticks work just fine if you’re in a rush for these cheese straws appetizer treats.
Baking Your Cheese Straws Recipe Until Golden Brown
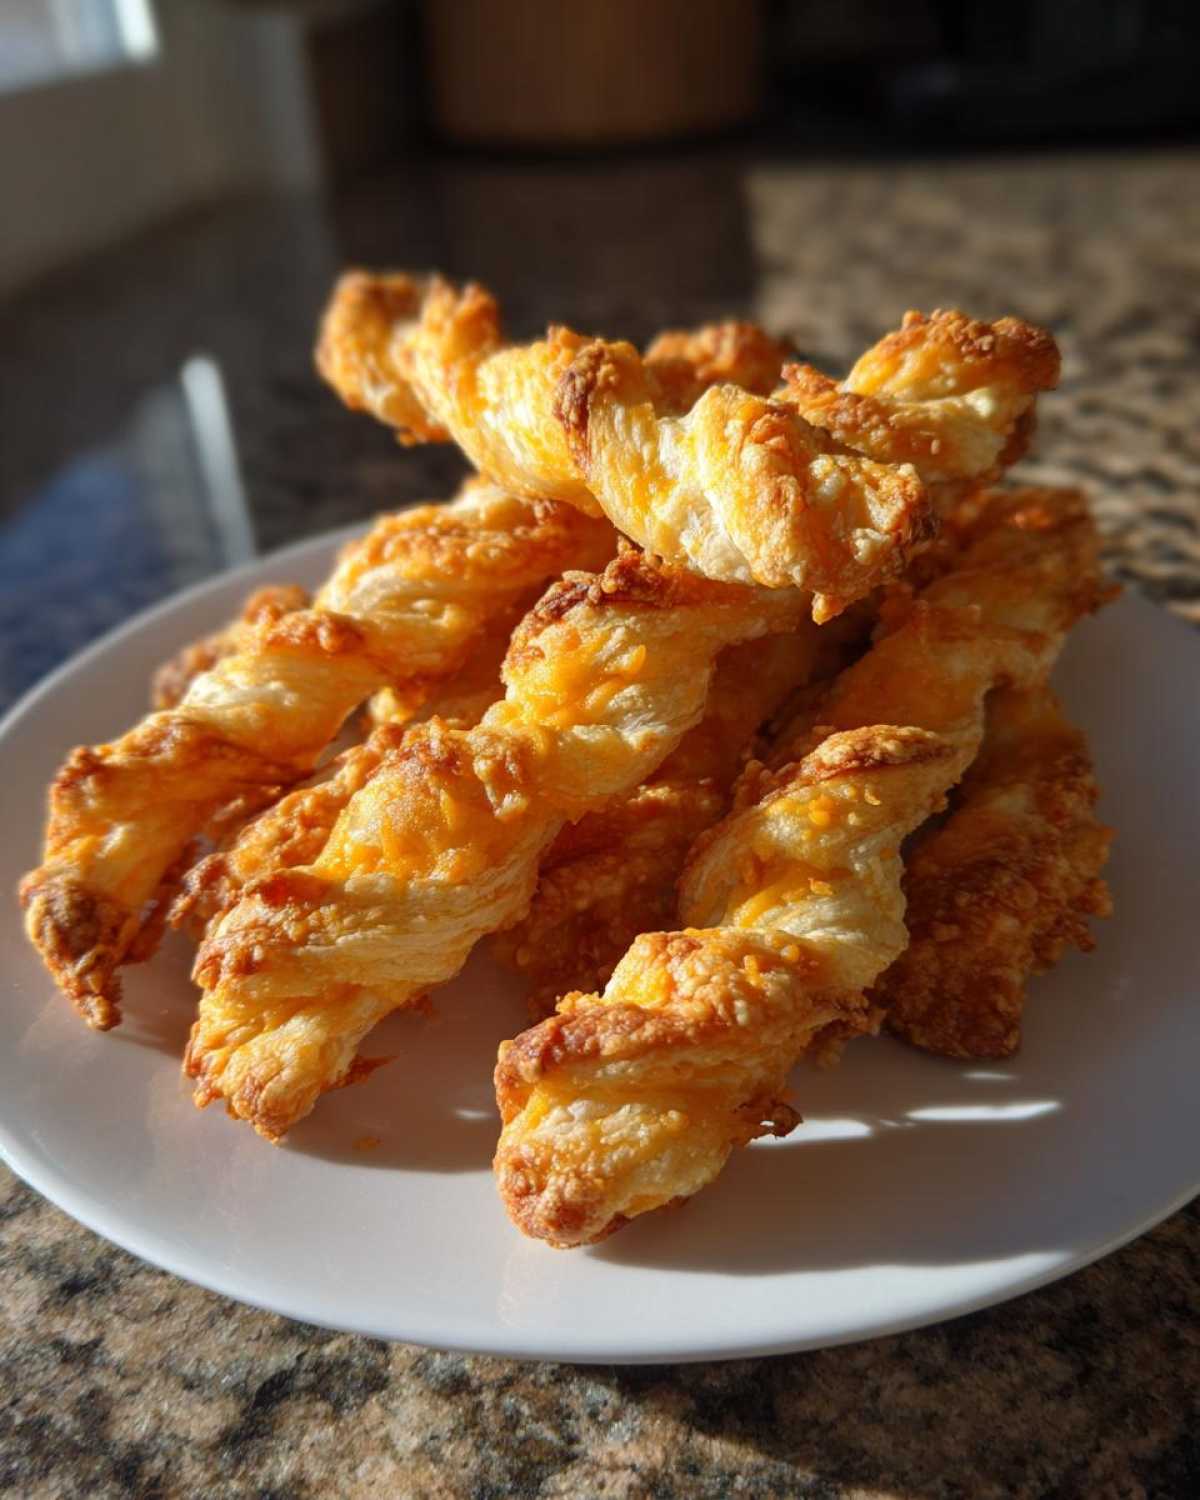
Lay those twisted beauties out on your prepared sheets, leaving just a little space between them since they don’t spread much. Now, bake them! The recipe says ten to fourteen minutes, but ovens lie, so you must watch them closely. You are looking for a deep, rich golden brown color. If you pull them out too early because they are merely pale yellow, they will be soft once cooled!
When they look perfectly golden around the edges, pull them out. And here’s the secret to final texture: they *must* cool completely on a wire rack. They are soft right out of the oven, I promise you! As that heat dissipates, they crisp up intensely. Don’t touch them until they are completely cool to the touch, or you risk bending your hard work.
Expert Tips for the Best Cheese Straws Recipe Results
So you’ve mastered the basic dough—that’s fantastic! But every great cook likes to tinker, right? I’ve played around with this recipe so much, trying to get that absolute pinnacle of flavor for my holiday spreads. If you want to elevate these from “great snack” to “oh my goodness, what is in these,” you need to pay attention to the cheese and the flour.
This is how you get into that elite category of the best cheese straw recipe hosts. Sometimes simple baking means you have to rely on the quality of your few ingredients. Don’t be shy about buying a slightly pricier block of cheese for this batch; you will absolutely taste the difference when they come out of the oven!
Cheese Variations for Flavorful Cheese Straws
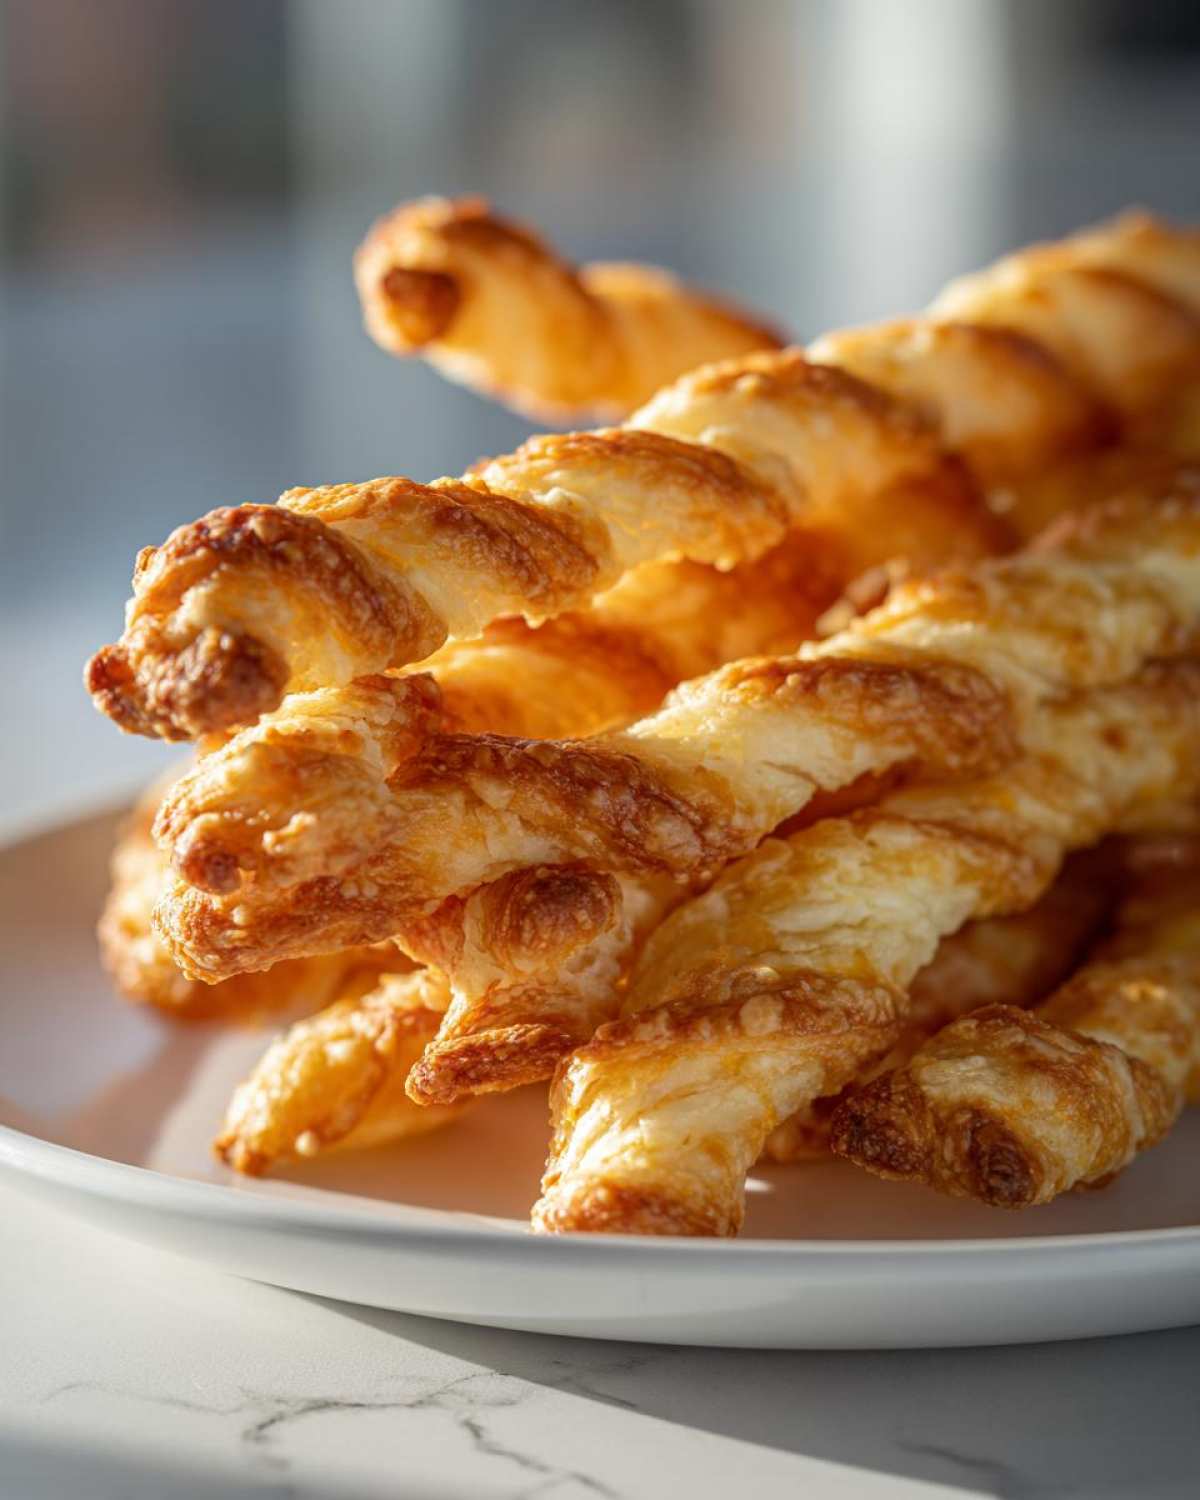
While sharp cheddar is the classic champion here, I rarely make a batch that’s *only* cheddar anymore. If you’re looking to add a little nuttiness and depth—something that pairs beautifully with a cool glass of white wine—try swapping out half of that sharp cheddar for Gruyere. Wow. Gruyere melts beautifully and brings this incredible earthy flavor that complements the cayenne perfectly.
If you are feeling adventurous, you could even try a little Parmesan mixed in, but be careful with salt if you do that! Another trick I learned is from my friend down the street: she mixes in a bit of smoked Gouda for a subtly smoky note. It turns these into a completely different, but still addictive, savory straw. I always bake two kinds now so people can compare!
And just a quick aside, if you are looking for something ridiculously comforting that requires a bit more patience than these straws, you have to look at my notes on the best soft chewy chocolate chip cookies. Totally different flavor profile, but the attention to ingredient quality is the same!
Serving Suggestions for Your Cheese Straws Appetizer
Okay, your amazing, crispy batch of cheese straws is cooled, and you’re ready to serve them. What do you serve with them? Honestly, these savory little joys are so good on their own that they don’t technically need anything. They are fantastic just lined up on a platter as the first thing guests grab while milling around.
For the ultimate selection of party snacks, though, you want variety in texture and flavor. Since these straws are rich, salty, and have a slight kick, you want cool, creamy dips on the side. They are fantastic for dunking! I always make a big bowl of homemade guacamole because the freshness cuts right through the richness of the butter and cheese.
If you are building a beautiful appetizer spread, remember that these also look gorgeous next to something bright green, like a platter of marinated olives or crudités. They make stunning cheesy appetizer ideas because they add height and crunch to the table. And speaking of cheesy dips, if you want something warm and gooey to contrast the crispiness, you absolutely have to try my recipe for Crockpot Queso Blanco—it’s heaven when you dip one of these straws in!
But don’t stop at dips! These aren’t just for pre-dinner grazing. They are wonderful alongside soup. Think about pairing them with a hearty bowl of French Onion Soup or a smooth tomato bisque. They function almost like a savory shortbread crouton, just way more fun. Plus, they are the perfect, non-sweet companion to any cocktail party—they don’t leave that sticky residue some crackers do!
Make Ahead Appetizers: Storing Your Cheese Straws Recipe Dough
One of the best things about this traditional approach to cheese straws recipe, even though it involves chilling the dough, is how wonderfully accommodating it is for party planning! Believe me, any recipe that lets you get a jump start on entertaining is a winner in my book. You absolutely do not need to make these the day of your party, which is why they qualify as excellent make ahead appetizers.
The beauty of this dough is its high-fat content, which keeps it pliable but firm when chilled. You can easily prepare the entire dough ball, flatten it into that disk shape, wrap it tightly in plastic, and tuck it into the fridge. The recipe note says up to two days, and frankly, I think it holds up even a touch longer if you wrap it well. That way, when party day arrives, all you have to do is pull it out, let it sit on the counter for about 10 minutes so it rolls easier, slice, twist, and bake!
Speaking of making things ahead, if you’re stocking up on recipes you can prep in advance, you should definitely look at my general guide for other great make ahead appetizers. It saves so much stress on the day of hosting!
Now, what about storing the finished product? This is just as important as the dough prep because we want those straws to stay shatteringly crisp, not stale and sad. Once your cheese straws are baked and have cooled *completely* on a wire rack—and when I say completely, I mean stone cold—you need an airtight container. Plastic containers or a good quality zip-top bag work perfectly.
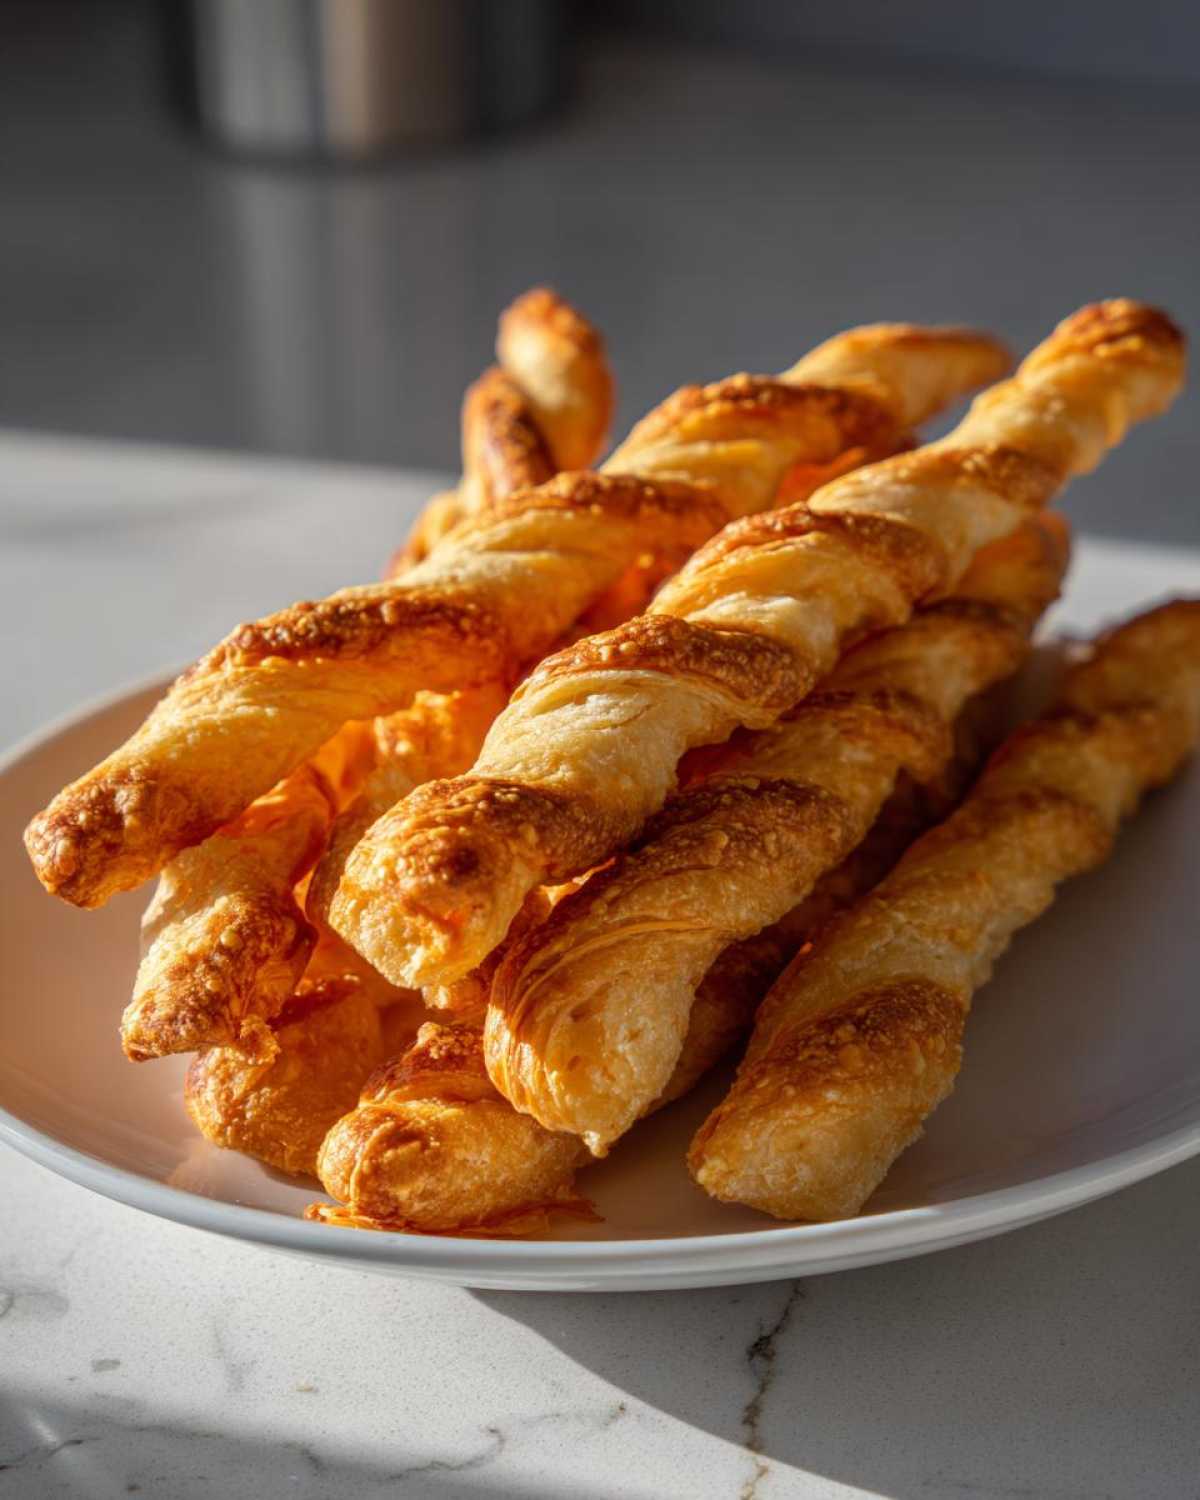
If you stack them neatly, they will hold their crunch for nearly a week. I know because I always bake a double batch just to snack on the next day! If you notice they start to lose a little snap after day four or five (which rarely happens because they get eaten!), you can revive them easily. Just spread them out on a baking sheet and pop them back into a 300-degree oven for about five minutes. That little bit of heat dries out any ambient moisture they might have absorbed, and boom—they are back to perfect savory straws recipe quality!
Variations on the Classic Cheese Straws Recipe
While the classic sharp cheddar version of this cheese straws recipe is what I keep in constant rotation, sometimes you just need to jazz things up a little, especially if you’re serving the same crowd two weekends in a row! I love offering a bit of variety when it comes to these savory bites. You can totally transform the character of the straw just by making a few simple swaps or additions to that basic dough we mastered.
If you’re looking for something aromatic, adding herbs is the way to go. You can turn these into sophisticated rosemary parmesan straws in seconds! Just chop up a tablespoon of fresh rosemary super finely and mix it in right along with the cheese. Parmesan is fantastic too, because it adds that salty, nutty boost that makes everything feel more gourmet. Don’t forget to use freshly grated Parmigiano-Reggiano for the best results!
For those folks who always ask for more heat, pushing the cayenne pepper is easy, but I actually prefer adding a little splash of something else to deepen the complexity of the spicy cheese straws. A tiny dash of your favorite smoky hot sauce, like chipotle based sauce, mixed in with the egg yolk liquid gives a wonderful slow burn. Just be very cautious—a little bit goes a long way!
If you’re feeling ambitious and want to step way out there, you can even use flavor infusions. For example, instead of cold water in your liquid mix, use a few drops of liquid smoke for a BBQ vibe. Totally wild, I know, but it works! Or, if you are interested in other spicy appetizers that really bring the heat, you have to check out my recipe for bacon-wrapped jalapeno popper recipe; those are a guaranteed showstopper!
Frequently Asked Questions About Cheese Straws
I know you’ve got questions! Whenever I teach someone my method for making these classic cheese straws, we always end up hitting a few sticking points. Don’t worry, that’s totally normal when you’re aiming for perfection. Here are the big things people ask me about when they are trying to master the ultimate snack!
Can I use pre-shredded cheese in this cheese straws recipe?
Technically, yes, you can use the pre-shredded kind if you’re in a huge pinch, but I really, really advise against it if you want the absolute best result. When cheese gets pre-shredded at the factory, they toss it with anti-caking agents, usually a bit of cornstarch or potato starch. That starch messes up the fat content of our dough, and it can prevent that smooth, rich melt we want. You end up with a slightly grainier texture in your final product. For beautiful, melt-in-your-mouth cheddar cheese straws, buy a block and grate it yourself! It takes two minutes, and the difference is startling.
How do I make sure my cheese straws are flaky instead of hard?
This is the eternal question! Flaky versus hard comes down to two things, and we covered them both, but they are worth repeating because they are so important. First: COLD! Your butter must stay cold, meaning don’t overwork the dough with warm hands, and don’t let the dough sit out too long before chilling. Second: MINIMAL MIXING. Once that egg yolk and water go in, you mix only until the flour disappears. If you overmix, you are building muscle (gluten) into the dough, which makes anything tough, not flaky. You want that shortbread effect, not bread dough!
Are these cheese straws freezer friendly?
Yes, they are totally freezer friendly, which is perfect for stocking up on holiday party appetizers! You have two excellent options here. Option one is freezing the dough: wrap your chilled disk really well in plastic wrap, then slip it into a freezer bag. It freezes beautifully for up to two months. When you want straws, thaw the dough overnight in the fridge, and proceed with rolling and twisting as usual. Option two is freezing the baked straws. This works great too! Store cooled straws in an airtight container, separating layers with wax paper. They should be just fine in the freezer for about a month. You can reheat them straight from frozen for about 8 minutes at 350 degrees to crisp them up again.
If you are leaning heavily into making things ahead of time, you might want to check out my guide on puff pastry cheese straws—that dough recipe freezes like a dream, too, though the texture is much lighter and flakier!
Nutritional Data Estimate for Cheese Straws
I always try to give everyone a baseline understanding of what they are digging into when they grab one of these savory delights. Now, please remember, since this recipe relies on a very sharp cheddar, the fat and sodium content can swing based on what block of cheese you buy. This estimate is based on the standard ingredients listed above, but it’s always good to keep in mind that indulgence is part of the fun!
- Serving Size: 3 straws
- Calories: 85
- Fat: 6.5g (with 4.0g saturated fat)
- Carbohydrates: 4.5g
- Protein: 3.0g
- Sodium: About 120mg
- Sugar: Less than 1g—that’s all natural cheese goodness!
See? Not terrible for something that tastes this decadent! They are mostly fat and protein, making them easy to enjoy without feeling weighed down. It’s just a tiny, buttery piece of heaven!
Nutritional Data Estimate for Cheese Straws
I always try to give everyone a baseline understanding of what they are digging into when they grab one of these savory delights. Now, please remember, since this recipe relies on a very sharp cheddar, the fat and sodium content can swing based on what block of cheese you buy. This estimate is based on the standard ingredients listed above, but it’s always good to keep in mind that indulgence is part of the fun!
- Serving Size: 3 straws
- Calories: 85
- Fat: 6.5g (with 4.0g saturated fat)
- Carbohydrates: 4.5g
- Protein: 3.0g
- Sodium: About 120mg
- Sugar: Less than 1g—that’s all natural cheese goodness!
See? Not terrible for something that tastes this decadent! They are mostly fat and protein, making them easy to enjoy without feeling weighed down. It’s just a tiny, buttery piece of heaven!
Print
Classic Southern Cheese Straws
- Total Time: 34 min
- Yield: About 3 dozen
- Diet: Vegetarian
Description
Make crispy, savory cheese straws using sharp cheddar cheese. This recipe yields a classic, flaky snack perfect for parties.
Ingredients
- 1 cup all-purpose flour
- 1/2 teaspoon salt
- 1/4 teaspoon cayenne pepper
- 1/2 cup (1 stick) cold unsalted butter, cut into small pieces
- 1 cup sharp cheddar cheese, shredded
- 1 large egg yolk
- 1 tablespoon cold water
Instructions
- In a medium bowl, whisk together the flour, salt, and cayenne pepper.
- Cut in the cold butter using a pastry blender or your fingers until the mixture resembles coarse crumbs.
- Stir in the shredded cheddar cheese until evenly distributed.
- In a small bowl, whisk the egg yolk and cold water together. Add this liquid mixture to the flour mixture. Mix until a stiff dough forms. Do not overmix.
- Gather the dough into a ball, flatten it into a disk, wrap it in plastic wrap, and chill for at least 30 minutes.
- Preheat your oven to 400 degrees F (200 degrees C). Line baking sheets with parchment paper.
- On a lightly floured surface, roll the dough out to about 1/8-inch thickness.
- Cut the dough into strips about 1/2-inch wide and 5 to 6 inches long. You can twist each strip once or twice for a decorative look.
- Place the straws on the prepared baking sheets.
- Bake for 10 to 14 minutes, or until the straws are golden brown and crisp. Baking time varies based on thickness.
- Let the straws cool completely on a wire rack before serving. They will crisp up as they cool.
Notes
- For extra flavor, use a mix of sharp cheddar and Gruyere cheese.
- You can make the dough up to two days ahead and keep it refrigerated.
- If you prefer a flakier texture, substitute half of the flour with cake flour.
- Prep Time: 20 min
- Cook Time: 14 min
- Category: Appetizer
- Method: Baking
- Cuisine: American
Nutrition
- Serving Size: 3 straws
- Calories: 85
- Sugar: 0.2
- Sodium: 120
- Fat: 6.5
- Saturated Fat: 4.0
- Unsaturated Fat: 2.5
- Trans Fat: 0.1
- Carbohydrates: 4.5
- Fiber: 0.2
- Protein: 3.0
- Cholesterol: 25