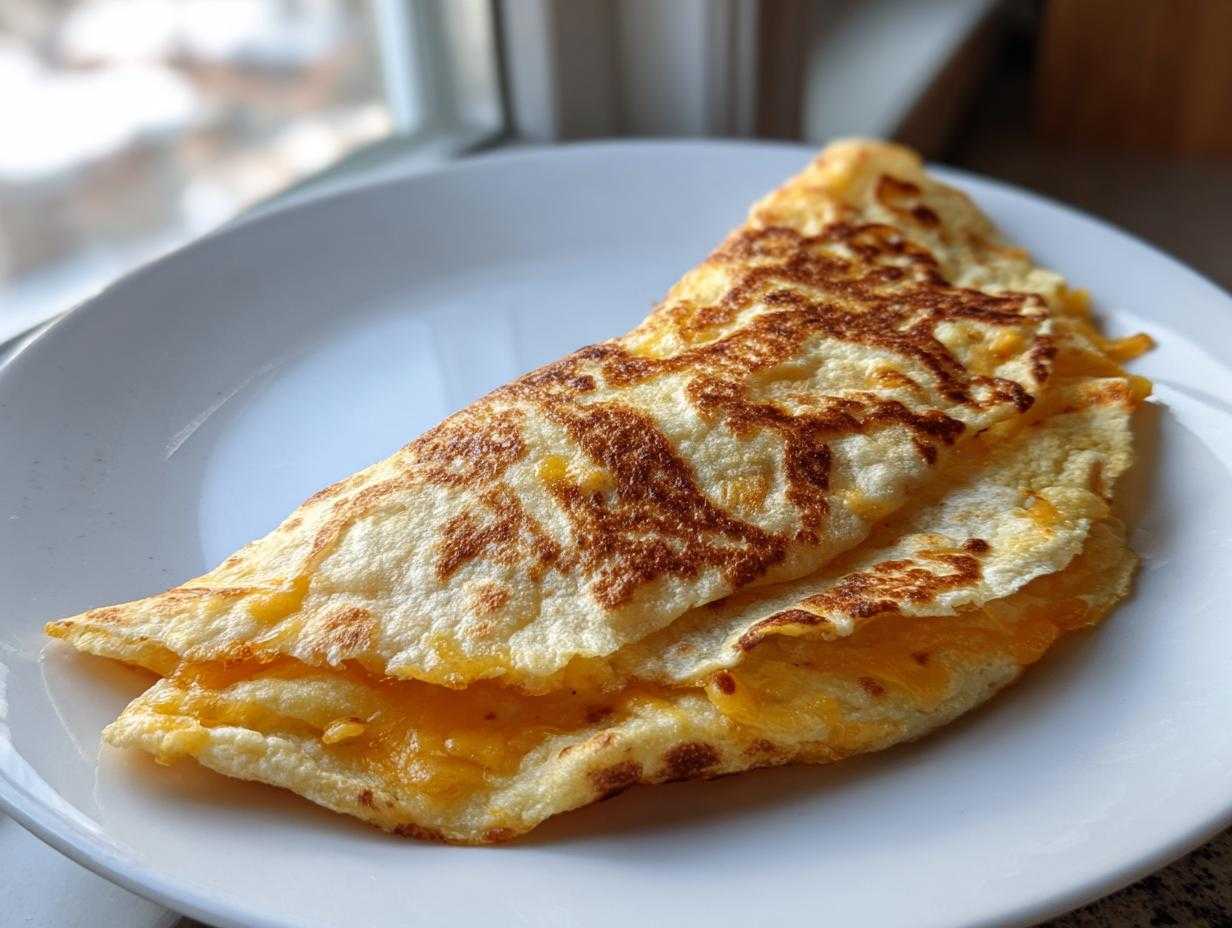
Oh my gosh, are you struggling to figure out dinner after a crazy Tuesday? I totally get it. Some nights you just need something that tastes like a takeout splurge but takes, like, zero brainpower. That’s why I need to tell you about my absolute favorite weeknight saving grace—my recipe for the ultimate, unbelievably gooey cheesy pocket tacos. Seriously, these things are magic!
When I first tried making these, I was aiming for a less messy version of Taco Night, and WOW, did I nail it. The best part is that everything happens right on the stovetop, meaning cleanup is a breeze. My kids go absolutely wild for them because they’re handheld, loaded with melty insides, and crunchy on the outside. Forget the messy plates; these cheesy pocket tacos are pure comfort food wrapped up perfectly. They went from a desperate dinner idea to a required staple in our house faster than you can say Taco Tuesday. Trust me, this recipe is about to take over your weeknights!
Why You Will Love These Loaded Cheesy Taco Pockets
I promise you, these Loaded Cheesy Taco Pockets are not your average Tuesday dinner. They solve so many problems at once, which is why I keep coming back to them again and again. If you’re looking for something fast, fun, and flavor-packed, you’ve found it right here. We’ve managed to capture all the best parts of tacos without the messy fallout!
- Total Speed Demons: Seriously, we’re talking 25 minutes flat from start to finish. Perfect for when the kids are already asking what’s for dinner while you’re still walking in the door!
- Maximum Gooey Factor: We aren’t messing around with cheese here. These pockets are stuffed until the cheese is dripping and totally melty when you bite in.
- Handheld Happiness: Everything you love about tacos, but secure! They contain the filling perfectly, making them ideal for game day snacking or easy eating in front of the TV.
- So Easy on Cleanup: Since everything is cooked mostly in one skillet, you won’t spend half your evening scrubbing pots. This makes it one of my favorite Easy Filling Recipes!
- Kid-Approved Texture: The lightly crisped tortilla against the soft, seasoned beef and hot cheese is just *chef’s kiss*. Even picky eaters ask for seconds.
- Versatile Flavor Base: While great with beef, these pockets are a fantastic canvas for whatever filling you happen to have on hand.
Essential Ingredients for Perfect Cheesy Pocket Tacos
Okay, so this recipe is designed to be simple, which means you probably have most of this stuff in your pantry already! I always keep these staples stocked specifically for emergency Taco Tuesdays because they come together so fast. Don’t try to swap out the cheese quantity here; that gooey factor is the whole point of these cheesy pocket tacos!
For these amazing little pockets, you’re going to need:
- 1 lb ground beef (I usually grab 85/15 because it drains nicely)
- 1 packet taco seasoning mix (whichever brand tastes best to you)
- 1/2 cup water (this helps bind the seasoning to the meat)
- 8 small flour tortillas (Make sure they are the soft kind, not the crunchy shells—we need pliability here!)
- 1 cup shredded cheddar cheese, packed (Yes, that’s one cup total, but feel free to sneak in a little more if you’re feeling brave!)
- 1 tablespoon vegetable oil (just for that little bit of heat to get them crispy at the end)
That’s it! See? Nothing fancy, but when you combine these basics, you get that amazing, flavorful filling that stuffs perfectly inside the pocket. It’s such a satisfying, low-effort meal!
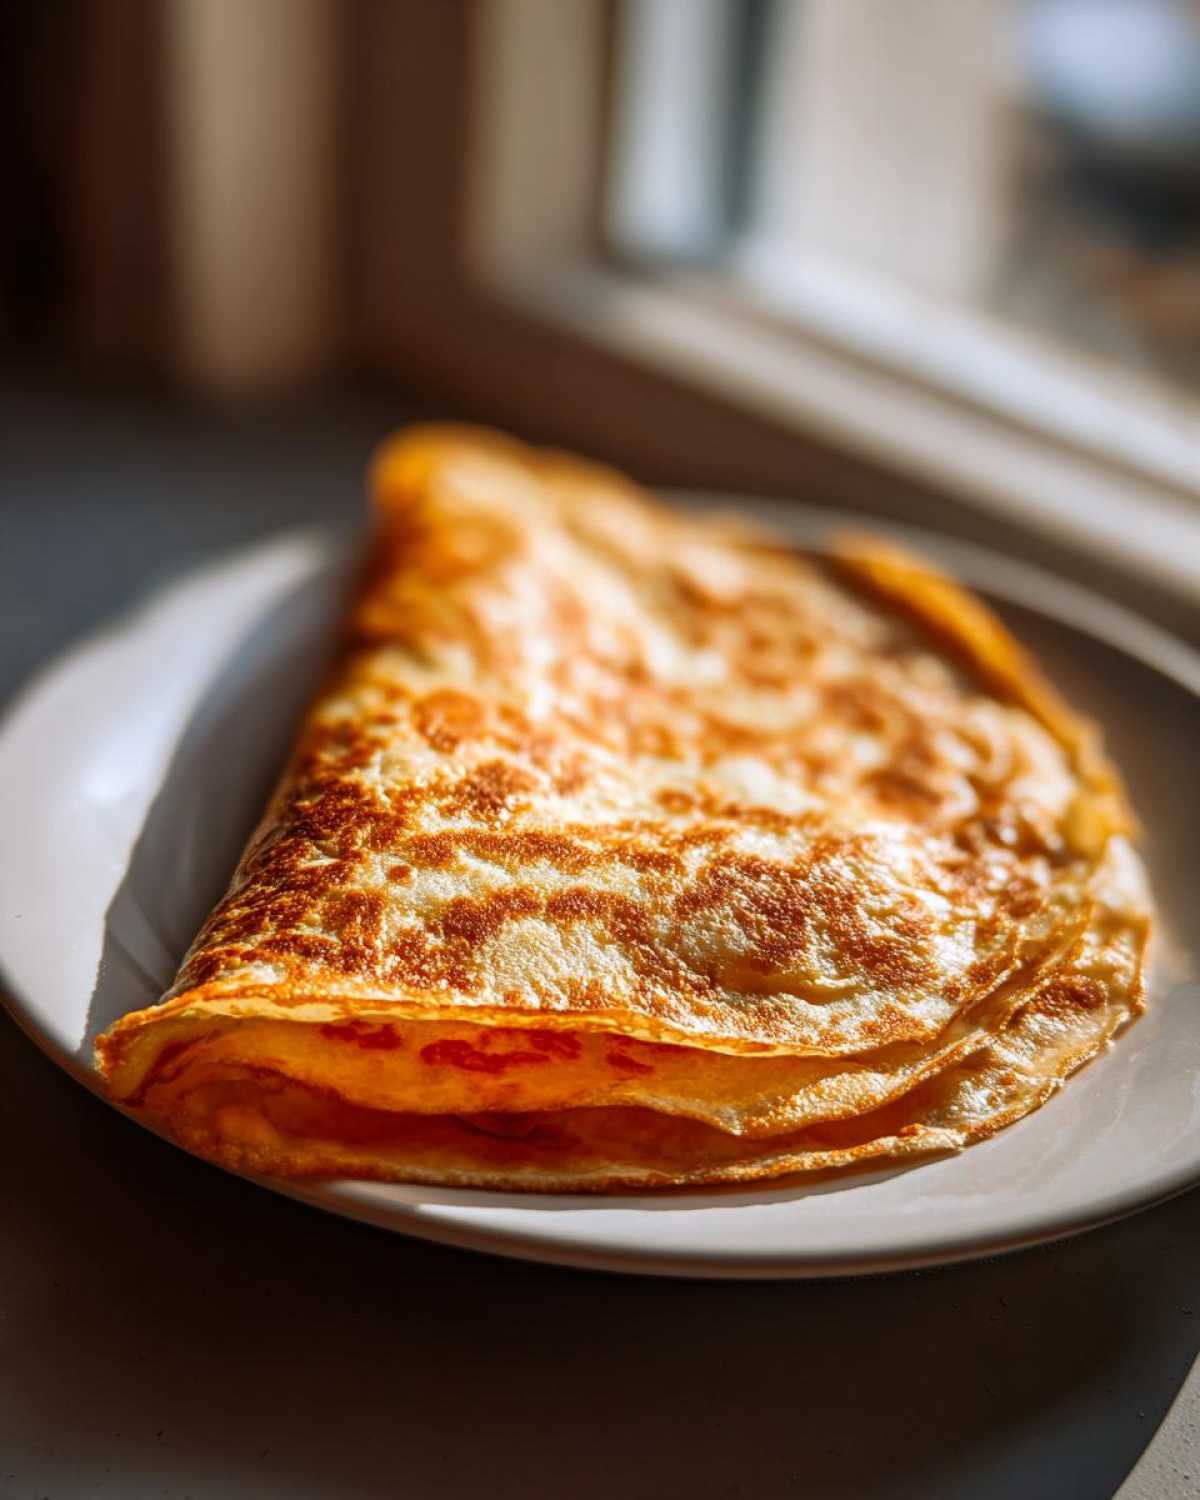
Step-by-Step Guide to Making Cheesy Pocket Tacos
This is where the magic happens, and honestly, it’s so fast I sometimes feel like I cheated! Seriously, if you need a win for the kitchen on a busy night, this recipe is your ticket to one of my favorite 30 Minute Mexican Dinners. Don’t overthink it; just follow these simple steps, and you’ll have piping hot, gooey pockets in no time.
Preparing the Flavorful Ground Beef Filling
- First things first, grab that big skillet and heat up your tablespoon of vegetable oil over medium heat. Pop in your pound of ground beef. I always use my wooden spoon to smash it up right away so those big clumps break down into smaller pieces. Cook it until it’s nicely browned everywhere.
- Now for the pro tip I learned the hard way: drain off any excess fat after browning! A greasy filling just makes for a soggy pocket later on.
- Toss in that whole packet of taco seasoning mix and the half cup of water. Stir it all up really well. Let it simmer gently for about five minutes, stirring every now and then, until that liquid has thickened up nicely into a rich sauce that clings right to the meat. Turn the heat off once it looks perfectly seasoned.
Assembling Your Cheesy Pocket Tacos
While your meat is simmering, take a minute to warm those eight tortillas. You just need them soft enough to bend without cracking—a quick 20 seconds in the microwave wrapped in a damp paper towel, or heating them one by one in a dry skillet works wonders. Warm tortillas are key to getting a good fold!
- Lay out your warmed tortillas flat. Spoon a generous amount of that amazing seasoned ground beef right down the center of each one. Be careful not to fill them up so much that they burst!
- Sprinkle that cup of shredded cheddar cheese right over the top of the meat filling. I like to put a little extra right on the edges—that’s where the best cheese pull happens.
- Fold the tortilla over carefully into that perfect half-moon pocket shape. Press the edges down just a little bit to try and seal things up.
Achieving the Crispy Exterior on Your Cheesy Pocket Tacos
We aren’t done yet! Those pockets need a little golden hug to make them truly spectacular. Return that same skillet to the stovetop, but turn the heat way down to low—you want low heat so the cheese melts before the tortilla burns.
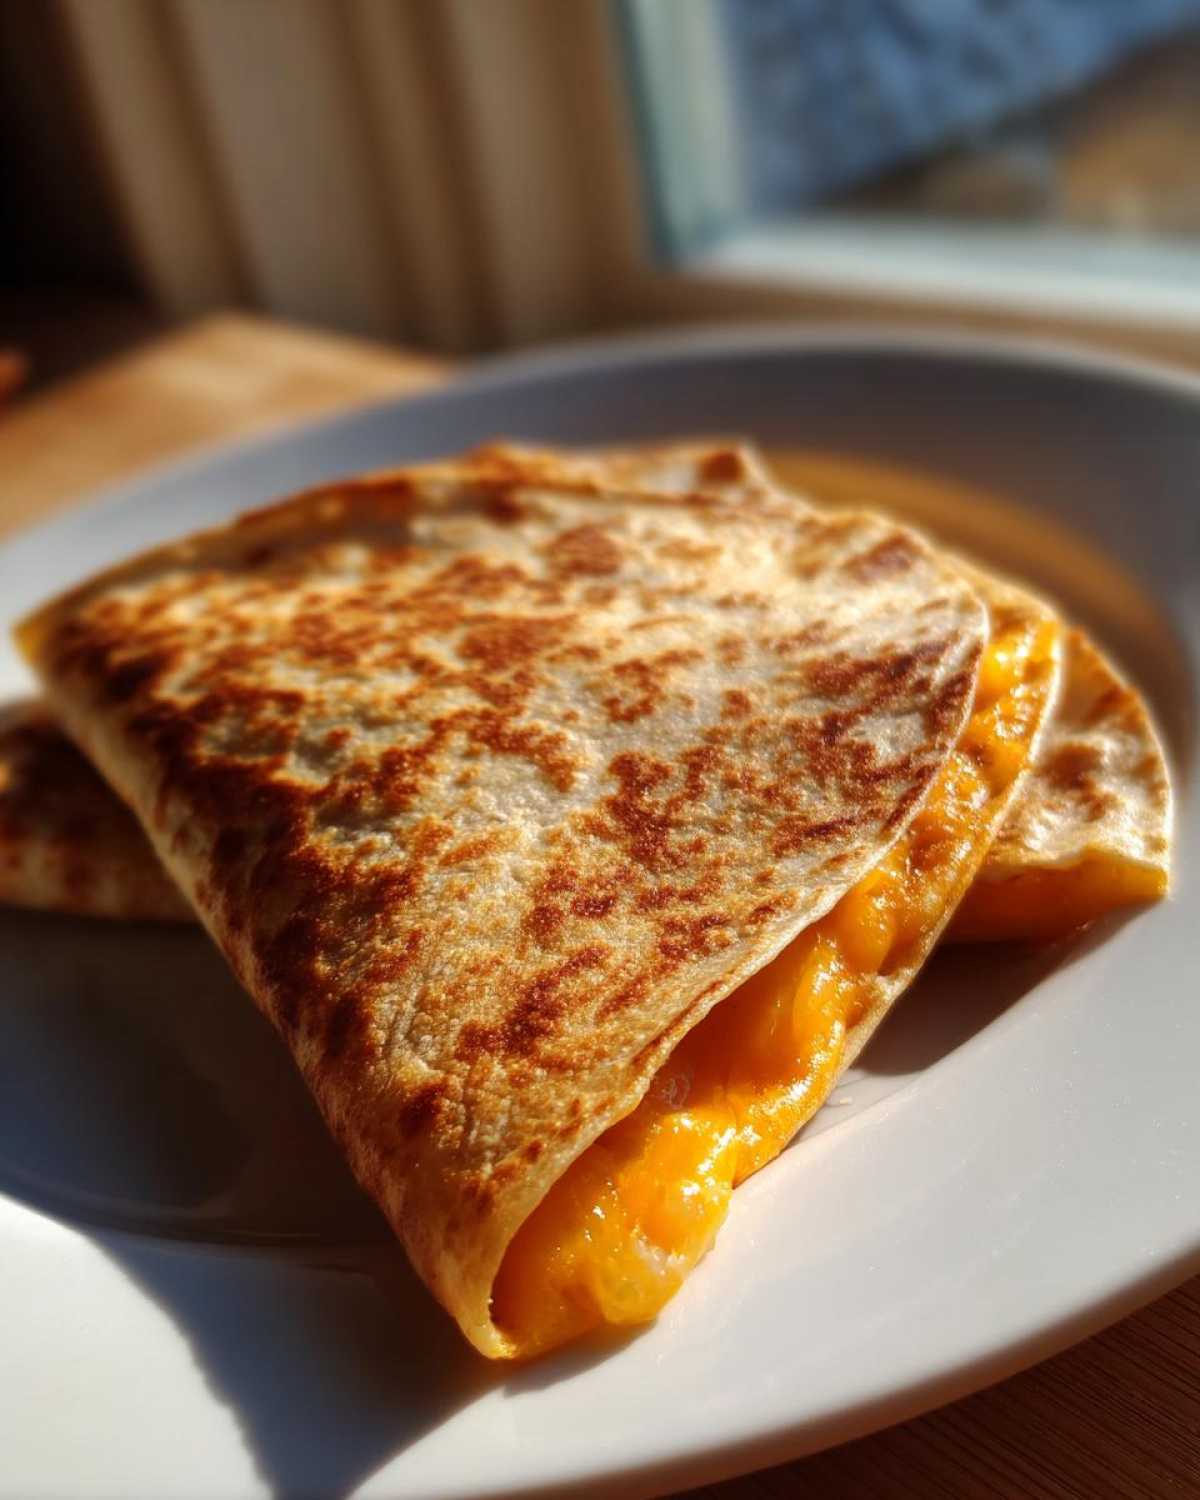
- Carefully place your folded cheesy pocket tacos seam-side down into the warm skillet.
- Let them sit for about 1 to 2 minutes on each side. You are just waiting for that tortilla to get a little golden brown and lightly crisp, and for that cheese inside to turn into pure molten happiness. Pull them out as soon as they look perfect and serve them piping hot!
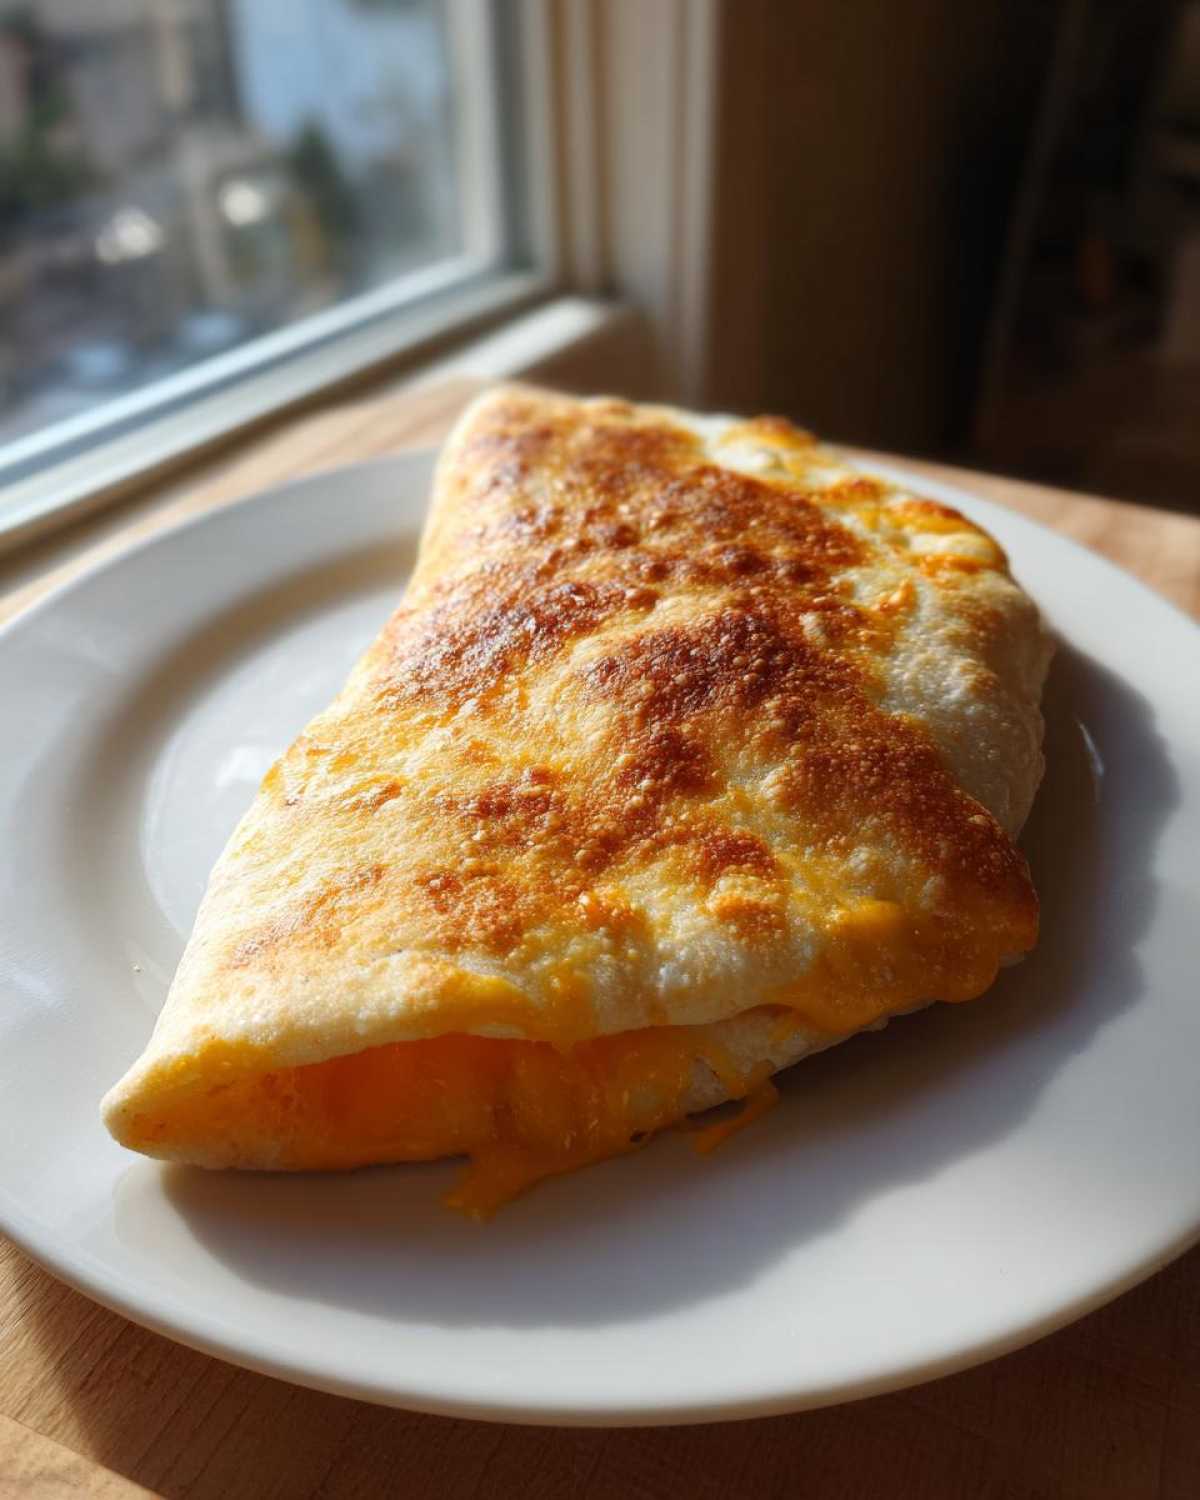
Tips for the Best Crispy Baked Tacos and Cheesy Pocket Tacos
Even though I love making these on the stovetop because they are so fast, I know some of you are looking for oven-based methods, especially if you are batch-cooking! Whether you stick to my stovetop method or try the oven, a few little tricks from my kitchen will guarantee a crispy shell and zero leaks.
- Watch Your Cheese Application: This is crucial for making your Crispy Baked Tacos! If you put cheese too close to the edge of the tortilla, it melts out onto the pan and hardens. It’s delicious, but it makes for a messy clean-up and a less-filled pocket. Leave about a half-inch border of plain tortilla when you fill them.
- The Tortilla Choice Matters: I use small (burrito-sized or taco-sized) flour tortillas. Corn tortillas have a tendency to crack when folded and reheated like this, so stick to soft flour for the best pocket integrity.
- Don’t Skip the Warm-Up: If your tortillas are cold and stiff, they will crack when you fold them. Warming them briefly makes them super pliable, allowing you to crease them firmly without breaking the dough. It’s a small step that makes a huge difference in the final appearance.
- Use Low Heat for Crisping: Whether you are frying them in that oil or baking them, the goal is to melt the cheese while crisping the outside. High heat cooks the outside too fast and leaves you with a hard tortilla and cold cheese in the middle. Low and slow is the way to go for a perfect melt!
Ingredient Notes and Substitutions for Cheesy Pocket Tacos
This recipe is so forgiving, which is another huge reason I lean on it when I’m tired. You can swap out the protein easily, and you can certainly mix up that cheese blend. Don’t let a missing ingredient stop you from making dinner!
- Protein Swaps: If you aren’t feeling the ground beef today, totally go for it with ground turkey or even ground chicken. They both cook up just like beef, though you might need a tiny splash more water so the seasoning mix pastes correctly. If you have leftover shredded rotisserie chicken, that works too—you just skip steps one and two and mix the shredded meat straight with the seasoning and water.
- Cheese Combos: Cheddar is classic for that sharp flavor, but I often mix it half-and-half with Monterey Jack or Pepper Jack for extra meltiness. Even a bag of pre-shredded Mexican blend works fantastically well here. The key is using 100% real dairy cheese that melts beautifully!
- Making it Vegetarian: You can easily substitute the meat for black beans or refried beans! If you use refried beans, they are already thick, so just mix them with the taco seasoning packet—no water needed.
Serving Suggestions for Family Friendly Taco Night
These little pockets are great because they are filling enough on their own, but a true Family Friendly Taco Night deserves some great sides and toppings! Since the main flavor is rich and cheesy from the beef, I always lean toward bright, cool toppings to cut through that richness.
For dipping and topping, you absolutely must have:
- A big dollop of sour cream or plain Greek yogurt.
- Your favorite jarred salsa—chunky or smooth, it doesn’t matter which!
- Shredded iceberg lettuce piled on top for a little crunch (my kids always pick this off, but I love it!).
- If you’re serving this as a meal instead of a snack, I usually whip up some quick Spanish rice or just serve it alongside a big bowl of black beans. It makes the whole dinner feel more complete without making you cook for hours!
Storage and Reheating Instructions for Cheesy Pocket Tacos
If you manage to have any leftovers (which, honestly, is rare in my house), they store beautifully! Just let them cool slightly after cooking. Pop them into an airtight container—no need to separate them—and they’ll keep in the fridge for about three days.
Now, reheating them is important because we want that crispness back! Please, *please* don’t zap these in the microwave by themselves. Microwaving melts the cheese again and turns the tortilla soggy and chewy, which ruins the whole point.
For the best results, the oven is your friend. Set your oven to 350°F (175°C) and bake them for about 8 to 10 minutes, or until they are heated through and the outside feels firm again. If you have an air fryer, that works even faster! Just 4 minutes at 375°F should get them perfectly crispy and ready to eat.
Frequently Asked Questions About Cheesy Pocket Tacos
Can I make these ahead of time to save time later?
Yes, you totally can! You can assemble the Make Ahead Taco Pockets (fill them with the meat and cheese, then fold them) and place them on a baking sheet lined with parchment paper. Cover them tightly with plastic wrap and keep them in the fridge for up to 24 hours. When you’re ready to eat, just proceed with the final stovetop step (low heat, 1-2 minutes per side) or bake them! If they are cold going in, just add an extra minute or two to the cooking time.
What’s the secret to the extra gooey cheese inside?
The secret to truly Gooey Cheese Filled Tortillas is twofold: using a good melting cheese like Monterey Jack or full-fat cheddar, and making sure you incorporate that residual heat from the stovetop right at the end. That final gentle heating step is what ensures the cheese is totally melted and liquidy when you bite into it.
Can I use biscuit dough instead of tortillas for this recipe?
Oh, that’s a fun idea for a variation! If you use refrigerated biscuit dough, they won’t be *tacos*, they’ll be more like savory hand pies or empanadas. You’d bake those instead of pan-frying them. They are delicious, but for this specific recipe, the thinness of the flour tortilla is what gives us that perfect crispness!
Why did my taco filling leak out while cooking?
Almost always, leakage happens because the pocket wasn’t folded tightly enough or because we stuffed too much meat in there! Remember to leave some space around the edges when filling so the tortilla has room to seal itself shut when you fold it over. Don’t press too hard when folding until you are sure the cheese isn’t reaching the edges.
Nutrition Estimates for These Cheesy Pocket Tacos
Since we’re talking about delicious, cheesy, comfort food here, the nutrition might not be what a health nut wants to see, but this is a totally reasonable weeknight meal! These numbers are just estimates, based on using lean ground beef and standard ingredients, so keep in mind how much cheese you decide to sneak in!
For a serving size of 2 tacos, here’s what you can expect:
- Calories: About 420
- Protein: A solid 28 grams!
- Fat: Around 22 grams (9 grams of that is saturated)
- Carbohydrates: About 30 grams
- Sugar: Very low, around 2 grams
- Sodium: Be mindful here, around 550mg (that comes mostly from the seasoning packet, so look for low-sodium blends if that worries you!)
Tips for the Best Crispy Baked Tacos and Cheesy Pocket Tacos
Even though I love making these on the stovetop because they are so fast, I know some of you are looking for oven-based methods, especially if you are batch-cooking! Whether you stick to my stovetop method or try the oven, a few little tricks from my kitchen will guarantee a crispy shell and zero leaks.
- Watch Your Cheese Application: This is crucial for making your Crispy Baked Tacos! If you put cheese too close to the edge of the tortilla, it melts out onto the pan and hardens. It’s delicious, but it makes for a messy clean-up and a less-filled pocket. Leave about a half-inch border of plain tortilla when you fill them.
- The Tortilla Choice Matters: I use small (burrito-sized or taco-sized) flour tortillas. Corn tortillas have a tendency to crack when folded and reheated like this, so stick to soft flour for the best pocket integrity.
- Don’t Skip the Warm-Up: If your tortillas are cold and stiff, they will crack when you fold them. Warming them briefly makes them super pliable, allowing you to crease them firmly without breaking the dough. It’s a small step that makes a huge difference in the final appearance.
- Use Low Heat for Crisping: Whether you are frying them in that oil or baking them, the goal is to melt the cheese while crisping the outside. High heat cooks the outside too fast and leaves you with a hard tortilla and cold cheese in the middle. Low and slow is the way to go for a perfect melt!
Ingredient Notes and Substitutions for Cheesy Pocket Tacos
This recipe is so forgiving, which is another huge reason I lean on it when I’m tired. You can swap out the protein easily, and you can certainly mix up that cheese blend. Don’t let a missing ingredient stop you from making dinner!
- Protein Swaps: If you aren’t feeling the ground beef today, totally go for it with ground turkey or even ground chicken. They both cook up just like beef, though you might need a tiny splash more water so the seasoning mix pastes correctly. If you have leftover shredded rotisserie chicken, that works too—you just skip steps one and two and mix the shredded meat straight with the seasoning and water.
- Cheese Combos: Cheddar is classic for that sharp flavor, but I often mix it half-and-half with Monterey Jack or Pepper Jack for extra meltiness. Even a bag of pre-shredded Mexican blend works fantastically well here. The key is using 100% real dairy cheese that melts beautifully!
- Making it Vegetarian: You can easily substitute the meat for black beans or refried beans! If you use refried beans, they are already thick, so just mix them with the taco seasoning packet—no water needed.
Serving Suggestions for Family Friendly Taco Night
These little pockets are great because they are filling enough on their own, but a true Family Friendly Taco Night deserves some great sides and toppings! Since the main flavor is rich and cheesy from the beef, I always lean toward bright, cool toppings to cut through that richness.
For dipping and topping, you absolutely must have:
- A big dollop of sour cream or plain Greek yogurt.
- Your favorite jarred salsa—chunky or smooth, it doesn’t matter which!
- Shredded iceberg lettuce piled on top for a little crunch (my kids always pick this off, but I love it!).
- If you’re serving this as a meal instead of a snack, I usually whip up some quick Spanish rice or just serve it alongside a big bowl of black beans. It makes the whole dinner feel more complete without making you cook for hours!
Storage and Reheating Instructions for Cheesy Pocket Tacos
If you manage to have any leftovers (which, honestly, is rare in my house), they store beautifully! Just let them cool slightly after cooking. Pop them into an airtight container—no need to separate them—and they’ll keep in the fridge for about three days.
Now, reheating them is important because we want that crispness back! Please, *please* don’t zap these in the microwave by themselves. Microwaving melts the cheese again and turns the tortilla soggy and chewy, which ruins the whole point.
For the best results, the oven is your friend. Set your oven to 350°F (175°C) and bake them for about 8 to 10 minutes, or until they are heated through and the outside feels firm again. If you have an air fryer, that works even faster! Just 4 minutes at 375°F should get them perfectly crispy and ready to eat.
Frequently Asked Questions About Cheesy Pocket Tacos
Can I make these ahead of time to save time later?
Yes, you totally can! You can assemble the Make Ahead Taco Pockets (fill them with the meat and cheese, then fold them) and place them on a baking sheet lined with parchment paper. Cover them tightly with plastic wrap and keep them in the fridge for up to 24 hours. When you’re ready to eat, just proceed with the final stovetop step (low heat, 1-2 minutes per side) or bake them! If they are cold going in, just add an extra minute or two to the cooking time.
What’s the secret to the extra gooey cheese inside?
The secret to truly Gooey Cheese Filled Tortillas is twofold: using a good melting cheese like Monterey Jack or full-fat cheddar, and making sure you incorporate that residual heat from the stovetop right at the end. That final gentle heating step is what ensures the cheese is totally melted and liquidy when you bite into it.
Can I use biscuit dough instead of tortillas for this recipe?
Oh, that’s a fun idea for a variation! If you use refrigerated biscuit dough, they won’t be *tacos*, they’ll be more like savory hand pies or empanadas. You’d bake those instead of pan-frying them. They are delicious, but for this specific recipe, the thinness of the flour tortilla is what gives us that perfect crispness!
Why did my taco filling leak out while cooking?
Almost always, leakage happens because the pocket wasn’t folded tightly enough or because we stuffed too much meat in there! Remember to leave some space around the edges when filling so the tortilla has room to seal itself shut when you fold it over. Don’t press too hard when folding until you are sure the cheese isn’t reaching the edges.
Nutrition Estimates for These Cheesy Pocket Tacos
Since we’re talking about delicious, cheesy, comfort food here, the nutrition might not be what a health nut wants to see, but this is a totally reasonable weeknight meal! These numbers are just estimates, based on using lean ground beef and standard ingredients, so keep in mind how much cheese you decide to sneak in!
For a serving size of 2 tacos, here’s what you can expect:
- Calories: About 420
- Protein: A solid 28 grams!
- Fat: Around 22 grams (9 grams of that is saturated)
- Carbohydrates: About 30 grams
- Sugar: Very low, around 2 grams
- Sodium: Be mindful here, around 550mg (that comes mostly from the seasoning packet, so look for low-sodium blends if that worries you!)

Simple Cheesy Pocket Tacos
- Total Time: 25 min
- Yield: 4 servings
- Diet: Low Fat
Description
Make quick and easy tacos using tortillas folded into pockets and filled with seasoned ground beef and melted cheese.
Ingredients
- 1 lb ground beef
- 1 packet taco seasoning mix
- 1/2 cup water
- 8 small flour tortillas
- 1 cup shredded cheddar cheese
- 1 tablespoon vegetable oil
Instructions
- Heat vegetable oil in a large skillet over medium heat.
- Add ground beef to the skillet and cook until browned, breaking it up with a spoon. Drain excess fat.
- Stir in taco seasoning mix and water. Bring to a simmer and cook for 5 minutes, stirring occasionally, until the sauce thickens.
- Warm the flour tortillas briefly in a separate dry skillet or microwave until soft and pliable.
- Spoon the meat mixture into the center of each warm tortilla.
- Sprinkle shredded cheese over the meat filling.
- Fold the tortilla in half to create a pocket shape.
- Place the filled pockets back into the warm skillet over low heat for 1-2 minutes per side, until the cheese melts and the tortilla is slightly crisp.
- Serve immediately.
Notes
- You can substitute ground turkey or chicken for ground beef.
- Use your preferred type of shredded cheese, such as Monterey Jack or a Mexican blend.
- Serve with salsa, sour cream, or lettuce if desired.
- Prep Time: 10 min
- Cook Time: 15 min
- Category: Dinner
- Method: Stovetop
- Cuisine: Mexican-American
Nutrition
- Serving Size: 2 tacos
- Calories: 420
- Sugar: 2
- Sodium: 550
- Fat: 22
- Saturated Fat: 9
- Unsaturated Fat: 13
- Trans Fat: 0
- Carbohydrates: 30
- Fiber: 2
- Protein: 28
- Cholesterol: 75