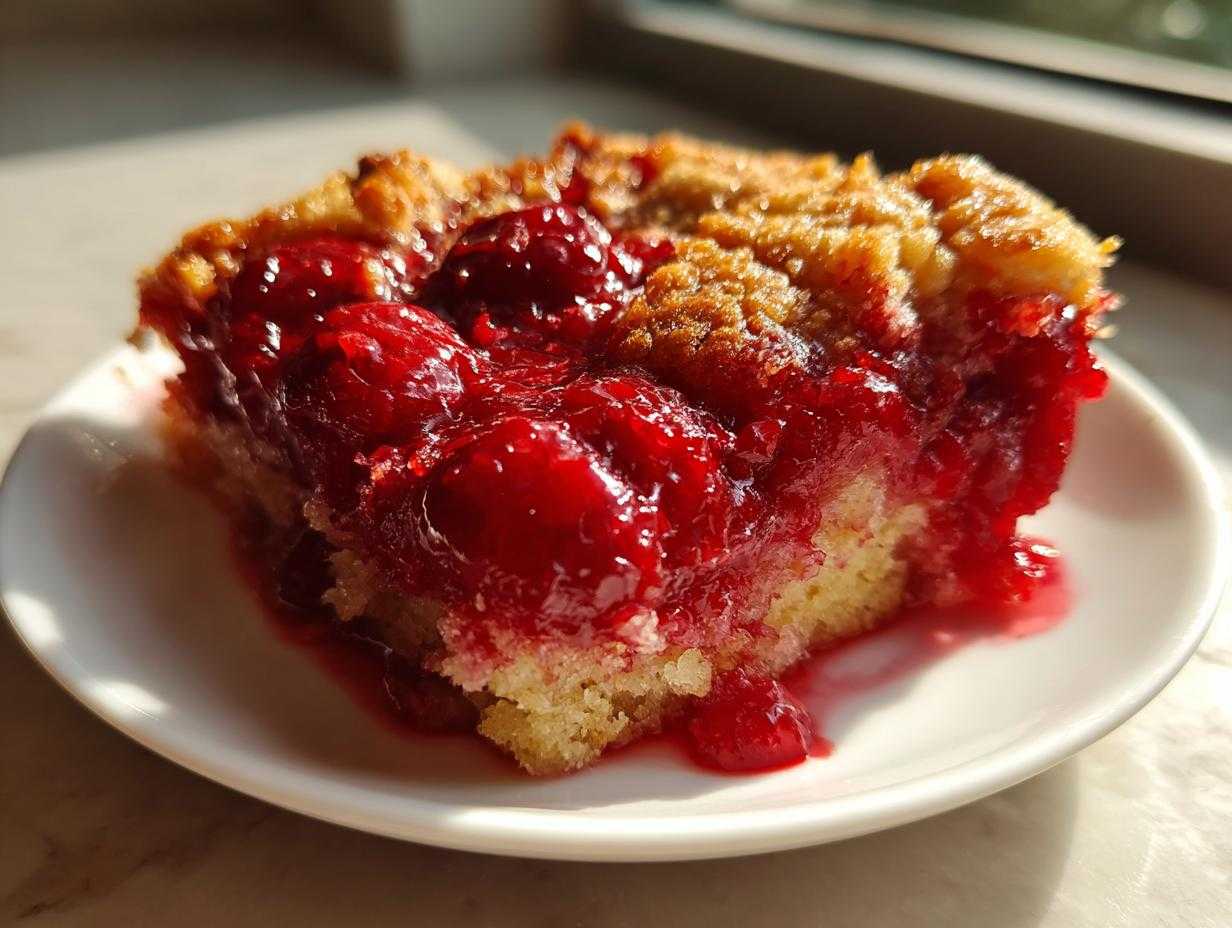
Oh, Lord, have you ever had one of those nights? You’re supposed to bring dessert to a neighborhood cookout in twenty minutes, and the thought of actually *baking*—measuring flour, creaming butter—feels like scaling Everest? That’s when you pull out the big guns, the absolute failsafe winner: the **cherry dump cake**. Seriously, this recipe is magic. I’m not kidding; last summer, my oven broke mid-potluck setup, and I managed to whip up a batch in a borrowed toaster oven because *not* having dessert was just unthinkable. It came out perfectly golden and bubbling. This dish is gooey, it’s warm, it smells fantastic, and it requires zero actual cooking skill. Trust me, this might be the easiest, most comforting **warm gooey dessert** you will ever make.
Why This Cherry Dump Cake is Your New Favorite 3 Ingredient Dessert
Look, I love baking—you know I do—but not every day calls for whisking egg whites into oblivion. This **cherry dump cake** is pure indulgence with virtually zero effort. The best part? Clean up is a breeze. You’re probably already using a 9×13 pan, so that’s one dish, maybe a spatula, and you’re done! That’s what I call true **minimal effort baking**.
It’s the ultimate **no mixer dessert** because you literally just pour things in layers. It comes out looking like you slaved over a hot stove creating an intricate cobbler, but I promise you, it’s not true. It becomes this amazing, bubbly, slightly crisp-topped treat that tastes incredible warm with a scoop of vanilla ice cream melting right over the top. It’s the kind of recipe I keep tucked away for days when I need a win. If you want truly foolproof baking recipes, stop scrolling right now, because this is it.
The Magic of Dump Cake with Cake Mix
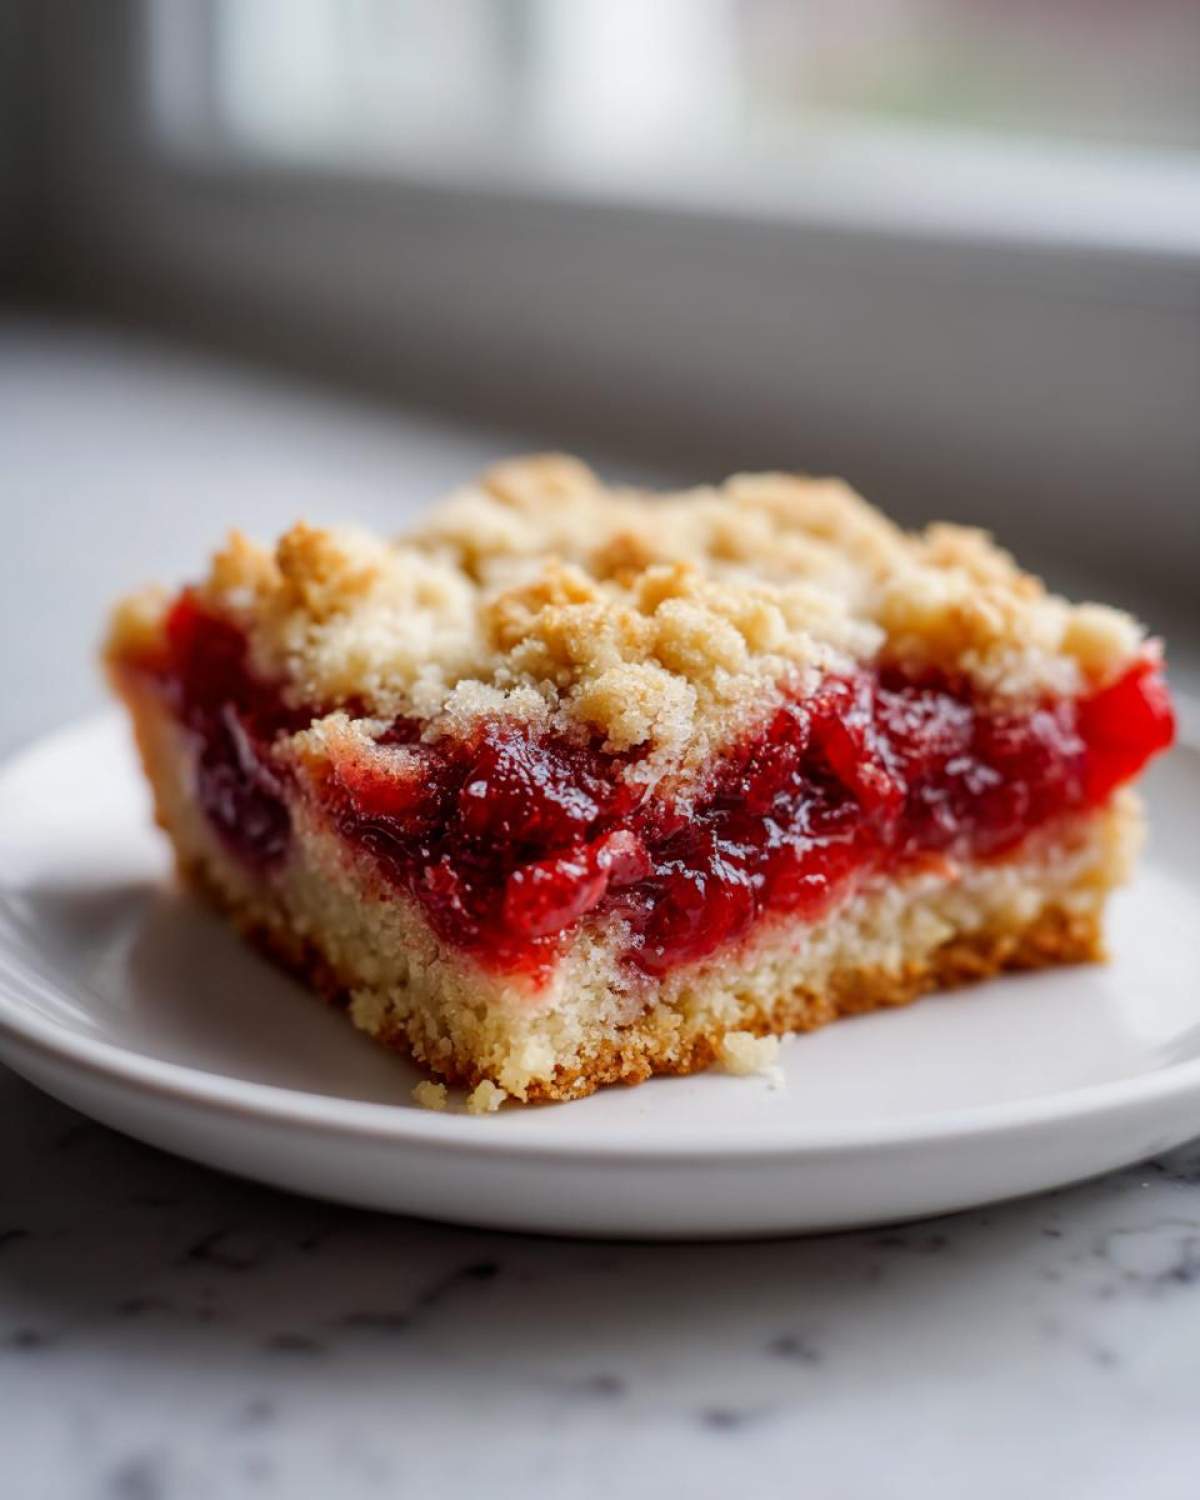
So, what’s the secret? It’s the dry cake mix sitting directly on top of the fruit filling. I love showering the whole thing with pats of butter before it goes into the oven. As it heats up, that butter melts down, soaking into the dry cake mix. It doesn’t get mushy, though! Instead, it creates this beautiful, slightly crunchy, buttery crust. It’s scientifically perfect convenience, I swear.
Gathering Ingredients for Your Easy Cherry Dump Cake
Okay, getting ready for this is honestly the longest part of the whole process, which is saying something because it takes about five minutes! For the absolute best **cherry dump cake**, we are sticking to just three foundational components. You’ll need one full standard can of cherry pie filling—don’t drain it, don’t poke it, just dump the whole gooey thing in there!
Next up is the dry cake mix. I’ve used yellow mix every single time because that vanilla-butter flavor marries the cherries perfectly for that classic dessert taste. You are just sprinkling the dry powder right over the top. Finally, the magic: you need half a cup of cold, unsalted butter, sliced or cut into nice little pats. That butter is going to transform the dry mix into that crisp topping we all crave.
Ingredient Notes and Substitutions
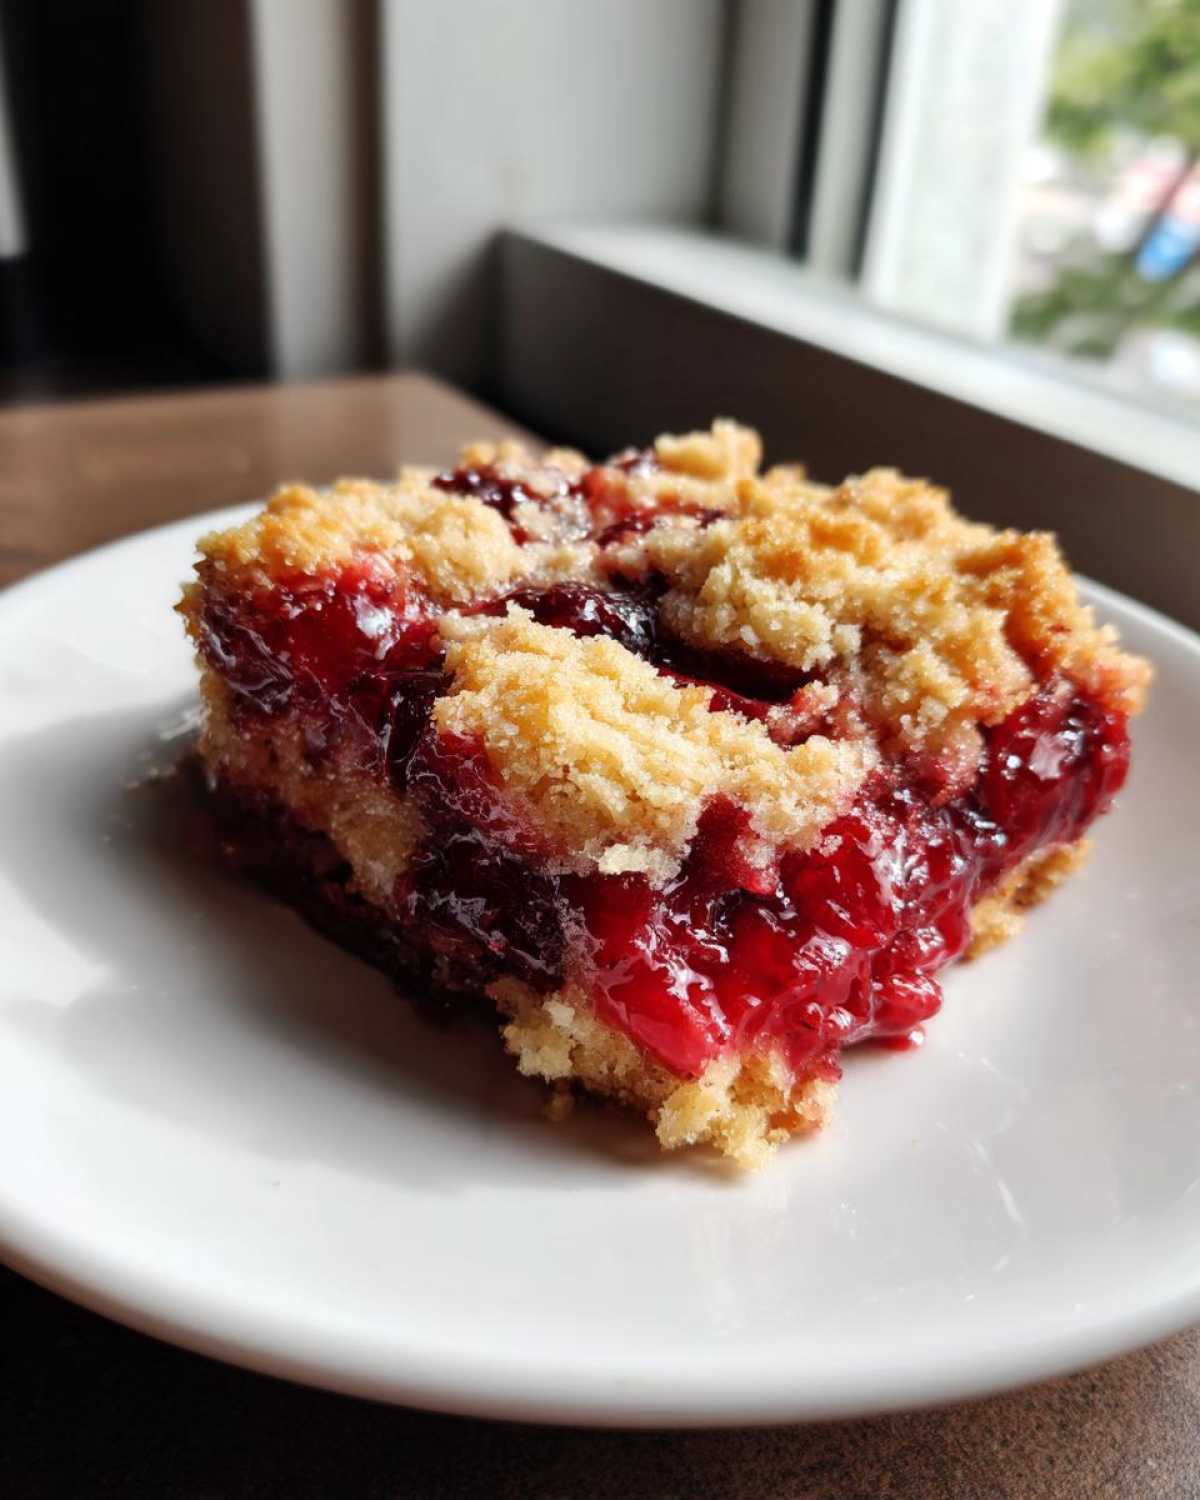
Here’s where I impart some hard-won wisdom, because substitutions are inevitable in a real kitchen! If you don’t have yellow cake mix on hand, white cake mix works just fine, though I sometimes substitute a spice cake mix when I’m feeling autumnal—it’s wonderful! You can even use a pineapple or chocolate mix if you want to pivot the flavor profile, but stick to the fruit filling if you do that, or you’ll get a weird flavor combo.
I always recommend unsalted butter just because it gives me control over the salt, but hey, using salted butter isn’t the end of the world. Since this recipe doesn’t call for any additional salt mixed in with the dry ingredients, if you use salted, just don’t worry about it! For a deeper flavor kick, try brushing a teaspoon of vanilla extract right over those pats of butter before they go into the oven. Visit my guide on other simple fruit dump cake ideas to see how easy it is to swap out cherries for berries!
Step-by-Step Instructions for the Quick Dump Cake Recipe
Alright, time to put this **quick dump cake recipe** to work! First things first: crank that oven up to 350 degrees Fahrenheit. While it’s heating up, take a second to lightly grease that 9×13 dish—don’t skip this, no matter how much you want to save time, because a stuck dump cake is a tragedy! Don’t grab your mixing bowls, though, because the cardinal rule here is NO MIXING.
Start by pouring that entire can of thick cherry pie filling right into the bottom. Use a spatula to spread it around so you have a flat, even base across the pan. Then, take your dry cake mix and just gently sprinkle it over the cherries. I really try to get the mix right up to the edges of the pan, because those edges are where the topping gets the crispest. Now for the butter pats. I usually cut mine pretty small—think nickels or dimes—and I arrange them so there’s a little bit of butter sitting over every section of the dry mix. This ensures even melting and browning. You can check out my full, printable guide for this recipe for dump cake, but honestly, just follow the layers!
Baking Time and Checking Doneness for the Classic Dump Cake
Toss that pan in the oven, and plan on the bake taking about 45 to 55 minutes. You’ll know it’s ready when the entire top layer is a gorgeous, deep golden brown, and you can see the cherry filling bubbling up enthusiastically around the edges. That bubbling is key because it means the fruit is hot all the way through!
But here’s the crucial post-bake step: Resist the urge to grab a fork the moment it comes out! Let your **classic dump cake** rest on the counter for at least 15 minutes. If you cut into it straight away, all that lovely, thick filling will just run out and make a soupy mess. Resting lets that gooey center firm up just enough so you get that perfect, spoonable texture. Then, go ahead and serve it warm!
Tips for the Best Dump Cake Recipe (Achieving that Buttery Topping Cake)
So, you’ve mastered the basic three-ingredient layer, but you want to make this **cherry dump cake** famous at your next gathering? I totally get it! While dropping pats of cold butter over the dry cake mix is the core trick for that **buttery topping cake**, you can level up the texture significantly. My favorite hack for an extra-crisp, even crust is melting the butter first.
If you melt the full half-cup of butter gently (don’t burn it!) and then drizzle it slowly and evenly over the dry cake mix layer, you saturate the mix perfectly. This ensures you don’t end up with patches of dry pockets or spots where the butter didn’t quite reach. It mimics a more traditional shortbread topping, giving you that beautiful structural base.
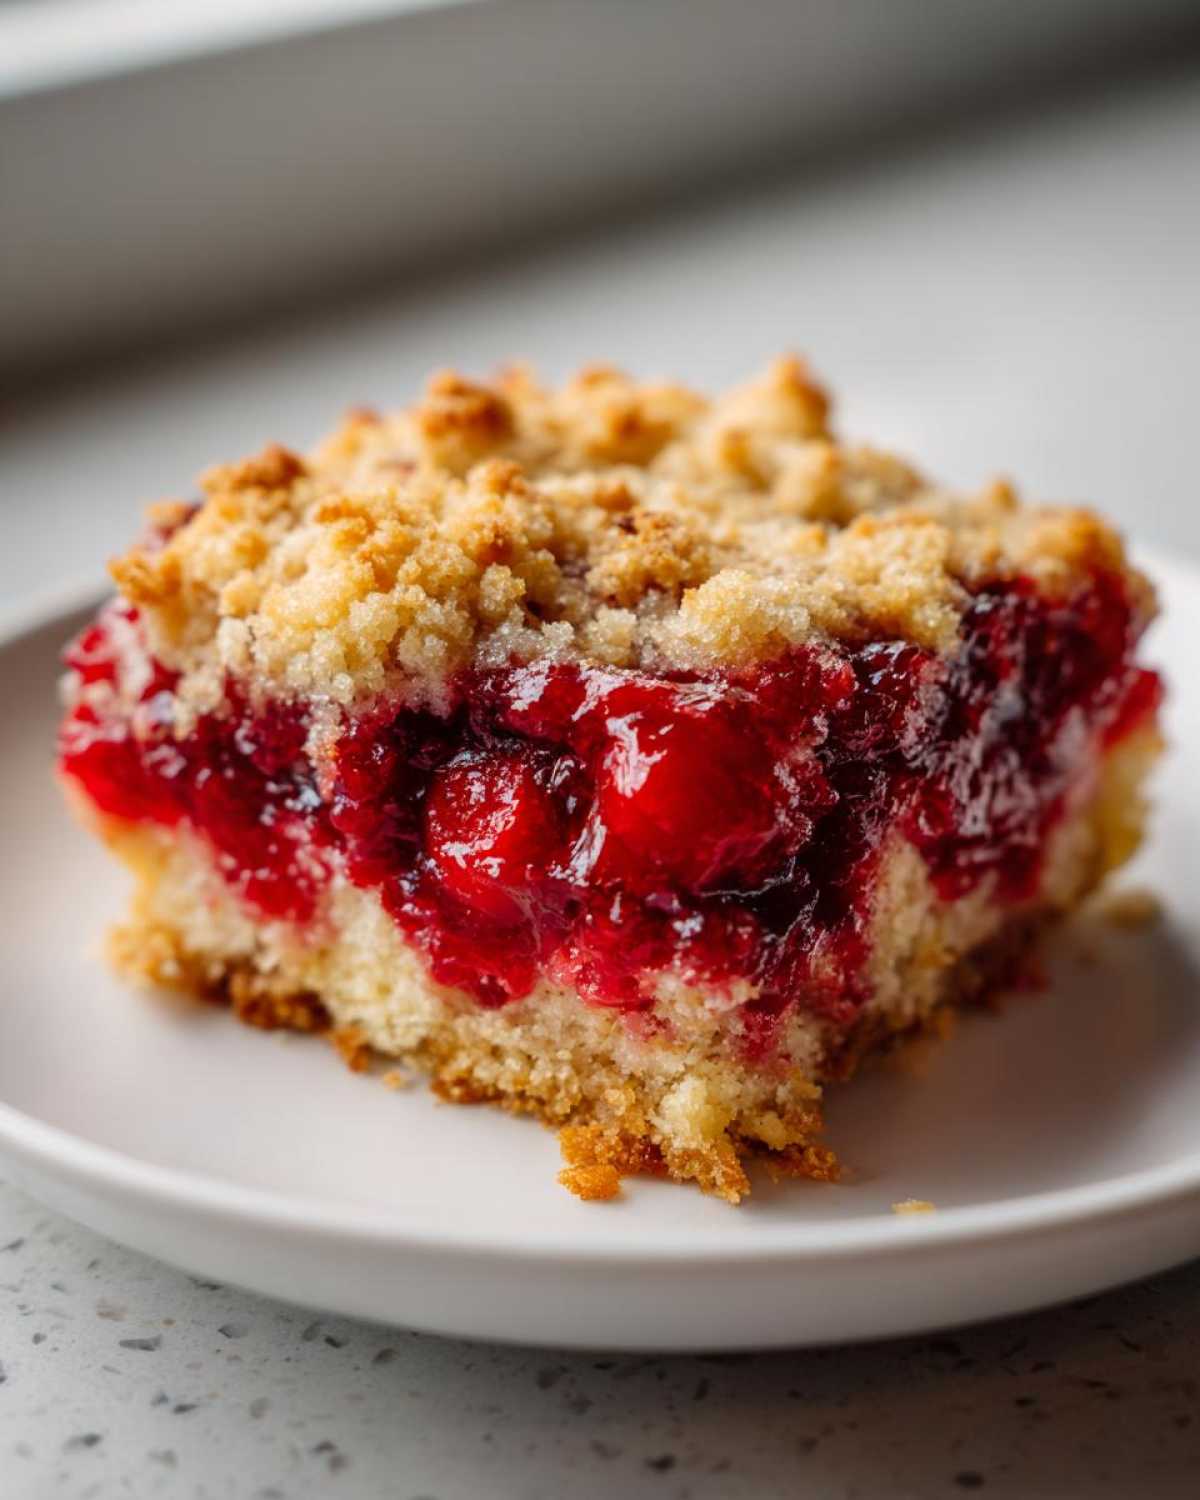
If you’re aiming for something that leans more toward an **easy cobbler style dessert** texture, you can play with the ratio slightly. Try using just a little less butter—say, three-quarters of a stick instead of the full one—and mix in about a quarter cup of quick-cooking oats with your dry cake mix sprinkle. The oats add a chewiness that mimics a traditional cobbler topping without losing the signature dump cake ease. It adds just that little bit of unexpected texture that makes people ask, “Wait, what did you put in this?” For more ideas on that rustic texture, you absolutely must check out my guide on easy berry cobbler topping ideas to see how a little oat magic works!
Serving Suggestions for Your Warm Gooey Dessert
Okay, the cake is out of the oven, it’s resting, and the real fun begins: deciding how to serve this amazing **warm gooey dessert**. While this **cherry dump cake** is rich and satisfying on its own—seriously, the buttery topping is divine—it really sings when paired with something cold and creamy. The absolute gold standard, which you already know, is a big scoop of good quality vanilla ice cream. The temperature shock between the hot, tart cherries and the cold, sweet cream is just heaven.
But we can’t be boring every time, right? If you’re having this as a **weeknight cherry treat** and want to keep it super simple, just dust the top lightly with powdered sugar right before serving. It looks fancy but takes two seconds. If you’re feeling a little extra, grab some real whipped cream. Or, if you want to lean into that caramel flavor from the brown sugar, drizzle a little warmed caramel sauce over the top just before you bring it to the table. I once made these little cookie cups filled with the dump cake and topped them with whipped cream, inspired by my favorite soft and chewy chocolate chip cookies—it was a hit!
Variations on the Cherry Pie Filling Dessert
While this classic three-ingredient cherry version is what I come back to time and again, the beauty of a good dump cake is its adaptability! You can pivot this recipe into so many other desserts to please different cravings. Say you’re craving something chocolatey—easy! Make a fake Black Forest dump cake by swapping the yellow cake mix for chocolate cake mix, and sprinkle in a cup of chocolate chips right over the cherry filling before you add the butter.
Or, if you have leftovers from the holidays, maybe you have some apple filling you want to use up? Go for it! Pineapple filling is another superstar swap that works beautifully, giving you that bright, tangy sweetness. This truly is the ultimate flexible **cherry pie filling dessert** base, proving you don’t need complex recipes to nail dessert night. If you want to see how amazing pineapple works in a similar style, check out my guide on moist pineapple upside-down cake variations for inspiration!
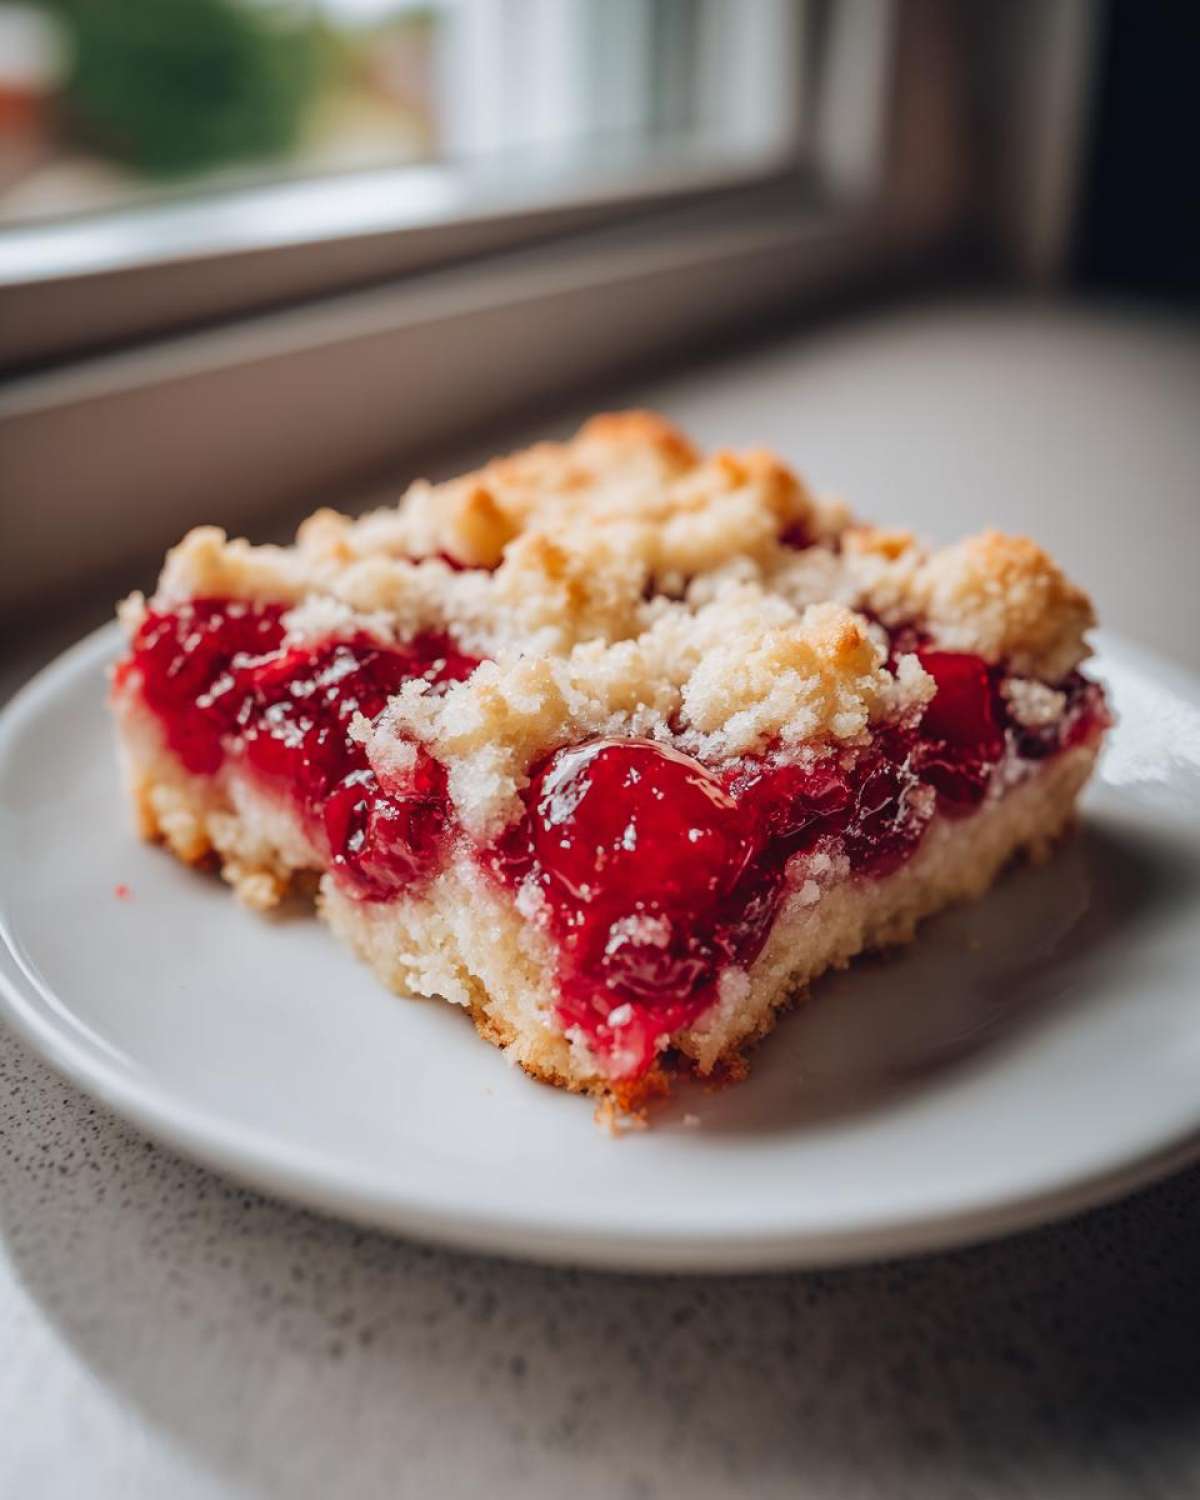
Making a Crockpot Cherry Dump Cake
Sometimes you don’t even want to preheat the actual oven, right? Good news: you can do this right in the slow cooker! You’ll still layer the pie filling first, then the dry mix, and then the butter pats just like normal. The time changes, though! Set your slow cooker on LOW for about three to four hours, or HIGH for about two to two-and-a-half hours. You want that topping golden, even if it’s a little softer than the baked version. I sometimes put a clean dish towel underneath the lid to catch condensation so it doesn’t drip onto the topping and make it soggy. It’s a lifesaver for picnics because you can leave it right in the slow cooker on ‘Warm’ for hours!
Storage and Reheating Instructions for Leftover cherry dump cake
Now, don’t you dare think that your leftovers won’t be delicious the next day—because they absolutely are! If you have any of this glorious **cherry dump cake** left, cover the dish tightly with foil or plastic wrap. If you plan to eat it within eight hours, leaving it on the counter is fine, though I usually pop mine straight into the fridge just to be safe.
When you’re ready for round two, you have two options for reheating. The microwave is fastest—just zap a single serving for about 30 seconds. It gets nice and soft! If you want to bring back that original crust glory, heat a slice on a small baking sheet at 350 degrees for about 10 minutes. That little bit of dry heat really crispifies that buttery topping again. It tastes perfect warm, just like the first time!
Frequently Asked Questions About This Minimal Effort Baking Recipe
I know you’re going to absolutely love this **cherry dump cake**, but sometimes questions pop up when you’re trying out a brand-new, super-easy recipe. Since this dessert relies on a specific layering method, people often ask about ingredient flexibility. I’ve gathered up the ones I get asked most often when people are looking for a genuine, last-minute dessert idea!
Can I skip the butter in this recipe?
Oh gosh, please don’t! If you skip the butter, you are skipping the entire crust! Remember, this isn’t a regular cake where the fat is creamed into the batter. Here, the butter is the binding agent that melts down into the dry cake mix, creating that signature crisp, golden topping. If you absolutely must cut back, maybe use only half a cup, but skipping it entirely will leave you with dry, sandy cake crumbs on top instead of the wonderful, rich crust we are aiming for.
How do I stop the cake mix from getting soggy or mushy?
Sogginess usually happens for two reasons. First, make sure you’re not mixing the ingredients together before baking—that releases too much moisture too early. Second, ensure your butter is distributed evenly across the top before it goes in the oven. I find that if you don’t cover every inch of the dry mix with fat, the exposed parts soak up the fruit steam and get that damp texture. Even coverage is your best defense!
Can I use a different type of fruit besides cherries?
Absolutely! That’s what makes these recipes so fun. While this recipe uses cherries, feel free to grab any standard 21-ounce can of simple fruit dump cake filling you prefer. Apple, blueberry, peach, or even those beautiful mixed berry fillings work just as well layered underneath that dry cake mix and butter. It transforms into a totally different, but equally delicious, **minimal effort baking** treat!
What if I only have self-rising cake mix?
If all you have is self-rising cake mix, you need to be careful! Since self-rising mix already contains leavening agents, you might get a topping that puffs up too much and cracks awkwardly, or it might taste a little too salty depending on the brand. If that’s all you have, try using it, but skip adding any extra salt (which you wouldn’t anyway!) and watch the texture closely. If you have regular cake mix, stick to that for the most consistent results.
Sharing Your Potluck Desserts Easy Success
Now that you have the keys to the kingdom of **cherry dump cake** making, I really, truly want to know how it turned out for you! This is one of those recipes that just screams success, and I love hearing how it saved the day at someone’s barbecue or last-minute gathering. Seriously, this dish is the definition of potluck desserts easy!
Did you serve it with ice cream? Did you try the chocolate chip variation? Don’t be shy! Drop us a star rating right underneath this post—it helps other busy cooks find this absolute gem of a **potluck dessert**.
If you snapped a picture of that gorgeous, bubbling cherry goodness, tag me on social media! Sharing your culinary victories helps keep the community going. Happy dumping, friends, and I’ll see you next time when we tackle something else that requires minimal whisking!
Print
Classic 3-Ingredient Cherry Dump Cake
- Total Time: 55 min
- Yield: 8 servings
- Diet: Vegetarian
Description
Make this extremely easy cherry dump cake using only three main ingredients. You simply layer the filling, sprinkle the dry cake mix, and top with butter for a warm, gooey dessert.
Ingredients
- 1 (21 ounce) can cherry pie filling
- 1 (15.25 ounce) box yellow cake mix (do not prepare according to package directions)
- 1/2 cup (1 stick) unsalted butter, cut into small pieces
- Optional: 1/2 cup chopped pecans or walnuts
- Optional: 1 teaspoon vanilla extract (mixed into the butter)
Instructions
- Preheat your oven to 350 degrees Fahrenheit (175 degrees Celsius). Lightly grease a 9×13 inch baking dish.
- Pour the entire can of cherry pie filling into the bottom of the prepared baking dish. Spread it into an even layer.
- Sprinkle the dry cake mix evenly over the top of the cherry filling. Do not mix the layers.
- Distribute the pieces of butter evenly over the dry cake mix layer. If using vanilla extract, brush or drizzle it over the butter pieces.
- Bake for 45 to 55 minutes, or until the topping is golden brown and the filling is bubbly around the edges.
- Let the cake cool for at least 15 minutes before serving. Serve warm, often with vanilla ice cream.
Notes
- For a richer topping, you can melt the butter first and pour it evenly over the dry cake mix instead of placing pats on top.
- If you want a slightly crispier topping, sprinkle 1/2 cup of chopped nuts over the butter before baking.
- This recipe works well with other fruit fillings like apple or blueberry.
- Prep Time: 5 min
- Cook Time: 50 min
- Category: Dessert
- Method: Baking
- Cuisine: American
Nutrition
- Serving Size: 1 slice
- Calories: 380
- Sugar: 45
- Sodium: 310
- Fat: 20
- Saturated Fat: 12
- Unsaturated Fat: 8
- Trans Fat: 0.5
- Carbohydrates: 50
- Fiber: 2
- Protein: 4
- Cholesterol: 45