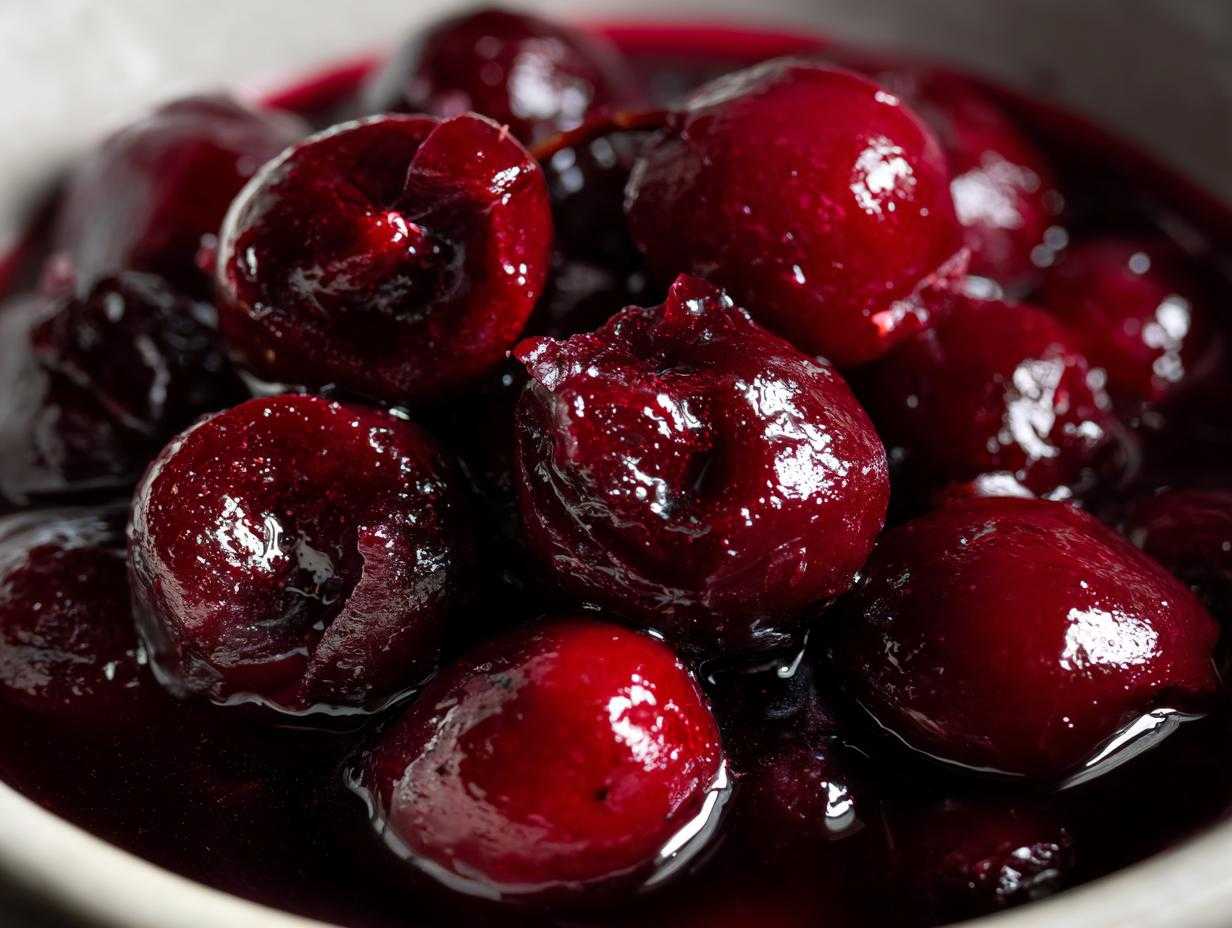
Oh, you guys, let me tell you about the betrayal of a runny pie! Seriously, nothing ruins a perfect slice of homemade pie faster than when the bottom crust is swimming in watery juice. It is the worst, and I spent ages trying to fix it. But I cracked the code! I finally landed on the ultimate, never-fail, **Thick Cherry Pie Filling From Scratch**. After years of trying to nurse lackluster, pre-made stuff back to life, I promise you, this recipe is the one that gives you that stunning, bakery-style, jewel-toned center. We’re talking beautiful, juicy, but totally set cherry filling every single time.
Why This Homemade Cherry Pie Filling Recipe Wins (Easy Cherry Pie Filling)
I used to think making a truly amazing cherry pie required some secret pantry item or maybe witchcraft. Nope! It just requires patience in the mixing and knowing what the ingredients do. This is hands-down the Best Cherry Pie Filling you’ll ever make, and the best part is how fast it comes together. Seriously, from start to finish, we are looking at less than 30 minutes total cook time!
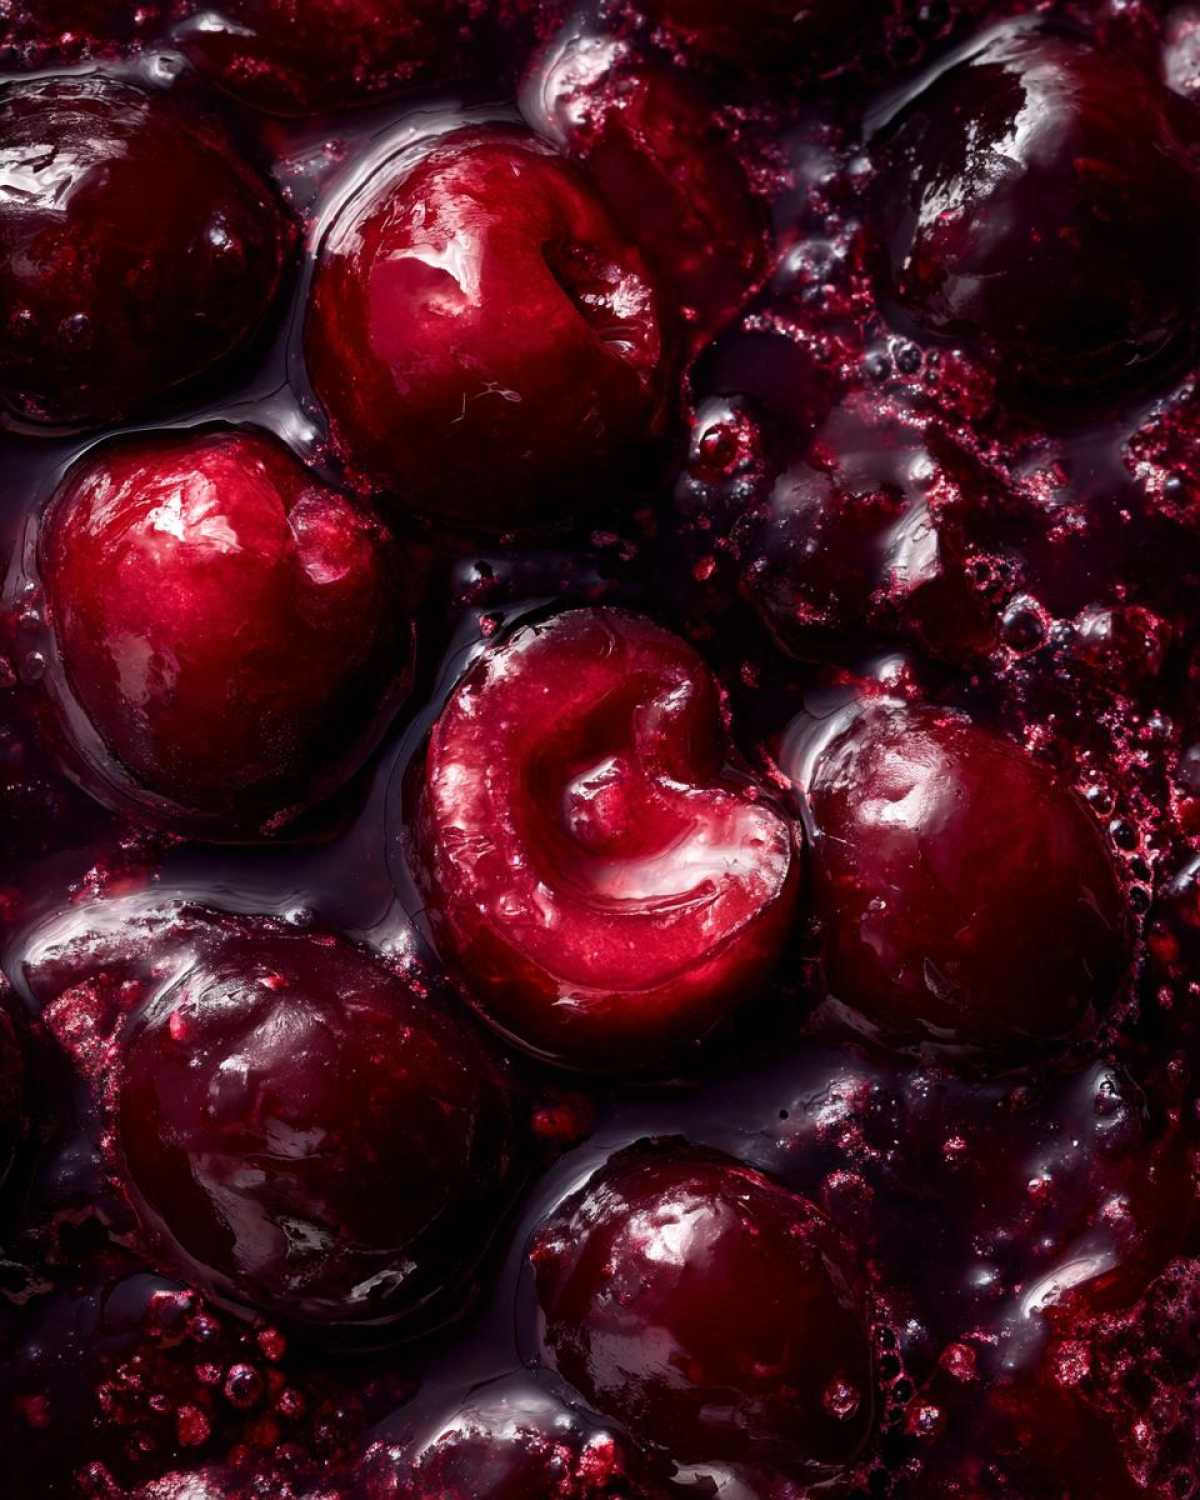
- It sets up absolutely perfectly—thick, luxurious, and never watery.
- It’s amazing whether you use fresh-picked bright beauties or straight-from-the-freezer ones.
- That perfect sweet-tart balance is there, no overly sickly-sweet canned flavor!
- It qualifies as a genuinely Easy Cherry Pie Filling because the stovetop method is so straightforward.
Achieving the Perfect Thick Cherry Pie Filling Texture
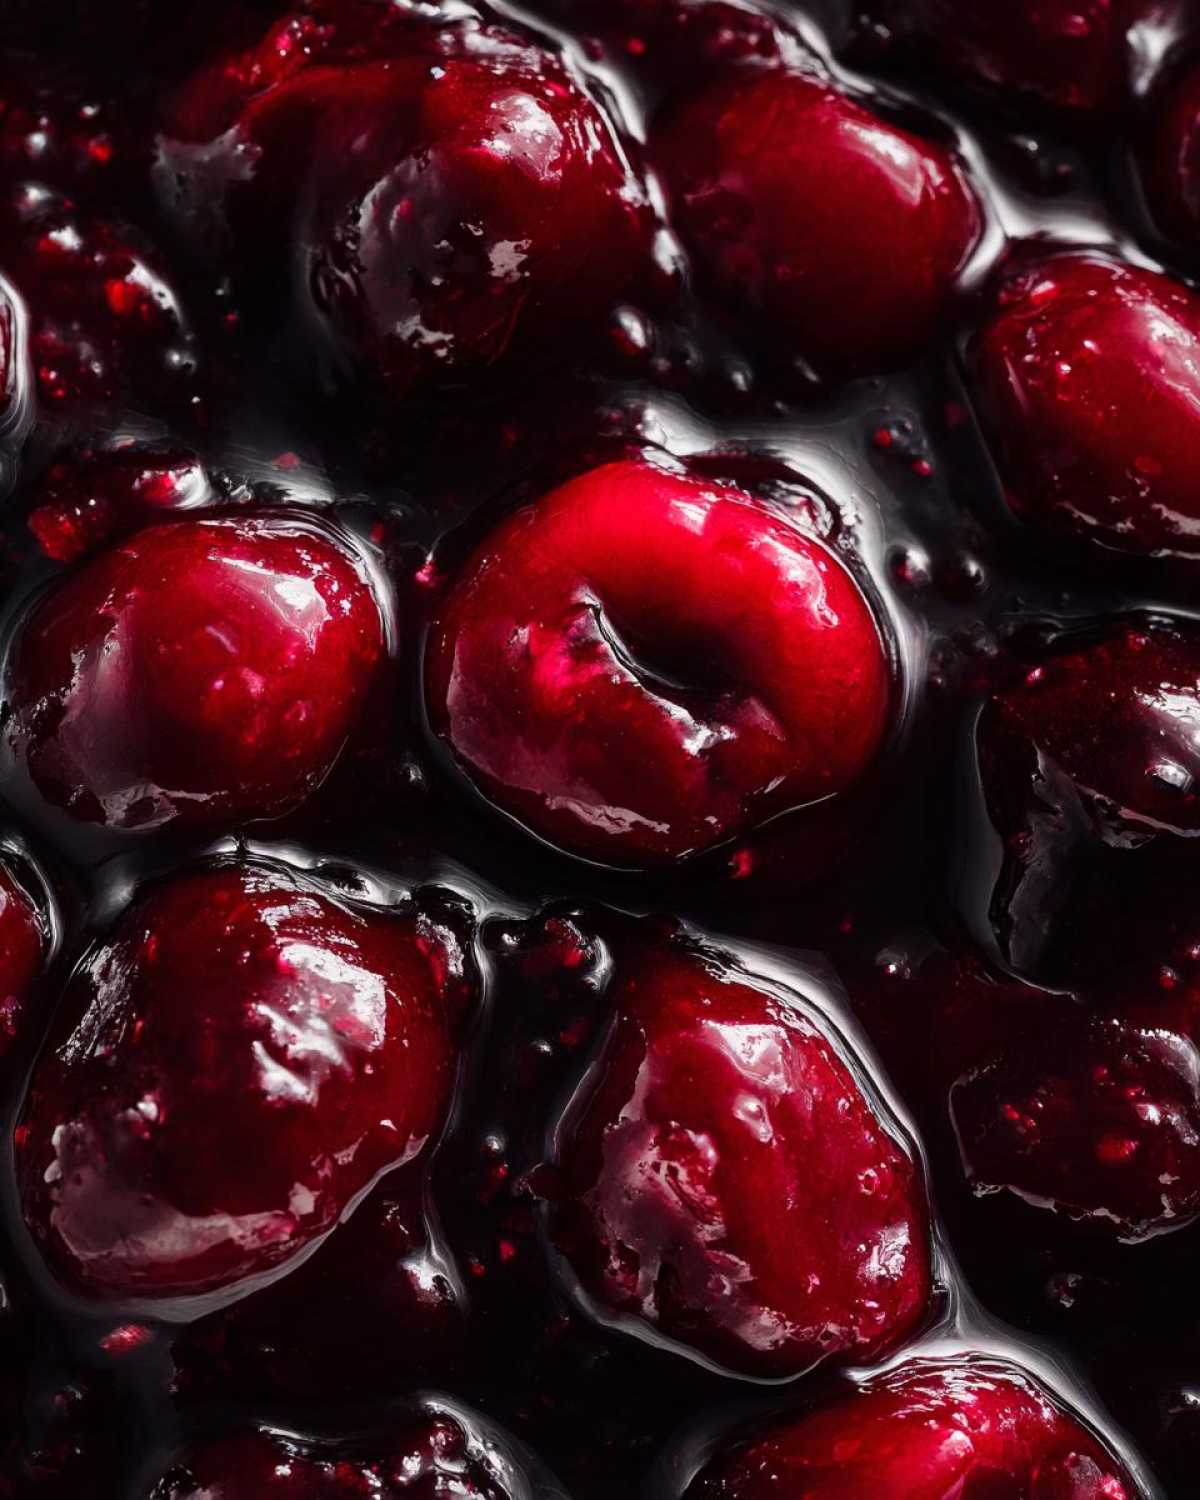
Okay, let’s talk about texture, because that’s where most people fail. We’re using cornstarch here, and it’s our best friend for creating that signature Thick Cherry Pie Filling. You have to cook it down just long enough until it clings happily to the back of your spoon. Do not rush this simmering step! If you pull it off the heat too early, it *will* thin out into sad, soupy mess once it cools down in your pie shell. Trust me, keep stirring and letting it bubble gently until it looks like thick, shiny jam.
Ingredients for Juicy Cherry Filling From Scratch
Getting this Juicy Cherry Filling From Scratch ready is half the battle, and honestly, the ingredient list is super short, which I love! You probably have most of this stuff sitting in your pantry right now. I always make sure my ingredients are prepped, even though the cooking part goes fast. If you’re scooping cherries, measure them *after* you pit them, okay?
- 4 cups sweet cherries, pitted (fresh or frozen—and yes, you add frozen ones straight from the bag, no thawing needed!).
- 1 cup granulated sugar (we’ll talk about swapping this later for tartness!).
- 1/4 cup cornstarch—this is our secret weapon for that unbelievable thickness.
- 1 tablespoon lemon juice (brightens up the whole flavor profile).
- 1 teaspoon almond extract (don’t skip this! It just makes the cherry flavor pop, trust me).
- 1/4 teaspoon salt (just a touch to balance the sweetness, like in any good baking).
Ingredient Notes and Substitutions
A big question I always get is about the cherries themselves. If you can snag some sour cherries, they are fantastic for pie, but if you only have sweet ones (like the standard Bing cherries), that’s totally fine! We fix that flavor gap right up.
If you want that classic, vibrant, almost cartoonishly perfect bright red color you see in those old-school diner pies, I won’t judge! We call it our ‘vacation color.’ You can absolutely stir in 1 or 2 tiny drops of red food coloring right at the very end when you add the almond extract. It doesn’t change the taste at all, but wow, does it look pretty.
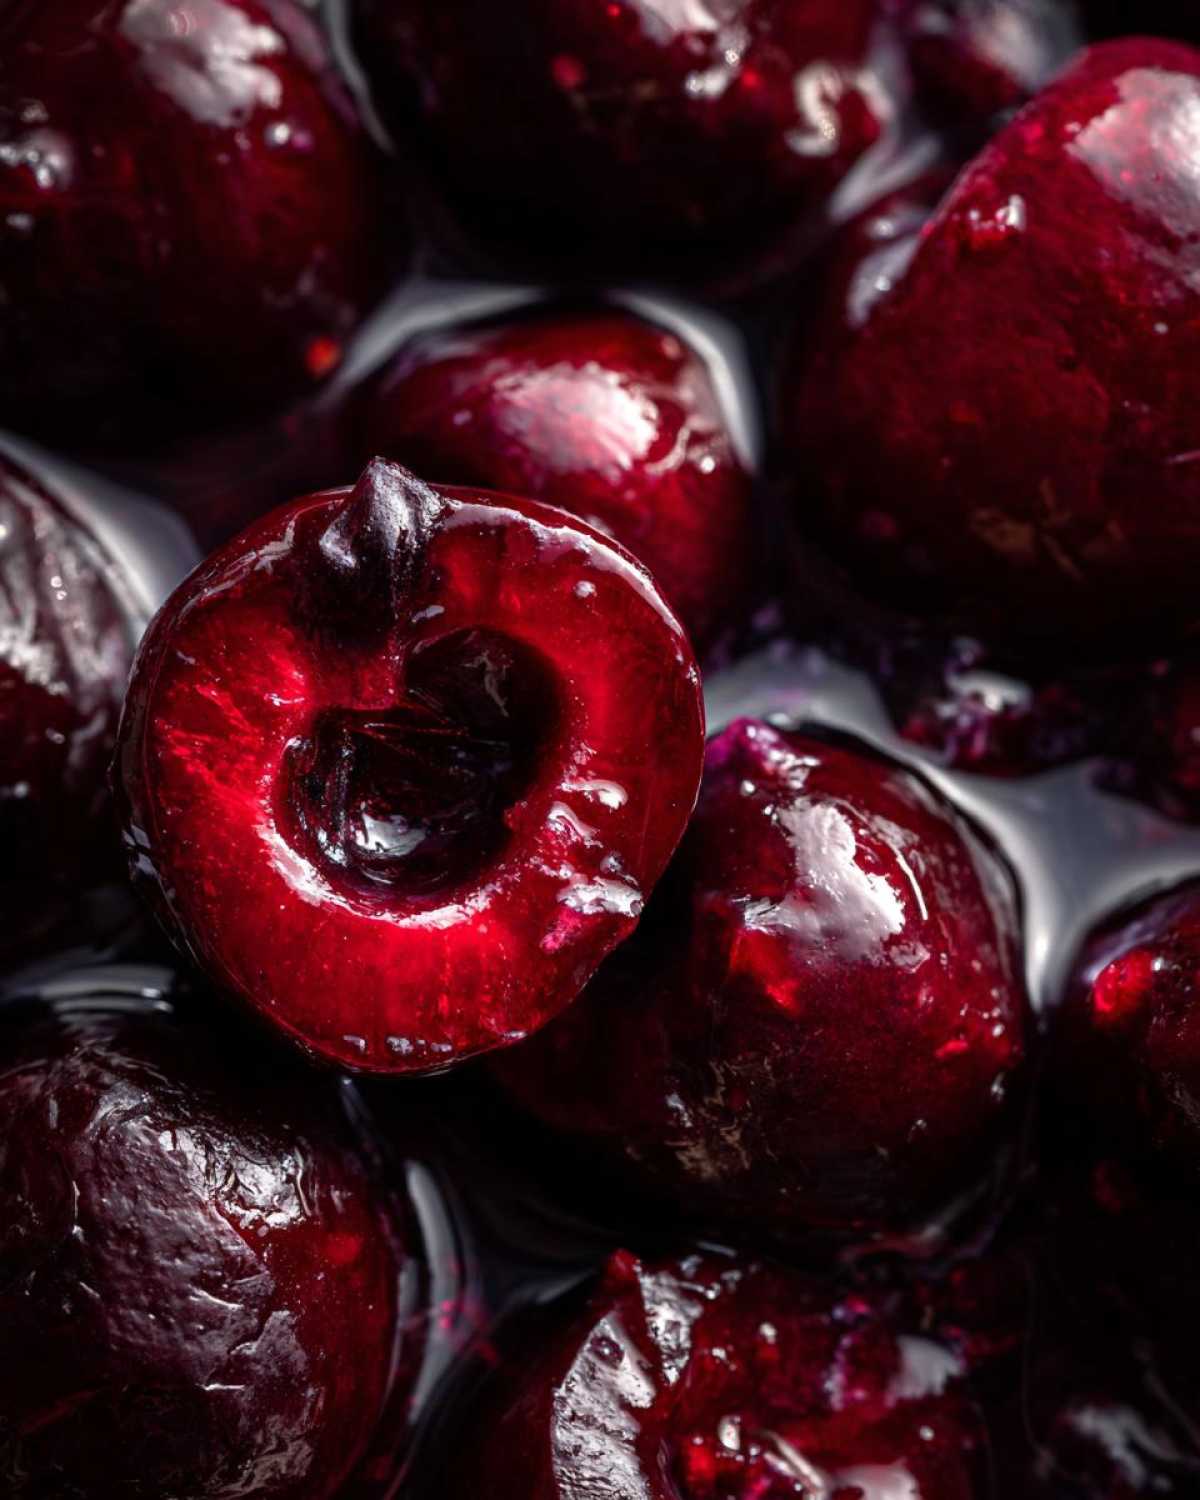
Now, cornstarch is non-negotiable for this specific recipe because we are aiming for that super-thick texture without cooking down for an hour. If you tried to use flour, it would taste pasty and likely wouldn’t set as cleanly for a filled pie. We stick to the cornstarch for the best results in our Sweet Tart Cherry Filling!
How To Make Cherry Pie Filling Step-by-Step
This is the best part—watching the magic happen right on your stovetop! I know when you see cherries and sugar together you might think it’s going to take forever, but honestly, the active cook time for this whole batch of cherry pie filling is maybe 15 minutes. Seriously efficient!
Simmering the Cherries and Water
First things first, grab your medium saucepan. You don’t even need to thaw your frozen cherries; just toss them right in with the one cup of water. Pop that on the stove over medium heat and let it come up to a gentle simmer. This starts waking up the fruit flavor, and it warms things up nicely before we introduce the thickening agents.
Creating the Thickening Slurry for Cherry Pie Filling
Now, this next part is critical for avoiding sad, lumpy goo. In a separate little bowl—and I mean *separate*—you need to whisk your sugar and that cornstarch together like you mean it. Whisk until you absolutely cannot see any white specks of cornstarch hiding in the sugar. It has to be perfectly smooth. Once the cherry water is gently simmering, slowly whisk that sugar mix right into the pan. You have to keep stirring almost constantly at this stage!
Keep stirring and cooking for about five to eight minutes. You’ll see the mixture change right before your eyes; it goes from watery to glossy and thick. It should be so thick that when you lift your spoon up, the mixture coats the back of it nicely. That’s my sign that we are ready for the flavor bomb!
Cooling the Homemade Cherry Pie Filling
Once it hits that perfect clinging consistency, pull the pan straight off the heat. This is where we stir in the bright acidity of the lemon juice, that secret pop of flavor from the almond extract, and the tiny pinch of salt. Give that one final, enthusiastic stir. Now, listen closely: You *must* let this cool down completely before you pour it into your pie crust or use it for any delicate dessert.
I know it’s tempting to use it warm, but that cooling period is how the cornstarch fully gelatinizes and sets up. If you skip cooling, your pie will look gorgeous coming out of the oven but will collapse into a runny puddle on the counter. Patience, my friend! You can speed this up by pouring the filling onto my favorite caramelized onion cooling sheet or just spreading it onto a shallow dish for faster dissipation of heat.
Tips for the Best Cherry Pie Filling Success
Even though this Homemade Cherry Pie Filling Recipe is super forgiving, I’ve picked up a few little tricks over the years to make sure it’s absolutely flawless every time. Think of these as the little things that separate a good pie filling from one that makes people ask for the recipe immediately!
First up: temperature control on the heat. When you are cooking the cornstarch-sugar slurry mixture into the cherries, you absolutely cannot walk away. If you use heat that’s too high, the cornstarch can scorch on the bottom of the pan before the top even starts bubbling properly. Keep it on medium, maybe even medium-low if your stove runs hot, and stick with that constant motion. You want a gentle, steady simmer for that even, luscious thickness.
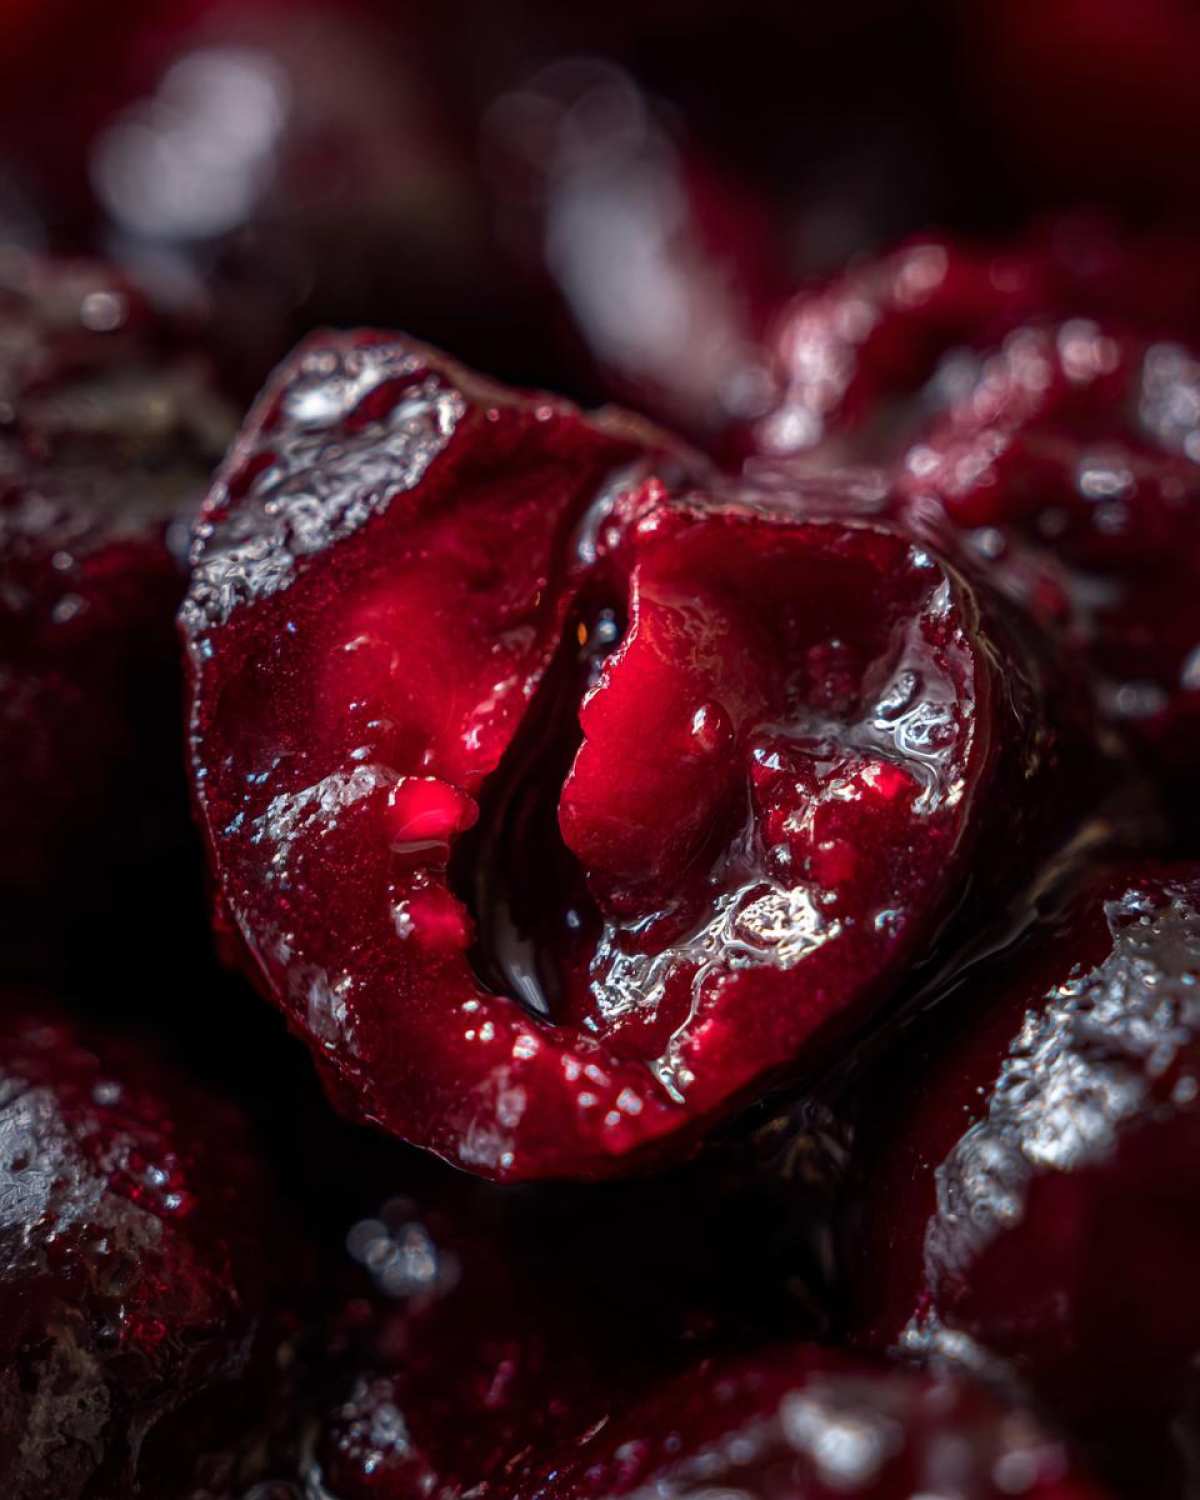
The almond extract is my secret weapon; if you are making a regular fruit topping, you wouldn’t usually add that, right? But cherry and almond are soulmates! It deepens the cherry flavor so much that people ask if I used fancy liqueur. Don’t use too much, though—a full teaspoon is plenty for four cups of cherries. If you use more, it quickly tastes like marzipan, and that’s not what we want here!
My final piece of advice is about using frozen fruit. When you add those icy cherries directly to the simmering water, the temperature of your pot is going to drop fast. That’s normal! Just wait patiently until it comes back up to a simmer before you add your cornstarch mix. If you add the thickener while the liquid is cool, you’ll get these horrible, gooey, uncooked clumps. Once everything is bubbling nicely again, *then* you whisk in your sugar slurry. It sounds simple, but that reaction timing is everything.
If you’re experimenting with different fruit fillings, you might find some that freeze better than others, but cherries are champions. If you are looking for more ideas on how to use up that extra fruit bounty, check out my guide on easy berry cobbler recipes; sometimes a cobbler is even faster than figuring out a crust!
Versatility: Using Your Cherry Filling for Pies and More
The best part about having this amazing, thick cherry pie filling ready to go? You are NOT limited to just one perfect double-crust pie! Honestly, once you realize how much better homemade tastes than canned goop, you start putting it on *everything*. Since this recipe works so beautifully with those frozen cherries we talked about—meaning you can make this in December just as easily as July—you should always have some on hand!
Think beyond the pie dish for a second. This thick, glossy texture means it holds its shape beautifully when dolloped on things. It’s wonderful warmed slightly over vanilla ice cream. If you’re making pancakes or waffles on a lazy Sunday morning, forget the syrup; spoon this over the top! It becomes instantly fancy.
I regularly use this stuff as a topping generator for baked goods. It pairs unbelievably well with cheesecake—the tart fruit cuts through the richness perfectly. I actually made a batch last month specifically to layer into a recipe for my healthy cheesecake, and it was mind-blowing. You can also use it straight up as a tart filling if you bake a simple shortbread base, or even layer it in parfait glasses with whipped cream and granola.
Cherry Filling With Frozen Cherries Applications
I have to stress this again: the fact that you can use frozen cherries straight from the freezer bag means this is a year-round treat. You don’t have to wait for peak summer season to enjoy this fantastic filling. Because we cooked it down so perfectly on the stovetop, it maintains its structure whether it’s hot or cold.
When I use frozen cherries, I usually make extra just so I have a jar ready for quick desserts. Try heating up a small batch and spreading it over warm biscuits—it’s heavenly! If you want something simple for breakfast, just warm up a generous scoop and pour it over your waffles or French toast. It’s the quickest way to turn a boring meal into a celebration using your incredibly tasty, no-fuss cherry filling!
Storage and Make-Ahead Tips for Cherry Pie Filling
You know the best feature of this cherry pie filling? You can totally make it ahead of time! I highly recommend it, actually. If you are planning on making a pie for a big holiday or a party, making the filling the day before saves so much stress. Plus, it gives it time to chill completely, which we already established is crucial for texture!
For short-term storage, just let the filling cool down completely on the counter first. Once it’s room temperature, scoop it into an airtight container—a glass Mason jar works beautifully—and pop it in the fridge. It stays perfectly good and thick for about a week. I often make a double batch just so I have ready-made topping for things like ice cream or yogurt throughout the week. It’s so much better than anything store-bought!
Now, if you want to get really organized, you can definitely freeze this filling! Once it’s cooled, portion the Homemade Cherry Pie Filling into freezer-safe bags or containers, making sure to leave a little headspace since the liquid will expand slightly. It freezes really well and tastes just as amazing when you thaw it out months later. Perfect for those unexpected cravings!
And yes, you absolutely can can this! If you want to stock up for the whole year, this recipe is safe for water bath canning, just like the notes mentioned. Make sure you’re following all the proper sterilizing and processing times if you go that route, because we want everything safe and sealed up tight for long-term storage. It’s truly the ultimate set-it-and-forget-it dessert component.
If you’re experimenting with different fruit fillings, you might find some that freeze better than others, but cherries are champions. If you are looking for more ideas on how to use up that extra fruit bounty, check out my guide on easy berry cobbler recipes; sometimes a cobbler is even faster than figuring out a crust!
Frequently Asked Questions About Homemade Cherry Pie Filling
I always get so many questions after sharing this recipe because, honestly, once you see how easy it is to make authentic cherry pie filling, you start thinking about all the ways you can customize it! I’ve gathered up the biggest questions I hear all the time below to help you get that perfect result on your first try.
Can I make this cherry pie filling without cornstarch?
That’s a tough one, only because those big, beautiful pockets of juice only set up correctly with that specific thickening agent when we are cooking fast! If you simply must skip the cornstarch, your next best bet would be arrowroot powder, but you’ll need maybe a tablespoon more, and it can sometimes result in a slightly cloudier finish. However, to get that fantastic, clear, shiny look we are aiming for in a **Thick Cherry Pie Filling**, cornstarch is just the gold standard. It cooks clear, and it gives you that perfect set once it cools. I really recommend sticking to it for the best outcome!
How do I get a sweet tart cherry filling flavor?
Oh, I love a tart filling—it really balances out the buttery crust! If you are using standard sweet cherries, you can manually adjust for tartness just like we talked about in the ingredient notes. The easiest way is to swap out half of your sweet cherries for sour cherries (like Montmorency, if you can find them fresh or frozen). If you can’t find sour ones, just use the sweet ones, but reduce the granulated sugar in the recipe by about 1/4 cup total. Then, you can always finish it off with an extra half-teaspoon of the lemon juice when you add the extracts. That little sour punch makes all the difference against the sweetness!
If you’re looking for more topping recipes or ideas on how to glaze anything else, you should check out my guide on homemade glaze for fruit pies—sometimes a little topping magic can fix a flavor issue too!
Estimated Nutritional Information for Cherry Pie Filling
Okay, so usually, I’m too busy taste-testing to worry about counting calories when I’m making something this delicious, but I know some of you like to keep track! Since this is a homemade recipe, keep in mind these numbers are just estimates based on the ingredients listed. If you use less sugar or different cherries, the final count is going to shift a little bit, of course.
This information is based on one serving size being about 1/2 cup of the final, cooled filling. It’s great to know exactly what’s going into your pie—it’s way better than guessing with that scary, bright red stuff in a can!
- Serving Size: 1/2 cup
- Calories: About 240
- Sugar: 38g (That’s where the flavor comes from, folks!)
- Carbohydrates: 61g
- Fat: Only about 0.2g—pretty low, right?
- Protein: 0.5g
- Sodium: 5mg (Just a tiny pinch in there!)
See? It’s just cherries, sugar, and starch doing their thing! This means when you pour this over your morning Greek yogurt or use it as a topping for your favorite cheesecake, you’re getting a ton of fruit flavor without busting your sugar budget, especially since this recipe makes a huge batch (about 5 cups total)! Happy baking!
Share Your Sweet Tart Cherry Filling Creations
Now that you have the blueprint for the most gorgeous, perfectly set, cherry pie filling imaginable, it’s time for you to get into the kitchen! Seriously, I love seeing what you all create with this recipe. Whether you’re keeping it classic with a flaky crust or drizzling it over your morning waffles, I want to hear about it!
Did you try the almond extract trick? Tell me whether you went bold or kept it subtle! Did you use all fresh cherries or rely on the freezer stash? Seriously, drop a comment below with your rating of this recipe—five stars means you’re officially a pie-filling master, by the way!
Please, if you make a pie or a tart using this incredible sweet tart cherry filling, snap a picture! I always feature reader creations on my social feed. It truly warms my heart to see my family’s simple, no-fuss recipe out there making your holiday tables and weeknight desserts look spectacular.
If you loved how easy this came together, don’t forget to check out my guide on all the best pie filling recipes—I have tips for apple, peach, and even rhubarb that follow a similar simple stovetop method. Happy baking, my friends. Go forth and fill those crusts perfectly!
Print
Thick and Juicy Homemade Cherry Pie Filling
- Total Time: 25 min
- Yield: About 5 cups filling
- Diet: Vegetarian
Description
Make a thick, sweet, and tart cherry pie filling from scratch using fresh or frozen cherries. This recipe yields a perfect texture for pies and other desserts.
Ingredients
- 4 cups sweet cherries, pitted (fresh or frozen)
- 1 cup water
- 1 cup granulated sugar
- 1/4 cup cornstarch
- 1 tablespoon lemon juice
- 1 teaspoon almond extract
- 1/4 teaspoon salt
Instructions
- If using frozen cherries, do not thaw them first. Place cherries and water in a medium saucepan. Bring to a simmer over medium heat.
- In a separate small bowl, whisk together the sugar and cornstarch until fully combined.
- Slowly whisk the sugar and cornstarch mixture into the simmering cherries and water.
- Continue to cook, stirring constantly, until the mixture thickens significantly, about 5 to 8 minutes. It should coat the back of a spoon.
- Remove the pan from the heat. Stir in the lemon juice, almond extract, and salt.
- Allow the filling to cool completely before using it in your pie or dessert. Cooling helps the filling set to its final thick consistency.
Notes
- For a tarter flavor, substitute half of the sweet cherries with sour cherries.
- If you prefer a brighter red color, add 1-2 drops of red food coloring when adding the extracts.
- This filling can be canned for long-term storage using a standard water bath canning method for pie fillings.
- Prep Time: 10 min
- Cook Time: 15 min
- Category: Dessert Component
- Method: Stovetop Cooking
- Cuisine: American
Nutrition
- Serving Size: 1/2 cup
- Calories: 240
- Sugar: 38
- Sodium: 5
- Fat: 0.2
- Saturated Fat: 0
- Unsaturated Fat: 0.2
- Trans Fat: 0
- Carbohydrates: 61
- Fiber: 2
- Protein: 0.5
- Cholesterol: 0