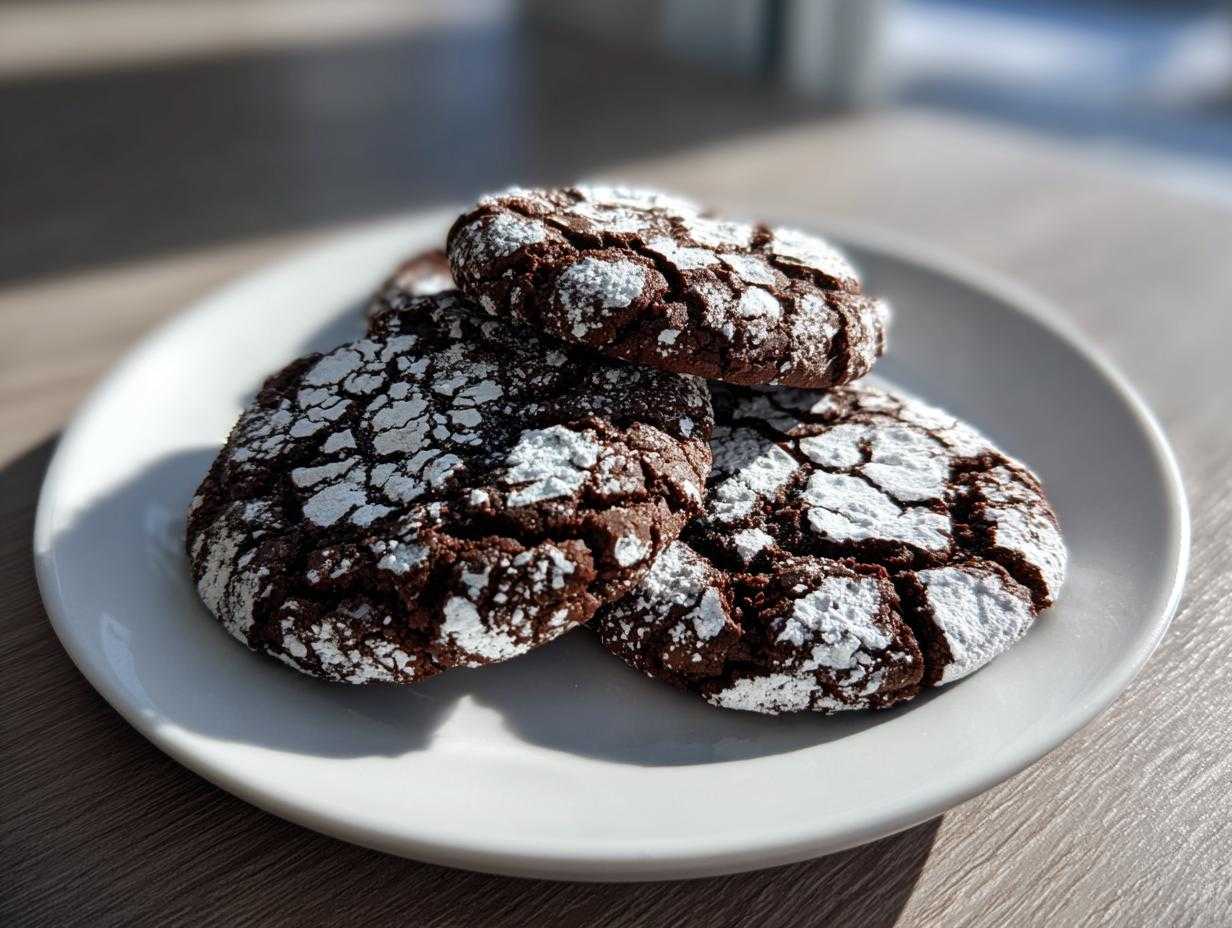
Oh my gosh, if you need a cookie that just screams ‘holiday magic’ but tastes like you spent all day slaving over a hot stove, you HAVE to stop right here. Forget those dry, sad little cocoa cookies you might have tried before. These chocolate crinkle cookies are seriously the ultimate treat. I’m talking intensely fudgy centers, a beautifully chewy edge, and that stunning, snowy cracked top that looks impossibly hard to achieve.
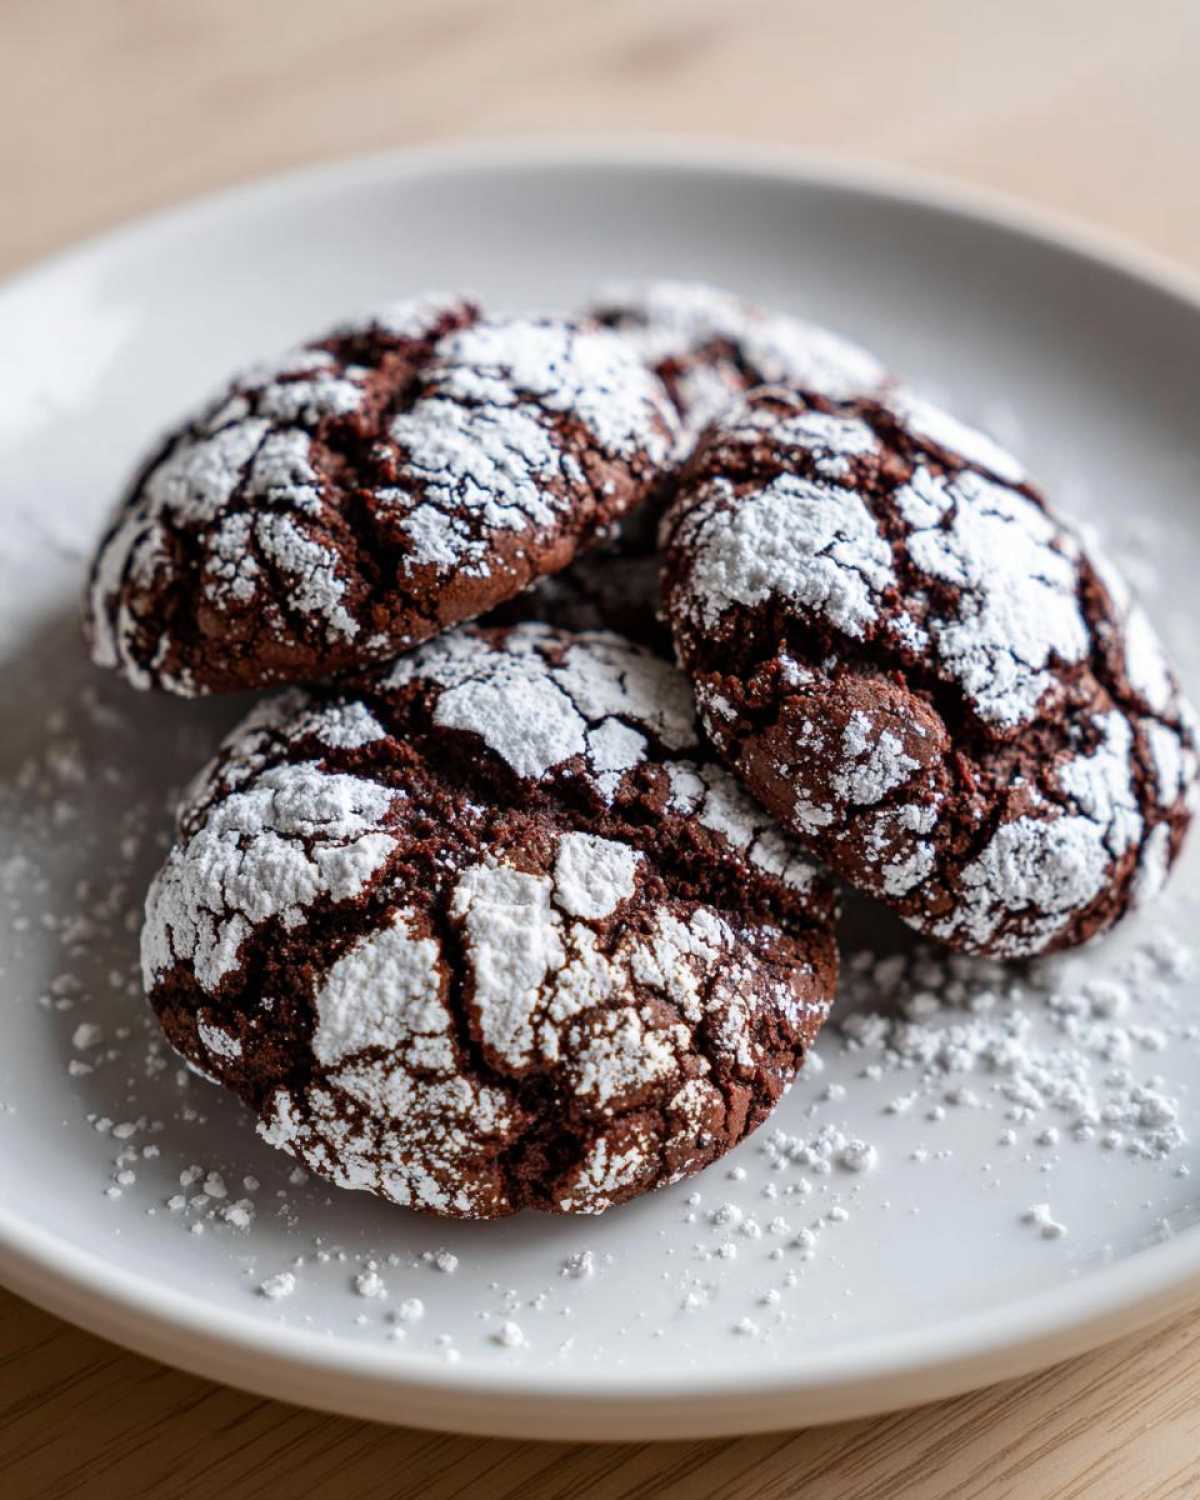
I finally nailed this recipe last December after three batches of total disaster—one spread out flatter than a pancake! But once I figured out the chilling time and the secret second rolling step, wow! Suddenly, my platter was covered in these perfect, brownie-like orbs. They are so easy, truly, and they make your kitchen smell like the best bakery in town. You’re going to want to double the batch, trust me. If you love gooey bottoms, you should definitely check out my guide to the best soft and chewy chocolate chip cookies for another go-to favorite!
Why You Will Make the Best Chocolate Crinkle Cookies Every Time
I know, I know, everyone says their recipe is the best, but these chocolate crinkle cookies actually live up to the hype. Seriously, they stay soft for days! I promise you’ll be telling everyone you know that this is your new go-to holiday cookie. Here’s what makes them different from the others:
- They bake up intensely chocolatey—almost like a soft, chewy brownie in cookie form.
- The edges set up nicely, but the middle stays wonderfully rich and fudgy.
- That signature snow-dusted crackle top appears so beautifully, even if you’re not a cookie expert!
Achieving the Ultimate Soft and Fudgy Texture
It’s all about the sugar balance! We use both granulated sugar for structure and a hearty amount of packed light brown sugar. That brown sugar brings the molasses flavor and keeps moisture locked in, guaranteeing that wonderfully soft, almost under-baked feel that makes these cookies so decadent.
The Secret to the Perfect Powdered Sugar Crinkle Top
Want that magazine look? The magic is two-fold: you absolutely have to chill the dough so it holds its shape, and then you need to perform the ‘double-dust.’ Rolling them warm in that second coat of sugar is the trickiest part, but it catches the cracks as they set. It’s totally worth the extra minute!
Essential Ingredients for Perfect Chocolate Crinkle Cookies
Okay, let’s talk about what goes into these showstoppers. Good quality ingredients make all the difference here, especially your cocoa powder! I’ve tried cheating with cheaper brands before, and let me tell you, the flavor depth just wasn’t there. These amounts make about two dozen cookies, perfect for sharing—or maybe just keeping most for yourself, I won’t tell!
If you’re looking for another intensely rich chocolate treat, you should check out my recipe for big batch hot cocoa mix; it’s perfect for warming up on a cold night while these cookies cool!
- 1 cup (226g) unsalted butter, softened
- 1 3/4 cups (350g) granulated sugar
- 2 large eggs
- 1 teaspoon vanilla extract
- 1 cup (200g) packed light brown sugar
- 3/4 cup (65g) unsweetened cocoa powder, natural or Dutch-process
- 1 3/4 cups (210g) all-purpose flour
- 1 teaspoon baking powder
- 1/2 teaspoon salt
- 1/2 cup (85g) semi-sweet chocolate chips (I always put these in, it’s optional but highly recommended!)
- 1 cup (120g) powdered sugar, for rolling
- 1/2 cup (60g) extra powdered sugar, for second rolling
Equipment Needed for Your Chocolate Crinkle Cookies
Okay, before you even think about pulling out the butter, let’s get your kitchen set up for success. Having all your tools ready makes this whole process so much smoother, especially when you get to the chilling stage and want to move fast. These aren’t complicated cookies, but we need a few specific items to get that perfect shape and the ultimate crackle!
Go grab these things and set them on your counter. It makes cleanup a breeze later, too:
- Large mixing bowl and a medium bowl for your dry stuff.
- Hand mixer or a stand mixer—though honestly, for the creaming part, a sturdy wooden spoon and some elbow grease works just fine!
- Measuring cups and spoons—precision matters when we’re aiming for fudgy perfection.
- Baking sheets. You’ll need at least two lined with parchment paper so those beautiful, powdered cookies slide right off.
- A small, shallow dish for rolling the dough balls in sugar.
- A scoop (a 1.5 tablespoon scoop is ideal!) to keep all your cookies the same size.
- And finally, a wire cooling rack so the bottoms don’t steam and get sticky while they cool.
Step-by-Step Instructions for Chewy Chocolate Crinkle Recipe
This is where the magic happens, but don’t rush it! The difference between a good cookie and one of our spectacular chocolate crinkle cookies really comes down to a couple of quick, critical habits. Follow these steps exactly, especially when it comes to chilling, and you’ll see that perfect crackle instantly.
Mixing the Wet and Dry Components
Start by getting your butter and granulated sugar whipped up until they’re light and fluffy—that takes maybe two minutes if you’re using a mixer. Then beat in those eggs one by one; don’t just dump them in! Once the vanilla and brown sugar are mixed in, move to your dry ingredients. Whisk your cocoa, flour, baking powder, and salt together in a separate bowl; this prevents dry pockets later. Add the dry blend slowly into the wet mixture while the mixer is on low. My biggest tip for fudgy cookies is this: as soon as the last bit of flour disappears, STOP MIXING! Overmixing turns the dough tough, and we want tender, soft brownie cookies!
The Crucial Dough Chilling Phase
This step is non-negotiable, even if you’re desperate for cookies right now. Chilling the dough for at least two hours, or even overnight, firms everything up. Why? Because cold dough doesn’t spread out like lava in the oven. When it stays tall and cold, the outside sets quickly, forcing that gorgeous top to crack and expose the dark interior!
Rolling and Baking Your Chocolate Crinkle Cookies
Once chilled, you’re ready for the snow job! Roll your chilled dough balls thoroughly in the first cup of powdered sugar—make sure they are completely coated. Bake these at about 10 to 12 minutes at 350°F (175°C). You must pull them when the centers still look a little soft; if you wait until they look fully done, they’ll be dry later. The second coating is the true secret: as soon as they come out, gently roll the warm cookies in the remaining half-cup of powdered sugar. This sticks where the cookie is still warm and creates those amazing, defined cracks as they cool down. If you want more deep dives into handling dough like this, make sure you look at my chocolate crinkle dough tips for extra secrets!
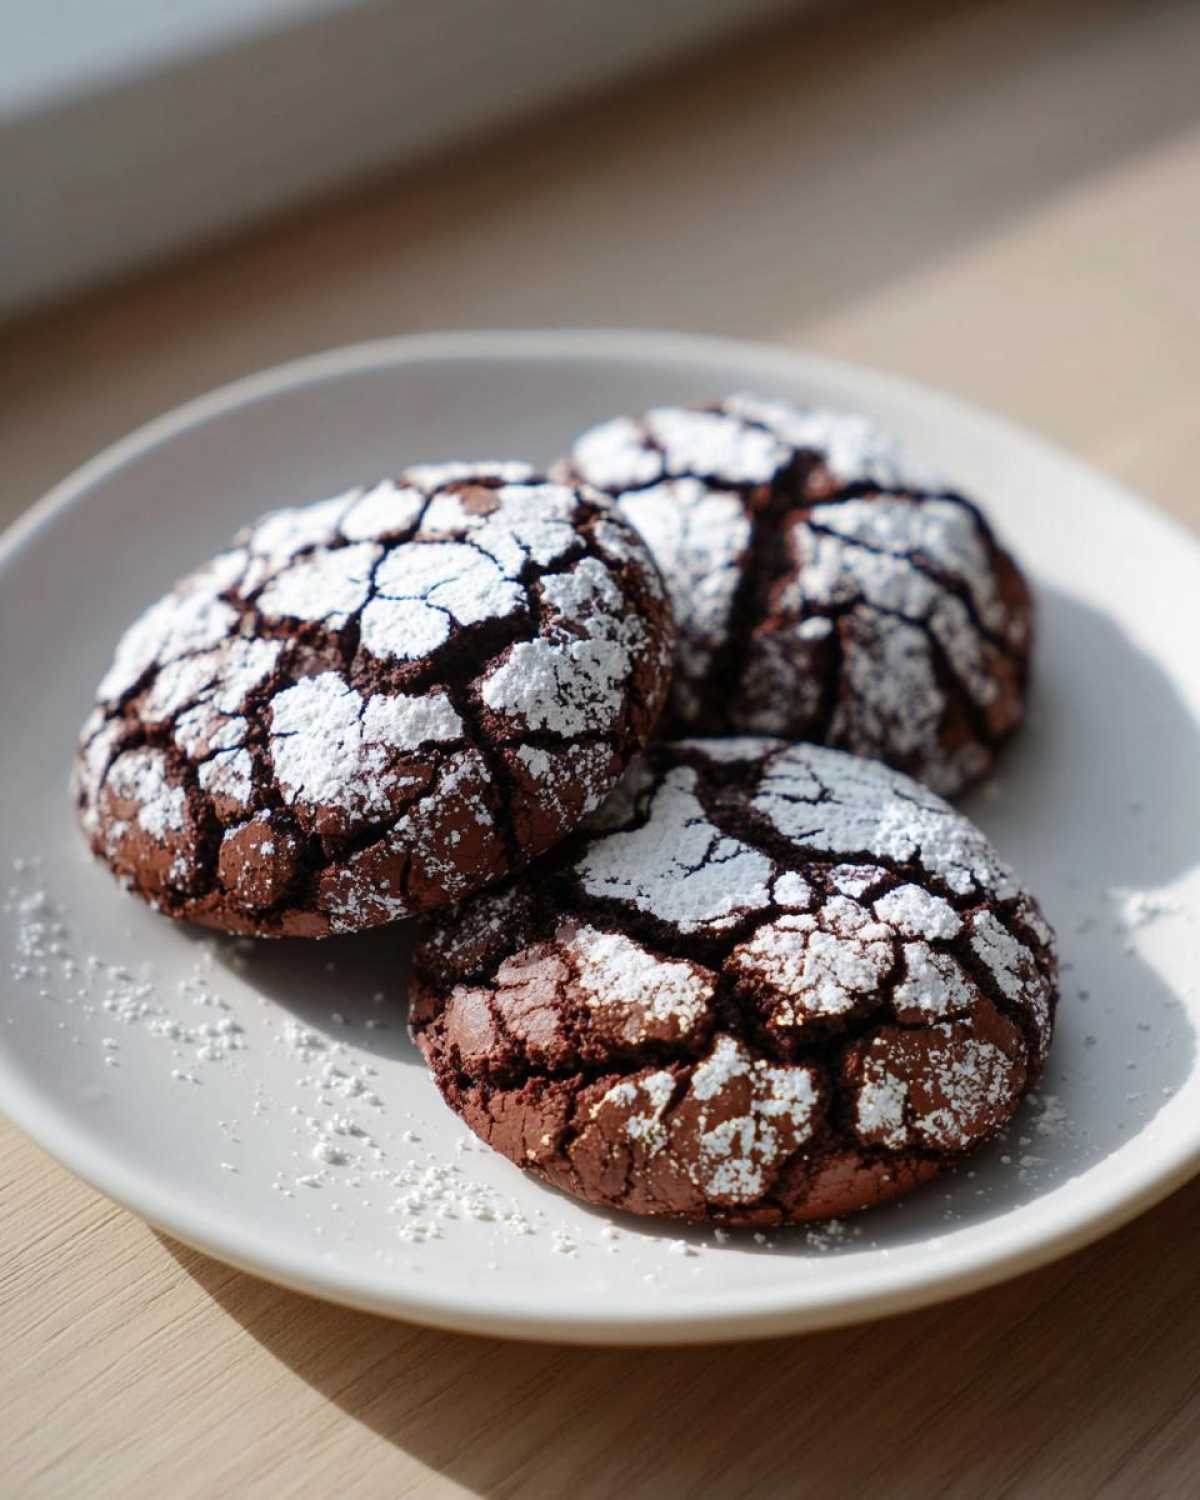
Chocolate Crinkle Dough Tips for Success
Even though this recipe is pretty straightforward, a few little tricks can take your chocolate crinkle cookies from good to absolutely show-stopping. Seriously, these little secrets are what separated my disastrous batches from the perfect, fudgy cookies I share with you today! Don’t skip the prep work, especially when it comes to temperature.
If you’re into spice, you might also love my chewy molasses crinkle cookies recipe, but for that intense chocolate hit, stick with these tips. First, always use room temperature, softened butter. If it’s too cold, it won’t cream properly, and you miss out on trapping air, which leads to flatter cookies. Second, regarding cocoa: I prefer Dutch-process for a deeper, darker color, but natural works fine too! Just know Dutch-process gives you that rich, almost black color beneath the white powder.
Don’t try to bake the dough warm—I learned that the hard way! If you roll the dough balls and they feel sticky or soft even before their first sugar coat, pop them back in the fridge for another 30 minutes. Happy baking!
Storage and Reheating Instructions for Homemade Chocolate Cookies
No one wants to eat a sad, stale cookie, especially when they look as gorgeous as these chocolate crinkle cookies do! The good news is that because of all that sugar and butter, they actually stay beautifully soft for days. The key is managing the airflow around them.
For the best results, and to keep that fudgy texture locked in, always store them at room temperature in a completely airtight container. I learned a lot about cookie longevity when I started prepping my holiday cookie batches early, and sealing them up is crucial. Avoid the fridge if you can; sometimes the cold air dries them out faster, unless it’s extremely humid where you live.
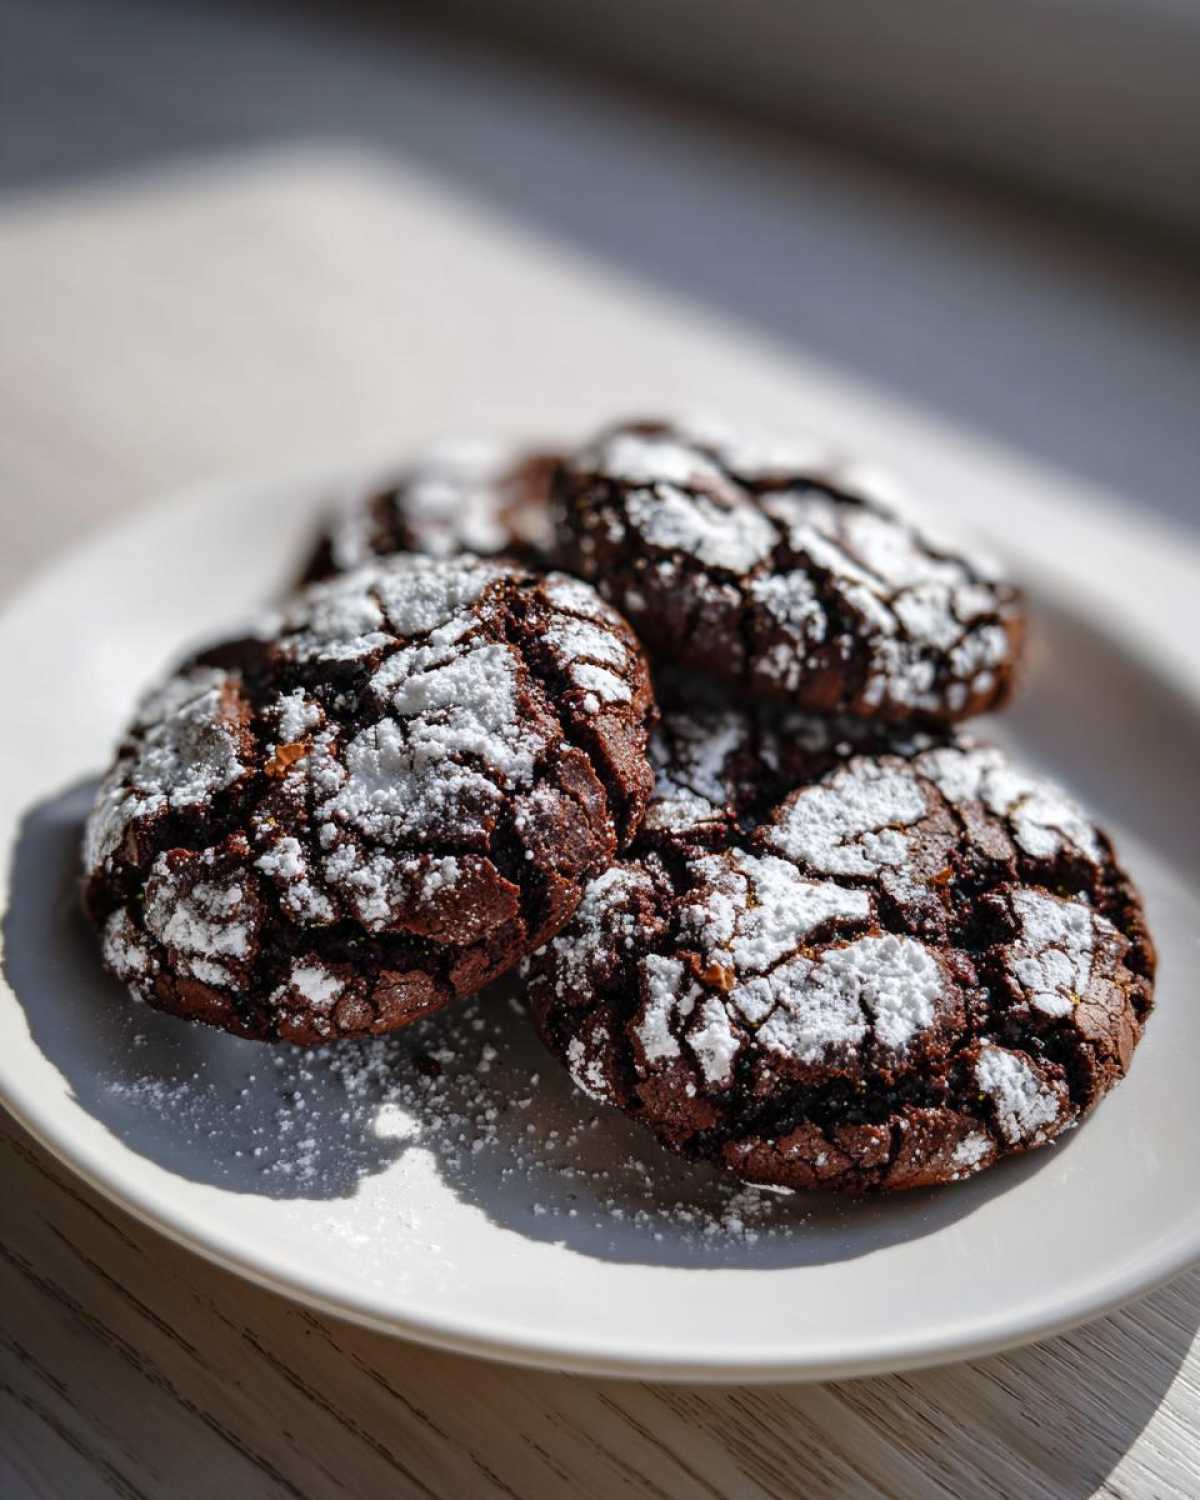
You can stack them, but if you’re worried about the powdered sugar migrating or the cookies sticking together (which happens after 2-3 days), put a small piece of parchment paper between the layers. They generally last really well for about four to five days this way.
What if you’ve hidden them away for too long? Don’t panic! They reheat like a dream to bring back that fresh-from-the-oven gooeyness. Just pop one or two on a plate and microwave them for about 8 to 10 seconds. That little bit of heat softens the butter and cocoa mixture right back up. It’s almost cheating how good they taste when warmed up!
Variations for Your Fudgy Chocolate Cookies
While these Fudgy Chocolate Cookies are absolutely perfect as written—a true classic—sometimes a baker just needs to switch things up, right? I love making small additions that boost the chocolate factor even more. Don’t be afraid to experiment a little bit once you’ve mastered the original recipe!
If you’re looking for an even deeper, richer chocolate experience, try dissolving about a teaspoon of instant espresso powder right into your vanilla extract before mixing it with the wet ingredients. It won’t taste like coffee, I promise, but it absolutely enhances the cocoa notes. Also, if you’re feeling fancy, skip the semi-sweet chips and use dark chocolate chunks—they melt beautifully. For a professional finish, try sprinkling a tiny pinch of flaky sea salt right on top of the second powdered sugar coating before the cookie cools completely. It cuts the richness perfectly!
For more show-stopping chocolate ideas, check out my recipe for fudgy brownie bites—they have a stunning drizzle that makes them look like they came from a fancy pastry shop!
Frequently Asked Questions About Chocolate Crinkle Cookies
I get so many questions after people try these, which just proves how amazing they are! Most of my troubleshooting advice boils down to one thing: sticking closely to the chilling and rolling steps. But here are the biggest things people ask me about when trying to achieve that bakery style chocolate cookies look at home.
Can I skip chilling the chocolate crinkle dough?
Oh, please, *please* don’t skip this step! If you skip chilling the dough, you’re essentially saying goodbye to that beautiful crackle top. Unchilled dough is too soft and warm, so it spreads out too much in the oven. When it spreads wide, the powdered sugar just melts into a dull coating instead of cracking dramatically over the top. For the best homemade chocolate cookies look, chilling is mandatory!
What type of cocoa powder works best for these Easy Chocolate Crinkle Cookies?
This is a great question, especially since the recipe uses a good amount of cocoa! For these Easy Chocolate Crinkle Cookies, I really prefer Dutch-process cocoa powder. Why? Because it’s been treated to reduce acidity, which gives the final product a darker color and a smoother, richer chocolate flavor. If you only have natural cocoa powder (like Hershey’s standard tin), it will still work, but the cookies might spread slightly more and taste a tiny bit sharper. Either way, use the best quality you can find!
How do I get the most intense chocolate flavor in my cookies?
If you are aiming for the most intensely chocolatey cookies possible, you have two main routes, and they both involve leaning heavily into the cocoa! First, using Dutch-process cocoa (as mentioned above) naturally deepens the chocolate notes. Second, and this is a little extra step, you can melt about a quarter cup of truly dark, high-quality chocolate (around 70% cacao) and let it cool slightly before creaming it in with your butter and sugars. That adds another layer of gooey, dark decadence that is just heavenly!
Nutritional Information for These Decadent Chocolate Dessert Treats
Okay, let’s talk numbers for a second. I totally get that sometimes you want to track things, even when indulging in the best chocolate crinkle cookies known to humankind! Remember, baking is an art, and when you substitute butter for oil or use a different brand of cocoa, these numbers can shift around a bit. So, please treat this as a helpful estimate for one single cookie based on the ingredients list we used today.
If you’re counting macros or just watching your intake, having this insight is really useful. If you’re looking for alternatives that might shave a few calories without losing all the deliciousness, you might want to peek at my protein cheesecake recipe for a different kind of sweet treat!
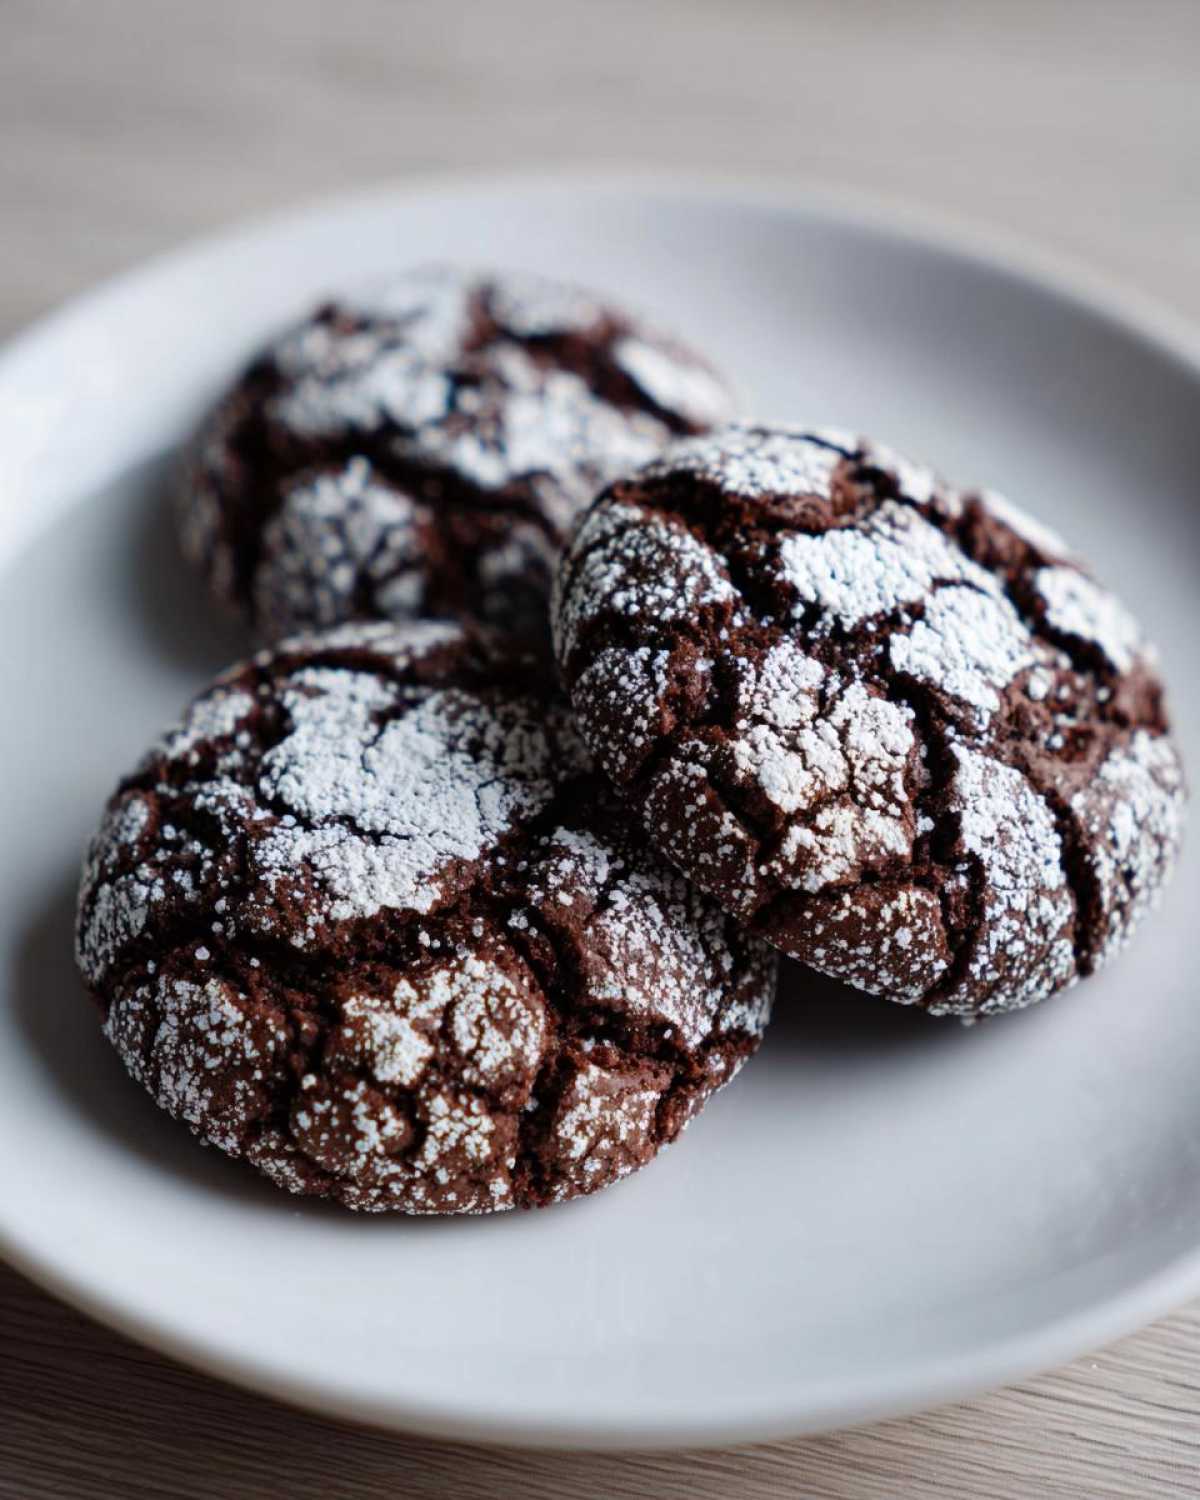
Here is the estimated breakdown per cookie (Yield: 24 cookies):
- Calories: 205
- Sugar: 24g
- Fat: 10g
- Saturated Fat: 6g
- Carbohydrates: 29g
- Protein: 3g
- Sodium: 95mg
See? Even though they taste incredibly rich and decadent, you get a decent little energy hit for your holiday baking marathon. Enjoy these treats knowing exactly what’s in them—and how utterly delicious they are!
Print
The Ultimate Soft and Fudgy Chocolate Crinkle Cookies Recipe with Perfect Crinkle Top
- Total Time: 2 hours 32 min
- Yield: 24 cookies
- Diet: Vegetarian
Description
Make soft, fudgy chocolate crinkle cookies that feature the classic cracked powdered sugar coating. This recipe is simple to follow for perfect holiday baking.
Ingredients
- 1 cup (226g) unsalted butter, softened
- 1 3/4 cups (350g) granulated sugar
- 2 large eggs
- 1 teaspoon vanilla extract
- 1 cup (200g) packed light brown sugar
- 3/4 cup (65g) unsweetened cocoa powder, natural or Dutch-process
- 1 3/4 cups (210g) all-purpose flour
- 1 teaspoon baking powder
- 1/2 teaspoon salt
- 1/2 cup (85g) semi-sweet chocolate chips (optional)
- 1 cup (120g) powdered sugar, for rolling
- 1/2 cup (60g) extra powdered sugar, for second rolling
Instructions
- In a large bowl, cream together the softened butter and granulated sugar until light and fluffy, about 2 minutes.
- Beat in the eggs one at a time, mixing well after each addition. Stir in the vanilla extract and brown sugar until combined.
- In a separate medium bowl, whisk together the cocoa powder, flour, baking powder, and salt.
- Gradually add the dry ingredients to the wet ingredients, mixing on low speed until just combined. Fold in the chocolate chips if using.
- Cover the dough and chill in the refrigerator for at least 2 hours, or up to 24 hours. Chilling helps prevent spreading and improves the crinkle effect.
- Preheat your oven to 350°F (175°C). Line baking sheets with parchment paper.
- Place the 1 cup of powdered sugar in a shallow dish. Scoop the chilled dough into balls, about 1.5 tablespoons each. Roll each dough ball thoroughly in the powdered sugar until completely coated.
- Place the coated dough balls onto the prepared baking sheets, leaving 2 inches between them.
- Bake for 10 to 12 minutes. The edges should look set, but the centers will still look slightly soft. Do not overbake.
- Immediately after removing the cookies from the oven, roll the warm cookies gently in the remaining 1/2 cup of powdered sugar. This second coating creates the best crinkle look.
- Let the cookies cool on the baking sheet for 5 minutes before transferring them to a wire rack to cool completely.
Notes
- For the best crinkle, ensure your dough is well-chilled before rolling.
- Use high-quality cocoa powder for an intense chocolate flavor.
- If the powdered sugar coating melts too much during the second roll, let the cookies cool for a few more minutes before trying again.
- Prep Time: 20 min
- Cook Time: 12 min
- Category: Dessert
- Method: Baking
- Cuisine: American
Nutrition
- Serving Size: 1 cookie
- Calories: 205
- Sugar: 24g
- Sodium: 95mg
- Fat: 10g
- Saturated Fat: 6g
- Unsaturated Fat: 4g
- Trans Fat: 0g
- Carbohydrates: 29g
- Fiber: 2g
- Protein: 3g
- Cholesterol: 35mg