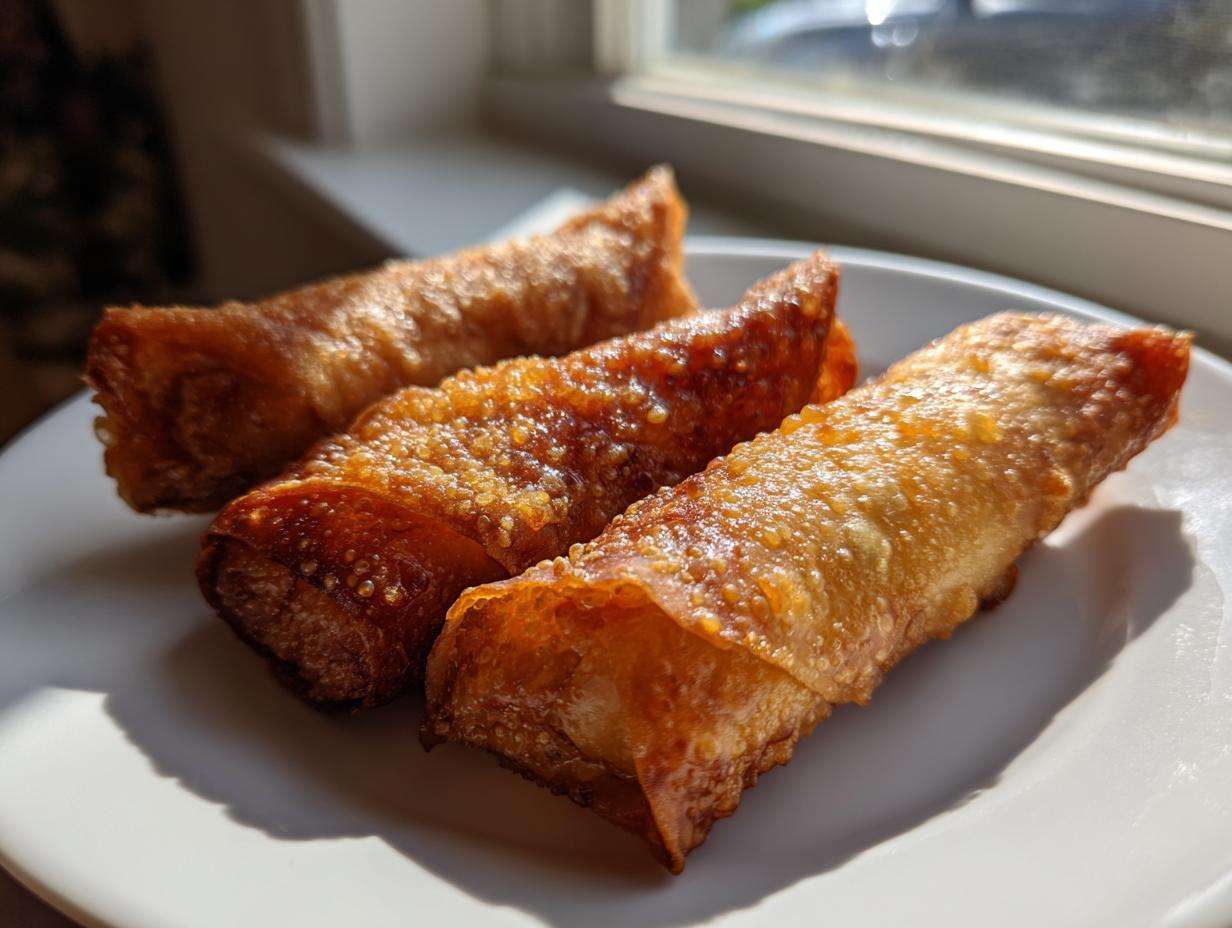
Oh, don’t even get me started on that flavor you only find when you pick up the phone for Chinese takeout. That salty, savory filling wrapped up in something impossibly, gloriously crunchy? It’s the best. I spent years trying to nail that restaurant-quality crunch at home without having to beg my neighbor for their deep fryer. I tested wrapper thicknesses, filling moisture levels, and secret frying temperatures until I finally cracked the code for the perfect crispy homemade chicken egg roll.
Seriously, forget those flimsy versions that go soggy before you even leave the kitchen. This recipe is the one I use for parties, game days, or just when I need a serious fix. My method ensures every bite delivers that perfect shatter you expect from the best takeouts, guaranteed!
Why You Will Love This Crispy Homemade Chicken Egg Roll Recipe
This isn’t just another recipe, trust me. After wrestling with soggy wrappers for years, I finally figured out what makes these truly special. You’re going to want to bookmark this one, especially if you love throwing together an impressive spread of easy summer appetizers!
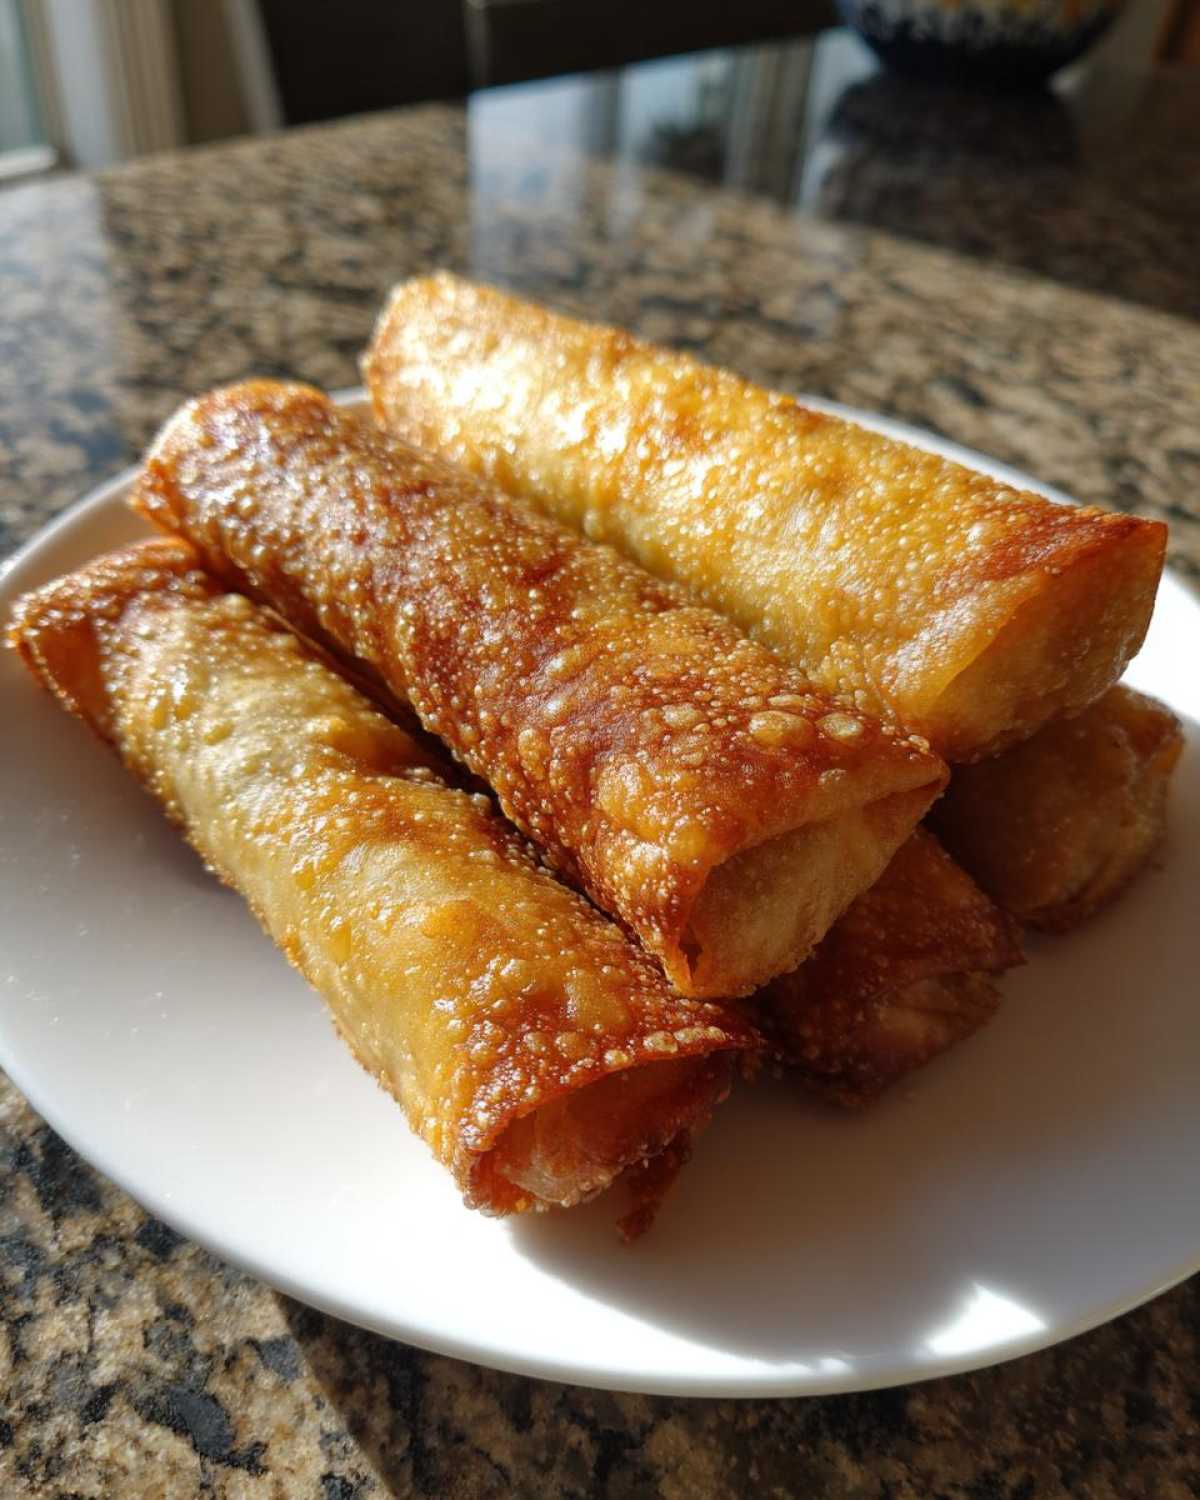
- The Crunch Factor is Non-Negotiable: We are talking shatteringly crisp wrappers here. I’ve perfected the deep-frying technique so that the outside stays blistered and golden brown straight out of the oil. No limp wrappers allowed!
- Filling Flavor That Blows Takeout Away: That savory sauce balance with the ginger and the fresh crunch of the cabbage just sings. It tastes so much cleaner and brighter than the versions you get delivered to your door.
- Easier Than You Think: People see ‘egg roll’ and they think it’s complicated, but honestly, once you get the rolling down—which I walk you through later—assembly is incredibly fast. Plus, the filling cooks up in one pan!
- Perfect for Any Occasion: These are the ultimate party snack or game-day MVP, but if you make enough filling and skip the wrapping, it’s a fantastic, quick Asian dinner, too. Versatility wins every time.
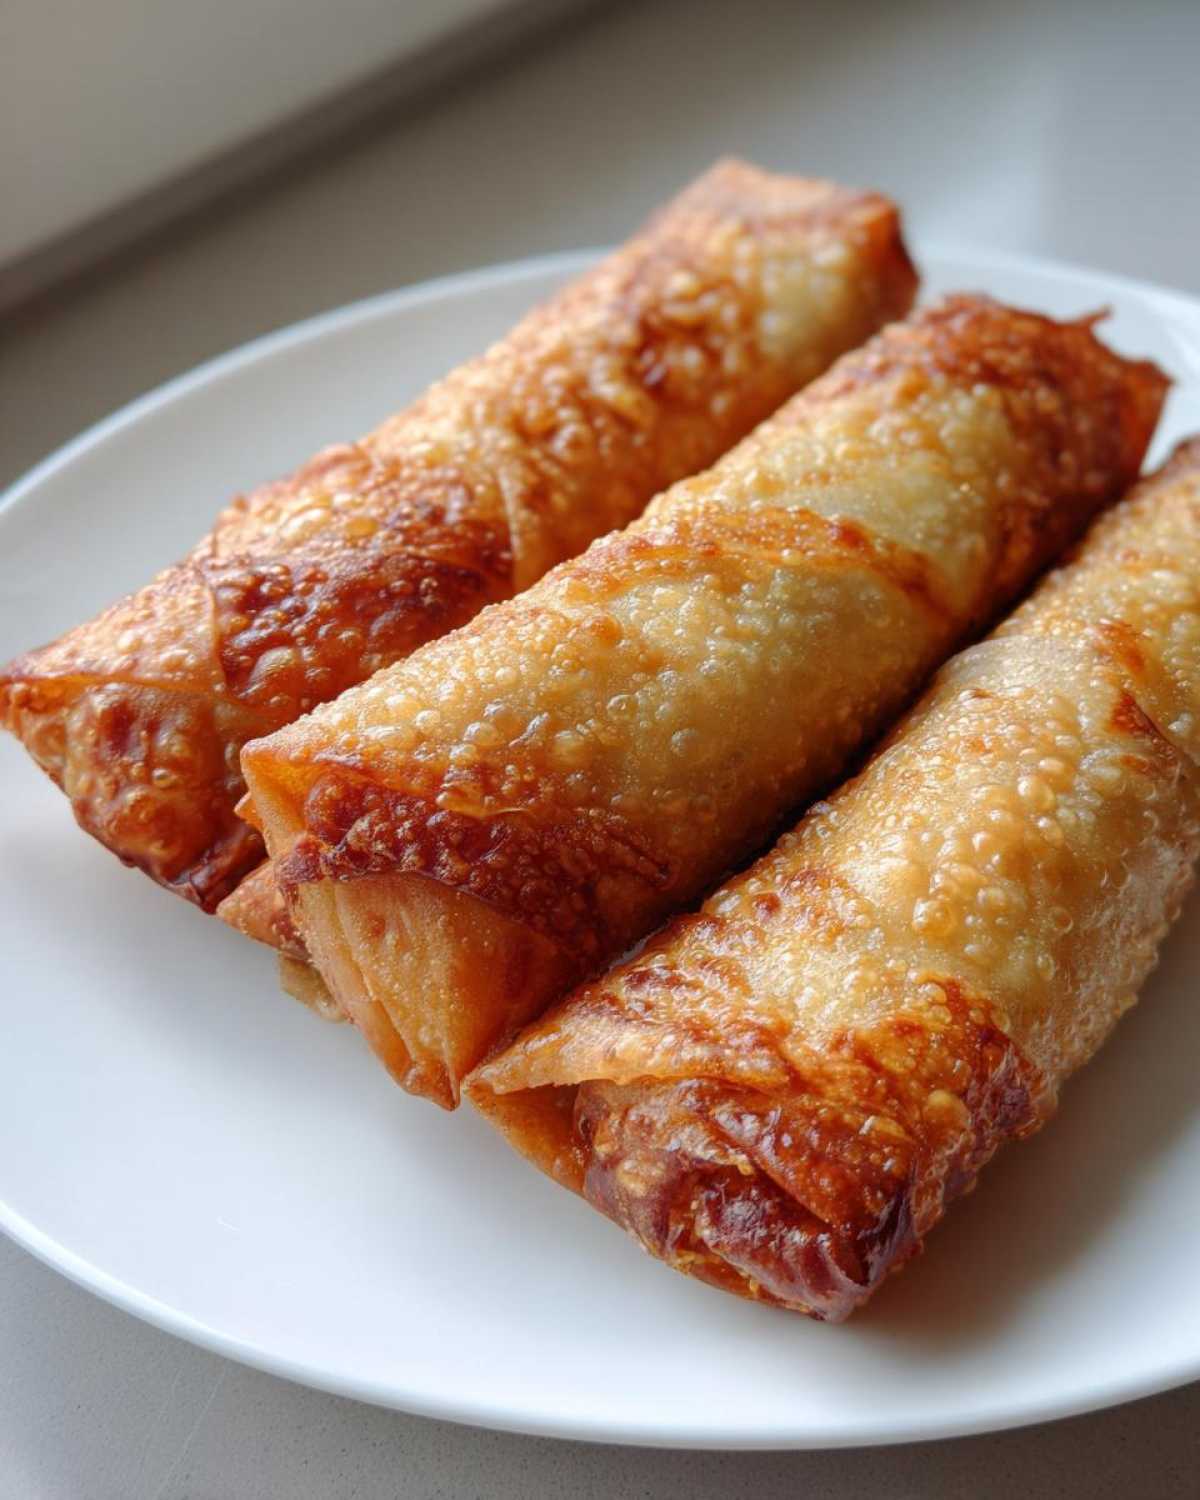
Ingredients Needed for the Best Egg Roll Filling
You can’t get that amazing, savory depth without the right lineup. Getting the ratio of meat to vegetable just shy of perfect is key here. If your filling is too wet, you end up with sad, steaming wrappers instead of crisp ones. So, pay attention to what goes in!
Here is exactly what I grab when I’m making myself a big batch of this filling for about 12 egg rolls:
- 1 pound ground chicken (or pork, if you prefer that richer flavor!)
- 1 tablespoon vegetable oil (for sautéing, nothing fancy)
- 2 cloves garlic, minced (don’t skimp, fresh garlic is non-negotiable)
- 1 teaspoon grated fresh ginger (fresh, please—it makes a huge difference!)
- 1 cup shredded cabbage (I just buy the pre-shredded coleslaw mix to save time)
- 1 cup shredded carrots (same deal as the cabbage)
- 1/2 cup sliced mushrooms (cremini work great here)
- 1/4 cup chopped green onions (added last for brightness)
- 2 tablespoons soy sauce (use low sodium if you’re watching salt)
- 1 tablespoon oyster sauce (This is the secret weapon for that deep umami!)
- 1 teaspoon sesame oil (just a touch for aroma)
- 1/4 teaspoon black pepper
- 12 egg roll wrappers (usually found in the refrigerated section near the tofu or dairy alternatives)
Ingredient Notes and Substitutions for Your Egg Roll
Listen, I know sometimes you have to swap things out based on what’s in the fridge, but for the authentic flavor of this classic egg roll, a couple of things are sacred. The main goal is keeping the filling savory and not watery!
That tablespoon of oyster sauce? You can skip it if you *absolutely* have to, but you’ll lose that signature sticky, savory coat that defines restaurant filling. If you’re making this vegetarian—which is fantastic, by the way, especially if you want to try an egg roll in a bowl variation later—crumble up some firm tofu that you’ve pressed really well. Tofu still needs that soy sauce and oyster sauce kick to give it body.
The most important note, and this is how we avoid soggy bottoms, is that you must cook this filling *completely* and then let it cool down on a plate or baking sheet before you even think about wrapping. Room temperature filling only! Trust me on this one—hot filling steams the wrapper from the inside out, and nobody wants that.
Step-by-Step Instructions: How to Make Perfect Egg Rolls
Okay, this is where we go from raw ingredients to magic. We have to conquer three main stages here: first, making sure that filling is perfectly seasoned and cool; second, learning how to roll these things so they *don’t* explode on you; and third, getting that incredible, shatteringly crisp exterior. We’ll tackle the filling first, since that cooling time is mandatory.
- First things first, you need to brown your chicken in a skillet. Drain off any grease right away—we want flavor, not oil slicks!
- Toss in your minced garlic and that fresh ginger. You just cook that for about 60 seconds until you can really smell it. That’s your flavor base starting strong.
- Now, throw in the veggies—the cabbage, carrots, and mushrooms. You’re cooking these until they are just tender-crisp, maybe five minutes tops. We aren’t making soup in here!
- Sauce time! Add the soy sauce, oyster sauce, sesame oil, and pepper. Stir it all together and cook for just one more minute to let those flavors marry.
- Take it OFF the heat and stir in those green onions. Then, you MUST spread this mixture out onto a sheet pan or a couple of plates. It has to cool fully—at least 30 minutes—before you start wrapping your egg roll shells. Seriously, if it’s warm, they get soggy.
Once everything is cool, you can get ready for the fun part! If you’re looking for a little inspiration on other wrapped savory treats while you wait for the filling to cool, you might want to check out this traditional Chinese dumplings recipe for future reference.
Mastering the Art of Rolling the Egg Roll Wrapper
This takes a little practice, but once you nail the technique, you’ll be folding these things like a pro. I always set up my station with the wrappers, the cooled filling, a small bowl of water, and a plate for the finished rolls.
Here’s the sequence that never fails me:
- Lay the wrapper down so one corner points directly at you (like a diamond shape).
- Scoop about two tablespoons of that lovely cooled filling onto the bottom third of the diamond, leaving about an inch or two clear at the bottom point.
- Take that bottom corner and fold it up tightly over the filling. Tuck it in right over the mound of veggies and chicken.
- Now, take the left and right corners and fold them in toward the center. Think of folding an envelope.
- This is the sealing part! Dip your finger in water and run it along the top edge of the wrapper. Roll the whole package up toward that final top corner. It should stick right away and hold tight!
Repeat until you run out of filling or wrappers! Don’t worry if the first couple look wonky; they’ll still taste amazing, even if they aren’t picture-perfect.
Achieving Crispy Perfection: Frying Your Homemade Egg Rolls
For the absolute best, most authentic texture, deep-frying is the way to go. This is what gives you that light, bubbly, crunchy shell. You need oil that’s hot enough, but not smoking hot!
Get your vegetable oil heating in a sturdy Dutch oven or deep pot. You want it to hit 350 degrees F (175 degrees C). If you don’t have a thermometer, toss a tiny sliver of wrapper in—it should sizzle vigorously and turn golden in about 15 seconds.
Carefully lower about 3 or 4 assembled egg rolls into the hot oil. Do not overcrowd the pot, or the temperature will drop instantly, and you’ll end up with greasy, soft rolls. They only need about 3 to 4 minutes. Turn them gently with tongs every minute or so to make sure they get evenly golden brown all over.
When they look deep golden and bubbly, pull them out with a slotted spoon. The secret to keeping them crisp? Drain them on a wire rack set over a baking sheet. Paper towels absorb too much heat and can steam the bottom of the egg roll and make it soft. Serve them immediately with your favorite dipping sauce!
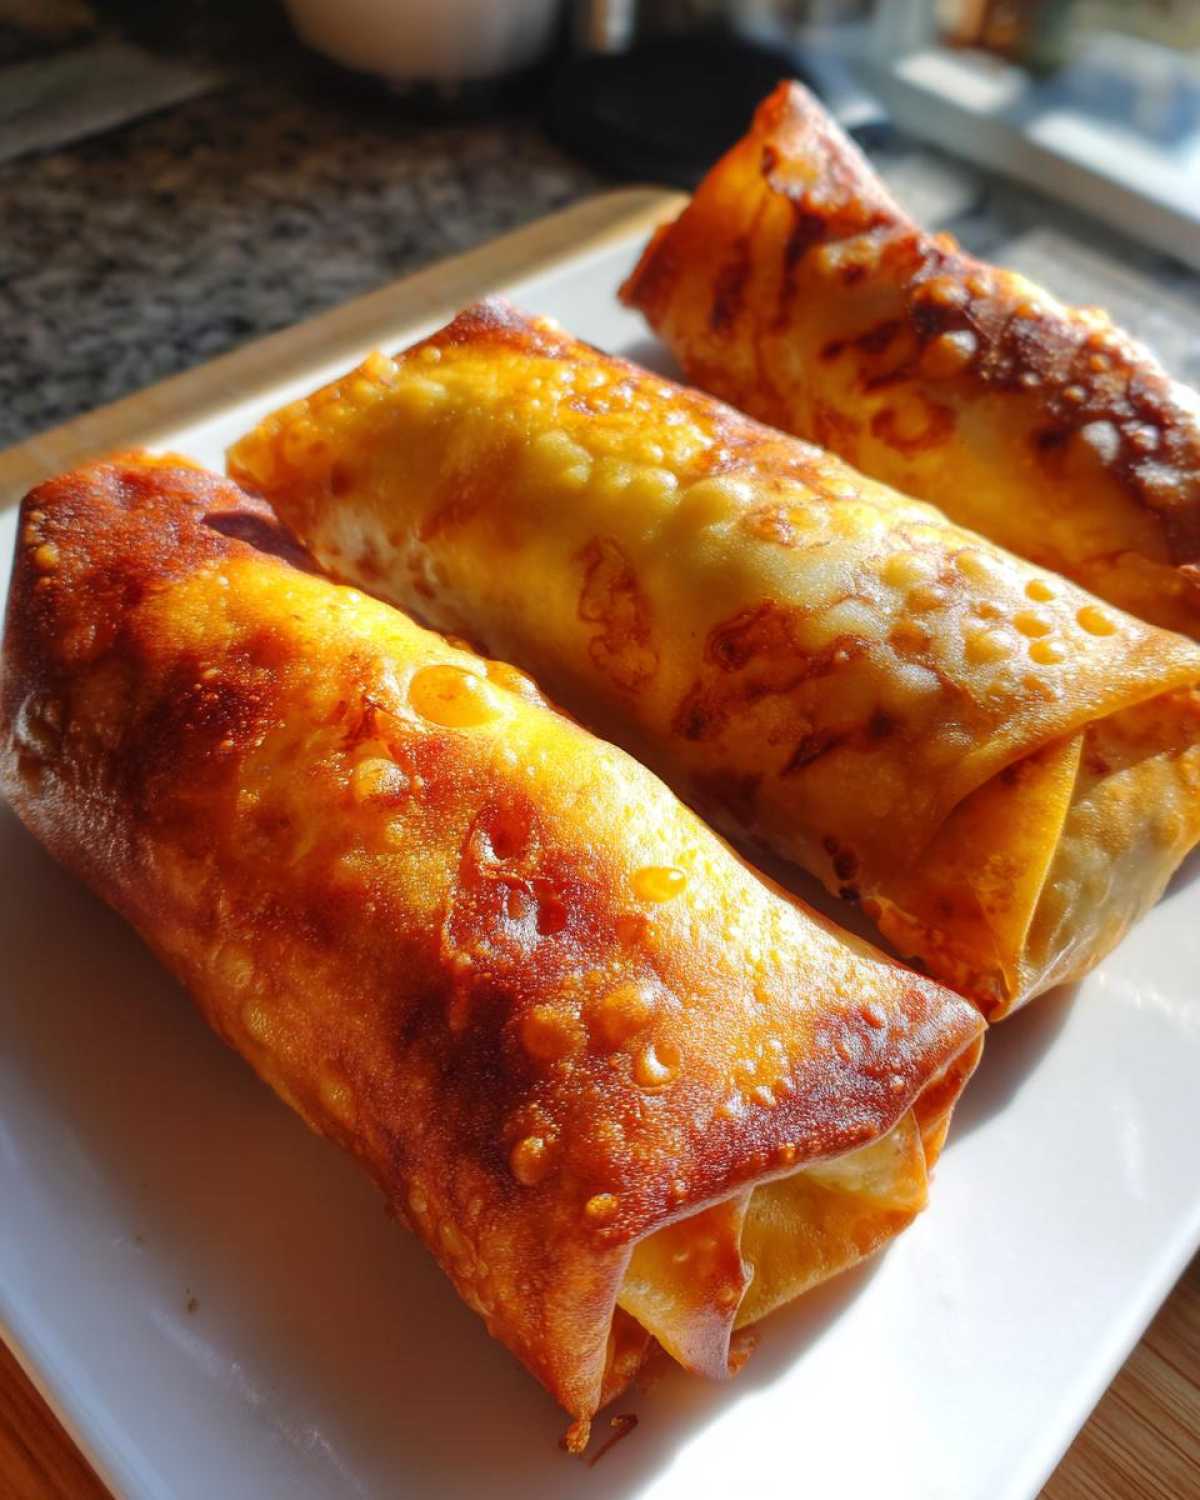
Healthier Options: Oven Baked Egg Rolls and Air Fryer Egg Rolls
Okay, I know deep-frying is the gold standard for crunch, but sometimes you want that amazing flavor without babysitting a pot of hot oil—or maybe you’re just looking for a slightly healthier way to enjoy your favorite appetizer. Don’t worry! We can absolutely adapt this flavorful filling to work beautifully in the oven or the air fryer. The texture is different, naturally—we don’t quite get that same deep-fried blister, but you get a fantastic, crispy result that is way easier to manage.
If you’re trying to keep things light for a weeknight dinner or want to make a huge batch for a crowd without the oil mess, these methods are your best friend. These versions cut down on fat significantly while still delivering a satisfying crackle on your homemade egg roll.
I tested both methods repeatedly, especially when I’m trying to keep my heart happy after eating too much of the fried version! I’ve included these notes right in the recipe card, but let’s talk specifically about getting the best results here:
Baking Your Egg Rolls In The Oven
If you’re going the conventional oven route, preparation is key. You want to brush the assembled rolls lightly but thoroughly with oil. I use a vegetable oil blend or sometimes even melted coconut oil for a different flavor profile. Make sure every single seam and corner is coated!
Set your oven heat nice and high—we need that intense heat to crisp things up fast. Bake them at 400 degrees F (that’s 200 degrees C). You’ll need to keep an eye on them for about 15 to 20 minutes. The trick here is flipping them halfway through. If you don’t flip, the bottom might get a little soft while the top browns nicely.
Crisping Up the Easy Way with the Air Fryer
If you own an air fryer, this is my favorite way to get close to that fried texture without the fuss. It’s so quick! Once you have your egg rolls rolled up, give them a good spray with cooking oil—don’t drown them, just a light mist over the whole surface so the air has something to work with.
Set your air fryer to 375 degrees F (190 degrees C). They cook really fast in there, usually just 10 to 12 minutes total. You absolutely have to stop halfway through and shake that basket or flip them over. This ensures you get even browning all the way around the wrapper. I find the air-fried ones feel a little drier and thinner than the deep-fried ones, which I actually love for a lighter snack!
For more appliance-friendly cooking tips, you might want to check out how I manage tender salmon in the air fryer; the concepts around hot circulating air are similar!
Serving Suggestions for Your Restaurant Style Egg Rolls At Home
So you’ve got 12 gorgeous, crispy, golden-brown beauties sitting on the rack. Now what? You can definitely just devour them standing over the sink while still holding the tongs—I’m not judging! But if you’re serving these up as part of a real spread or just sitting down for a proper dinner, you need the right supporting cast.
These homemade egg rolls are fantastic all on their own, but they really shine when paired with the classic sauces you always expect at your favorite spot. Having the right dip makes the whole experience feel that much more authentic. If you’re planning a big appetizer night, these fit right in with other small bites; check out some ideas for easy summer appetizers if you need a few more things to fill out that platter!
Dipping Sauces: The Absolute Must-Haves
You can’t serve an egg roll without sauce. Period. I usually make two or three options because everyone in my house fights over them. Store-bought is fine in a pinch, but I promise once you see how fast homemade is, you’ll switch!
- Sweet and Sour Sauce: This is the classic bright red stuff. It needs to be tangy and sweet. I add a tiny bit of apple cider vinegar to my store-bought bottle just to give it an extra zing.
- Duck Sauce: This is that slightly thicker, orange-ish, fruit-forward sauce. It’s great if you want something less vinegary than the standard sweet and sour.
- Hot Mustard: Okay, this one separates the casual eaters from the pros. If you want that real sinus-clearing kick you get at a fancy Chinese restaurant, you need a good hot mustard. Mix the powdered mustard with just enough cold water to make a thick paste, let it sit for five minutes, and watch it get seriously potent!
Don’t forget those leftover green onions you saved from the filling—sprinkle a few chopped ones over the top of the serving platter for color; it makes them look instantly professional!
As a Game Day Snack or Part of a Feast
These are absolutely my go-to when my sports-obsessed friends come over. We call them Game Day Egg Rolls because they are perfectly portable, don’t need utensils, and everyone can grab one without missing the score!
If you are aiming for a full-on Chinese-themed dinner, pair these alongside some steamed rice or noodles, maybe some stir-fried beef and broccoli. They work as an incredible starter course before moving onto the main event. Since the filling uses chicken, it pairs well with almost any other protein you might be serving on the side.
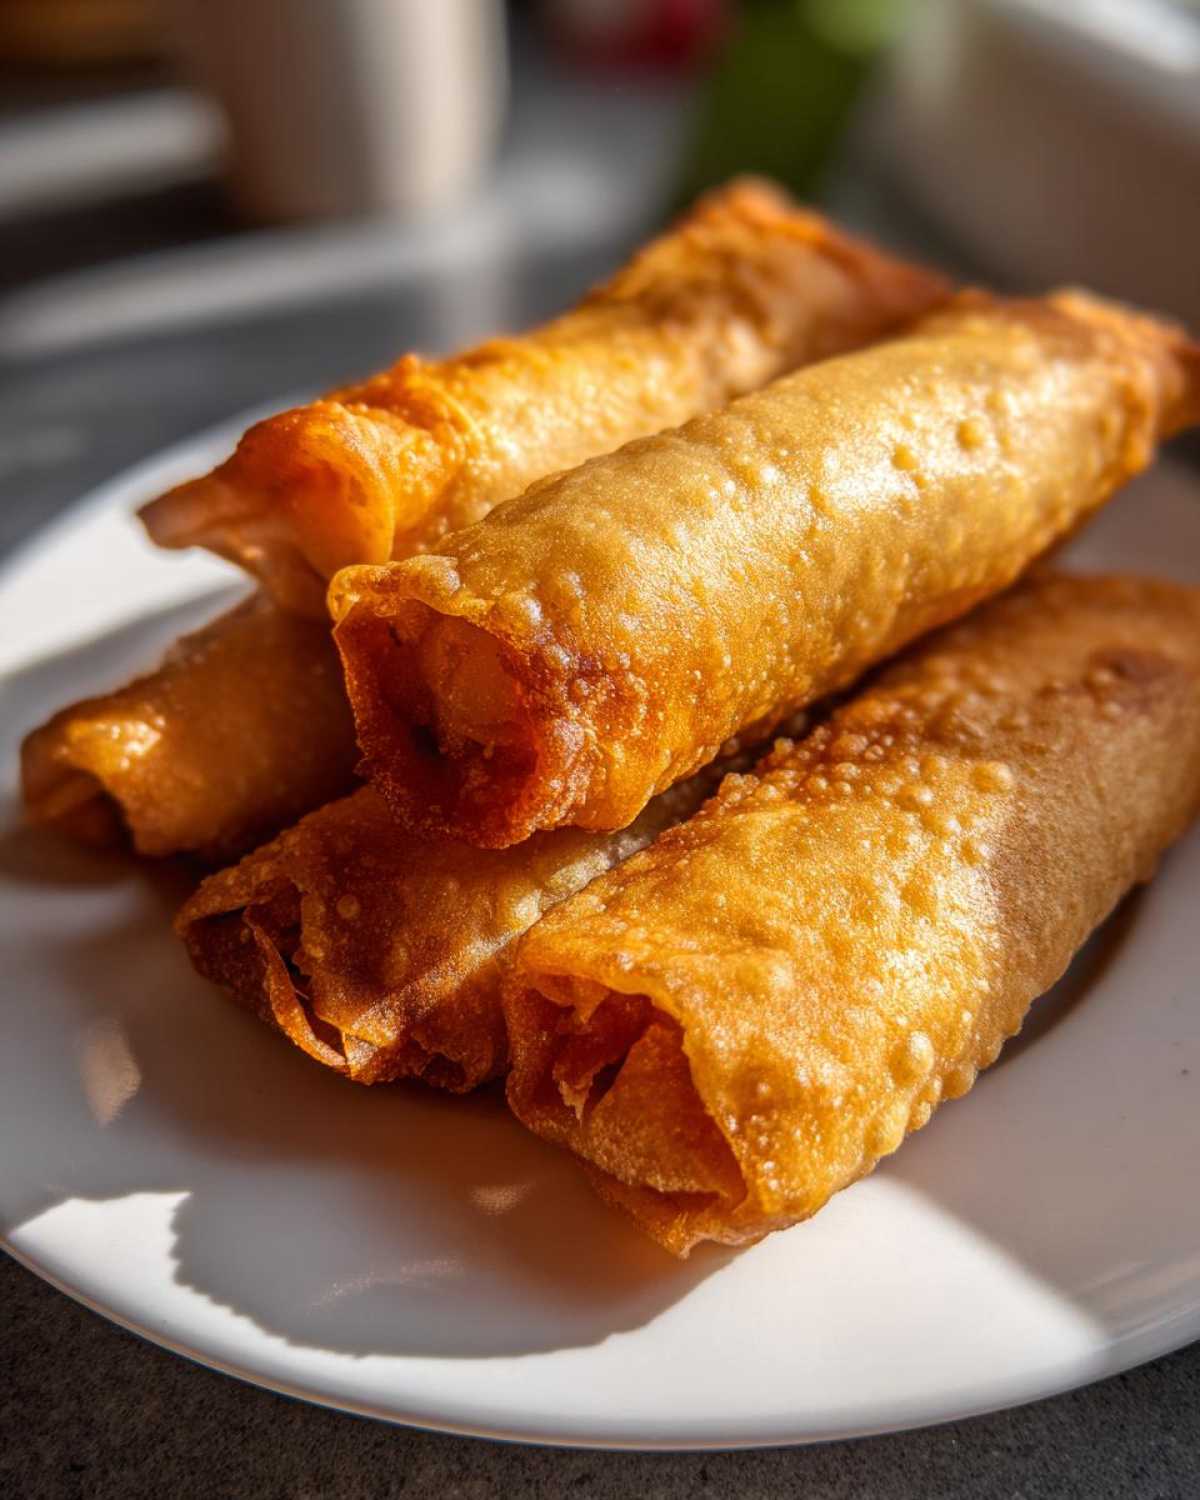
Storage and Reheating Instructions for Leftover Egg Rolls
Because these egg rolls are just so delicious, you almost never have leftovers, but when you do, you want to make absolutely sure you treat them right. Storing them correctly is the single most important thing you can do to ensure they taste almost as good the next day as they did fresh from the fryer!
The biggest enemy of the leftover crispy egg roll? Steam. If you seal them up while they are still warm, or if you store them in a way that traps moisture, you are actively trying to turn that lovely crunchy shell into soggy cardboard. We absolutely cannot have that!
Storing Your Homemade Egg Rolls
If you have any leftovers right after frying, the first step is making sure they cool down completely. Lay them out on that wire rack again for 20 minutes or so. Once they are fully cooled to room temperature, you have a couple of options for short-term or long-term keeping.
For the refrigerator, grab an airtight container. But here’s my trick: I line the bottom of the container with a paper towel, place the egg rolls inside in a single layer if possible, and then put another paper towel on top before snapping the lid on. This absorbs any lingering moisture. They will still lose some crispness overnight, but they will hold their shape and flavor beautifully for about 3 to 4 days.
If you’re planning on freezing them—which is great for making big batches ahead of time—you need a slightly different approach to keep them from sticking together. Don’t crowd them in the container! Lay them out on a baking sheet lined with parchment paper and freeze them until they are completely solid, maybe an hour or two. Once solid, you can transfer them to a freezer-safe bag or container. They should be good in the freezer for up to three months.
Bringing Back the Crunch: Reheating Tips
Let me save you the trouble right now: do not try to reheat these in the microwave. I mean it! You’ll end up with hot, limp, slightly chewy disappointment. We need dry, circulating heat to bring that texture back.
Your best bets are the air fryer or the oven. If you are reheating from the fridge, you might need an extra couple of minutes in the cooking time compared to reheating from frozen.
The Air Fryer Method (Fastest Revival): Pop those chilled or frozen egg rolls right into the air fryer basket. Set it to about 375 degrees F (190 degrees C). They usually take about 6 to 8 minutes from the fridge, or 10 to 12 minutes from frozen. Shake the basket halfway through! This method gets them shockingly close to their original crispness.
The Oven Method (Best for Many Rolls): If you are doing a big batch, the oven is better. Set it to 375 degrees F (190 degrees C) and spread the rolls out in a single layer on a baking sheet. You don’t strictly need to oil them again, but a very light spray helps the shell look its best. Bake for about 10 to 15 minutes. Keep an eye on them, as they heat up fast!
Frequently Asked Questions About Making Egg Rolls
I get so many questions, and honestly, most of them come back to sogginess or finding the right substitute when you’re in a pinch! I’ve rounded up the big ones here so you can troubleshoot quickly. If you ever wonder how to turn leftover filling into a low-carb meal, you absolutely have to check out this egg roll in a bowl recipe!
Can I use the pre-shredded coleslaw mix instead of shredding my own cabbage and carrots?
Oh, YES, please do! That’s what I do most of the time. It saves so much scrubbing and chopping, and honestly, the shred size in the bagged mix is often perfect for the filling. It cooks down beautifully. You just need to make sure there isn’t a lot of extra liquid or dressing if you happen to buy an overly moist mix. I drain mine really well before adding it to the pan with the chicken.
Why are my homemade egg rolls soggy after frying?
This is the most common heartbreak, isn’t it? Soggy means one of two things happened: either your filling was too wet, or your oil wasn’t hot enough. If the oil is too cool (under 340°F/170°C), the wrapper soaks up grease before the moisture has a chance to cook out. Also, if you put warm filling into the wrapper, that steam gets trapped, melting the crispy shell from the inside! Make sure that filling is cold and your oil is smoking hot (but not smoking, haha, there’s a difference!) before you drop them in.
What’s the best protein swap if I don’t want to use chicken in my egg roll?
Pork is the classic restaurant swap, and it adds a richer flavor because of the fat content, which is delicious! If you use ground pork, make sure to drain the fat out just like you would with the chicken. My second favorite is shrimp—just finely mince the raw shrimp and cook it quickly with the garlic and ginger. It yields a really fresh-tasting egg roll!
Can I seal the egg rolls ahead of time and freeze them?
Absolutely, and I highly recommend it! That’s how I always have party food ready. After you roll them (using the water seal we talked about), flash freeze them on a parchment-lined tray until they are rock hard. Then you transfer them to a freezer bag. When you’re ready to cook, you can go from rock-solid frozen right into the air fryer or oven—no need to thaw!
Estimated Nutritional Information for One Egg Roll
Okay, let’s talk fuel! Look, I’m not going to lie to you—when you deep-fry something to achieve that level of crispy perfection, the fat content goes up. That’s just the delicious reality of making a truly restaurant-style egg roll.
I’ve run the numbers based on the ingredients listed above using my standard ground chicken and deep-frying method. These numbers below are an *estimate* for a single, deep-fried roll. If you use the air fryer or oven method we talked about, you can expect the Fat and Saturated Fat numbers to drop significantly!
Remember, these are just estimates based on the exact recipe provided. Your brand of soy sauce or the amount of oil you use can change these figures, so take them as a good guideline rather than strict science!
- Serving Size: 1 egg roll
- Calories: 220
- Fat: 13g
- Saturated Fat: 3g (This is where the deep-fry makes its appearance!)
- Trans Fat: 0g (Phew!)
- Carbohydrates: 18g
- Fiber: 1g
- Protein: 9g
- Sugar: 2g
- Sodium: 450mg (Soy sauce adds up fast here; use low-sodium if you’re counting!)
Share Your Crispy Egg Roll Experience
Whew! Now that you’ve got the fryer fired up or your air fryer preheated, I have just one more request—I want to hear all about those crispy beauties! Once you’ve made this egg roll recipe at home, you have to let me know how it went. Did you nail that perfect golden brown color? Was the filling as savory as you hoped?
Don’t keep all that glorious crunch to yourself! Drop a comment down below and tell me how you served them. Did you stick to the classic sweet and sour, or did you whip up a spicy mayo dipping sauce? I love seeing your results, and seriously, your feedback helps other bakers know they can conquer homemade takeout too.
And if you took a picture of your batch before everyone tore into them—which is hard to do, I know—please tag me on social media! Seeing your stacks of perfect rolls is seriously the best part of my day. If you’re looking for another amazing, easy-to-share recipe to serve alongside these stellar appetizers, check out this incredible easy berry cobbler recipe for dessert!
Happy rolling, and bring on that crunch!
Print
Crispy Homemade Chicken Egg Rolls
- Total Time: 40 min
- Yield: 12 egg rolls
- Diet: Low Lactose
Description
Make restaurant-style crispy chicken egg rolls at home using this deep-frying method. This recipe includes instructions for a flavorful filling and achieving a perfectly golden, crunchy wrapper.
Ingredients
- 1 pound ground chicken
- 1 tablespoon vegetable oil
- 2 cloves garlic, minced
- 1 teaspoon grated fresh ginger
- 1 cup shredded cabbage
- 1 cup shredded carrots
- 1/2 cup sliced mushrooms
- 1/4 cup chopped green onions
- 2 tablespoons soy sauce
- 1 tablespoon oyster sauce
- 1 teaspoon sesame oil
- 1/4 teaspoon black pepper
- 12 egg roll wrappers
- Vegetable oil for deep frying
Instructions
- In a large skillet, heat 1 tablespoon of vegetable oil over medium-high heat. Add ground chicken and cook until browned, breaking it up as it cooks. Drain any excess fat.
- Add minced garlic and ginger to the skillet. Cook for 1 minute until fragrant.
- Add cabbage, carrots, and mushrooms to the skillet. Cook for 3 to 5 minutes until vegetables are slightly tender-crisp.
- Stir in soy sauce, oyster sauce, sesame oil, and black pepper. Cook for 1 minute to combine flavors. Remove from heat and stir in green onions. Let the filling cool completely.
- Place one egg roll wrapper on a clean surface with a corner pointing toward you. Place about 2 tablespoons of cooled filling near the bottom corner.
- Fold the bottom corner up over the filling. Fold the left and right corners inward toward the center.
- Moisten the top edge of the wrapper lightly with water using your finger. Roll the package tightly upward toward the top corner. Seal the edge. Repeat with remaining wrappers and filling.
- Heat about 2 inches of vegetable oil in a deep pot or Dutch oven to 350 degrees F (175 degrees C).
- Carefully place 3 or 4 egg rolls into the hot oil, ensuring not to overcrowd the pot. Fry for 3 to 4 minutes, turning occasionally, until golden brown and crisp.
- Remove egg rolls with a slotted spoon and place them on a wire rack or paper towel-lined plate to drain excess oil. Serve hot with dipping sauce.
Notes
- For an oven-baked version, lightly brush the assembled egg rolls with oil and bake at 400 degrees F (200 degrees C) for 15 to 20 minutes, flipping halfway, until golden brown.
- For an air fryer, spray the egg rolls with oil and cook at 375 degrees F (190 degrees C) for 10 to 12 minutes, shaking the basket halfway through.
- To make the filling vegetarian, substitute the chicken with firm tofu, crumbled, and use vegetarian oyster sauce or extra soy sauce.
- Prep Time: 25 min
- Cook Time: 15 min
- Category: Appetizer
- Method: Deep Frying
- Cuisine: Chinese
Nutrition
- Serving Size: 1 egg roll
- Calories: 220
- Sugar: 2
- Sodium: 450
- Fat: 13
- Saturated Fat: 3
- Unsaturated Fat: 10
- Trans Fat: 0
- Carbohydrates: 18
- Fiber: 1
- Protein: 9
- Cholesterol: 35