
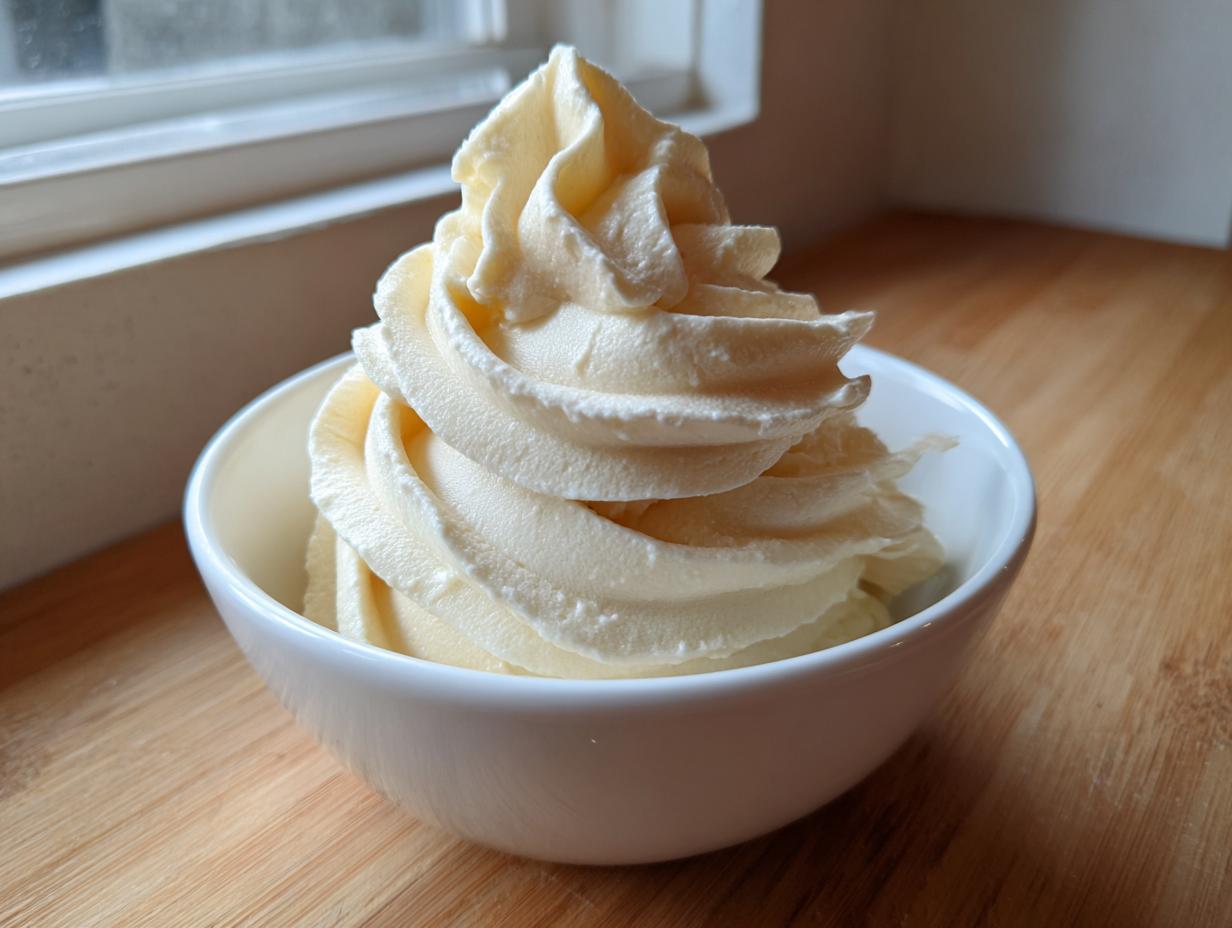
Oh my gosh, you are going to *love* this! When that afternoon slump hits and you just desperately need something sweet, cold, and totally guilt-free, forget about waiting for the ice cream truck. I’m telling you, this 3-ingredient vegan banana ice cream—what we lovingly call ‘nice cream’—is my absolute summer secret weapon. Seriously, I whipped this up last Tuesday when the AC died, and boom, instant cool relief! It’s the creamiest, easiest dairy-free frozen dessert you will ever touch, and if you have a strong blender, you’re basically done in five minutes. Trust me, this simple fruit dessert will change how you think about frozen treats forever.
Why This Easy Vegan Banana Ice Cream Recipe Works (The Nice Cream Secret)
People ask me all the time how I get this banana ice cream recipe so unbelievably creamy without an actual machine or heavy cream. The secret, really, is just physics meeting delicious fruit! This is what everyone means when they talk about ‘nice cream.’ When you freeze ripe bananas and then mash them up in a strong processor, the frozen structure breaks down into tiny fat-like particles that mimic the texture of ice cream perfectly. It completely blows my mind every time!
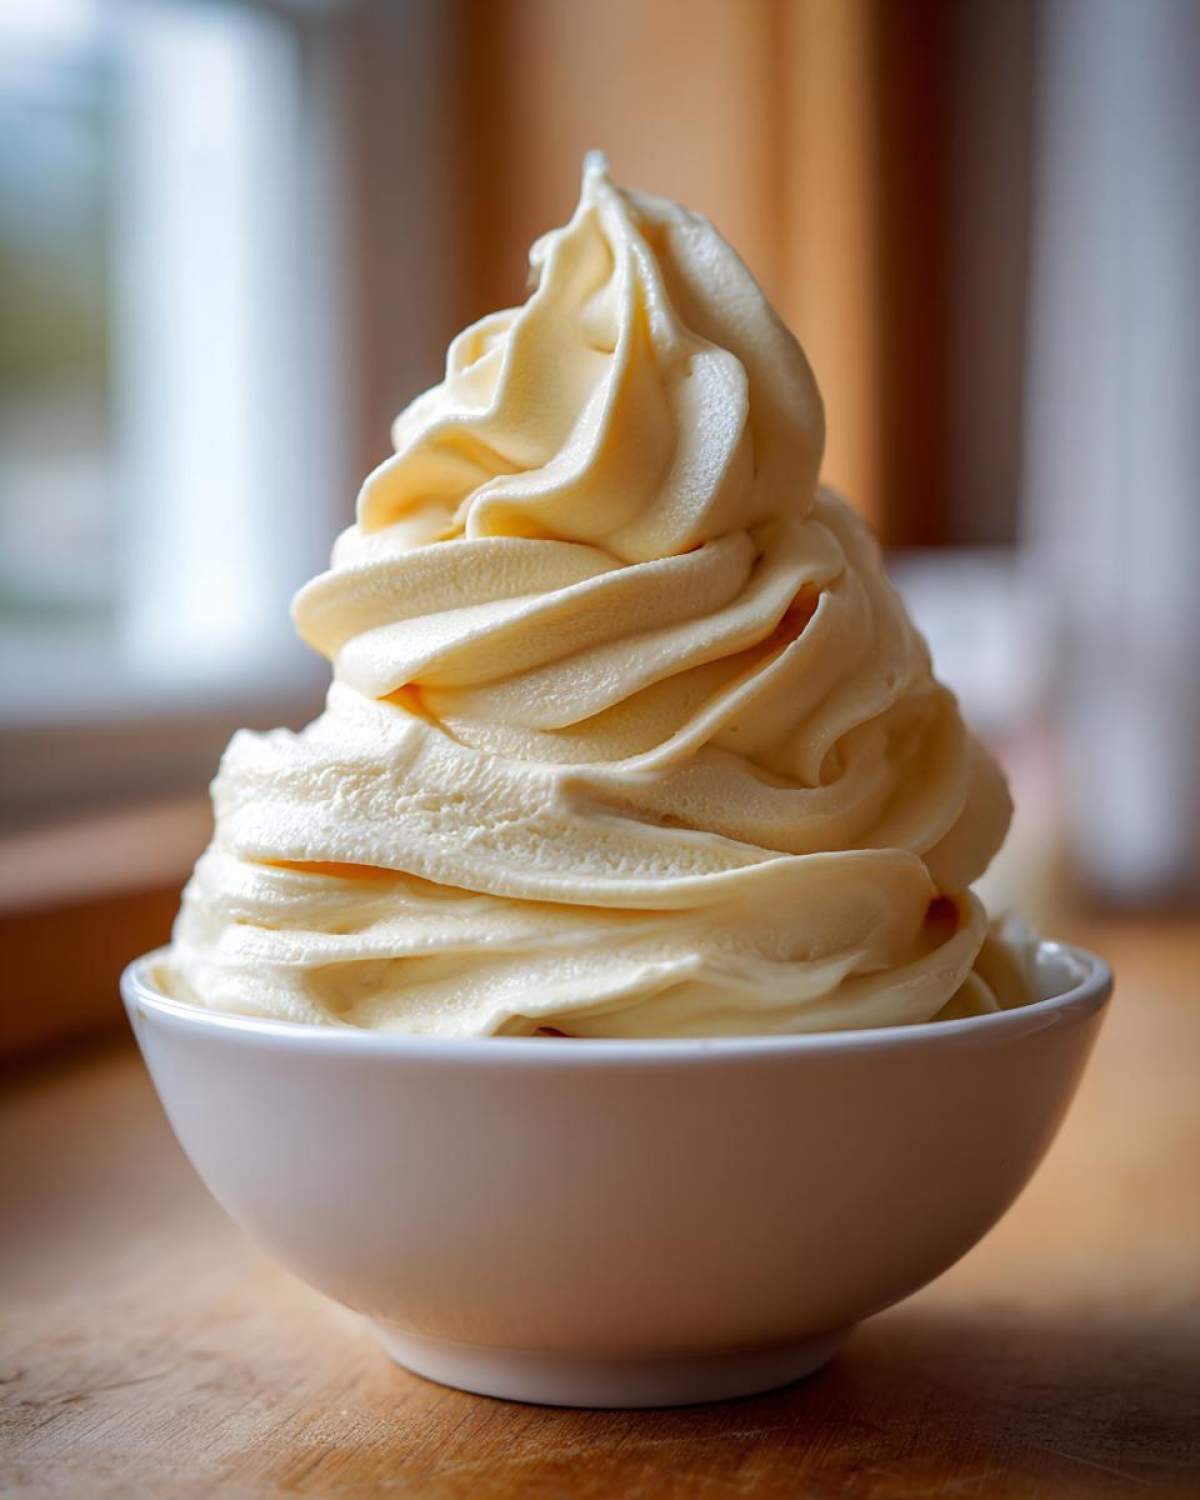
What I love most about this nice cream recipe is that it’s naturally sweet and totally dairy free frozen dessert heaven. No refined sugar here—it’s just the fruit doing the heavy lifting. If you’re looking for an easy vegan ice cream solution that actually tastes amazing, this is it. It’s honest, clean, and you feel great eating it. For another super simple fruit-based treat idea, check out my recipe for an easy two-ingredient dessert, too!
Benefits of Making Banana Ice Cream at Home
- It’s incredibly fast, often ready in under 10 minutes once you have frozen bananas ready.
- You control everything! Hate peanuts? Skip them! Want chocolate? Add cocoa! Customization is king here.
- It’s budget-friendly. Bananas are cheap, and you don’t need expensive dairy or specialized equipment.
Ingredients for Your Creamy Banana Ice Cream
When making this pure, simple batch of frozen goodness, you really only need three things, and that’s what makes this such a fantastic creamy banana whip. The payoff in flavor for such minimal effort is huge! But listen to me closely: the quality of your banana makes or breaks this whole operation. You aren’t just grabbing any banana off the counter; you need the sweet ones!
For this recipe, you’ll need three large bananas, some plant-based milk—just a splash, mind you—and a dash of real vanilla extract. That’s it! Don’t try to fluff this up with powders or extras unless you’re moving to the flavor variation section later. Keep it pure for the first time you try it.
Ingredient Clarity and Preparation Notes
The most important step happens *before* you even turn on the machine. Your bananas absolutely must be ripe when you peel and slice them—I mean, spotted brown spots are ideal because that means the starches have turned to maximum sugar. Once sliced, they need to freeze rock solid; that means at least six hours, but really, I leave mine in there overnight.
When you blend, that plant-based milk is crucial for just getting the blades moving, so measure it exactly. Too much, and you end up with a smoothie, which is fine for breakfast, but not what we want here! The vanilla extract is just there to amplify that sweet cream flavor, making this banana ice cream recipe taste richer than it actually is.
How to Prepare Perfect Banana Ice Cream (No Churn Required)
Alright, this is where the magic happens! You’ve got your rock-solid frozen banana chunks ready to go, and now we turn them into smooth perfection. This is why having a powerful machine is a game-changer for making banana ice cream; you want that smooth consistency fast. We are aiming for that famous blender banana ice cream result in just minutes.
Step-by-Step Instructions for Banana Ice Cream Recipe
First things first: get those frozen banana slices, the tiny splash of milk, and the vanilla extract into your processor or high-speed blender. Don’t try to sneak in extra liquid now, or you’ll regret it!
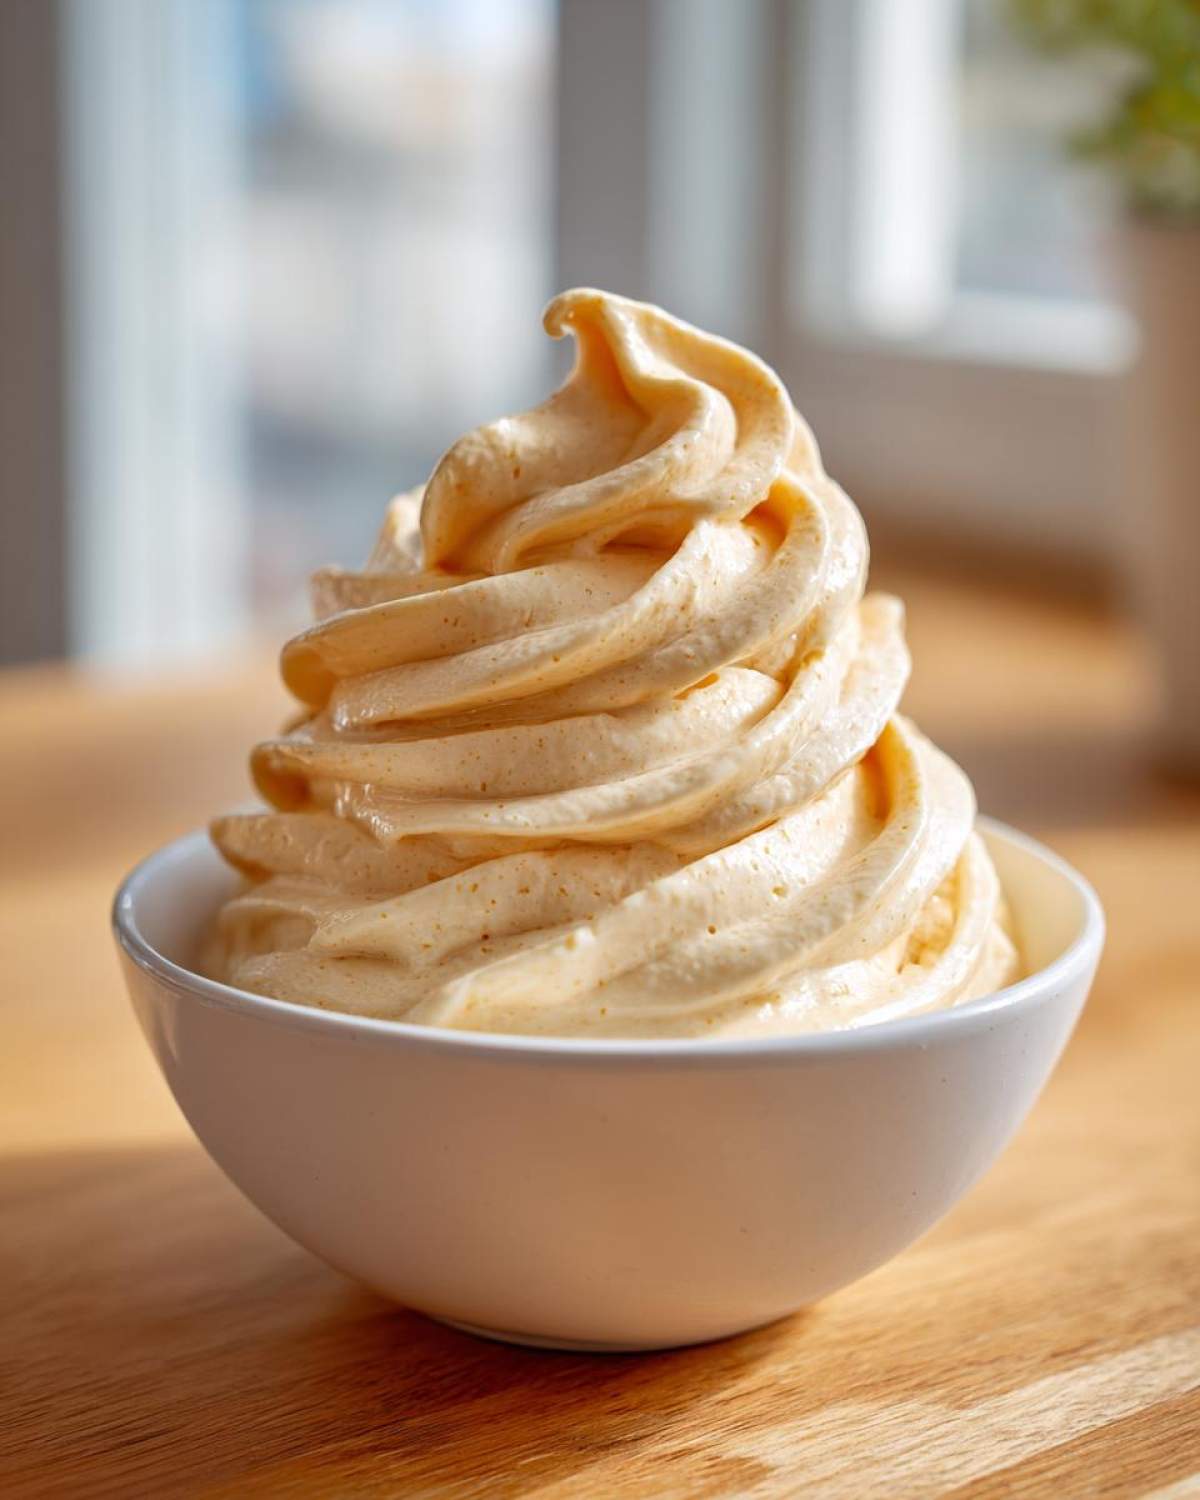
Next, put the lid on tight—seriously, tight—and start pulsing. You’re going to see chunks at first, and it will look angry and stuck. That’s normal! Keep scraping down the sides. After a minute or two of pulsing and scraping, the mixture will suddenly start to break down. It shifts from looking like icy rocks to something crumbly, and then, bam! It transforms into that beautiful, thick, soft-serve texture. This whole process, from chunks to creamy whip, is what constitutes the 5 minute frozen banana magic.
Achieving the Best Banana Ice Cream Consistency
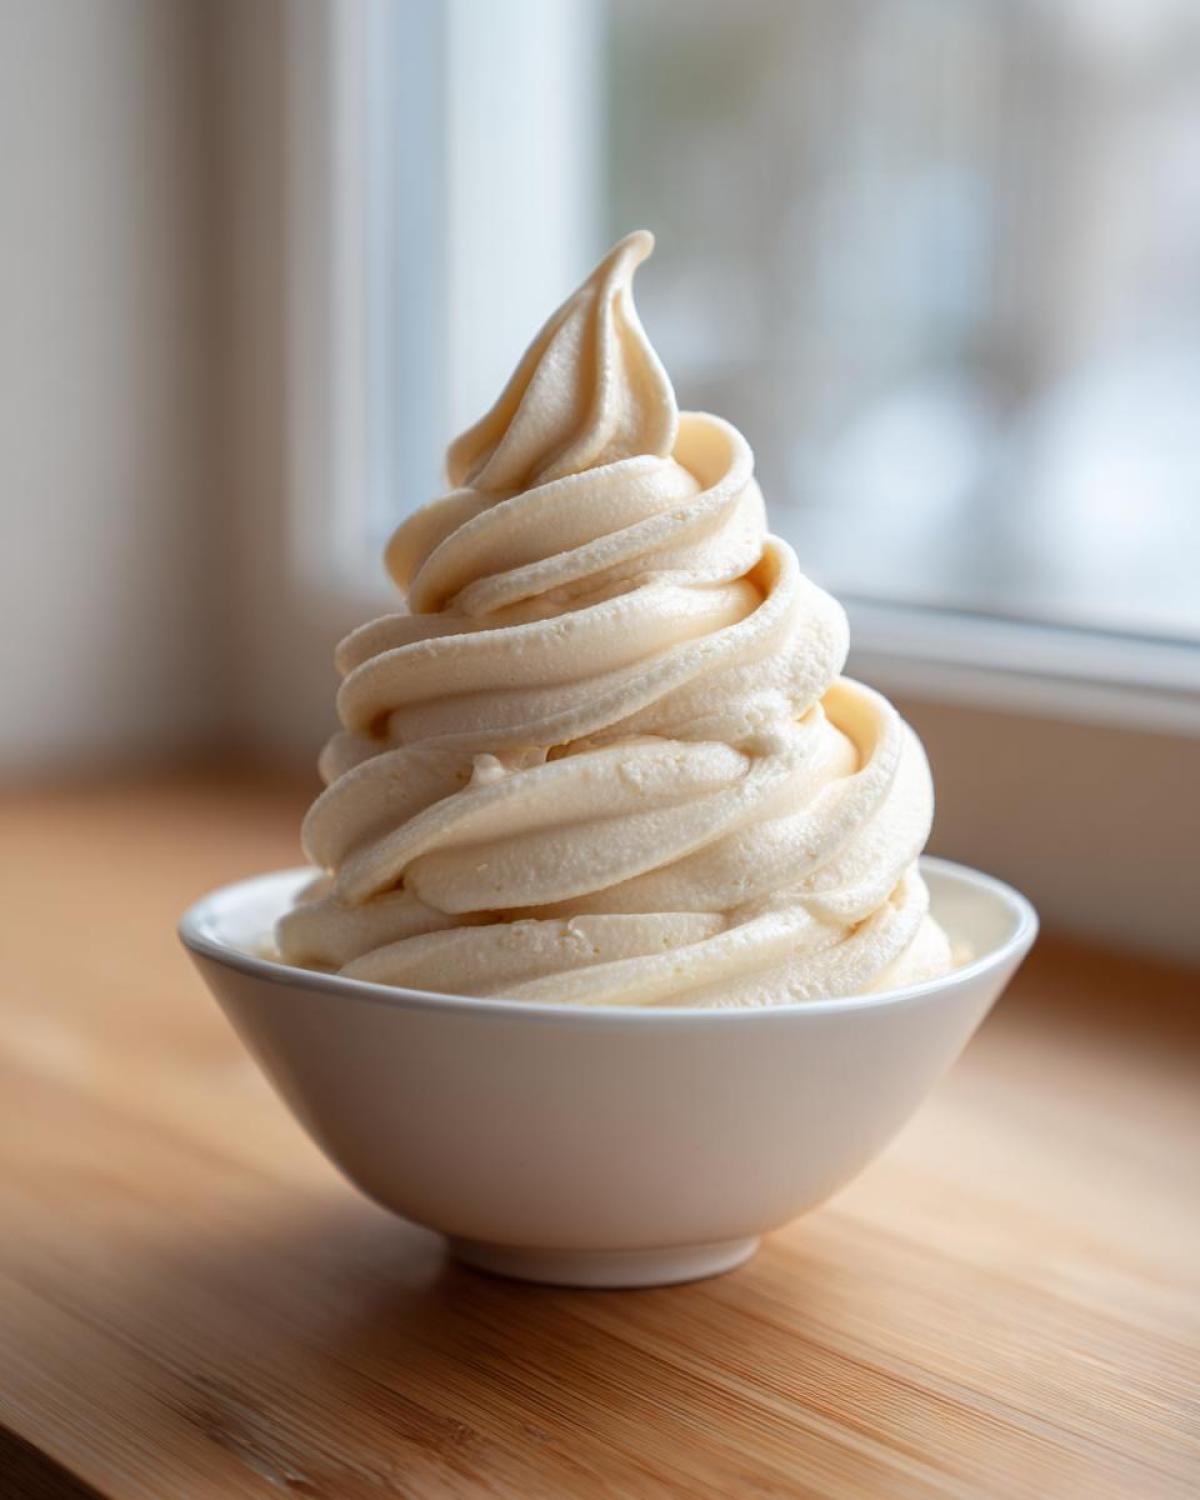
If your machine seems to be struggling, don’t force it; that’s how you burn out the motor! If the blades stop moving, try adding just one teaspoon more of plant milk at a time until the machine catches again. You are looking for that glossy, perfectly smooth frozen banana soft serve look.
If you stop blending right when it looks like soft-serve, you can eat it immediately. It’s glorious that way! But me? I like mine firm. So, once it’s smooth, transfer it straight into a container—use parchment paper to line it first, it helps with scraping later—and stick it back in the freezer for about an hour or two. It hardens up perfectly, ready for scooping, but remember it freezes hard, so maybe let it sit on the counter for five minutes before serving if you freeze it solid.
Tips for the Best Banana Ice Cream Success
Even though this recipe is supposedly foolproof—three ingredients, right?—there are definitely little tricks that take it from ‘good’ to ‘OMG, I will never buy ice cream again.’ The biggest one, like I mentioned, is the ripeness of your bananas. If they are creamy yellow, they aren’t sweet enough yet! You want those brown spots hanging all over them. Those spots mean the starch has converted to sugar, which gives you that sweet base we need.
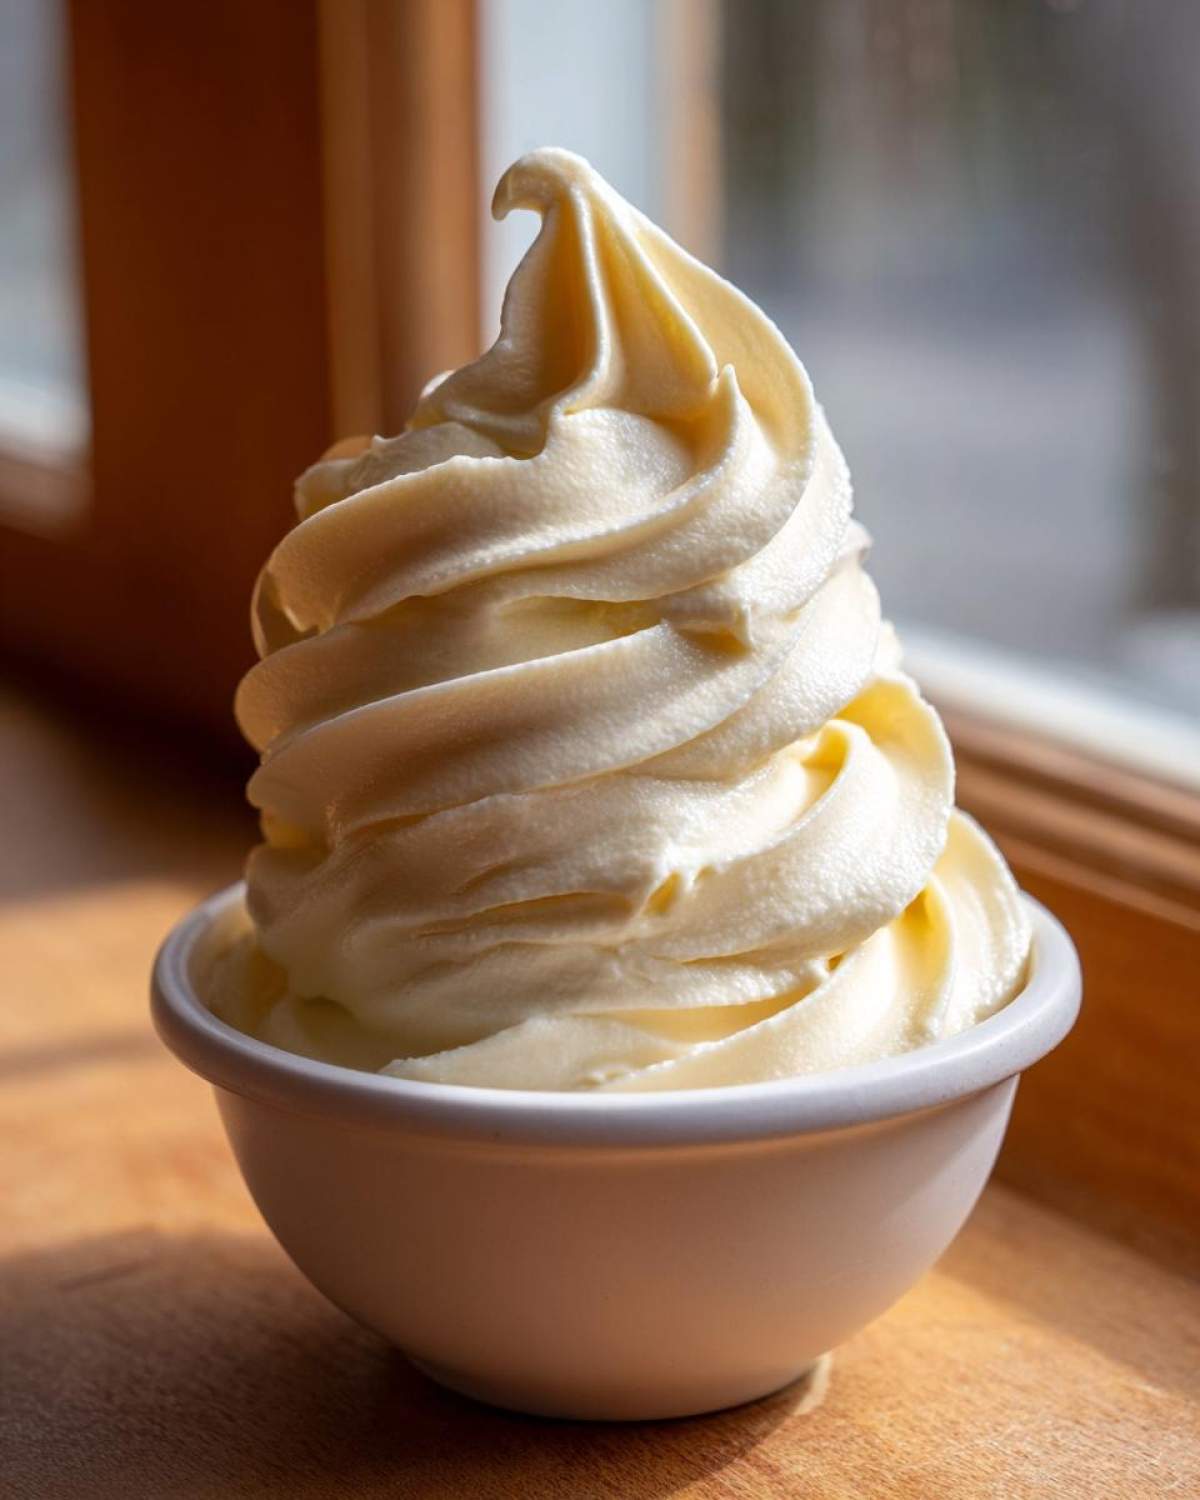
Also, don’t skimp on the blending power here. If you have a cheap, weak blender, you’re just going to get cold banana chunks, not that glorious smooth texture. A strong food processor is actually easier for this job than most standard blenders because the wide base helps push the bananas toward the blades. Make sure you are patient during the scraping phase; it might seem like it’s never going to come together, but trust the process!
If you’re only making one serving, sometimes the blender just won’t catch the small amount of food. For tiny batches, I’ve had the best luck mixing everything right in a sturdy bowl with a heavy-duty immersion blender—it sounds weird, but it works for single servings! If you want to learn more tips to ensure you get the absolute best result every single time, check out my master guide on how to make the best banana nice cream tutorial.
Flavor Variations for Your Banana Ice Cream
See? I told you this was the king of simple fruit dessert ideas! Once you’ve mastered the basic creamy base, you can stop thinking about it as just banana ice cream and start thinking of it as a blank canvas for any of your favorite banana dessert ideas. The best part is you mix these additions in right at the end, usually during the last 30 seconds of blending, so you don’t need another step or another dirty pan. It keeps everything clean!
You don’t have to stop at just vanilla, either. Want something truly decadent but still healthy? Try these simple mix-ins. For a totally different experience, you can also check out my recipe for an easy berry cobbler recipe, which is delicious when served warm alongside a scoop of this cold treat!
Adding Cocoa for Chocolate Banana Ice Cream
If you are craving chocolate—and who isn’t?—this is the easiest way to get there. Just before everything is completely smooth, toss in about one to two tablespoons of good quality unsweetened cocoa powder. If your bananas are super ripe, start with one tablespoon, blend it, taste it, and then add the second if you need that deeper chocolate hit. It turns into the richest chocolate soft-serve imaginable!
Peanut Butter Swirl Banana Ice Cream
This is my husband’s favorite when he’s trying to keep things reasonable. Instead of using that teaspoon of vanilla extract, swap it out entirely for a heaping tablespoon of your favorite creamy peanut butter. If you like swirls, don’t blend it completely! Just pulse twice, let the peanut butter sit in large ribbons, and then scrape it into your container before freezing. Those bursts of salty peanut butter against the sweet banana are just divine.
Storing Leftover Banana Ice Cream
Okay, let’s talk about leftovers, because sometimes even I can’t finish two servings in one go—though I try!
Since this is a true dairy free frozen dessert based purely on fruit, it freezes much harder than regular ice cream made with heavy cream. If you freeze the smooth soft-serve consistency too long, it turns into a solid, icy brick, and that’s no good for anyone.
To store it properly, pop your finished batch into an airtight, freezer-safe container. When you want to eat it later, DON’T use a spoon! Just let it sit on the counter for about 10 to 15 minutes so it softens slightly. Or, my favorite trick: scrape the semi-soft block back into the blender for 30 seconds to bring it right back to that amazing soft-serve texture! If you love easy frozen treats, you might want to check out my recipe for a frozen hot chocolate recipe too!
Serving Suggestions for This Healthy Banana Dessert
Just because this banana ice cream is so simple doesn’t mean we can’t dress it up! This is a fantastic quick summer dessert that looks way fancier than the five minutes it takes to prepare. If you want to turn this into a more substantial treat, toppings are your best friend.
Try a drizzle of warm, homemade applesauce—it’s such a comforting partner to the cold banana! Or, for extra crunch, sprinkle on some toasted coconut flakes or chopped nuts. Seriously, anything you’d put on a sundae works, and since this is such a healthy banana dessert base, you don’t have to feel guilty about adding a few chocolate chips on top! You can find my very easy recipe for easy stovetop homemade applesauce if you want that warm topping!
Frequently Asked Questions About Banana Ice Cream
I know the nice cream phenomenon can seem like magic, so naturally, people have questions! We want every batch of your banana ice cream to be perfect, whether it’s your first time or your hundredth. I’ve gathered up the questions I get most often, especially from folks just discovering how easy homemade ice cream with bananas can be.
Can I use non-frozen bananas for this banana ice cream recipe?
Oh, honey, no! If your bananas aren’t frozen solid, you’re just making a thick, slightly sweet banana smoothie or puree, not ice cream. The beautiful, naturally creamy structure that makes this such a great simple fruit dessert only happens when the frozen structure shatters into those tiny, smooth particles during blending. You absolutely have to plan ahead and freeze them overnight! If you’re ever looking for a bread recipe that uses those overripe bananas instead, I have a great sugar-free banana bread loaf that’s amazing.
Is this recipe truly a healthy banana dessert?
It really, truly is! That’s the whole point of this healthy banana dessert! Since we are only using the fruit for sweetness—no refined sugar, no heavy cream, no eggs—it’s naturally cleaner. You’re getting fiber from the banana, and you avoid all the stabilizers and extra fats found in store-bought tubs. It’s the perfect choice when you want something sweet without the post-dessert guilt. That creamy texture comes naturally, not from dairy!
What is the difference between this and no churn banana ice cream?
That’s a great question that confuses a lot of people! This recipe we are making is technically ‘no churn’ because you skip the machine, but the method is different from *other* traditional no churn banana ice cream recipes. Those store-bought or standard recipes usually call for whipping up heavy cream and mixing in sweeteners like condensed milk before freezing it without churning. Our version ditches all the dairy and fat entirely and relies 100% on the blended frozen fruit to achieve that creamy banana whip texture. It’s simpler, healthier, and uses far fewer ingredients!
Rate This Easy Vegan Banana Ice Cream
I am so excited for you to try this recipe! I really believe it’s the best way to enjoy a cold treat when you’re trying to keep things clean and simple. Once you taste how good this banana ice cream is—so unbelievably smooth and sweet without any actual cream—I know you’ll be hooked.
So, what are you waiting for? Go blend those little frozen guys! When you get a chance, please come back here and leave me a rating below. Let me know in the comments if you tried my suggestion of adding peanut butter or if you went for the chocolate version! I always love hearing how you customize this staple recipe. And hey, if you need another great, easy recipe featuring bananas next time, you should absolutely check out my one-bowl banana protein muffins!
Print
Easy 3-Ingredient Vegan Banana Nice Cream
- Total Time: 10 min
- Yield: 2 servings
- Diet: Vegan
Description
Make creamy, dairy-free soft serve using only frozen bananas and two other simple ingredients. This recipe requires no special ice cream maker.
Ingredients
- 3 large ripe bananas, peeled, sliced, and frozen solid
- 1 tablespoon plant-based milk (like almond or soy)
- 1 teaspoon vanilla extract
Instructions
- Place the frozen banana slices, plant-based milk, and vanilla extract into a strong food processor or high-speed blender.
- Pulse the mixture repeatedly, scraping down the sides as needed.
- Continue blending until the mixture breaks down from frozen chunks into a thick, smooth, soft-serve consistency. This may take 3 to 5 minutes depending on your machine.
- Serve immediately for a soft-serve texture, or transfer to a freezer-safe container and freeze for 1 to 2 hours for a firmer scoopable texture.
Notes
- For a richer flavor, use full-fat coconut milk instead of thin plant milk.
- If the mixture is too thick to blend, add plant milk one teaspoon at a time until the blades move freely.
- You can substitute peanut butter for the vanilla extract for a different flavor profile.
- Prep Time: 10 min
- Cook Time: 0 min
- Category: Dessert
- Method: Blending/Processing
- Cuisine: American
Nutrition
- Serving Size: 1 serving
- Calories: 150
- Sugar: 18
- Sodium: 5
- Fat: 1
- Saturated Fat: 0
- Unsaturated Fat: 1
- Trans Fat: 0
- Carbohydrates: 38
- Fiber: 4
- Protein: 2
- Cholesterol: 0

