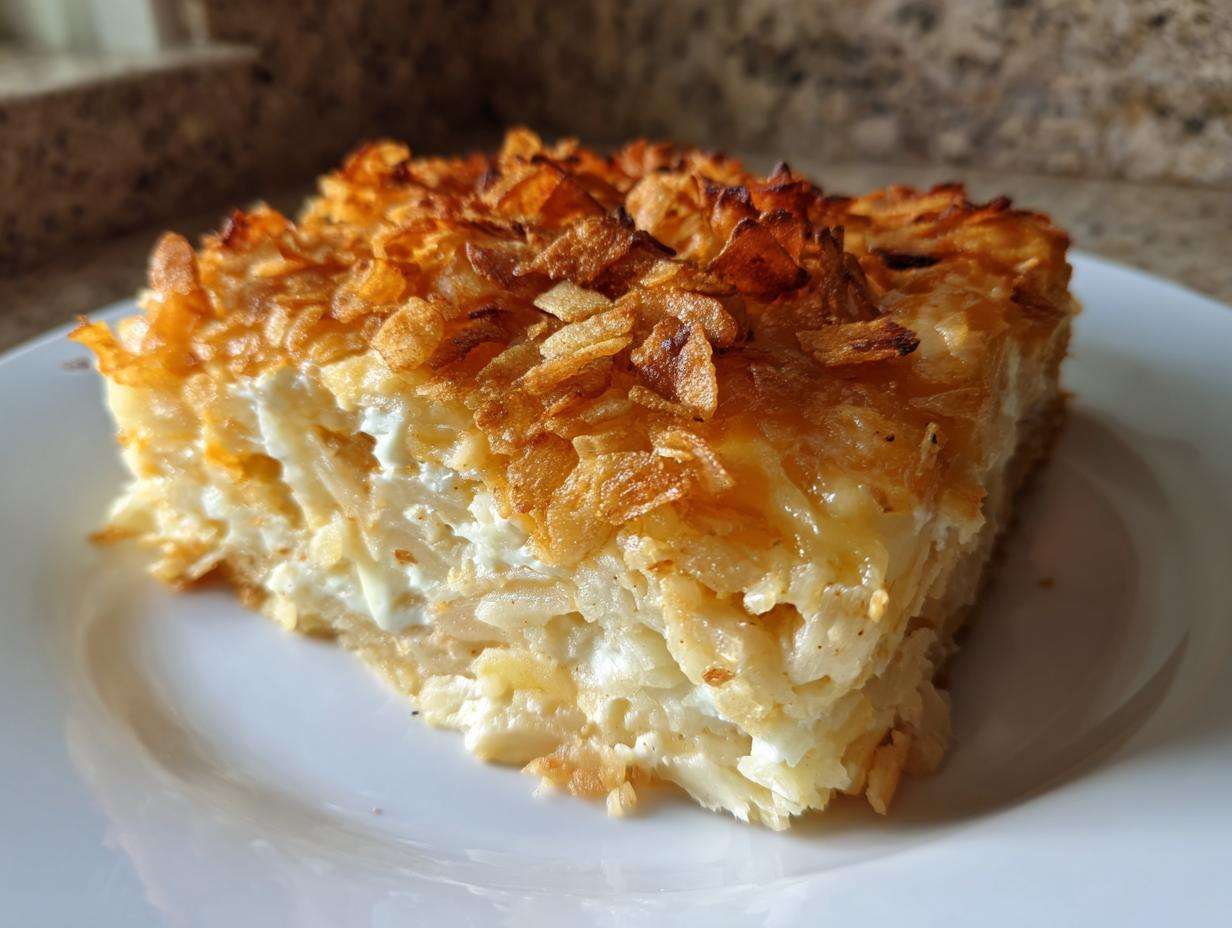
Oh, honey, if you’re looking for the ultimate crowd-pleaser—the dish that simply vanishes the second you set it down at a party—then you’ve landed in the right spot! Forget fancy techniques; we are diving headfirst into pure, unadulterated comfort. This **funeral potatoes recipe** isn’t famous for being fussy; it’s famous because it’s ridiculously easy and tastes like a warm hug made of cheese and carbs. I cannot tell you how many family reunions, potlucks, and holidays I’ve brought this exact **Cheesy Hashbrown Casserole** to. Trust me, the creamy texture paired with that ridiculously crunchy, buttery topping is why people beg me for the recipe every single time. It’s simple, it’s mandatory, and I promise it will be the star side dish!
Why This Classic Cheesy Hashbrown Casserole is a Potluck Favorite
Honestly, there is just something about a big, bubbly casserole that screams ‘comfort,’ and this dish delivers every single time. It’s the definition of a reliable Potluck Casserole Recipe because it just works, no matter the occasion.
- Zero Stress Prep: You mix everything in one bowl, which means cleanup is a total breeze!
- Crowd-Approved Flavor: That gooey, cheesy texture and crunchy top means there are zero leftovers.
- Make-Ahead Champion: You can assemble this the night before, which saves your sanity on busy holiday mornings.
- Versatile Side: It pairs beautifully with ham, turkey, or just about anything else you put on your plate!
Ingredients for the Ultimate Funeral Potatoes Recipe
Okay, don’t panic when you see the list! It looks long, but most of these are just thrown into one bowl. The secret here is using frozen shredded hash browns—no peeling or boiling required! That’s what makes this whole funeral potatoes recipe so incredibly fast to pull together before company arrives. We are using sharp cheddar for flavor and a little something extra for that crunch.
For the Creamy Potato Base
- Two full pounds of frozen shredded hash browns, and make sure they’re fully thawed!
- One standard can—that’s 10.5 ounces—of condensed cream of chicken soup.
- One cup of good old sour cream.
- One cup of sharp Cheddar cheese, shredded, please!
- Half a cup of Monterey Jack cheese, shredded up nicely.
For the Buttery Cornflake Topping
This topping is non-negotiable. It’s the crunch that makes the dish!
- Half a cup of butter that you’ve melted down nice and smooth.
- One full cup of cornflakes, crushed up almost to sand, but leave a few tiny flakes.
- A quarter cup of grated Parmesan cheese to sprinkle over the top layer.
Step-by-Step Instructions for Your Funeral Potatoes Recipe
Following these steps ensures you get that perfect, bubbly, creamy interior and shatteringly crisp topping every single time. Don’t rush the mixing part—we want everything coated evenly so we don’t end up with bland spots hiding under all that cheese! It really is simple, especially if you’ve already thawed your potatoes ahead of time.
Preparing the Casserole Dish and Mixing the Base
First thing’s first: get your oven set to 350 degrees Fahrenheit. While that’s warming up, grab your 9×13 inch baking dish and give it a good grease, just to be safe. Now for the big bowl! Gently toss together your thawed hash browns—make sure they aren’t soaking wet!—with the cream of chicken soup, sour cream, both your Cheddar and Jack cheeses. Mix it all up until you can see cheese and soup coating every single brown speck. Then, spread that glorious mixture evenly into your prepared dish.
Creating and Applying the Buttery Topping
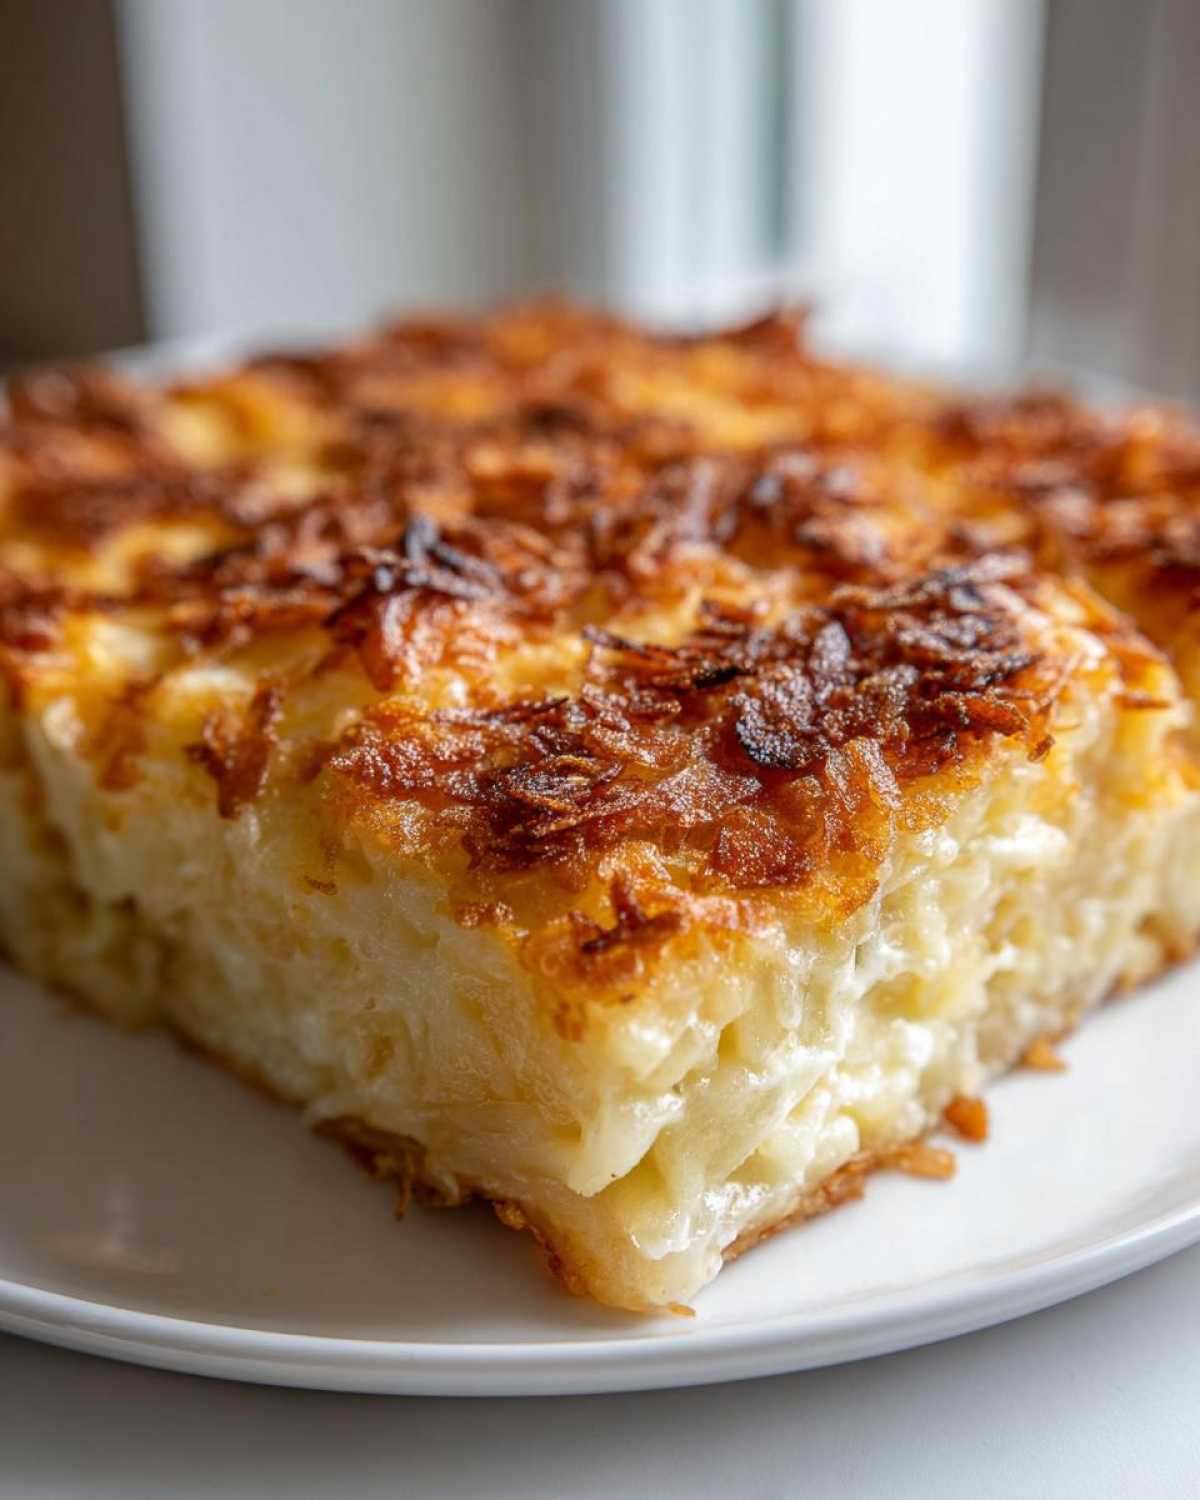
This is where the texture magic happens! In a separate, smaller bowl, pour in that half cup of melted butter. Then drop in your crushed cornflakes and toss them around until they look like little buttery clusters. Don’t worry about mixing them perfectly; clusters are good! Sprinkle this crunchy mess right over the top of your potato layer. For the final touch, take that Parmesan cheese and gently dust it over the whole thing so it melts into a sharp, golden crust.
Baking and Resting the Funeral Potatoes Recipe
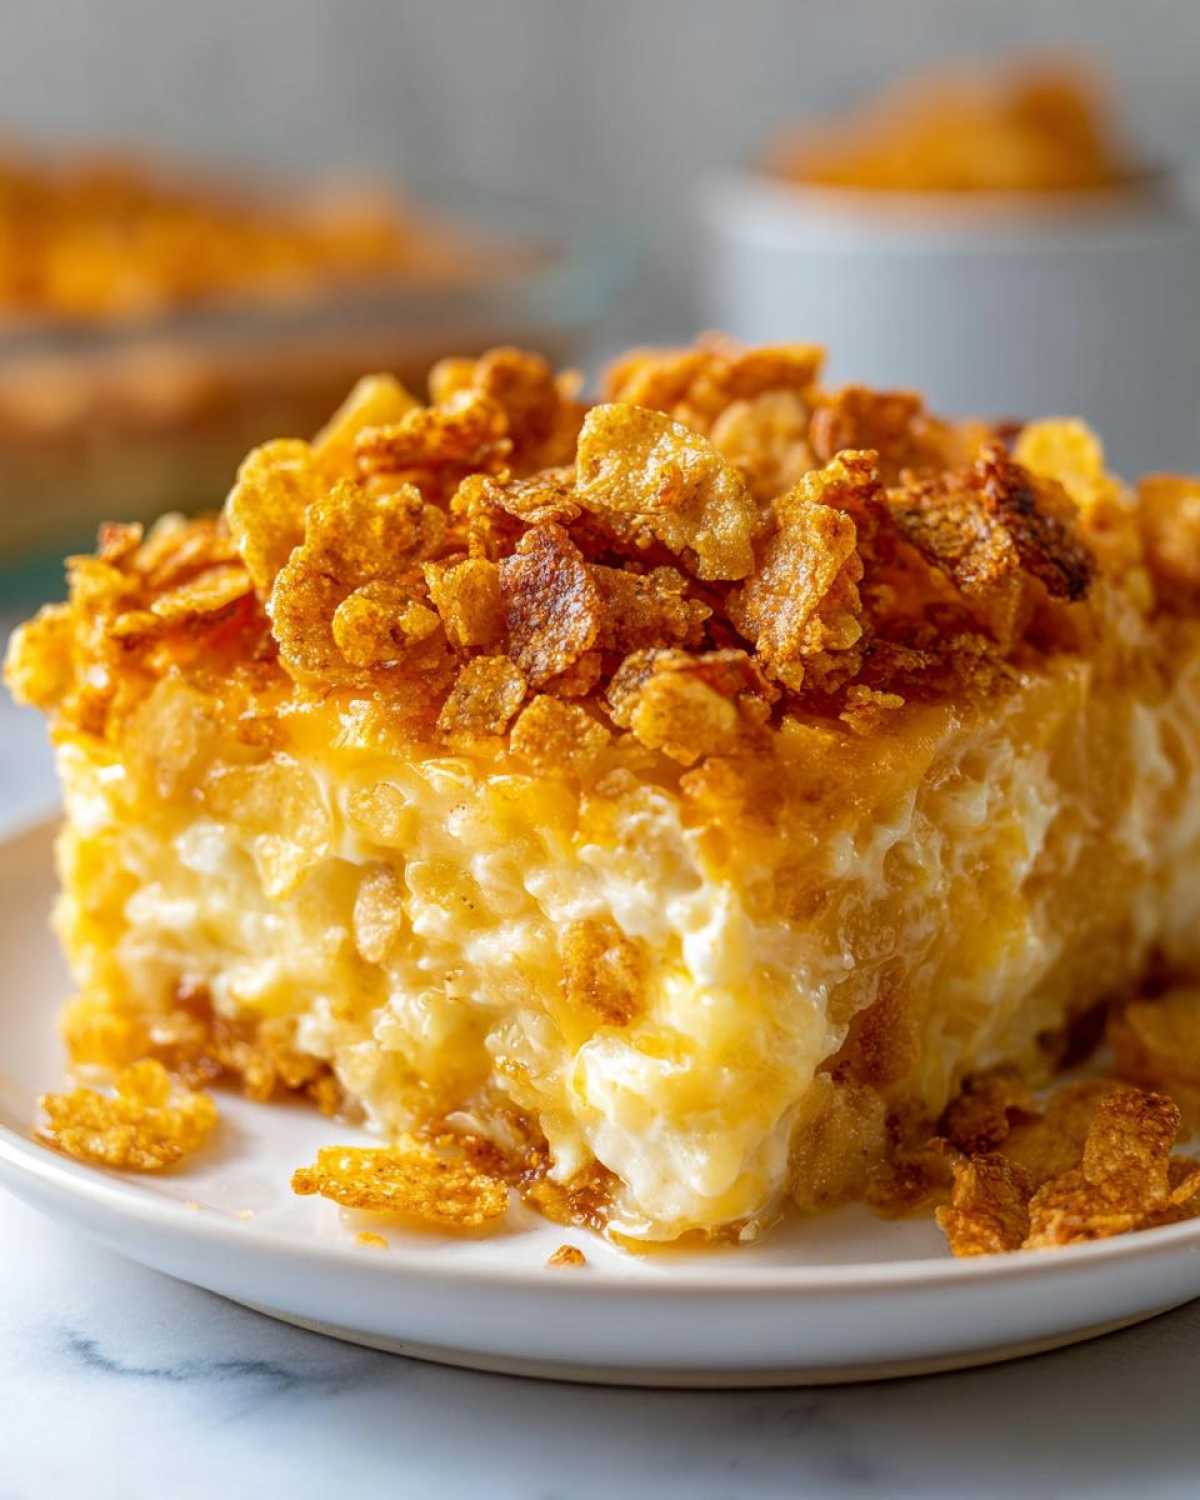
Slide that dish into the hot oven and let it bake for about 45 to 55 minutes. You are looking for two things: the edges bubbling up like a happy volcano, and that cornflake top turning gorgeously golden brown. Once it’s done, pull it out but—and this is important—let it sit on the counter for 10 whole minutes before you try to serve it. That short rest lets the creamy interior set up just enough so it doesn’t turn into soup on your serving platter. If you’re looking for other easy recipes, check out my homemade applesauce for a slightly sweet side option!
Tips for the Best Funeral Potatoes Recipe Success
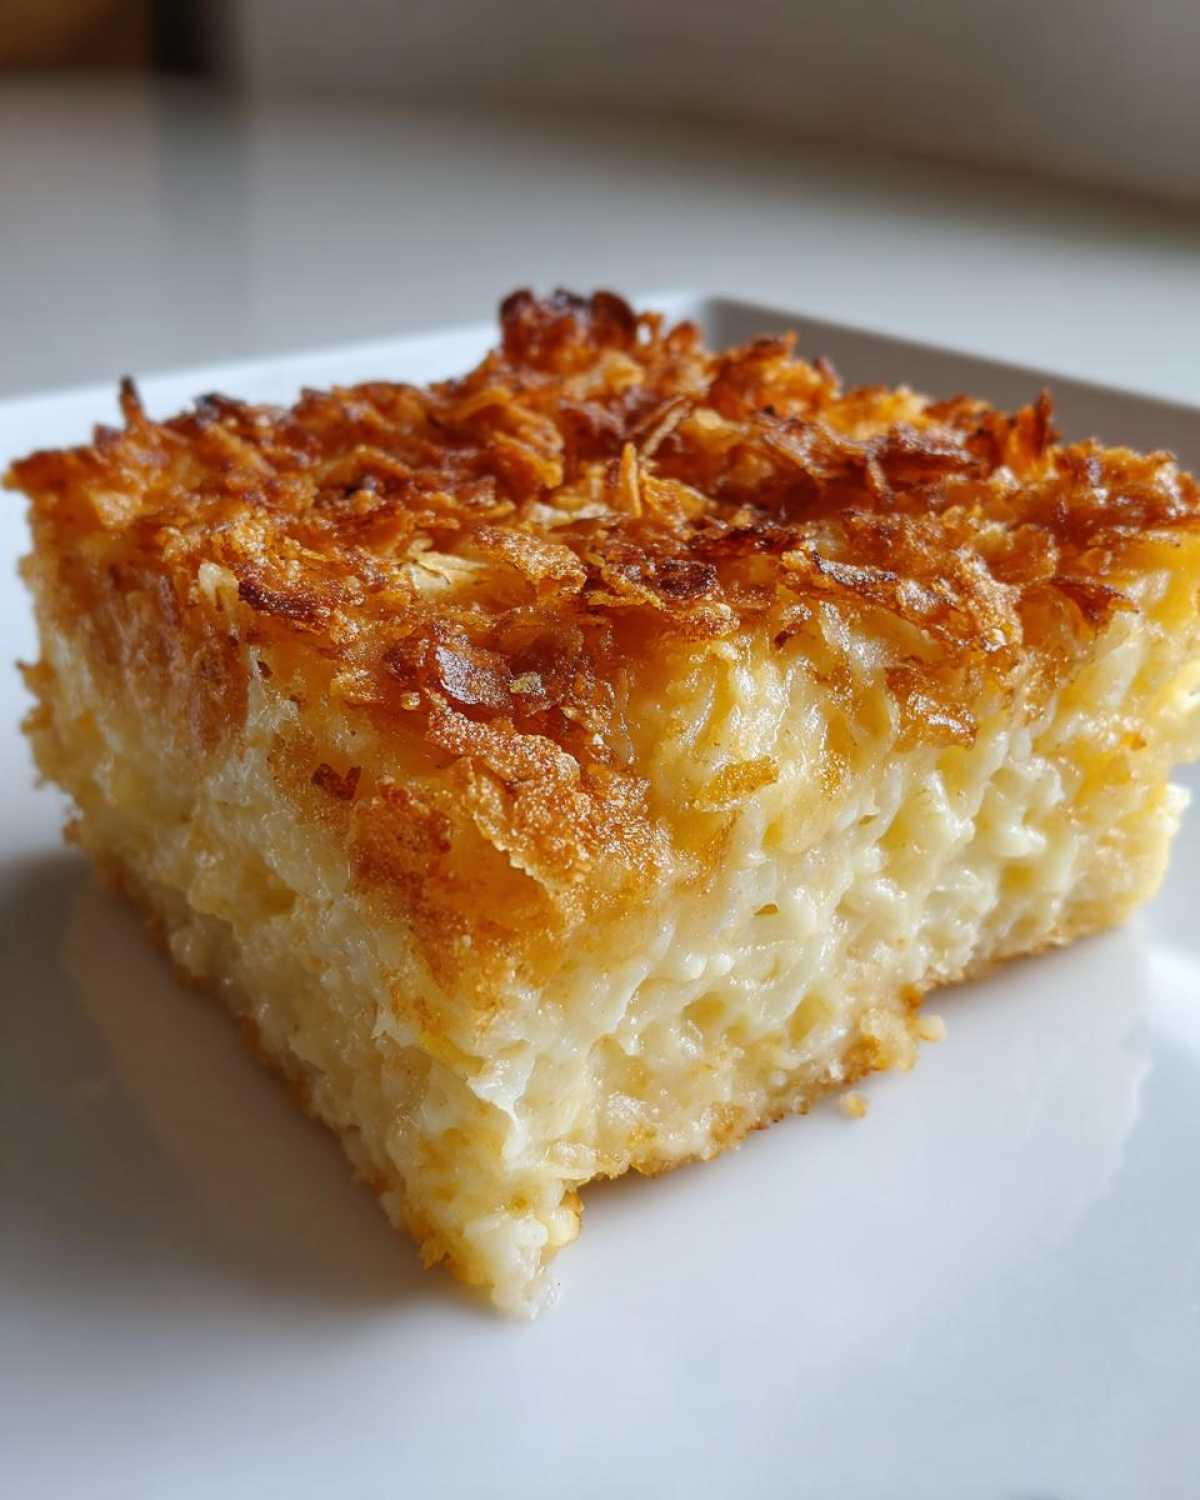
Getting this **Comfort Food Side Dish** perfect involves just a couple of tiny details, but they make a huge difference between a good casserole and *the legendary* one everyone talks about. My number one tip? Make sure those hash browns are truly thawed. If they’re still icy, they release too much water, and suddenly your creamy delight turns into potato soup—nobody wants that!
For maximum crunch on that topping, always use cold or room-temperature butter when mixing it with the cornflakes. If your butter is too hot, it soaks right into the flakes, and you end up with a soggy sheet instead of that golden, crisp armor we’re aiming for. I always try to bake mine right away too; leaving that topping sitting wet for too long invites sogginess. If you’re looking for other amazing baked goods to bring along, you have to check out my recipe for the best soft, chewy chocolate chip cookies; they never last long either!
Make Ahead Casserole Options for Your Funeral Potatoes Recipe
I know how stressful potlucks and holidays can be, so making this a Make Ahead Casserole is my absolute favorite trick. You can assemble the entire thing—potatoes, cheese, the creamy base—up to 24 hours before you plan to serve it. Just wrap that dish up tight with plastic wrap and tuck it right into the fridge.
Here’s the catch, though: when you pull the cold casserole out to bake it, you need to add some extra time in the oven. I usually add 10 to 15 minutes to the baking time since the cold dish needs to heat all the way through before the top starts browning. Don’t skip my recommendation to check my make-ahead eggnog french toast casserole if you need another dish to prep early!
Variations and Substitutions for This Creamy Cheesy Potatoes Dish
Part of the fun with any great recipe like this Funeral Potatoes Recipe is knowing you can tweak it slightly to fit what you have or what your family prefers! We are aiming for peak richness here, so I call these little extras our “Secret Weapon Upgrades.” Even though the base is perfect, maybe you want a little kick in your Creamy Cheesy Potatoes.
You absolutely can swap out the cream of chicken soup for cream of mushroom—it gives the whole thing a slightly earthier vibe. If you’re feeling adventurous with your cheese, try mixing in some Pepper Jack for a very subtle heat, or maybe some Colby for extra meltiness. I know some folks can’t resist adding crispy bacon bits right into the potato mix, or maybe some finely chopped green onions for a fresh bite against all that richness.
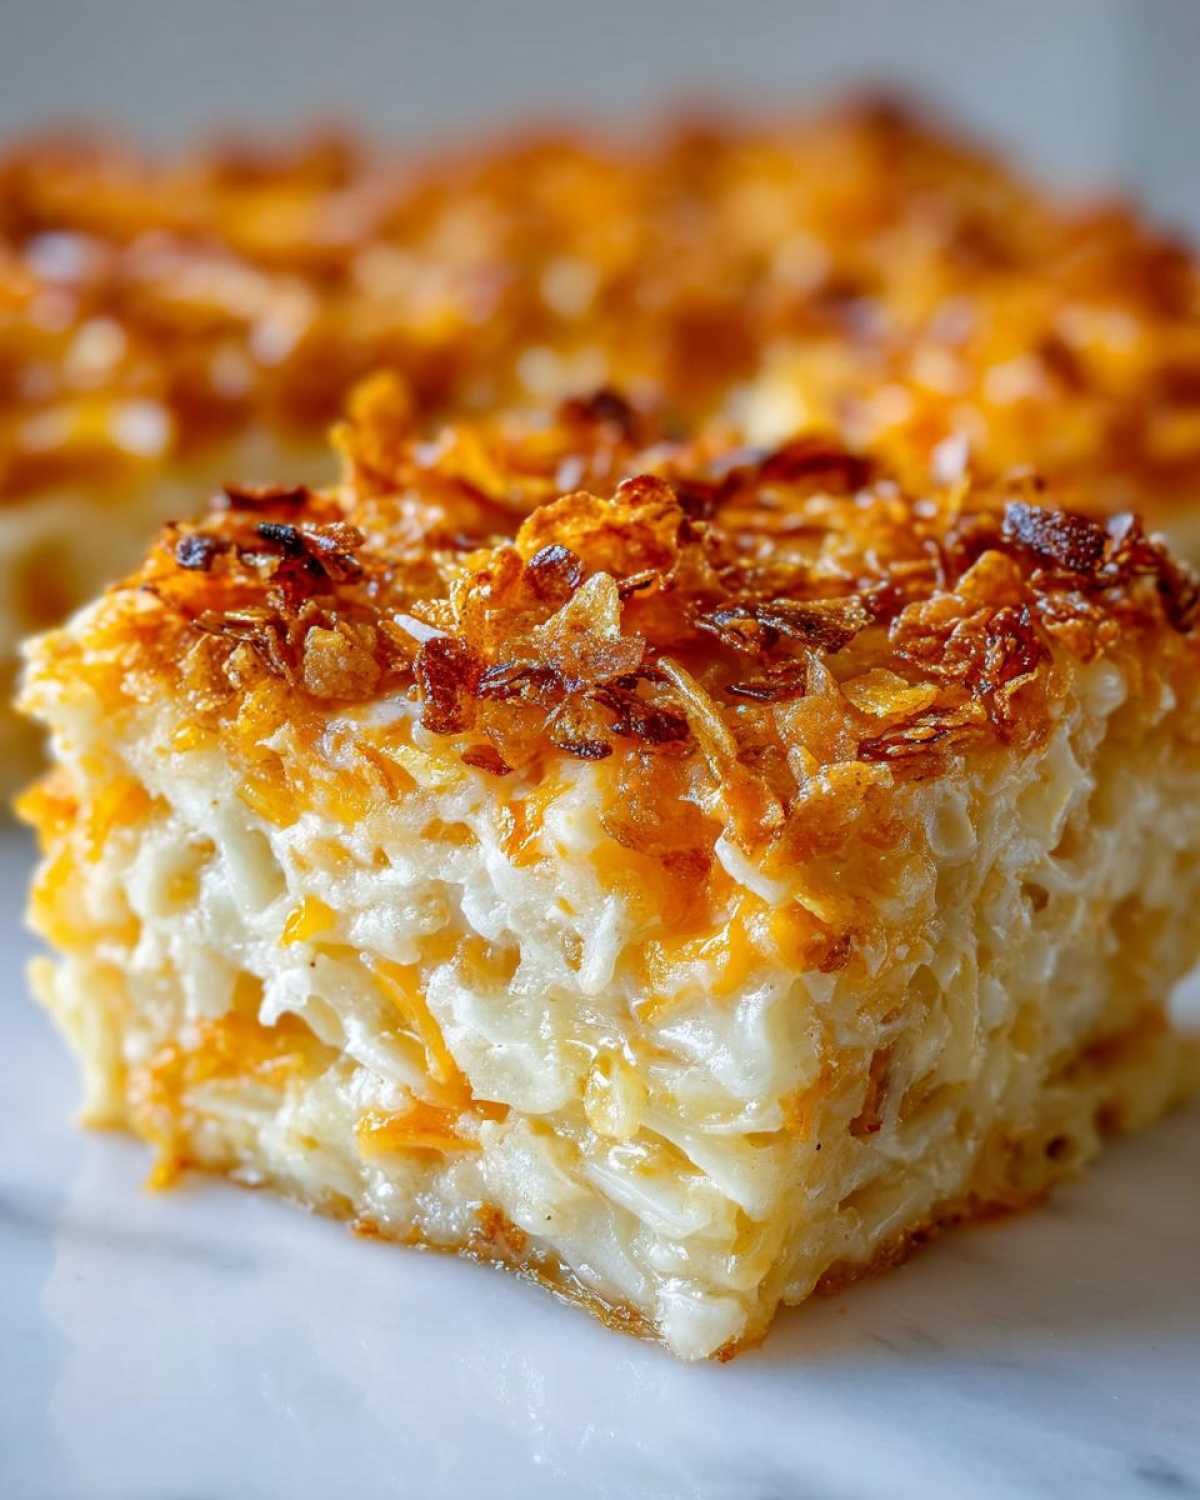
If cornflakes just aren’t your style, you can absolutely swap those out for crushed saltine crackers mixed with the melted butter. It gives a slightly saltier crunch! For more inspiration on incorporating creamy toppings, you should check out how I make the streusel for my sour cream coffee cake—it’s that same buttery, crumbly goodness we are going for here!
Serving Suggestions for This Comfort Food Side Dish
This is the ultimate **Comfort Food Side Dish**, right? Because it’s so rich and cheesy, it really needs something flavorful to balance it out on the plate. Honestly, if you made this for Thanksgiving, it pairs perfectly with that big roasted turkey or even a glazed ham. For a simple weeknight dinner, I sometimes just pair a scoop of these potatoes with some steamed green beans or roasted carrots to cut through the richness.
If you’re serving this classic at a big family gathering, think about what you’re serving it alongside. It’s amazing next to something saucy, because the casserole soaks up all those extra drips! You should totally check out how I make my creamy homemade butter chicken—the sauce on that chicken mixed with these potatoes? Dreamy!
Storage and Reheating Instructions for Leftover Funeral Potatoes Recipe
Oh, you made way too much! That’s the sign of a perfect **funeral potatoes recipe**, isn’t it? If you’ve got leftovers—and I hope you do!—storage is super simple. Just let the casserole cool down for about an hour, then cover the dish tightly with plastic wrap or foil and pop it right into the fridge. That creamy base stays good for about three or four days.
When you want to reheat it, the oven is your best friend for that crispy top! Cover the dish loosely with foil and reheat at 350 degrees until it’s hot all the way through, maybe 20 minutes. If you’re in a real hurry, a quick zap in the microwave works, but just make sure to leave the foil off and watch it carefully so it doesn’t turn rubbery!
Frequently Asked Questions About Funeral Potatoes Recipe
If you’re still wondering about some details, don’t worry! When you’re making a staple like the funeral potatoes recipe, you want to get it perfect. Here are the few things folks ask me all the time when they are trying to make this the best side dish possible for their party.
Can I use fresh, uncooked potatoes instead of frozen hash browns in this funeral potatoes recipe?
You certainly *can*, but I really, really don’t recommend it for this specific recipe. The beauty of using the thawed, frozen shredded hash browns is that they’ve already been partially cooked and shredded perfectly. If you use raw potatoes, you need to grate them very finely, and even then, they release a ton of water during baking. That extra moisture is what causes the watery casserole problem, and it risks ruining that perfectly creamy texture we worked so hard to achieve!
How do I ensure my Cheesy Hashbrown Casserole stays creamy and doesn’t get watery?
Moisture control is the secret weapon here! First, thaw your frozen potatoes completely, and then, here’s the pro move: gently squeeze out any excess liquid using a clean kitchen towel or some paper towels. You don’t want them bone dry, but you need to get rid of that standing pool of water. After that, make sure you use full-fat sour cream and avoid adding any extra milk or liquid ingredients—the soup and the sour cream provide plenty of moisture for this Cheesy Hashbrown Casserole.
For those of you asking about bigger batches or different cooking methods, you can definitely convert this to a **Slow Cooker Funeral Potatoes** version! You just mix everything (except the topping), put it in your greased slow cooker, and cook it on low for 3-4 hours until bubbly. Wait until the last 20 minutes to add the buttered cornflakes on top so they don’t burn! If you want to see how I handle other slow cooker meals, take a peek at my recipe for slow cooker pulled pork!
Print
Classic Cheesy Funeral Potatoes Casserole
- Total Time: 70 min
- Yield: 10 servings
- Diet: Vegetarian
Description
A simple recipe for a creamy, cheesy hash brown casserole with a crunchy, buttery topping, perfect for potlucks and large gatherings.
Ingredients
- 2 pounds frozen shredded hash browns, thawed
- 1 can (10.5 ounces) condensed cream of chicken soup
- 1 cup sour cream
- 1 cup shredded sharp Cheddar cheese
- 1/2 cup shredded Monterey Jack cheese
- 1/2 cup melted butter
- 1 cup crushed cornflakes
- 1/4 cup grated Parmesan cheese
Instructions
- Preheat your oven to 350 degrees Fahrenheit. Grease a 9×13 inch baking dish.
- In a large bowl, combine the thawed hash browns, cream of chicken soup, sour cream, Cheddar cheese, and Monterey Jack cheese. Mix until everything is evenly coated.
- Spread the potato mixture into the prepared baking dish.
- In a small bowl, mix the melted butter and crushed cornflakes together. Sprinkle this mixture evenly over the top of the casserole.
- Sprinkle the Parmesan cheese over the cornflake topping.
- Bake for 45 to 55 minutes, or until the casserole is bubbly throughout and the topping is golden brown.
- Let the casserole rest for 10 minutes before serving.
Notes
- For a make-ahead option, assemble the casserole completely, cover it, and refrigerate for up to 24 hours. Add 10 to 15 minutes to the baking time if baking directly from the refrigerator.
- You can substitute cream of mushroom soup for cream of chicken soup if desired.
- Use any combination of melting cheeses you prefer, such as Colby or Pepper Jack.
- Prep Time: 15 min
- Cook Time: 55 min
- Category: Side Dish
- Method: Baking
- Cuisine: American
Nutrition
- Serving Size: 1 serving
- Calories: 350
- Sugar: 3
- Sodium: 550
- Fat: 25
- Saturated Fat: 14
- Unsaturated Fat: 11
- Trans Fat: 0.5
- Carbohydrates: 25
- Fiber: 1
- Protein: 10
- Cholesterol: 55