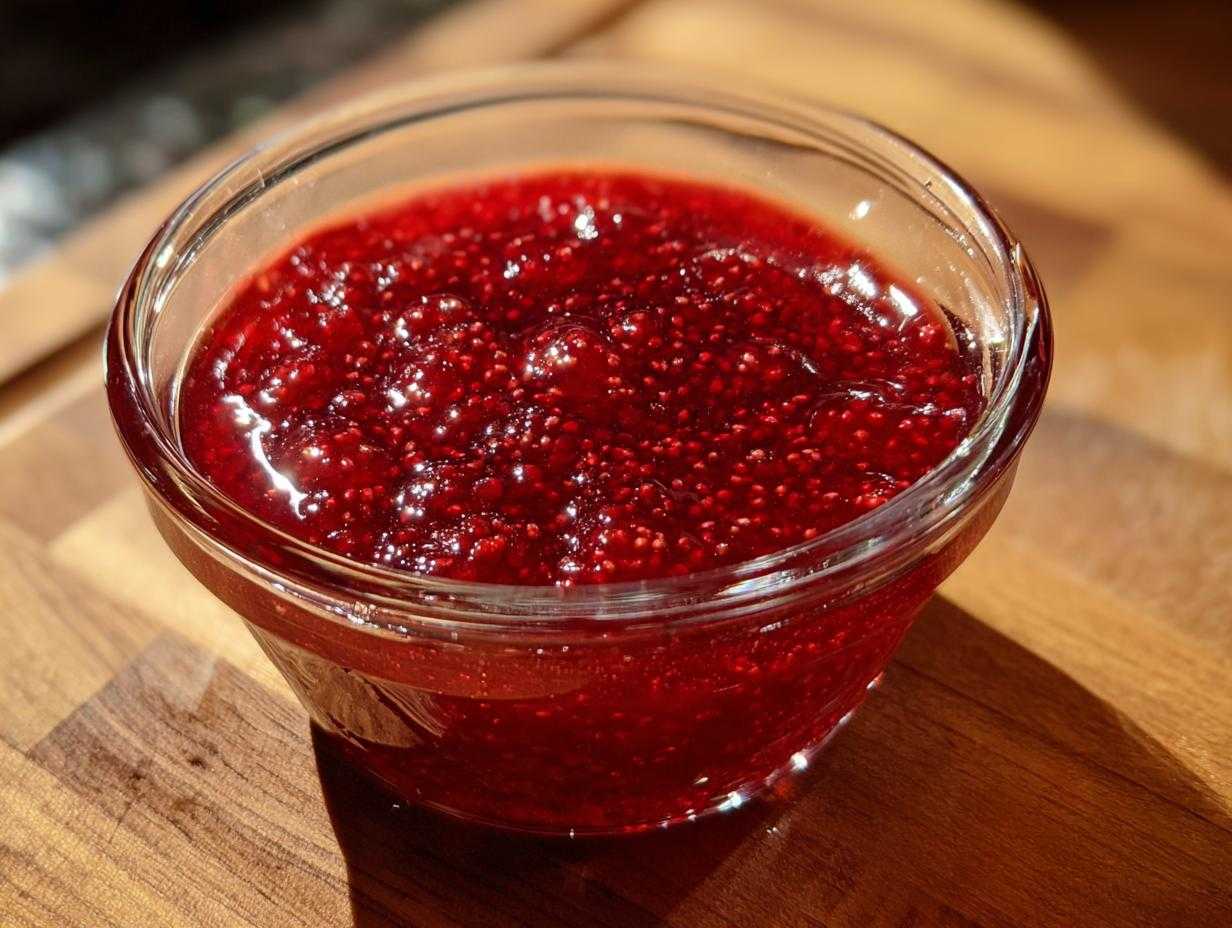
Oh, you absolutely HAVE to try making homemade raspberry jam from scratch! There’s just nothing that compares to that vibrant, tangy sweetness when you spread it warm on toast. For years I struggled with jam making—all those confusing instructions about commercial pectin, and I always ended up with jars that were too runny or just plain weird.
But I cracked the code, honestly! This is my go-to, foolproof recipe for the easiest **raspberry jam** you’ll ever make, and the best part? We aren’t using any store-bought pectin. Trust me, when you use fresh, quality fruit, you don’t need it! It’s the perfect place to start if you’re new to making your own preserves. It comes together so fast, you’ll wonder why you ever bought the jarred stuff.
Why This Easy Raspberry Jam Recipe Works Without Pectin
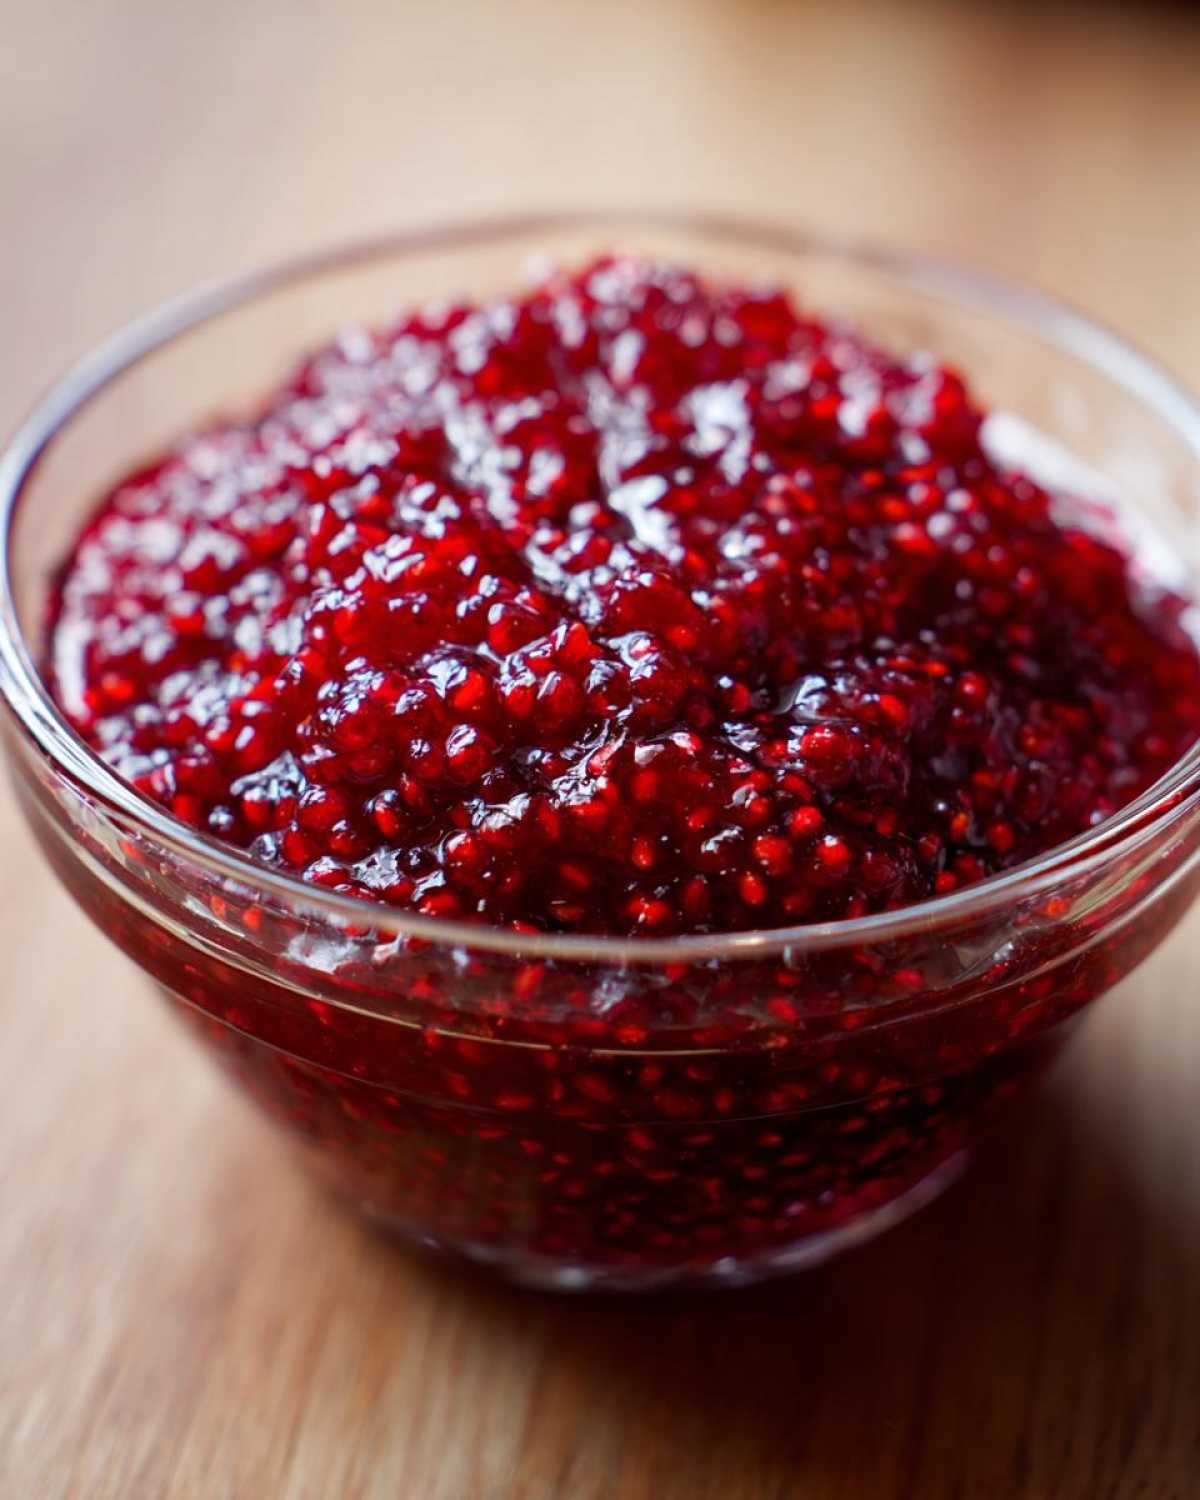
People always ask me, “How do you get such a reliable set without adding that weird powdered stuff?” Well, the secret is in accepting that raspberries are basically nature’s perfect little jam-making package! They are naturally high in both acid and pectin.
When we add sugar and heat everything up, we basically force that natural pectin out, and the acid helps it gel up beautifully with the sugar crystals. That’s why this homemade raspberry jam recipe tastes so incredibly fresh, like summer in a jar. We’re letting the fruit do the heavy lifting here!
Forget the commercial boxes; this **no pectin jam** relies strictly on great fruit, sugar, and a little bit of patience during the boil. If you’re looking for a **quick raspberry jam**, you can check out my slightly tweaked version over here if you need a super fast alternative: small-batch quick raspberry jam recipe. But honestly, this method is so easy!
Gathering Your Ingredients for Homemade Raspberry Jam Recipe
Okay, transparency is my middle name when it comes to baking, so let’s talk ingredients. Getting the measurements exactly right is key, especially for that coveted *set* when we aren’t using commercial help. Don’t panic; the ingredient list is wonderfully short!
This really is a **kitchen staples recipe** using just three components. When you see these waiting on your counter, you’ll know you’re ready to make magic.
Key Components for Perfect Raspberry Jam
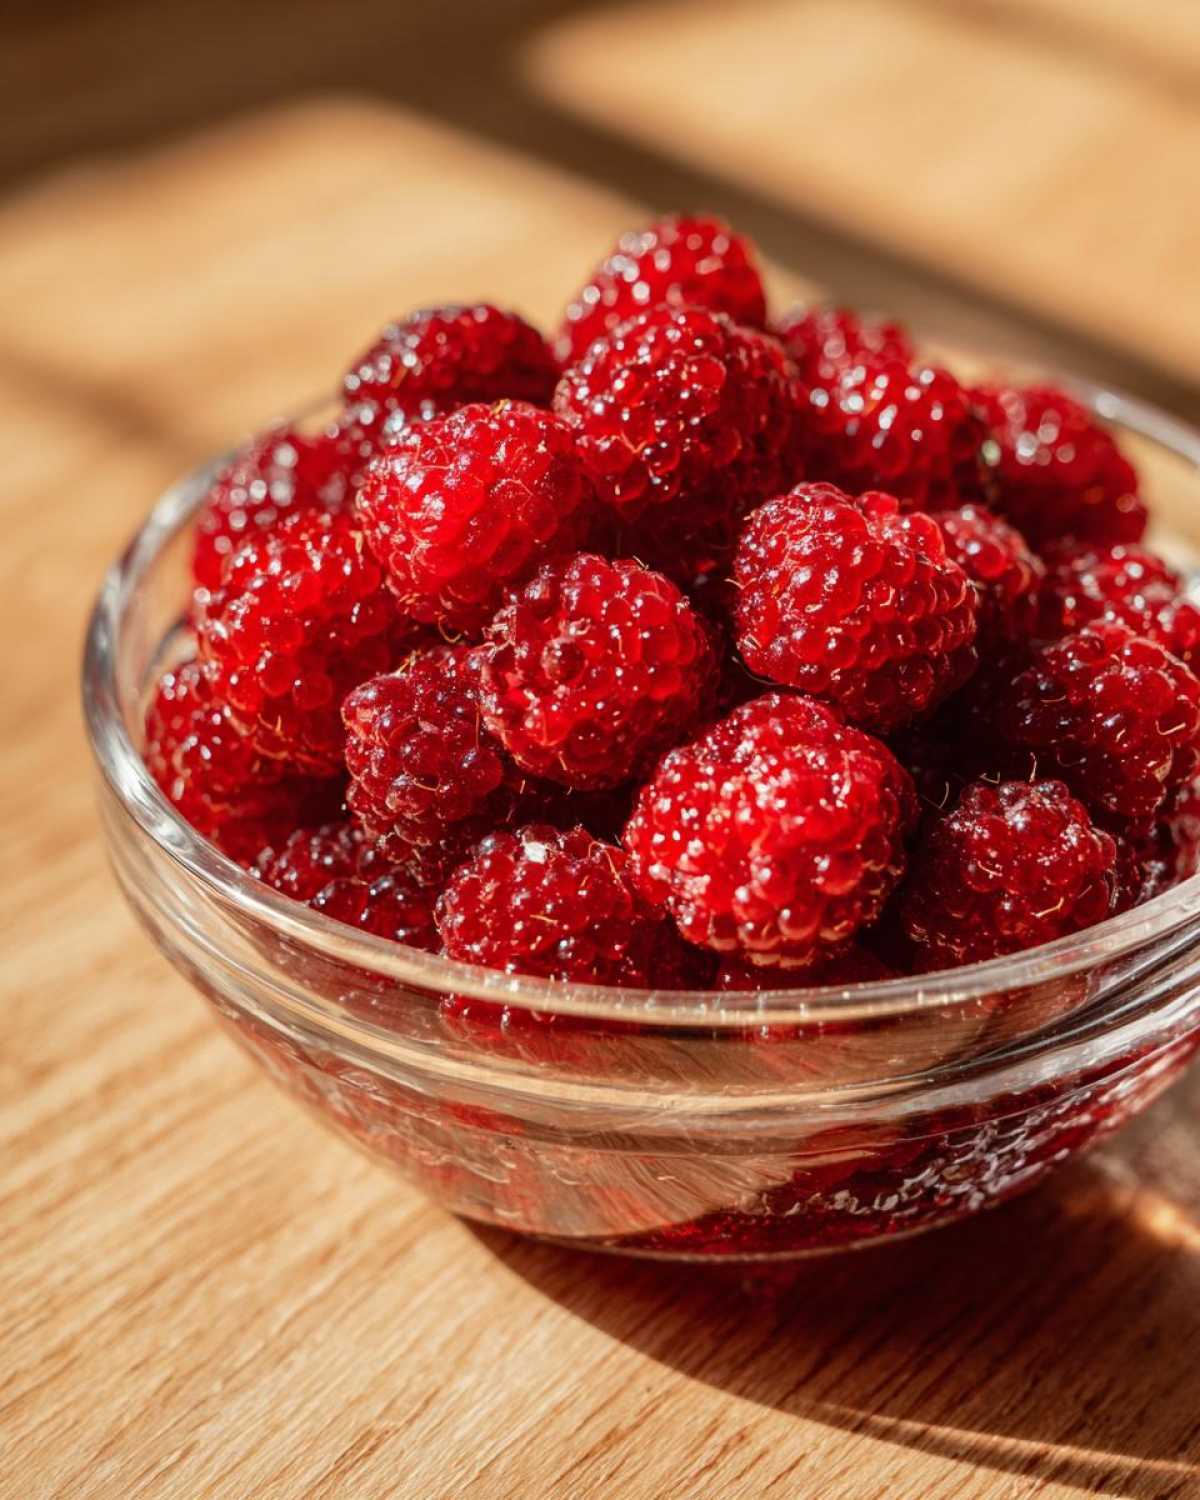
- 4 cups of fresh or frozen raspberries. Yep, frozen work just as beautifully for this summer fruit jam!
- 3 cups of good, plain granulated sugar. You need the full three cups to help draw out the liquid and achieve that sweet, tangy balance.
- 1 tablespoon of freshly squeezed lemon juice. Please make sure it’s *fresh*; that acidity is doing heavy lifting here!
Step-by-Step Instructions for Quick Raspberry Jam
Alright, let’s get this amazing quick raspberry jam cooked! If you’ve got a large, heavy-bottomed pot—seriously, use thick metal, it won’t scorch as easily—you’re halfway there. Don’t worry about having the perfect equipment; just use what you have, but stay close while it cooks!
The entire active cooking process flies by once you get going, but the initial soak is non-negotiable for the best set.
Macerating the Berries for Flavor Development
First thing’s first: gently combine your four cups of raspberries and the three cups of sugar right in that big pot. Give it a really gentle stir—we don’t want to crush the berries yet, just coat them. Now, you need patience for exactly 30 minutes. This waiting time is critical for our **no pectin jam**! That sugar is working hard to draw out all the natural juice from the fruit. If you skip this, the sugar might burn on the bottom before the berries release enough liquid to create a proper syrup.
Achieving the Set Point for Homemade Raspberry Jam
Once those 30 minutes are up, move that pot over to medium-high heat. You must stir constantly until that sugar completely dissolves, and then—watch out!—it’s going to hit a rolling, rapid boil. The moment you see that vigorous boil, toss in your tablespoon of fresh lemon juice. Now, keep stirring often, or you *will* have scorch marks! You need to boil hard until the jam hits 220 degrees Fahrenheit on your candy thermometer. If you don’t have a thermometer, use the cold plate test!
Seriously, chill a small plate in the freezer first. Drop a tiny bit of hot jam onto that cold plate. If it wrinkles when you push it with your finger after a minute, you’re done! That **homemade raspberry jam recipe** is set. If it runs, keep boiling and testing. And hey, if you want to see a different take on a fruit topping, you can peek at this easy berry cobbler recipe while the jam sets up!
Tips for Success Making Your First Batch of Raspberry Jam
Making jam is intimidating until you realize it’s mostly about staying near the stovetop! The biggest rule for this **easy jam recipe**? Use a pot that’s bigger than you think you need. The berries bubble up furiously, and we do not want that sweet, hot lava spilling over your stove.
Definitely use that heavy-bottomed pot we talked about earlier. It distributes the heat much more evenly, which makes scorching—the enemy of all **beginner jam making**—much less likely. You must keep stirring during that high-boil phase!
Once it’s reached the right consistency, pull it off the heat quickly. You’ll see some lovely pink foam floating on top. I always grab a wide, shallow spoon and just skim that foam right off. It makes the final texture so much prettier for gifting or just spreading on your easy jam recipe toast!
Variations: Seedless Raspberry Jam and Other Twists
One thing people always ask me about is the seeds! If you want that super velvety, elegant **seedless raspberry jam**—perfect for a fancy drizzle over ice cream—it’s really easy to make that adjustment. You just need to strain them out before the final hard boil.
After the berries and sugar have sat (macerated), mash them lightly, and then press that whole mixture through a fine-mesh sieve into a clean pot. Discard the solids, and then proceed with adding the lemon juice and boiling down until it thickens. It’s an extra step, but worth it for that smooth texture!
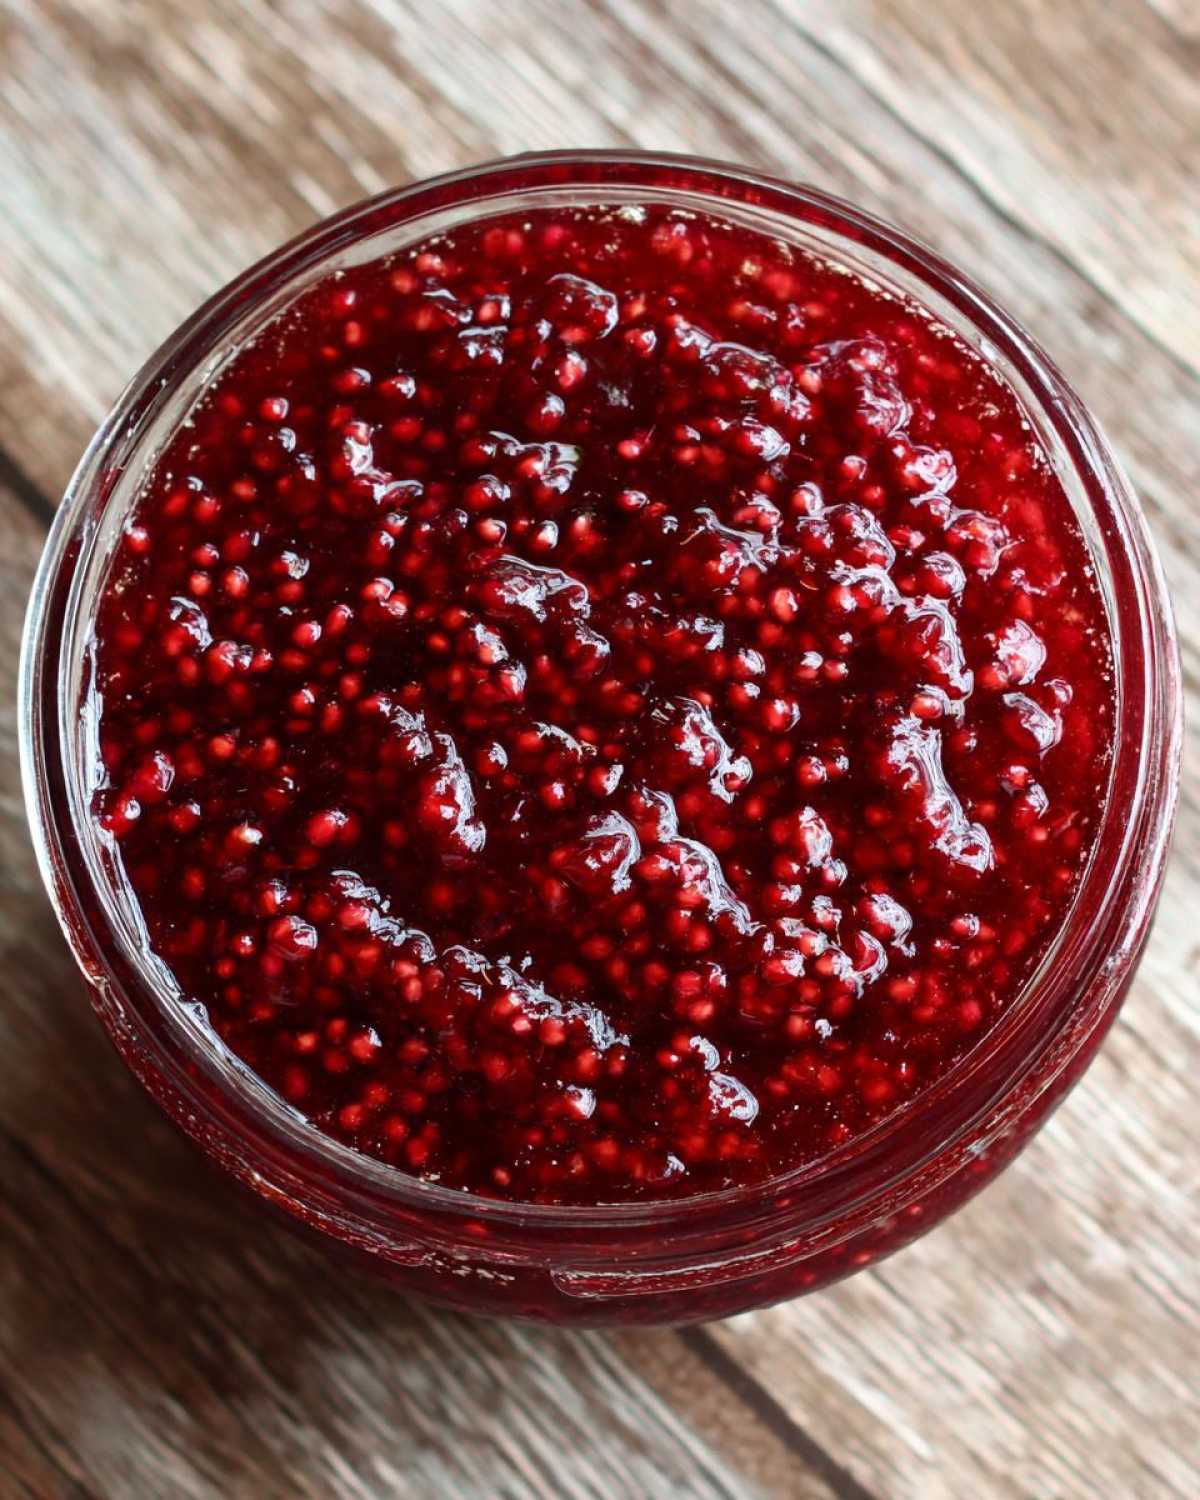
Also, if you want to level up your **fresh berry preserves**, try stirring in a tiny splash of good quality vanilla extract right after you take it off the heat. It adds such a wonderful warmth to the bright raspberry flavor.
Preserving Your Raspberry Jam: Canning vs. Refrigeration
So, you’ve got your beautiful, perfectly set jam! Now, what do you do with it? Since this is a **small batch jam** recipe, you have two awesome routes depending on when you plan to eat it. If you plan on using it up in a few weeks, just let it cool down and pop the jars right into the fridge. Easy peasy!
But if you want to save that taste of summer well past berry season, we have to talk about water bath canning. Make sure those jars and lids are sterilized! For safe, long-term storage when **canning fresh raspberries**, you need to process your filled jars—leaving that 1/4 inch headspace we mentioned—in a vigorously boiling water bath for exactly 10 minutes. Remember to adjust that time for altitude if you live high up!
If you’re new to this, I have a whole guide on easy canning recipes that walks you through setting up the canner safely. Stored properly in a cool, dark place, your jam should last up to a year. Enjoy that **homemade berry spread** all winter long!
Serving Suggestions for Your Sweet Tangy Jam
Now that you have this glorious, slightly tart, sweet jam cooling down, you need to figure out how to devour it immediately! Seriously, my favorite way is just straight up on a thick slice of toasted sourdough, maybe with a little butter melting into it. It’s the perfect breakfast toast spread.
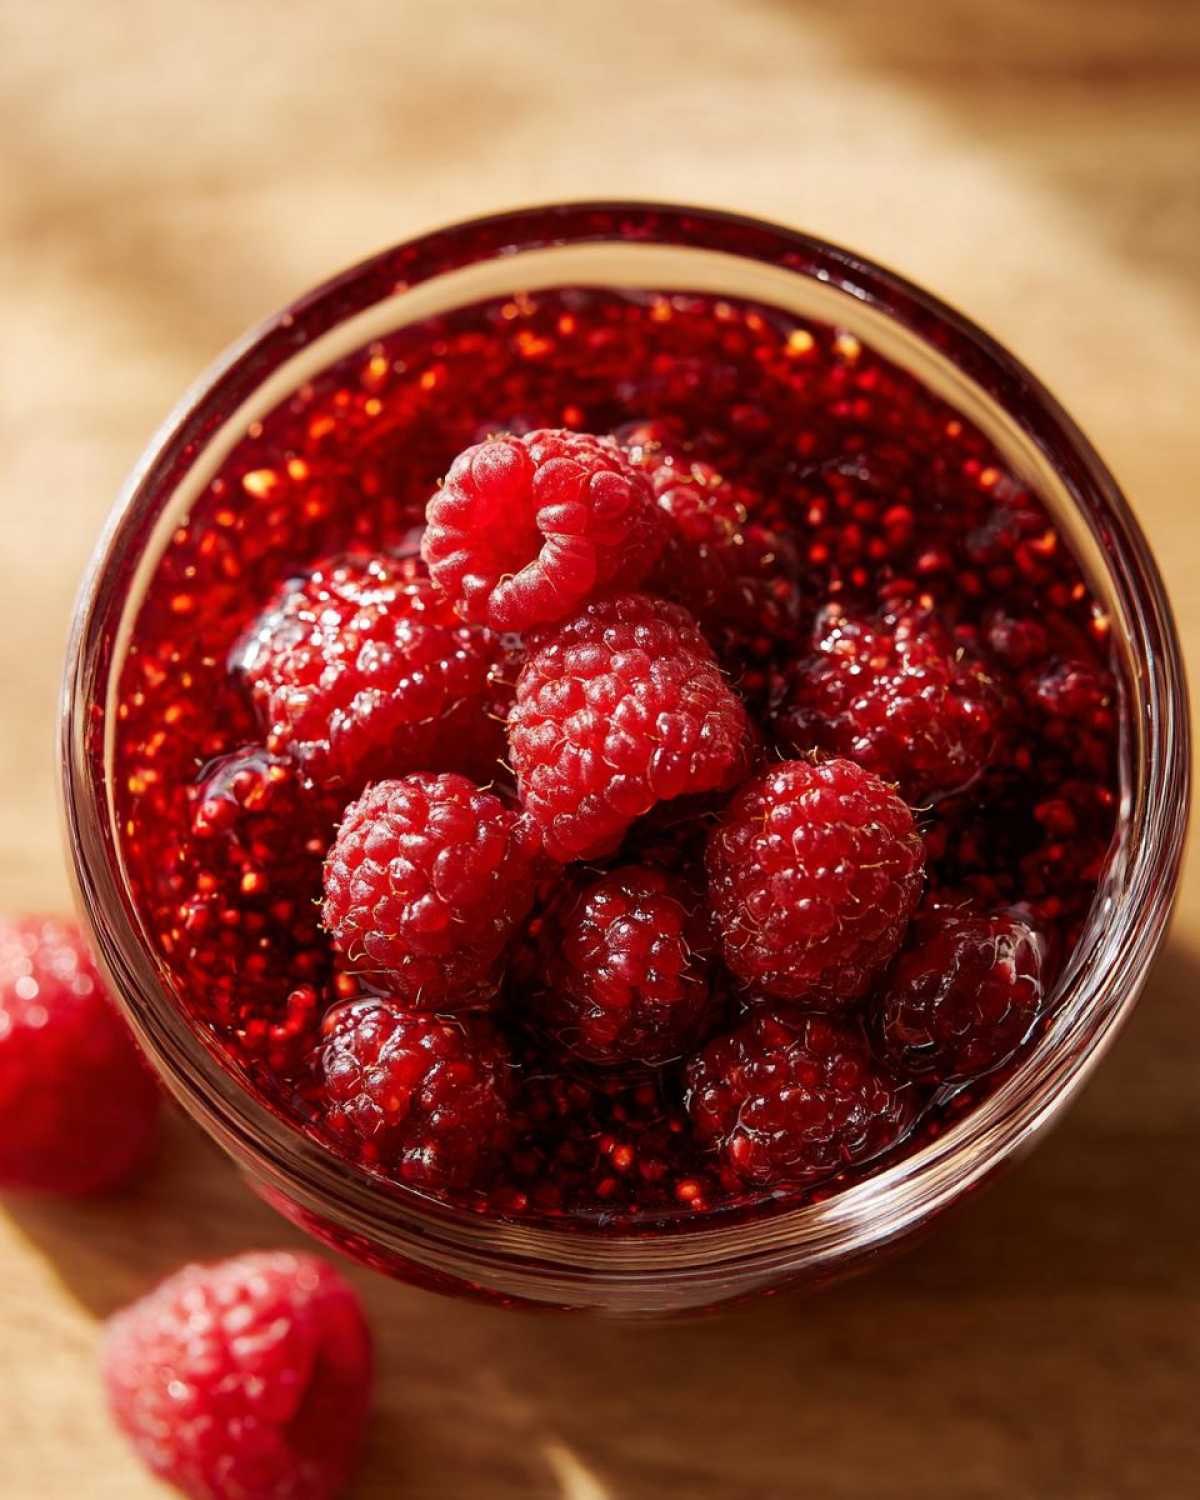
But don’t stop there! This jam is amazing as a vibrant topping for cheesecake or yogurt. And if you’re feeling fancy, it makes the best, brightest layer for a cake. I use it as a simple but stunning raspberry filling for cakes sandwiched between vanilla layers. It’s so much better than anything store-bought, and it looks gorgeous on top of my strawberry muffins too!
Frequently Asked Questions About Making Raspberry Jam
I know when you’re first trying out a recipe, especially for **fruit preserving ideas**, you probably have a few little nagging questions still floating around. That’s totally normal! I try to cover every snag I hit when I was first learning **beginner jam making**. Here are the biggest ones I hear about this sweet tangy jam.
Can I substitute the sugar in this no pectin jam recipe?
Oh, this is the most common question for almost any jam! For this specific **no pectin jam** recipe, the actual amount of sugar is critical. Sugar does more than just sweeten; it binds with the natural pectin and acid to create that proper gel structure. If you drop the sugar amount too much, you risk having very loose preserves. For the best results, please stick to the three cups! It’s truly what makes this recipe work so dependably.
What if my raspberry jam is too runny after cooling?
Don’t throw it out! It happens sometimes if the weather was humid or the berries weren’t quite perfect. If your jam has cooled and it’s still basically syrup, carefully pour that jar back into your pot. Bring it back up to that rapid boil again, and boil for another 3 to 5 minutes, checking the set every minute. If you’ve tried everything and it just won’t grip, sometimes you have to admit defeat on the **no pectin** promise and sprinkle in just half a teaspoon of commercial pectin mixed with a teaspoon of sugar. But honestly, reheating usually does the trick!
If you want to learn more about troubleshooting, I have a great resource on beginner jam making that tackles common issues!
Storage and Shelf Life of Homemade Berry Spread
Okay, we’ve made it! We have beautiful, set **raspberry jam**, and now we need to make sure we keep it safe and delicious until we eat it all, which, let’s be real, might be quicker than you think!
Remember how we discussed two ways to seal up your jars when we talked about **canning fresh raspberries**? Your storage method totally depends on whether you processed them in the water bath or just plopped the lids on and set them aside.
For jars that have gone through the full 10-minute water bath canning process—the ones that sealed with that satisfying *pop*—these are your long-term treasures! Store those babies in a cool, dark pantry or cupboard. If you kept them sealed up tight and processed them correctly, that **homemade raspberry jam recipe** will be good for up to a full year. I never seem to keep mine that long because they end up on everything, but it’s good to know they are safe!
Now, if you skipped the canning step because you needed a **quick raspberry jam** fix or just wanted a small amount to use this week—perfectly fine! Put the lids on, let them cool completely on the counter, and pop those jars straight into the refrigerator. This **homemade berry spread** will stay vibrant and delicious in the fridge for about three weeks. If you’re worried about running out, maybe consider making a slight double batch next time so you can put half straight into the freezer!
If you’re looking for more inspiration on using up those extra jars, I always find myself whipping up a batch of my easy berry cobbler recipe when I have too much fruit lying around!
Print
Easy No Pectin Homemade Raspberry Jam
- Total Time: 40 min
- Yield: About 4 half-pint jars
- Diet: Vegetarian
Description
Make a simple, flavorful raspberry jam without commercial pectin. This recipe is quick to prepare and perfect for beginners.
Ingredients
- 4 cups fresh or frozen raspberries
- 3 cups granulated sugar
- 1 tablespoon fresh lemon juice
Instructions
- Combine the raspberries and sugar in a large, heavy-bottomed pot. Stir gently.
- Let the mixture sit for 30 minutes to allow the sugar to draw out the juice from the berries.
- Place the pot over medium-high heat. Stir constantly until the sugar dissolves completely and the mixture begins to boil rapidly.
- Add the lemon juice. Continue to boil hard, stirring often to prevent scorching, until the jam reaches 220 degrees Fahrenheit on a candy thermometer, or until it passes the sheet test (a small amount dripped onto a cold plate wrinkles when pushed). This usually takes 15 to 25 minutes after reaching a full boil.
- Remove the pot from the heat. Skim off any foam that forms on the surface using a spoon.
- Ladle the hot jam into sterilized jars, leaving 1/4 inch headspace. Wipe rims clean.
- Process in a boiling water bath canner for 10 minutes, adjusting for altitude, or cool completely and store in the refrigerator for up to three weeks.
Notes
- For a seedless jam, press the cooked mixture through a fine-mesh sieve before the final boiling stage.
- To test for set without a thermometer, chill a small plate. Drop a teaspoon of jam onto the cold plate; if it wrinkles when pushed after one minute, the jam is set.
- This recipe makes a small batch suitable for quick use or gifting.
- Prep Time: 10 min
- Cook Time: 30 min
- Category: Preserves
- Method: Stovetop Cooking
- Cuisine: American
Nutrition
- Serving Size: 2 tablespoons
- Calories: 90
- Sugar: 23
- Sodium: 1
- Fat: 0
- Saturated Fat: 0
- Unsaturated Fat: 0
- Trans Fat: 0
- Carbohydrates: 23
- Fiber: 1
- Protein: 0
- Cholesterol: 0