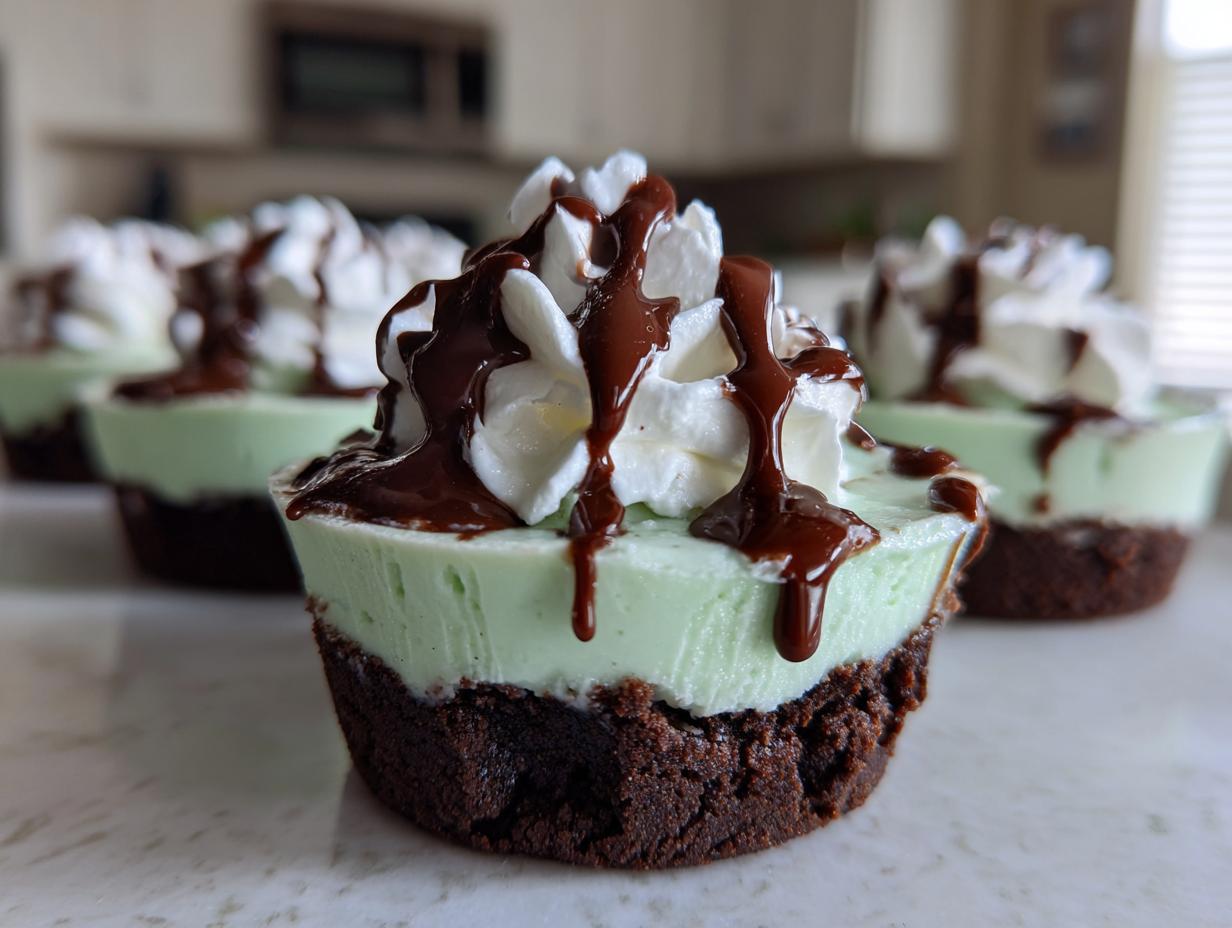
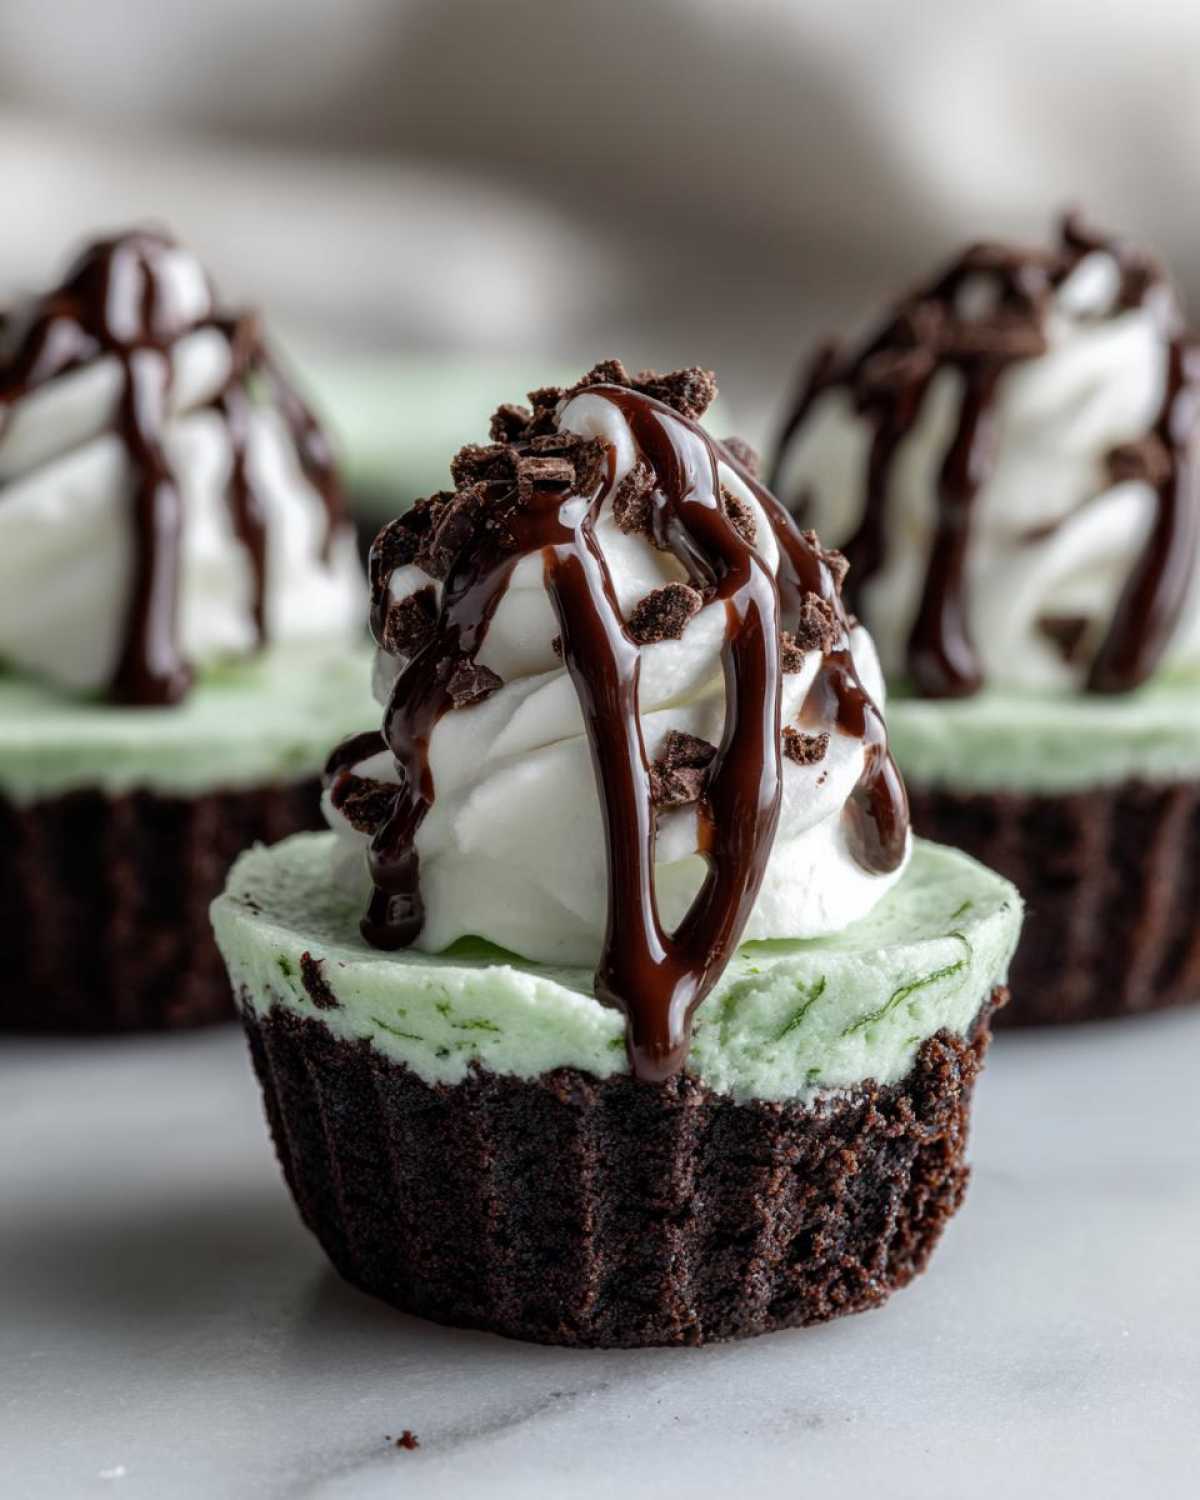
Let’s be real, sometimes you just need something rich and totally over-the-top decadent, but the thought of turning on the oven makes you sweat just thinking about it. That’s when my famous No-Bake Mint Chocolate Cheesecake Cups come in to save the day! I actually developed this version during a stifling summer heatwave when my regular cheesecake craving just wouldn’t quit. Guess what? These individual cups are foolproof, require zero baking time, and deliver the perfect punch of cool mint against a dark chocolate cookie base. Seriously, they are my go-to when I need an impressive dessert ready fast. You won’t believe how little effort these take!
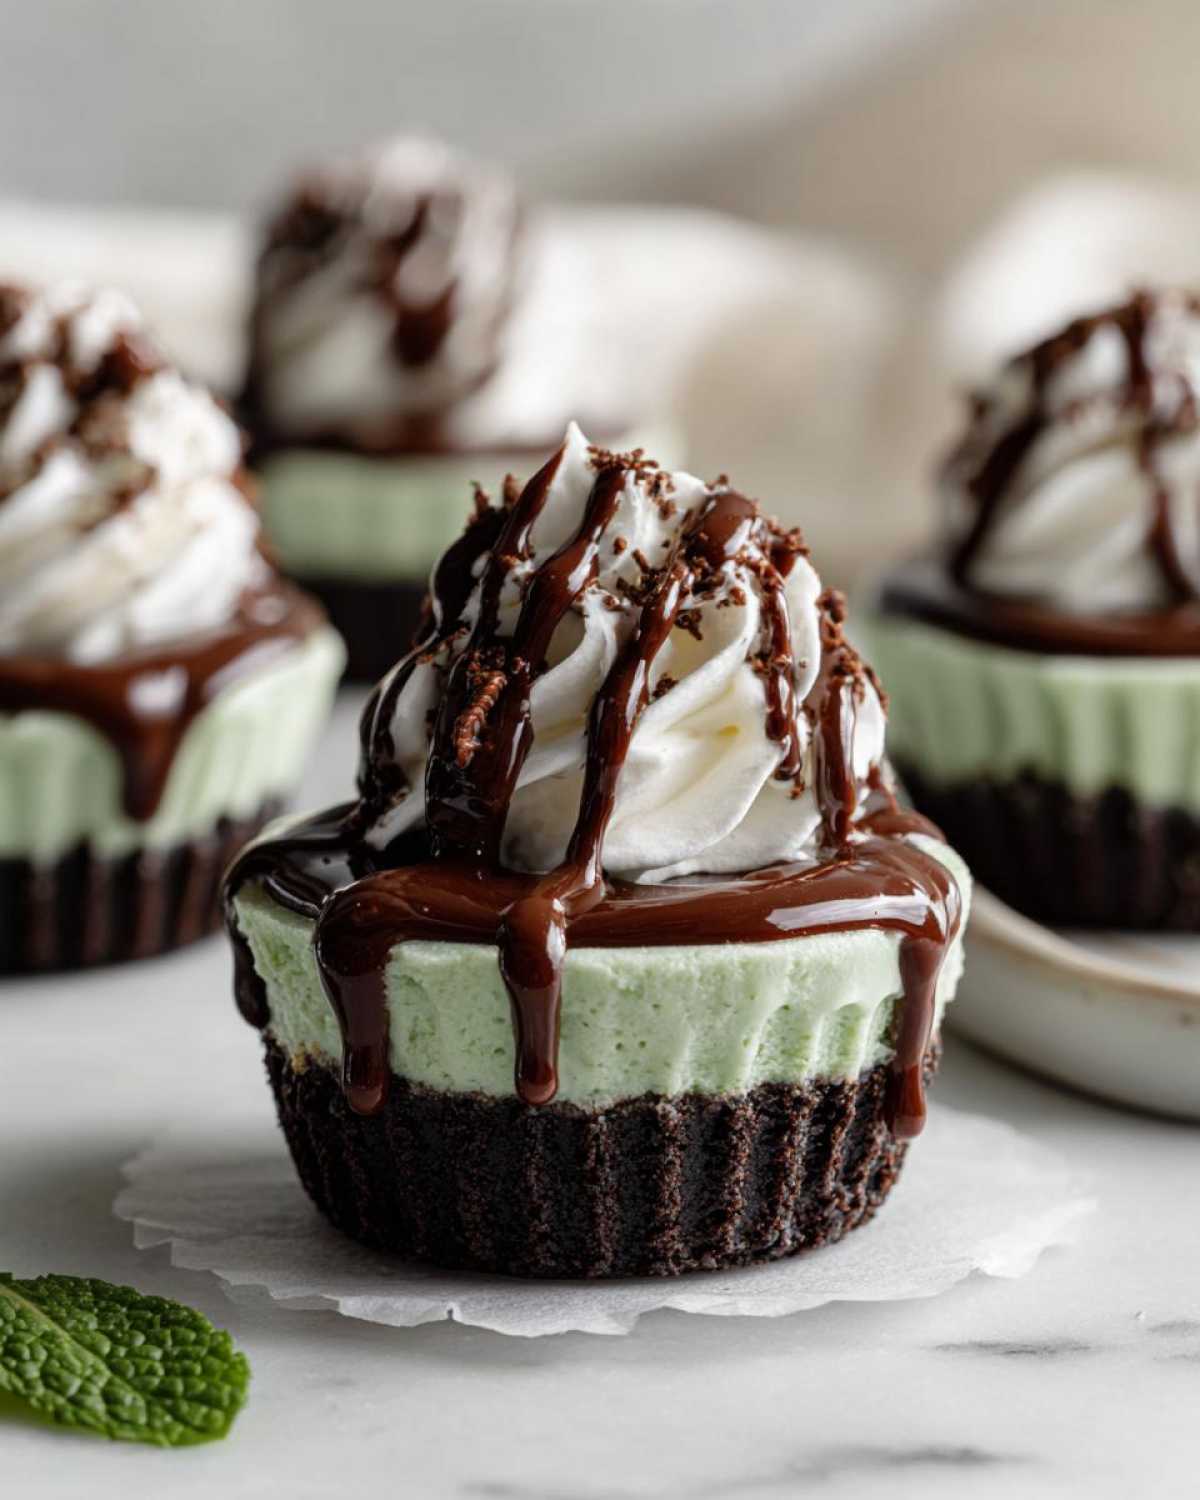
Why You Need These No-Bake Mint Chocolate Cheesecake Cups
Honestly, if you aren’t making these yet, you are missing out! The best part about these little beauties is how quickly they come together. I promise you can have them prepped faster than you can preheat an oven. These are truly the definition of an easy no bake dessert.
- Effortless Preparation: Zero Baking Required: We are talking 20 minutes of active work, tops! No tempering chocolate, no fussing with water baths—just mix, press, and chill.
- Perfectly Portioned for Parties and Portability: Since every single treat is already in its own little cup, they are amazing for parties. No messy slicing involved! Plus, you control the portion sizes, which is dangerous because they’re so good. These mini cheesecake cups recipe ideas are always a hit.
- Decadent Flavor Combination: That cool, bright mint hitting the deep, dark chocolate crust and drizzle? It’s the ultimate decadent mint chocolate dessert experience. They taste way more complicated than they actually are.
Essential Ingredients for No-Bake Mint Chocolate Cheesecake Cups
This recipe is brilliant because it uses simple things you probably already have, but sourcing the right ingredients makes a huge difference, especially with the cream cheese. Trust me on this: it has to be fully softened. If it’s cold, your filling will be lumpy no matter how long you mix it! For the best no bake mint cheesecake texture, take that block out about an hour before you plan to start mixing.
For the Chocolate Cookie Crust
This crust is the perfect dark, crunchy base that keeps everything stable. It’s super simple!
- 1 1/2 cups chocolate sandwich cookie crumbs (Yes, those Oreos work perfectly, wrappers and all!)
- 6 tablespoons unsalted butter, melted
For the Mint Cheesecake Filling
Here’s where we get that gorgeous cool flavor. If you skip the green coloring, it still tastes amazing, just… less overtly minty looking!
- 16 ounces cream cheese, softened (Remember what I said!)
- 1 cup powdered sugar
- 1 teaspoon vanilla extract
- 1/2 cup heavy cream
- 1/4 cup crème de menthe liqueur (If you keep no alcohol in the house, swap this for 1 teaspoon mint extract PLUS 1 tablespoon regular milk to keep the consistency spot on.)
- Green food coloring (optional, just a drop or two is plenty!)
For the Chocolate Drizzle and Topping
We use a tiny bit of coconut oil here—it’s my secret weapon for a drizzle that sets up shiny and thin, not thick and crumbly.
- 1/2 cup semi-sweet chocolate chips
- 1 tablespoon coconut oil
- Whipped cream and chocolate shavings for topping
Step-by-Step Instructions for Your No-Bake Mint Chocolate Cheesecake Cups
Okay, this is the easy part! Since this is all no bake mint cheesecake action, we just need to work efficiently and give everything enough time to set up properly. Follow these steps exactly, especially the chilling parts, and you will have perfect individual cheesecake recipes every time.
Preparing the Oreo Crust Base
First up, let’s get those crusts ready to go. In a small bowl, toss your chocolate sandwich cookie crumbs with the melted butter until everything looks nicely moistened—it should look like wet sand when you squeeze a handful.
Next, line a standard 12-cup muffin tin with paper liners. Scoop about two small tablespoons of that crumb mixture into the bottom of each liner. Now, use the back of a spoon or your fingers to press it down *really* firmly. You want a nice, solid base! Pop the whole tin into the freezer while we whip up the filling. This chill time makes sure the crust stays put.
Mixing the Creamy Mint Cheesecake Filling
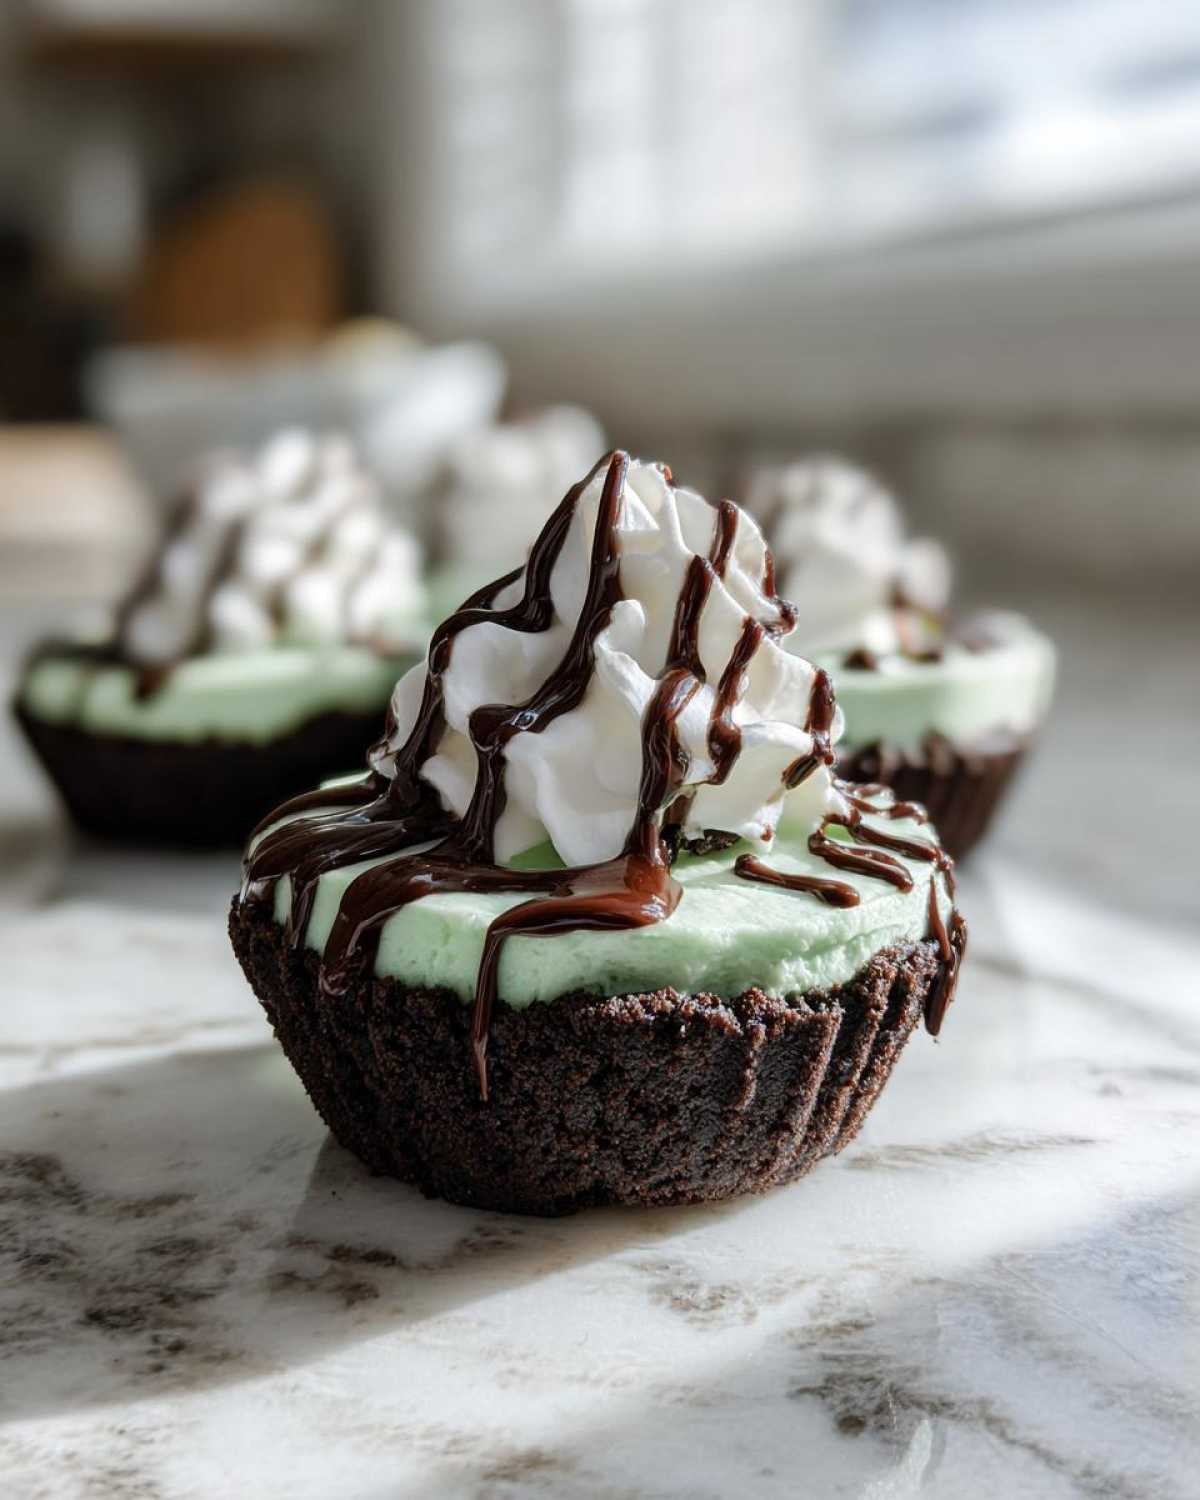
Grab your big mixing bowl for this! Start by beating that softened cream cheese by itself until it’s completely smooth. If you see any lumps here? Stop and mix longer! Once it’s silky, gradually add in the powdered sugar and that vanilla. Mix until it’s just combined and looks fluffy.
In a separate, clean bowl, whip up your heavy cream until you get soft peaks—you know, when the peaks start to droop a little when you lift the beater. Now, gently fold that whipped cream into your cream cheese mixture. Don’t stir aggressively; we need to keep all that air in there! Finally, stir in your crème de menthe (and those drops of green food coloring if you’re going for that pretty mint hue) until the color is even all the way through.
Assembly and Setting the No Bake Mint Cheesecake
Time to bring the crusts out of the freezer! I strongly recommend using a small ice cream scoop or a two-tablespoon measuring spoon to divide the filling evenly over the crusts. This keeps things neat, which is crucial when you want those perfect party friendly cheesecake portions!
Once filled, these cups need time to firm up so they aren’t soupy when you drizzle the chocolate. They have to chill for a minimum of 4 hours in the refrigerator. Seriously, don’t rush this! At least four hours keeps that texture perfect.
Finishing Touches: Chocolate Drizzle and Chilling
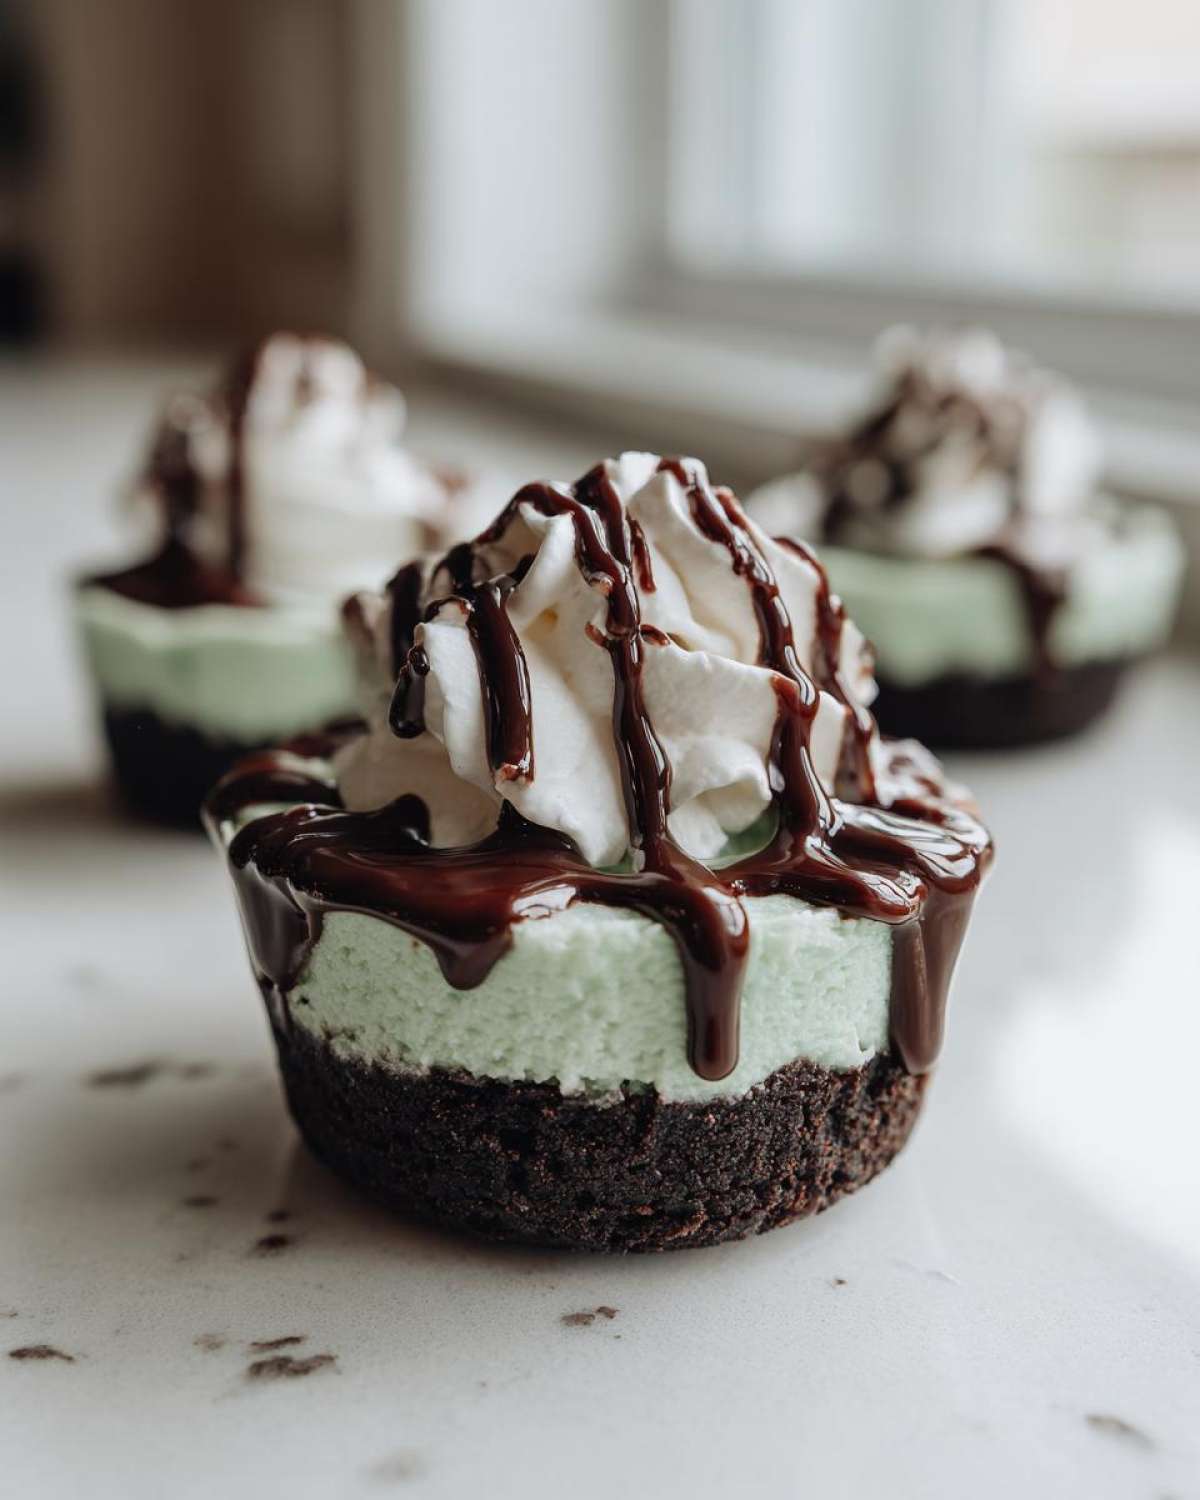
When the cheesecakes are set, it’s time for the topping! Place your chocolate chips and coconut oil in a microwave-safe bowl. Microwave in short 30-second blasts, stirring well after *every* blast, until it’s completely smooth and runny. Be careful here; chocolate gets super hot!
Drizzle that glorious melted chocolate over the top of your chilled cups. Sprinkle on those chocolate shavings right away so they stick! Then, pop them back into the fridge until the chocolate sets up. If you are in a huge rush, you can freeze them for about 2 hours to speed up the hardening process, but they are truly best served chilled from the fridge.
Tips for Perfect No-Bake Mint Chocolate Cheesecake Cups
Even though these are super easy, there are a few little tricks that make the difference between a ‘good’ cup and a ‘OMG, make these again’ cup. We are aiming for that firm, creamy perfection here, not soup!
Ensuring Cream Cheese Softness
I can’t stress this enough: room temperature cream cheese is your golden ticket here. If your cream cheese is cold, it will fight you the entire time! It lumps up, and no amount of beating will fix those nasty little cheese chunks in your finished product. If I forget to pull it out, I cut the block into three pieces and microwave it for about 10 seconds total. Just watch it closely!
Achieving the Right Mint Intensity
When you add the mint flavor, always taste the mixture before it chills! The cold temperature dulls flavors slightly, so you might need a tiny bit more mint flavor than you think. If you use the crème de menthe, it’s usually strong enough. But if you switch to extract, start small, maybe half a teaspoon, then taste and add more until it really sings. You want that bright, cool taste in every bite of this simple mint dessert.
Crust Consistency Check
Before you press the crumbs into those liners, do the squeeze test. Grab a small spoonful of the buttered crumbs and clamp it in your fist. If it holds its shape when you open your hand, you’re perfect! If it crumbles apart immediately, add another teaspoon of melted butter until it sticks together nicely. A crumbly base sinks the whole operation!
Ingredient Substitutions for Your No Bake Mint Chocolate Treat
Listen, not everyone always has the exact ingredients sitting around, and that’s totally fine! This recipe is super forgiving so we can absolutely tweak it for what you have. We want everyone to enjoy a delicious Oreo crust no bake dessert variation if needed. Don’t sweat it if you’re missing one thing; we can work around it!
Crust Alternatives
The chocolate sandwich cookies give us that rich, deep flavor, but if you’re out of them, don’t panic. You can absolutely crush up chocolate graham crackers instead. They give you a slightly sandier crust, but the flavor still pairs beautifully. If you only have plain vanilla wafers, those work in a pinch too, but you might want to add an extra splash of cocoa powder to your crumbs just to deepen that chocolate element.
Making it Alcohol-Free
If you’re avoiding alcohol—totally understandable—you swap out the crème de menthe for the mint extract plus a little milk. Just remember to taste as you go! The extract is much more concentrated than the liqueur, so add just half a teaspoon at first. Taste, see if you want more mint punch, and then add the extra milk mixture until the filling is pourable. The flavor profile stays robust!
Dairy Swaps for Cheesecake Filling
If you are trying to go dairy-free, you can definitely find vegan cream cheese alternatives now. They’ve gotten so much better lately! I’ve seen people use them successfully in other no-bake recipes. Just be aware that because the structure relies heavily on the fat in traditional cream cheese and heavy cream, the texture might be slightly softer or less structured overall. You might need extra refrigeration time!
Serving and Storing Your No-Bake Mint Chocolate Cheesecake Cups
Alright, so you’ve made these incredible quick dessert cups and now you need to know the best way to serve and keep them perfect! Nobody wants a rock-hard cheesecake cup, right? A little attention to serving temperature makes all the difference in the world.
Best Practices for Serving
If you kept them in the freezer to firm up quickly, pull them out about 10 minutes before you plan to serve them. They need just a little bit of thawing time so the cream cheese filling softens up again into that luxurious, creamy texture we’re aiming for. If you kept them in the fridge, they are usually fine to eat straight away though!
Storage Guidelines
These are best eaten within the first two days, honestly, but they last just fine in the refrigerator for up to four days. Make sure you keep them stored in an airtight container. If you stack them, put a little piece of parchment paper between them so the chocolate drizzle doesn’t stick to the topping of the cup underneath. They hold up really beautifully!
Frequently Asked Questions About No-Bake Mint Chocolate Desserts
I always get so many questions after people try these cups because they are so different from baked recipes. I’m happy to answer all the common ones here so you can feel totally confident making these easy no bake desserts!
Can I make the No-Bake Mint Chocolate Cheesecake Cups ahead of time?
Oh yes, you absolutely can! In fact, I think they taste even better the next day once the mint flavor has had a chance to really meld into the cheesecake. They are best made about a day ahead and stored covered in the fridge. If you need to make them further in advance, you can freeze them! Just let them thaw in the fridge for about an hour before serving so that creamy texture comes back.
What if I don’t want green cheesecake?
That is totally fine! The green coloring is purely for looks—hello, festive mint color!—but it doesn’t change the flavor one bit. If you leave out the food coloring, you’ll just have a beautiful pale, off-white cheesecake filling, which tastes exactly the same. It’s all about what makes you happiest when you look in that tin!
How do I get the filling out of the muffin tin easily?
This is honestly the easiest part because we used paper liners! If you want to make them super easy to handle, make sure you really chilled or even froze the crusts slightly before adding the filling. When they are fully set, you just grab the edge of the paper liner, lift gently, and the whole thing pops right out! It’s the best way to handle these no bake mint chocolate desserts.
Can I use a different cookie for the crust?
You sure can! While the chocolate sandwich cookies offer that intense dark chocolate flavor that I love, chocolate wafer cookies work wonderfully too. If you only have vanilla wafers or graham crackers, those are fine substitutions. Just keep in mind that if you use vanilla flavors, you lose some of that deep background chocolate note that really balances the mint.
Estimated Nutritional Information for No-Bake Mint Chocolate Cheesecake Cups
Okay, so here’s the scoop on what you’re diving into with these rich little treats. I always like to share this because you should know what you’re enjoying! While these No-Bake Mint Chocolate Cheesecake Cups are super decadent, they work out to be a pretty reasonable portion size since they are individually cupped.
Keep in mind that these numbers are just my best estimate based on standard store-bought ingredients I usually grab. If you use extra dark chocolate or a lighter cream cheese, your final count might shift around a bit. But generally, you are looking at something great for satisfying that craving!
- Serving Size: 1 cup
- Calories: 350
- Total Fat: 22g
- Saturated Fat: 13g
- Total Carbohydrates: 35g
- Sugar: 30g
- Protein: 5g
Since these don’t use any flour and are primarily cream cheese and cookie base, the fat and sugar content is what you’d expect in a gorgeous dessert like this! No guilt, just enjoy the next one tomorrow!
Share Your Experience Making These No Bake Mint Chocolate Desserts
Well, that’s it! You’ve made the dreamiest, easiest No-Bake Mint Chocolate Cheesecake Cups you’ll ever have on your hands. I truly hope that rich, cool flavor hits the spot just as perfectly for you as it does for my family.
Now, I absolutely live for hearing how things turn out in everyone else’s kitchens! If you followed the recipe exactly, give it a big five-star rating below—or let me know what score you think it deserves. If you got creative and substituted the liqueur for peppermint extract, or maybe tried a different cookie for the crust, please, please tell me about it in the comments!
Did you serve them at a party? Did they disappear instantly? Snap a picture and tag me online so I can see your gorgeous chocolate drizzles! Happy baking—or rather, happy *not*-baking!
Print
No-Bake Mint Chocolate Cheesecake Cups
- Total Time: 20 min
- Yield: 12 servings
- Diet: Vegetarian
Description
Make individual servings of rich, mint-flavored cheesecake with a chocolate cookie crust, requiring no oven time.
Ingredients
- 1 1/2 cups chocolate sandwich cookie crumbs (about 24 cookies)
- 6 tablespoons unsalted butter, melted
- 16 ounces cream cheese, softened
- 1 cup powdered sugar
- 1 teaspoon vanilla extract
- 1/2 cup heavy cream
- 1/4 cup crème de menthe liqueur (or 1 teaspoon mint extract plus 1 tablespoon milk)
- Green food coloring (optional)
- 1/2 cup semi-sweet chocolate chips
- 1 tablespoon coconut oil
- Whipped cream and chocolate shavings for topping
Instructions
- Combine the cookie crumbs and melted butter in a bowl. Mix until the crumbs are evenly moistened.
- Press about 2 tablespoons of the crumb mixture firmly into the bottom of each cavity of a standard 12-cup muffin tin lined with paper liners. Place the tin in the freezer while you prepare the filling.
- In a large bowl, beat the softened cream cheese with an electric mixer until smooth.
- Gradually add the powdered sugar and vanilla extract, mixing until combined.
- In a separate bowl, whip the heavy cream until soft peaks form. Gently fold the whipped cream into the cream cheese mixture.
- Stir in the crème de menthe (or mint extract/milk) and a few drops of green food coloring, if using, until the color is uniform.
- Spoon or pipe the cheesecake filling evenly over the chilled crusts in the muffin tin.
- Refrigerate the cups for at least 4 hours, or until firm.
- Melt the chocolate chips and coconut oil together in a microwave-safe bowl in 30-second intervals, stirring until smooth.
- Once the cheesecakes are set, drizzle the melted chocolate mixture over the top of each cup. Sprinkle with chocolate shavings and top with a dollop of whipped cream before serving.
Notes
- If you do not have crème de menthe, use mint extract for flavor. Add a small amount of milk to maintain the correct filling consistency.
- For easier removal, chill the cups for a minimum of 6 hours or freeze for 2 hours before serving.
- You can substitute chocolate wafer cookies for Oreo cookies if desired for the crust.
- Prep Time: 20 min
- Cook Time: 0 min
- Category: Dessert
- Method: No Bake
- Cuisine: American
Nutrition
- Serving Size: 1 cup
- Calories: 350
- Sugar: 30
- Sodium: 250
- Fat: 22
- Saturated Fat: 13
- Unsaturated Fat: 9
- Trans Fat: 0
- Carbohydrates: 35
- Fiber: 1
- Protein: 5
- Cholesterol: 60