

Why You’ll Love This Homemade Plum Jelly
There’s nothing quite like opening a jar of homemade goodness. This plum jelly recipe holds a special place in my heart. Growing up, my grandmother always made preserves. Her kitchen smelled amazing. She taught me that simple ingredients make the best food.
Making your own plum jelly is so rewarding. It’s easier than you think! You get to capture that fresh, sweet-tart taste of summer plums. It’s a labor of love. But the joy of spreading your own plum jelly on toast? That’s pure magic.
It’s a perfect way to save those lovely summer flavors. Plus, you control what goes in it. No weird additives here. Just pure, delicious plum goodness. Trust me, your taste buds will thank you.
The Sweet-Tart Charm of Plum Jelly
Plum jelly has a unique flavor. It’s not just sweet. There’s a wonderful tartness too. This balance makes it incredibly versatile. It’s fantastic on toast or scones. I also love it with savory dishes. Think roasted pork or chicken! It adds a bright, fruity kick. It’s truly a delicious way to enjoy and preserve summer plums.
Essential Ingredients for Perfect Plum Jelly
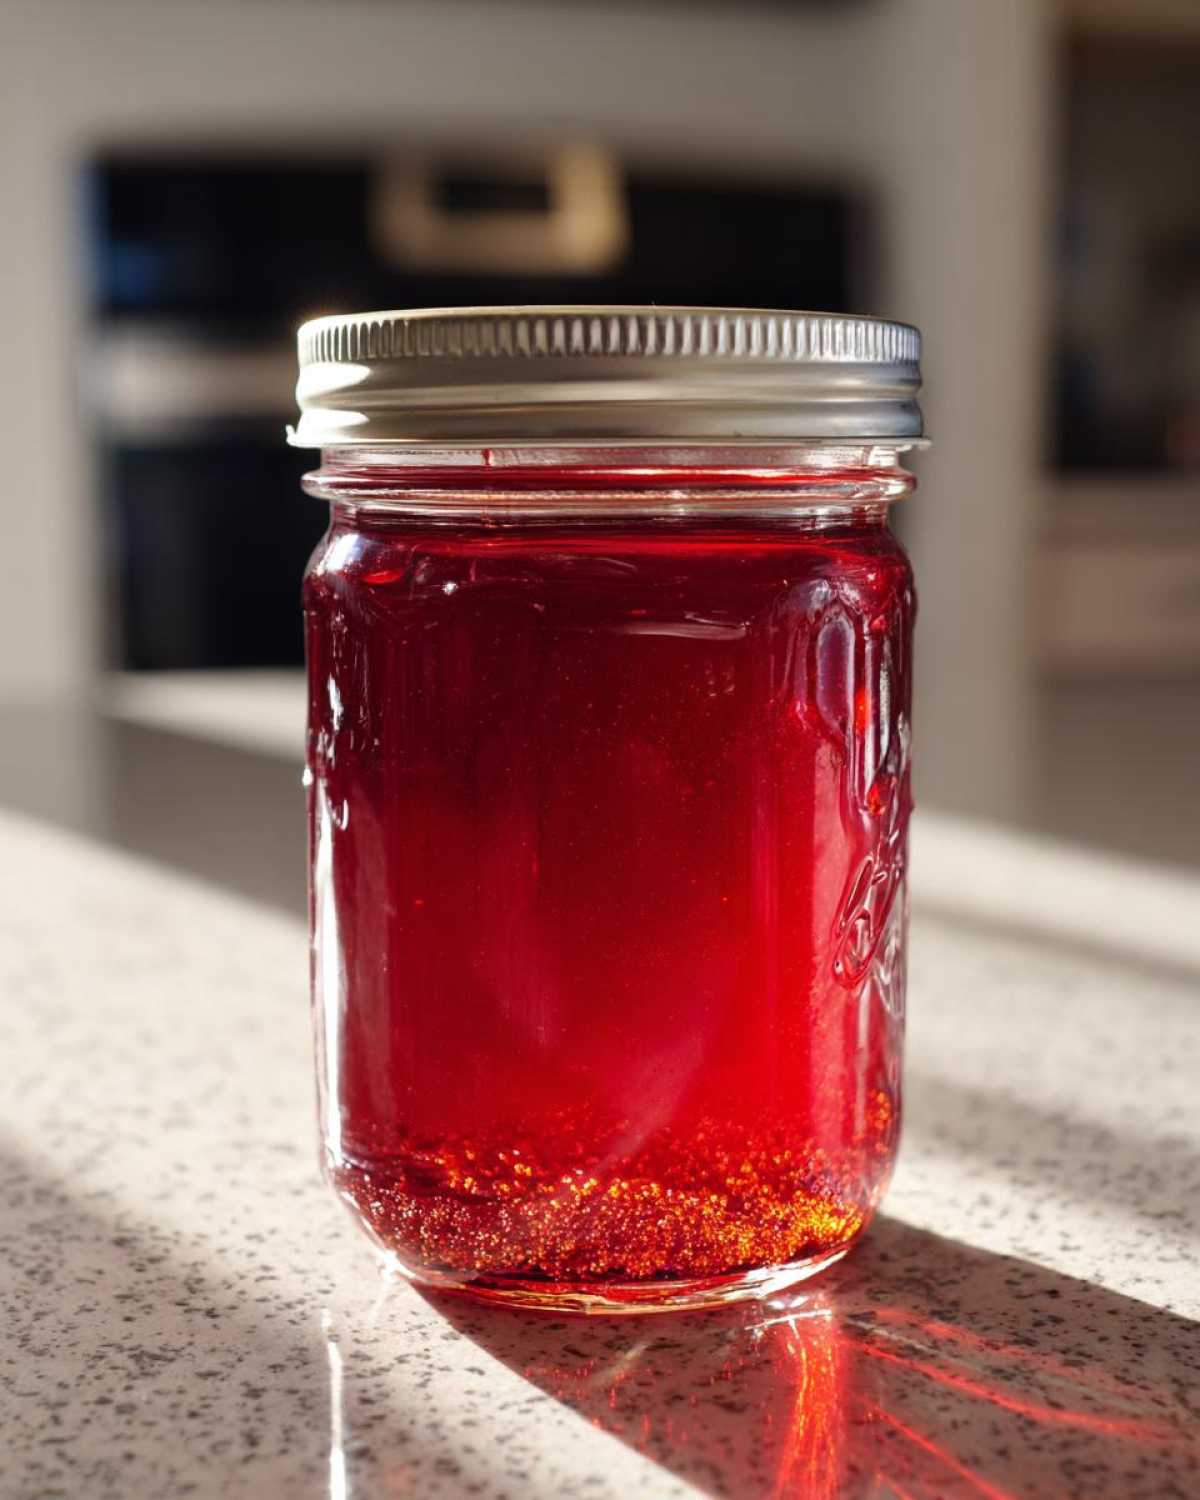
Making delicious plum jelly starts with the right ingredients. You don’t need many things. Just a few key items. First, you’ll need fresh plum juice. This is the heart of our jelly. Then, powdered fruit pectin is essential. It helps the jelly set just right. Without it, your jelly might stay runny. Finally, granulated sugar adds sweetness. It also helps with the setting process. Each ingredient plays a vital role. They work together for that perfect plum jelly.
Selecting the Best Plums for Plum Jelly
Choosing your plums is super important. Look for ripe but firm plums. They have the best flavor. They also contain natural pectin. This helps your plum jelly set. Overly soft plums might not have enough pectin. This could affect the final texture. Fresh, juicy plums make the best jelly.
Crafting Your Own Plum Jelly: Step-by-Step Guide
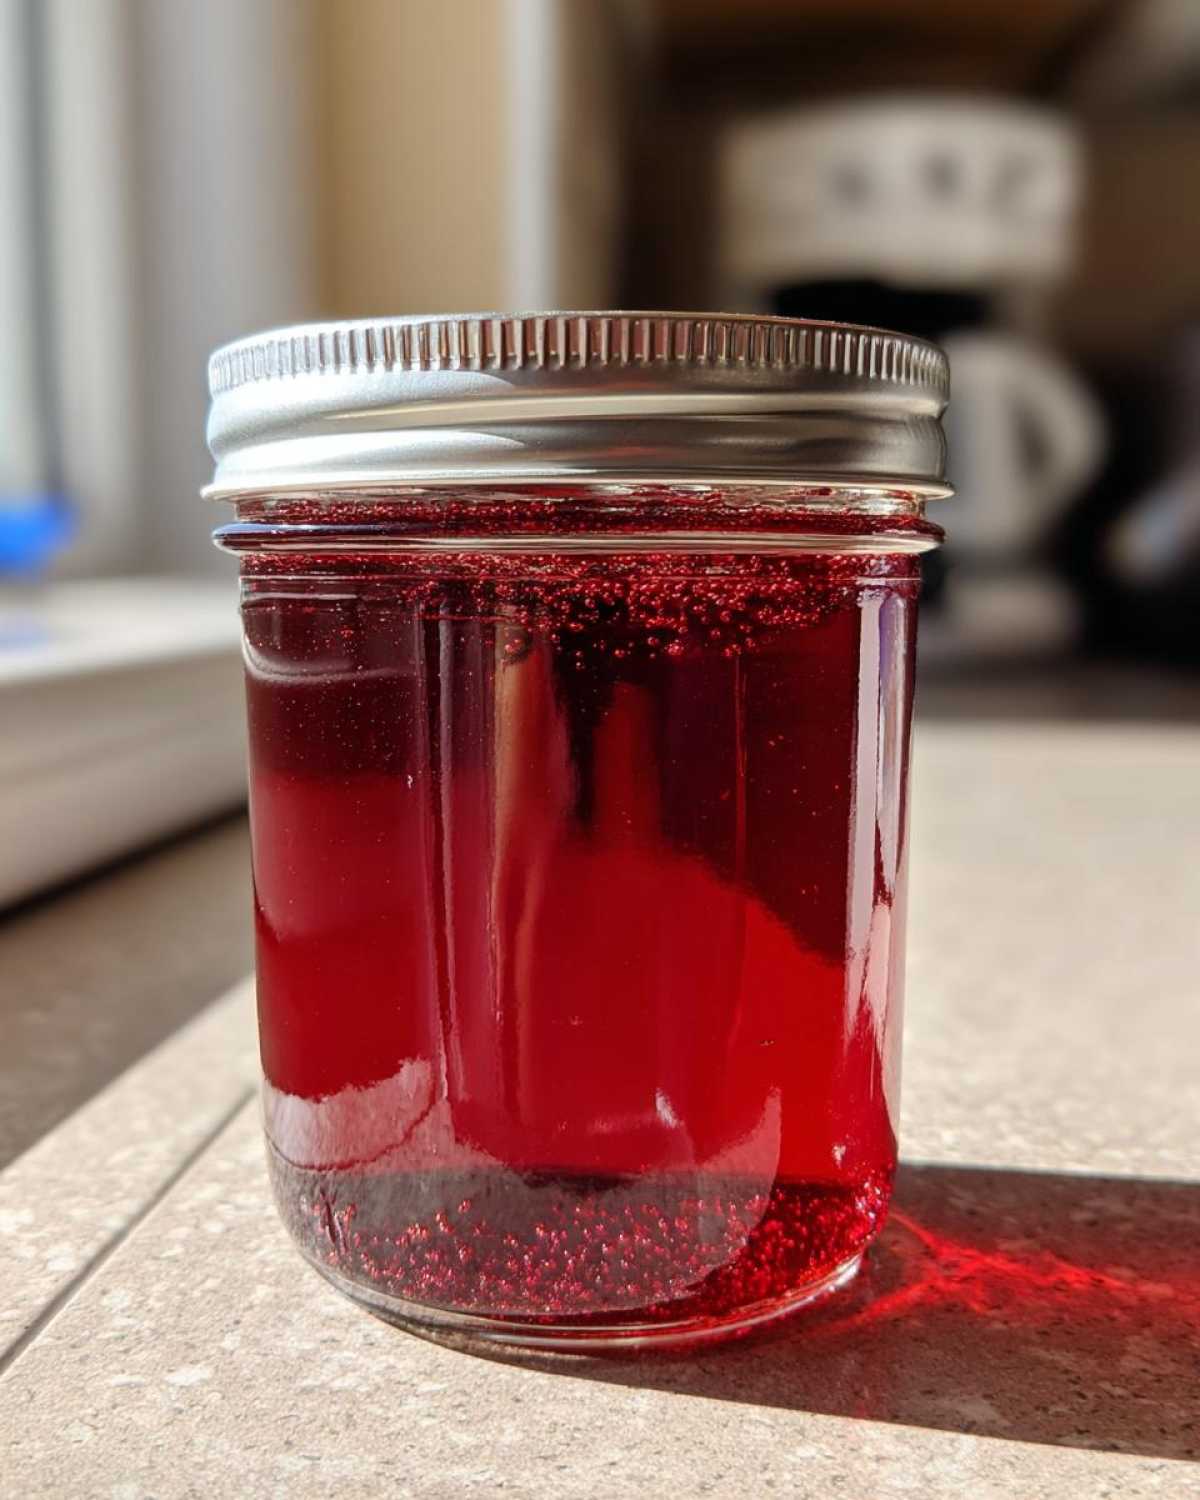
Ready to make some amazing plum jelly? I’ll walk you through it. This process is straightforward. Just follow these steps. You’ll have jars of beautiful jelly. I promise, it’s worth every minute. Soon, you’ll be enjoying your homemade plum jelly. Let’s get started!
Preparing Plums for Plum Jelly
First, wash your plums really well. Then, you’ll need to pit them. Don’t worry about peeling them. The skins add great flavor and color. Chop the plums into coarse pieces. Put them in a big pot. Add about half a cup of water. This helps them break down. Soon, you’ll have perfect plums for your plum jelly.
Extracting Plum Juice for Plum Jelly
Bring the plums to a boil. Then, lower the heat. Simmer covered for 15-20 minutes. They should be very soft. Mash them with a potato masher. Now, set up your jelly bag. Or use cheesecloth in a colander. Pour the plum mixture in. Let it drip undisturbed. This takes several hours. Don’t squeeze the bag! This keeps your plum jelly clear.
Boiling and Canning Your Plum Jelly
Measure 5 cups of plum juice into a heavy pot. Whisk in the pectin. Bring it to a rolling boil. Stir constantly. Add all the sugar at once. Stir until it dissolves. Return to a hard, rolling boil. Boil for 1 minute, stirring. Skim any foam. Ladle hot jelly into hot, sterilized jars. Leave 1/4 inch headspace. Wipe rims clean. Center lids and tighten bands. Process jars in a boiling water canner for 10 minutes. This ensures safe plum jelly.
Tips for Success with Plum Jelly
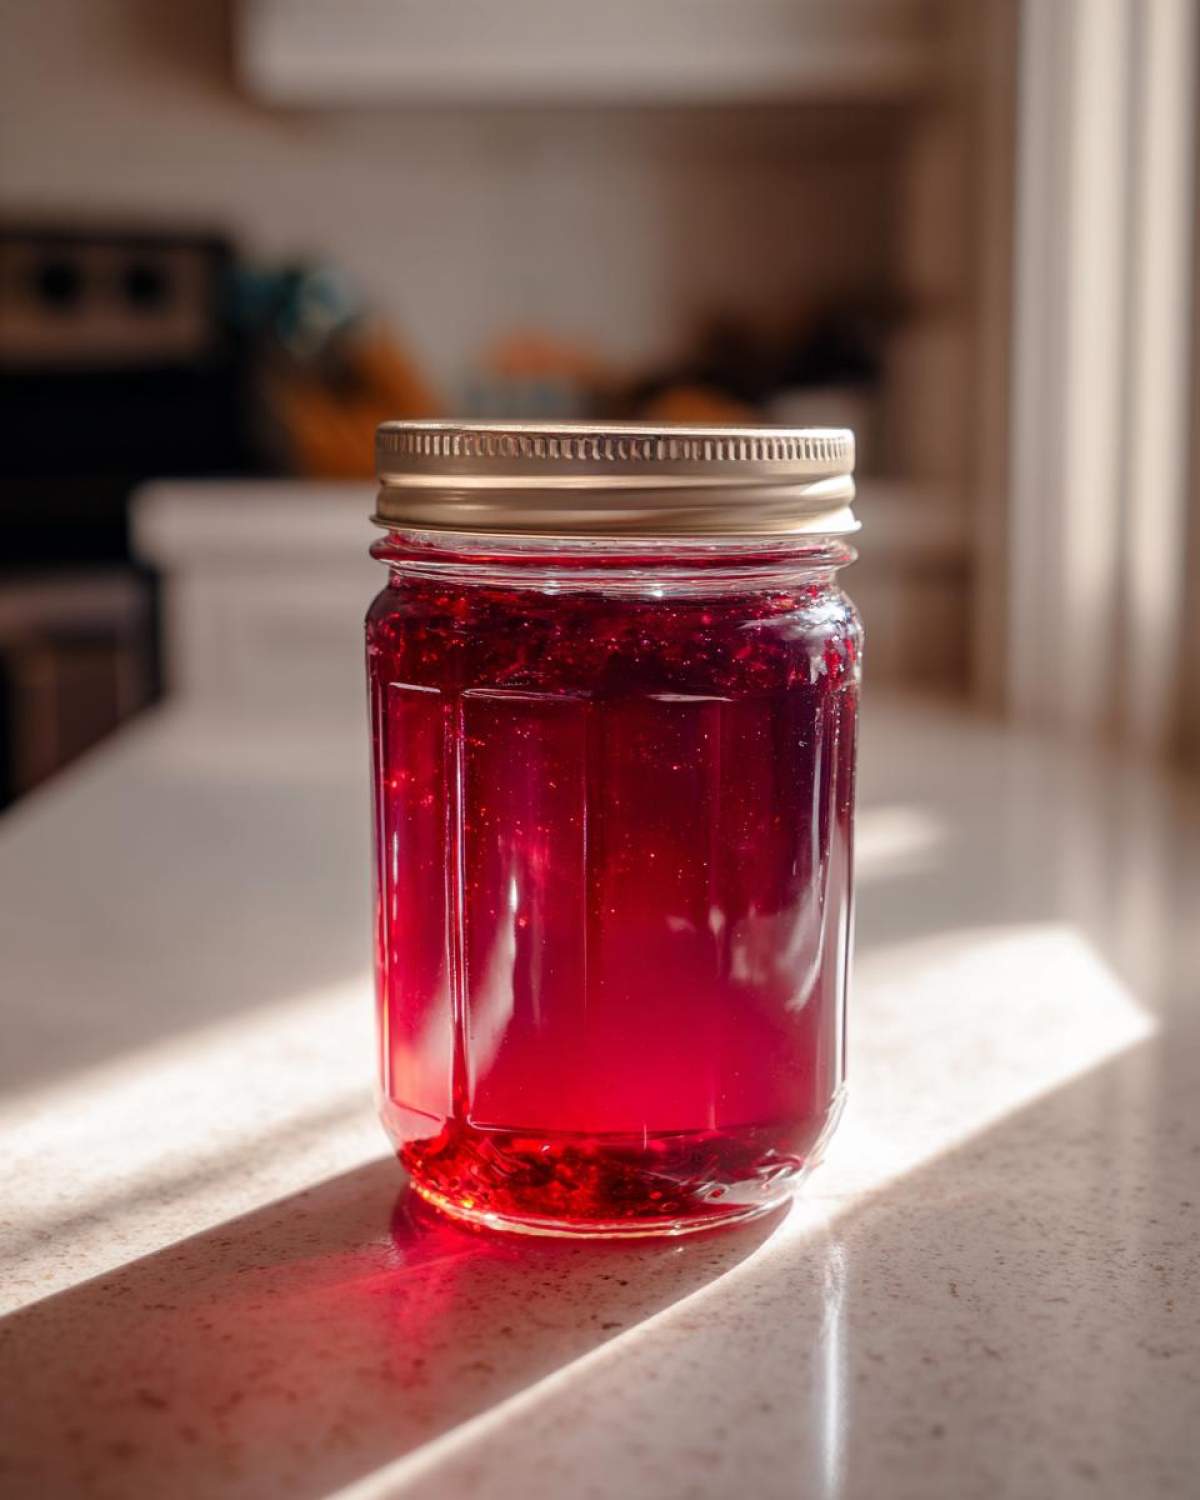
Making plum jelly can feel like magic. But sometimes, little things go wrong. Don’t worry! I’ve learned a few tricks. Always use fresh, good quality pectin. Check your recipe’s pectin type carefully. Different pectins work differently. Also, measure everything precisely. Canning is a science, after all. Don’t eyeball the sugar or juice. These steps help prevent common problems. They ensure your plum jelly turns out beautifully every time.
Achieving the Right Consistency for Plum Jelly
Knowing when your plum jelly is done is key. I often use the cold spoon test. Dip a cold metal spoon into the boiling jelly. Let it cool for a moment. Then, tilt the spoon. If two drops run together, it’s ready. You can also put a dollop on a cold plate. If it wrinkles when pushed, it’s set. This gives you perfect plum jelly consistency.
Storing and Enjoying Your Plum Jelly
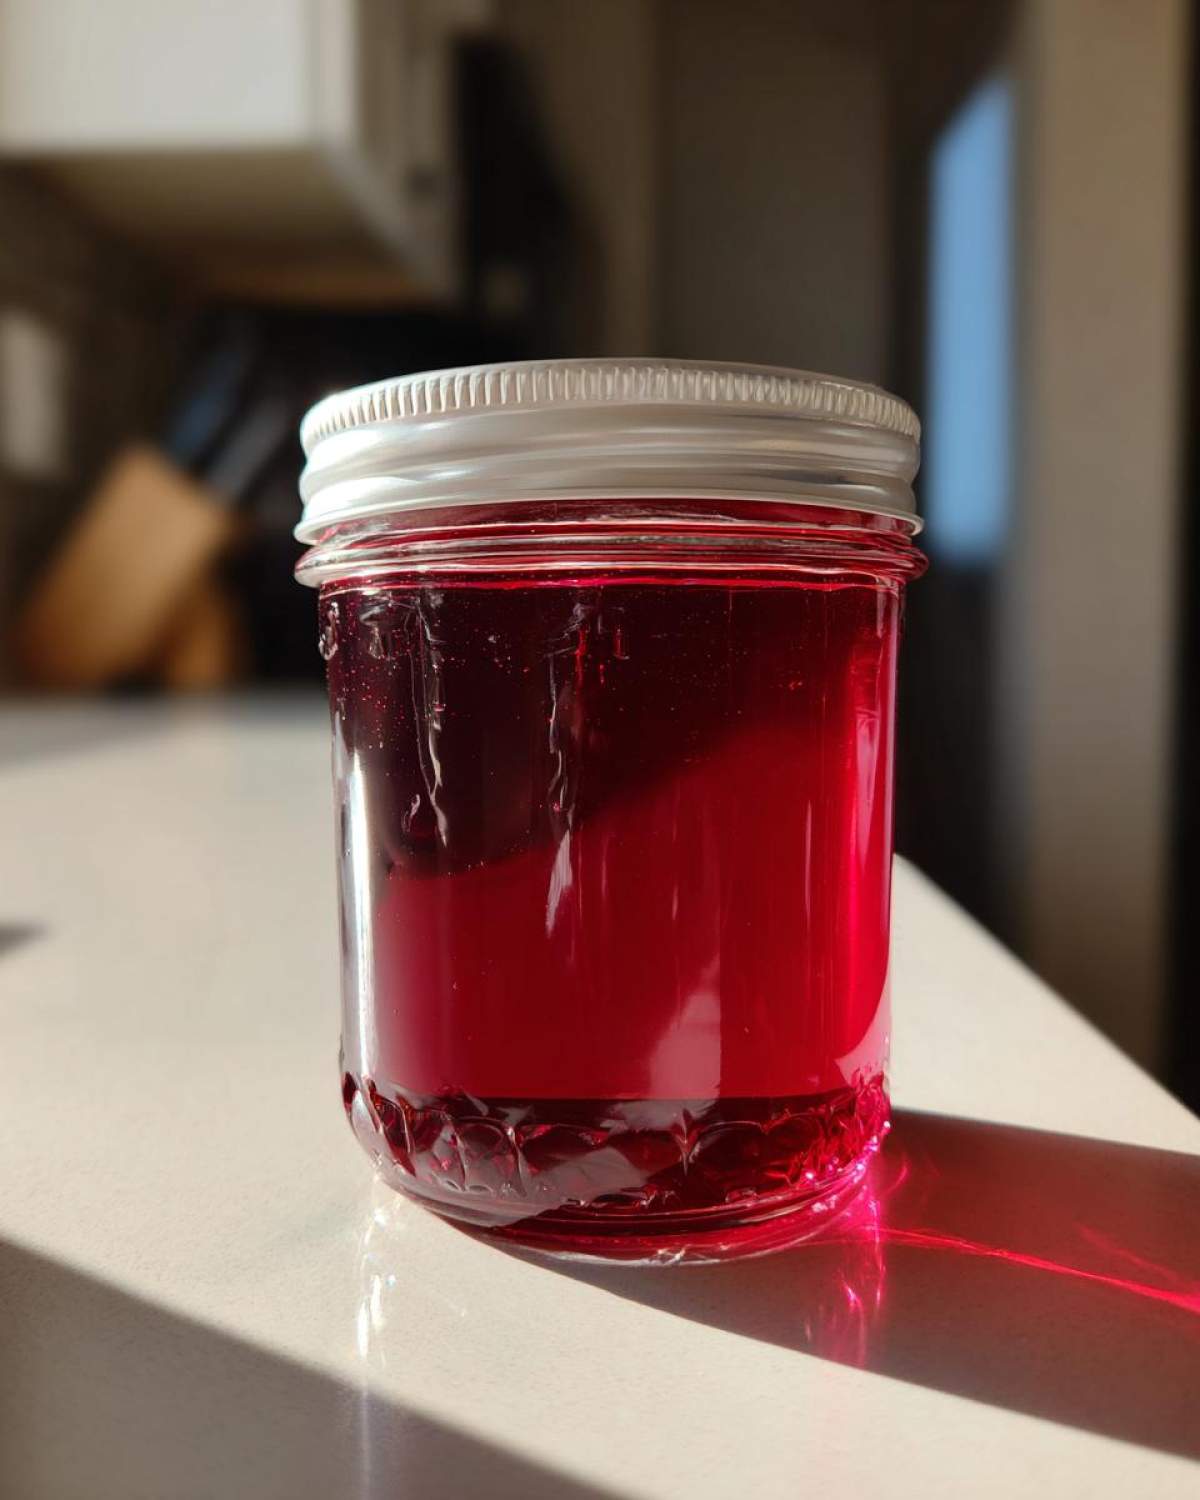
Once your plum jelly jars are sealed, store them. A cool, dark pantry is perfect. They’ll last up to a year there. Once opened, keep your plum jelly in the fridge. Use it within a few weeks. Enjoy it on toast or biscuits. It’s also wonderful with yogurt. Or try it as a glaze for chicken. My family loves it with pork. There are so many ways to enjoy your delicious plum jelly!
Common Questions About Plum Jelly
I get lots of questions about making plum jelly. It’s totally normal to have them! Here are some common ones. I hope these answers help you. My goal is to make your jelly-making journey smooth. You’ll be a plum jelly pro in no time. Don’t hesitate to ask more questions too!
Can I Use Different Plums for My Plum Jelly?
Absolutely! You can use many plum varieties. Each type gives a slightly different flavor. Some plums are sweeter. Others are more tart. This affects your final plum jelly. Just make sure they are ripe. Experiment with Italian plums or Santa Rosa plums. They all make delicious jelly!
Why Didn’t My Plum Jelly Set?
This is a common issue! It mainly comes down to pectin or boiling. Did you use enough pectin? Was it the right kind? Also, did you boil it hard enough? It needs a full, rolling boil. Not stirring enough can also be a problem. Don’t worry! You can often re-process unset plum jelly. Just add more pectin and re-boil it.
Estimated Nutritional Information for Plum Jelly
I know many of you like to keep an eye on nutrition. So, here’s an estimate for this plum jelly. Each tablespoon has about 50 calories. It contains 12g of sugar and 13g of carbohydrates. There’s 0g of fat, protein, and sodium. Remember, these are estimates. Exact values can change. It depends on your specific plums and ingredients.
Share Your Plum Jelly Success Story!
I would absolutely love to hear about your plum jelly adventures! Did you make a batch? How did it turn out? What’s your favorite way to enjoy it? Please share your comments below. You can also rate this recipe. Or, even better, share a picture of your beautiful plum jelly creations! Tag us on social media. Let’s build a community of jelly-makers. Happy canning, my friends!
Print
Perfect Plum Jelly: A Sweet 1-Hour Journey to Deliciousness
- Total Time: 1 day 1 hour 5 minutes
- Yield: About 7-8 half-pint jars
Description
Make sweet-tart plum jelly. This traditional canning recipe preserves summer plums, perfect for your pantry.
Ingredients
- 5 cups plum juice (from about 3 pounds of ripe plums)
- 1 package (1.75 ounces) powdered fruit pectin
- 7 cups granulated sugar
Instructions
- Wash and pit plums. Do not peel.
- Chop plums coarsely and place in a large pot. Add 1/2 cup water.
- Bring to a boil, then reduce heat and simmer, covered, for 15-20 minutes, or until plums are very soft.
- Mash plums with a potato masher or fork.
- Pour plum mixture into a jelly bag or several layers of cheesecloth lining a colander set over a large bowl. Let drip undisturbed for several hours or overnight to extract juice. Do not squeeze the bag, or your jelly will be cloudy.
- Measure 5 cups of plum juice into a large, heavy-bottomed pot.
- Whisk in the powdered fruit pectin until fully dissolved.
- Bring the mixture to a rolling boil over high heat, stirring constantly.
- Add all the granulated sugar at once. Stir until the sugar is completely dissolved.
- Return to a rolling boil that cannot be stirred down. Boil hard for 1 minute, stirring constantly.
- Remove from heat and skim off any foam with a metal spoon.
- Ladle hot jelly into hot, sterilized jars, leaving 1/4 inch headspace.
- Wipe jar rims clean, center lids, and apply screw bands until fingertip tight.
- Process jars in a boiling water canner for 10 minutes (adjust time for altitude if necessary).
- Turn off heat, remove canner lid, and let jars stand in hot water for 5 minutes.
- Remove jars from canner and place on a towel-lined surface. Let cool undisturbed for 12-24 hours.
- Check seals. If a lid does not seal, refrigerate and use within 3 weeks.
Notes
- Use ripe but firm plums for best flavor and pectin content.
- Sterilize jars and lids before starting.
- A boiling water canner is necessary for safe preservation.
- Store sealed jars in a cool, dark place for up to 1 year.
- Prep Time: 45 minutes
- Cook Time: 20 minutes
- Category: Preserves
- Method: Boiling Water Canning
- Cuisine: American
Nutrition
- Serving Size: 1 tbsp
- Calories: 50
- Sugar: 12g
- Sodium: 0mg
- Fat: 0g
- Saturated Fat: 0g
- Unsaturated Fat: 0g
- Trans Fat: 0g
- Carbohydrates: 13g
- Fiber: 0g
- Protein: 0g
- Cholesterol: 0mg

