

Make Your Celebration Pop with a Rainbow Drip Birthday Cake
Ready to bake a showstopper?
I’m Savana Loyal from the 911Recipes family kitchen.
We live for those moments of pure joy.
This Rainbow Drip Birthday Cake brings that joy.
It looks complex but it’s truly simple fun.
We keep the steps easy for you.
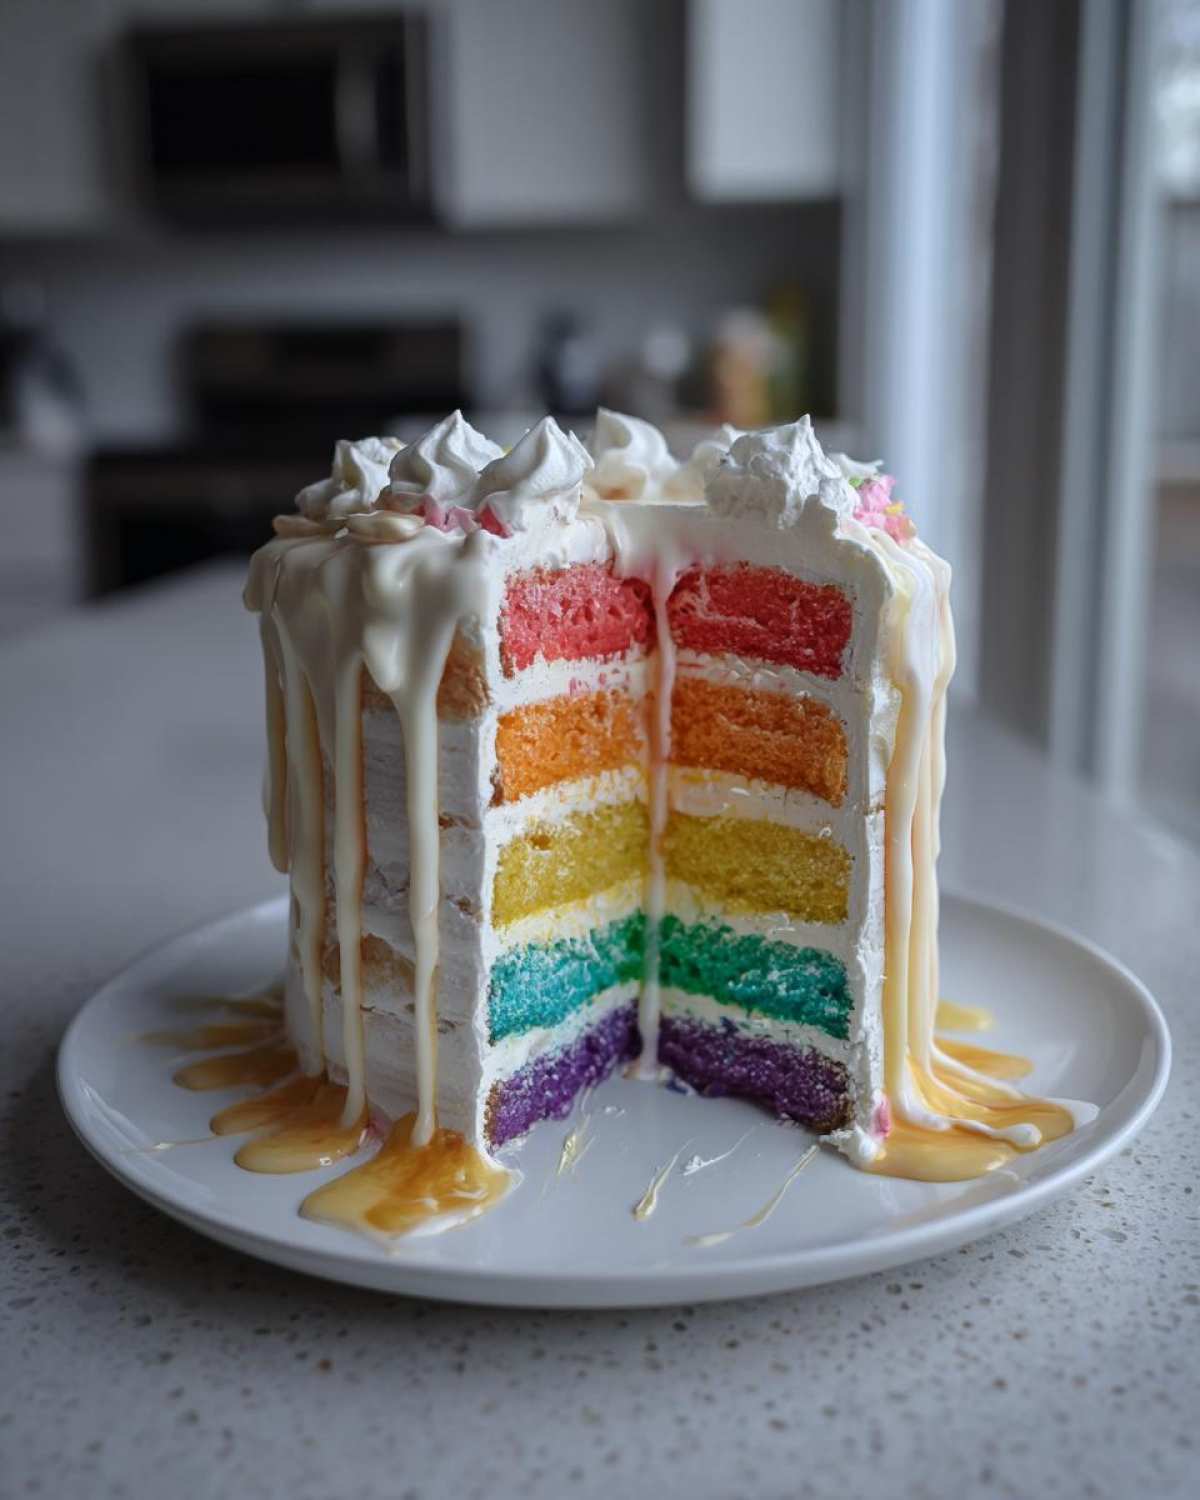
Why This Rainbow Drip Birthday Cake is a Celebration Must-Have
This cake is pure happiness, baked in layers.
It’s the ultimate colorful cake for any party.
You get big flavor and huge visual impact.
Here is why you need this recipe:
- It uses a simple box mix base.
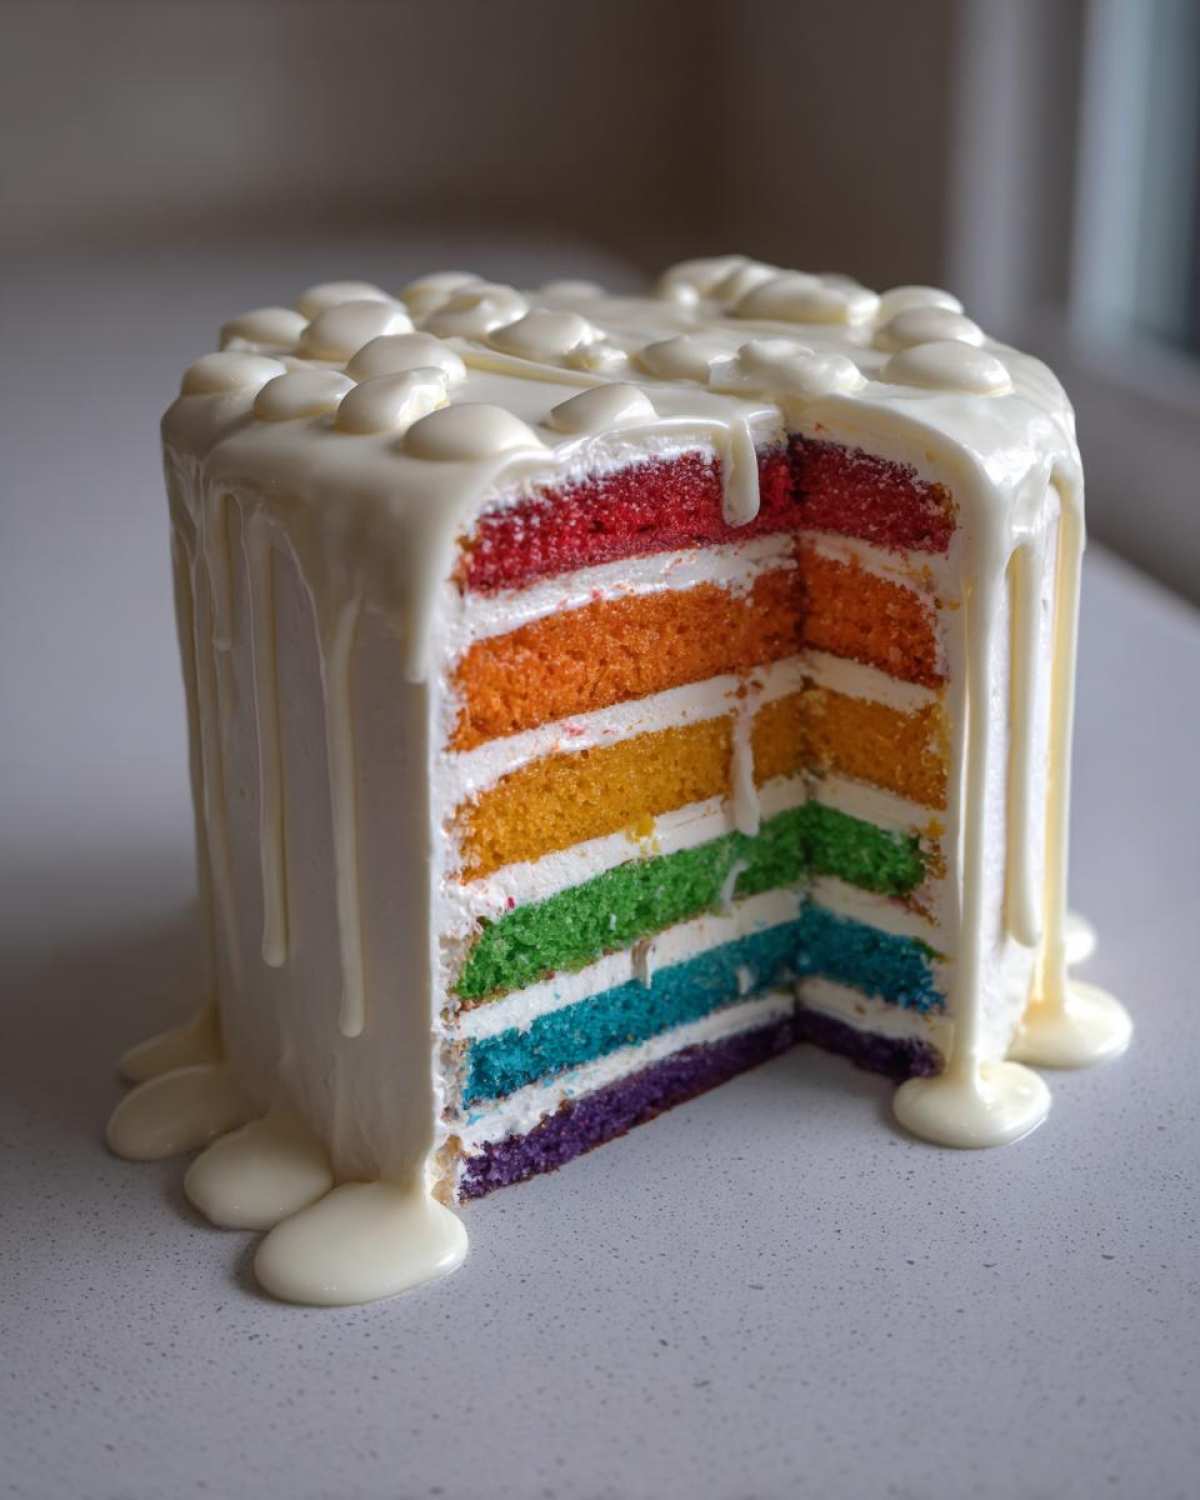
- The vibrant layers look amazing when sliced.
- The look feels fancy, but it isn’t hard.
Quick Prep for Maximum Fun
We focus on speed here at 911Recipes.
Prep time is only about 30 minutes.
That means less time mixing, more time celebrating.
Unforgettable Presentation
Imagine cutting into those bright, distinct layers.
The white chocolate drip cascades down perfectly.
It truly makes a stunning centerpiece.
Ingredients for Your Rainbow Drip Birthday Cake
We keep the ingredient list straightforward.
You start with a standard white cake mix.
The real magic comes from the coloring.
Make sure you grab gel food coloring.
Liquid dyes just won’t give the right pop.
For the creamy frosting, you need good butter.
- White cake mix ingredients
- Vegetable oil and water
- Four large eggs
- Gel colors: Red through purple
- Softened unsalted butter
- Sifted powdered sugar
- Vanilla extract and milk
- White chocolate chips for the drip
Getting Started: Preparing the Rainbow Drip Birthday Cake Layers
First, get that oven hot, just like the box says.
Grease and flour your two 8-inch pans well.
Mix up your cake batter following the package directions.
Now, divide that batter into six small bowls.
Add one gel color to each bowl slowly.
Mix each one until the color is deep and clear.
Pour the colors one by one into the pan.
Pour gently right into the center of the last color.
Do not stir them together at all.
Bake until a toothpick comes out clean.
Let those beautiful layers cool completely.
Perfect Buttercream for Your Rainbow Drip Birthday Cake
Frosting is where I really shine, I think.
Beat your softened butter until it looks fluffy.
Add the powdered sugar slowly, bit by bit.
Keep beating until the mixture is smooth.
Vanilla goes in next for that classic taste.
Now, add milk just one tablespoon at a time.
Stop adding milk when it spreads easily.
You want it spreadable, not runny, remember.
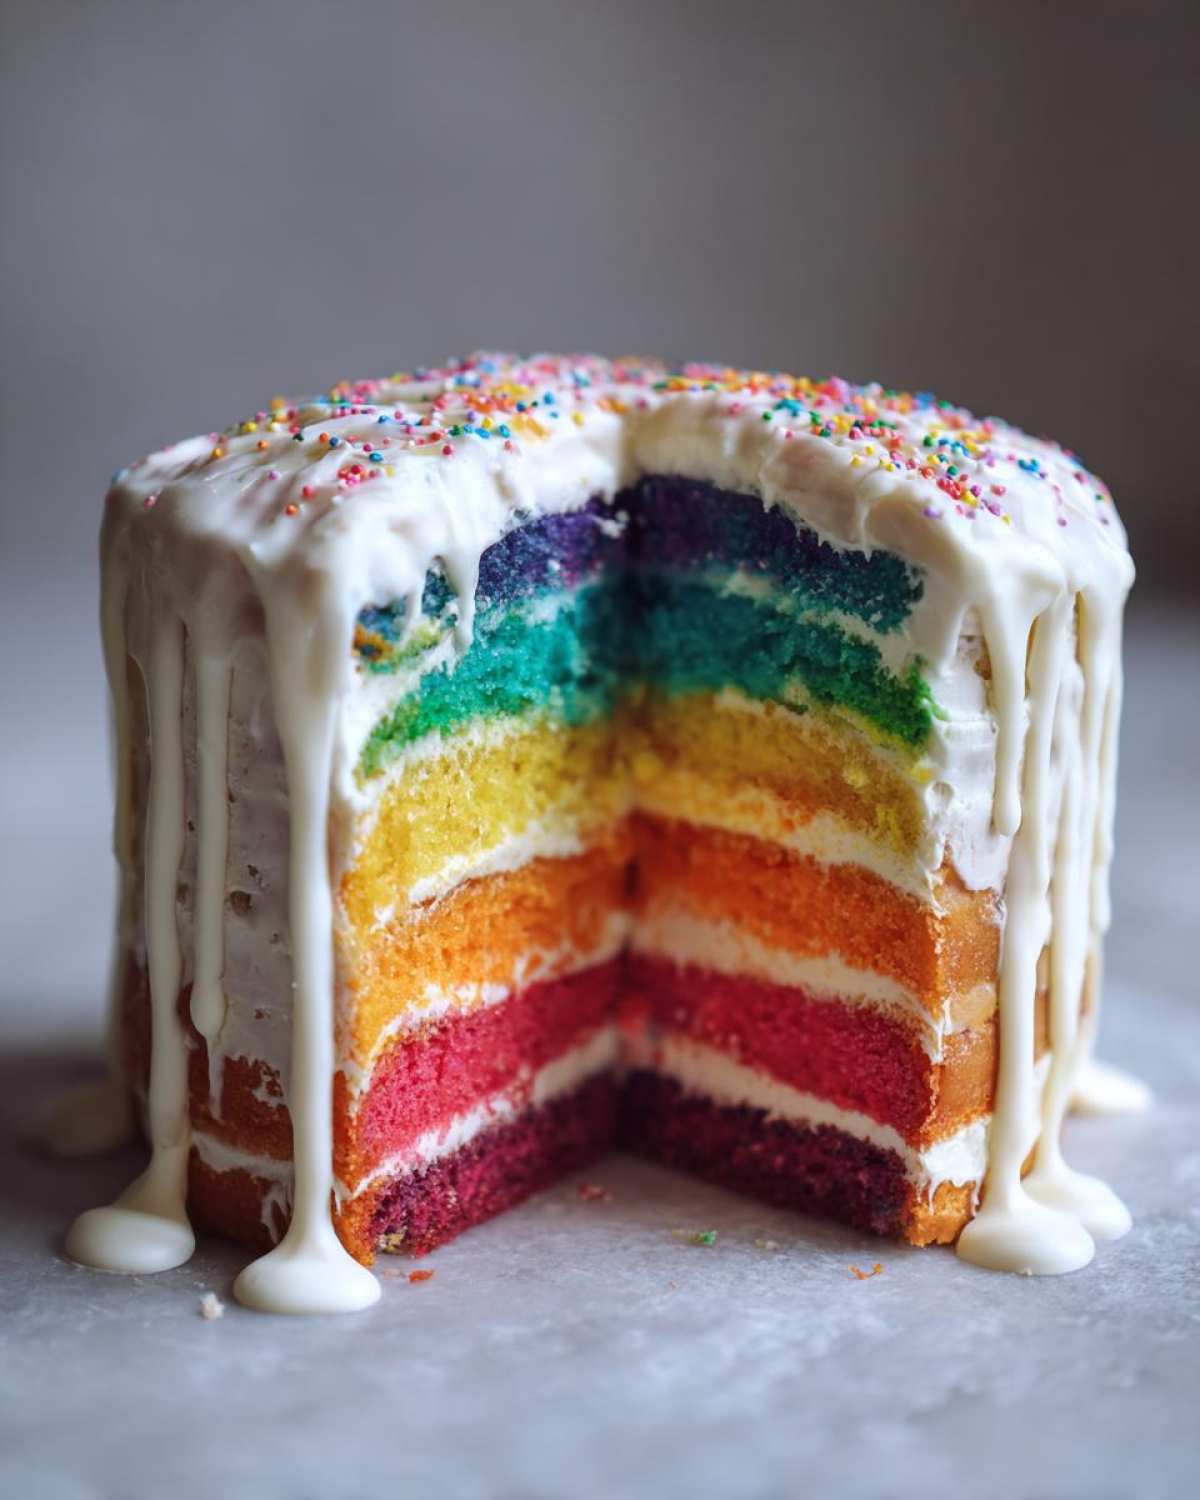
Assembly and The Signature Drip on Your Rainbow Drip Birthday Cake
Level your cool cake layers if they dome up.
Stack them up with a generous layer of frosting.
Once stacked, apply a thin crumb coat frosting layer.
This keeps all the crumbs locked inside.
Chill the whole cake for fifteen minutes now.
This chilling step is super important, trust me.
Then, apply your final, smooth layer of white frosting.
Prepare the drip by melting the white chocolate chips.
Microwave in short bursts, stirring often.
Let that melted chocolate cool a little bit.
It needs to be slightly thick for a good drip.
Spoon it into a piping bag, snipping a tiny tip.
Pipe mounds right along the top edge.
Let gravity do the rest, watch it fall.
Tips for a Perfect Rainbow Drip Birthday Cake
Always use gel colors for that intense rainbow look.
Liquid coloring can make your beautiful batter thin.
Seriously, your cakes must be fully cool first.
I learned this the hard way once.
My first attempt looked like melted frosting soup.
Patience pays off when frosting the layers.
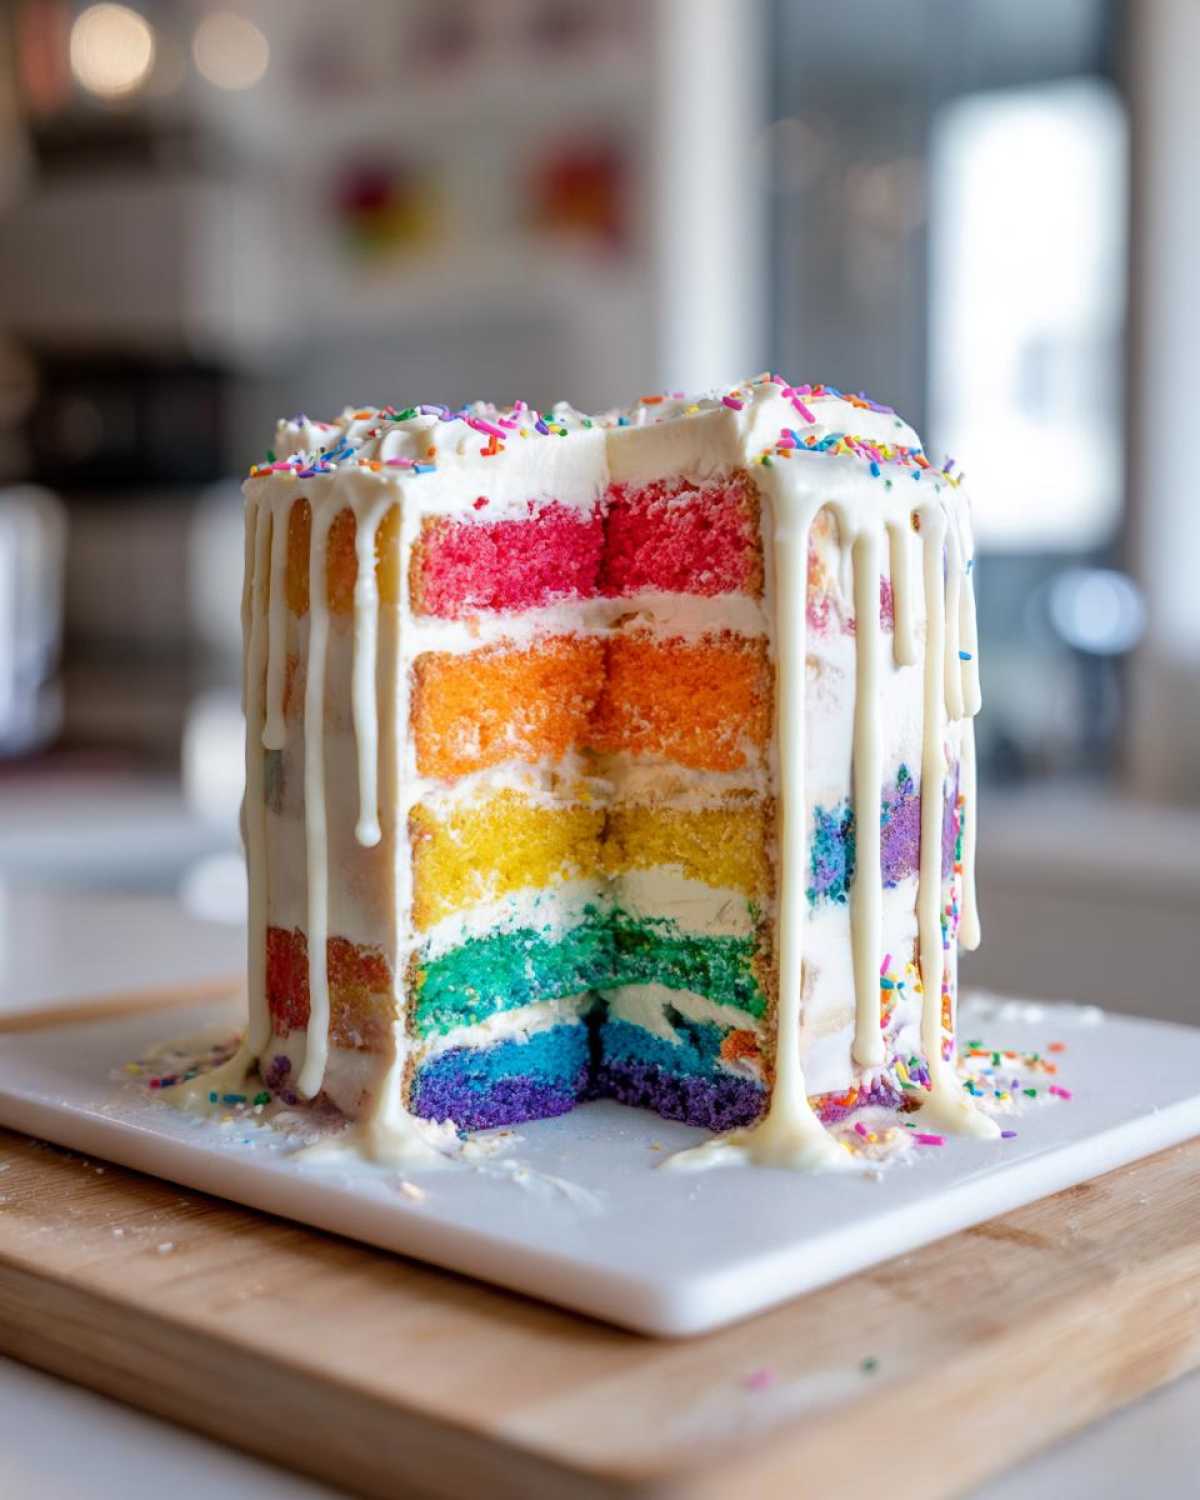
Serving Suggestions for Your Colorful Creation
This cake is rich and visually stunning.
Keep the sides simple to let the cake shine.
Serve it alongside fresh raspberries or blueberries.
A dollop of plain whipped cream works well too.
Storing Leftover Rainbow Drip Birthday Cake
Cover the cake loosely with a dome or box.
Store it in the refrigerator for up to three days.
Bring it out thirty minutes before serving.
Room temperature always tastes best.
Frequently Asked Questions About Your Cake
Can I use different colored frosting?
Yes, but the white chocolate drip looks best contrasting white.
How do I get tall layers?
Baking one layer at a time helps keep them even.
Can I skip the crumb coat?
I strongly advise against skipping that step.
It keeps your final coat clean and perfect.
Estimated Nutrition for Your Rainbow Drip Birthday Cake
Nutrition facts are just estimates, remember.
Serving size is one slice for 12 servings total.
- Calories: 450
- Fat: 20g
- Protein: 4g
- Carbohydrates: 68g
Share Your Amazing Rainbow Drip Birthday Cake
Now it’s your turn to spread the color!
Did this cake bring your party joy?
We love seeing your creations so much.
Tell us how it went in the comments below.
Share your photos with the 911Recipes family.
Happy baking, friends!
Print
Awesome Rainbow Drip Birthday Cake Secret
- Total Time: 1 hour 40 minutes
- Yield: 12 servings
- Diet: Vegetarian
Description
Create a wonderful Rainbow Drip Birthday Cake that brings joy to any celebration. This recipe keeps things simple, focusing on big flavor and fun presentation.
Ingredients
- 1 box white cake mix (plus ingredients listed on box)
- 1/2 cup vegetable oil
- 1 cup water
- 4 large eggs
- Gel food coloring (red, orange, yellow, green, blue, purple)
- 1 cup unsalted butter, softened
- 4 cups powdered sugar, sifted
- 1 teaspoon vanilla extract
- 2-3 tablespoons milk
- 1/4 cup white chocolate chips
Instructions
- Preheat your oven to the temperature directed on the cake mix box. Grease and flour two 8-inch round cake pans.
- Prepare the cake batter according to the box instructions, adding the oil, water, and eggs.
- Divide the batter evenly into six separate bowls.
- Add a different gel food coloring to each bowl to create your rainbow colors. Mix each bowl until the color is uniform.
- Pour each colored batter layer into a prepared cake pan, starting with the first color and gently pouring the next color on top of the previous one without mixing.
- Bake the cakes for the time specified on the box or until a toothpick inserted in the center comes out clean. Let the layers cool in the pans for 10 minutes before inverting them onto a wire rack to cool completely.
- While cakes cool, make the buttercream: Beat the softened butter until creamy. Gradually add the powdered sugar, beating until smooth. Mix in the vanilla extract and milk, one tablespoon at a time, until you reach a spreadable consistency.
- Once cakes are completely cool, level the tops if necessary. Place the first layer on your serving plate. Spread a layer of frosting evenly over the top. Repeat with the remaining layers.
- Frost the entire outside of the stacked cake with a thin crumb coat of frosting. Chill the cake for 15 minutes.
- Apply a final, smooth layer of white frosting to the entire cake.
- Prepare the drip: Place the white chocolate chips in a microwave-safe bowl. Microwave in 20-second intervals, stirring between each interval, until smooth. Let it cool slightly so it drizzles nicely, but is not too thick.
- Spoon the slightly cooled white chocolate into a piping bag or a small Ziploc bag with a tiny corner snipped off. Pipe small mounds around the top edge of the cake, letting the chocolate naturally drip down the sides.
- Serve your beautiful Rainbow Drip Birthday Cake.
Notes
- Use gel food coloring for the most intense, true rainbow colors. Liquid coloring may thin your batter too much.
- Make sure your cakes are completely cool before frosting, or the frosting will melt.
- If you do not have six pans, bake the layers one at a time, letting each layer cool slightly before baking the next.
- Prep Time: 30 minutes
- Cook Time: 30 minutes
- Category: Sweet Treats
- Method: Baking
- Cuisine: American
Nutrition
- Serving Size: 1 slice
- Calories: 450
- Sugar: 65g
- Sodium: 300mg
- Fat: 20g
- Saturated Fat: 10g
- Unsaturated Fat: 5g
- Trans Fat: 0.5g
- Carbohydrates: 68g
- Fiber: 1g
- Protein: 4g
- Cholesterol: 50mg

