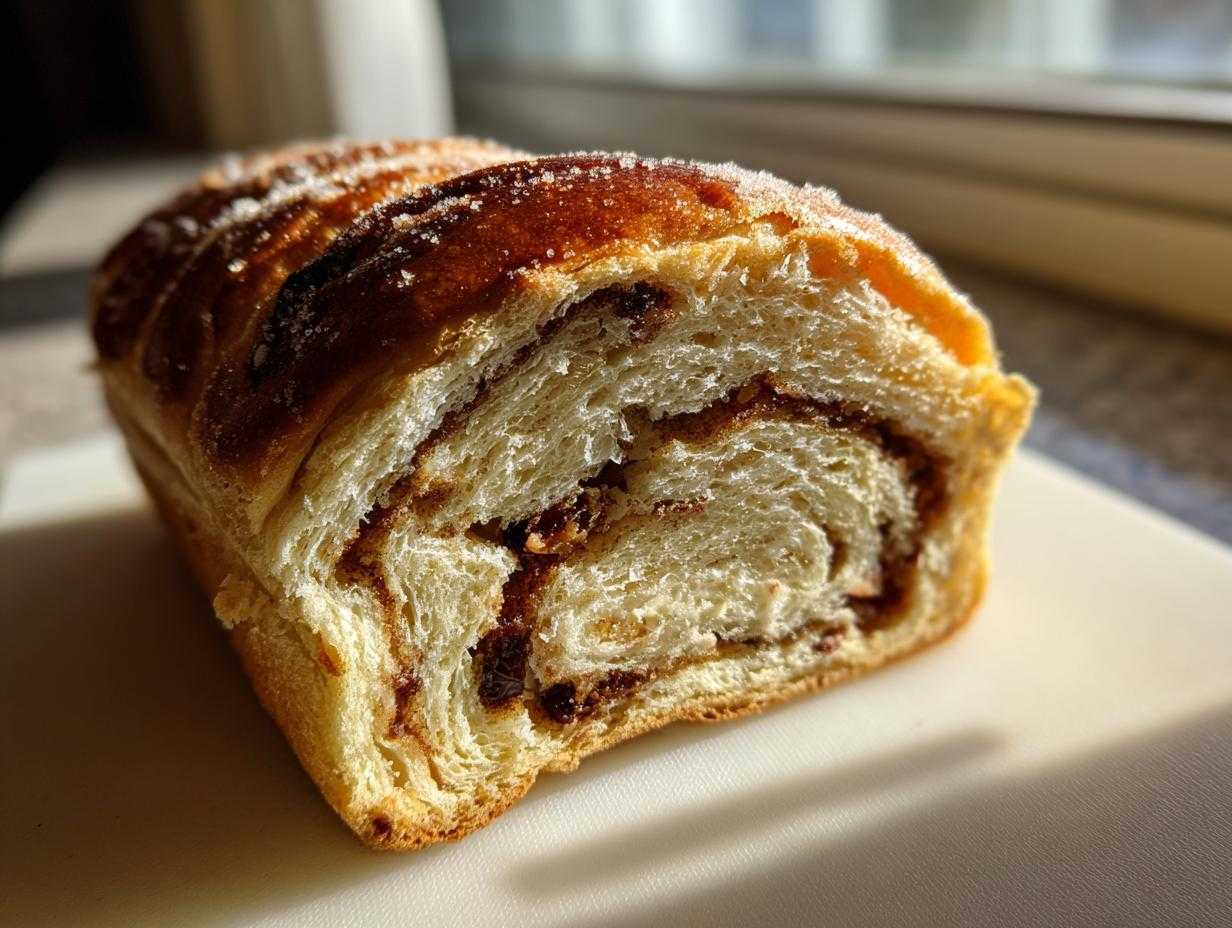
Oh my gosh, there is absolutely nothing—and I mean *nothing*—that beats pulling a loaf of homemade sweet bread out of the oven. The kitchen practically glows! I’m talking about that deep, warm aroma of melted butter and cinnamon that just makes your eyes close happily. Forget those dull, crumbly store-bought loaves; we’re making the ultimate soft and fluffy homemade cinnamon raisin bread. This recipe guarantees you get that gorgeous, distinct cinnamon swirl running through every single slice. I remember being little, sitting on my Papa’s floor, waiting impatiently for him to slice into these warm homemade loaves. It was pure magic. Trust me, once you nail the technique for this raisin bread, you won’t look back!
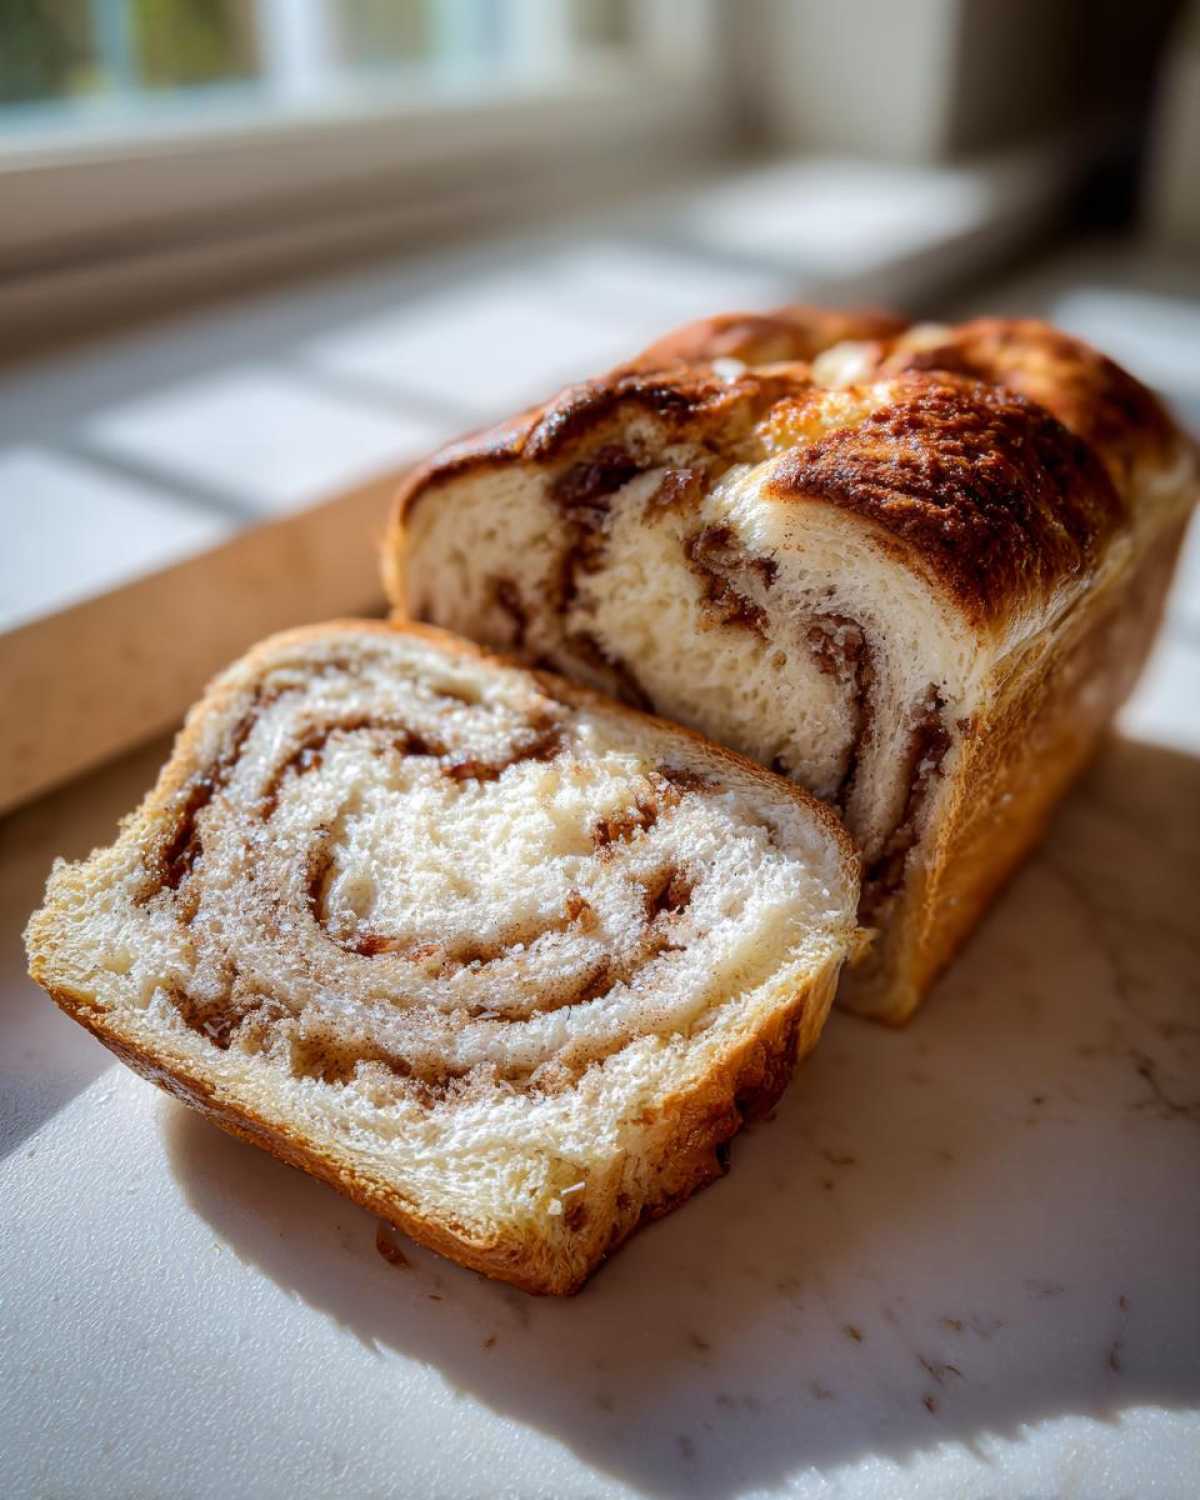
Why This Soft and Fluffy Homemade Cinnamon Raisin Bread Recipe Works (EEAT)
Okay, friend, if you’ve ever had sad, dry raisin bread that crumbles the second you touch it, this recipe is your redemption! My secret sauce here is all about the dough structure. We’re treating this like a proper enriched yeast bread, which is how we get that incredible soft and fluffy bread recipe result you crave. Getting the yeast happy and active is half the battle—I’m always worried I’ll under-proof it, but stick to the warm milk temp, and you’ll be golden. For tips on achieving that ultimate plushness in sweet doughs, you can check out my notes on cinnamon roll success!
This isn’t just a quick mix; it’s baking comfort food designed to be the star of your next sweet bread breakfast. If you want that incredible texture and that perfect center, you need to pay attention to the swirl technique I detail next!
Achieving the Perfect Cinnamon Swirl in Your Raisin Bread
The swirl is everything, isn’t it? You can’t just dump the cinnamon sugar on top; it just melts into the top crust. My method is super precise! We roll the dough out wide, which gives us more surface area. Then, we brush it with melted butter—not just a tiny bit, but enough to really glue the cinnamon sugar down.
The real key is the *tightness* of that final roll. If you roll it up like a jelly roll snug as you can get it without tearing, you guarantee those gorgeous, distinct spirals when you slice into it later. It makes slicing so much better!
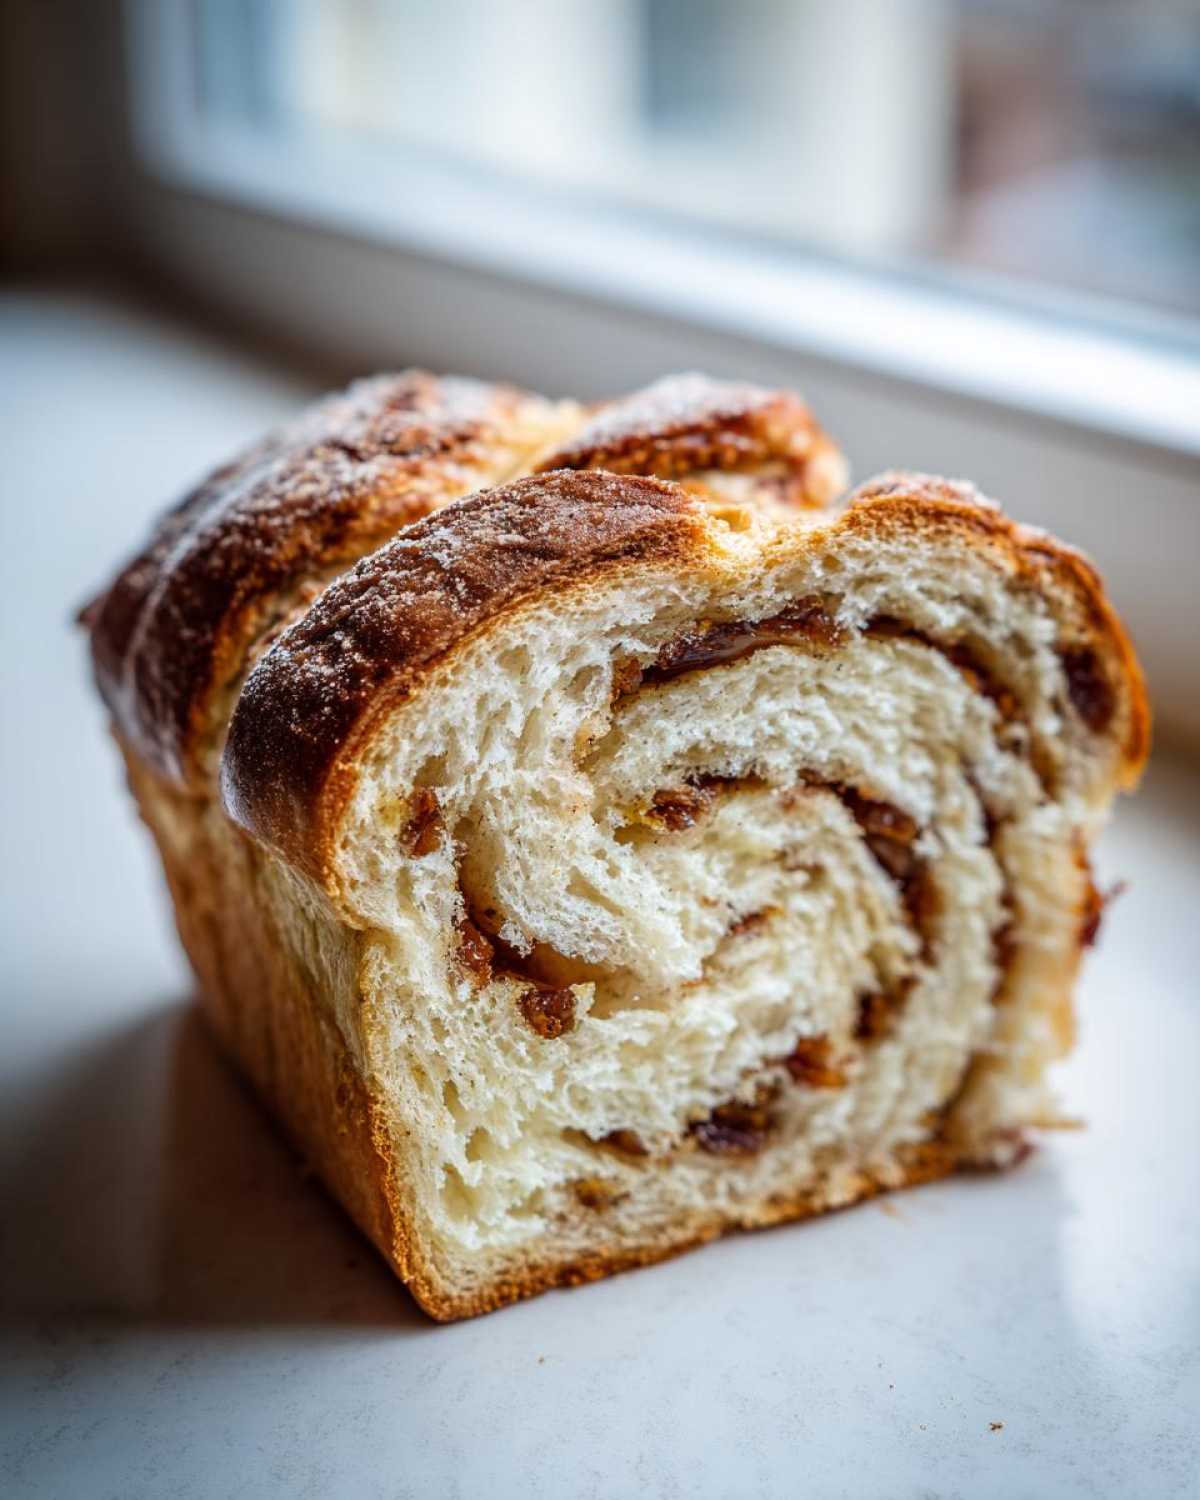
Ingredients for the Best Cinnamon Raisin Bread Recipe
Getting the ingredients right is non-negotiable for this homemade raisin bread recipe. It’s a simple list, but those measurements matter a ton, especially the distinction between the granulated sugar for the dough and the brown sugar for the filling. Don’t skip the plumped raisins; they are worth the tiny extra step!
- 1 cup warm milk (needs to be 105-115°F—this is happy yeast temp!)
- 2 1/4 teaspoons active dry yeast
- 1/4 cup granulated sugar plus 1 teaspoon reserved for the yeast
- 1/2 cup (1 stick) unsalted butter, softened nicely
- 1 large egg
- 1 teaspoon salt
- 3 1/2 to 4 cups all-purpose flour (start with 3.5 and see how the dough feels!)
- 1 cup raisins, plumped up nicely first
- 1/2 cup packed light brown sugar for the swirl—pack it in!
- 2 tablespoons ground cinnamon for the swirl
- 2 tablespoons melted butter just for brushing the strip
If you need tips on getting other fruits ready for baking, sometimes I use methods similar to how I prepare them for my date nut loaf. Keeps everything soft!
How to Make Homemade Raisin Bread From Scratch: Step-by-Step Instructions
Now we get to the fun part! This whole process is actually really relaxing once you get into the rhythm. Learning how to make raisin bread from scratch is totally beginner-friendly if you just follow the timing cues. We’re building flavor layer by layer here, especially with that beautiful filling. For my full rundown on working with yeast, I always share my secrets over in my full yeast bread baking guide!
Preparing the Dough and First Rise for Your Raisin Bread
First things first: wake up that yeast! We combine the warm milk, the tiny bit of sugar, and the yeast and just leave it alone until it looks foamy and happy—don’t rush this part! Once it’s bubbly, we mix in the butter, egg, and salt. When you start adding the flour, be smart about it. Once the dough comes together, you’ve got to knead it. I know, I know, kneading sounds scary, but 5 to 7 minutes on the counter works wonders. You’re looking for that glossy, smooth, elastic texture where it springs back a little when you poke it. Then, straight into an oiled bowl it goes for the first, long nap.
Creating the Cinnamon Swirl Filling for the Raisin Bread Log
While the dough is puffing up, mix your brown sugar and cinnamon together—it’ll smell divine! Once the dough has doubled, gently punch the air out and roll it into that big rectangle we discussed. This is where we lay the groundwork for that perfect swirl. Brush every inch of that surface with the melted butter. Don’t be shy! Then, sprinkle that cinnamon mixture right over the butter, making sure you cover everything evenly.
The final, vital secret here is rolling it up. Start at one long side and roll it *tightly*. I mean really wrap it up snugly like you’re packing a sleeping bag! Pinch that seam shut hard so it doesn’t unravel while baking. Tuck that whole log seam-side down into your greased loaf pan.
Second Proofing and Baking Your Warm Homemade Loaf
We give the dough a second, shorter rest right in the pan—about 45 minutes should do it. You want it towering about an inch over the top edge. While it’s finishing its nap, crank that oven up to 375°F. This ensures you get those gorgeous warm homemade loaves. Bake it for about 30 to 35 minutes. If you have an oven thermometer, pull the loaf when the internal temp hits 200°F—that’s how you guarantee it’s done but still impossibly moist inside!
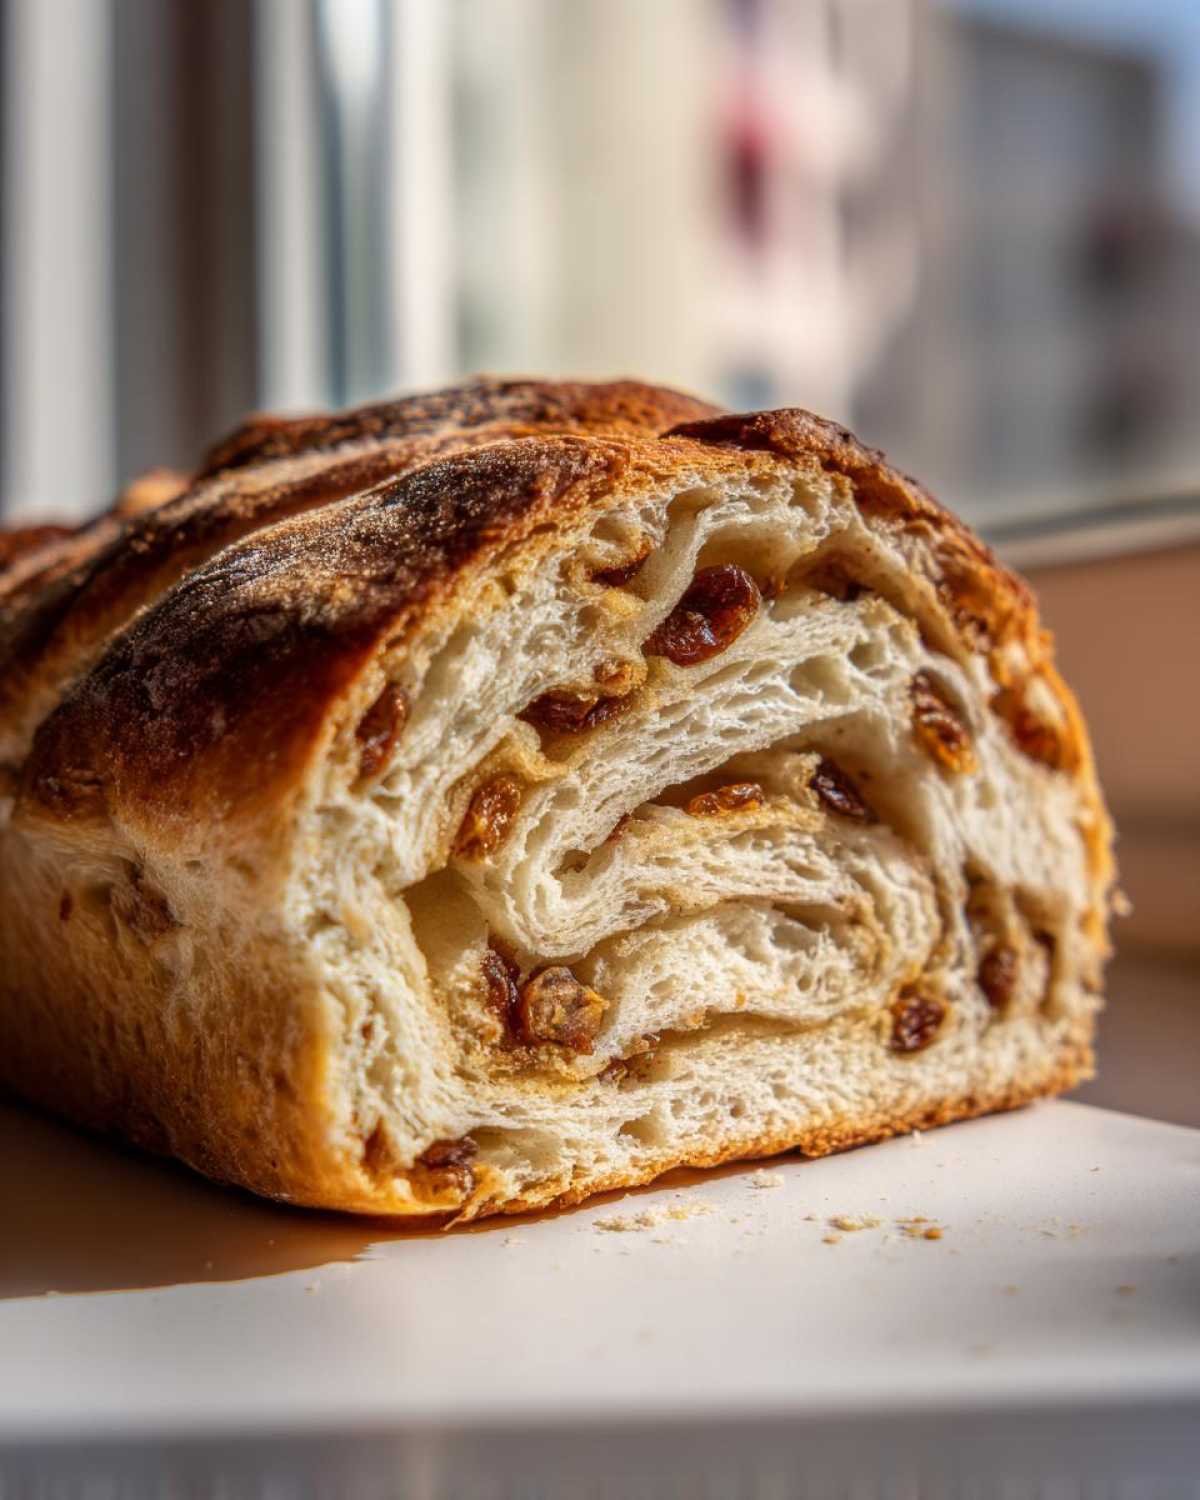
Tips for the Best Soft and Fluffy Raisin Bread
Okay, we’ve got the recipe, but I want to share a few little tricks I’ve learned over the years to make sure this soft and fluffy bread recipe never turns out dense or dry. First, remember the raisins? If they aren’t plumped, they steal moisture straight from your beautiful dough! Soak them in hot water—ten minutes is all they need—then drain them well and pat them completely dry with a paper towel before adding those little flavor bombs to the dough.
When it comes to the crust, which can sometimes get too hard on sweet breads, try brushing the top lightly with a bit of melted butter right when it comes out of the oven. It’s just a little touch, but it keeps the crust soft while the bread cools on the rack. If you ever want to read more deep-dive tips on softening crusts for enriched breads, I’ve got a full breakdown over here about making softer crusts.
Finally, resist the urge to slice it hot! I know it smells incredible as it cools, but slicing bread too soon lets all the beautiful internal steam escape. You need to let it cool almost completely on a wire rack so the crumb sets properly. Patience equals perfection!
Variations on Classic Raisin Bread: Eggless Raisin Bread Recipe Ideas
This amazing basic dough is so forgiving, which is why I love sharing it! People often ask if they can make an eggless raisin bread recipe, and yes, you totally can! If you need to skip the egg, don’t panic. I usually replace one large egg with a ‘flax egg’—that’s one tablespoon of ground flaxseed mixed with three tablespoons of water, let it sit for five minutes until it gets all gloopy. That gives you the binding power back.
If you aren’t doing flax, just add an extra quarter cup of warm milk or a tablespoon of softened butter to make sure you don’t end up with super dry dough, because the egg does add a little richness. For my friends who want crunch alongside that chewiness? Toss in a cup of toasted walnuts when you add the raisins! My sister likes to make an egg salad recipe on the side, but I prefer my bread sweet!
Serving Suggestions for Your Sweet Breakfast Bread
Now that you have this incredible, soft loaf, what do you do with it? Honestly, warm slices straight from the cooling rack are dangerous—I usually just stand over the sink and eat them plain! But for a proper sweet breakfast bread experience, you can’t beat a good toast.
My favorite way for easy raisin bread toast ideas is simple: thick slices, toasted until the edges are just crisp, and smothered in lightly salted, softened butter that melts right into all those nooks and crannies. If you want something luxurious, a layer of whipped cream cheese or even homemade honey butter takes this right over the top!
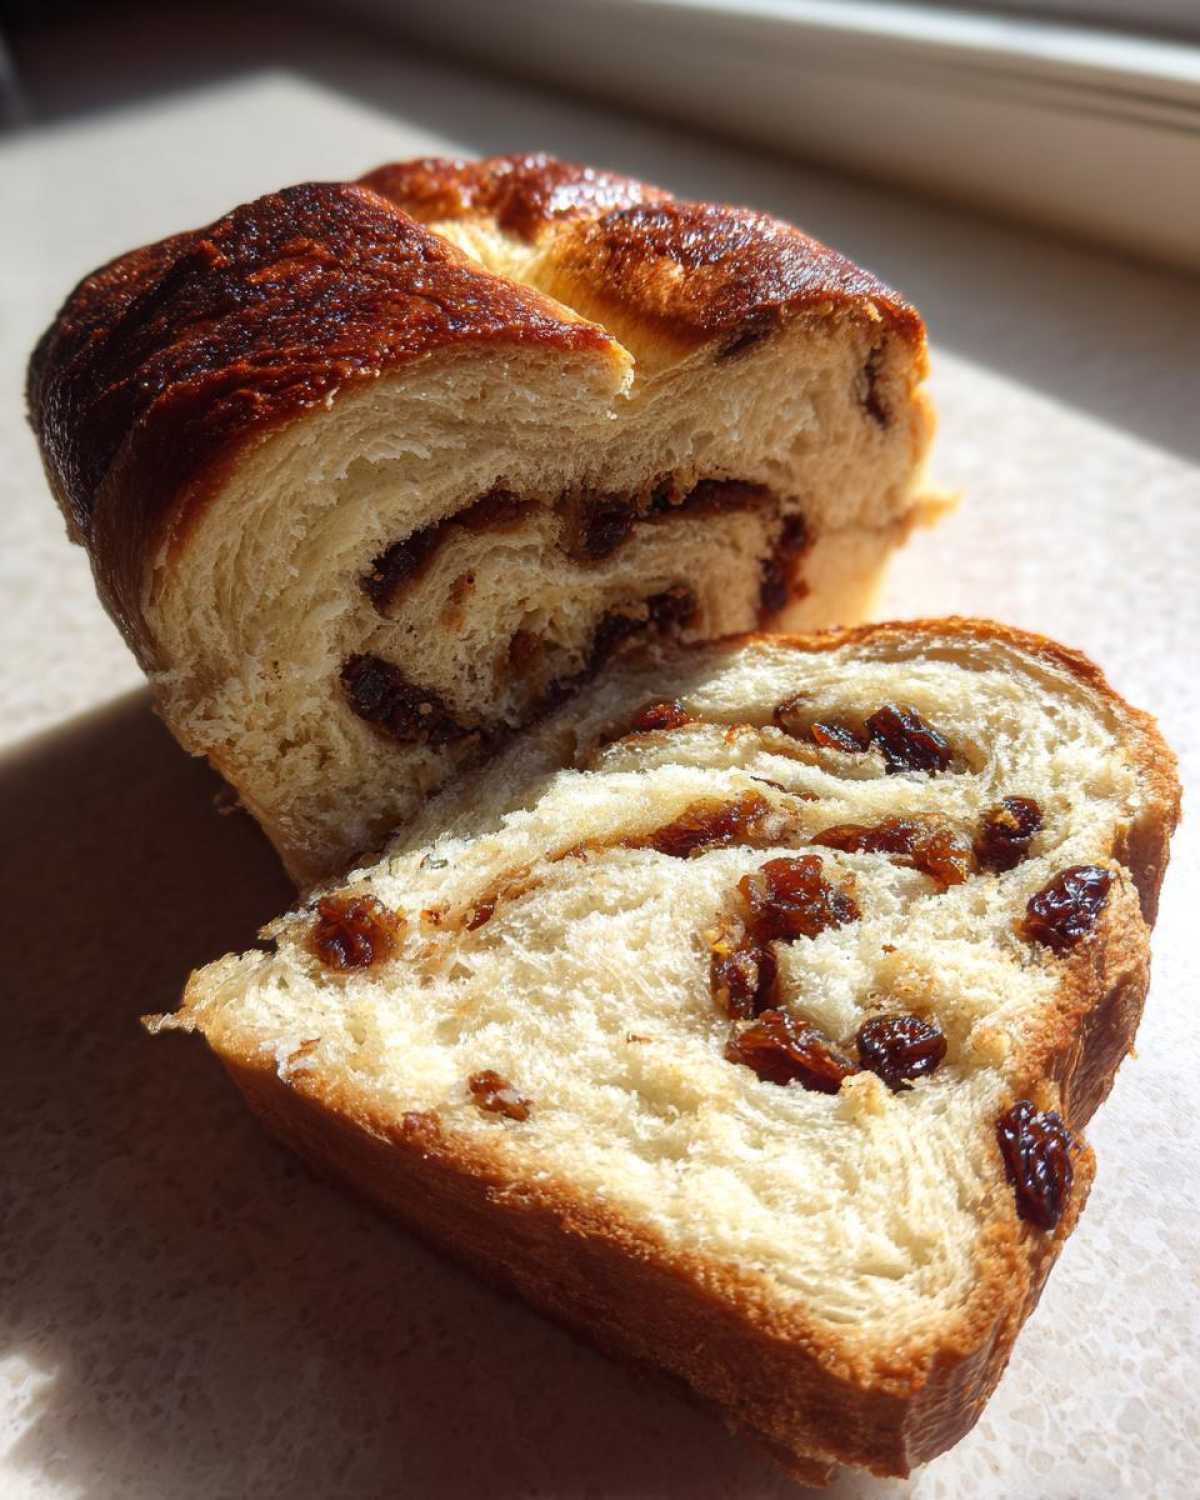
If you are feeling ambitious and have leftovers (which is rare in my house!), these slices make the most heavenly French toast you’ll ever taste. You can find my simple recipe for that magic right here: quick and simple French toast!
Storing Your Homemade Raisin Bread
You’ve got this gorgeous loaf, and you want it to stay pillowy soft, right? Don’t even think about putting this beautiful raisin bread in the fridge immediately! That cold air is the enemy of soft bread texture. For up to three days, just tuck it tightly into a zip-top bag and keep it on the counter at room temperature. If you need it to last longer, I highly recommend slicing it first, bagging those slices, and popping them in the freezer—it freezes like a dream!
When you’re ready for a slice later on, just pop it straight from the freezer into the toaster. It thaws and toasts perfectly! That’s my hot tip for keeping that fresh-baked taste around all week long.
Frequently Asked Questions About Making Raisin Bread
I get so many questions every time I post a picture of this bread! It’s clear you all want to master that perfect soft texture. Here are the things people ask me most when trying this recipe for the first time.
Can I use a bread machine for this raisin bread?
That’s a great way to save time if you’re busy! Yes, you absolutely can, but you need to follow the machine’s instructions carefully, especially regarding when to add the raisins so they don’t get shredded into oblivion. I actually have a dedicated guide on my site for a bread machine raisin bread setting if you want to go that route. You get a good loaf, but honestly, the kneading by hand makes a slight difference in the final soft texture!
Why is my cinnamon swirl not visible in my sweet bread breakfast?
Ugh, the invisible swirl! This happens when you don’t use enough butter to stick the cinnamon sugar to the dough, or if you don’t roll it tight enough. If you rolled it loosely, the filling just gets absorbed into the main dough structure during the second proof. Remember what I said about rolling it like a sleeping bag? That tight seal is what separates those layers!
Can I use active dry yeast instead of instant (or vice versa)?
This recipe calls for active dry yeast, and I specified that you need to let it foam up first to make sure it’s alive! If you are using instant (or rapid rise) yeast, you can skip the resting step with the milk and sugar—just mix it right in with your dry flour ingredients. It skips a step in the yeast bread baking guide, which is handy!
My raisins always sink to the bottom! What went wrong?
This is the classic issue! Raisins, once plumped, are heavy little moisture bombs. If they sink, it means your dough wasn’t strong enough to hold them up during the first rise and they settled into the base. Make sure you knead those extra 5 minutes to develop the gluten properly, and it should hold them much better when you roll that final log.
Estimated Nutritional Information for This Raisin Bread
Baking for the family is about love, not just counting calories, but numbers sometimes pop up, right? So here are the averages for one slice of this incredible raisin bread loaf. These numbers are based on using standard ingredients and yield, but please remember they are just estimates because how much butter I use versus how much you use always changes things!
- Calories: About 220
- Total Fat: 6g
- Protein: 5g
- Total Carbohydrates: 38g
- Total Sugar: 12g
I like to think of this as fuel for a long morning of baking something else next week! If you aren’t drizzling it with extra glaze, the sugar stays pretty reasonable for a sweet breakfast bread.
Share Your Soft Raisin Bread Creations
Well, now it’s your turn! I’ve shared all my most important little secrets for making this the softest, most flavorful raisin bread you’ve ever tasted. Honestly, the biggest reward for me is hearing when someone else makes it and loves it just as much as my family does. Did you get that perfect swirl? Did your house smell amazing while it baked?
I’m practically begging you here: please leave a star rating right down below so other bakers know this recipe is the real deal! And if you have a minute, tell me about your experience in the comments. What did you serve it with? Did you try the eggless variation?
Snap a picture of your beautiful, golden loaf and tag me on social media, too! I absolutely adore seeing your successes. Happy baking, friend, and enjoy every single slice of that sweet, warm loaf!
Print
Soft and Fluffy Homemade Cinnamon Raisin Bread
- Total Time: 2 hr 45 min
- Yield: 1 loaf
- Diet: Vegetarian
Description
Make a soft, sweet cinnamon raisin bread loaf from scratch featuring a distinct cinnamon swirl. This recipe is straightforward for home bakers.
Ingredients
- 1 cup warm milk (105-115°F)
- 2 1/4 teaspoons active dry yeast
- 1/4 cup granulated sugar plus 1 teaspoon for yeast
- 1/2 cup (1 stick) unsalted butter, softened
- 1 large egg
- 1 teaspoon salt
- 3 1/2 to 4 cups all-purpose flour
- 1 cup raisins, plumped
- 1/2 cup packed light brown sugar for swirl
- 2 tablespoons ground cinnamon for swirl
- 2 tablespoons melted butter for swirl
Instructions
- Activate the yeast: In a large bowl, mix the warm milk, 1 teaspoon of sugar, and the yeast. Let stand for 5 to 10 minutes until foamy.
- Add the remaining granulated sugar, softened butter, egg, and salt to the yeast mixture. Mix until combined.
- Gradually add the flour, mixing until a soft dough forms. Knead the dough on a lightly floured surface for 5 to 7 minutes until smooth and elastic.
- Place the dough in a lightly oiled bowl, turning to coat. Cover and let rise in a warm place for 1 to 1.5 hours, or until doubled in size.
- While the dough rises, prepare the swirl filling: In a small bowl, mix the brown sugar and cinnamon.
- Punch down the risen dough. Turn it out onto a lightly floured surface. Roll the dough into a rectangle about 18 by 12 inches.
- Brush the surface of the dough evenly with the 2 tablespoons of melted butter. Sprinkle the cinnamon-sugar mixture over the buttered surface.
- Starting from the long edge, tightly roll the dough into a log. Pinch the seam closed.
- Place the log, seam-side down, into a greased 9×5 inch loaf pan.
- Cover the pan loosely and let the dough rise again for 30 to 45 minutes, or until the dough has crowned about 1 inch above the rim of the pan.
- Preheat your oven to 375°F (190°C) during the last 15 minutes of the second rise.
- Bake for 30 to 35 minutes, or until the top is golden brown and the internal temperature reaches 200°F (93°C).
- Remove the bread from the pan immediately and cool on a wire rack before slicing.
Notes
- To plump raisins quickly, soak them in hot water for 10 minutes, then drain and pat dry before adding to the dough.
- For a softer crust, brush the top of the loaf with a little melted butter immediately after removing it from the oven.
- If you prefer a less intense swirl, reduce the cinnamon-sugar filling slightly.
- Prep Time: 25 min
- Cook Time: 35 min
- Category: Breakfast
- Method: Baking
- Cuisine: American
Nutrition
- Serving Size: 1 slice
- Calories: 220
- Sugar: 12g
- Sodium: 250mg
- Fat: 6g
- Saturated Fat: 3.5g
- Unsaturated Fat: 2.5g
- Trans Fat: 0g
- Carbohydrates: 38g
- Fiber: 1.5g
- Protein: 5g
- Cholesterol: 25mg