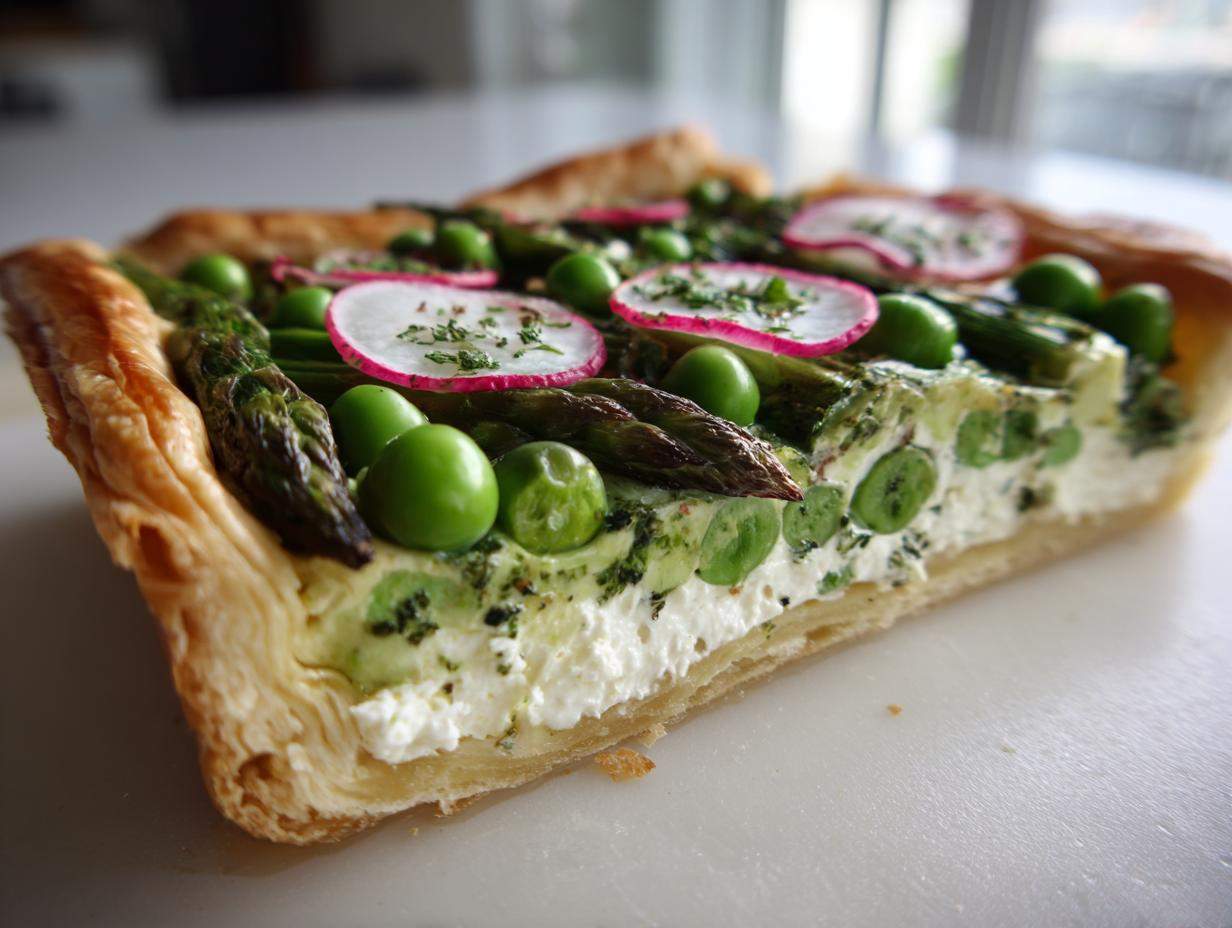
Oh, friends, when those first bright green spears of asparagus pop up, my kitchen just *knows* it’s time for celebrating! There is nothing quite as lovely as making something look like it took hours when, honestly, it only took a handful of simple steps. We are talking about the absolute queen of light lunches and the easiest star for any Mother’s Day brunch: the Spring Vegetable Tart with Puff Pastry. I’ve made this dozens of times, especially when I need a showstopper without fussing with fussy doughs. Trust me, using store-bought puff pastry is my little secret shortcut to achieving that unbelievably flaky, golden crust every single time. It’s elegant, it’s fresh, and it smells like sunshine!
Why This Spring Vegetable Tart with Puff Pastry is a Must-Make
You might think a tart this gorgeous takes serious time, but that’s the beauty of this recipe! Pre-made puff pastry does 90% of the hard work, which means you get spectacular results in under an hour total. I absolutely adore this because:
- It’s lightning fast! It qualifies as one of my favorite easy summer appetizers, even though we sneak it in during spring.
- The presentation is stunning; it looks like something straight out of a French bakery.
- It handles seasonal vegetables perfectly, letting the fresh pea and asparagus flavors shine through.
- It’s the ultimate versatile dish—serve it warm for brunch or cool for a light afternoon bite.
Ingredients for the Ultimate Spring Vegetable Tart with Puff Pastry
Okay, gathering your components is the next big step. Since we are leaning into springtime freshness here, try to get the brightest vegetables you can find. The filling itself is deceptively simple, letting that incredible puff pastry crust really sing! Don’t skimp on the cheese prep; for the creamiest base, make sure your goat cheese is totally room temperature.
Here is what you need to pull this beauty together:
- One full sheet—just about 10 ounces—of frozen puff pastry, thawed completely according to the package instructions.
- Four ounces of soft goat cheese that’s been warmed up a bit so it’s spreadable.
- One quarter cup of creamy ricotta cheese.
- One large egg, reserved for binding the filling.
- A couple of tablespoons of herbs: about one tablespoon of freshly chopped chives and one teaspoon of tiny thyme leaves.
- A little brightness from half a teaspoon of lemon zest.
- Salt and pepper, naturally, to your taste.
- For our veggies: half a cup of asparagus spears, trimmed and cut into nice 1-inch pieces, half a cup of peas (straight from the freezer is fine—don’t thaw these!), about a quarter cup of radishes sliced paper-thin, and one small new potato that you’ve sliced super thin, like an eighth of an inch.
- Finally, one tablespoon of good olive oil for tossing the vegetables, and a simple egg yolk mixed with one teaspoon of water for that gorgeous golden egg wash on the edges.
Preparing the Flaky Pastry for Your Spring Vegetable Tart with Puff Pastry
Listen, the most intimidating part of this whole process is usually working with pastry, but stop right there! We are using store-bought sheets, which are total game-changers. You absolutely must thaw your pastry correctly—usually a few hours in the fridge is the safest bet. Don’t rush it on the counter or you’ll end up with a sticky mess!
Once it’s soft, lay it out on a lightly floured surface. You don’t need to roll it a ton, maybe just gently coax it into a rough 10×10 square. Now, here is my favorite trick for achieving that professional look: take a sharp little knife and just gently *score* a one-inch border around the outside edge. I mean gently! You aren’t cutting through, just making a line so the edges know where to puff up high and proud while the middle stays low for the filling. This technique really helps create that beautiful flaky pastry tart crust.
Before we fill it, brush that scored outer rim generously with your egg yolk wash—that’s what gives you that irresistible, deep golden shine. For other fun uses of this amazing product, check out my puff pastry hearts recipe!
Creating the Creamy Herbed Goat Cheese Base
This layer is what keeps the whole tart creamy and stops the puff pastry from getting overwhelmed by the moisture from the veggies! Seriously, don’t skip treating this cheese right. You absolutely must ensure your goat cheese is at room temperature. If it’s cold, you’ll end up with lumpy bits in your base, and we want pure silk here.
Just grab a small bowl and gently mix the goat cheese until it’s smooth on its own. Then, fold in the ricotta cheese and that single egg. This mixture binds everything together during the bake. But the flavor part—that’s where we get fancy without being complicated!
Stir in your freshly chopped chives, the lovely little thyme leaves, and that tiny touch of lemon zest. That zest won’t make it taste like lemon cake; it just brightens up the earthiness of the goat cheese and the spring vegetables. Give it a good grind of pepper and a light sprinkle of salt. Mix it until it looks pale, creamy, and perfectly dotted with green from the herbs. That’s it—flavor town, population: one creamy base!
Assembling the Perfect Spring Vegetable Tart with Puff Pastry
Now we finally get to put all our beautiful pieces together on that prepared baking sheet! Take that luscious herbed goat cheese mixture we just whipped up and spread it evenly across the puff pastry base. Remember that one-inch border we scored earlier? Keep all that glorious cheese mixture nicely inside that line—that boundary is critical for keeping the edges sky-high and crisp. You want a nice, even layer so every slice gets the perfect cheese-to-veggie ratio. This is the foundation for our amazing asparagus and pea tart flavor!
Next up are our veggies! You already tossed them lightly in olive oil, salt, and pepper. This is your moment to be an artist. Since this tart is supposed to be elegant, take a little extra time arranging them. Lay the asparagus spears down first, maybe criss-crossing them slightly. Then, tuck those bright green peas in the gaps. I like to arrange the thinly sliced radishes and potatoes in little overlapping circles or fans across the top; this really shows off those gorgeous spring colors when you finally cut into it.
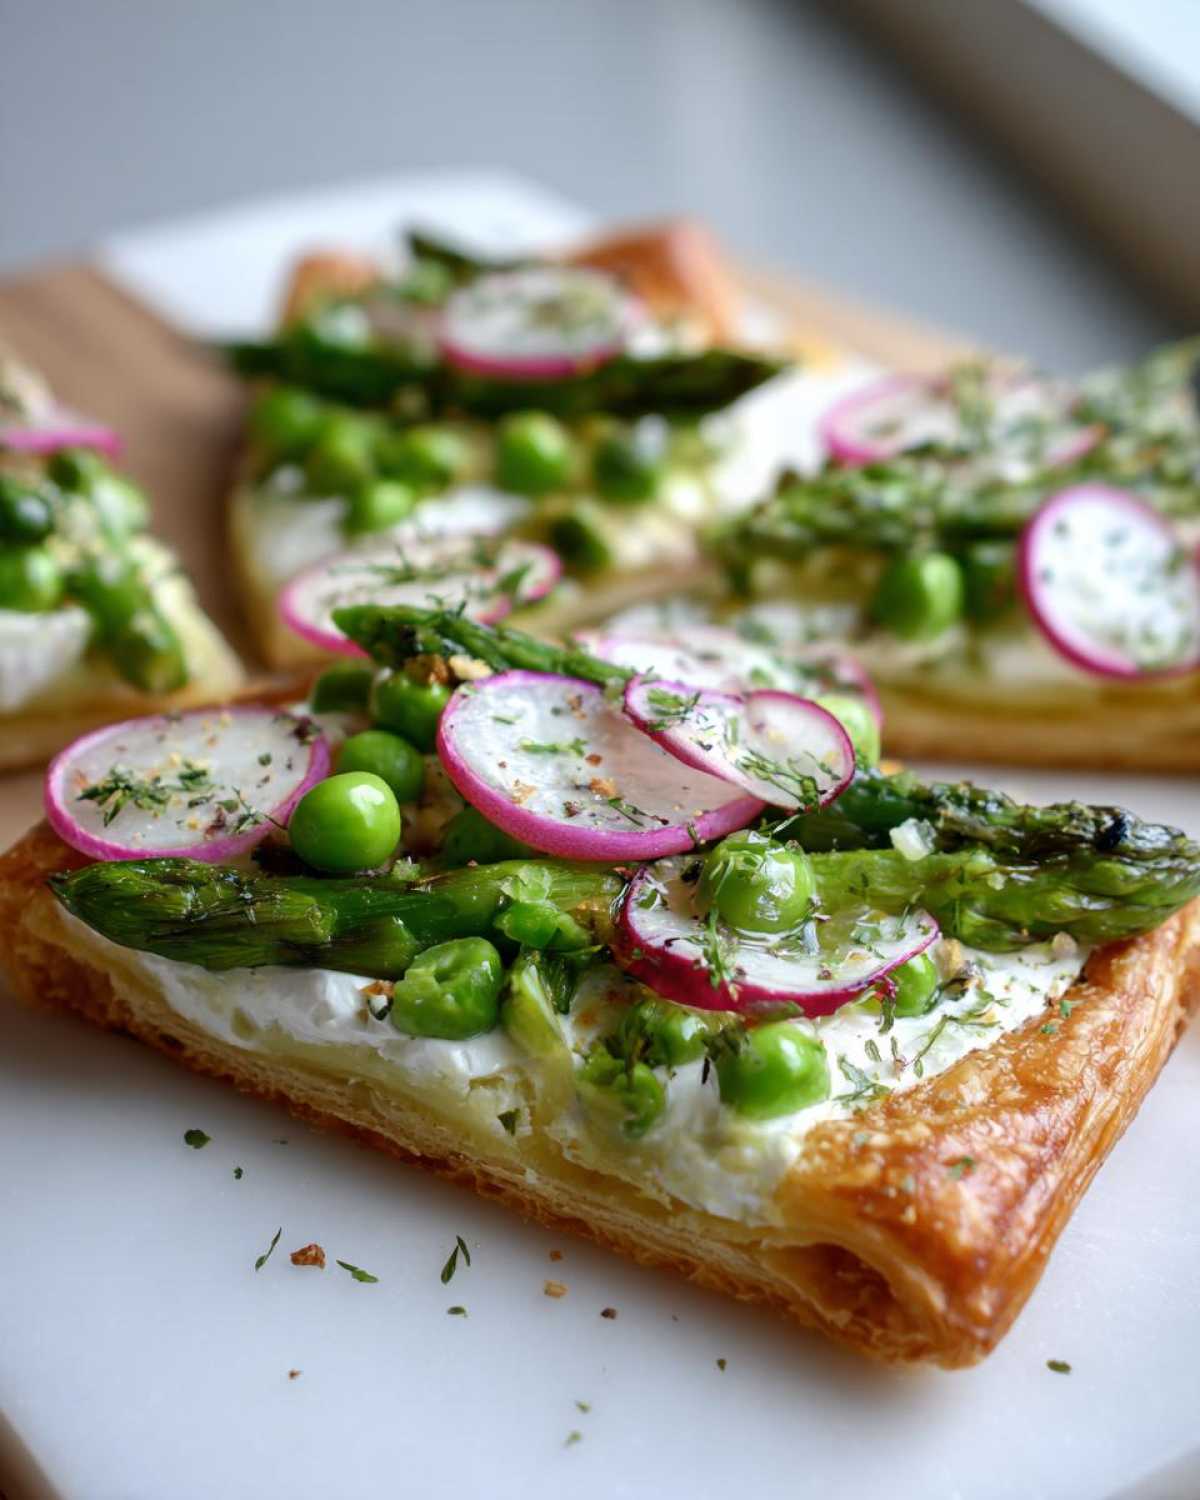
Make sure everything is sitting nicely on top of the cheese layer. We want to avoid piling them too high, or the center might take forever to cook through. Just arrange them beautifully inside those scored lines. We’ve got our base ready, our veggies set, and those edges are prepped with egg wash. Seriously, after this, it’s all about the oven!
Baking Time and Tips for a Non-Soggy Spring Vegetable Tart with Puff Pastry
It’s time for the magic to happen! Get your oven preheated to 400°F (200°C) before that assembled tart even touches the baking sheet. We are looking for a bake time between 20 and 25 minutes. You’ll know it’s ready when those pastry edges have puffed up beautifully and are a lovely golden brown, and the cheese filling looks perfectly set—meaning it doesn’t wobble when you gently shake the pan.
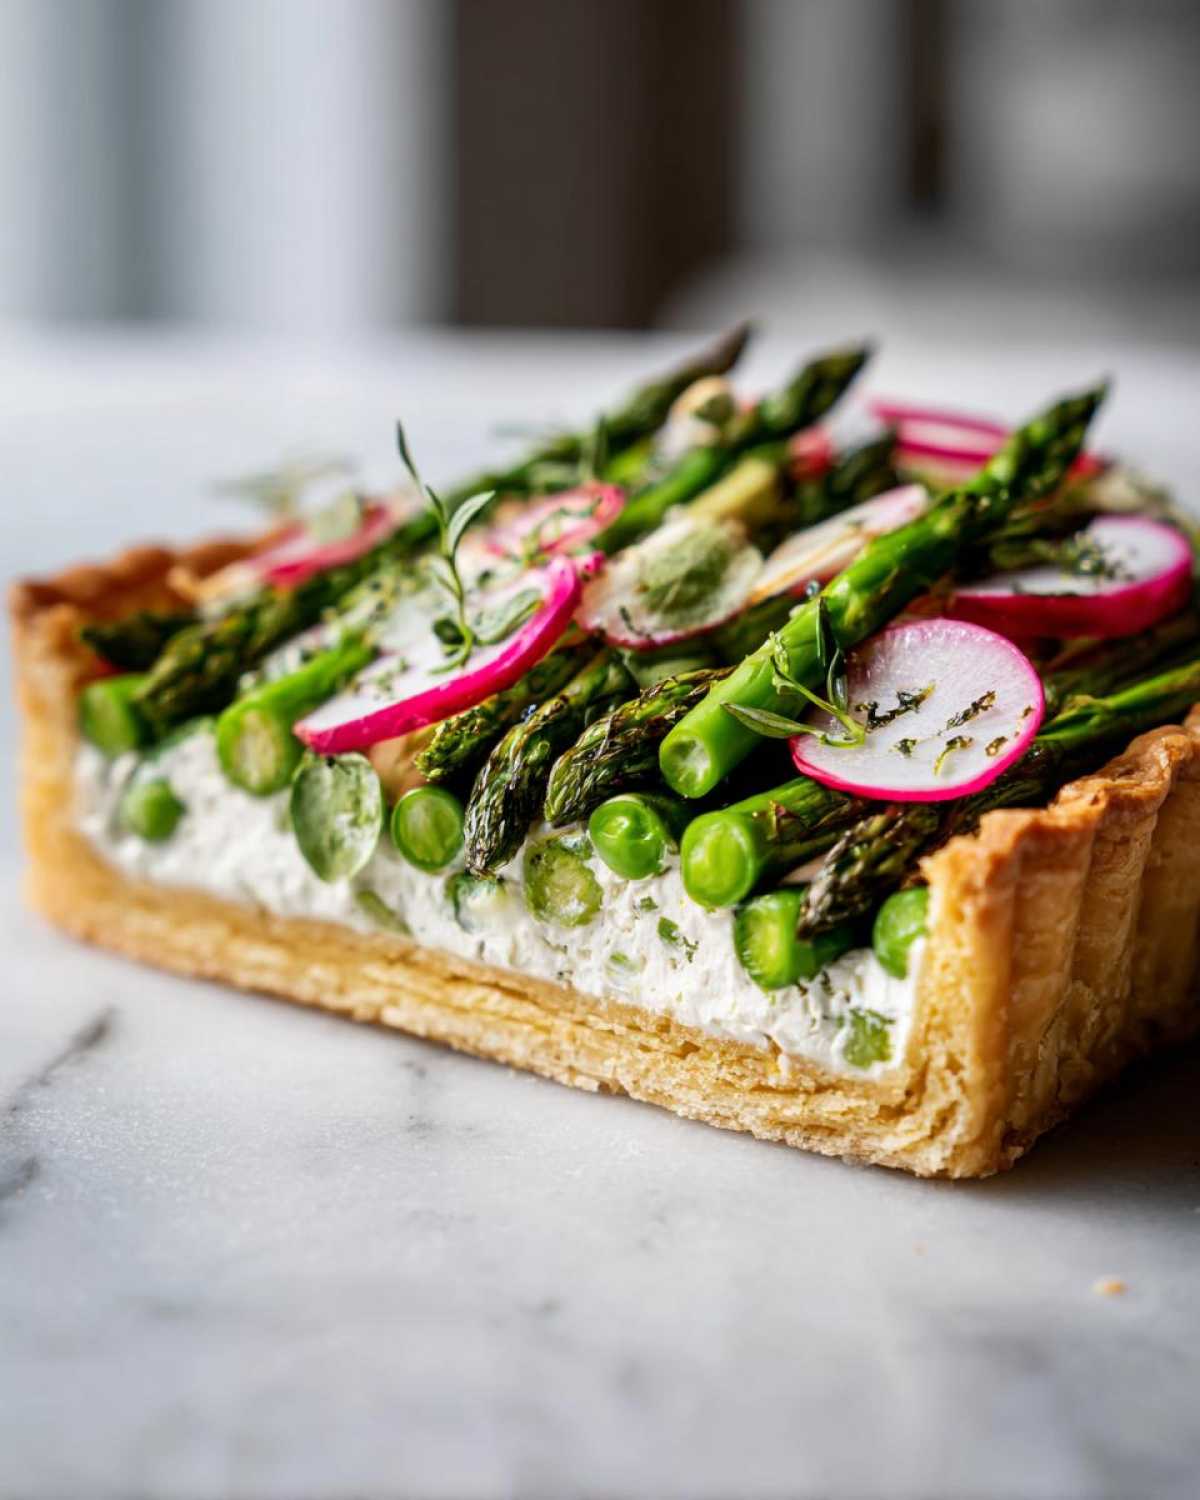
Now, the big question for any vegetable tart with store-bought pastry is that dreaded soggy bottom! With this recipe, because we used the egg wash on the perimeter and we didn’t overload the center with liquid, we usually skip blind baking, but sometimes those veggies weep a little. If you see the edges turning dark brown but the middle still looks pale after 15 minutes, just grab a piece of aluminum foil and loosely tent it over the rim. That protects the edges while giving the center a little more time to crisp up underneath.
If you’re truly worried about that base, one trick my neighbor swears by is to blind bake the pastry shell for about eight minutes first. Just prick the center all over with a fork before baking. Then, pull it out, put your cheese layer back in, and continue baking. Either way, you’ll end up with a perfectly crisp, flaky base for your beautiful springtime creation!
Serving Suggestions for Your Savory Tart Recipes for Brunch
I think the best part about this tart is how easily it dresses up or down! When I’m serving this for a special brunch, I pair it with a really simple, vibrant green salad. Think lightly dressed arugula or mixed greens that offer a little peppery contrast to the rich, creamy cheese.
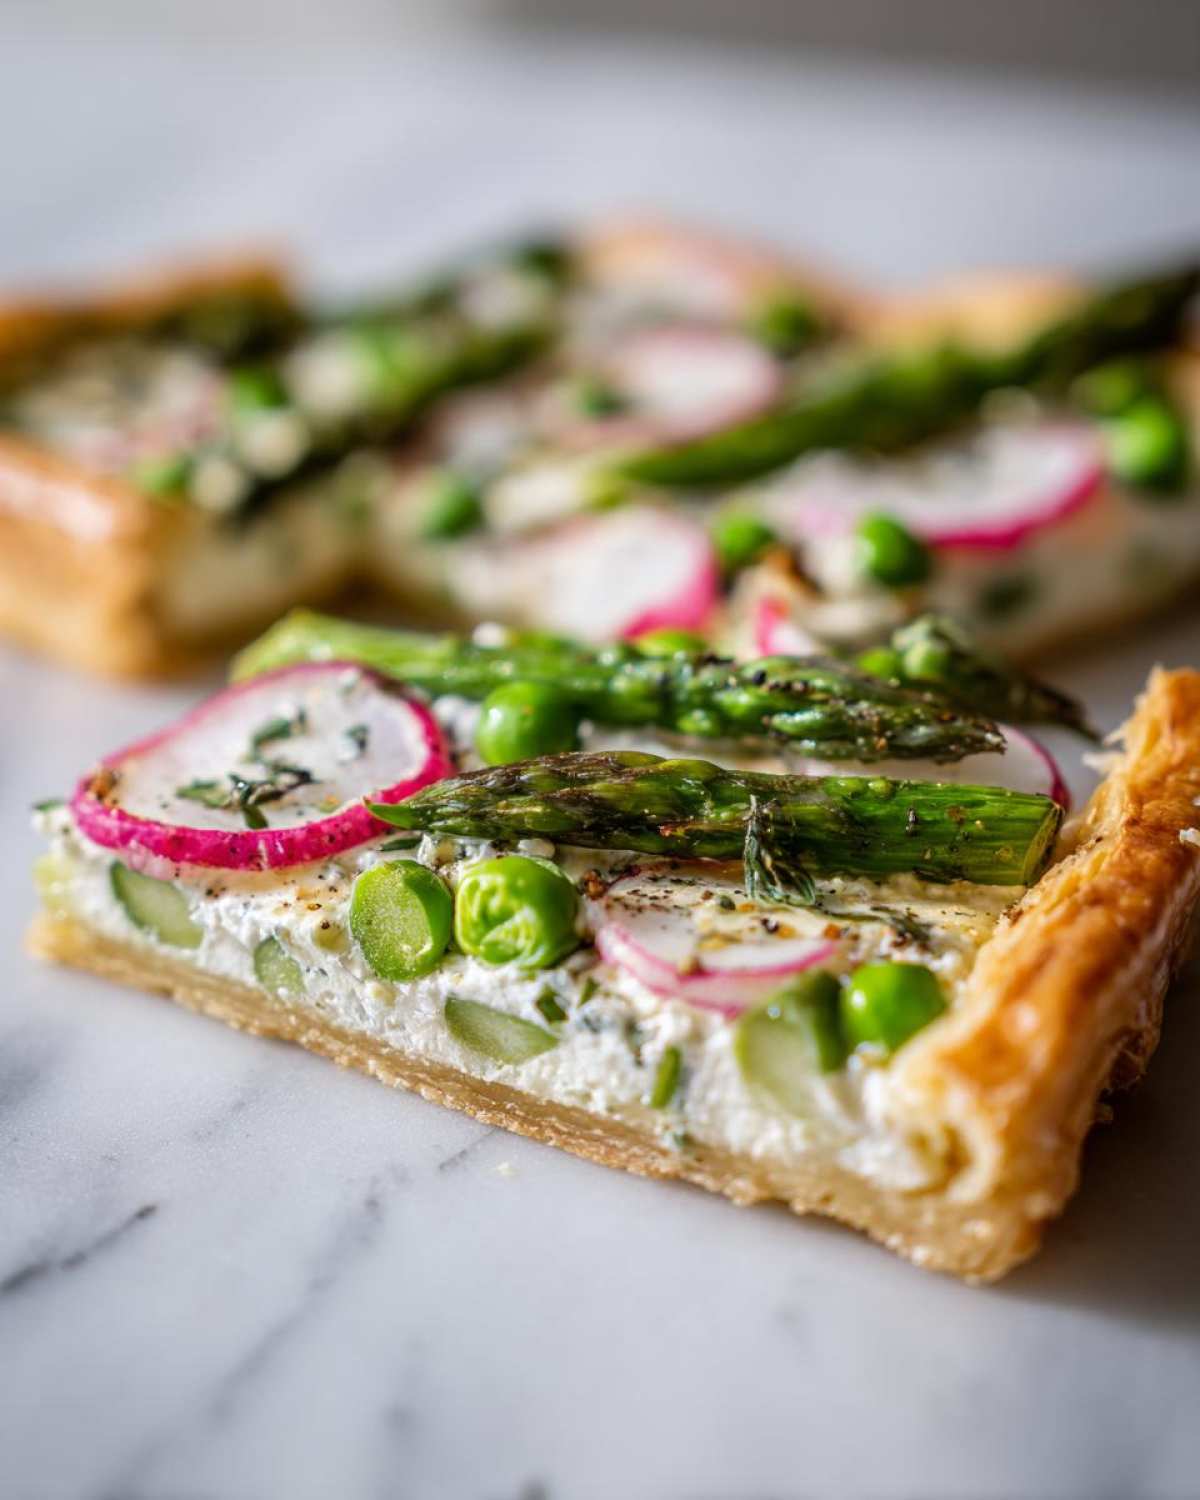
It’s beautiful as the centerpiece, but honestly, you can serve smaller wedges as an elegant appetizer too. If you’re having a sophisticated afternoon gathering, a glass of chilled Sauvignon Blanc goes perfectly here. For lunch, just make sure you have a crisp side salad nearby. It needs almost nothing else!
Frequently Asked Questions About This Spring Vegetable Tart with Puff Pastry
You know I get tons of questions anytime I post one of my favorite seasonal vegetable tart inspiration posts! It’s a versatile recipe, which means people want to tweak it, and that’s great, but you need to know the right boundaries so you don’t end up with soup instead of a savory tart!
What if I really don’t like goat cheese? Can I use something else?
Oh, absolutely! Goat cheese is wonderful because it’s tangy, but it’s not the only option for the base. You can use creamy ricotta on its own, or even mix cream cheese with a bit of Parmesan for a sharper flavor. If you want that lovely savory quality, swap the goat cheese for about 4 ounces of softened Brie with the rind removed. It melts beautifully and offers a great creamy texture for this easy vegetable tart with pre-made pastry.
Can I prep parts of this tart ahead of time?
Yes, prepping helps immensely! You can very easily chop all your vegetables—the asparagus, peas, radishes, and potatoes—a day in advance. Keep them separate in airtight containers in the fridge. You can also mix that herbed goat cheese base entirely. The only thing you must do right before baking is assemble it and brush on that egg wash. Trying to store the *completely* assembled tart for too long isn’t great because the pastry starts absorbing moisture.
Can I use different vegetables, especially if I don’t have asparagus?
This recipe is perfect for substitutions! This is why it serves as such great light vegetable bake with puff pastry inspiration. Feel free to swap in things like thinly sliced zucchini, mushrooms sautéed quickly in butter, or even thin slices of sweet potato instead of the regular potato. Just remember the rule: if the vegetable holds a lot of water (like mushrooms), sauté it briefly first to release some moisture before putting it on your tart base.
What is the trick to getting that super flaky puff pastry without soaking the bottom?
That’s the constant battle, isn’t it? The single most important thing here is that egg wash border—it seals the edges and pops them up high, creating a natural barrier. Also, baking on a preheated sheet pan (if you use a pizza stone or steel) helps the bottom cook fast! If you are nervous, blind-baking the pastry for about 8 minutes before adding the cheese *is* the foolproof method for the crispiest flaky pastry tart crust. We skip it in the main recipe for speed, but don’t hesitate if you want zero risk!
Is this recipe good for gluten-free folks?
Not naturally, since puff pastry is made with wheat! However, many grocery stores now carry excellent gluten-free puff pastry sheets. If you can find one, this recipe works perfectly! You just need to confirm the GF brand thaws and rolls similarly to the conventional kind. It transforms this into a wonderful elegant spring appetizer option.
Storage and Reheating Instructions
So, you had leftovers—which, frankly, means you made a huge success because this tart disappears fast around my house! If you do manage to save a slice or two of your beautiful Spring Vegetable Tart with Puff Pastry, storage is simple, but reheating takes a little finesse.
For leftovers, you want to treat that glorious pastry gently. Let the tart cool completely to room temperature first. Then, you can wrap the slices tightly in plastic wrap, followed by a layer of foil, or place them in an airtight container. It keeps great in the refrigerator for about two days. Don’t leave it sitting out too long, especially since the cheese filling is involved!
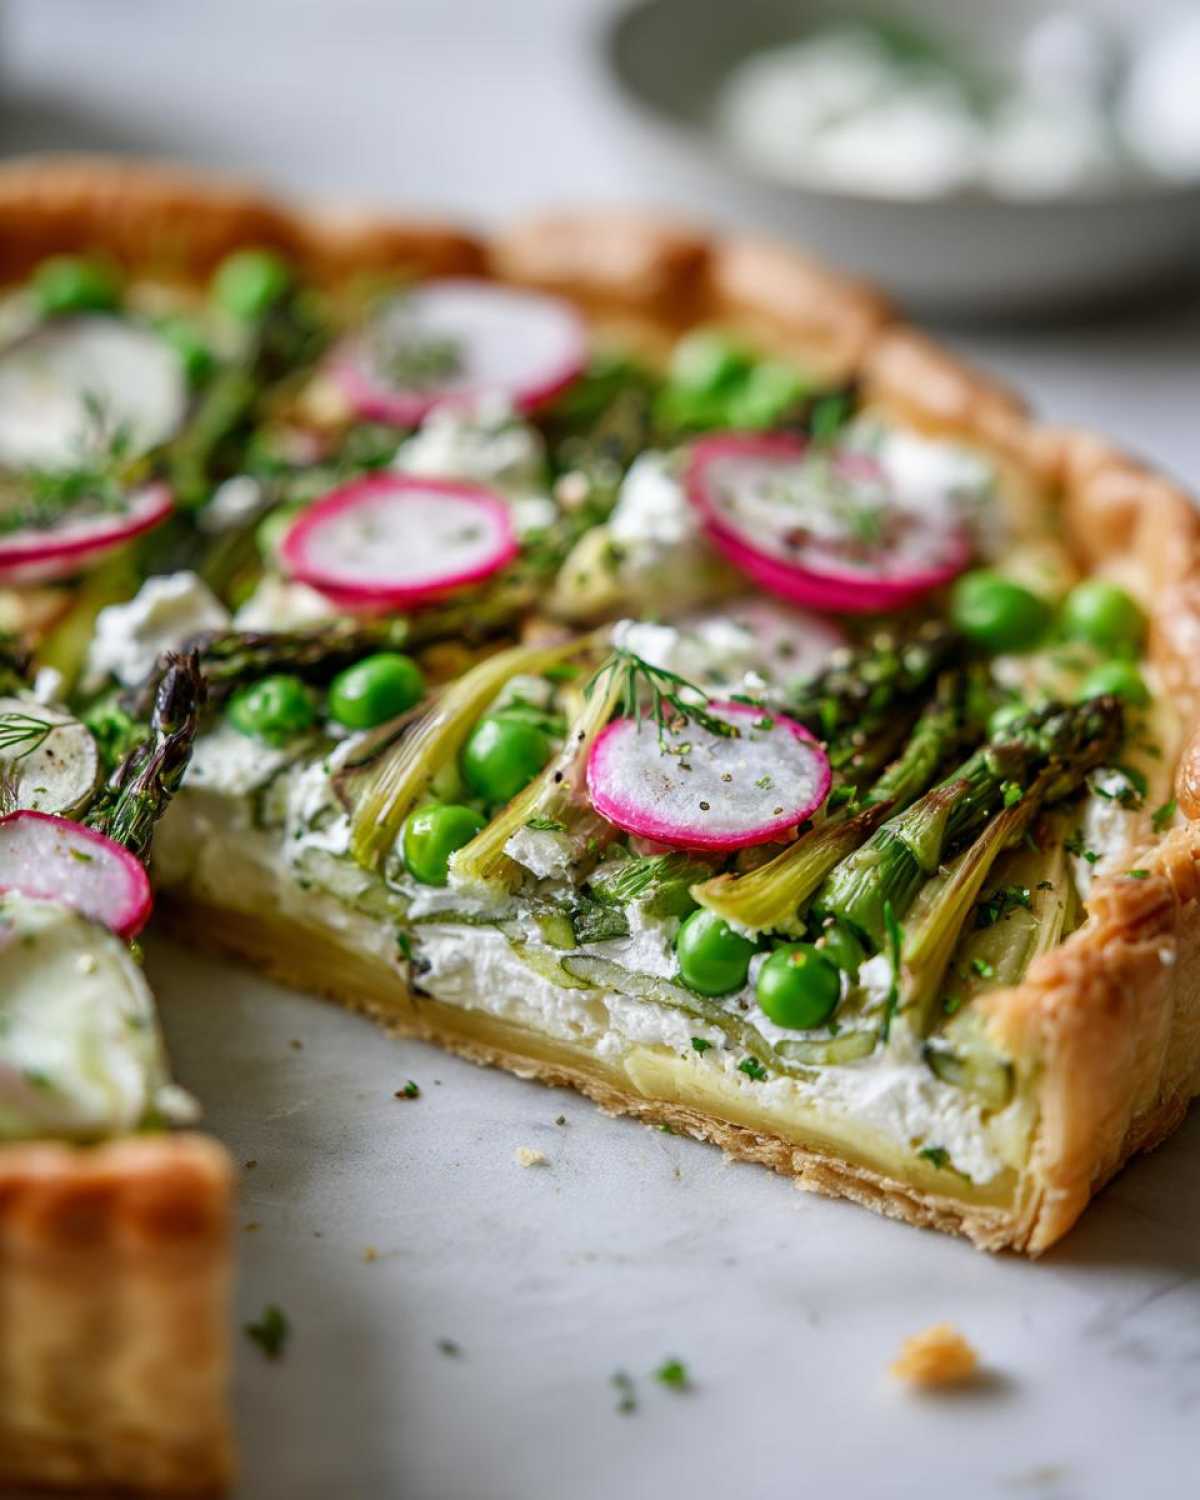
Now, the reheating part is key to avoiding that sad, soggy bottom. Do NOT use the microwave! That heat will turn your flaky pastry soft and chewy. I promise you, the absolute best way to bring this savory tart back to life is using the oven or, even better, a toaster oven or an air fryer.
Set your oven (or toaster oven) to about 325°F (160°C). Place the slice directly on a baking sheet—no need to cover it. Heat it for about 8 to 10 minutes. That little bit of dry, lower heat will warm the filling gently while reviving the crisp snap of the puff pastry edges. It comes out tasting almost as good as fresh! If you use the air fryer, just watch it closely; 300°F for 4 to 5 minutes is usually plenty to crispen things up perfectly.
Print
Elegant Spring Vegetable Tart with Herbed Goat Cheese and Flaky Puff Pastry Crust
- Total Time: 40 min
- Yield: 6 servings
- Diet: Vegetarian
Description
Make a beautiful and light tart using store-bought puff pastry filled with fresh spring vegetables and a creamy herbed goat cheese base.
Ingredients
- 1 sheet (about 10 oz) frozen puff pastry, thawed
- 4 oz soft goat cheese, room temperature
- 1/4 cup ricotta cheese
- 1 large egg
- 1 tablespoon fresh chives, chopped
- 1 teaspoon fresh thyme leaves
- 1/2 teaspoon lemon zest
- Salt and black pepper to taste
- 1/2 cup asparagus spears, trimmed and cut into 1-inch pieces
- 1/2 cup fresh or frozen peas (if frozen, do not thaw)
- 1/4 cup thinly sliced radishes
- 1 small new potato, thinly sliced (about 1/8 inch thick)
- 1 tablespoon olive oil
- 1 egg yolk mixed with 1 teaspoon water (for egg wash)
Instructions
- Thaw the puff pastry according to package directions, usually in the refrigerator for several hours. Preheat your oven to 400°F (200°C). Line a baking sheet with parchment paper.
- In a small bowl, combine the goat cheese, ricotta cheese, 1 large egg, chives, thyme, lemon zest, salt, and pepper. Mix until smooth and well combined.
- Lightly flour a clean surface. Unfold the thawed puff pastry sheet. If necessary, gently roll it out slightly to a rough 10×10 inch square.
- Place the pastry sheet on the prepared baking sheet. Using a sharp knife, lightly score a 1-inch border around the edges of the pastry, being careful not to cut all the way through. This border will help the edges puff up.
- Spread the cheese mixture evenly inside the scored border.
- In a separate bowl, toss the asparagus, peas, radishes, and potato slices with the olive oil, salt, and pepper.
- Arrange the seasoned vegetables artfully over the cheese layer within the border.
- Brush the 1-inch border of the pastry with the egg wash mixture.
- Bake for 20 to 25 minutes, or until the pastry edges are golden brown and flaky, and the filling is set. If the edges brown too quickly, you can loosely cover them with foil.
- Remove from the oven and let the tart cool on the baking sheet for 5 minutes before slicing and serving.
Notes
- To prevent a soggy bottom, you can blind bake the pastry base for 8 minutes before adding the filling, though this recipe works well without it if you use the egg wash on the edges.
- For added flavor, sprinkle a little grated Gruyère cheese over the vegetables before baking.
- If you use thicker vegetables, blanch the asparagus and potatoes briefly before assembling the tart to ensure they cook through evenly.
- Prep Time: 15 min
- Cook Time: 25 min
- Category: Lunch
- Method: Baking
- Cuisine: French
Nutrition
- Serving Size: 1 slice
- Calories: 320
- Sugar: 3
- Sodium: 350
- Fat: 24
- Saturated Fat: 12
- Unsaturated Fat: 12
- Trans Fat: 0
- Carbohydrates: 20
- Fiber: 2
- Protein: 10
- Cholesterol: 65