

Hey y’all! Savana here. You know, when the 4th of July rolls around, my mind immediately goes to bright colors, warm evenings, and simple treats that make everyone smile. And nothing, absolutely nothing, says patriotic fun quite like 4th of July Red, White, and Blue Finger Jello. It’s one of those recipes I grew up with, a total classic at our family cookouts. My grandma always made it, and I remember how the kids (and okay, the adults too!) would just swarm the dessert table for these wobbly, colorful squares. It’s not fancy, it’s not complicated, but it’s pure joy in a bite. Making this jello just brings back all those happy summer memories. It feels like a little piece of home, and I can’t wait to share how easy it is to bring this festive goodness to your own celebration.
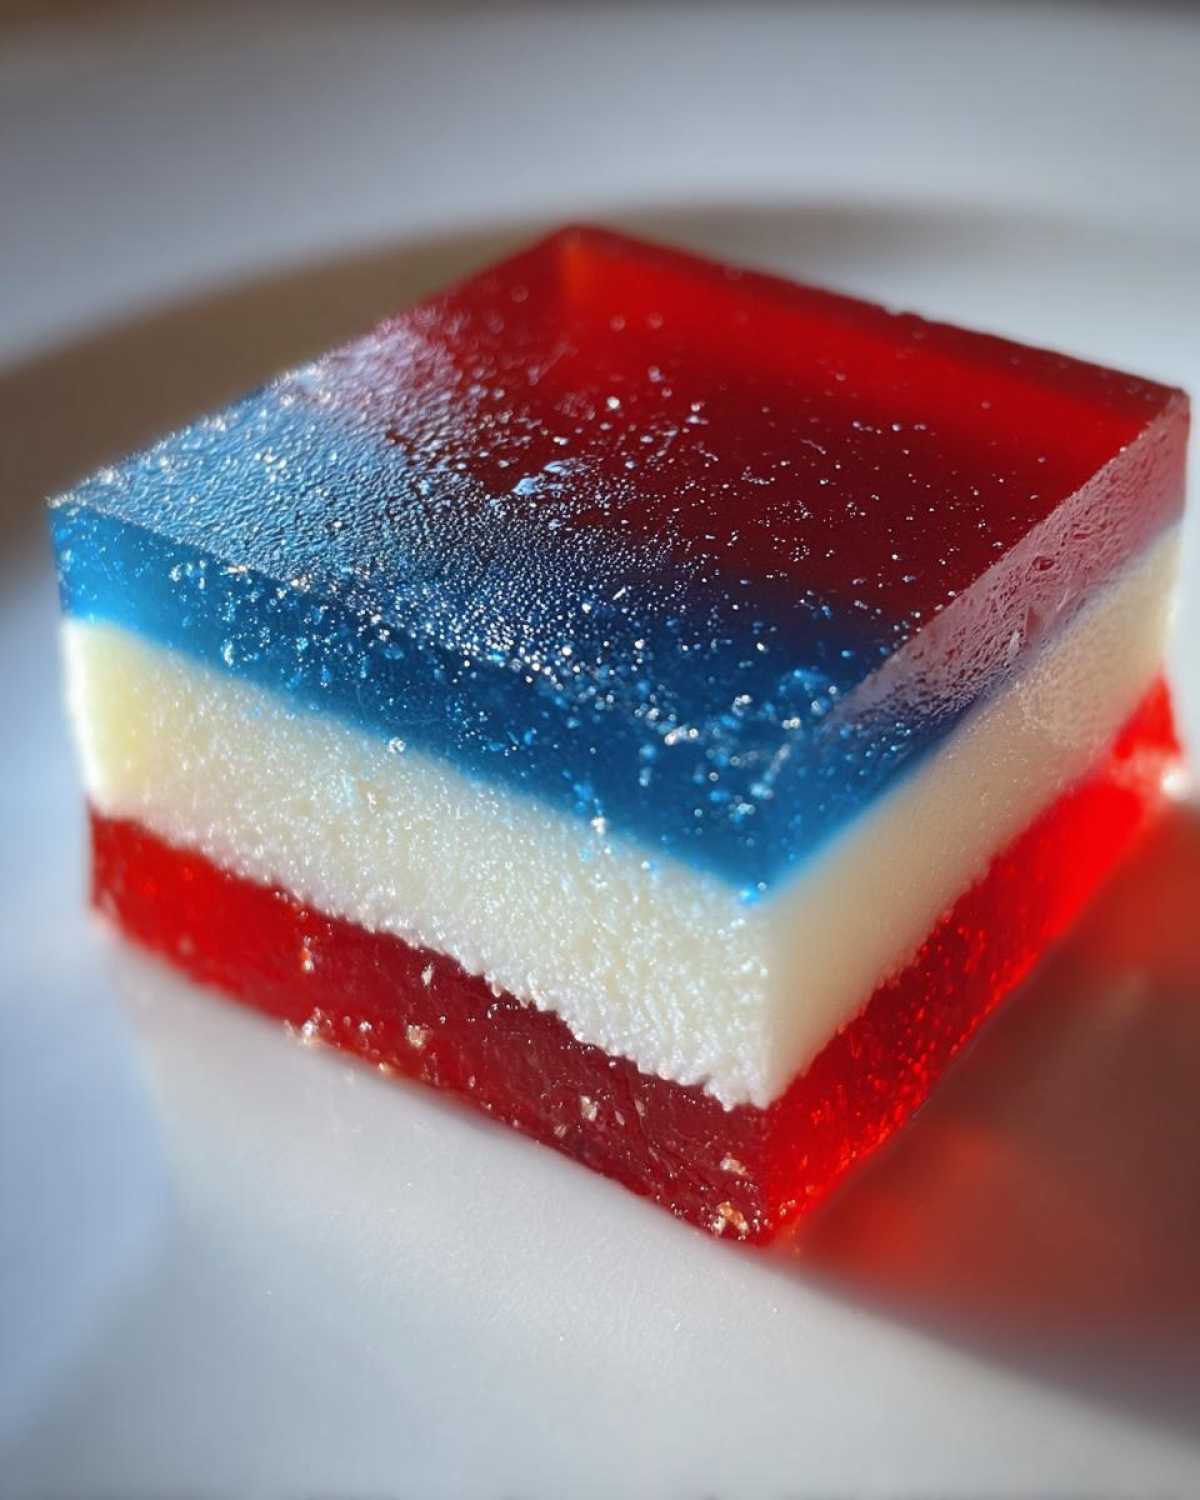
This isn’t just dessert; it’s tradition for me. It’s the sweet, cool treat that cuts through the heat of a summer day. Plus, it looks so darn cheerful on the table. Seriously, the layers of red, white, and blue just scream independence day party! It’s a real crowd-pleaser, and honestly, it takes hardly any effort. Most of the time spent is just waiting for the jello to set up. Easy peasy, right? Let’s get wobbly!
Why You’ll Love This 4th of July Red, White, and Blue Finger Jello
Okay, so why is this 4th of July Red, White, and Blue Finger Jello a total winner? Let me tell you!
- It’s super easy to make. Seriously, if you can boil water, you can make this.
- The colors are perfect for any patriotic get-together. They just pop on the table!
- Kids go absolutely wild for it because it’s fun to eat and it’s finger food.
- It’s a great make-ahead dessert, freeing you up to enjoy your party.
- It’s cool and refreshing on a warm summer day.
- You don’t even need to turn on your oven!
It’s just a simple, joyful treat that fits right in with fireworks and fun.

Ingredients for 4th of July Red, White, and Blue Finger Jello
Gathering your ingredients for this festive treat is a breeze. You likely have some of these on hand already!
- 1 (3-ounce box) of red gelatin
- 1 (3-ounce box) of blue gelatin
- 2 envelopes of unflavored gelatin
- 1 can (14 ounces) of sweetened condensed milk
- 3 cups of boiling water, divided
- 1 1/2 cups of cold water, divided
That’s it! Simple stuff for a really fun dessert.
Equipment Needed
You don’t need a ton of fancy gadgets for this recipe. Just a few basic kitchen items will do the trick!
- Medium-sized mixing bowls
- Measuring cups and spoons
- An 8×8 inch square pan
- A whisk or spoon for stirring
- A knife or cookie cutters for slicing
See? Nothing complicated at all!
How to Prepare 4th of July Red, White, and Blue Finger Jello
Alright, let’s get this layered goodness going! It’s all about patience between the layers.
Step 1: The Red Layer
Grab a medium bowl. Pour in your red gelatin and one envelope of unflavored gelatin. Carefully add 1 1/2 cups of boiling water. Stir it really well until everything is completely dissolved. Now, stir in 3/4 cup of cold water. Pour this red mixture into your 8×8 inch pan. Pop it in the fridge until it’s firm. This usually takes about 2 to 3 hours.
Step 2: The White Layer
While the red layer chills, get another bowl. Dissolve the remaining envelope of unflavored gelatin in 1/2 cup of boiling water. Stir until it’s totally dissolved. Stir in the whole can of sweetened condensed milk and 1/4 cup of cold water. Let this mixture cool down a bit. You don’t want to pour hot liquid onto your set red layer! Once it’s cooled slightly, gently pour it over the firm red jello in the pan. Back into the fridge it goes for another 2 to 3 hours until that white layer is firm too.
Step 3: The Blue Layer
Time for the blue! In a third bowl, dissolve the blue gelatin in 1 cup of boiling water. Stir until there are no more little granules. Now, stir in 1/2 cup of cold water. Let this blue mixture cool down just like you did the white layer. Once it’s cool, pour it carefully over the firm white layer in your pan. This layer needs the most time to set up completely. Put the pan back in the fridge for at least 4 hours, but overnight is even better if you can manage it. You want it really firm before cutting.
Step 4: Cut and Serve!
Once all the layers are super firm, you’re ready to cut! You can cut it into simple squares or use fun cookie cutters. Now, get ready for smiles!

Tips for Perfect 4th of July Red, White, and Blue Finger Jello
Making this jello is easy, but a few little tricks can make it even better. Here are my go-to tips!
- For really clean cuts, dip your knife in hot water before slicing the jello. Wipe it clean between cuts.
- Don’t rush the chilling time! Each layer needs to be firm before adding the next.
- Want extra fun shapes? Once the jello is completely set, use small cookie cutters to make stars or other patriotic shapes.
- Keep the finished jello covered in the refrigerator until it’s time to serve. This keeps it fresh and prevents it from drying out.
Simple steps for a picture-perfect patriotic treat!
Variations for Your 4th of July Red, White, and Blue Finger Jello
While the classic 4th of July Red, White, and Blue Finger Jello is perfect, you can totally play around with it!
- Swap the red or blue gelatin for other colors if you’re celebrating a different holiday or event.
- For a less sweet white layer, you could try using plain yogurt mixed with a little sugar and gelatin, but the condensed milk gives it that classic texture.
- Add a layer of fruit! Small berries like blueberries or sliced strawberries could be added to a layer before it sets.
- Try different flavored gelatins entirely for a totally new finger jello experience.
Just have fun with it and make it your own!
Serving Your 4th of July Red, White, and Blue Finger Jello
Once your 4th of July Red, White, and Blue Finger Jello is cut, how do you show it off? Arrange the colorful squares on a platter. A white plate makes the colors pop beautifully. You can also put them in small cups for individual servings. It looks so festive!
Frequently Asked Questions About 4th of July Red, White, and Blue Finger Jello
Got questions about whipping up this fun 4th of July Red, White, and Blue Finger Jello? Here are some common ones I hear!
Can I use sugar-free gelatin?
Yes, you can use sugar-free gelatin for the red and blue layers if you prefer. The white layer with condensed milk will still be sweet, though.
Why do you use unflavored gelatin?
The unflavored gelatin is key! It makes the jello much firmer than regular jello, which is what makes it “finger” jello that you can pick up easily.
How long does finger jello last?
Properly stored in the refrigerator, this patriotic finger jello will last for about 5-7 days. Keep it covered so it doesn’t dry out.
Can I make other colored layers?
Absolutely! While red, white, and blue are perfect for the 4th of July, you can use any color gelatin to make finger jello for other occasions.
My layers are cloudy, what happened?
Pouring the next layer before the previous one is fully set, or pouring a warm layer onto a cold one can sometimes cause cloudiness where they meet. Make sure each layer is firm and the liquid for the next layer is cooled slightly.
Nutritional Information
Just a quick note about the nutritional details for this 4th of July Red, White, and Blue Finger Jello. The information I’ve shared is based on estimates. Things like the specific brands of gelatin or condensed milk you use can change the final numbers a bit. It’s a helpful guide, but remember it’s not an exact science!
Print
Amazing 4th of July Red, White, and Blue Finger Jello
- Total Time: 6 hours 20 minutes
- Yield: 16 servings
- Diet: Vegetarian
Description
Easy and fun red, white, and blue finger jello perfect for patriotic celebrations.
Ingredients
- 3-ounce box red gelatin
- 3-ounce box blue gelatin
- 2 envelopes unflavored gelatin
- 1 can (14 ounces) sweetened condensed milk
- 3 cups boiling water, divided
- 1 1/2 cups cold water, divided
Instructions
- In a medium bowl, dissolve the red gelatin and one envelope of unflavored gelatin in 1 1/2 cups of boiling water. Stir until completely dissolved. Stir in 3/4 cup cold water. Pour into an 8×8 inch pan. Refrigerate until firm, about 2-3 hours.
- In a separate bowl, dissolve the remaining envelope of unflavored gelatin in 1/2 cup of boiling water. Stir until completely dissolved. Stir in the sweetened condensed milk and 1/4 cup cold water. Let cool slightly. Pour this white layer over the firmed red layer in the pan. Refrigerate until firm, about 2-3 hours.
- In another medium bowl, dissolve the blue gelatin in 1 cup of boiling water. Stir until completely dissolved. Stir in 1/2 cup cold water. Let cool slightly. Pour this blue layer over the firmed white layer in the pan. Refrigerate until completely firm, at least 4 hours or preferably overnight.
- Once fully set, cut the jello into small squares or desired shapes.
Notes
- For cleaner cuts, dip your knife in hot water before slicing.
- You can use cookie cutters to create fun shapes.
- Store covered in the refrigerator.
- Prep Time: 20 minutes
- Cook Time: 0 minutes
- Category: Dessert
- Method: No-Bake
- Cuisine: American
Nutrition
- Serving Size: 1 piece
- Calories: 150
- Sugar: 25g
- Sodium: 50mg
- Fat: 2g
- Saturated Fat: 1g
- Unsaturated Fat: 0g
- Trans Fat: 0g
- Carbohydrates: 30g
- Fiber: 0g
- Protein: 3g
- Cholesterol: 5mg

