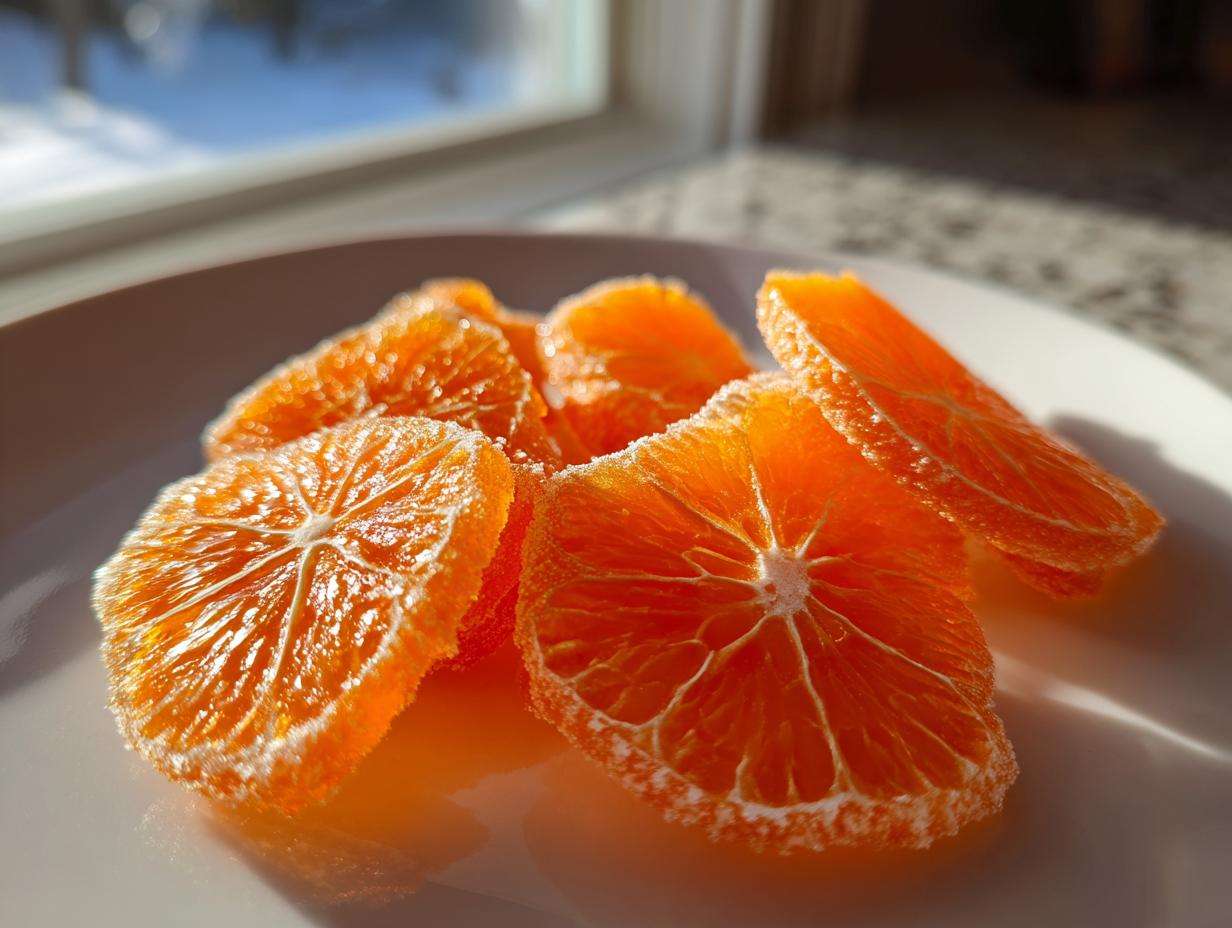
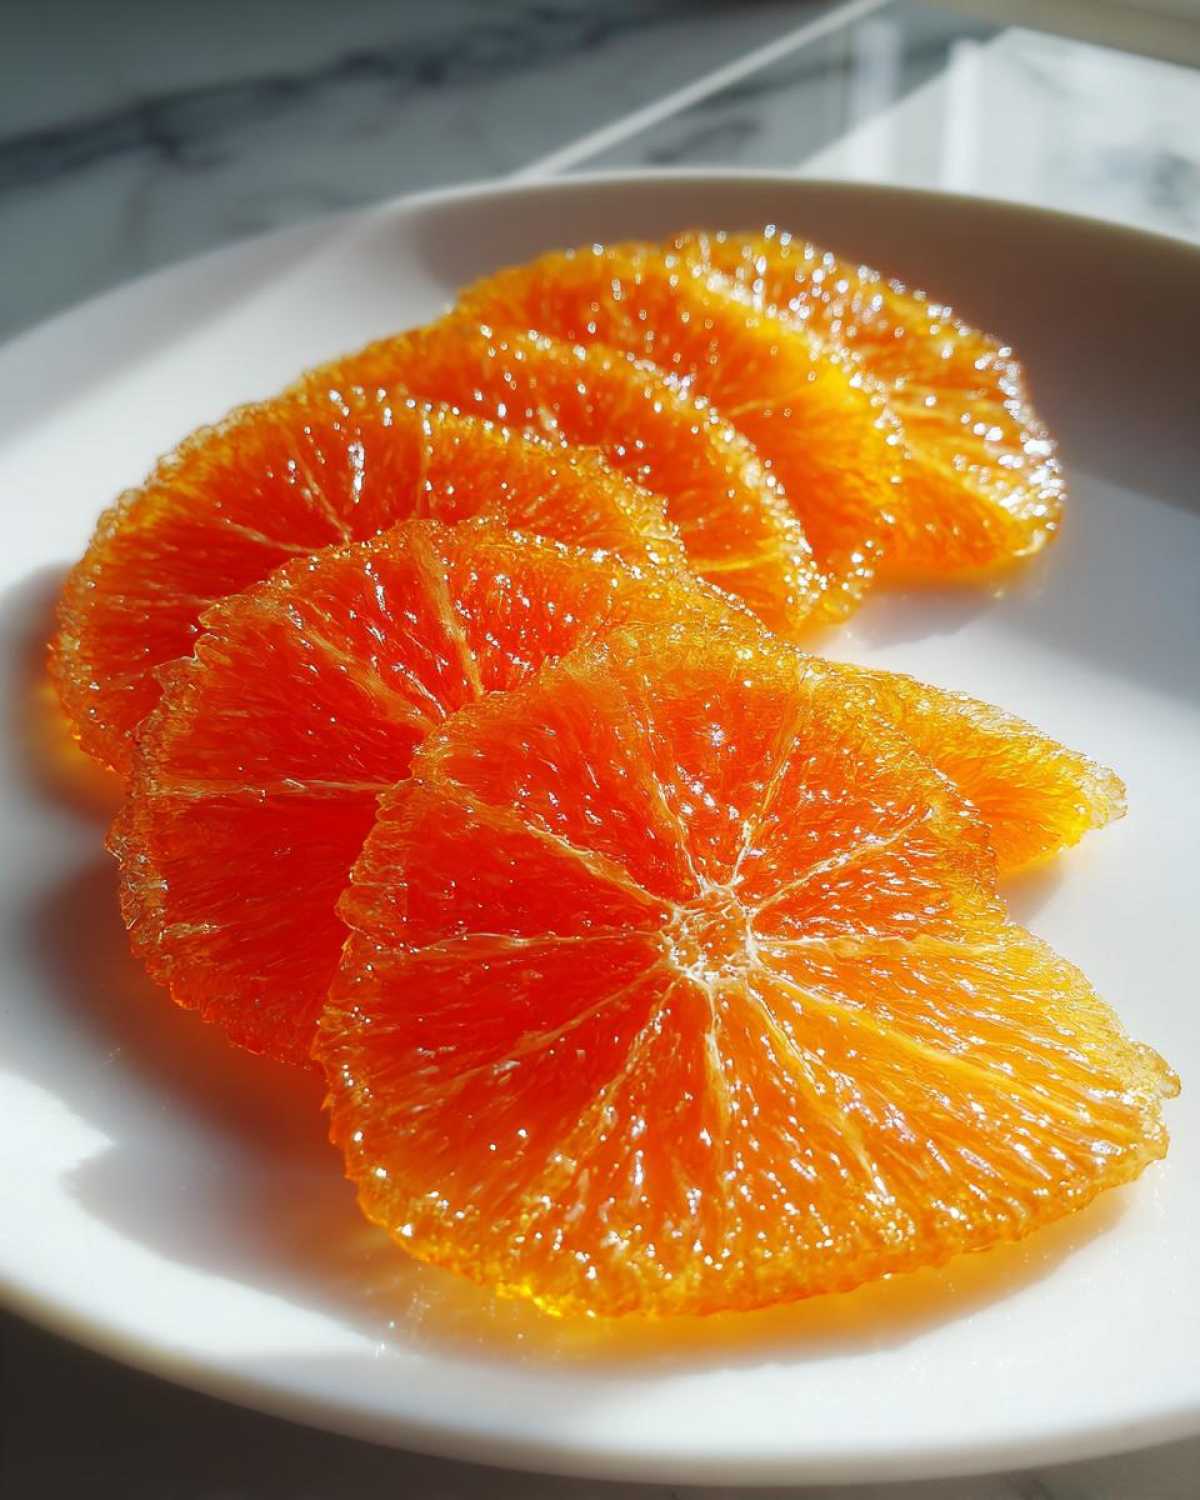
If you think making candy at home is too fussy or requires some weird equipment, let me stop you right there! I used to feel that way too, especially when fancy confectionery seemed out of reach. But I finally cracked the code on something magical: the perfect **candied orange slices**. Trust me, these are nothing like those rock-hard things you find in a disappointing bag. We are aiming for something truly glossy, delightfully chewy, and bursting with that bright, sweet-yet-tangy citrus kick.
I’ve spent years perfecting this simple simmering method, mostly because I needed something gorgeous to put on my holiday baking projects and, frankly, something nice to give away as homemade edible gifts! This process is pure alchemy. You start with humble oranges and end up with translucent jewels that look straight out of a gourmet bakery. I’m so excited to show you exactly how easy it is to make these stunning, homemade orange candies.
Why You Will Make Perfect Candied Orange Slices Every Time
Honestly, the payoff here is huge for how little effort you put in. You don’t need a candy thermometer or fancy swirling tools. When you follow these steps, you can count on perfection!
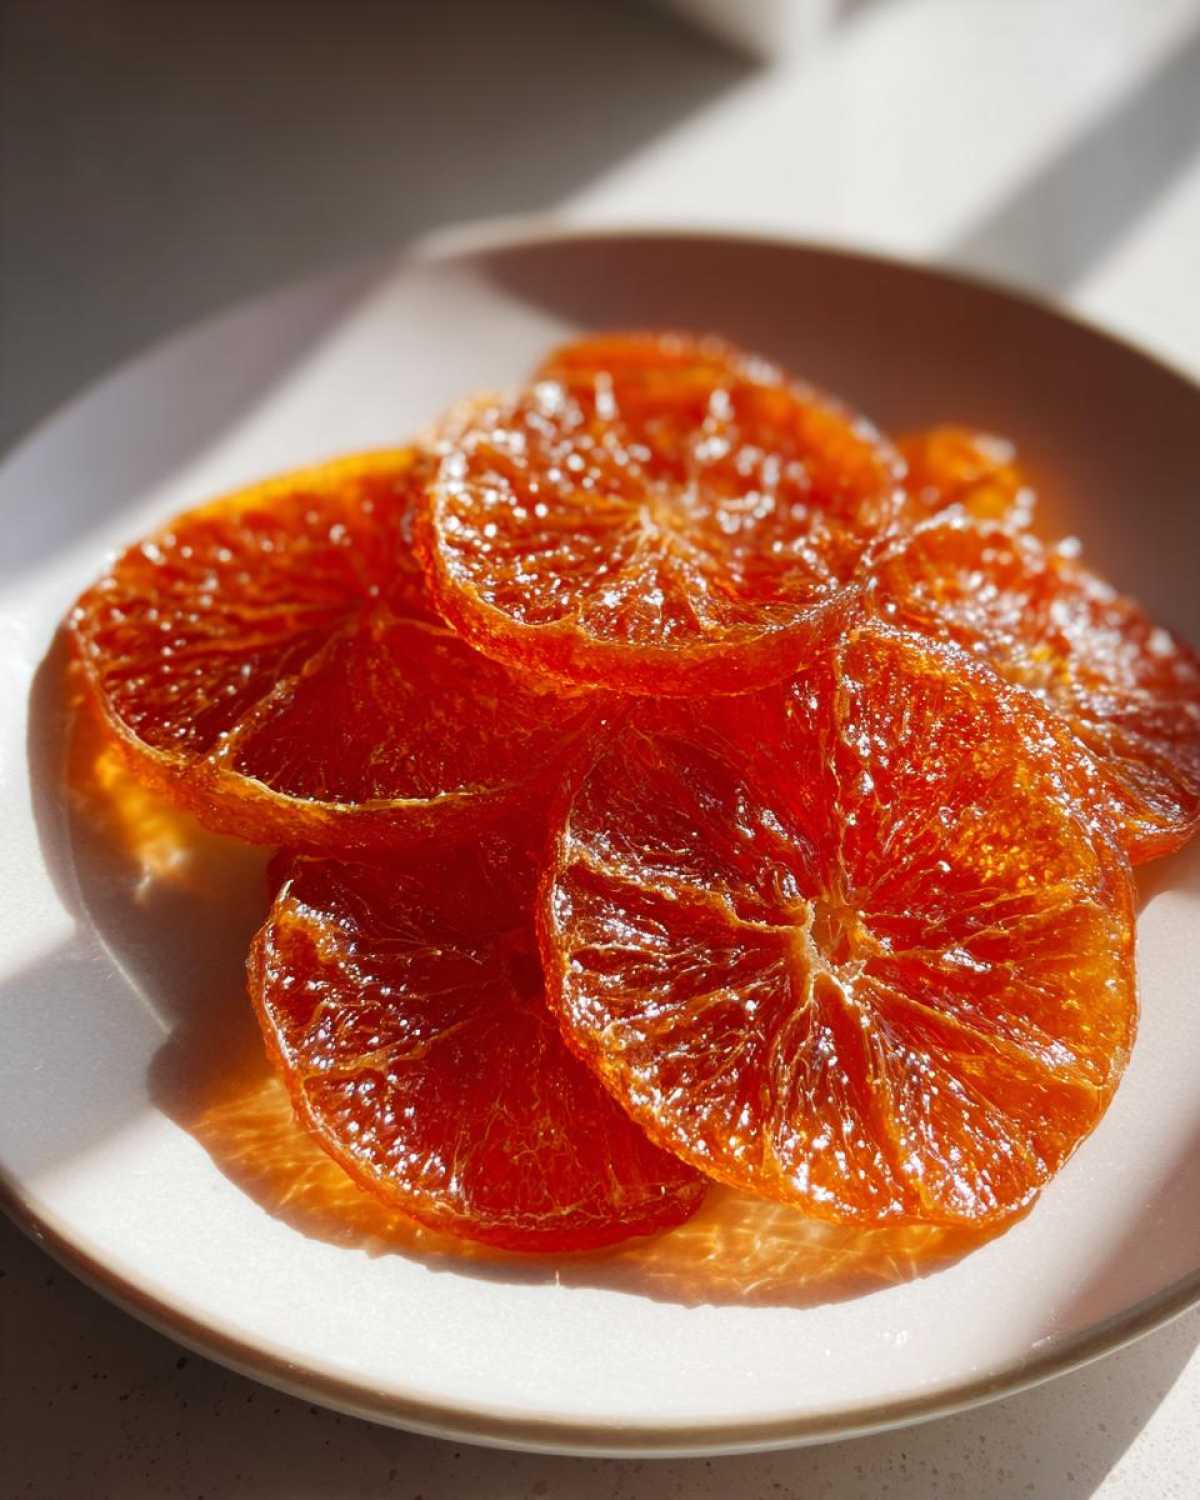
- That Incredible Gloss: We cook them slowly in the syrup, which allows the sugar to fully penetrate and dry into that beautiful, shiny, translucent candied fruit finish.
- The Texture You Crave: Forget stiff or brittle candy. My method guarantees a wonderfully chewy orange candy texture that snaps back when you bite it.
- Perfect Balance: The initial boil ensures we remove any bitterness, leaving you with that ideal sweet and tangy homemade orange candy flavor.
Essential Ingredients for Homemade Candied Orange Slices
Don’t stress about exotic ingredients here—it’s all pantry staples! But precision matters, especially with the quantities of sugar and water, because this is essentially fruit preserved in syrup. You’ll want to use the best, juiciest oranges you can find for your candied orange slices recipe.
Here is what you need to gather:
- Three large navel oranges—we need the peel!
- Four cups of water for the initial cook.
- Four cups of granulated sugar—yes, that’s a lot, but it’s what creates the chew!
- One final cup of water to mix with the sugar for the syrup base.
Make sure you have everything measured out before you start slicing!
Step-by-Step Guide: How to Make Candied Orange Slices
This is where the magic really happens, but don’t rush it! Think of this as a slow bath for your oranges where they soak up all that sweet goodness and become that gorgeous, glossy, chewy orange candy we’re aiming for. The process is totally hands-off for the most part, which means you can relax while the stove does the heavy lifting, unlike that detailed process for caramelized onions.
Preparing the Oranges and Initial Blanching
First things first: wash those oranges really well! You want to keep the peel, so cleanliness is key. Slice them super thin—I aim for about 1/8 of an inch thickness. If you slice them too thick, they take forever to soften. Once they are sliced, get rid of any pesky seeds you find.
Now, here’s a step Grandma taught me: we blanch them first. Pop the slices into a big pot and cover them with 4 cups of plain water. Bring that to a rolling boil for about 15 minutes, then drain ALL the water away. Trust me, this quick boil takes out any bitterness residing in the white pith, setting you up for the best flavor!
Simmering in Simple Syrup Fruit Recipe
Back into the clean pot, add your drained orange slices along with the 4 cups of sugar and that last cup of fresh water. Gently stir everything together just until the sugar looks wet. Then, bring it up to a boil over medium heat, but immediately turn it down low. You want a very gentle, quiet simmer.
This slow simmer is non-negotiable, people! It needs a good 45 to 60 minutes where you just check occasionally—maybe stirring once or twice so nothing sticks to the bottom. You’ll know they are ready when the orange slices look perfectly translucent, almost glowing, and that syrup has thickened up like a dream. This long soak is what guarantees that fantastic chewy orange candy texture.
Drying the Candied Orange Slices for a Glossy Finish
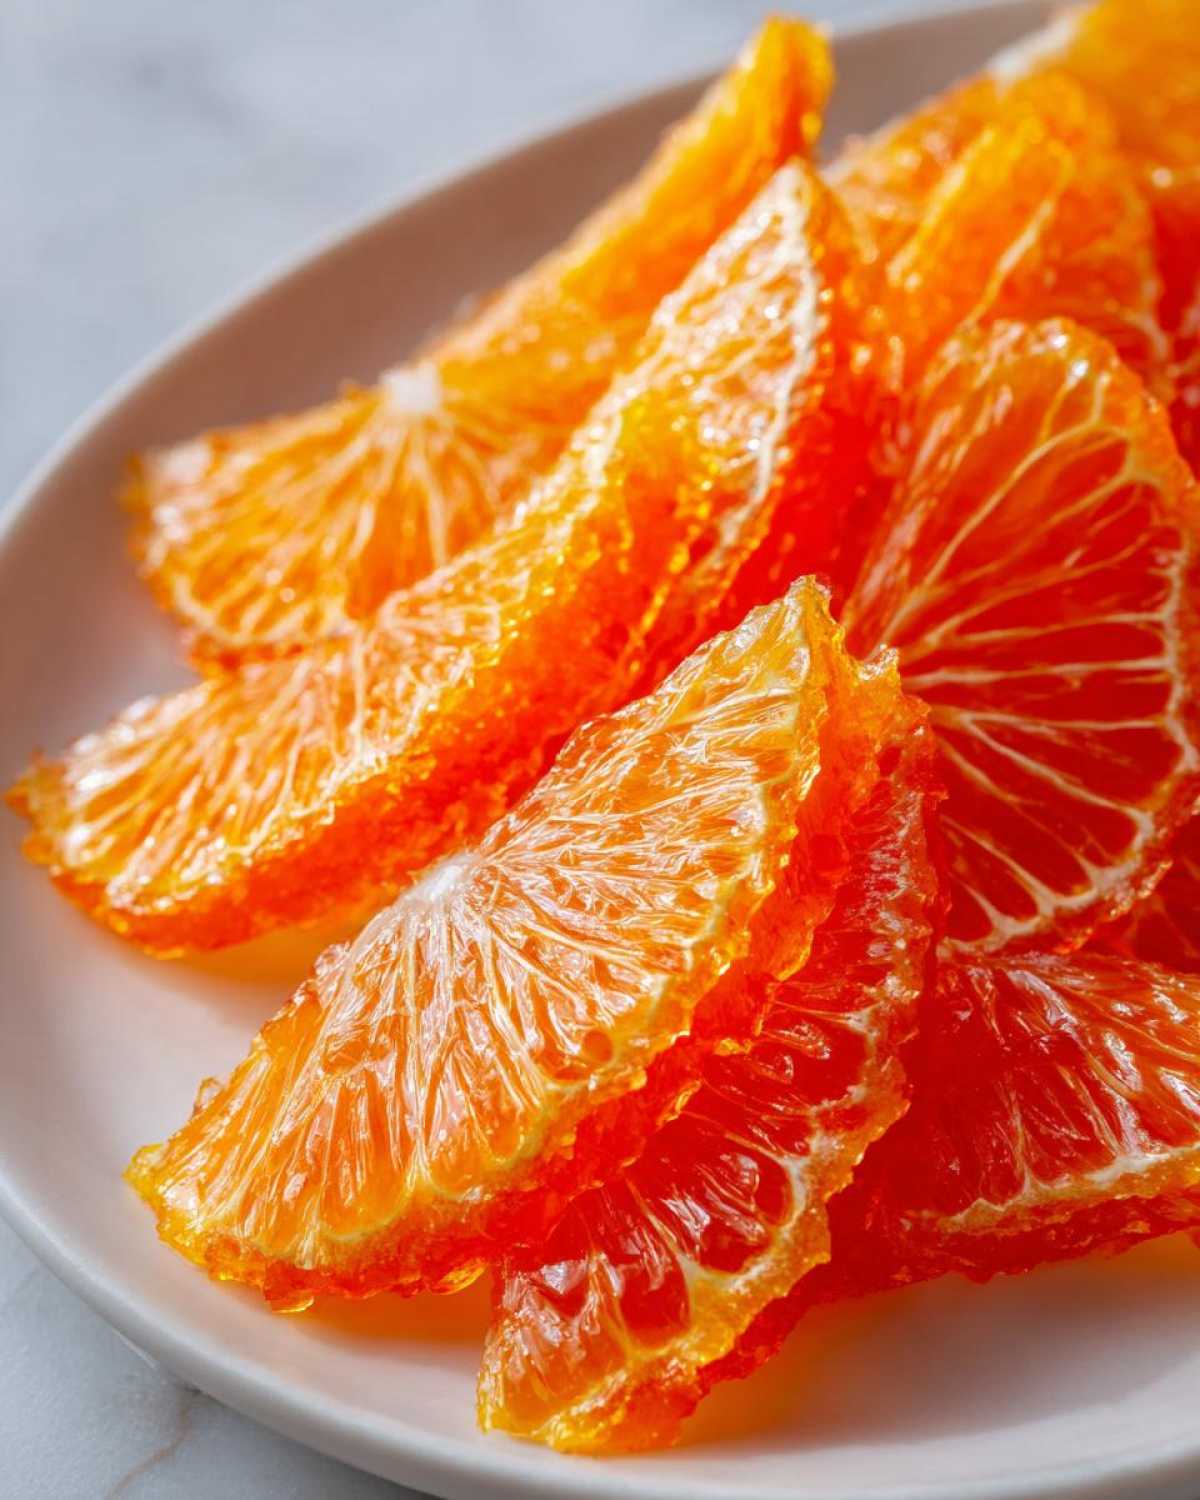
Once they look that perfect glossy color, carefully fish them out using tongs. Lay them in a single layer on a wire rack that’s sitting over a baking sheet to catch any drips. Let them rest there for about 30 minutes just to get the excess syrup off.
Here is the part that takes patience: they need to dry completely. This can take anywhere from 12 to 24 hours, depending on how humid your kitchen is. You are looking for slices that feel dry to the touch—no sticky wetness, but they should still feel slightly tacky. That tacky feel is what keeps them delightfully chewy and gives you that beautiful, translucent candied fruit result!
Tips for Success When Making Candied Orange Slices
Okay, now that you’ve mastered the simmering part, let’s talk about making these homemade citrus treats foolproof. The most common mistake I see people make is trying to rush the drying process, and that spells disaster for the texture!
The absolute golden rule, especially if you plan to decorate desserts or try the chocolate version—which I highly suggest—is that the slices must be completely dry before anything touches them. If there’s any moisture left, your chocolate will seize up, or your optional sugar coating will just turn into sugary glue. Remember how we waited 12 to 24 hours? Don’t skimp on that time!
And please, please, please save your leftover syrup! It’s pure liquid gold. You can use it to sweeten your morning tea, drizzle it over something like my biscuits, or even use it in a sparkling cocktail. It concentrates the flavor beautifully, so don’t toss it!
Variations: Chocolate Dipped Candied Oranges
Once you have this base recipe mastered, you absolutely have to try dipping them! Dipping these tangy treats in chocolate transforms them into the ultimate holiday candy. We are talking about chocolate dipped candied oranges, my friends—pure elegance.
The key here is that dryness we talked about earlier. Make sure those gorgeous slices feel completely dry to the touch before you even think about dipping. I melt good quality dark or semi-sweet chocolate until it’s smooth and glossy. Just use a little bit of coconut oil if it seems too thick to get a smooth texture, kind of like when I make my cake pops bases.
Dip about two-thirds of the slice, let the excess drizzle off, and lay them back down on parchment paper until the chocolate sets up firm. They look amazing stacked in a pretty dish!
Serving Suggestions for Your Tangy Homemade Candy
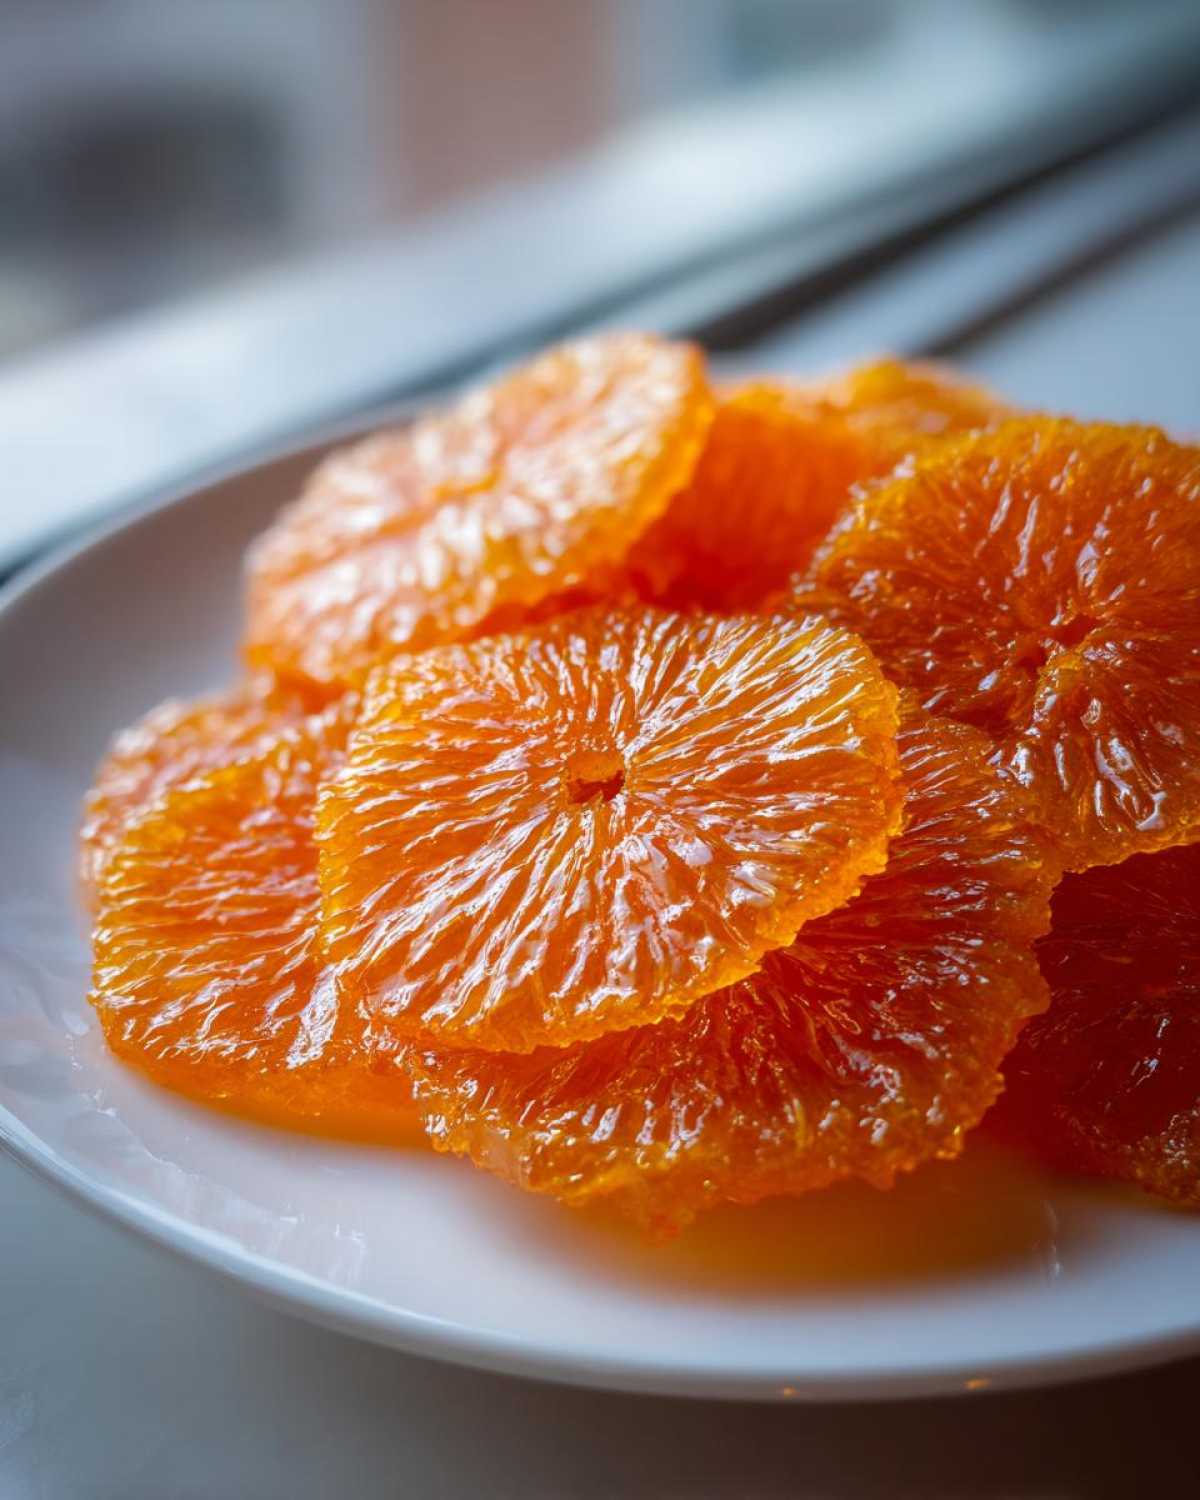
Now that you’ve gone through all the effort to make these beautiful treats, how should you use them? Honestly, I sometimes eat them straight from the cooling rack—they are just that good as a bright orange snack!
But for real serving, they shine everywhere. They make fantastic homemade edible gifts packaged in little cellophane bags. If you’re working on a fancy dessert, they are gorgeous as elegant dessert decorations. Try them sprinkled over cheesecake or tucked into the frosting of a Bundt cake—they make the ultimate citrus dessert toppers.
Don’t forget the cocktails! A thin, glistening slice makes a sophisticated, gourmet orange garnish for your holiday drinks or even paired with something savory like my herb bread dipping oil (okay, maybe that’s a stretch, but they look pretty!).
Storage and Reheating Instructions for Candied Orange Slices
Congratulations! You’ve made these stunning, translucent jewels, and now you need to keep them perfect. Since these are technically a preserved, dried fruit candy, storage is surprisingly simple!
The best way to keep your chewy orange candy fresh is to make sure they are completely dry before you put them away. Once you are positive they are done drying—no tackiness left on your fingers—you need an airtight container. Seriously, airtight! Any exposure to humidity will melt that beautiful sugar coating right off, and we don’t want that.
Place the cooled, dried slices in a container and keep it in a cool, dark spot. A pantry shelf works perfectly. If you’ve done everything right, these homemade orange candies should last for several weeks, maybe even a month, sitting on the counter. They are fantastic for having on hand when unexpected guests pop over!
Now, you almost never need to reheat these, because we want them dry and slightly chewy. However, if you’ve had a really humid week or maybe let them sit out while showing them off, and they feel a little too soft, you can give them a little refresh. Pop them on a clean wire rack (no baking sheet needed here!) and let them sit out at room temperature for another 12 hours. If they feel stiff instead of chewy, you probably rushed the drying process, and they might need a brief, slow simmer again, but that’s rare!
Frequently Asked Questions About Candied Orange Slices
I know we covered a lot of ground here, from the initial boil to the long drying process. It’s natural to have a few leftover questions when you’re diving into making any homemade candy. I wanted to quickly tackle the most common things people ask me when they try this recipe for the first time. If you’re making these for holiday citrus sweets, these little details really make a difference!
Can I use regular oranges instead of Navel for candied orange slices recipe?
Yes, you totally can! Navel oranges are my favorite because they tend to have less pith and fewer seeds, which keeps your final product cleaner. But if you have Valencia or just a random orange lying around, go for it! Just know that if the peel is thinner, it might cook down a little faster, and you might want to keep a closer eye on that long simmer so you don’t lose that lovely chewy orange candy texture.
How do I ensure my candied fruit is translucent?
This is all about time, honey! You see that beautiful, almost glowing, translucent candied fruit look? That only comes from slowly melting that sugar deep into the fruit flesh. If you try to rush the 45 to 60-minute simmer by cranking up the heat, you’ll just end up with crystallized sugar on the outside. Keep that heat low, let the simple syrup fruit recipe do its work slowly, and the transparency will happen naturally!
What is the best way to use sugar coated orange peels?
Once you have those gorgeous sugar coated orange peels, the world is your oyster! If you left them whole, chop them up fine and mix them into cookie dough or spread them over something like my bran muffins batter before baking. They add a totally unexpected burst of tangy brightness. Or, use them whole as elegant dessert decorations—they look incredible scattered over a chocolate tart!
Estimated Nutritional Information for Candied Orange Slices
I always want to be super clear about nutrition, especially since this recipe relies so heavily on sugar to achieve that amazing texture. Remember, this information is based purely on the ingredients listed in the recipe, and it assumes you are eating one wonderfully sweet slice.
If you are planning on dipping them in chocolate, that will obviously change the numbers quite a bit, so keep that in mind if you are tracking things closely! Always remember that these estimates are really just a ballpark figure for comparison.
- Serving Size: 1 slice
- Calories: 85
- Sugar: 21 grams (This is where most of the energy comes from, naturally!)
- Sodium: 1 mg
- Fat: 0 grams
- Saturated Fat: 0 grams
- Trans Fat: 0 grams
- Carbohydrates: 22 grams
- Fiber: 1 gram
- Protein: 0 grams
- Cholesterol: 0 mg
Basically, these are a fantastic treat to share, especially when you need a little burst of bright, tangy flavor during the holidays. Enjoy them knowing exactly what you’re getting!
Print
Simple Candied Orange Slices
- Total Time: 1 hr 35 min
- Yield: About 3 dozen slices
- Diet: Vegetarian
Description
Make glossy, chewy candied orange slices using a simple simmering method. These sweet and tangy treats are perfect for snacking or decorating desserts.
Ingredients
- 3 large navel oranges
- 4 cups water
- 4 cups granulated sugar
- 1 cup water (for final syrup)
Instructions
- Wash the oranges well. Slice each orange thinly, about 1/8 inch thick. Remove any seeds.
- Place the orange slices in a large saucepan. Cover with 4 cups of water. Bring to a boil, then reduce heat and simmer for 15 minutes. Drain the water completely.
- Return the slices to the saucepan. Add 4 cups of sugar and 1 cup of fresh water. Stir gently to combine.
- Bring the mixture to a boil over medium heat, then reduce the heat to low. Simmer slowly for 45 to 60 minutes, stirring occasionally, until the orange slices look translucent and the syrup thickens.
- Carefully remove the slices from the syrup using tongs and place them in a single layer on a wire rack set over a baking sheet. Let them drain for about 30 minutes.
- Allow the slices to dry at room temperature for 12 to 24 hours until they feel dry to the touch and are slightly tacky, not wet.
- For an optional coating, roll the dried slices in extra granulated sugar or dip them in melted chocolate.
Notes
- If you plan to dip them in chocolate, make sure the slices are completely dry before dipping.
- You can save the leftover orange syrup to use in cocktails or over pancakes.
- For a more intense flavor, you can simmer the slices in the syrup for a second day after letting them rest overnight in the syrup.
- Prep Time: 20 min
- Cook Time: 1 hr 15 min
- Category: Dessert
- Method: Simmering
- Cuisine: American
Nutrition
- Serving Size: 1 slice
- Calories: 85
- Sugar: 21
- Sodium: 1
- Fat: 0
- Saturated Fat: 0
- Unsaturated Fat: 0
- Trans Fat: 0
- Carbohydrates: 22
- Fiber: 1
- Protein: 0
- Cholesterol: 0