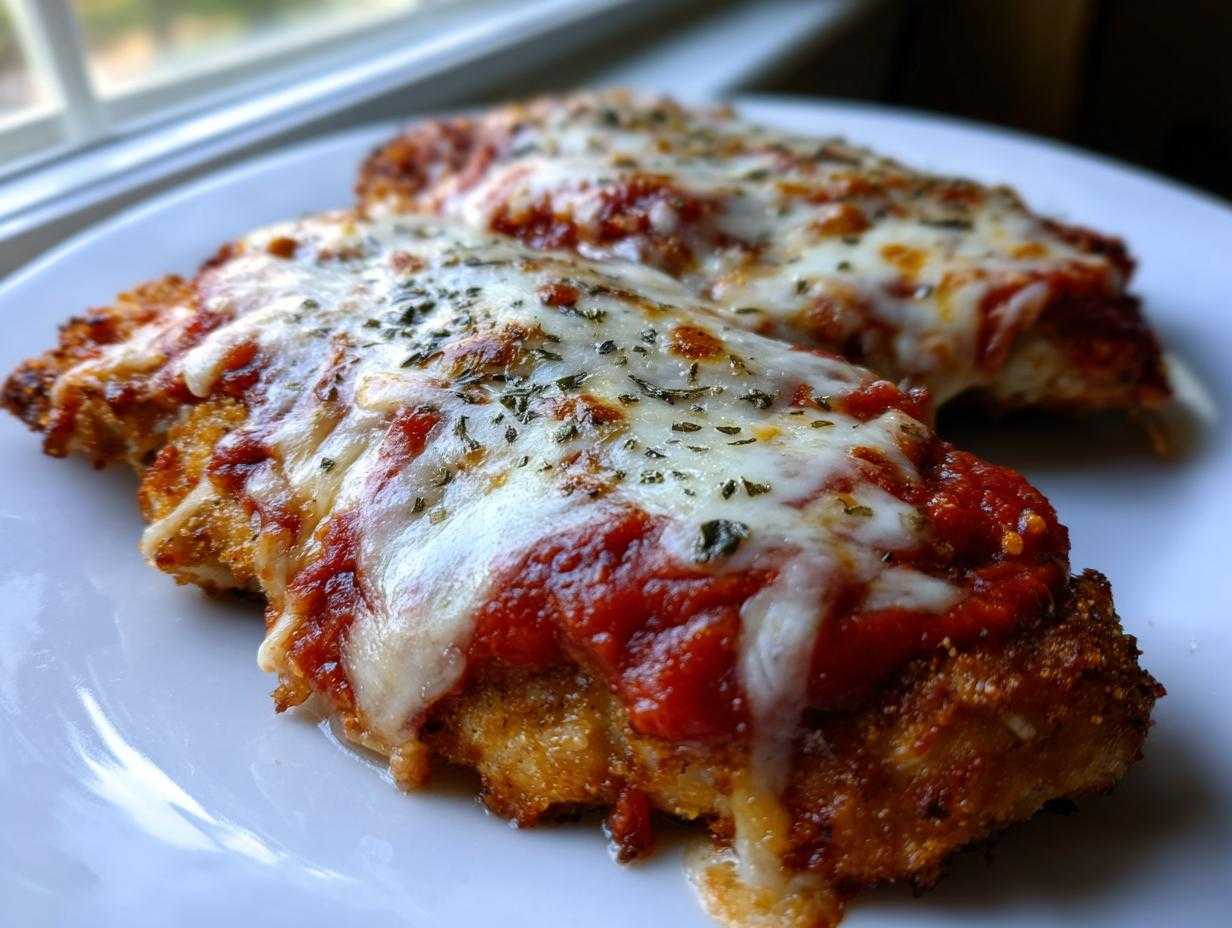
Oh, I just love dinner nights where you just want that deep, cozy, Italian-American comfort food hitting your plate, you know? Forget fussy sauces or complicated frying—we’re making something truly epic tonight. This recipe for Cheesy Chicken Parmesan isn’t just *good*, it’s the ultimate version because we are doubling down on the cheese factor! Trust me, I spent years trying to nail down that perfect, aggressive cheese pull that tastes just like the best restaurant version, but baked right here in my own kitchen.
It took about five tries before I landed on this method, but now? It’s foolproof. We use two different kinds of cheese for a complex flavor and that beautiful, bubbly blanket of goodness on top. This isn’t delicate chicken breast; this is hearty, satisfying, Ultimate Double-Cheese Baked Chicken Parmesan, and it’s done in under an hour. Get your pans ready, because we aren’t messing around with flavor!
Why This Cheesy Chicken Parmesan Recipe is a Family Favorite
I get asked all the time why this specific preparation works so well for my busy weeknights. Honestly, it comes down to maximum payoff for minimum fuss. Why rely on one cheese when you can have two? And yes, we are baking it, which cuts way down on oil splatter and cleanup. You won’t believe how quickly this comes together.
- We load it up! The combination of fresh mozzarella and grated Parmesan gives you the best flavor layer and the ultimate cheese pull.
- It’s surprisingly hands-off. After a quick pan-sear, the oven does all the hard work while you set the table.
- We get that classic texture—crispy coating underneath a gooey, bubbly top—without the fuss of true deep-frying.
- The whole thing is usually on the table in under 40 minutes flat. That’s why it’s our go-to family favorite chicken parmesan!
If you’re serving this up, you absolutely need some crusty bread for dipping into those cheesy puddles. I sometimes whip up a quick batch of my Italian Herb and Cheese Bread to soak up everything left on the plate!
Ingredients for the Ultimate Double-Cheese Cheesy Chicken Parmesan
When you’re aiming for maximum melt factor, ingredient quality really shines through. We are using four cutlets here, which is perfect for a standard family dinner. Don’t skimp on that mozzarella; using fresh, whole milk mozzarella makes a world of difference in how beautifully it melts and stretches. It’s worth the trip to the deli counter, I promise!
- Four boneless, skinless chicken breasts—you’ll want to pound these out to about a half-inch thickness so they cook evenly.
- One cup of all-purpose flour.
- Two big eggs, beaten until they are nice and frothy.
- One and a half cups of seasoned breadcrumbs. This is where we start building that crunch!
- Half a cup of grated Parmesan cheese that goes right into your breading mixture.
- A quarter cup of olive oil for giving everything that nice golden sear in the beginning.
- Two cups of your favorite marinara sauce. Make sure it’s warmed up slightly before you use it!
- Eight ounces of fresh mozzarella cheese, sliced. This is our star layer!
- Half a cup of extra grated Parmesan cheese to sprinkle on top for that nutty crust.
- A quarter cup of fresh basil, chopped up really fine for garnish at the end.
If you’re looking to turn this into a complete meal, you could totally serve this over some creamy rice instead of pasta! You can check out my recipe for Easy Cheesy Rice if you want a fantastic side dish that complements this cheesy goodness.
Expert Tips for Perfect Crispy Chicken Parmesan Crusted Cutlets
This is the step where most people lose the battle against soggy bottoms! We can’t have that happening on our Cheesy Chicken Parmesan dinner. The trick to keeping that lovely crunch underneath all that glorious melted mozzarella is all about the breading technique and how you handle the heat during that initial sear.
Before we even get to the pan, one little secret I picked up? If you have an extra five minutes, lightly toast your breadcrumbs in a dry skillet until they smell nutty. It concentrates the flavor and helps them stand up to the sauce later. If you’re looking for more ways to use a crispy crust, you should check out my guide on Parmesan Crusted Chicken!
Setting Up Your Breading Station
Organization is everything here, just like playing Tetris! You need three dishes lined up in a military fashion. First dish: just your plain flour. Second dish: your beaten eggs. Third dish: this is where the magic starts—mix your breadcrumbs and that half-cup of grated Parmesan cheese together really well. Make sure you have separate hands for the wet and dry sides!
My rule is: Dry hand for flour, wet hand for egg, and then back to the dry hand—the crumb mixture—to press it on. This stops your fingers from getting caked in a gross gluey mess. Seriously, this technique ensures every single nook and cranny of that chicken cutlet gets coated perfectly so that cheese has something sturdy to melt onto.
Achieving Golden Brown Cheesy Chicken Parmesan Cutlets
Now for the pan-frying, Step 4. We aren’t trying to cook the chicken all the way through here; we just want color and crunch! Heat that olive oil over medium-high heat. You want it hot enough that the breadcrumbs sizzle immediately when they hit, but not so hot that they scorch in sixty seconds flat.
Here’s the biggest tip for keeping that crust crispy: Work in batches! If you crowd the pan, the temperature drops instantly, and the chicken starts steaming instead of frying. That steaming releases moisture, and moisture is the enemy of crispiness. Fry each side for about two or three minutes until it’s that perfect golden brown color. They’ll finish cooking later in the oven, safely tucked under the sauce and cheese.
Assembling Your Cheesy Chicken Parmesan Bake
Okay, we’ve got our beautifully golden, crispy cutlets sitting there waiting for their cheesy blanket! This layering process—Steps 5, 6, and 7—is where we transform these fried pieces into the decadent final product. Don’t rush this part; it sets up the whole bake.
First things first, get that 9×13 baking dish ready. Arrange your pan-fried cutlets in a single layer. You don’t want them overlapping at all, or that lovely crust you worked so hard on will steam and get soggy where it touches neighboring chicken. Give them a little personal space!
Next, the sauce. This is a small but mighty technique: make sure your marinara is warm! If you ladle cold sauce onto hot, crispy chicken, you instantly drop the temperature of the entire dish, and the cheese won’t melt right. Just a quick warm-up on the stove is all you need. Spoon about a quarter cup right over the center of each cutlet. You want good coverage, but don’t drown them—we still want some crust peeking out!
Now for the fun part—the cheese! This is the “double-cheese” moment we bragged about. Lay those slices of fresh mozzarella evenly over the sauce. I like to slightly overlap them so there’s a solid layer of gooey deliciousness. Then, take that final half-cup of grated Parmesan and sprinkle it right over the top of the mozzarella. That Parmesan bakes up into this slightly salty, brown crust that pairs perfectly with the soft mozzarella underneath. It’s pure textural genius!
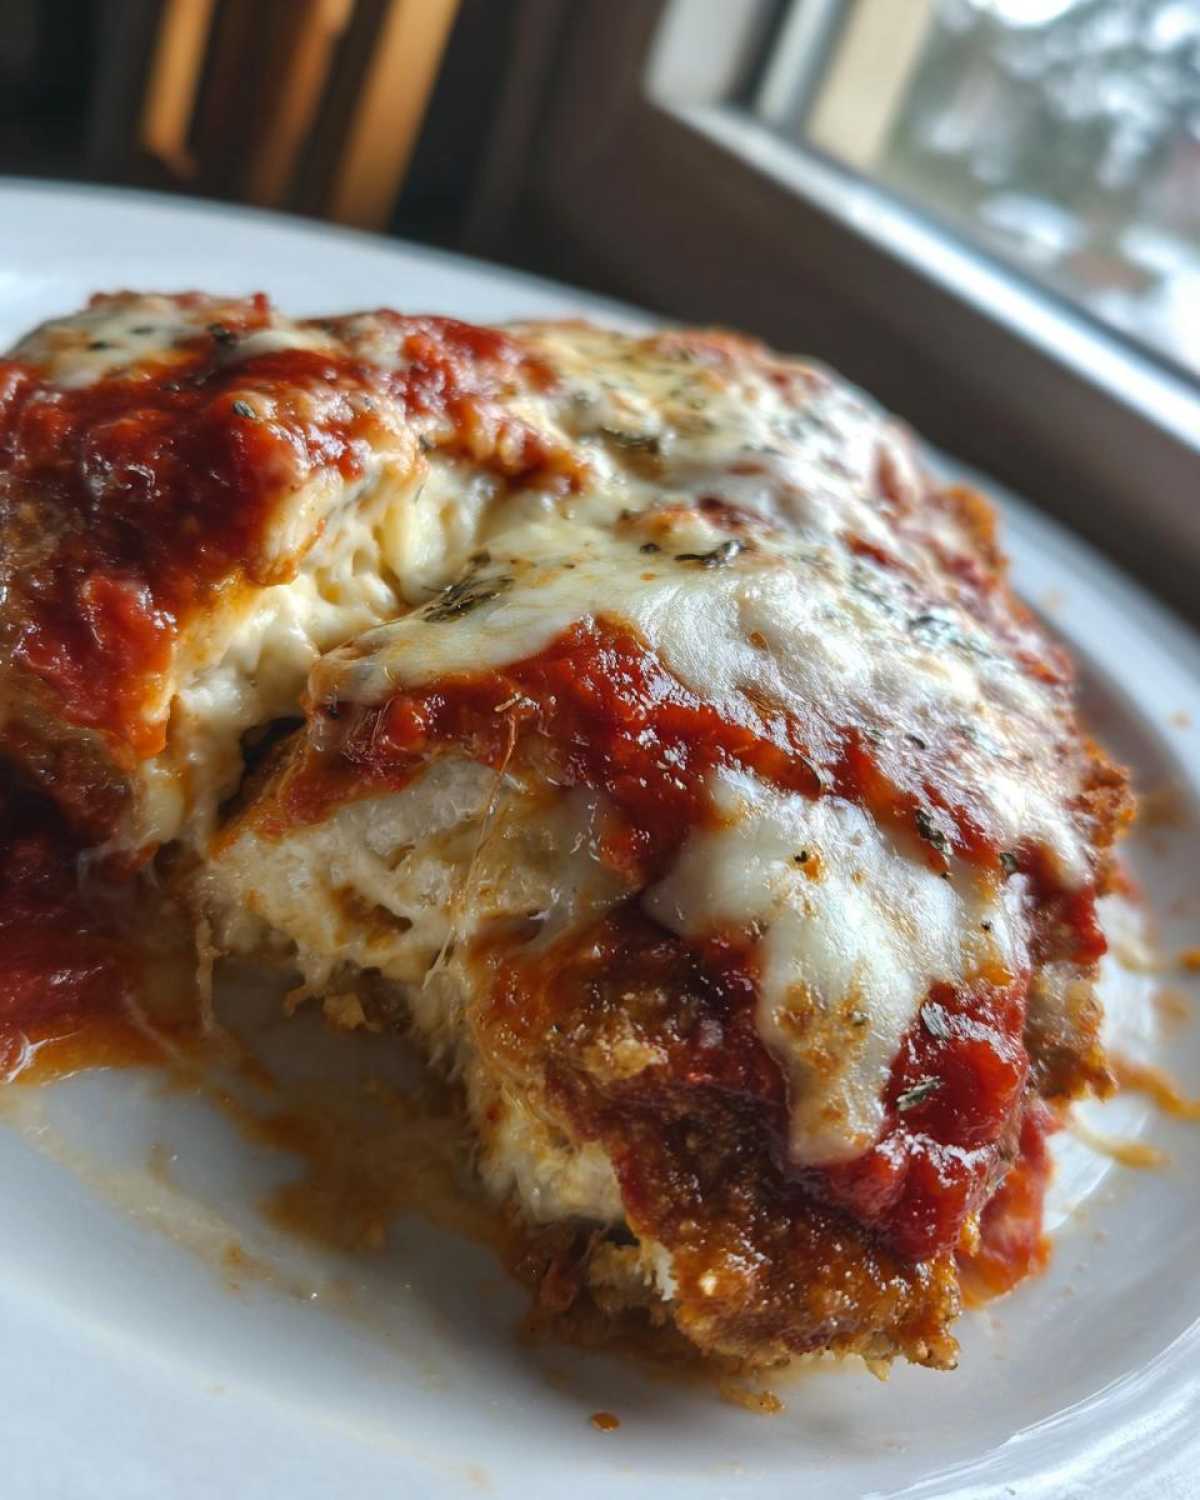
If you love garlic with your Italian bakes, you should definitely look at my Garlic Parmesan Chicken Bake for another simple dinner idea later this week. But for now, these cutlets are layered, sauced, and absolutely loaded. They are ready for the oven!
Baking Instructions for Perfect Cheesy Chicken Parmesan
With the cutlets layered up in their baking dish—sauce hugging the bottom, mozzarella draped over the top, and that final shower of Parmesan sprinkled on, we need just one more thing: serious heat! Time to get these amazing Mozzarella Chicken Cutlets nice and bubbly in the oven. Remember, the pre-searing step was just for color and developing that initial crispness; this is where we get them cooked all the way through and achieve that perfect golden-brown cheese top.
You need to preheat your oven to 400 degrees Fahrenheit (200 Celsius). That’s a nice, hot temperature that gets the cheese melting fast without drying out the chicken underneath. We’re going to slide that dish into the middle rack.
The time frame is usually between 15 to 20 minutes. Watch the cheese first! When those edges of the mozzarella start bubbling and turning that lovely light caramel color, you know you’re close. But here’s my non-negotiable tip for absolute safety and confidence: always use a reliable meat thermometer. You need that internal temperature to hit 165 degrees Fahrenheit. Don’t just poke and hope!
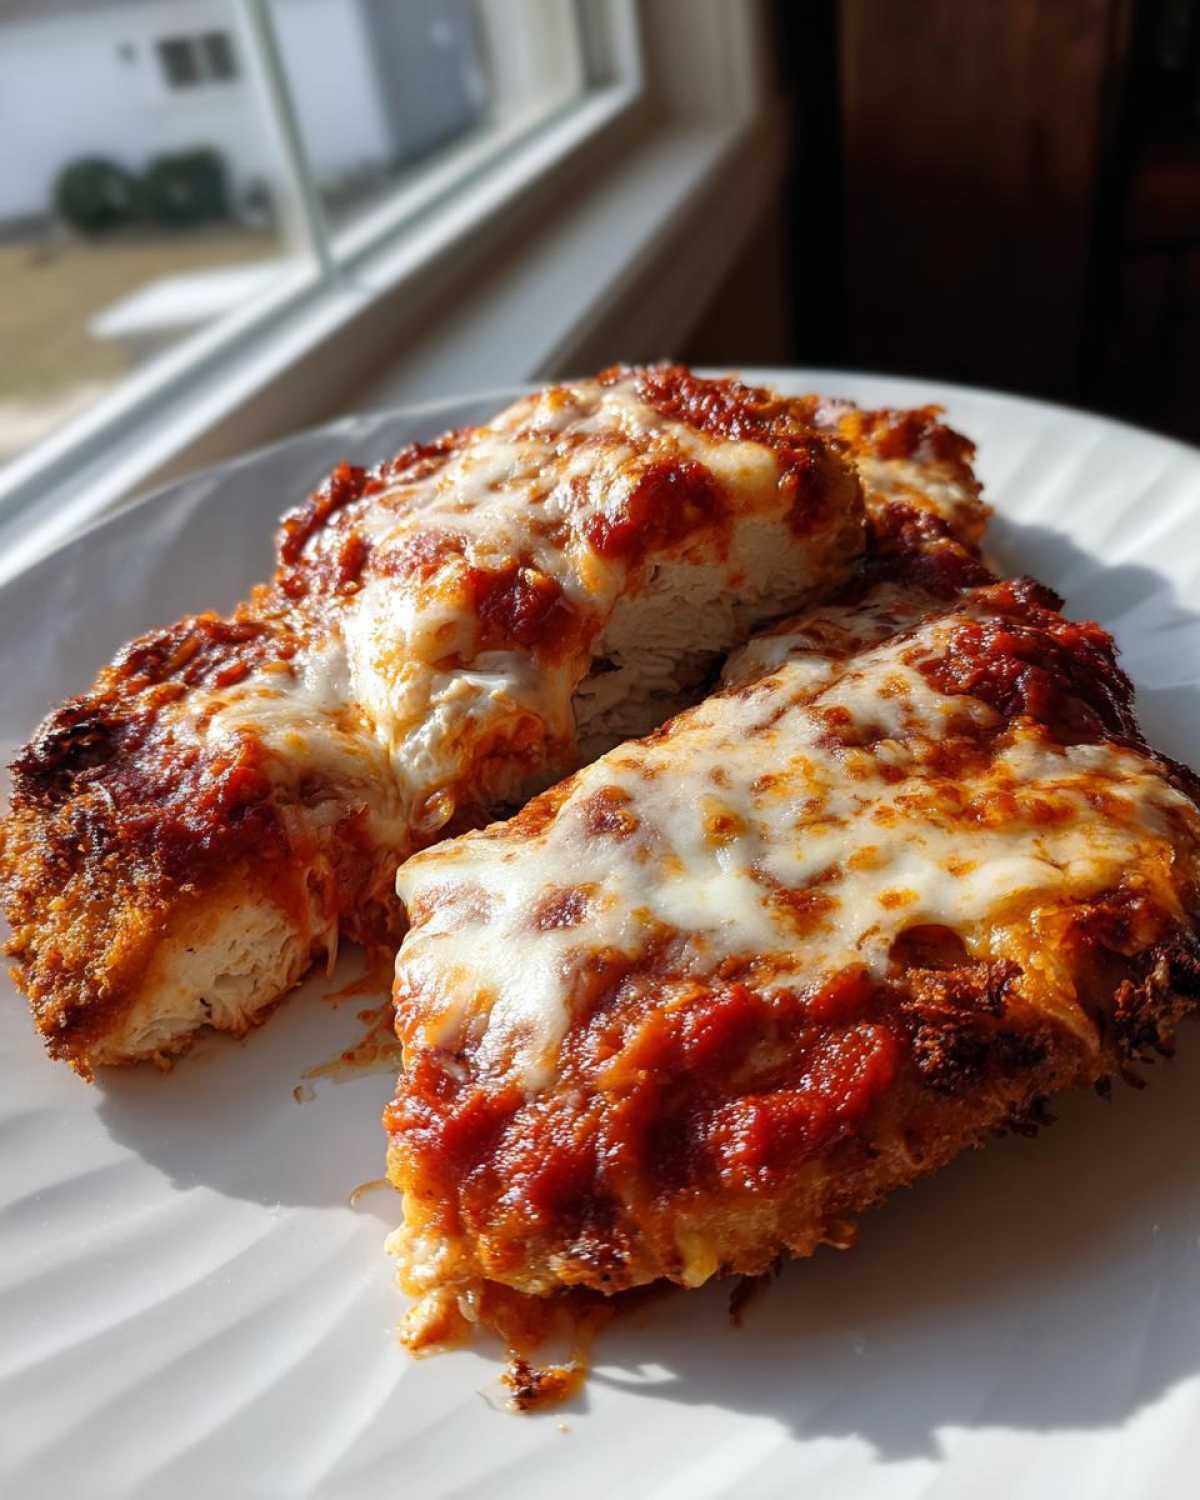
I’ve learned the hard way that if the cheese looks perfect but the chicken is still a little pink near the bone? Disaster. Checking the temperature guarantees you have a fully cooked, safe piece of meat that is still incredibly juicy because the melting cheese shield has protected it. If you want to see a slightly shorter version of this whole process, I have one ready over at my Easy Chicken Parmesan Recipe post!
Once they hit that temperature, pull them out immediately! The cheese will keep relaxing and setting up for a minute or two after coming out of the heat. Then, grab that fresh basil we chopped—a final scatter of bright green herbs totally elevates this rustic comfort food. Now you’ve done it: you have the perfect Crispy Chicken Parmesan Bake!
Ingredient Notes and Substitutions for Cheesy Chicken Parmesan
Even though this is my tried-and-true method for the Best Cheesy Chicken Parm, I know life happens, and sometimes you have to make little swaps. I always stress that the quality of your sauce matters most, since it’s sitting right there under all that amazing cheese!
If you’re serious about flavor, try to use a high-quality jarred marinara. You know, the one that tastes like someone actually simmered it for hours? If you have the time, though, my own sauce beats anything jarred, hands down! But if you need something totally different, you can skip the traditional red sauce entirely. If you try that, you should definitely check out my recipe for Homemade Alfredo Sauce, which makes for an unbelievably rich, creamy alternative baked under the cheese.
Regarding the crispiness, remember one of those helpful notes? If you woke up late, or if maybe frying seems like too much effort this Tuesday, don’t sweat it! You can skip the pan-frying (Step 4) altogether. Just put those breaded cutlets right into the preheating oven for about 10 minutes first. This gives the coating a chance to dry out slightly first, setting it before you add the sauce and mozzarella. It won’t be quite as deeply golden brown as the pan-fried ones, but it works perfectly fine for a quick cheesy chicken dinner!
Also, that little tip about toasting the breadcrumbs? Seriously, try it next time if you have a spare moment. It takes the flavor of the coating up a huge notch, making the overall texture of your parmesan crusted chicken so much better before it even hits the sauce!
Serving Suggestions for Your Italian American Chicken Dinner
Now that you have this absolute mountain of gooey, savory, Cheesy Chicken Parmesan sitting on your counter, the next big question is, what goes with it? You can’t just eat chicken cutlets off the pan, gorgeous as they are! Since this is such a rich main course, you need sides that balance it out nicely.
My typical go-to is always pasta, of course. A simple spaghetti tossed lightly with olive oil and garlic is perfect because it lets the chicken and sauce be the star. But honestly, sometimes I’m just too tired for boiling water, so I look for sides that I can leave entirely alone while the chicken bakes.
For that perfect Italian-American plate setup, here are my favorite pairings:
- Something Green: You need something bright to cut through all that richness! A simple Caesar salad with crunchy romaine and a sharp vinaigrette is perfection. Or, if you’re feeling lighter, some garlicky sautéed spinach works wonders.
- The Bread Necessity: Listen, you *must* have bread. You can’t let that delicious marinara and melted cheese go to waste. If you need a quick, buttery side that rivals your favorite takeout spot, you have to try my recipe for Easy Homemade Breadsticks. They are so much better than anything store-bought, and they are basically just vehicles for sauce!
- Starchy Backup: If you skip the spaghetti, roasted zucchini or even some simple garlic mashed potatoes are great for soaking up the juices. Just keep the seasoning simple so it doesn’t compete with the Parmesan flavors.
The main thing is to let this magnificent chicken be the showstopper. Everything else is just there to give you a perfect bite!
Storage and Reheating Instructions for Leftover Cheesy Chicken Parmesan
Believe it or not, leftovers of this Cheesy Chicken Parmesan are honestly a gift the next day. A whole pan full of this stuff means at least one easy lunch! But we have to treat the leftovers right, especially since we worked so hard to get that coating crispy beneath all that gooey mozzarella.
First off, storage! Once the chicken has cooled down slightly (don’t put scalding hot food straight into the fridge—that’s a health no-no!), you need to get it away from air exposure. If you have any left in the baking dish, cover it tightly with plastic wrap or transfer individual pieces to an airtight container. You can safely keep this in the refrigerator for about three to four days. Any longer than that, and I start getting nervous about the texture.
Now, reheating. This is where everyone defaults to the microwave, but please, please don’t! If you microwave this, you are essentially steaming the breading, and you will lose every shred of crispness we achieved in that initial sear. You will end up with soft, soggy chicken covered in lukewarm cheese. Sad face!
For the absolute best results when reheating your Classic Chicken Cutlets with Cheese, you need dry heat. The oven or even a toaster oven is your best friend here.
- Set your oven to about 350 degrees Fahrenheit.
- Place the leftover cutlet on a baking sheet lined with foil or parchment paper—this helps prevent the cheese from gluing itself to the sheet.
- Bake for about 10 to 15 minutes. You are just looking for the internal temperature to warm back up and the cheese layer to melt beautifully again. Keep an eye on it! If you cover the chicken loosely with foil for the first 10 minutes, it helps keep the chicken juicy, and you can pull the foil off for the last five minutes just to get the cheese bubbly again.
If you’re in a massive rush, yes, you can use the microwave, but just do it briefly to warm the chicken through, maybe 45 seconds. Then, transfer it to a hot skillet for thirty seconds per side to try and shock some crispness back into that coating. It won’t be perfect, but hey, it’s still delicious!
Frequently Asked Questions About Making Cheesy Chicken Parmesan
I know sometimes when you’re reading through a recipe this detailed, you might have a few random thoughts popping up about logistics or substitutions. This is the roundup for all those little questions that didn’t fit neatly into the layering steps. We’re going to make sure you feel totally confident tackling this Homemade Chicken Parm Ideas adventure!
Can I make this Easy Chicken Parmesan Recipe ahead of time?
Oh, absolutely! I find that prepping the chicken cutlets entirely—flouring, egging, and breading them—a day ahead of time is a huge time saver. Store the breaded cutlets in a single layer on a baking sheet lined with parchment paper, cover them well with plastic wrap, and tuck them into the fridge. Just remember what I said about the oil temperature: when you go to cook them, make sure your oil is perfectly hot so you get that quick, golden sear without pulling too much moisture out of the cold coating!
What is the secret to the Best Cheesy Chicken Parm topping?
If you want the very best cheesy topping, it hinges on two things we discussed, but I’ll say it again because it’s so vital for the Best Cheesy Chicken Parm experience! Number one: use fresh mozzarella, not the pre-shredded stuff in the bag. Fresh mozzarella melts smoother and gives you that dramatic cheese pull we’re looking for. Number two: the layering! We put a thin layer of warm sauce down, then the fresh mozzarella, and *then* we sprinkle the grated Parmesan on top of that. That little bit of extra salty Parmesan crisps up slightly, providing texture contrast to the soft mozzarella layer underneath. It’s a perfect textural dynamic!
How do I get a Crispy Chicken Parmesan Bake without frying?
If you are determined to make this an even lighter dinner or just don’t want to deal with oil splatters, you totally can skip the pan-frying step shown in the instructions! This is key for anyone trying to streamline cleanup for their Italian American Chicken Dinner. Instead of frying, go straight to the baking step after you bread the chicken. You’ll want to bake those breaded cutlets first at 400 degrees for about 10 minutes just to set the coating and dry it out a bit. Then, pull them out, smother them with warm sauce and cheese, and return them to the oven until they are done through! It works great, although I personally still love that deep flavor the oil gives the crust.
And just because you asked about salads to go with this massive feast, make sure you check out my recipe for the Caesar Chicken Recipe later this week—it’s another way to pack that Parmesan flavor in!
Print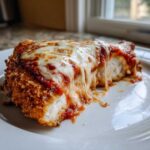
Ultimate Double-Cheese Baked Chicken Parmesan
- Total Time: 40 min
- Yield: 4 servings
- Diet: Meat
Description
A straightforward recipe for baked Chicken Parmesan featuring two types of cheese for a very cheesy topping.
Ingredients
- 4 boneless, skinless chicken breasts, pounded to 1/2 inch thickness
- 1 cup all-purpose flour
- 2 large eggs, beaten
- 1 1/2 cups seasoned breadcrumbs
- 1/2 cup grated Parmesan cheese, for breading
- 1/4 cup olive oil, for pan-frying
- 2 cups marinara sauce, warmed
- 8 ounces fresh mozzarella cheese, sliced
- 1/2 cup grated Parmesan cheese, for topping
- 1/4 cup fresh basil, chopped
Instructions
- Preheat your oven to 400 degrees Fahrenheit (200 degrees Celsius). Lightly grease a 9×13 inch baking dish.
- Set up a standard breading station: place flour in one shallow dish, beaten eggs in a second, and mix the breadcrumbs and 1/2 cup Parmesan cheese in a third.
- Dredge each chicken cutlet first in flour, shaking off excess. Dip into the egg mixture, letting excess drip off. Finally, press firmly into the breadcrumb mixture to coat both sides completely.
- Heat the olive oil in a large skillet over medium-high heat. Pan-fry the coated chicken cutlets for 2 to 3 minutes per side until golden brown. They do not need to be cooked through. Work in batches if necessary.
- Arrange the browned chicken cutlets in the prepared baking dish.
- Spoon about 1/4 cup of warm marinara sauce over the top of each cutlet.
- Layer the fresh mozzarella slices evenly over the sauce on each piece of chicken.
- Sprinkle the remaining 1/2 cup of grated Parmesan cheese over the mozzarella.
- Bake for 15 to 20 minutes, or until the chicken is cooked through (internal temperature reaches 165 degrees Fahrenheit) and the cheese is melted and bubbly.
- Garnish with fresh chopped basil before serving.
Notes
- For extra crispiness, you can lightly toast the breadcrumbs in a dry pan before mixing them with the Parmesan cheese.
- Use high-quality marinara sauce, as it significantly impacts the final flavor.
- If you prefer not to pan-fry, you can skip step 4 and bake the breaded chicken for 10 minutes before adding the sauce and cheese.
- Prep Time: 20 min
- Cook Time: 20 min
- Category: Dinner
- Method: Baking
- Cuisine: Italian American
Nutrition
- Serving Size: 1 cutlet
- Calories: 550
- Sugar: 8
- Sodium: 850
- Fat: 28
- Saturated Fat: 12
- Unsaturated Fat: 10
- Trans Fat: 0.5
- Carbohydrates: 35
- Fiber: 3
- Protein: 45
- Cholesterol: 140