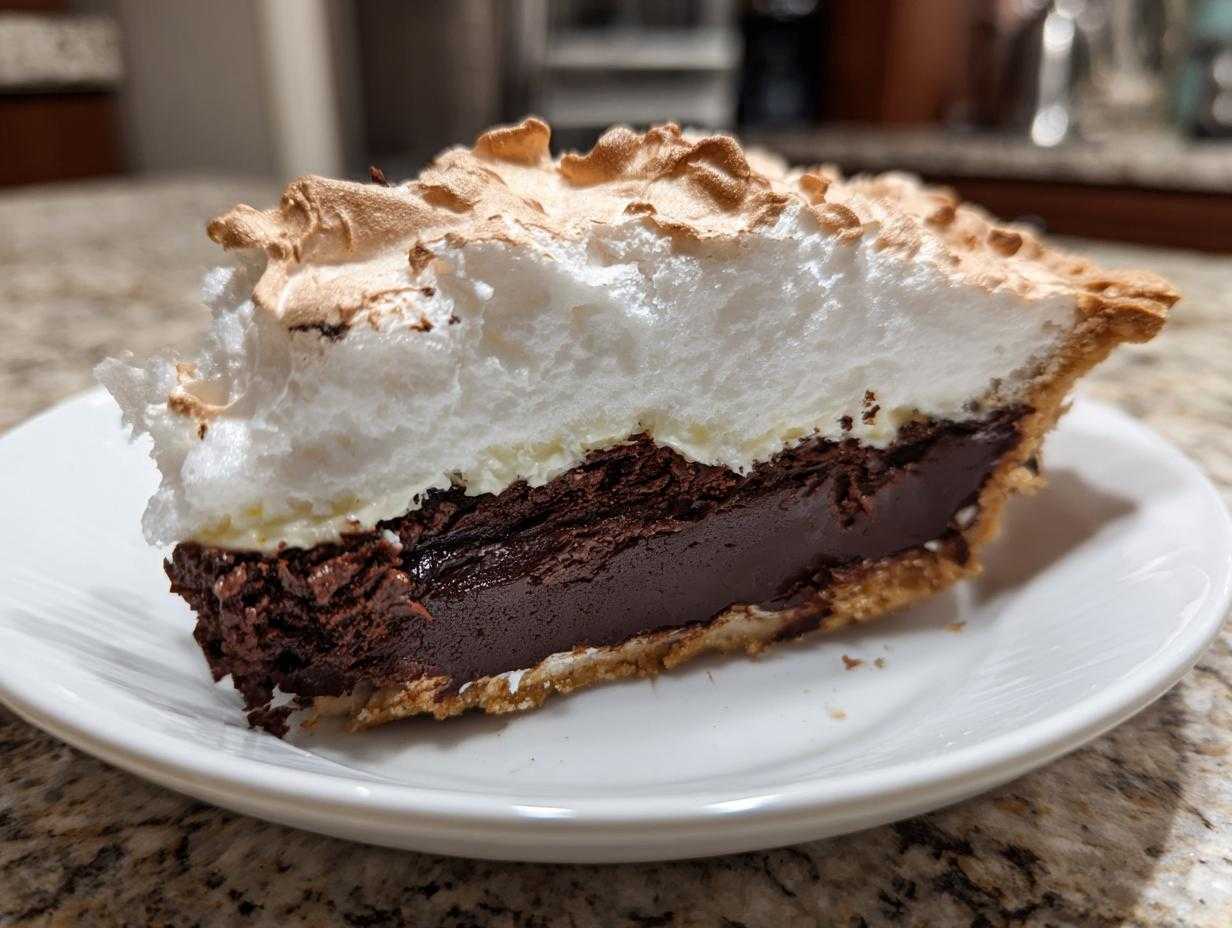
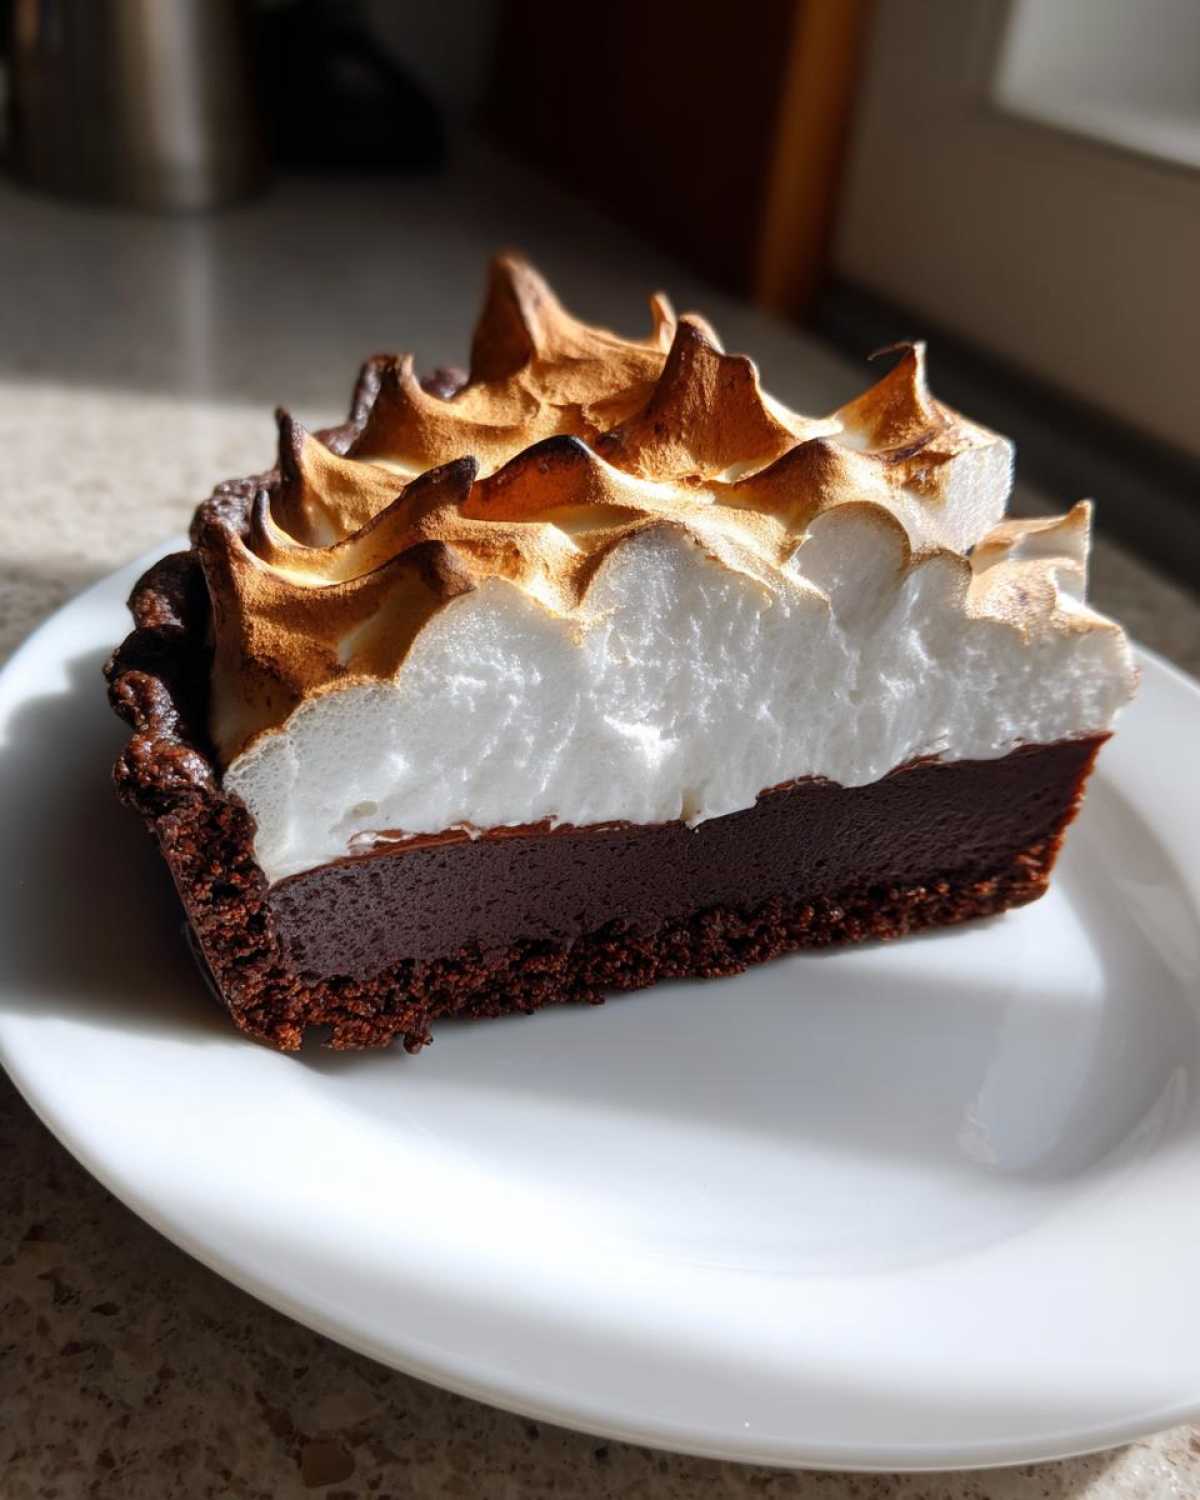
You know that feeling? The one where you’re staring at a gorgeous dessert, but you’re secretly terrified because the last time you tried to make it, the filling went runny and the meringue looked like sad, collapsed cottage cheese? I’ve been there! But trust me, making a truly flawless chocolate meringue pie is totally achievable. Forget those soupy messes you see sometimes. This recipe is my go-to, the one I’ve tweaked until it stands up proud, with a deep, creamy chocolate custard base and a tall, impossibly fluffy meringue topping that actually stays put. It took me years to conquer the weeping meringue problem, but once you know the secret steps—especially about sealing the edges—you’ll have an old-fashioned showstopper ready for any table.
Why This Is the Best Chocolate Meringue Pie Recipe
When I say this is the best chocolate meringue pie, I mean it! I’ve tested countless methods, and this one delivers on texture and stability every single time. It takes the stress out of baking one of the most notoriously tricky classic dessert recipes.
- The filling sets up incredibly rich and creamy, not grainy or thin.
- The meringue is famously tall, fluffy, and resists sinking or shrinking.
- The overall flavor profile reminds you of true, deep, old-fashioned baking—it’s just decadent!
Achieving Creamy Chocolate Custard Pie Perfection
The secret to that luxurious mouthfeel in this creamy chocolate custard pie? It all comes down to tempering those yolks. If you ever worried about getting lumps in your filling, don’t stress! Slowly adding a little hot mixture to your eggs before combining everything ensures a silky smooth base. This is exactly how they made that amazing old fashioned chocolate pie back in the day!
Ingredients for a Flawless Chocolate Meringue Pie
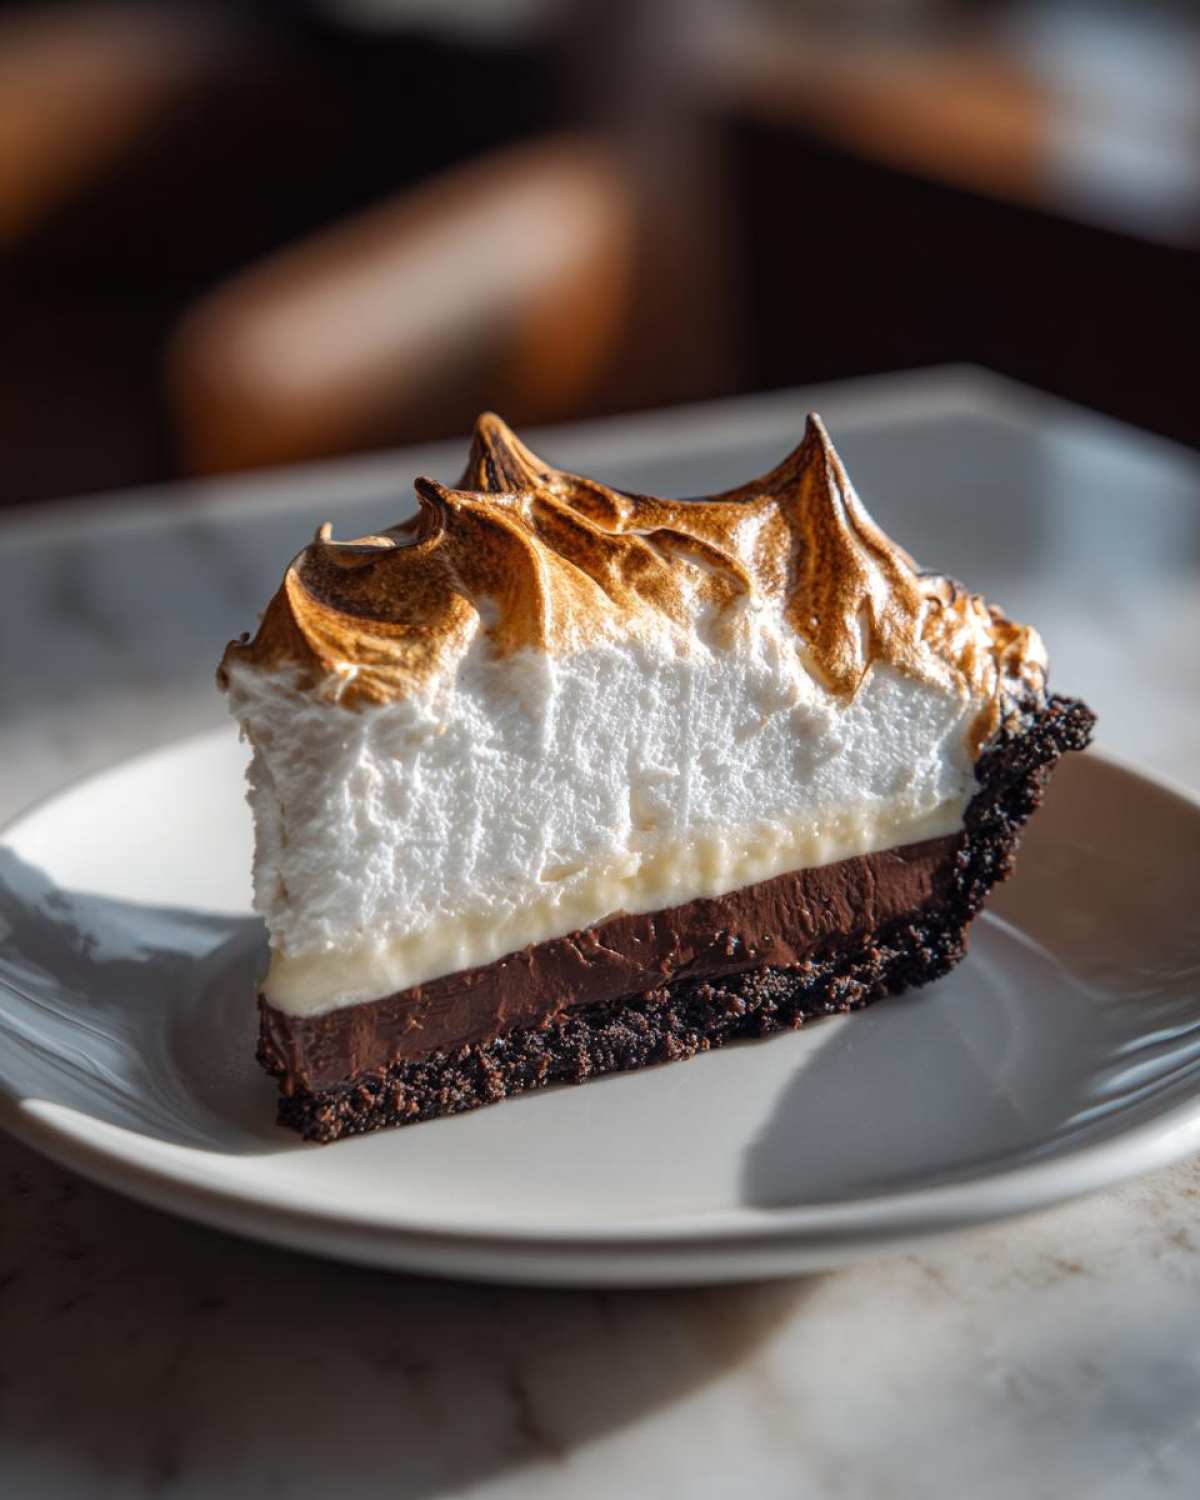
If you want this chocolate meringue pie to turn out perfect, you can’t skimp on having your little components ready. You’ll need that 9-inch unbaked pie crust first, naturally. The filling uses sugar, cornstarch, and salt whisked together, and you need 1 3/4 cups of cold water. Don’t forget two large egg yolks that need to be lightly beaten, plus butter and vanilla for warmth. For the topping, make sure you have four room temperature egg whites, your remaining sugar, and a little cream of tartar!
Step-by-Step Instructions for Your Chocolate Meringue Pie
Alright, this is where we actually bake! Don’t let the number of steps scare you; it’s really just about keeping the heat steady and adding things gently when they need it. I promise, if you follow the timing, you’ll have a gorgeous final product that everyone thinks you bought from a fancy bakery!
Preparing the Pie Crust and Custard Base
First things first, you need that pre-baked crust ready to go. While that’s cooling a little, grab a medium saucepan. This is important for a lump-free base: whisk together 1 cup of your sugar, the cornstarch, and the salt before you even think about adding liquid. Once it’s nice and dusty, slowly whisk in the cold water until it’s smooth. Then, put it on the heat and stir constantly until it boils and thickens—that minute of boiling is key for the structure of your chocolate meringue pie filling!
Tempering the Egg Yolks for Creamy Chocolate Custard Pie
This next part is the most important technique for getting that silky, perfect finish for your creamy chocolate custard pie. Take about one cup of that hot chocolate mixture and drizzle it *very* slowly into your two lightly beaten egg yolks while you whisk nonstop. If you dump it in fast, those yolks will scramble right away! We want to warm them up gently—that’s tempering. Once they’re warmed up, pour that perfectly tempered yolk mixture back into the pot with the rest of the filling. Return to medium heat and cook, stirring constantly, until the filling thickens again and just begins to bubble. This is how we guarantee a super smooth result, just like in my reliable egg custard recipe guide!
Whipping the Fluffy Meringue Topping Tutorial
While the filling is settling, get those room temperature egg whites ready. Remember, the bowl must be spotless—zero grease! Beat those whites until they’re holding soft peaks, then start raining in the remaining half-cup of sugar and the cream of tartar slowly. Keep beating until you have stiff, glossy peaks. This technique is the entire point of a fluffy meringue topping tutorial; stiff peaks mean your meringue holds its architectural shape and won’t collapse.
Assembling and Baking the Chocolate Meringue Pie
Once the filling has its butter and vanilla stirred in, pour that magnificent hot chocolate right into your waiting crust. Now, for the final and biggest trick for a flawless pie: work fast! Immediately take your meringue and spread it all over that hot filling. You absolutely must make sure the meringue seals against the crust edge all the way around. This seal stops it from shrinking later. Swirl the top nicely, and pop it into a 350-degree oven for just 12 to 15 minutes until those tips turn that beautiful light gold!
Baking Tips for Meringue Pie Success: Avoiding Weeping
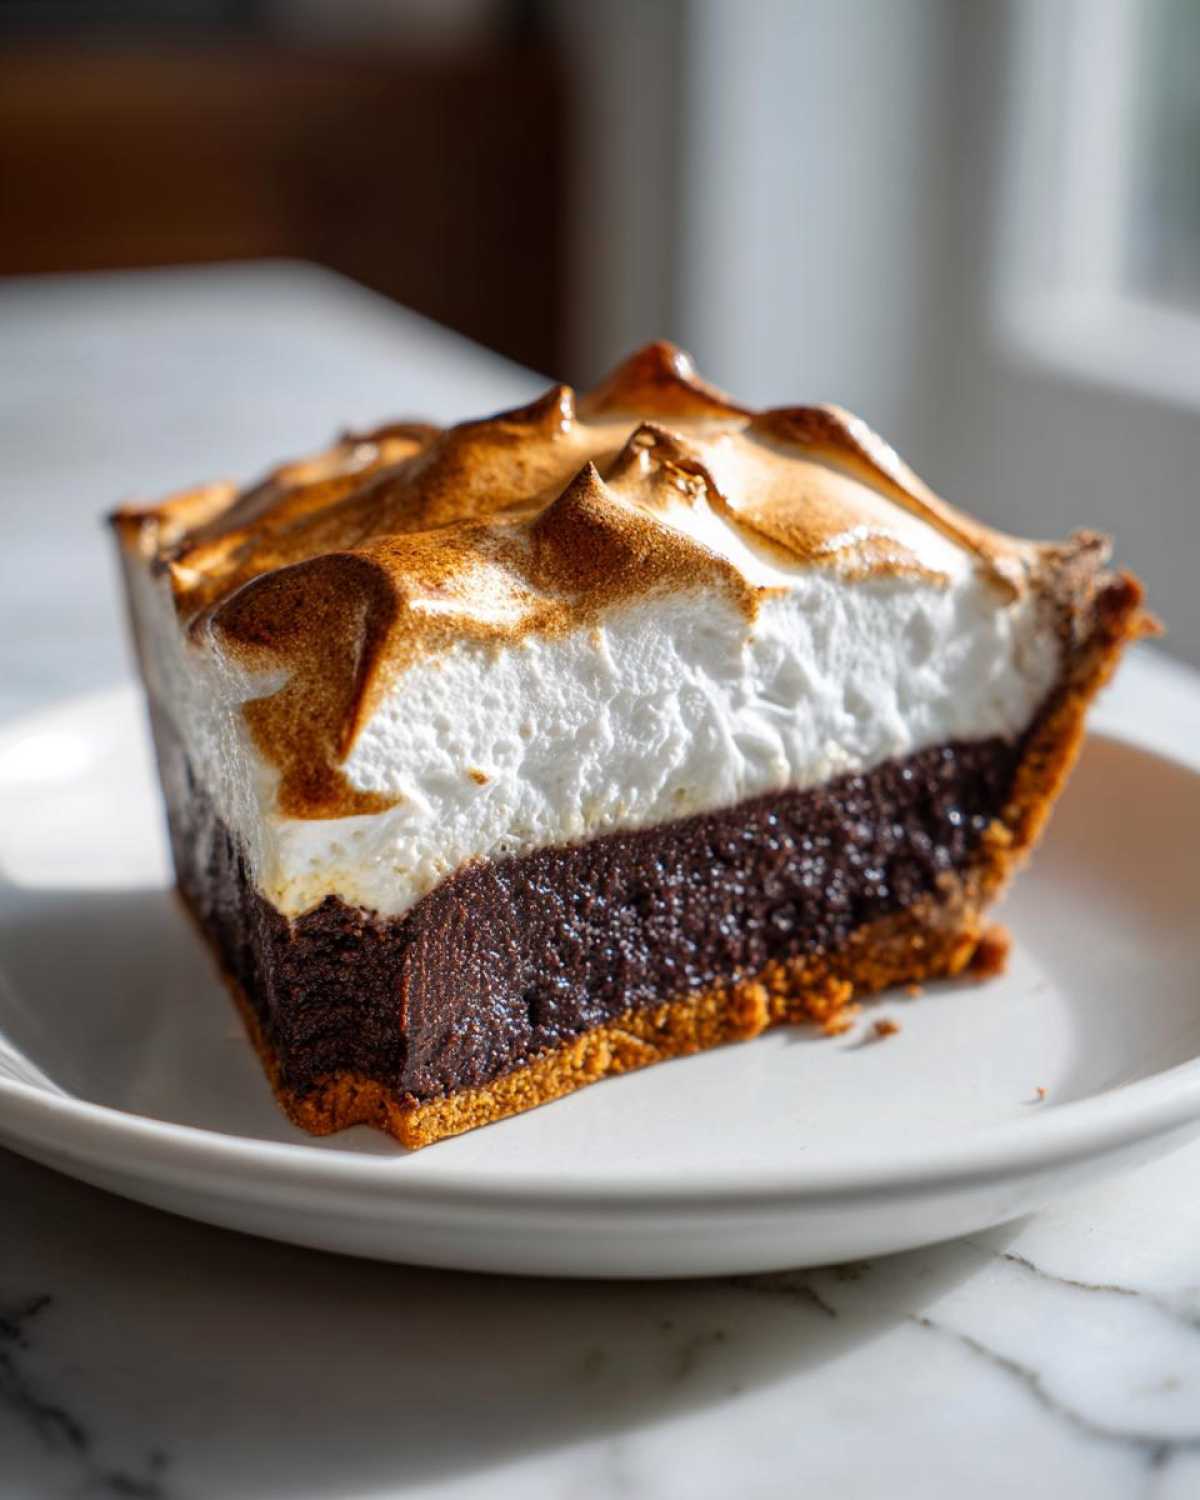
Honestly, the biggest headache people have with this gorgeous dessert is the meringue crying on them! We’ve all seen it—those little beads of syrupy moisture forming underneath or on top. It drives me crazy! But these aren’t mysteries; they are chemistry problems we can fix. If you follow this recipe, especially the notes about sealing the hot filling, you’ll have the best luck. These baking tips for meringue pie are what separate the pros from the panicky home bakers. I learned these the hard way, let me tell you!
My other big win on keeping things stable was learning about how quick temperature changes mess with the proteins in the meringue. Before you worry about the humidity outside, double-check your cooling routine first. For more on keeping meringue stiff, check out my guide on making light and crisp meringue cookies—the principles are the same!
The Critical Cooling Process for Your Chocolate Meringue Pie
This is the absolute rule for your chocolate meringue pie: Do NOT put it straight into the fridge! Once it comes out of the oven looking beautiful, it needs to hang out on the counter, completely undisturbed, for at least four hours. If you shock the pie by moving it to a cold refrigerator too soon, that sudden temperature drop causes condensation inside the pie. That condensation is what causes the dreaded weeping, ruining that perfect golden top!
Ingredient Notes and Substitutions for this Chocolate Meringue Pie Recipe
I want to chat quickly about a couple of ingredients because they really impact how your chocolate meringue pie turns out. First, those egg whites for your topping? They absolutely must be room temperature for whipping. Room temperature whites incorporate air so much better, which is the key to developing that beautiful, stiff structure you want for the how to make perfect pie meringue. If they’re icy cold, they just won’t cooperate with your mixer!
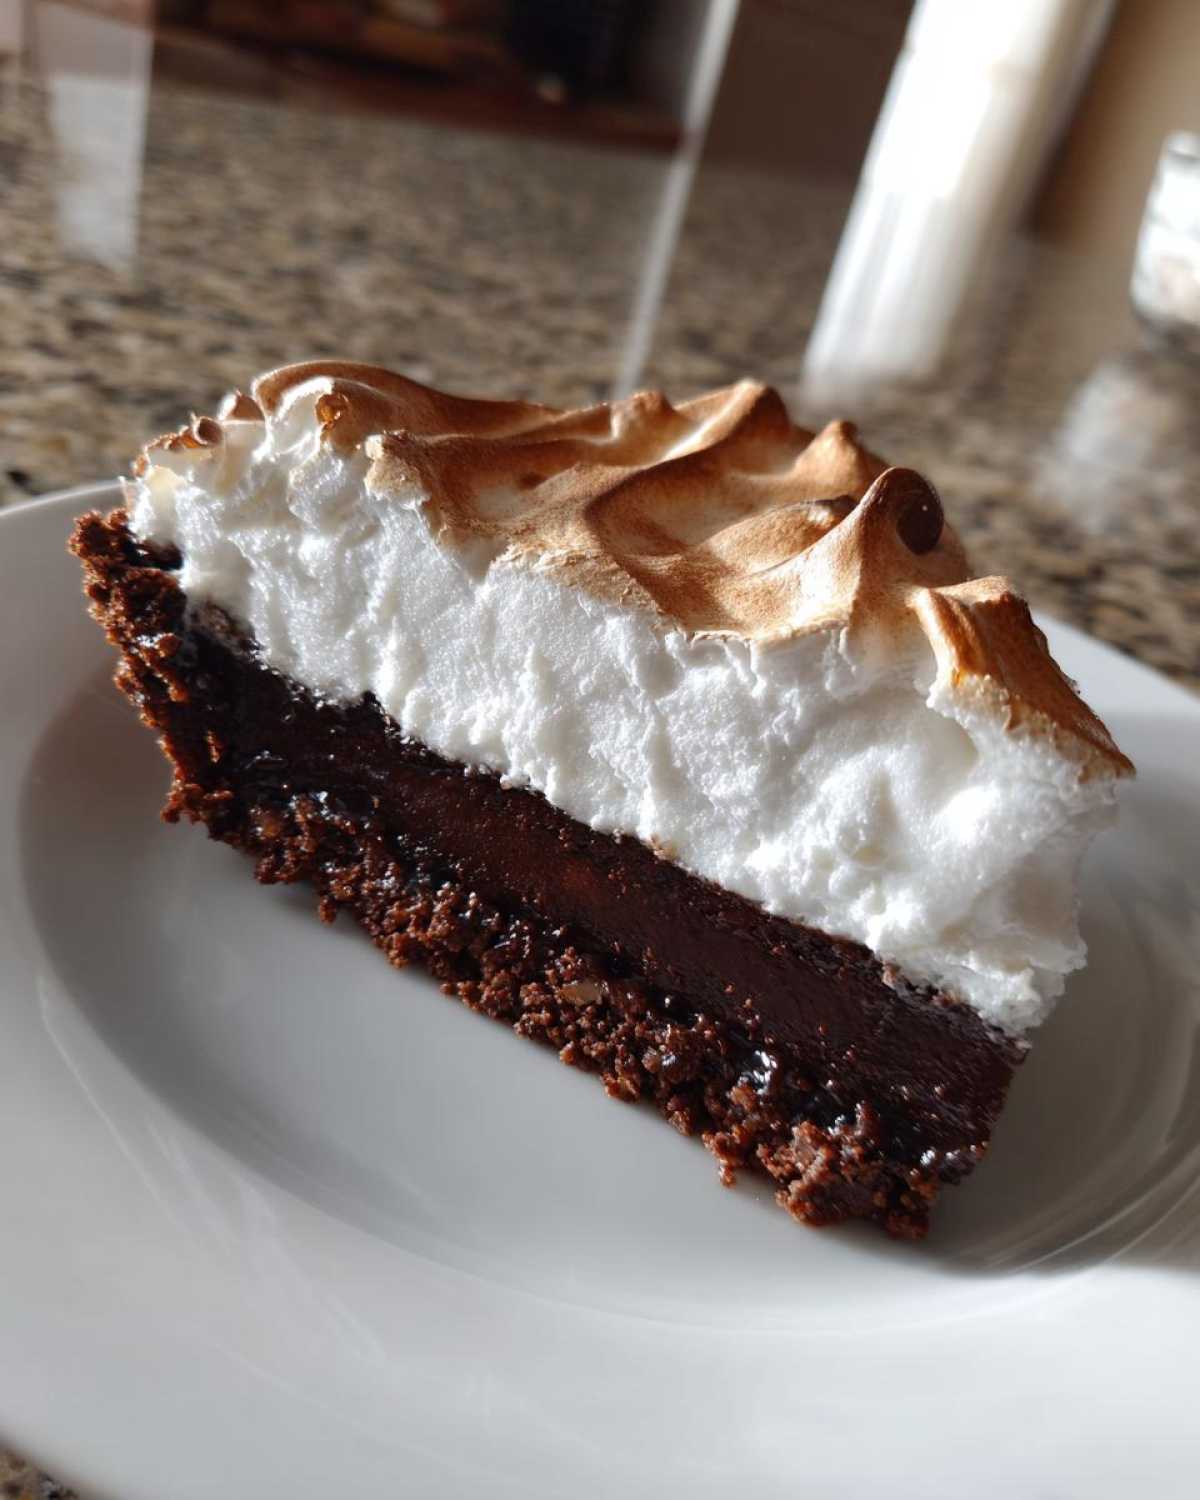
Also, about the filling: we use cornstarch, and you should stick with it if you’re aiming for that glossy, clear chocolate look. If you tried to use plain flour in the custard base, it often results in a duller, cloudier filling. Cornstarch is what gives this creamy chocolate custard pie its signature shine!
Serving Suggestions for a Decadent Chocolate Dessert
Now that you’ve conquered this beautiful decadent chocolate dessert, how should you serve it? Honestly, sometimes it needs nothing more than a fork and a satisfied sigh! But if you’re bringing this chocolate meringue pie out for company, a little something extra really shines.
I love sprinkling just a tiny bit of high-quality cocoa powder over the top right before serving—it gives it a beautiful matte contrast against the glossy meringue. Fresh raspberries are always perfect with deep chocolate, or you could go for a light drizzle of a fruity sauce. If you’re feeling extra fancy, maybe even whip up one of those fun dipping sauces sometime! I found a great white chocolate strawberry martini recipe that pairs nicely if you want a grown-up touch!
Storage and Make-Ahead Tips for Your Chocolate Meringue Pie
So you’ve made this glorious, towering chocolate meringue pie, and you just can’t eat it all in one sitting—which is fine, though I’d be tempted! For leftovers, the key is covering it loosely and popping it into the fridge. Remember, the fridge is for *storage*, not the initial cooling, so wait those four hours first!
If you want to get a jump start, you can absolutely bake that pie crust a day early. Keep it wrapped tightly so it stays flaky. The custard filling, however, really needs to be paired with the hot meringue immediately, so I recommend only making the filling base the morning you plan to serve it. That way, you save tons of time but still get that perfect structure!
Frequently Asked Questions About Making Chocolate Meringue Pie
I know you might have a few lingering questions, especially if you’re trying to master a tricky dessert like this. It’s totally normal! We all want to know how to guarantee the best chocolate meringue pie on the first try, so let’s tackle some common worries that pop up when making these amazing classic dessert recipes.
Can I use instant pudding instead of making the custard from scratch?
You certainly *can* reach for the box if you’re chasing an easy homemade chocolate pie in a pinch, but I have to be honest—it won’t give you the richness we’re aiming for here. The depth of flavor and that incredibly smooth feel come directly from cooking down the yolks, cornstarch, and milk mixture. If you’re going through the effort to make a towering meringue, you deserve that homemade custard quality!
What causes the meringue to weep or sweat?
Ah, the dreaded weeping! It almost always boils down to two things we talked about: either the meringue wasn’t fully cooked—it needs that heat to stabilize—or, more often, it wasn’t sealed perfectly to the *hot* filling edge. When the hot filling cools unevenly underneath, moisture gets trapped and pushes its way up as little syrup beads. Making sure that meringue touches the crust everywhere is your best defense!
Can I substitute the pie crust?
The recipe is written for a standard 9-inch unbaked pastry crust because it holds up beautifully to the wet filling. However, yes, you can absolutely swap it out! A graham cracker crust works wonderfully and adds a nice little crunch that contrasts the creamy filing. If you are making your own crust from scratch, check out my tips over on my guide to from scratch pie recipes for getting it perfectly flaky before you even start the filling!
Share Your Flawless Chocolate Meringue Pie Creations
Now that you’ve got the secrets to conquering this towering, gorgeous chocolate meringue pie, I absolutely want to see what you come up with! Don’t keep that beautifully golden, crack-free meringue all to yourself. Did it set up perfectly? Are your friends already asking for the recipe? Let me know!
Please take a picture and tag me on social media—I love seeing your successes! And if you have any last-minute triumphs or tiny little tweaks that worked magic in your kitchen for this decadent chocolate dessert, please drop a comment below. We bakers learn so much from one another. Your feedback helps me keep these recipes the best they can be. If you loved this recipe as much as I do, please give it a five-star rating right here on the page! It really helps others discover how simple this classic dessert recipe truly is. If you’re looking for another amazing baking adventure after this one, you might want to try my recipe for the absolute best soft and chewy chocolate chip cookies!
Estimated Nutritional Data for Chocolate Meringue Pie
I always feel a little funny posting the nutritional breakdown because, let’s be real, this isn’t a diet food—it’s a celebration pie! But I know some of you are curious about what you’re serving up. These numbers are based on eight generous slices, and remember, this is just an estimate!
When you’re baking something this rich, using real butter and sugar is just how you make a truly decadent chocolate dessert, so don’t sweat the details too much!
- Calories: Around 380 per slice
- Total Fat: About 16 grams
- Saturated Fat: Roughly 8 grams
- Carbohydrates: Around 58 grams
- Sugar Content: That’s hovering near 45 grams, which is where all the magic comes from!
- Protein: About 6 grams
One thing to keep in mind: these figures fluctuate quite a bit depending on the specific crust recipe you use or how thick your meringue layer ends up being. If you homemade your crust, the fat count might change slightly, but the essence of this chocolate meringue pie remains happily indulgent. Enjoy every bit of it!
Print
Flawless Chocolate Meringue Pie with Creamy Custard
- Total Time: 4 hours 55 min
- Yield: 8 servings
- Diet: Vegetarian
Description
Make a rich, creamy chocolate custard pie topped with a tall, fluffy, and stable meringue layer. This recipe focuses on preventing common meringue weeping and filling separation.
Ingredients
- 1 (9 inch) unbaked pie crust
- 1 1/2 cups granulated sugar, divided
- 1/3 cup cornstarch
- 1/4 teaspoon salt
- 1 3/4 cups cold water
- 2 large egg yolks, lightly beaten
- 2 tablespoons unsalted butter
- 1 teaspoon vanilla extract
- 4 large egg whites, room temperature
- 1/4 teaspoon cream of tartar
Instructions
- Prepare and partially bake your 9-inch pie crust according to your preferred method. Set aside to cool slightly.
- In a medium saucepan, whisk together 1 cup of the sugar, cornstarch, and salt. Gradually whisk in the cold water until smooth.
- Cook the mixture over medium heat, stirring constantly, until it thickens significantly and comes to a boil. Boil for 1 minute, stirring constantly. Remove from heat.
- In a separate small bowl, whisk the egg yolks lightly. Slowly drizzle about 1 cup of the hot chocolate mixture into the yolks while whisking constantly to temper them.
- Pour the tempered yolk mixture back into the saucepan with the remaining chocolate mixture. Return to medium heat and cook, stirring constantly, until the filling thickens again and just begins to bubble. Do not boil vigorously.
- Remove from heat. Stir in the butter and vanilla extract until smooth.
- Pour the hot chocolate filling immediately into the pre-baked pie crust.
- In a clean, grease-free bowl, beat the 4 room temperature egg whites with an electric mixer until soft peaks form. Gradually add the remaining 1/2 cup of sugar and the cream of tartar, beating until stiff, glossy peaks form.
- Spread the meringue over the hot filling, making sure the meringue touches the inner edge of the crust all the way around to seal it. Create decorative swirls with the back of a spoon.
- Bake at 350 degrees F for 12 to 15 minutes, or until the meringue tips are lightly golden brown.
- Cool the pie completely on a wire rack at room temperature for at least 4 hours before slicing. Do not refrigerate immediately, as rapid cooling can cause weeping.
Notes
- Use room temperature egg whites for the meringue; they whip up higher and hold their shape better.
- Ensure your mixing bowl and whisk attachments are completely free of grease or yolk residue before whipping the whites.
- To prevent the meringue from shrinking or weeping, make sure the hot filling is spread evenly and the meringue seals completely against the crust edge.
- For the best texture, cool the pie at room temperature for several hours before chilling.
- Prep Time: 25 min
- Cook Time: 30 min
- Category: Dessert
- Method: Baking
- Cuisine: American
Nutrition
- Serving Size: 1 slice
- Calories: 380
- Sugar: 45
- Sodium: 150
- Fat: 16
- Saturated Fat: 8
- Unsaturated Fat: 8
- Trans Fat: 0
- Carbohydrates: 58
- Fiber: 1
- Protein: 6
- Cholesterol: 75