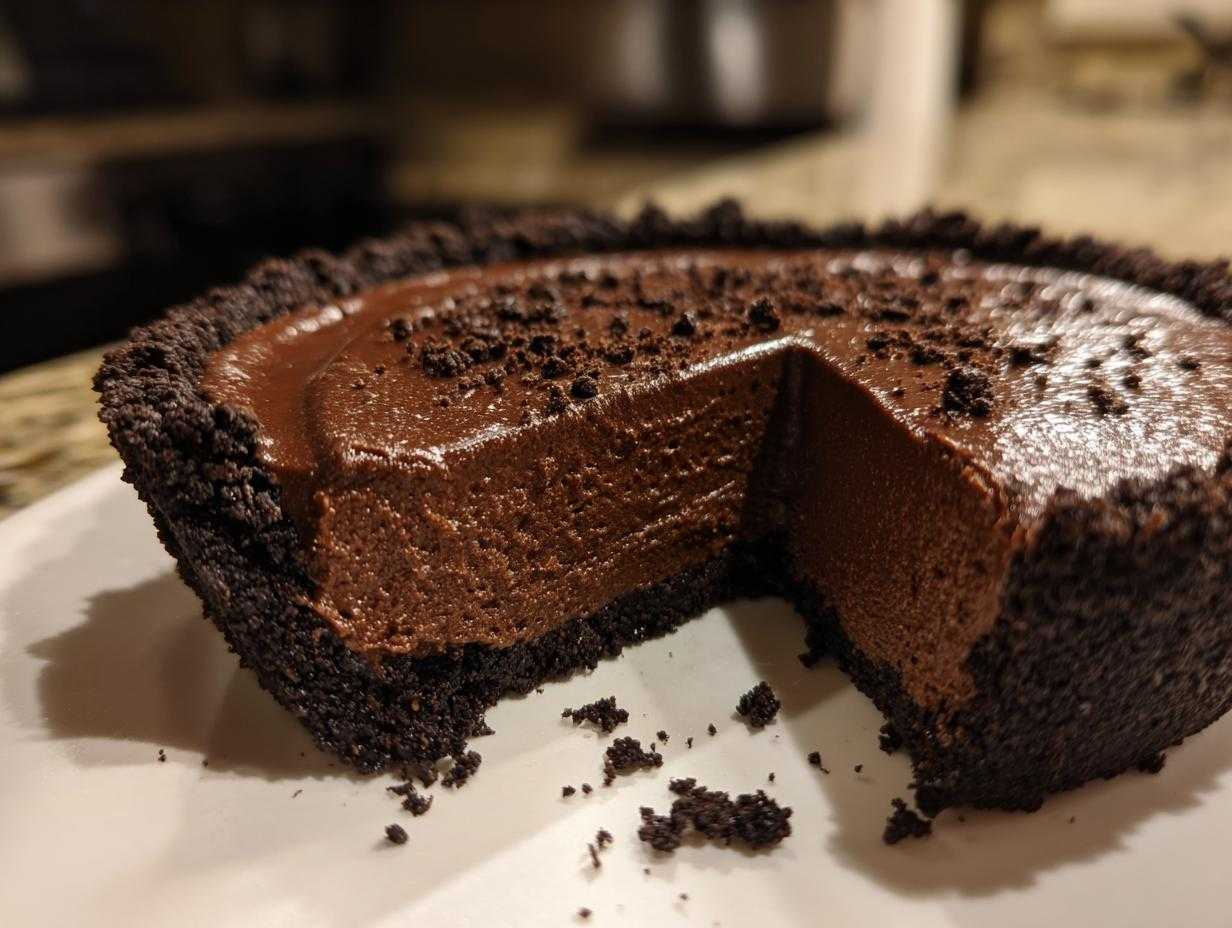
Listen, when that deep, dark chocolate craving hits you—and I mean *really* hits—you don’t want to mess around with baking times or fussy techniques. You need instant gratification that still feels fancy, right? That’s why this **Easy No-Bake Chocolate Mousse Pie** with that killer Oreo Crust is my secret weapon.
It’s truly the most indulgent, silky chocolate mousse pie you’ll ever make, and the best part? No oven required! I swear by this recipe whenever I need a last-minute showstopper for a party or just want a ridiculously rich chocolate slice after a long week. It comes together in minutes, and the chilling is the hardest part!
Why This Easy Chocolate Mousse Pie is a Showstopper Dessert
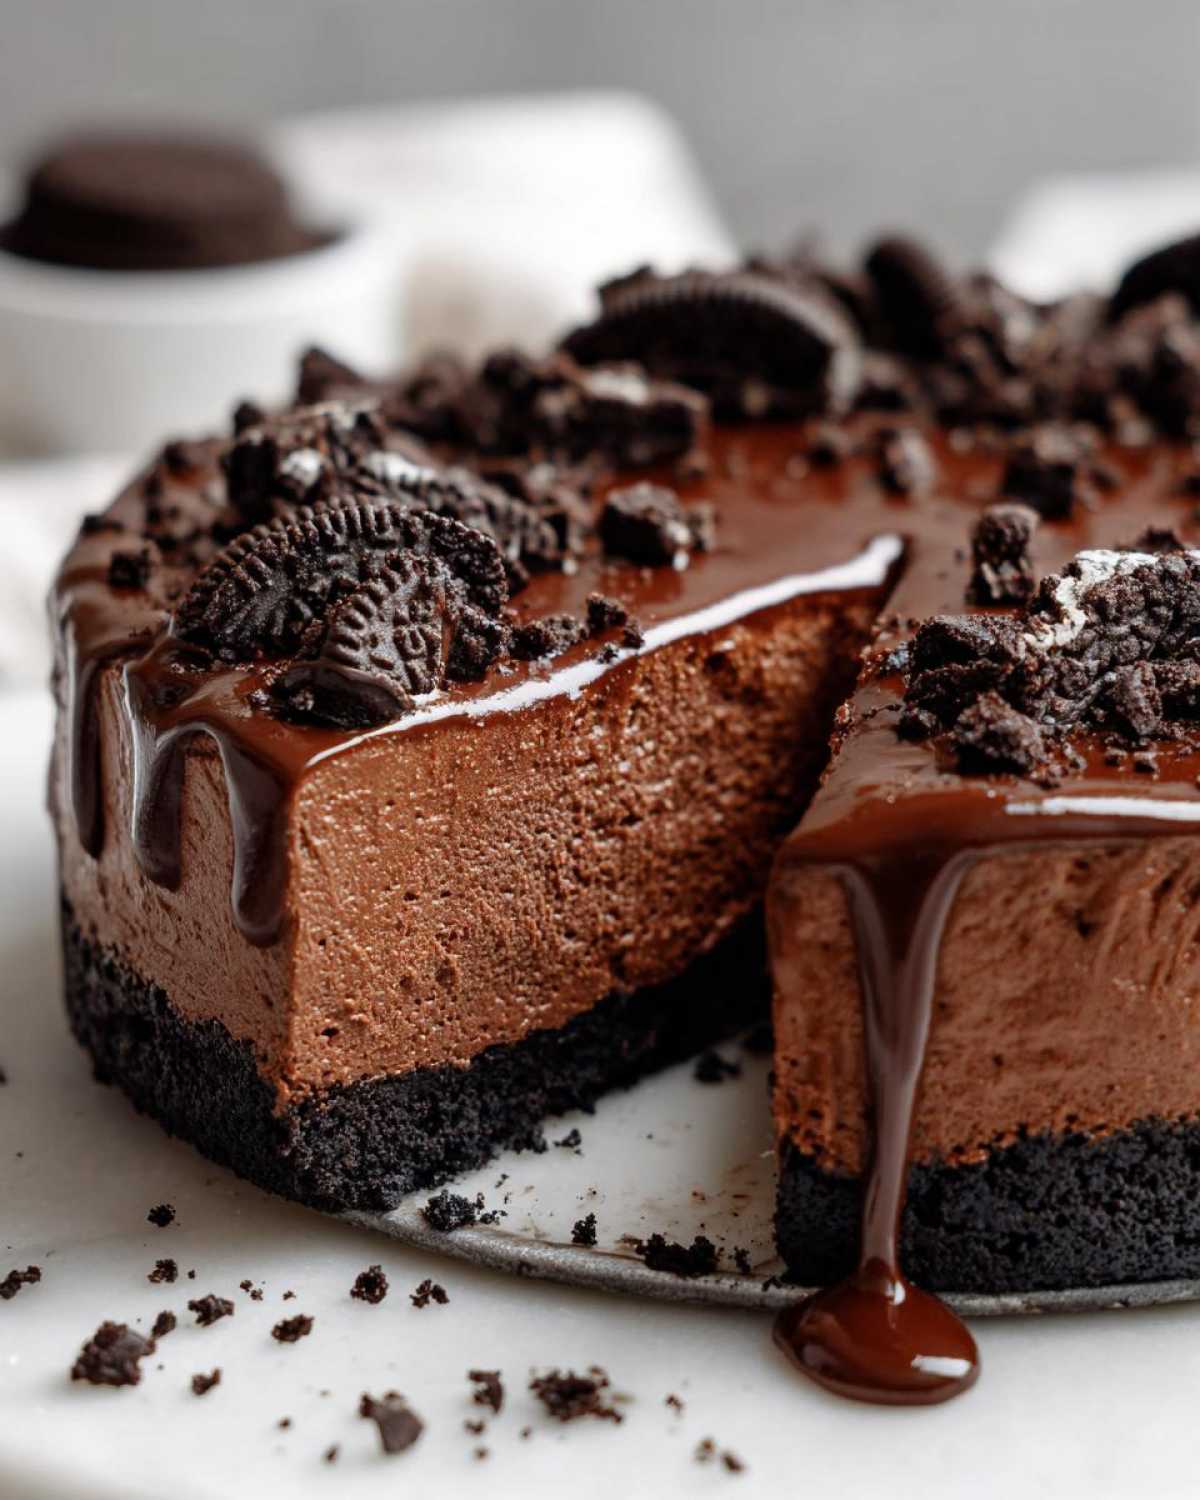
Seriously, people think I spent hours fussing over this pie, but I love letting them believe the magic! The texture is everything here. We are talking about an experience that is deeply indulgent but somehow manages to stay incredibly light and airy, which is the secret to a perfect Light and Airy Mousse.
Because it’s completely no-bake, you avoid all the potential sinking and cracking issues that come with baked chocolate pies. It sets up beautifully in the fridge, giving you that firm, sliceable consistency while keeping the filling soft and luscious. Trust me, this Showstopper Dessert is perfect for potlucks because it always gets devoured first. If you need something quick and impressive, you can check out my no-bake chocolate oatmeal bars too, but this pie hits differently!
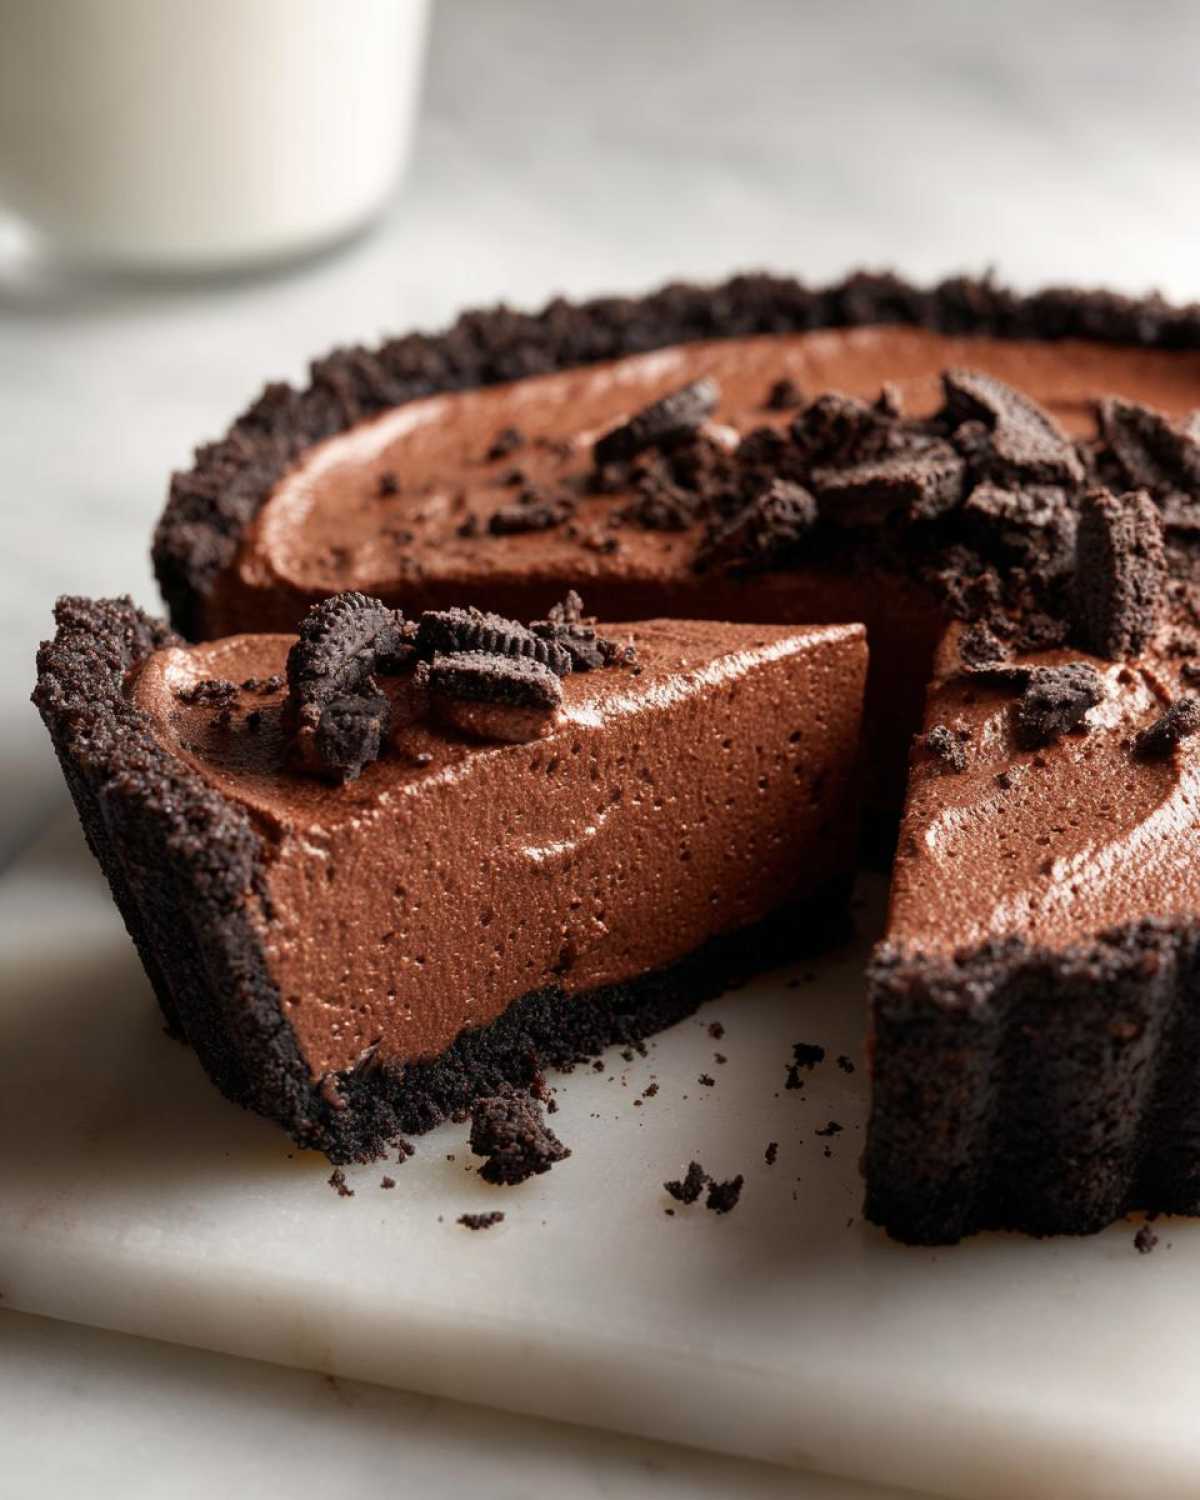
Ingredients for Your Silky Chocolate Filling and Oreo Crust Pie
Okay, gathering your ingredients is half the fun because there’s nothing complicated here! We’re using things most of us already have on hand for this Silky Chocolate Filling. The beauty of this No Bake Dessert Pie is how few actual steps we take, so having everything measured out makes the process fly by, trust me.
The only thing that requires a little patience is that it needs time to chill, but the prep is quick! Don’t forget to grab your graham cracker crumbs if you swap out the Oreos, and if you’re feeling extra fancy, have some whipped topping ready for garnish at the very end.
For the No-Bake Oreo Crust Pie
For our crust, we’re keeping it classic with Oreos, but if you run out or prefer a different flavor, you can definitely switch it up. If you want to try a graham cracker crust pie instead, just match the required volume with those crumbs, plus 1/4 cup of sugar and the melted butter. Easy swap!
- 1 1/2 cups Oreo cookie crumbs (that’s about 30 of those chocolate sandwich cookies!)
- 6 tablespoons unsalted butter, melted
For the Light and Airy Mousse Dessert
This section is where the creamy magic happens! We need the cream cheese to be nice and soft—I usually leave mine out for an hour before I even think about starting. And make sure that whipped topping is fully thawed, but not watery.
- 1 package (8 ounces) cream cheese, softened
- 1 cup powdered sugar
- 1 teaspoon vanilla extract
- 1/4 cup milk (for the cream cheese base)
- 1 package (3.9 ounces) instant chocolate pudding mix
- 1 1/2 cups cold milk (for the pudding)
- 1 container (8 ounces) frozen whipped topping, thawed
- Optional: Extra whipped topping and chocolate shavings for garnish
How to Prepare Your Decadent Chocolate Pie Recipe Step-by-Step
Now for the fun part! Even though this is a Decadent Chocolate Pie Recipe, it’s honestly more assembly than actual cooking, which I just love. Remember, since this is a no-bake dessert, we are building layers of texture. Pay close attention to keeping things light when mixing; that’s what turns it from a dense chocolate brick into that dreamy mousse texture we want! If you are looking for other quick treats after mastering this one, you might want to check out my no-bake chocolate oatmeal bars.
Creating the Oreo Crust Base
First thing’s first: we tackle that crust. Mix your Oreo crumbs with the melted butter until everything looks uniformly damp—like wet sand ready for packing. Press this mixture down really hard into the bottom and up the sides of your 9-inch pie plate. I use the bottom of a measuring cup to really compact it. Once it’s tight, pop that entire plate into the freezer while you get started on the filling. We need that base firm and cold!
Mixing the Cream Cheese Layer
In a big bowl, take your softened cream cheese and beat it until it’s totally smooth—no lumps allowed! Now, slowly add in the powdered sugar—don’t just dump it all in there!—until it’s blended. Then, add your vanilla and that small amount of milk (the 1/4 cup one). Beat it together until it looks light and fluffy; this step is what adds initial airiness before the pudding even gets involved.
Assembling the Creamy Mousse Dessert Filling
Next up is the pudding! In a separate bowl, whisk the instant chocolate pudding mix with your 1 1/2 cups of *cold* milk. You only whisk for about two minutes until it starts getting thick. Let that sit for five minutes so it can work its magic. Now, gently fold that pudding mixture into the cream cheese base until it’s just starting to combine. Do not overmix here! The most critical moment is when you *gently fold* in the thawed whipped topping. Seriously, use a spatula and scoop from the bottom up—we are keeping all those precious air bubbles intact for that perfect Creamy Mousse Dessert.
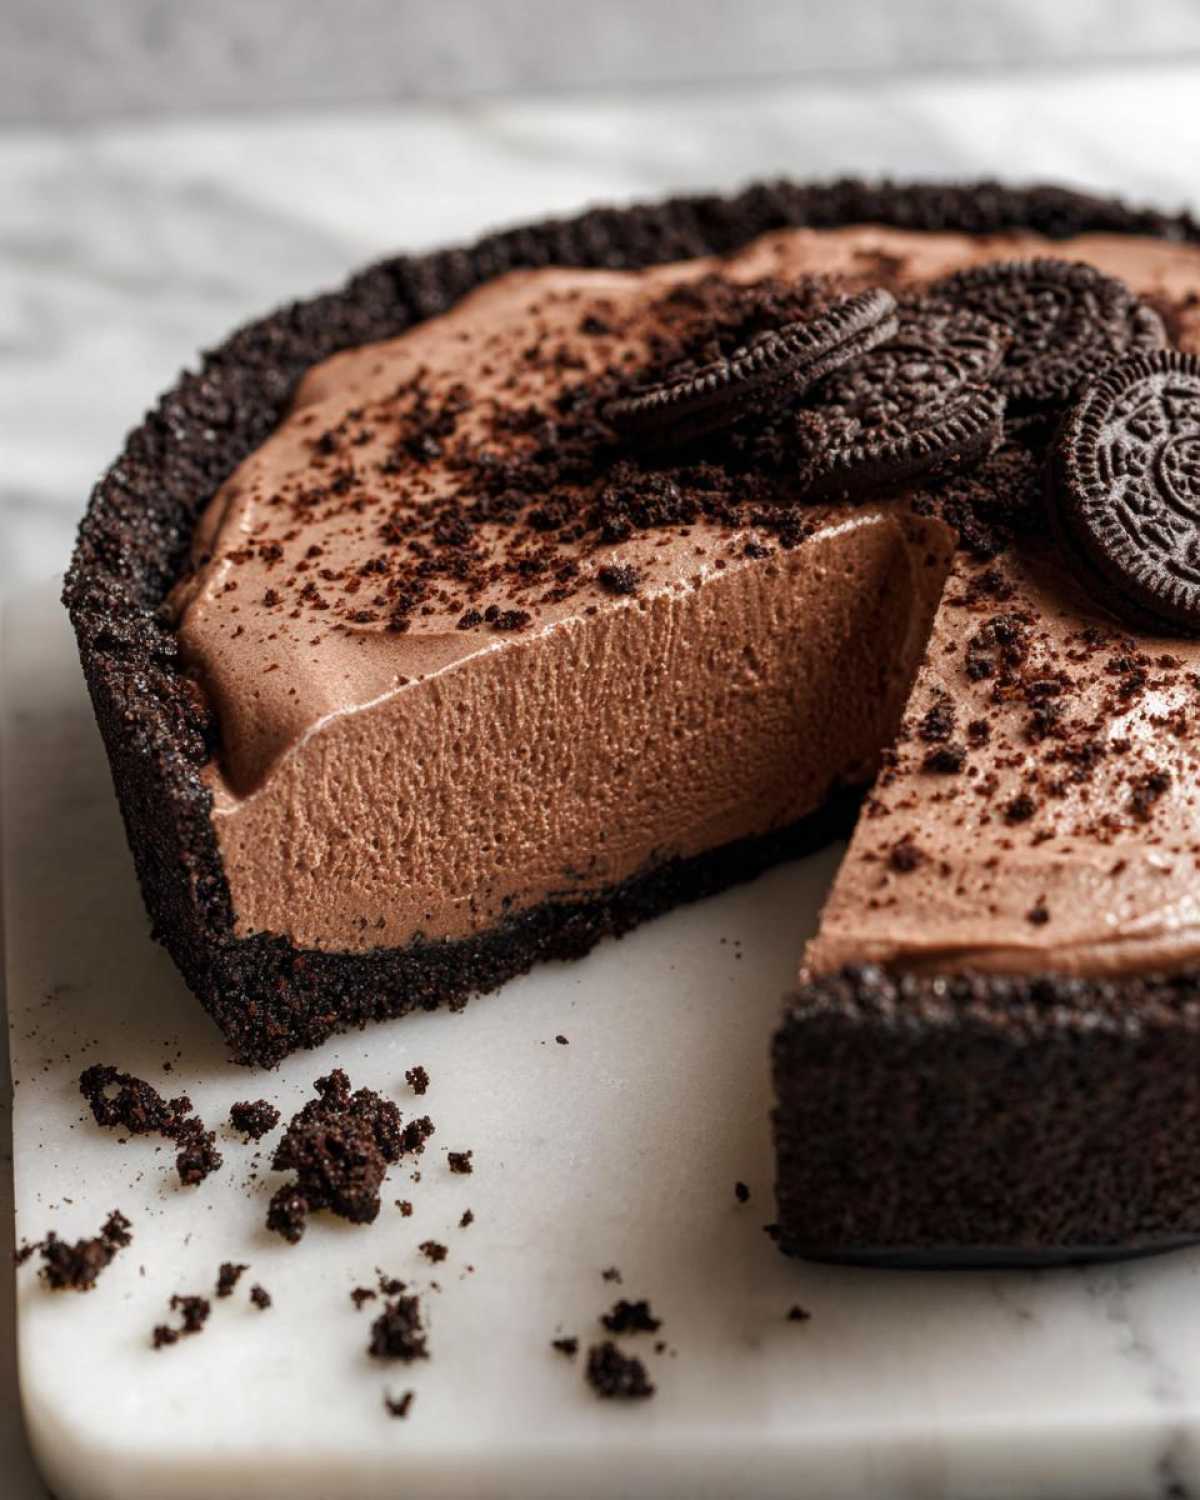
Chilling and Serving the Chocolate Mousse Pie
Spoon all that glorious mousse evenly into your chilled Oreo crust and smooth the top off nicely. Now comes the waiting game, which is the toughest part. You absolutely must refrigerate this pie for a minimum of 6 hours. Honestly, if you can leave it overnight, it sets up perfectly firm, making it the ultimate Make Ahead Chocolate Pie. When you’re ready to serve, pull it out, top it with extra whipped cream and some chocolate shavings if you feel like being extra, and slice away!
Tips for Success with Your Chocolate Mousse Pie
Look, this is an easy pie, but we want it to be the *best* easy pie, right? The two things I cannot stress enough involve temperature and technique. Make sure that cream cheese is truly softened—if it’s cold, you’ll end up with little lumps, and nobody wants a lumpy chocolate treat!
Second, when you add the whipped topping to the pudding and cream cheese base, you have to fold, not stir! Stirring knocks the air right out, and we are aiming for that Light and Airy Mousse. If you follow the recipe as written, you’ve got a great Make Ahead Chocolate Pie; seriously, I often make this the day before a big event, and it holds up beautifully in the fridge. If you’re looking for savory make-ahead options, you should check out how I do my easy lemon chicken!
Make Ahead Chocolate Pie Storage and Reheating Instructions
This is fantastic news for party planning: your Make Ahead Chocolate Pie is designed for chilling! Since this beauty is a no-bake dessert, refrigeration is key to keeping that silky filling firm and ready to slice. You can definitely make this pie a day or even two before you plan to serve it. Just cover it loosely with plastic wrap—make sure the wrap doesn’t stick into the whipped topping garnish if you’ve already added it.
You have to serve this straight from the fridge; it doesn’t like sitting out too long, especially on a warm day! It’s meant to be that cool, creamy dessert. If you need other make-ahead magic, you simply have to try my sour cream coffee cake recipe!
Variations for Your Chocolate Mousse Pie
While the Oreo crust is my number one go-to for this chocolate mousse pie, I always encourage people to mix things up! If you’re looking for something slightly less intense than chocolate on chocolate, remember those graham cracker crumbs I mentioned in the ingredients section? They work wonderfully for a slightly sweeter, buttery base. That makes it feel a bit more like a classic French silk pie inspiration, only easier!
Also, don’t be afraid to swap out the pudding mix flavor! If you want an even more intense flavor profile, use dark chocolate instant pudding instead of regular. It deepens the color and gives you an amazing Rich Layered Pie experience. It’s little tweaks like these that keep the recipe exciting batch after batch!
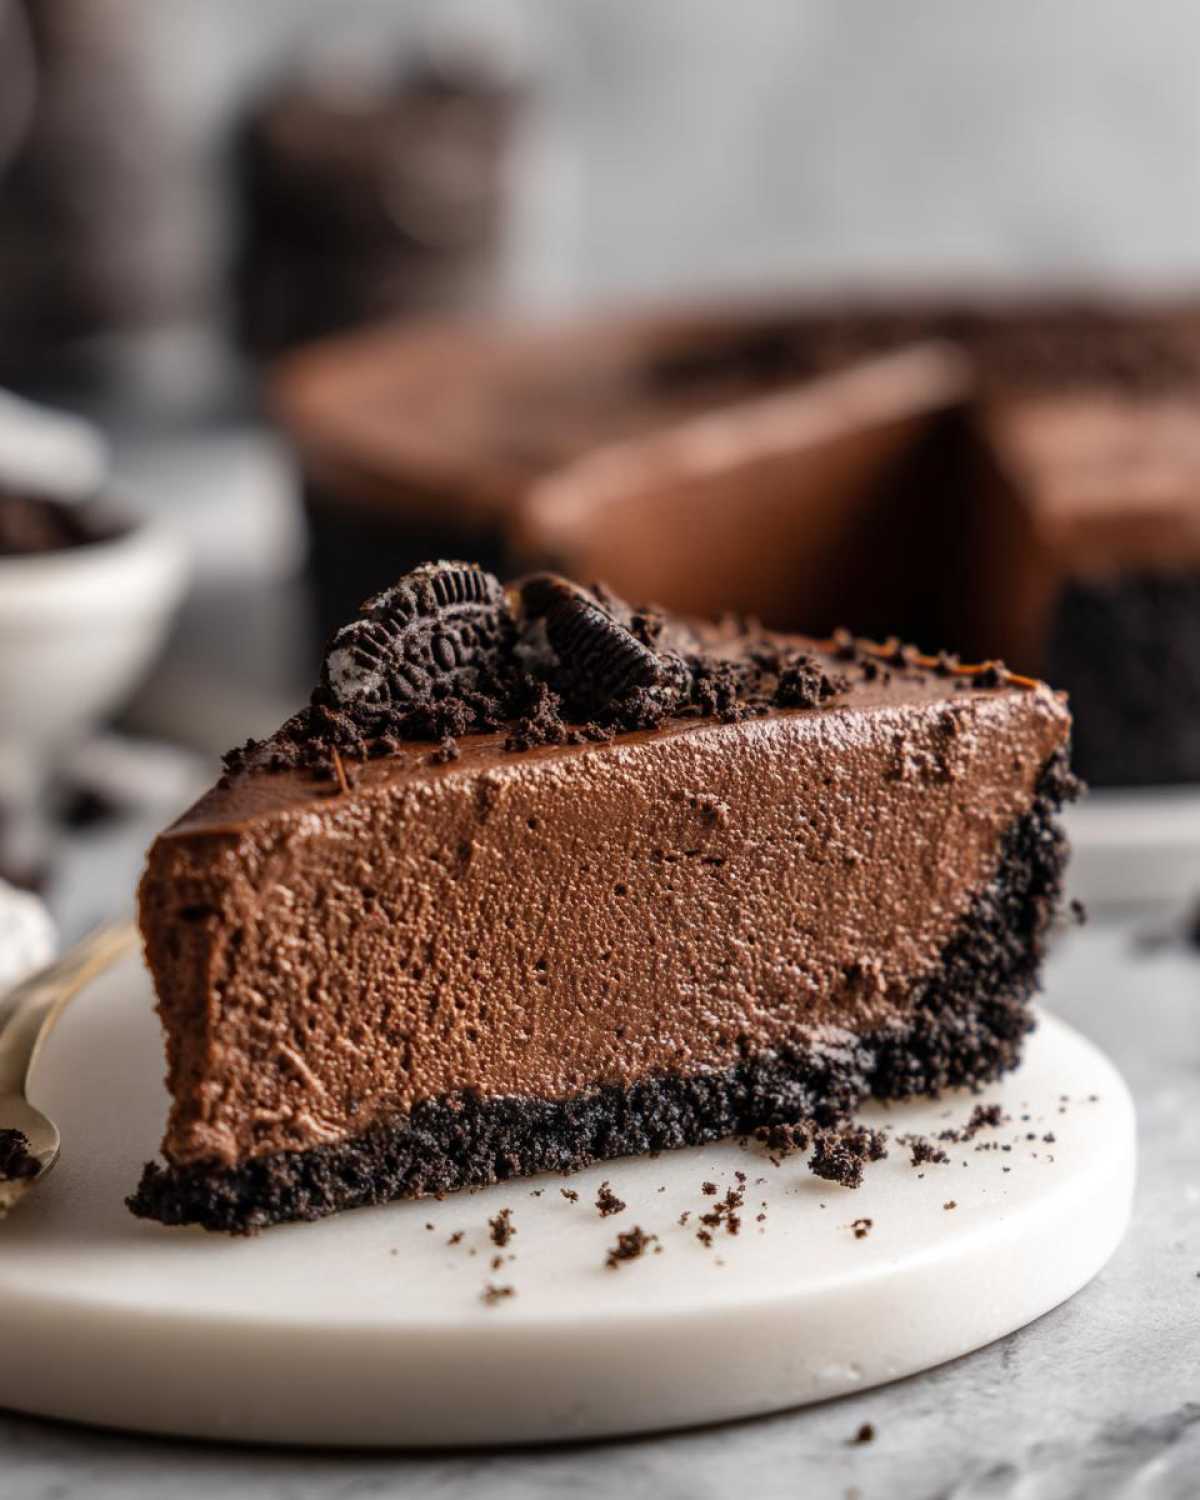
Serving Suggestions for this Rich Layered Pie
Because this **Rich Layered Pie** is so intensely chocolatey and creamy, you don’t need a lot of fuss to serve it. I usually keep the accents simple so the mousse filling shines through! A tiny dusting of unsweetened cocoa powder right before it hits the table adds such a professional finish. It looks elegant without any extra work.
If you want a little brightness to cut through all that richness, fresh raspberries or sliced strawberries are absolutely perfect alongside each slice. And of course, sometimes the best pairing for an Indulgent Chocolate Treat like this is just a small cup of incredibly strong, hot coffee. If you love chocolate in the mornings too, you’ve got to check out my chocolate overnight oats!
Frequently Asked Questions about the Easy Chocolate Mousse Pie
I know you’re probably eager to whip this up, so here are the quick answers to the questions I get asked most often about this fantastic No Bake Dessert Pie. Don’t worry if you need to tweak things a bit; this recipe is pretty forgiving!
Can I substitute the Oreo crust for a different base in this chocolate mousse pie?
Yes, absolutely! If you’re feeling creative, you can easily swap out the Oreos for a classic graham cracker crust—just follow the proportions I listed in the notes section, and press it firmly into the pan. Some people even crush up shortbread cookies for a rich, buttery base instead. Whatever you choose, make sure you press it down hard and give it that initial freeze for firmness!
How long does the No Bake Dessert Pie need to set?
This is crucial for that perfect slice! While you *can* technically serve it after about 4 hours, I strongly recommend giving this pie at least 6 hours in the refrigerator. Honestly, the best results come from letting it chill overnight. That extended time lets the pudding finish setting up and really locks in that Silky Chocolate Filling so it doesn’t slump when you cut into it.
What makes this filling so light and airy?
That beautiful texture is pure teamwork! It’s the result of two main components coming together in the right way. First, you have the cream cheese layer adding richness and stability. Second, and most importantly, you have that thawed whipped topping that you must *gently fold* in at the very end. That folding technique incorporates air, resulting in that signature Light and Airy Mousse that makes this pie so addictive!
If you want another easy, cold treat for the summer, you should totally look at my recipe for frozen hot chocolate!
Estimated Nutritional Data for This Indulgent Chocolate Treat
Okay, I know when we are diving into something this rich, we sometimes don’t want to look at the numbers, but for those of you who are tracking things while enjoying an amazing dessert, here’s the rough estimate. Remember, this is an Indulgent Chocolate Treat, so it’s definitely meant for special occasions!
These numbers are just a guideline based on the recipe measurements provided for one slice. If you use low-fat cream cheese or skip the full sugar in the crust, things change! Also, if you decide to cut smaller slices than the 8 servings suggested, your numbers will obviously be different. I always recommend checking the specific brands you use if you need exact figures!
If you are interested in how to make high-protein treats that still feel decadent, you might want to look into my protein cheesecake recipe—it’s surprisingly good!
- Serving Size: 1 slice
- Calories: 450
- Sugar: 38g
- Fat: 28g
- Saturated Fat: 15g
- Carbohydrates: 48g
- Protein: 5g
Share Your Ultimate Chocolate Indulgence
Well, that’s it! You’ve got the roadmap to the easiest, most satisfying chocolate mousse pie you’ll ever whip up. I truly hope this recipe brings that extra bit of decadent joy to your table, whether it’s for a big holiday or just a Tuesday when chocolate calls your name.
Once you’ve made this dreamy, creamy mousse dessert, please come back and let me know how it went! Leave a star rating right down below—if you loved how fast and rich it turned out, throw five stars my way! And if you snapped a photo of your finished slice, I want to see it! Tag me on social media while you’re enjoying your ultimate chocolate indulgence. Happy baking—or, well, happy chilling!
Print
Easy No-Bake Chocolate Mousse Pie with Oreo Crust
- Total Time: 6 hr 20 min
- Yield: 8 servings
- Diet: Vegetarian
Description
Make this rich, silky, and light chocolate mousse pie with a simple, no-bake Oreo crust. This dessert is perfect for parties or satisfying a deep chocolate craving.
Ingredients
- 1 1/2 cups Oreo cookie crumbs (about 30 cookies)
- 6 tablespoons unsalted butter, melted
- 1 package (8 ounces) cream cheese, softened
- 1 cup powdered sugar
- 1 teaspoon vanilla extract
- 1/4 cup milk
- 1 package (3.9 ounces) instant chocolate pudding mix
- 1 1/2 cups cold milk
- 1 container (8 ounces) frozen whipped topping, thawed
- Optional: Extra whipped topping and chocolate shavings for garnish
Instructions
- Prepare the crust: Mix the Oreo crumbs and melted butter in a medium bowl until evenly moistened. Press the mixture firmly into the bottom and up the sides of a 9-inch pie plate. Place the crust in the freezer while you prepare the filling.
- Make the cream cheese layer: In a large bowl, beat the softened cream cheese with an electric mixer until smooth. Gradually beat in the powdered sugar until combined. Mix in the vanilla extract and 1/4 cup of milk until the mixture is light and fluffy. Set aside.
- Prepare the pudding: In a separate bowl, whisk the instant chocolate pudding mix with 1 1/2 cups of cold milk for about 2 minutes until it begins to thicken. Let it stand for 5 minutes.
- Combine the fillings: Gently fold the prepared pudding into the cream cheese mixture until just combined.
- Fold in whipped topping: Gently fold in the thawed whipped topping until no streaks remain, keeping the mixture light and airy.
- Assemble the pie: Spoon the mousse filling evenly into the chilled Oreo crust. Smooth the top with a spatula.
- Chill: Cover the pie loosely with plastic wrap and refrigerate for at least 6 hours, or preferably overnight, until the filling is firm.
- Serve: Before serving, top with extra whipped topping and chocolate shavings, if desired. Slice and serve cold.
Notes
- If you prefer a graham cracker crust, substitute 1 1/2 cups of graham cracker crumbs mixed with 1/4 cup sugar and 6 tablespoons melted butter.
- For a richer chocolate flavor, use dark chocolate instant pudding mix.
- Make this pie up to 2 days ahead of time for the best make-ahead results.
- Prep Time: 20 min
- Cook Time: 0 min
- Category: Dessert
- Method: No-Bake
- Cuisine: American
Nutrition
- Serving Size: 1 slice
- Calories: 450
- Sugar: 38g
- Sodium: 350mg
- Fat: 28g
- Saturated Fat: 15g
- Unsaturated Fat: 13g
- Trans Fat: 0.5g
- Carbohydrates: 48g
- Fiber: 2g
- Protein: 5g
- Cholesterol: 45mg