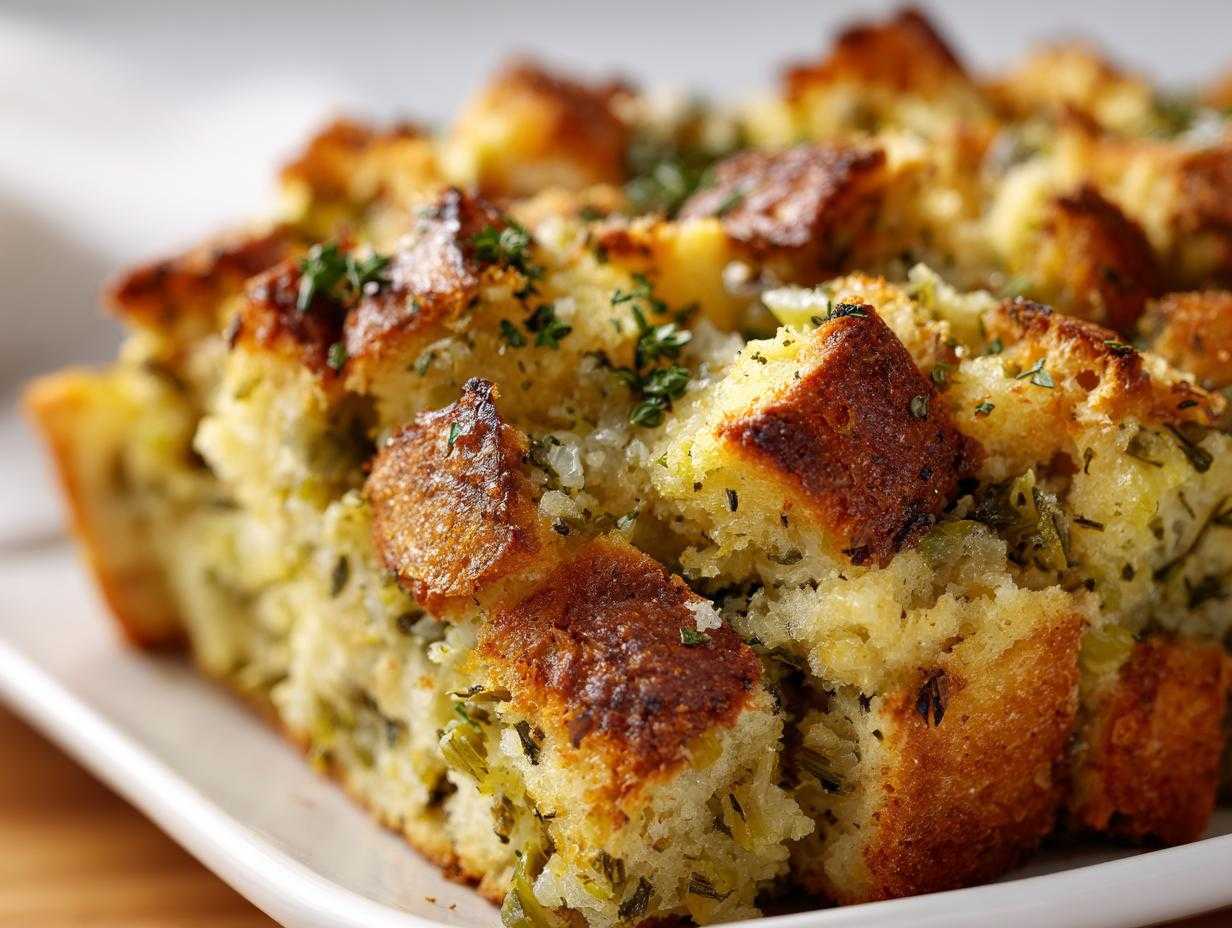
Oh, the holidays! That glorious, beautiful chaos where the smell of roasting turkey just *is* the smell of home, right? For me, nothing says Thanksgiving or Christmas dinner is officially happening until that big dish of stuffing comes out of the oven. Forget the turkey for a minute; this savory side dish is honestly the star of my table every single year. This isn’t some dry, flavorless bread pile you have to drown in gravy—trust me on this one! This is, without question, the recipe for that perfect, classic homemade stuffing that gives you that deeply satisfying, crispy top crust while keeping the inside unbelievably moist and loaded with herbs.
I’ve messed up batches that turned out like savory bread pudding gone soggy, and I’ve made ones so dry my relatives thought I used croutons from the bottom of the box. But after years of tweaking, I figured out the absolute secret: it all comes down to treating your bread right! If that bread texture isn’t perfect before it even meets the broth, you’re already fighting an uphill battle. This recipe has been the one my family has relied on for years, and once you try it, I bet it’ll be yours too.
Why This Classic Homemade Stuffing Recipe Works (The Secrets to Perfect Stuffing)
Folks, making truly great **stuffing** isn’t about complicated ingredients; it’s about moisture management! That’s why this recipe for **classic homemade stuffing** focuses on a few key things that unlock the best texture. First, you absolutely must use bread that is a day or two old. If the bread is too fresh, it just turns mushy when it hits the moist ingredients. We need that slightly tough, dried-out texture so it can soak up the flavor without collapsing into a sad pile. That’s one of the biggest **moist stuffing secrets**!
Next, pay attention to the liquid ratio—the broth and eggs—versus the dry bread. Too much liquid and you’ve got soup; too little and you’re eating dry cubes. We add just enough savory broth mixture so that every piece of bread is coated and softened, but not swimming. Once it’s in the pan, we control the bake time precisely to manage how much moisture escapes. I even included a link on how to use up any leftovers as stuffing waffles, which is way more fun than just heating up what’s left! Check out this wild suggestion if you have extra!
Achieving That Desired Crispy Top Stuffing Texture
The magic for that crackly, golden-brown crust happens in two stages. First, we pre-bake those bread cubes on a sheet tray. That initial bake dries them out perfectly so they can absorb the broth later instead of dissolving. Then, when it comes time for the final bake in the dish, leaving it uncovered is crucial! This allows the moisture at the very top layer to evaporate quickly, giving you that incredible, crunchy texture that contrasts so nicely with the soft interior. That visible crispy top stuffing is what sells the whole dish!

Ingredients for the Best Herb Stuffing
Okay, let’s talk stuff—the ingredients, that is! This list is straightforward, which is why it makes such an easy stuffing recipe. You want quality here, especially with the herbs, because they are what make this side dish sing. Please make sure your bread is ready to go, and gather everything before you start heating the pan, because once those onions hit the butter, the clock starts ticking!
- 1 pound day-old bread, cut into 1-inch cubes
- 1 cup unsalted butter
- 2 cups chopped celery
- 2 cups chopped yellow onion
- 1 tablespoon dried sage
- 1 teaspoon dried thyme
- 1 teaspoon dried rosemary
- 1 teaspoon salt
- 1/2 teaspoon black pepper
- 4 cups chicken or vegetable broth
- 2 large eggs, lightly beaten
How to Prepare This Easy Stuffing Recipe Step-by-Step
Getting this **easy stuffing recipe** ready is really straightforward if you follow the order I’ve laid out. Remember that timing matters, especially once we start the stovetop work! We’re aiming for deeply flavorful vegetables that melt in your mouth, not crunchy ones, so we take our time there.
Preparing the Bread Base for Optimal Stuffing
First things first! You need to get that oven preheated to 350 degrees F and grease up that 9×13 dish. Now, take your cubed bread—and I mean *cubed*, not torn or smooshed—and spread it out on a baking sheet. Pop it in for about 10 to 15 minutes. You’re just trying to dry it out and get it ready to absorb liquid later; you don’t want it to brown or toast hard. This ensures you get that lovely, soft **stuffing** interior we are aiming for later on. If your bread is too fresh, it will just try to turn back into dough when we add the broth, and nobody wants that gummy texture!
Sautéing Aromatics for Savory Side Dish Flavor
While the bread is drying, grab your biggest skillet and melt that whole cup of butter over medium heat. Low and slow is the way to go for softening the onions and celery. You want them translucent and tender—that takes about eight minutes. We’re building the backbone of this amazing **savory side dish**, so give them time to sweeten up without getting any nasty brown spots!
Once the veggies are perfectly soft, pull the skillet *off* the direct heat for just a second. Now, stir in all your beautiful dried herbs—the sage, thyme, and rosemary—along with your salt and pepper. Stir for just sixty seconds until you can really smell that fragrance starting to bloom. That, my friend, is the smell of the holidays starting early! If you want some extra flavor notes, you can easily add browned sausage here, but I love letting the herbs shine through in this version. You can also find a great recipe for Italian Herb and Cheese Bread if you ever want to try baking the base from scratch!
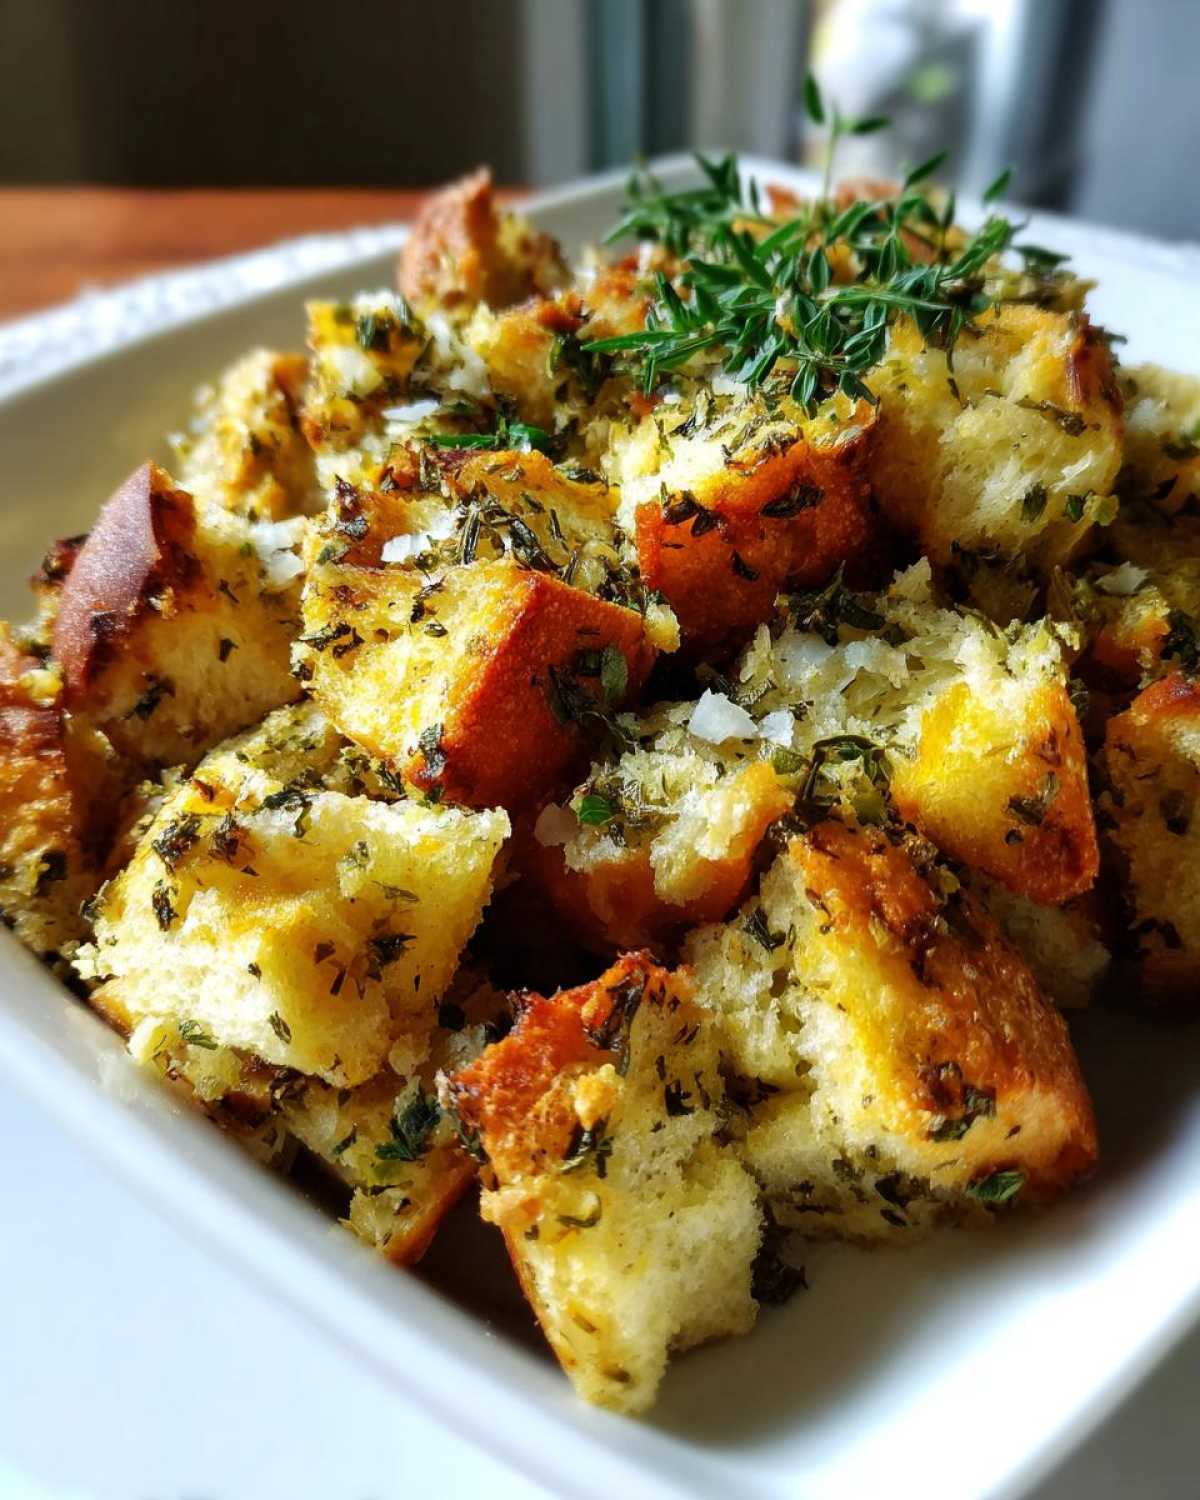
Now, toss those dried bread cubes right into the skillet with the aromatic mix. Make sure everything is coated before we move to the final wet ingredient stage. In a separate bowl, whisk your 4 cups of broth with the two lightly beaten eggs. Slowly pour that liquid mixture over the bread and vegetables. Gently toss it all together—and I mean *gently*. Stop mixing the second you see the bread has absorbed most of the liquid. If you overmix here, you crush all the air we worked to keep in the bread, and you’ll end up with a heavy casserole instead of fluffy **stuffing**!
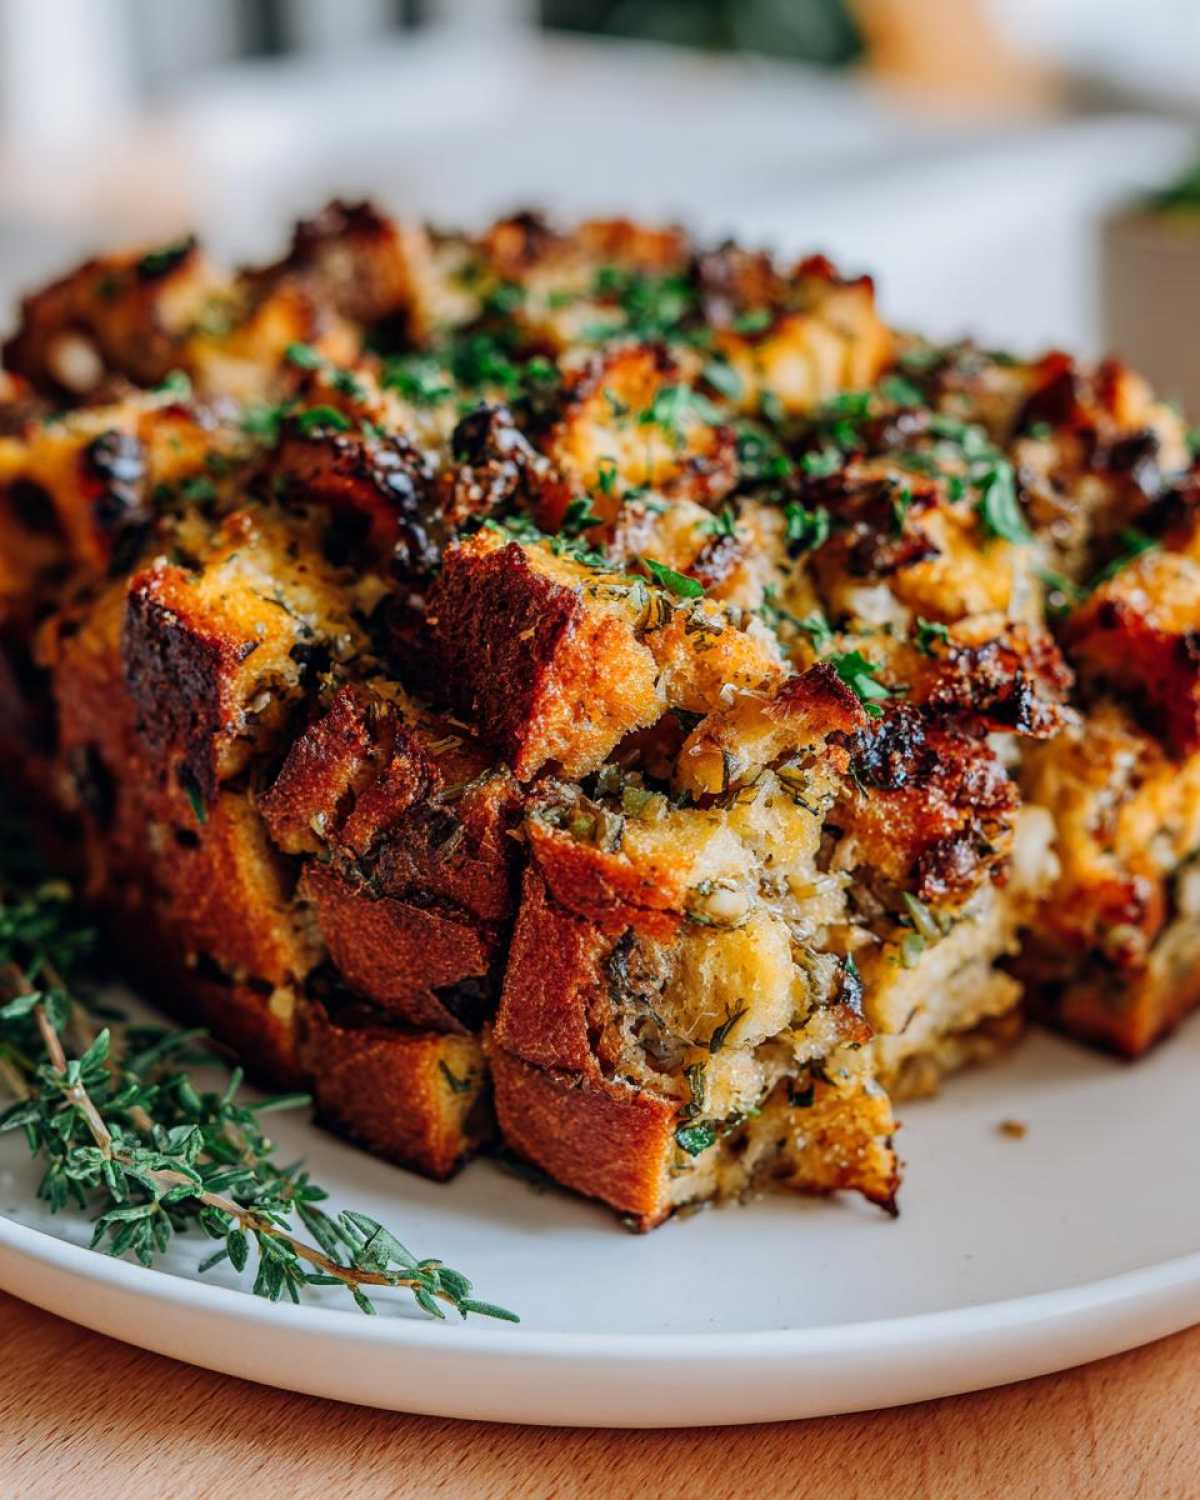
Transfer that beautiful, damp mixture into your prepared 9×13 dish. Bake it uncovered for 35 to 45 minutes. If you peek around the 30-minute mark and the top looks golden and amazing, you are golden! The center should be piping hot all the way through.
Tips for Success When Making Homemade Stuffing
Listen, every great cook has their little tweaks, right? My grandma never used the same amount of salt twice in her famous **stuffing** recipe because she claimed the broth brand changed depending on the year! So, the most important tip I can give you is about seasoning. Always taste your vegetable/herb mixture *before* you add the broth and egg mixture. The bread will mellow things out, so whatever you taste in the pan should be slightly saltier and more herbaceous than you think it needs to be. Trust me, under-seasoned stuffing is the saddest dish on the holiday table.
For moisture control, it’s all about how you bake it. This recipe calls for baking uncovered for that beautiful **crispy top stuffing**. If you are nervous, or if your oven runs super hot, you can cover the dish loosely with foil for maybe the first 25 minutes of baking time to trap a little steam. Just pull that foil off for the last 15-20 minutes so it can brown up!
Here’s a true **Grandma’s stuffing recipe** trick for depth of flavor: If you’re using store-bought broth instead of making your own, heat it up slightly before adding it to the bread. Cold broth shocks the bread and the vegetables, slowing down the absorption process. Warm broth marries beautifully with the melted butter and herbs. If you want to get really fancy and add a layer of sweetness that cuts through all that savory richness, you could try tossing in some deeply sweet caramelized onions, though that takes a bit more time. Here is a great guide if you want to try that!
Finally, remember that this is a fantastic **make ahead stuffing**! You can mix the entire thing—bread, veggies, and liquids—together the day before. Cover it tightly and stick it in the fridge. When you pull it out on Thanksgiving morning, it will be cold all the way through, so you just need to add about 10 to 15 extra minutes to the bake time to ensure it gets hot in the middle. It’s a lifesaver on a busy cooking day!
Stuffing Variations: From Sausage Stuffing Ideas to Cranberry Stuffing
Now, I love tradition, I really do, but sometimes you just need to mix things up a little bit, especially when dealing with leftovers the next day! This recipe is fantastic as is (that pure herb flavor is amazing), but it also takes modifications beautifully. When people ask me for **sausage stuffing ideas**, I always tell them how simple it is to elevate this recipe. You just brown about a pound of good quality breakfast sausage—maybe a mild Italian blend—and then add that cooked, crumbled sausage right into the skillet along with the celery and onions when you are cooking the aromatics.
Because the sausage adds a good amount of fat and salt, you might want to slightly reduce the butter by about a quarter cup, or maybe even cut back on a touch of the added salt in the recipe step. Just taste as you go! It adds such a wonderful, hearty dimension to what is usually just a bread and herb side dish.
Another super popular twist is adding fruit for a little brightness. If you want to make a **cranberry stuffing**, my suggestion is to use dried cranberries, not fresh ones, because fresh berries release way too much liquid during the bake time. Stir about a cup of dried cranberries into the bread mixture right before you pour the broth over everything. The slight tartness of the cranberry is just heavenly alongside the savory sage and rosemary. If you’re feeling extra adventurous, you could even try using sausage *and* cranberries together. That combination becomes super rich and festive!
For those of you who love stuffed vegetables, remember that this mixture is essentially a very savory, herbaceous bread pudding base. You can use this, slightly dried out, to make fabulous stuffed mushrooms or even fill peppers if you want something different than the usual roast turkey backdrop!
Storage and Reheating Instructions for Leftover Stuffing
Oh, the dreaded leftover question! But honestly, leftover **stuffing** might be even better the next day, provided you handle it right. If you have any left over from your incredible work, first thing—cool it down fast. Don’t leave that big baking dish sitting on the counter pretending it’s room temperature for hours. Transfer any leftovers into smaller, airtight containers and get them into the fridge within two hours. That’s a general food safety rule that’s crucial for any rich, savory side dish like this!
Now, when it comes to reheating that fantastic texture you worked so hard for, we’re fighting moisture loss. If you just microwave it, you’ll get a soggy mess that reminds you of bad cafeteria food. No, thank you! The best way is definitely to reheat it in the oven. Spread the cold stuffing back out into a lightly greased baking dish—you can aim for about half-inch thick layers if you have a lot left. Drizzle just a tiny bit of extra broth or maybe even melted butter over the top before covering it loosely with foil. Pop it into a 350-degree oven until it’s steaming hot all the way through, usually about 20 minutes. Covering it keeps the interior soft, and then you can pull the foil off for the last five minutes if you want to wake up that crispy top again.
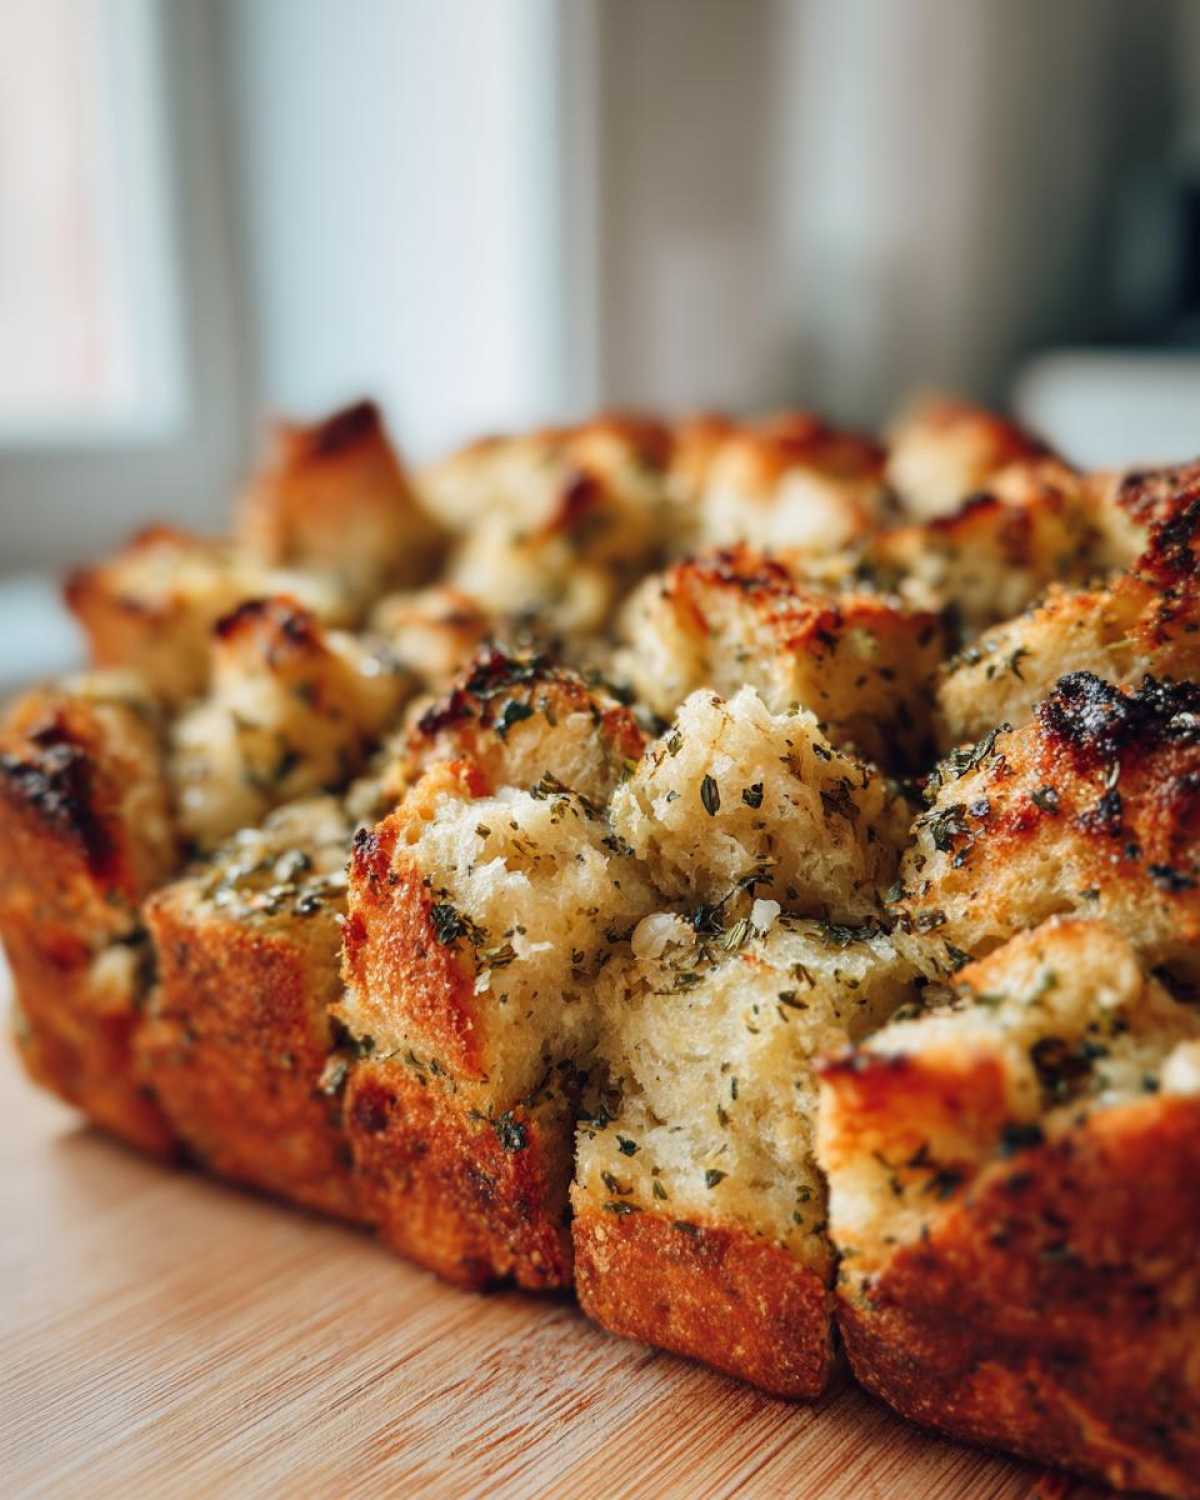
And remember what I mentioned earlier? You can totally do the **make ahead stuffing** thing! If you mix everything up, just cover the whole pan tightly with plastic wrap and then maybe foil over that, and stick it right in the fridge. When you bake it straight from cold, just plan on needing an extra 10 to 15 minutes in the oven, because that cold mixture needs more time to reach the perfect internal temperature. If you’re interested in making other things ahead of time, I have a great recipe for make-ahead breakfast casserole that relies on the same principle of prepping ahead to save your sanity on the big day!
Serving Suggestions for This Holiday Dressing Recipe
So, you’ve got the most perfectly seasoned, moist and crispy **holiday dressing recipe** sitting on your counter. What do you serve with it? Honestly, this recipe is so packed with herb flavor—that sage really carries the day—that it works with almost anything savory. It’s the ideal counterpoint to a big, juicy roast, whether you’re doing turkey, chicken, or even a ham.
Of course, you absolutely need gravy. If you’re making your own pan gravy from the turkey drippings, make sure you reserve a couple of tablespoons of that fat before you add your flour for a roux; that extra bit of poultry flavor sinks right into the stuffing and makes it taste even more authentic. If you aren’t roasting a bird, this dressing holds up beautifully alongside richer baked dishes. Have you ever tried making slow-roasted ham? This stuffing plays so well with the salty sweetness of ham. If you want a truly decadent pairing, try making some creamy scalloped potatoes and ham to go alongside!
For greener sides, keep things bright. A simple green bean almondine or maybe some lemon-roasted Brussels sprouts works wonders to cut through the richness of the butter and bread in the stuffing. You want balance on the plate, so you don’t tire out your palate after the first few bites of this incredibly comforting side dish. It’s all about making sure this classic comfort food side dishes shines without weighing down the entire meal!
Frequently Asked Questions About Making Stuffing
Whenever I share this recipe, I always get asked the same few things! It means people are ready to tackle it for their big holiday meal, which just tickles me pink. These are the same questions Mom used to ask me when I first started learning how to make this truly amazing holiday dish.
What is the difference between stuffing and dressing?
This is a classic regional debate, isn’t it? Technically, if you cook the bread mixture *inside* the turkey cavity, it is called **stuffing**. If you bake it separately in a dish—which is what we do here for better texture and safety purposes!—it’s technically called **dressing**. However, everybody calls it **stuffing** regardless of where it’s cooked, so don’t stress too much over the label! As long as it tastes like this perfect **classic homemade stuffing**, you’ve won the holiday.
Can I use fresh bread instead of day-old bread for my stuffing?
Oh, please, try not to! A friend of mine made that mistake once, and the result was closer to warm, savory mush than a delightful **savory side dish**. Fresh bread has too much moisture and collapses immediately when you add the broth. If you are in a real pickle and only have fresh bread, you *must* dry it out thoroughly first. Spread it on a baking sheet just like we do in the recipe, but you might need to bake it closer to 20 minutes at 350 degrees until it feels light and stale, not toasted.
Can I bake this stuffing outside the bird?
Yes, and I strongly recommend it! Baking it outside the bird, as this **Thanksgiving stuffing recipe** dictates, is safer, and honestly, it leads to a much better result. When you cook it inside, the bread on the bottom gets soggy, and the top doesn’t get that beautiful crust because the bird traps the steam. Baking it in a dish like this guarantees you get that perfect mix of the moist center and the crispy top we aim for every year. It also makes the **make ahead stuffing** process so much simpler!
How can I make sure my herb stuffing doesn’t taste too overwhelmingly sage-y?
Sage is potent, isn’t it? It’s the backbone of traditional holiday flavors, but too much is a powerful thing. If you are nervous, scale back the dried sage to just 2 teaspoons instead of the full tablespoon listed here. You can always add more later, but you can’t take it out later! Another trick is making sure you’re using fresh, potent dried herbs. Older herbs lose their punch, so if yours have been sitting in the pantry since last year’s holiday, it might be time to refresh them. I found that tasting the sautéed aromatics before adding the broth helps me gauge the intensity for this **easy stuffing recipe**.
Can I skip the eggs in this holiday dressing recipe?
I wouldn’t advise it, dear! Those two little eggs are incredibly important for binding everything together. They help the broth and butter emulsify, essentially acting as glue so that when you slice into the final dressing, it holds its shape beautifully. If you skip them, you risk ending up with a loose, crumbly pile that just falls apart when serving. It’s why this recipe gives you that perfect structure, almost like a savory cousin to baked French toast. If you ever want to see how eggs perform in another wonderful baked dish, check out this Yorkshire Pudding recipe for a similar binding effect!
Nutritional Estimate for Classic Herb Stuffing
I know we all try not to think about the numbers when we are enjoying the best **comfort food side dishes** of the year, but I like to provide a basic estimate just so you know what you’re working with. Please remember these are calculated estimates based on the ingredients listed and do not account for variations like adding sausage or using different types of bread!
- Serving Size: 1 cup
- Calories: 350
- Fat: 20g
- Saturated Fat: 10g
- Carbohydrates: 35g
- Sugar: 3g
- Protein: 8g
- Sodium: 450mg (This will vary widely based on your broth!)
Again, these figures are an average. If you use low-sodium store-bought broth, your sodium count will drop significantly, which is always a good move when dealing with rich holiday sides!
Nutritional Estimate for Classic Herb Stuffing
I know we all try not to think about the numbers when we are enjoying the best **comfort food side dishes** of the year, but I like to provide a basic estimate just so you know what you’re working with. Please remember these are calculated estimates based on the ingredients listed and do not account for variations like adding sausage or using different types of bread!
- Serving Size: 1 cup
- Calories: 350
- Fat: 20g
- Saturated Fat: 10g
- Carbohydrates: 35g
- Sugar: 3g
- Protein: 8g
- Sodium: 450mg (This will vary widely based on your broth!)
Again, these figures are an average. If you use low-sodium store-bought broth, your sodium count will drop significantly, which is always a good move when dealing with rich holiday sides!
Print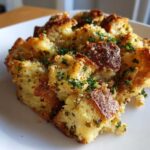
Classic Homemade Herb Stuffing
- Total Time: 65 min
- Yield: 8 servings
- Diet: Vegetarian
Description
A straightforward recipe for traditional, savory stuffing that results in a moist interior and a crisp top layer.
Ingredients
- 1 pound day-old bread, cut into 1-inch cubes
- 1 cup unsalted butter
- 2 cups chopped celery
- 2 cups chopped yellow onion
- 1 tablespoon dried sage
- 1 teaspoon dried thyme
- 1 teaspoon dried rosemary
- 1 teaspoon salt
- 1/2 teaspoon black pepper
- 4 cups chicken or vegetable broth
- 2 large eggs, lightly beaten
Instructions
- Preheat your oven to 350 degrees F. Lightly grease a 9×13 inch baking dish.
- Spread the bread cubes on a baking sheet. Bake for 10 to 15 minutes until lightly dried out. Set aside.
- Melt the butter in a large skillet over medium heat. Add the celery and onion. Cook until softened, about 8 minutes.
- Stir in the sage, thyme, rosemary, salt, and pepper. Cook for 1 minute until fragrant.
- Remove the skillet from the heat. Add the dried bread cubes to the vegetable mixture and toss to coat evenly.
- In a separate bowl, whisk together the broth and eggs. Pour this mixture over the bread mixture. Gently toss until the bread absorbs most of the liquid. Do not overmix.
- Transfer the stuffing mixture to the prepared baking dish.
- Bake for 35 to 45 minutes, or until the top is golden brown and the center is heated through.
Notes
- For extra flavor, use sausage stuffing by browning 1 pound of breakfast sausage and adding it with the vegetables.
- If you prefer a crispier top, bake uncovered. For a moister result, cover the dish loosely with foil for the first 25 minutes of baking.
- You can prepare the mixture the day before and refrigerate it. Add 10 to 15 minutes to the baking time if baking cold.
- Prep Time: 20 min
- Cook Time: 45 min
- Category: Side Dish
- Method: Baking
- Cuisine: American
Nutrition
- Serving Size: 1 cup
- Calories: 350
- Sugar: 3
- Sodium: 450
- Fat: 20
- Saturated Fat: 10
- Unsaturated Fat: 10
- Trans Fat: 0
- Carbohydrates: 35
- Fiber: 2
- Protein: 8
- Cholesterol: 75