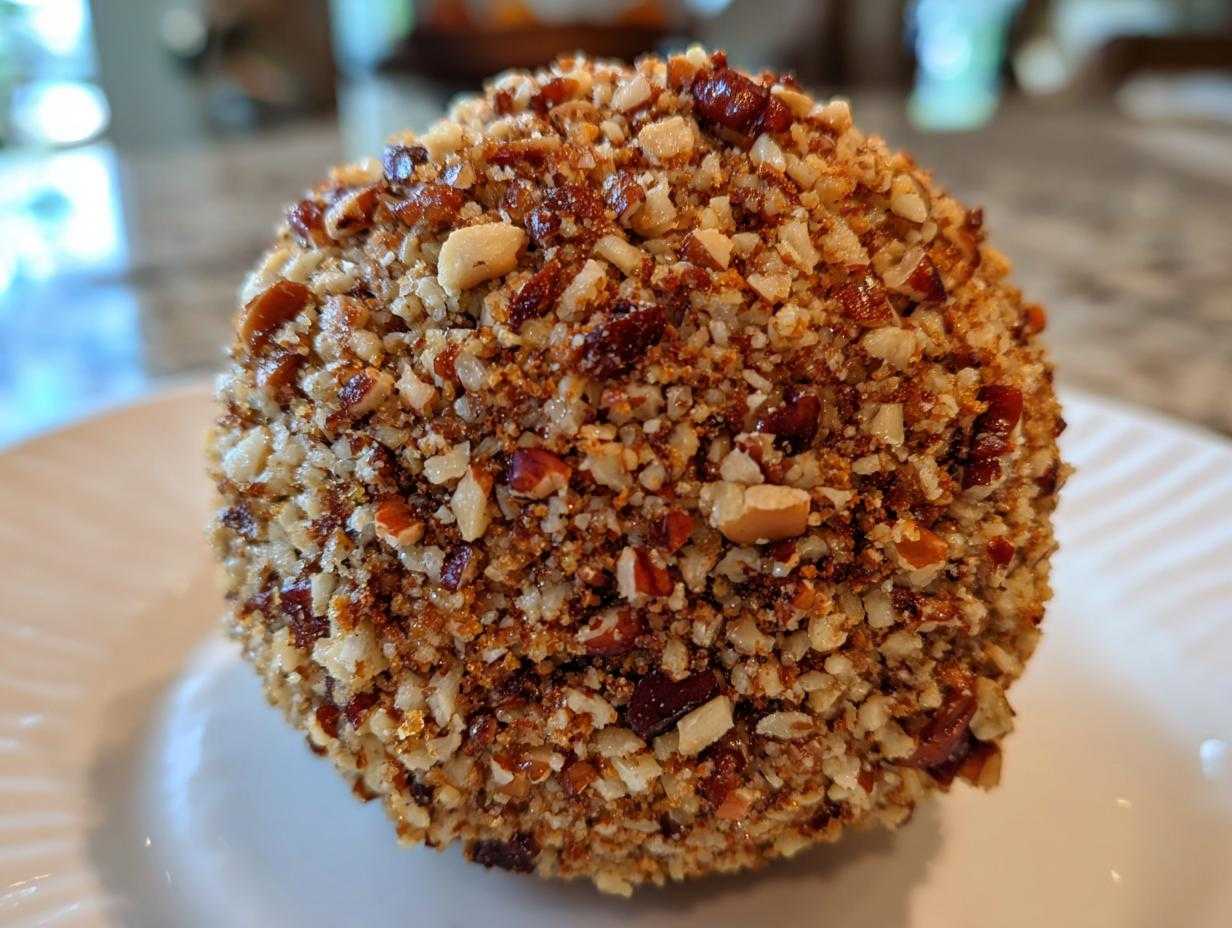
Look, I get it. You’re hosting, the doorbell keeps ringing, and you realize you need something spectacular on the table *right now*. Forget those fussy little dips that separate halfway through the evening! When I need a guaranteed win—something that looks fancy but takes five minutes of actual work—I always turn to the mighty cheese ball. Seriously, this **cheese ball recipe** is my secret weapon. It has saved my bacon at holidays, last-minute game days, and even when I forgot I promised appetizers for book club. It’s naturally vegetarian, it’s stunning sitting on the counter, and honestly, if you can stir things in a bowl, you can nail this every single time. Trust me, this is the only recipe you’ll ever need!
Why This Easy Classic Cheese Ball Recipe is a Crowd Pleaser
I’m telling you, this classic cheese ball is genuinely the definition of **crowd pleasing party food**. My absolute favorite part? There is zero baking involved whatsoever! You mix it, you shape it, you chill it, and you’re done. It’s probably one of the best **easy appetizer ideas** because it uses ingredients you usually have on hand, like sharp cheddar and cream cheese. When I’m running around getting ready for a big gathering—whether it’s Christmas Eve or just a Sunday football watch party—knowing this appetizer is handled is a huge relief.
Also, think about presentation! It instantly becomes the centerpiece of your snack board. It just says, “I tried, but not too hard,” which is the perfect balance for any host. Need some more inspiration for simple dishes? You should check out my list of 18 easy summer appetizers, too, but this cheese ball beats them all out in the fall and winter!
Ingredients for the Best Cheese Ball Recipe
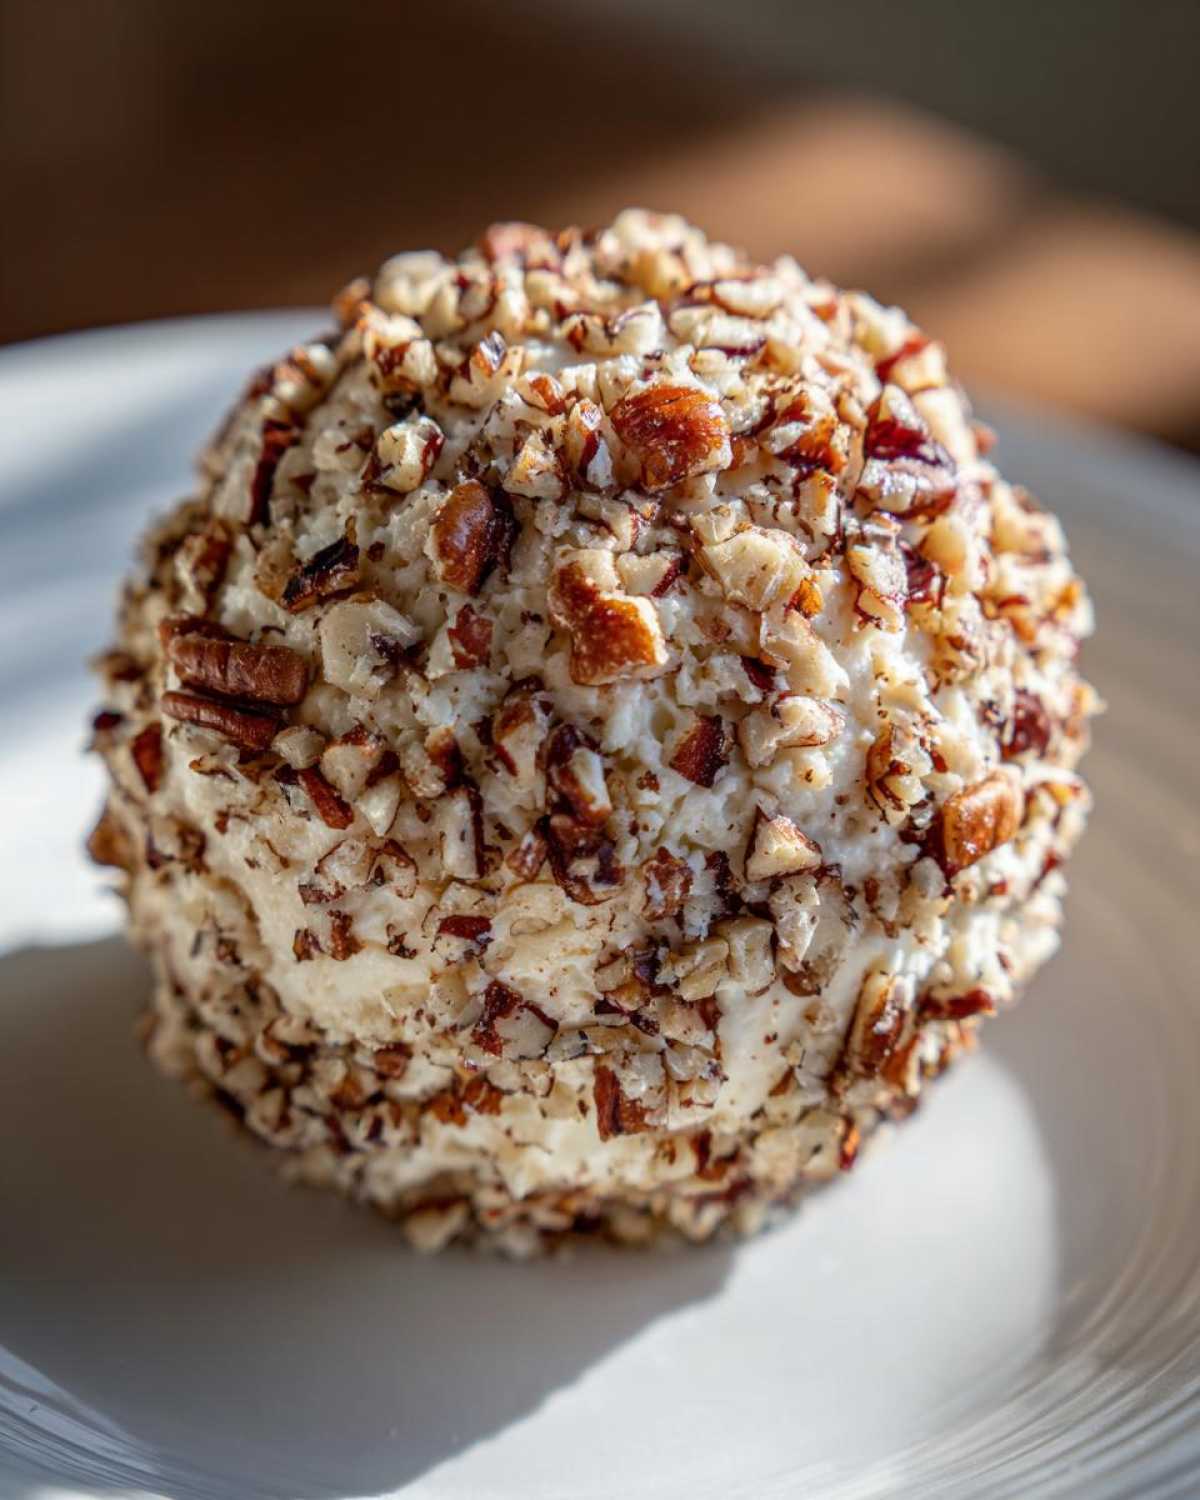
Okay, so assembling this **best cheese ball recipe** is ridiculously simple because we aren’t making anything complicated here—just pure, delicious cheese flavor! The trick is having everything ready to go. Make sure your cream cheese is truly soft; take it out at least an hour before you plan to mix. Nobody wants lumpy cheese balls!
- 8 ounces cream cheese, softened to room temperature
- 8 ounces sharp cheddar cheese, freshly shredded (trust me, don’t use the pre-shredded stuff if you can help it!)
- 4 ounces blue cheese, crumbled (this adds that perfect little tangy bite!)
- 1/4 cup chopped pecans (for mixing into the filling)
- 2 tablespoons Worcestershire sauce (this is the secret ingredient for depth!)
- 1 teaspoon onion powder
- 1/2 teaspoon garlic powder
- 1/4 cup finely chopped fresh parsley
- 1/2 cup chopped pecans for coating the outside
Ingredient Notes and Substitutions
Since this is such a simple recipe, the quality of your ingredients really shines through. If you are worried about the nuts, don’t stress out! You can absolutely swap the pecans for toasted walnuts if that’s what you prefer. Walnuts give it a slightly earthier crunch, which is also fantastic.
Now, about the cream cheese—if you forgot to take it out early, I have a trick! Cut the 8 oz block into about four smaller cubes. You can microwave those cubes for about 10-15 seconds. It won’t be liquid, but it will soften right up so you can push it around with a fork. Just test it so you don’t end up with melted butter instead of soft cheese!
Also, I highly recommend shredding your own cheddar. Those bags with the anti-caking powder just don’t melt into the mixture as nicely when you go to form the ball.
Step-by-Step Instructions for Your Homemade Cheese Ball
When you see how easy this gets, you’ll want to make a **homemade cheese ball** every week! Remember, there are no ovens involved, so the real work is just mixing things until they agree with each other. My biggest piece of advice here is to use a sturdy rubber spatula for the mixing part. It gets into the corners of the bowl way better than a spoon, and scraping down the sides is key to making sure everything is totally uniform.
Here are the moves:
- In a medium bowl, combine all your main components: the softened cream cheese, the freshly shredded cheddar, the blue cheese crumbles, that 1/4 cup of pecans, the Worcestershire sauce, onion powder, and garlic powder.
- Stir everything together until it looks totally creamy and uniform. Seriously, no one wants a pocket of straight blue cheese in their bite!
- Now stir in the fresh parsley.
- Shape the entire cheese mixture into a nice, tight ball. Don’t worry if it feels a little tacky at first.
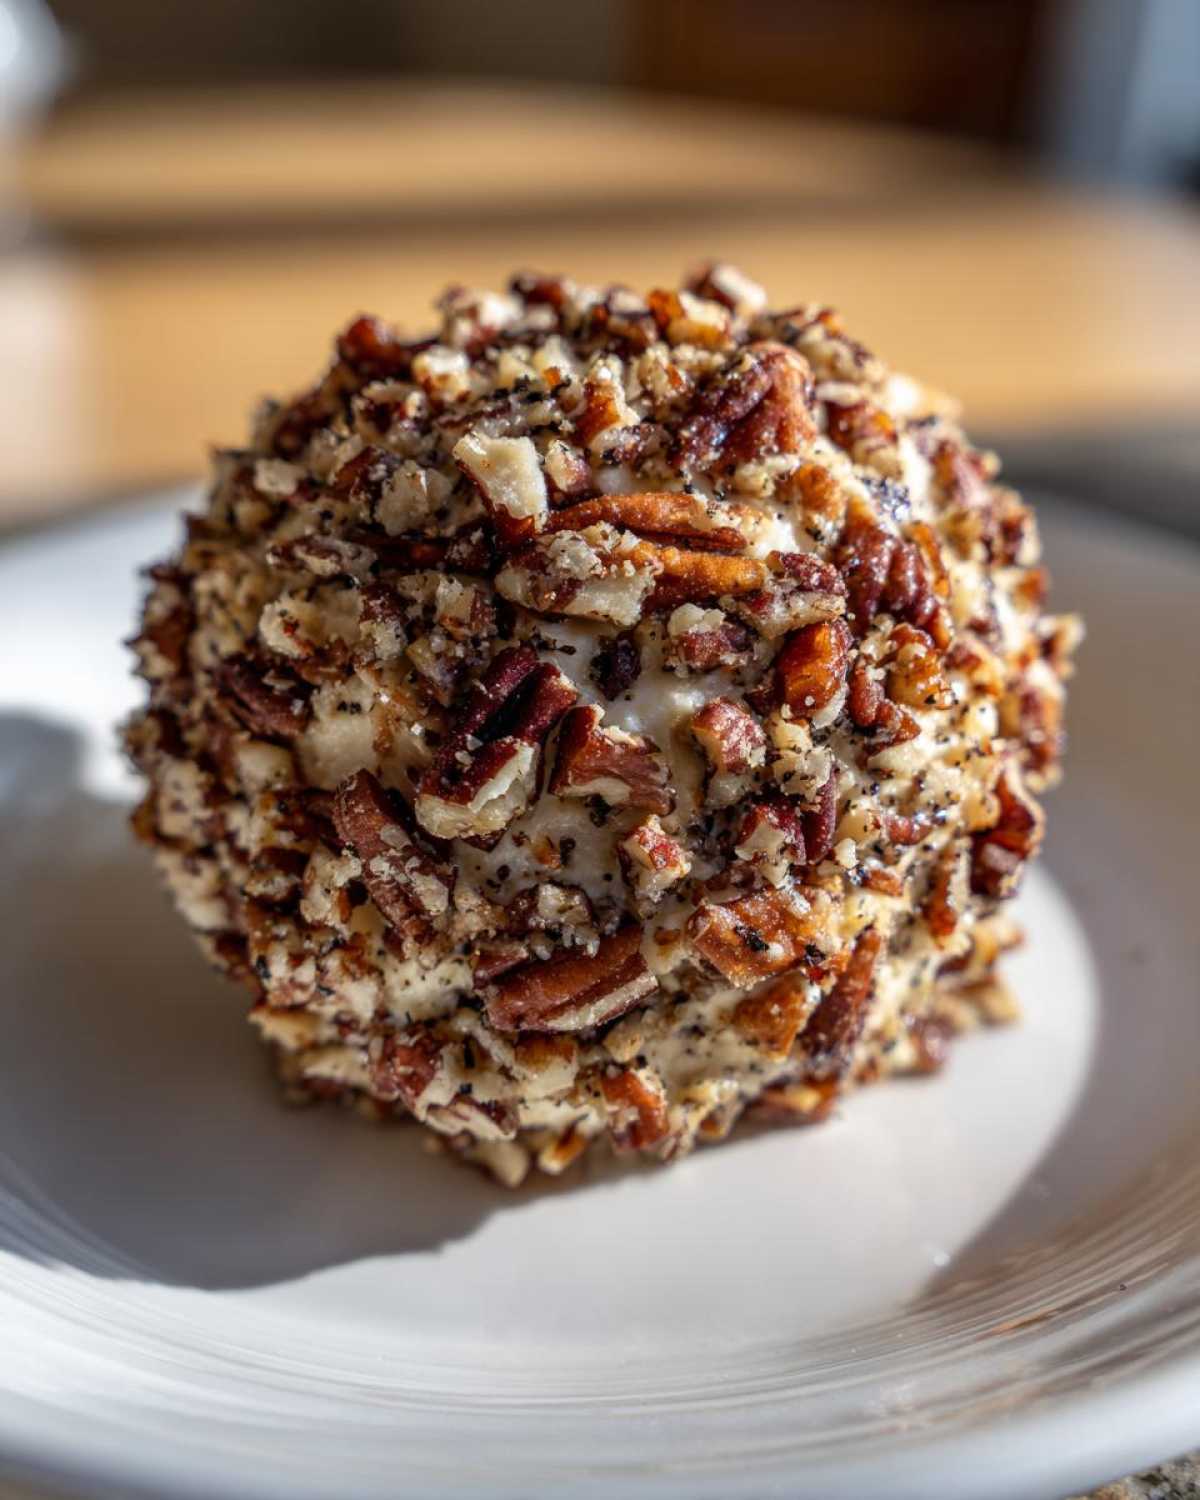
- Place the remaining 1/2 cup of chopped pecans—the coating nuts—on a wide, flat plate. Gently roll your cheese ball around in those pecans until it’s completely covered. It looks so much better when it’s fully coated!
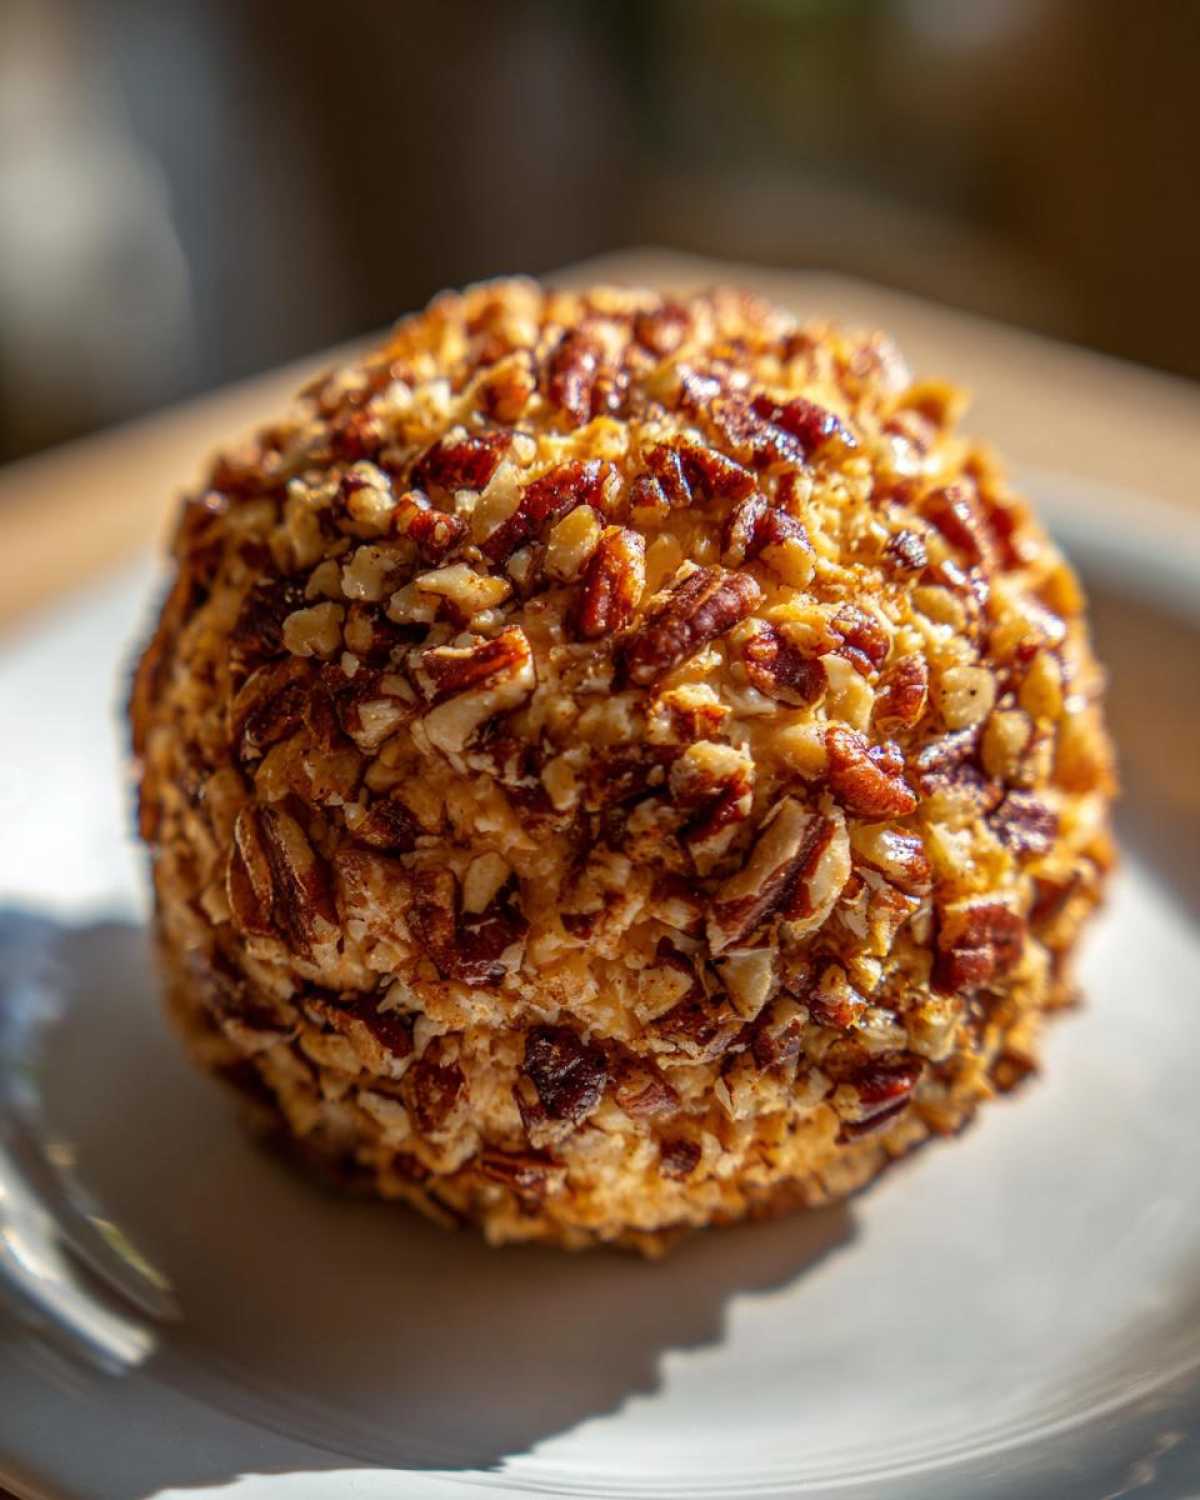
- Wrap the finished ball very TIGHTLY in plastic wrap.
- This is the hardest part, but you have to do it: Refrigerate for at least two hours before serving. If you try to serve it sooner, it’s liable to melt into a puddle. Trust me, that chilling time makes the flavor really bloom, too. If you are making this well in advance, check out my tips for make ahead appetizers for extra storage ideas!
Mixing the Cheese Base
When you start combining those cheeses and seasonings, take your time. You are looking for that moment when the texture is smooth and everything is evenly distributed. Don’t rush past Step 2 just because you can’t see any white streaks of cream cheese anymore. You need that Worcestershire sauce and those spices folded completely into the matrix of the cheese. Once it’s homogenous, then you toss in the parsley. The parsley should be there for color and freshness, not for structural integrity, know what I mean?
Shaping and Coating the Cheese Ball Recipe
If the mixture is stickier than you’d like when you start shaping, don’t reach for more cheese! Just dampen your hands very slightly with cold water. Using barely damp hands helps the cheese ball release easily so you can press it into that perfect, neat sphere shape. Then, when you roll it in the outer pecans, press gently but firmly to make sure those nuts stick nicely all the way around. A good coat of nuts prevents the plastic wrap from sticking directly to the cheese!
Making Ahead Appetizers: Timing Your Perfect Cheese Ball Recipe
I am the queen of **make ahead appetizers**, and this cheese ball recipe is right at the top of that list! The best part about planning ahead is that this appetizer *needs* its chill time, so you can make it ahead of a party and actually relax when guests arrive. It’s a total win-win situation.
You can actually mix all the cheese components—cream cheese, cheddar, blue cheese, spices, and the internal pecans—up to three days in advance. Just mix everything, cover that bowl tightly with plastic wrap, and keep it in the fridge. When you mix it early, the flavors actually have more time to get friendly with each other. It deepens the entire profile, making it taste even richer!
However, here’s the balancing act: you *must* wait until the day you plan to serve it to shape and coat it. Why not coat it early? Well, those outer pecans can get a little soggy sitting against the plastic wrap for days. If you’re getting organized, mix the base on Tuesday, shape and coat it Wednesday night, and then it’s ready for your Saturday party!
Chilling is mandatory, remember? We aren’t kidding around when we say at least two hours. That chilling time is essential for structural integrity! If the mixture is too warm or too soft when you try to serve those crackers, the whole ball will start to lean and slump. We want a proud, stately centerpiece, not a dairy puddle. Plus, the cold temperature firms up the fat in the cheese, which means when you dig in with a cracker, you get that satisfying little firmness before it melts beautifully in your mouth. It’s all about the texture contrast!
If you want more recipes you can bake off days before a big event, I’ve got a whole section dedicated to those kinds of logistics, like this amazing make ahead casseroles that just need to be reheated. Planning ahead makes entertaining so much less stressful!
Serving Suggestions for This Classic Cheese Ball
So, you’ve got your beautiful, nutty, perfectly chilled **Classic Cheese Ball** sitting there looking like the star of the show—which it is! But nobody eats the centerpiece directly, right? You need the perfect vehicles to scoop up all that cheesy goodness. Presentation is everything, especially when you want this appetizer to truly shine as the **appetizer centerpiece** on your table.
My go-to strategy is variety. Because this cheese ball is so rich and savory, you need a mix of textures and flavors to balance it out. Don’t just put out one type of cracker; lay out a glorious platter!
- Crackers Galore: I always grab some sturdy water crackers—the ones that taste like nothing so they let the cheese shine. Then, I throw in some whole-grain crackers, maybe some rye crisps, and definitely some small, rectangular bagel chips if I have them. You want things that won’t snap off halfway through the dip!
- Veggie Power: For those guests who need something a little lighter or healthier—or just need a crunchy, cool contrast—carrot sticks and celery are essential. Also, slices of crisp cucumber or even those sweet bell pepper strips hold up really well against the richness.
- Bread Buddies: Thin slices of toasted French bread, lightly brushed with olive oil and maybe even a quick toast under the broiler, are amazing. They give you a substantial base for the cheese.
If you need hearty ideas that stand up to dips, check out my thoughts on sausage-stuffed mushrooms too, but for the cheese ball, stick to crisp dippers!
For presentation, here is my pro-tip: Don’t just plop it on a plate. Surround the base of the cheese ball with a vibrant circle of fresh herbs—maybe a bit more parsley or some fresh thyme sprigs—and then artfully arrange your crackers and veggies around the outside, radiating out from the center. It makes the whole thing look professionally styled, even if you only spent 15 minutes on the actual cheese!
Flavor Variations for Your Next Cheese Ball Recipe
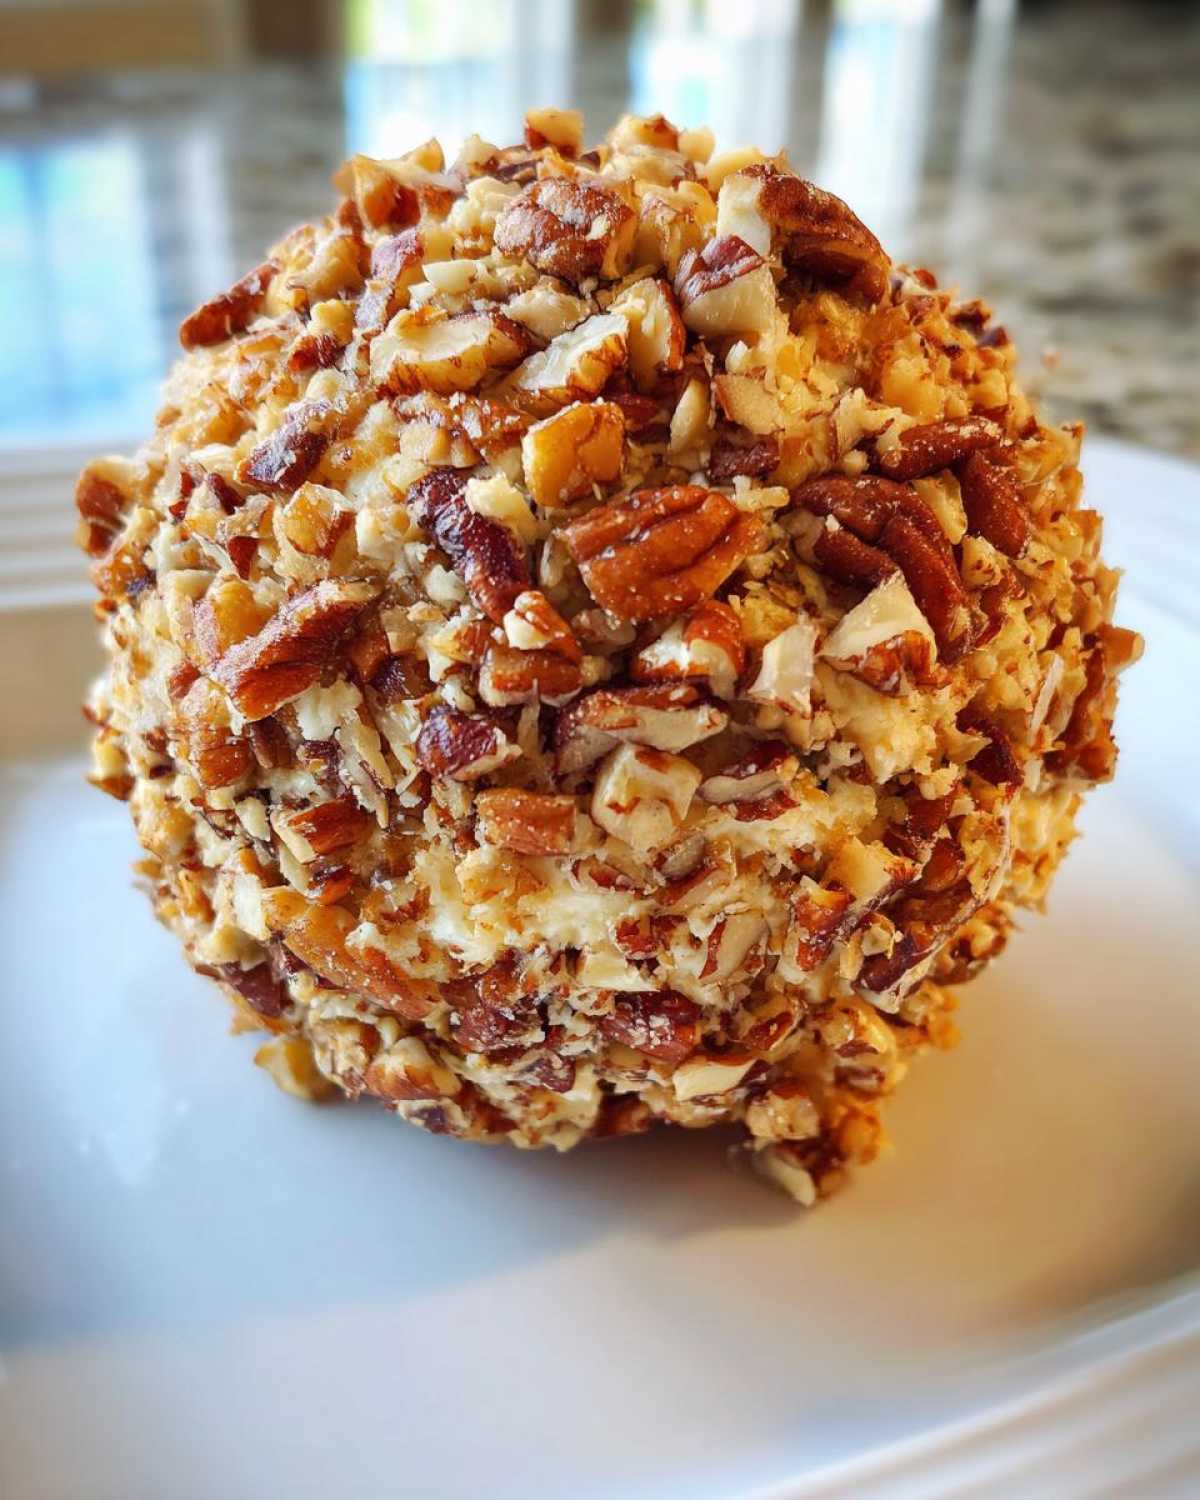
Now, listen, while this **Classic Cheese Ball** recipe is absolutely my ride-or-die, sometimes you need to shake things up, right? Maybe you’re making one for the folks who swear by Ranch dressing, or maybe you need a little kick for the game day crowd. Having a couple of easy flavor swaps makes you look like a genius host without stressing your prep time. This is where we move beyond the basic but keep everything super simple as an **easy appetizer idea**!
Ranch Cheese Ball Inspiration
If you love that creamy, herby ranch flavor—and who doesn’t?—this variation is the easiest switcheroo you can make. Forget messing with liquid ranch dressing, which can throw off the texture! Instead, when you are mixing your cheese base (Step 2), just toss in about two tablespoons of dry powdered ranch seasoning mix.
That’s it! The ranch powder dissolves beautifully into the cream cheese and gives you that familiar, tangy punch that everyone associates with ranch. You might even want to skip the blue cheese entirely for this variation, as the ranch flavor usually takes center stage. Then, for the coating, try using crushed, dry ranch-flavored chips instead of pecans for an extra flavor hit!
Spicy Jalapeno Cheese Ball Twist
If you have a group that appreciates a little heat, the **Jalapeno Cheese Ball** is always the first thing to disappear! To get that heat going, you really need to incorporate actual peppers. My suggestion is to finely mince about one small jar of pickled jalapenos. Make sure you drain them really, really well on paper towels first—we want flavor, not water!
When you mix the base, stir in about a quarter cup of those minced jalapenos along with the seasonings. Here’s where I change the cheese slightly, too. Because blue cheese can sometimes clash with the bright heat of the pepper, try substituting the blue cheese with an equal amount of Monterey Jack or Pepper Jack cheese. Monterey Jack melts beautifully and keeps the texture smooth while letting the jalapeno flavor pop! If you love that spicy appetizer vibe, you should definitely look at my recipe for bacon-wrapped jalapeno poppers, too!
Everything Bagel Cheese Ball
This one is so easy and makes your cheese ball look instantly elevated. If you love the flavor combination of sesame, poppy, garlic, and onion found on an everything bagel, you are in for a treat! The key here is using the Everything Bagel Seasoning blend.
For this version, you’ll want to omit the parsley entirely. Instead, when you mix the base (Step 2), add one tablespoon of the seasoning blend directly into the cheese. Then, for the coating (Step 4), use a full half-cup of the seasoning tossed onto the plate and roll that ball like your life depends on it! The resulting coating is crunchy, savory, and makes the whole thing feel super gourmet. It pairs perfectly with pretzel crisps!
Storage and Reheating Instructions
Look, sometimes the party ends, or maybe you just made this too far in advance for the big event next week. Don’t sweat it! This is one of the best parts about this **Simple Cheese Dip**—it stores like a rockstar. Since there’s no actual cooking involved, the main thing we are worried about is structure and freshness.
Once you have shaped that beautiful ball and rolled it in the pecans, you need to wrap it up like you mean it. Use heavy-duty plastic wrap and press it right against the surface of the nuts everywhere to seal out any fridge air. It will keep perfectly well in the refrigerator for up to a week. If you wrap it well, I’ve honestly kept mine a little longer, but for peak flavor and texture, aim for under seven days.
People always ask me if they can freeze them. You *can*, but I find that when you thaw them out, the texture of the cream cheese changes slightly—it just doesn’t get that same dense, creamy body back. For the absolute best experience, I highly recommend making it fresh or assembling the base ahead of time, as we talked about before.
Now, the most important part about serving a chilled cheese ball: You cannot serve it rock-hard straight from the fridge! That’s when it becomes impossible to spread and people end up breaking all their crackers trying to scrape the cheese off. You have to let it sit out on your serving platter for about 30 to 45 minutes before guests arrive. This brings it back to that perfect, slightly soft, scoopable consistency. If you forget, just set it on the counter while you’re getting your last plate of pickles ready—it doesn’t take long to warm up just enough!
Frequently Asked Questions About This Cheese Ball Recipe
I know when you’re planning a party, you’ve got a million questions running through your head, especially when trying to nail down a make-ahead item like this. People always ask me if this counts as one of those **simple dip recipes**, and honestly, it’s better because it’s handheld and beautiful! Since this recipe is naturally meat-free, it’s also a fantastic go-to **vegetarian appetizer** that satisfies everyone at the table.
Can I freeze a cheese ball?
You totally *can* freeze it, but I always give a little disclaimer here. If you wrap it super tightly in plastic wrap and then maybe add a layer of foil, it will hold up in the freezer for a month or so. The issue isn’t safety; it’s texture. When you thaw a frozen cheese ball, the cream cheese fat structure can get a tiny bit grainy—it just won’t be quite as silky smooth as when you made it fresh. If you’re desperate, thaw it overnight in the fridge and let it sit on the counter for that full 45 minutes before serving. It’s better than nothing, but fresh is always best!
What is the best cheese for a cheese ball recipe?
For this specific recipe, you need a great binder and a great flavor agent. The cream cheese is non-negotiable—it’s the glue that holds everything together, so make sure it’s soft! Then, you absolutely want sharp cheddar. The sharpness cuts through the richness of the cream cheese and gives you that savory punch we are looking for. We use blue cheese for tang, but if your crowd hates blue cheese, feel free to bump up the sharp cheddar amount slightly or swap in some Gruyère for a nutty flavor. But please, keep that cream cheese soft!
How long does this appetizer take to set up?
This is probably the most common question I get, because everyone wants to rush it! You only spend about 15 minutes actually mixing and shaping this appetizer. *However*, you cannot skip the mandatory chill time. It needs a minimum of two hours in the refrigerator for the structure to firm up properly. If you try to serve it warm, it’s going to be a sloppy mess, and those pecans won’t stick. For the ultimate flavor melding, I aim for chilling it overnight. If you need more ideas for planning large menus and timing things out, I’ve put together my guide on simple dip recipes for parties that covers logistics, too!
Review and Share Your Classic Cheese Ball Experience
Phew! You’ve made it through the assembly, the chilling, and now your gorgeous **Classic Cheese Ball** is ready to be enjoyed. But don’t just disappear into the kitchen! I absolutely love hearing how your party went. Did someone ask for the recipe immediately? That’s the biggest compliment, honestly.
I’d be thrilled if you’d come back here and leave a star rating for this recipe. Did you stick to the classic cheddar and blue combo, or did you try one of the spicy variations we talked about? Knowing what worked for you helps me feel confident sharing these simple, effective recipes with others looking for **easy appetizer ideas**.
And I have to ask: what was your main pairing? Everyone has a favorite cracker or veggie stick that just *has* to go with a good cheese ball. Was it seeded crackers? Maybe thick slices of French bread? Let me know your absolute favorite way to scoop up this delicious **crowd pleasing party food** in the comments below!
If you enjoyed how easy this was, you might also want to peek at the secrets behind my best soft chewy chocolate chip cookies—because every party needs a great dessert, too!
Print
Simple Cheese Ball Recipe
- Total Time: 15 min
- Yield: 1 large cheese ball
- Diet: Vegetarian
Description
A straightforward recipe for a classic cheese ball appetizer.
Ingredients
- 8 ounces cream cheese, softened
- 8 ounces sharp cheddar cheese, shredded
- 4 ounces blue cheese, crumbled
- 1/4 cup chopped pecans
- 2 tablespoons Worcestershire sauce
- 1 teaspoon onion powder
- 1/2 teaspoon garlic powder
- 1/4 cup finely chopped fresh parsley
- 1/2 cup chopped pecans for coating
Instructions
- In a medium bowl, combine the softened cream cheese, shredded cheddar cheese, crumbled blue cheese, 1/4 cup chopped pecans, Worcestershire sauce, onion powder, and garlic powder. Mix until well combined.
- Stir in the fresh parsley.
- Shape the cheese mixture into a ball.
- Place the remaining 1/2 cup chopped pecans on a plate. Roll the cheese ball in the pecans until fully coated.
- Wrap the cheese ball tightly in plastic wrap.
- Refrigerate for at least 2 hours before serving.
Notes
- Serve with crackers, celery sticks, or vegetable crudités.
- You can substitute walnuts for pecans if desired.
- Prep Time: 15 min
- Cook Time: 0 min
- Category: Appetizer
- Method: No Bake
- Cuisine: American
Nutrition
- Serving Size: 1/16 of recipe
- Calories: 150
- Sugar: 1
- Sodium: 250
- Fat: 14
- Saturated Fat: 7
- Unsaturated Fat: 7
- Trans Fat: 0
- Carbohydrates: 2
- Fiber: 0
- Protein: 7
- Cholesterol: 35