If you need a party appetizer or frankly, just something unbelievably comforting for a Tuesday when you’re too tired to cook real dinner, stop what you are doing right now. I’ve got the golden ticket. Forget fancy dipping sauces or long baking times; we are talking about the ultimate, hands-down best **pizza sliders** you will ever make. Seriously, they use those sweet Hawaiian rolls which makes everything so much easier and gives them this incredible soft texture. Toss in pepperoni and tons of melted mozzarella, brush it all with garlic butter, and BAM! You have cheesy, gooey perfection in under 30 minutes. I make these every single Super Bowl Sunday, and they vanish first, every time!
Why These Pepperoni Pizza Sliders Are the Ultimate Crowd Pleaser
I know you’ve seen a million easy slider recipes out there, but trust me, these are it. They hit every single mark you want when you’re feeding a crowd or just trying to feed hungry kids without stressing out. They are designed for maximum impact with minimum effort, which is my whole cooking philosophy these days!
- Lightning Fast Prep Time: We’re talking 10 minutes of actual work. The total time, including baking, is just 25 minutes! That’s faster than ordering takeout, honestly.
- That Perfect Pull: Because we use the whole package of rolls glued together, they bake into one glorious sheet. When you pull one apart, all that cheese stretches out—it’s magic! Guaranteed gooey texture.
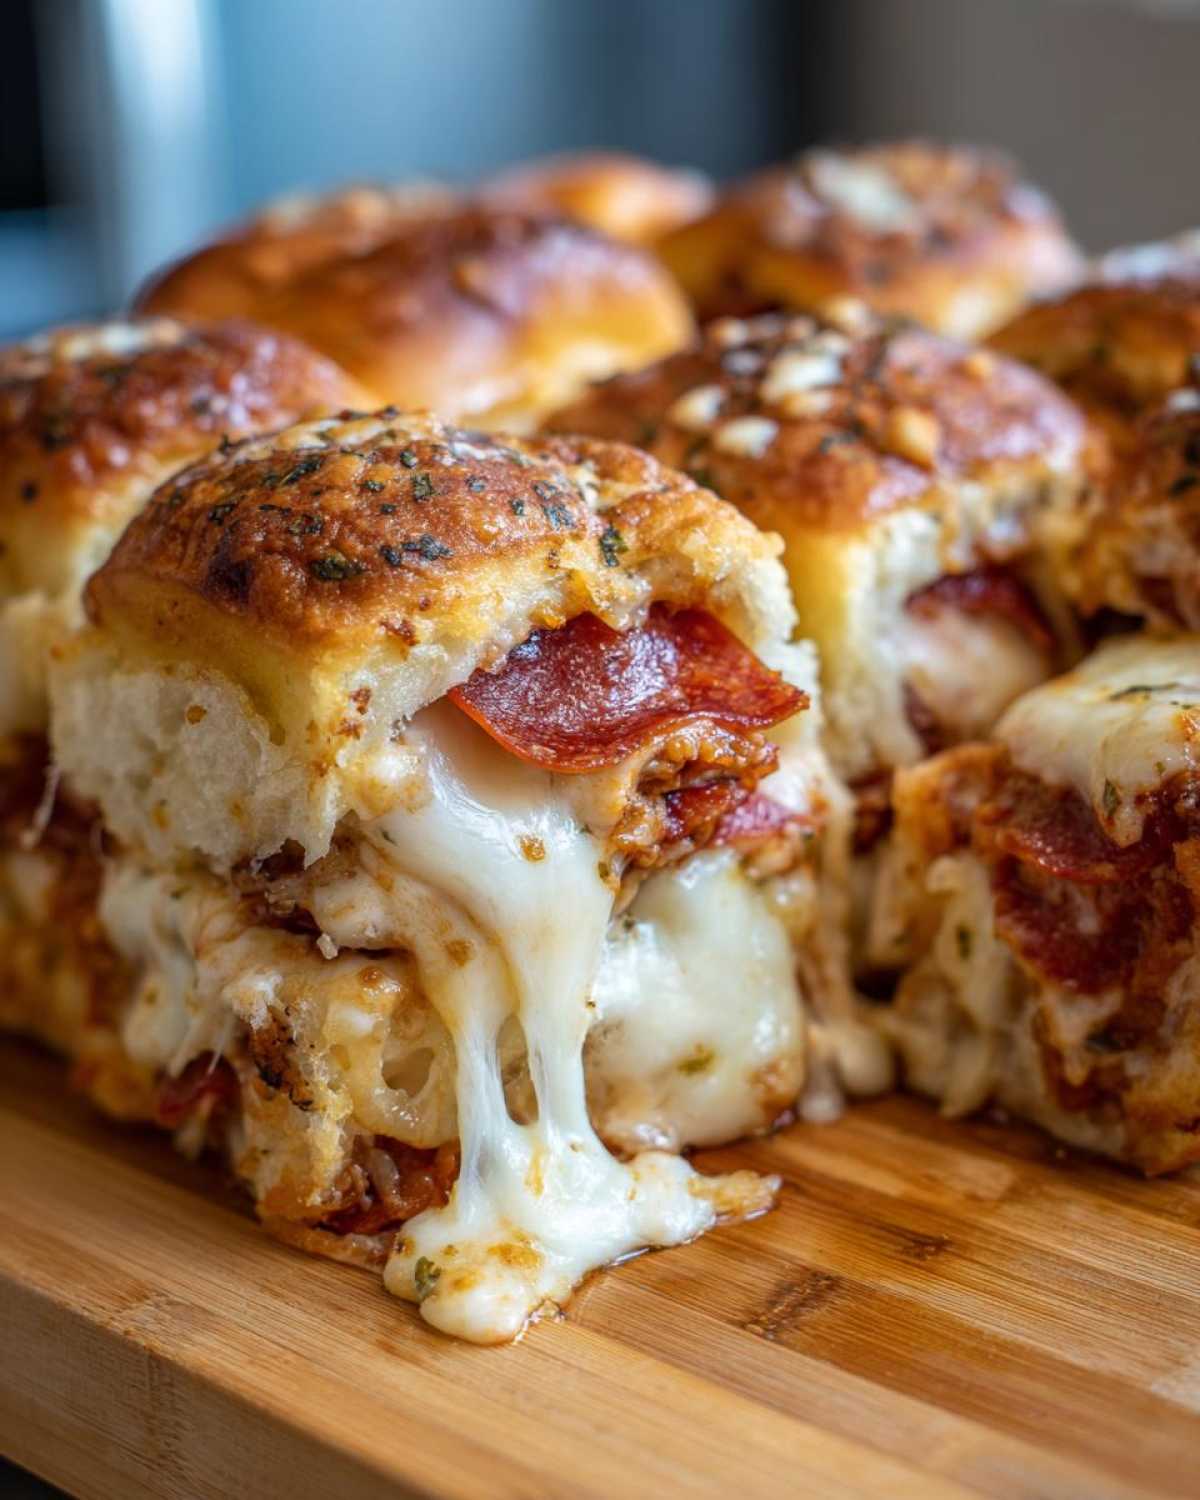
- Game Day Food Dream: These are portable, shareable, and they survive sitting out on the buffet table beautifully. They are probably my favorite party appetizers for sharing during the Big Game.
If you need even more ideas for quick snacks, you should definitely check out my article on 18 Easy Summer Appetizers, but honestly, these sliders are usually the first thing gone!
Gathering Ingredients for Your Pizza Sliders
Okay, the beauty of these pizza sliders is that you do not need a massive shopping list or a trip to some fancy gourmet store. We’re leaning heavily on simple pantry staples and that amazing package of sweet rolls. If you have these items on hand, you can whip these up on a moment’s notice! Remember, precision matters here, even though it’s super easy—we want the right amount of gooey cheese, which means measuring things like a professional, even if we’re just making lunch!
Here is exactly what you need to pull together these cheesy sliders:
- 1 (12 count) package sweet Hawaiian rolls – these are the non-negotiable superstar ingredient!
- 1 tablespoon butter, melted – make sure it’s fully liquid, not grainy.
- 1 clove garlic, minced – fresh is way better here, trust me!
- 1 teaspoon dried Italian seasoning – this gives it that authentic pizza shop kick.
- 1/2 cup pizza sauce – use whatever jarred sauce you love the most!
- 1 cup shredded mozzarella cheese – gotta have the melt factor!
- 1/2 cup sliced pepperoni – the best kind of meat for these little guys.
- 1/4 cup grated Parmesan cheese – this goes on top for that beautiful golden crust later.
If you happen to be pairing these, I highly recommend checking out my recipe for Garlic Parmesan Wings; they use a lot of the same flavors and make a great combo for a full game-day spread!
Crafting the Perfect Garlic Butter Glaze for Pizza Sliders
Listen, this step is what elevates these from okay little sandwiches to legendary pizza sliders. We are creating a simple garlic butter glaze, but it does so much heavy lifting flavor-wise! Just grab a tiny bowl. Melt that tablespoon of butter—I use the microwave for 15 seconds, easy peasy.
Next, stir in your teaspoon of Italian seasoning and that one minced garlic clove. That’s it! Now, the crucial part: when you brush this glaze over the top of the assembled rolls, don’t be shy! You want every single square inch of that top bun soaked through. That’s how you get those crispy, savory edges that everyone fights over. It’s truly transformative, much like the glaze on my Garlic Butter Lobster Tails!
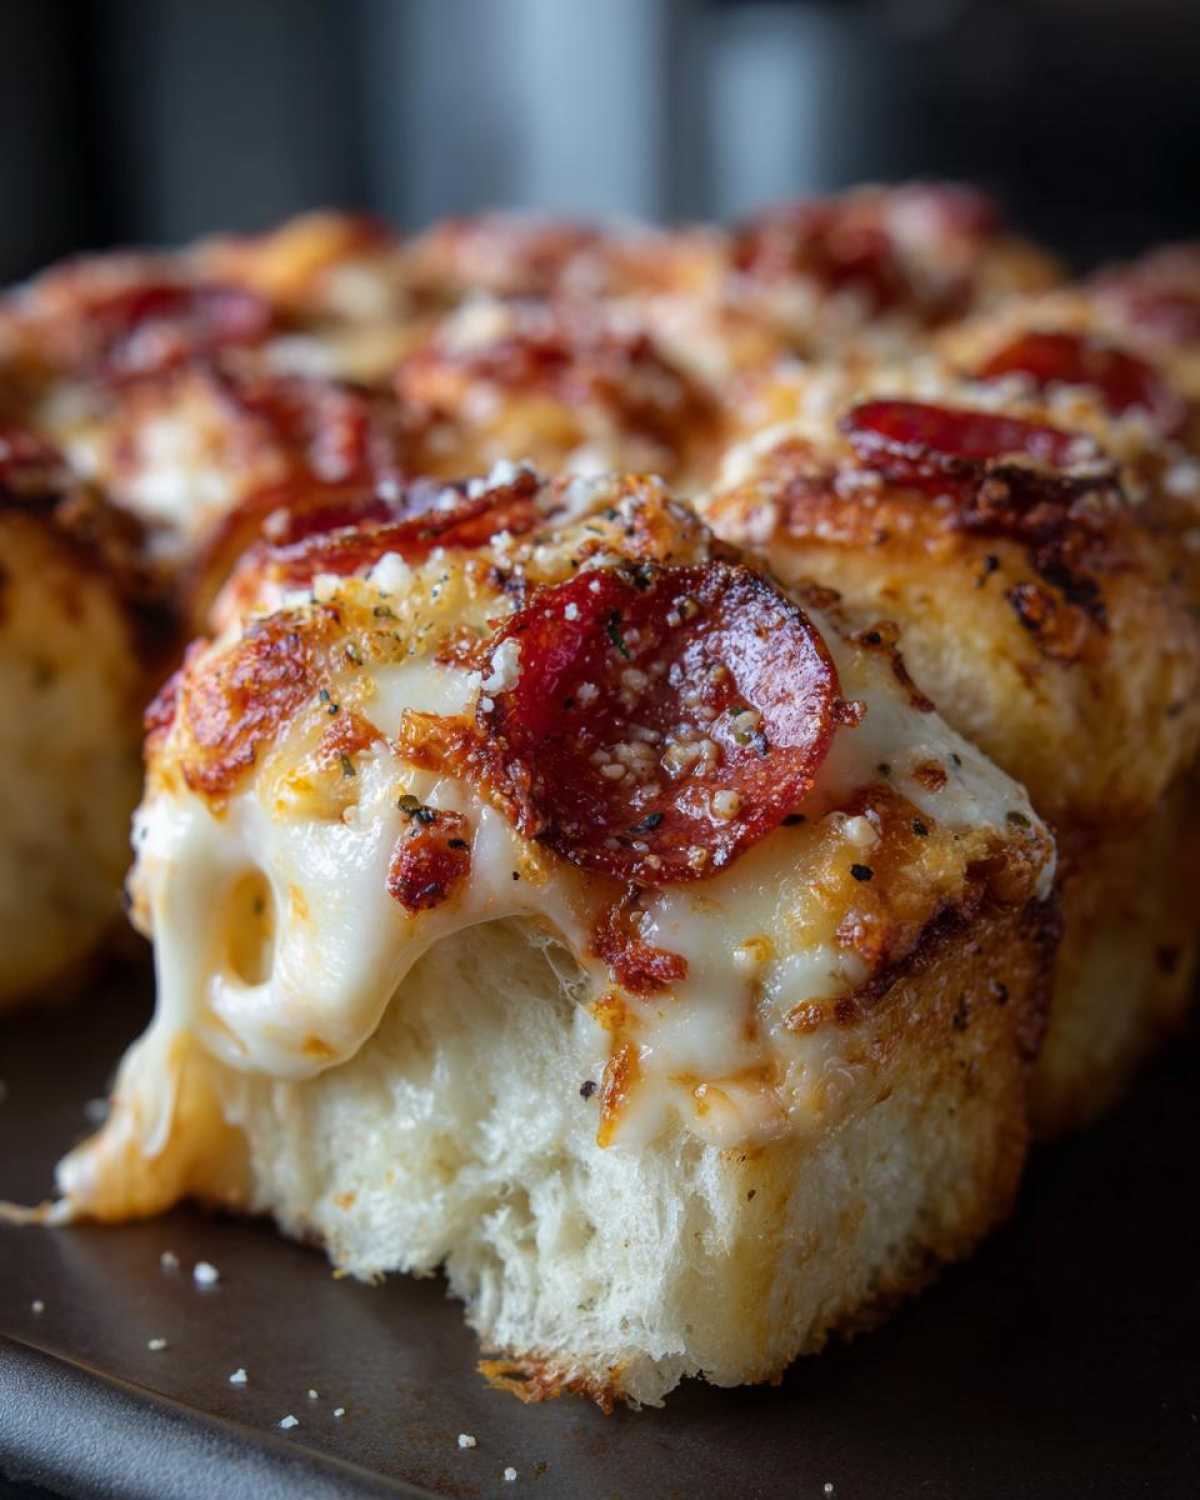
Step-by-Step Instructions for Amazing Pizza Sliders
Putting these together is honestly the easiest part of the whole process. I try to keep everything moving quickly during assembly so those Hawaiian rolls don’t get soggy before they hit the oven. Follow these steps, and you’ll have the best pizza sliders ready faster than you can set out the plates!
Remember, the total hands-on time is minimal, but the payoff is huge!
Prep the Rolls and Baking Dish
First things first, get that oven warmed up to 350 degrees Fahrenheit. I like to lightly grease my 9×13 baking dish because you never want to fight to get these gooey beauties out! The tricky part, but totally worth it, is carefully taking that whole package of rolls and slicing it horizontally right through the middle. Try your hardest to keep the rolls connected together—it makes layering so much simpler. Pop the bottom half, cut side up, into your prepared dish.
Layering the Pizza Sliders Toppings
Now for the fun part! Take that half cup of pizza sauce and spread it nice and even across the bottom layer of rolls. Don’t glob it on too thick, or things get soupy! Next, sprinkle that whole cup of shredded mozzarella evenly over the sauce. Don’t miss any spots, we want edge-to-edge cheese pull! Then, arrange your pepperoni slices nestled right on top of that mozzarella layer. Try not to let them overlap too much so they crisp up nicely during the bake.
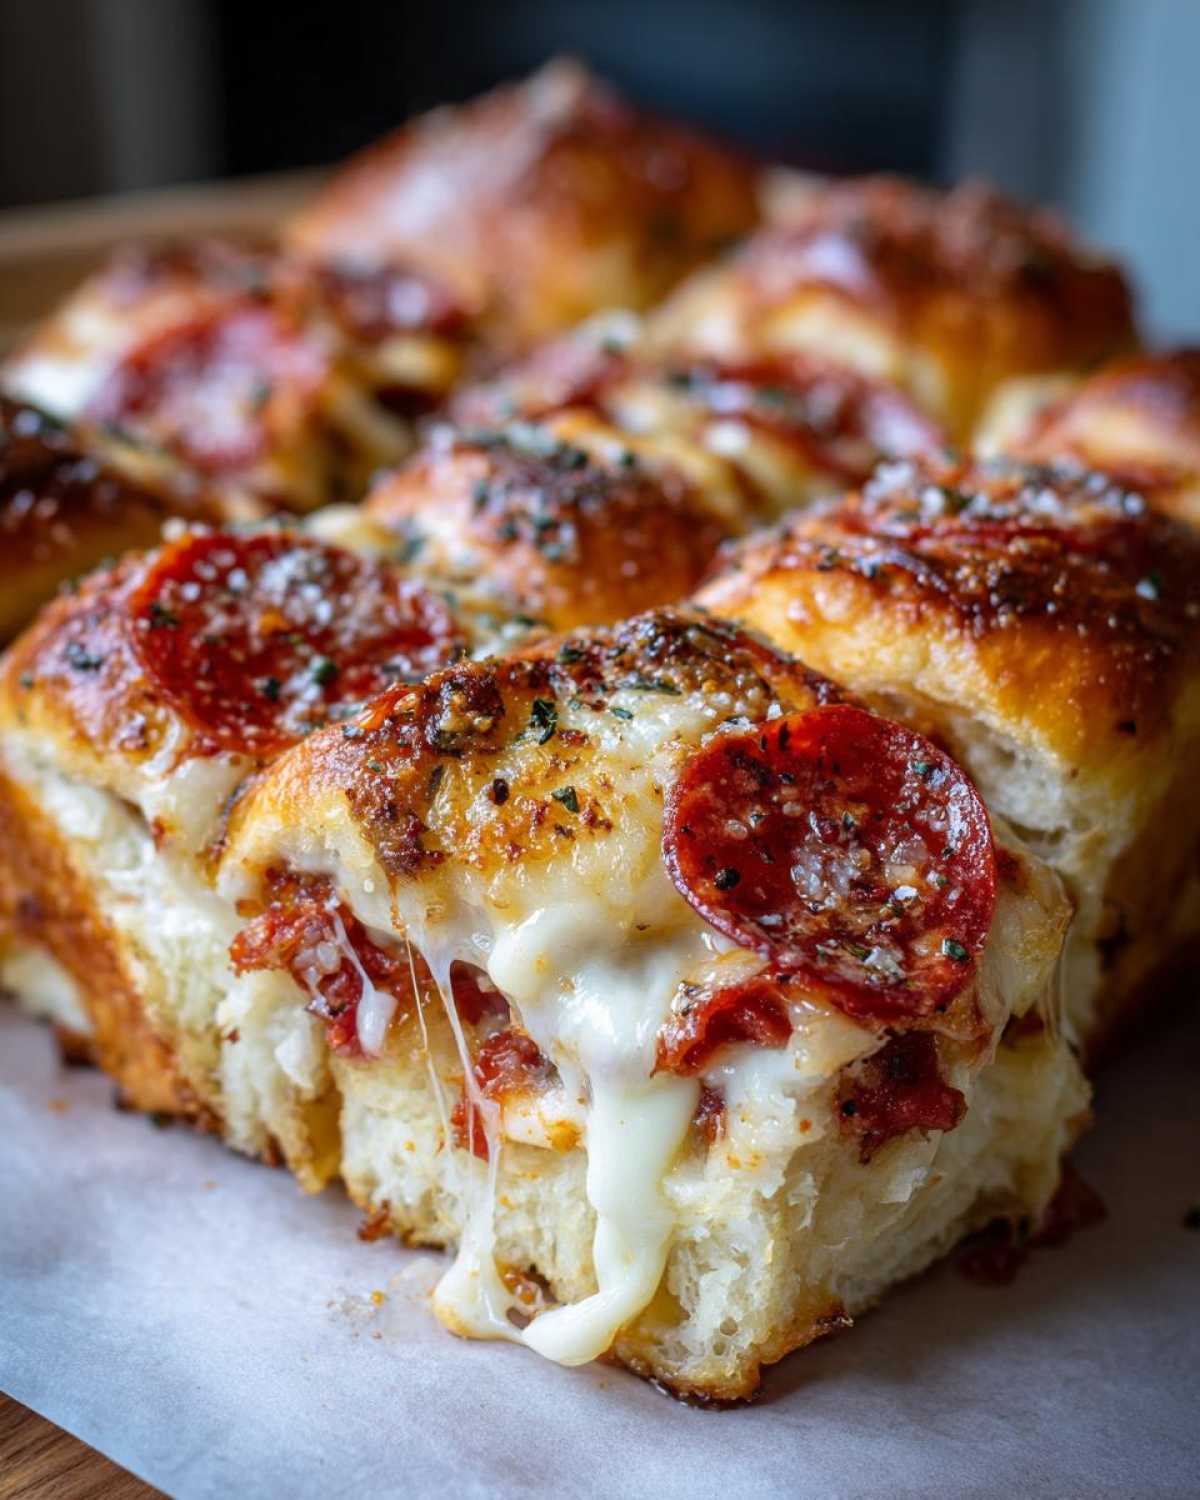
Baking and Serving Your Pizza Sliders
Once the toppings are set, gently place the top half of the rolls on top of the pepperoni. Now, grab that incredible garlic butter glaze we just mixed up and brush it liberally all over the very top. Sprinkle that grated Parmesan over the glaze, and slide it into the hot oven. Bake for about 12 to 15 minutes. You’re looking for that cheese to be bubbly and the tops to look golden brown—not burnt, just kissed by the heat! The most important last step: let the pizza sliders rest for a solid 5 minutes when they come out. This lets the cheese set up just enough so they don’t totally fall apart when you pull them apart. If you love baked sandwiches, you should definitely check out the tips for my Baked Buffalo Chicken Sliders too!
Expert Tips for Perfect Pizza Sliders Every Time
While this recipe is basically foolproof, I always have a few tricks up my sleeve that I learned from making these for huge crowds. Since these are definitely a favorite comfort food sliders around here, I’ve tested nearly every variation possible. Keeping these tips in mind will help you take them from very good to absolutely mind-blowing!
First off, let’s talk cheese, thanks to the general notes I keep on the recipe card. If you want an even richer, gooey center—I mean, who doesn’t?—try adding a few thin slices of provolone cheese right under or right over the mozzarella. Provolone melts beautifully and gives you that amazing, slightly tangy flavor, kind of like having an extra secret layer of yumminess.
Another great tip, which you can also find in the recipe details above, is that you *can* brush some of that glorious garlic butter mixture on the inside layers before you even put your sauce and pepperoni down. It really amps up the moisture and flavor right where the bread meets the fillings. Just be careful not to drown them; we still want them golden on top!
And here’s my own little addition for crispy pepperoni: make sure those pepperoni slices aren’t overlapping too much when you place them down. If they overlap, they tend to steam each other instead of crisping up nicely at the edges when they bake. A little space between them means you get those perfect little cupped, slightly browned pepperoni circles!
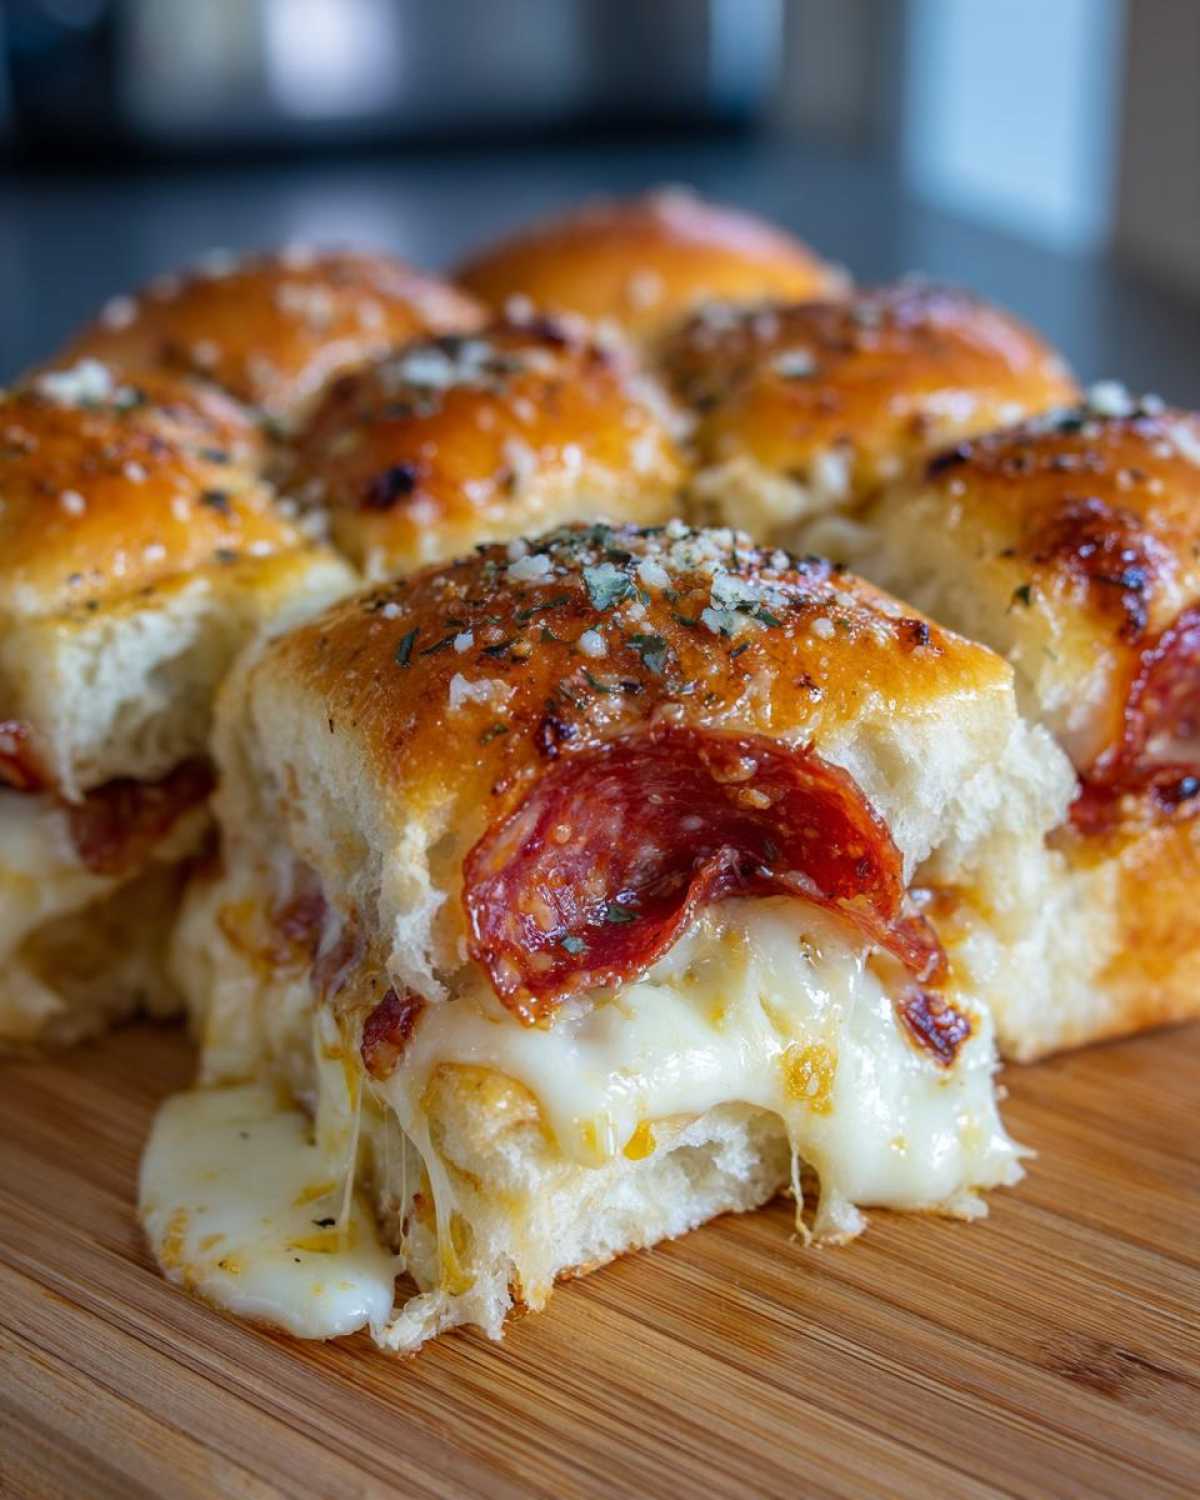
For more great baked sandwich ideas, you absolutely have to try the recipe for Baked Buffalo Chicken Sliders sometime; they use a similar technique but pack way more heat!
Variations on Classic Pepperoni Pizza Sliders
I absolutely adore keeping these pizza sliders packed with pepperoni, but the fun with any pull-apart sandwich recipe like this is how easily you can switch things up when you need a change! If you’re trying to feed a crowd with different tastes, or maybe you just ran out of pepperoni, don’t panic. You can easily swap out the meat component!
Think about using thinly sliced deli ham or maybe some chopped turkey breast if you want something a little lighter. For veggies, sautéed mushrooms or thinly sliced bell peppers work wonders—just make sure you pat them really dry after you cook them so they don’t make the rolls soggy.
And don’t feel locked into just mozzarella! A mix of mozzarella and provolone is fantastic, or even adding a little shredded Monterey Jack gives you an even pullier texture. Seriously, if you like ham and cheese, you’ve got to check out my recipe for Pull-Apart Ham and Cheese Sliders sometime soon!
Serving Suggestions for Your Pizza Sliders
These pizza sliders are rich, they’re cheesy, and they are pure comfort food, right? So, when you serve them up, my go-to strategy is always to pair that heavy, glorious goodness with something light and fresh to cut through the richness. You don’t want your guests feeling weighed down; you want them happy and ready for a second round!
For me, these are the ultimate party appetizers because they satisfy that deep craving for fat and cheese, but they need a little color on the plate. Think about serving them alongside a simple, crisp side salad dressed with a light vinaigrette. That little bit of acid from the vinegar is the perfect counterpoint to the pepperoni spice and mozzarella melt.
If you’re looking for dips (because, let’s be honest, we always look for dips), keep it simple. A small bowl of ranch or maybe even a plain marinara sauce for dipping is great, but I usually prefer dipping veggie sticks. Carrot sticks, celery sticks, and maybe some sliced bell peppers—they offer a cool crunch and a slight sweetness that complements the baked rolls nicely. For more ideas on light pairings, take a peek at my list of 18 Easy Summer Appetizers; a few of those work wonderfully alongside these sliders!
Storing and Reheating Leftover Pizza Sliders
Look, I’ll be honest with you—these amazing pull-apart sandwiches usually disappear before I even get a chance to worry about leftovers! But on the rare occasion we actually have some stragglers from game day, knowing how to store and reheat them is key so they don’t turn into soggy bread monsters.
If you have any leftover cheesy sliders, you need to treat them right away. Don’t just leave them sitting out on the counter after the party ends. Pop them into an airtight container. If you can, try to keep the rolls connected, almost like you are storing the original block. They should easily stay good in the refrigerator for about three days. Any longer than that, and the moisture from the sauce starts to make the Hawaiian rolls really break down, and that’s no good for anyone.
Reviving the Texture After Refrigeration
The microwave is your enemy if you want that crusty, buttery top layer back! Microwaving melts the cheese again, but it steams the bread until it feels like a damp sponge. We want to go low and slow to bring back that savory baked texture.
My absolute favorite way to reheat them is in the oven or even a toaster oven. Set your oven to a relatively low temperature, maybe 300 degrees Fahrenheit. Place the sliders on a baking sheet lined with a tiny bit of foil—just enough protection. Heat them for about 8 to 10 minutes. You’ll notice the cheese softens up perfectly, and that top layer, which we glazed so carefully, gets just a little bit crispy again!
Can They Freeze Well?
I haven’t had great luck freezing these once they are assembled and baked. The freeze/thaw process really seems to damage the texture of the sweet rolls, especially once they’ve been saturated with sauce and cheese. If you are planning ahead, it’s much better to assemble them completely the night before, keep them covered tightly in the fridge, and then bake them fresh the next day. Trust me, waiting an extra 15 minutes to bake is better than eating a sad thawed sandwich!
Frequently Asked Questions About Making Pizza Sliders
I get so many messages asking about swapping ingredients or making these ahead for busy days. It’s great because it shows you all want these amazing cheesy sliders for every occasion, whether it’s a huge gathering or just a quick weeknight dinner solution! Here are the things I hear most often when folks are planning to whip up a batch of these easy appetizer ideas.
I actually included another great link for general tips on easy slider recipes if you want ideas beyond pizza, but let’s tackle the basics for this pepperoni version right now!
Can I make these pizza sliders ahead of time?
Yes, you absolutely can make them ahead, but you can’t bake them ahead! This is super important for amazing pizza sliders. You can assemble the entire thing—the sauce, the cheese, the pepperoni—put the top bun on, and brush it with the garlic butter glaze, all a day in advance. Cover it tightly with plastic wrap and stick it in the fridge. When you’re ready to cook (maybe 15 minutes before kickoff), pop it right into the 350°F oven. Just remember that baking time might need an extra minute or two since the rolls are coming straight from the fridge!
What is the best way to reheat leftover cheesy sliders?
Oh, the dreaded reheat! If you have to reheat these leftovers, please ditch the microwave if you can. The microwave makes everything soft and steamy, and we worked so hard for that beautiful, slightly crispy top crust from the glaze!
For the best results with your leftover cheesy sliders, pop them in a toaster oven or a regular oven set around 300 degrees Fahrenheit. Give them about 8 minutes. You want the cheese to melt safely, but not to cook the bread further. This gentle warming revives the buttery crispness on top without turning the soft Hawaiian rolls into mush. It’s the only way to enjoy leftovers!
What if I don’t have sweet Hawaiian rolls? Can I use regular yeast rolls?
That’s a very frequent question! You technically *can* use regular slider rolls or simple yeast rolls, but I really, really caution against it if perfection is your goal. The sweetness in the Hawaiian rolls is a huge counterpoint to the salty pepperoni and mozzarella. If you use plain rolls, the flavor profile totally changes—it becomes just a standard baked sandwich rather than the sweet-and-savory pizza sliders we are aiming for.
If you absolutely must substitute, use the closest thing you can find to a slightly sweet roll, and perhaps add a tiny drizzle of honey or a pinch of sugar into your garlic butter glaze just to try and mimic some of that signature sweetness back!
Nutritional Estimates for These Easy Pizza Sliders
Okay, so I know when we’re making comfort food like this, we usually aren’t tracking things too closely, but I still wanted to give you a general idea of what you’re diving into! Since we are using pre-packaged rolls and different brands of pepperoni and sauce, these numbers below are definitely just estimates based on average ingredient calculations.
These party appetizers are definitely packed with flavor, and that richness comes from the fat content, which is why they are so satisfying. Don’t use these as gospel, but they should give you a ballpark view!
- Serving Size: 1 slider (Yields 12 total)
- Calories: Around 250 per slider
- Fat: Roughly 13 grams (about 6 of those are saturated fat—that’s where the creamy cheese richness comes from!)
- Carbohydrates: About 23 grams
- Protein: A solid 10 grams
- Sugar: Around 7 grams, mostly coming from those sweet Hawaiian rolls!
- Sodium: This is higher, sitting around 550 mg, primarily due to the sauce and pepperoni, so that’s something to keep in mind if you’re watching salt intake.
If you swap out the pepperoni for turkey pepperoni or use a lower-sodium sauce, of course, those numbers will shift. But for the classic, satisfying version, that’s what you’re looking at for these delicious little baked slider sandwiches!
Share Your Perfect Pizza Sliders Experience
Okay, you’ve made them! You’ve pulled apart that cheesy, garlic-buttery goodness, and I bet they were incredible. I really, truly, want to hear all about them! Cooking is so much more fun when we can share the results, even if we can’t taste each other’s food over the screen.
Please don’t just scroll away! Head down to the comments section below and tell me what you thought. Did they vanish in five minutes flat? Did you sneak an extra one when nobody was looking? Don’t be shy!
If you snapped a picture of your beautiful, bubbly batch—especially if you caught that perfect cheese pull—please share it on social media! Tag me so I can see your amazing handiwork. Seeing your creations is honestly the best part of running this little blog. It proves you took the time to make something delicious, and it helps other folks trust that this recipe really delivers!
Rate the recipe with stars right there on the recipe card if you loved it. Happy baking, and I can’t wait to see what you come up with next time!
Print
Easy Pull-Apart Pepperoni Pizza Sliders with Garlic Butter Glaze
- Total Time: 25 min
- Yield: 12 sliders
- Diet: Vegetarian
Description
Make these simple, cheesy pizza sliders using Hawaiian rolls for a perfect game day snack or quick family meal.
Ingredients
- 1 (12 count) package sweet Hawaiian rolls
- 1 tablespoon butter, melted
- 1 clove garlic, minced
- 1 teaspoon dried Italian seasoning
- 1/2 cup pizza sauce
- 1 cup shredded mozzarella cheese
- 1/2 cup sliced pepperoni
- 1/4 cup grated Parmesan cheese
Instructions
- Preheat your oven to 350 degrees Fahrenheit. Lightly grease a 9×13 inch baking dish.
- Carefully slice the entire package of Hawaiian rolls horizontally, keeping the rolls connected as much as possible. Place the bottom half of the rolls cut-side up in the prepared baking dish.
- Spread the pizza sauce evenly over the bottom layer of rolls.
- Sprinkle the mozzarella cheese over the sauce. Arrange the pepperoni slices on top of the cheese.
- Place the top half of the rolls over the pepperoni layer.
- In a small bowl, mix the melted butter, minced garlic, and Italian seasoning to create the glaze.
- Brush the entire top surface of the rolls generously with the garlic butter mixture.
- Sprinkle the Parmesan cheese over the top.
- Bake for 12 to 15 minutes, or until the cheese is melted and bubbly and the tops are lightly golden brown.
- Let the sliders rest for 5 minutes before slicing between the rolls and serving warm.
Notes
- You can add thin slices of provolone cheese along with the mozzarella for extra flavor.
- If you prefer, you can brush the melted butter mixture on the inside layers before adding the toppings for more moisture.
- Use your favorite pizza sauce for the best results.
- Prep Time: 10 min
- Cook Time: 15 min
- Category: Appetizer
- Method: Baking
- Cuisine: American
Nutrition
- Serving Size: 1 slider
- Calories: 250
- Sugar: 7
- Sodium: 550
- Fat: 13
- Saturated Fat: 6
- Unsaturated Fat: 7
- Trans Fat: 0
- Carbohydrates: 23
- Fiber: 1
- Protein: 10
- Cholesterol: 30