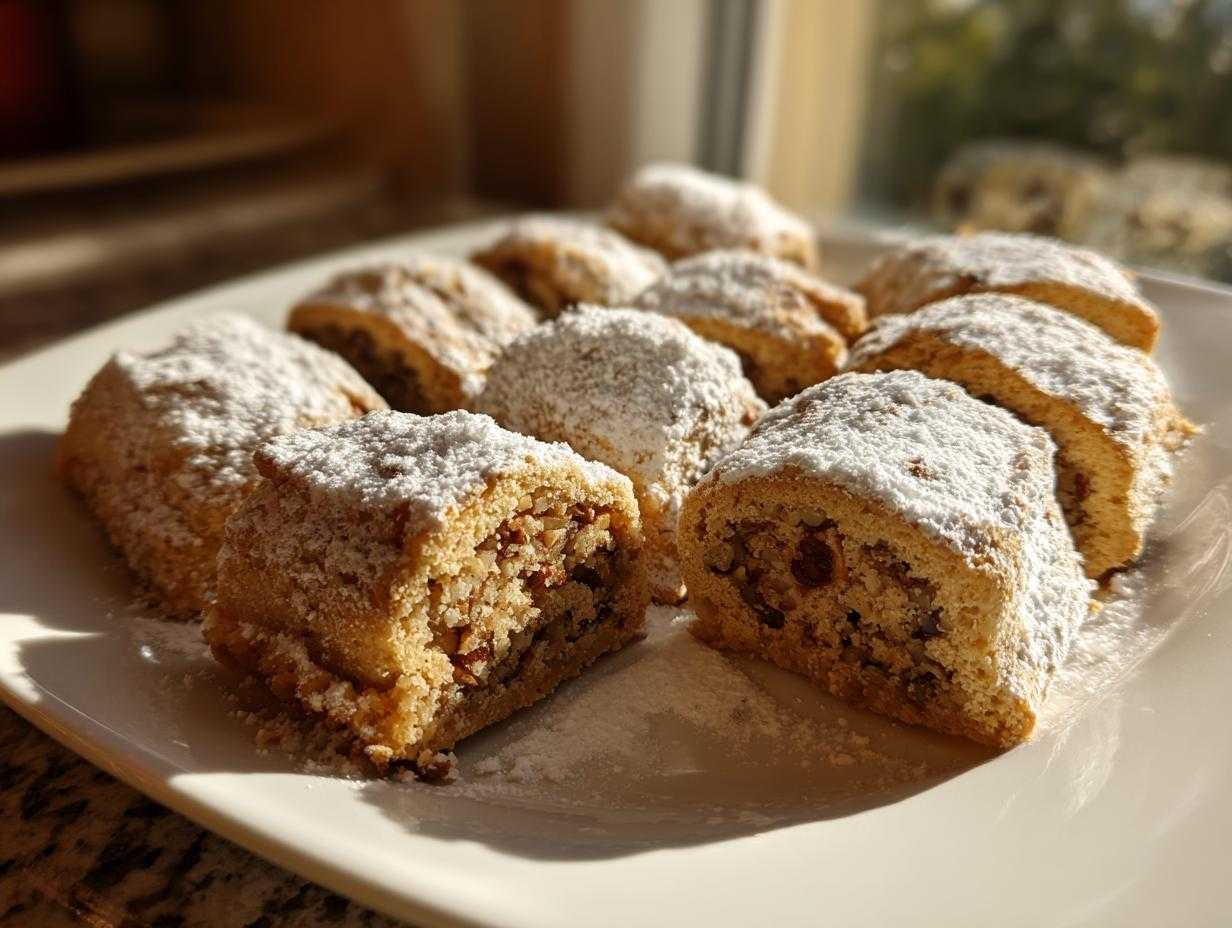
Oh my gosh, I’m so excited you’re here! If you’ve been searching high and low for that perfect, simple, authentic Italian dessert recipe that tastes like it came straight from *Nonna’s* kitchen, stop looking right now. I finally nailed it, and honestly, it’s ridiculously easy. Forget those tricky pastries that require a pastry degree; we’re talking about the most wonderful rolled pastry cookies you’ll ever meet: the incredible italian nut roll cookies!
These little logs of buttery, nutty goodness are my go-to for everything—holidays, coffee dates, or just a Tuesday when I need cheering up. They are the definition of old-world charm in a single, perfect bite. After a few messy attempts, I found the magic ratio of butter to ground walnuts, and trust me, they are now my family’s official Christmas cookie. They bake up so beautifully!
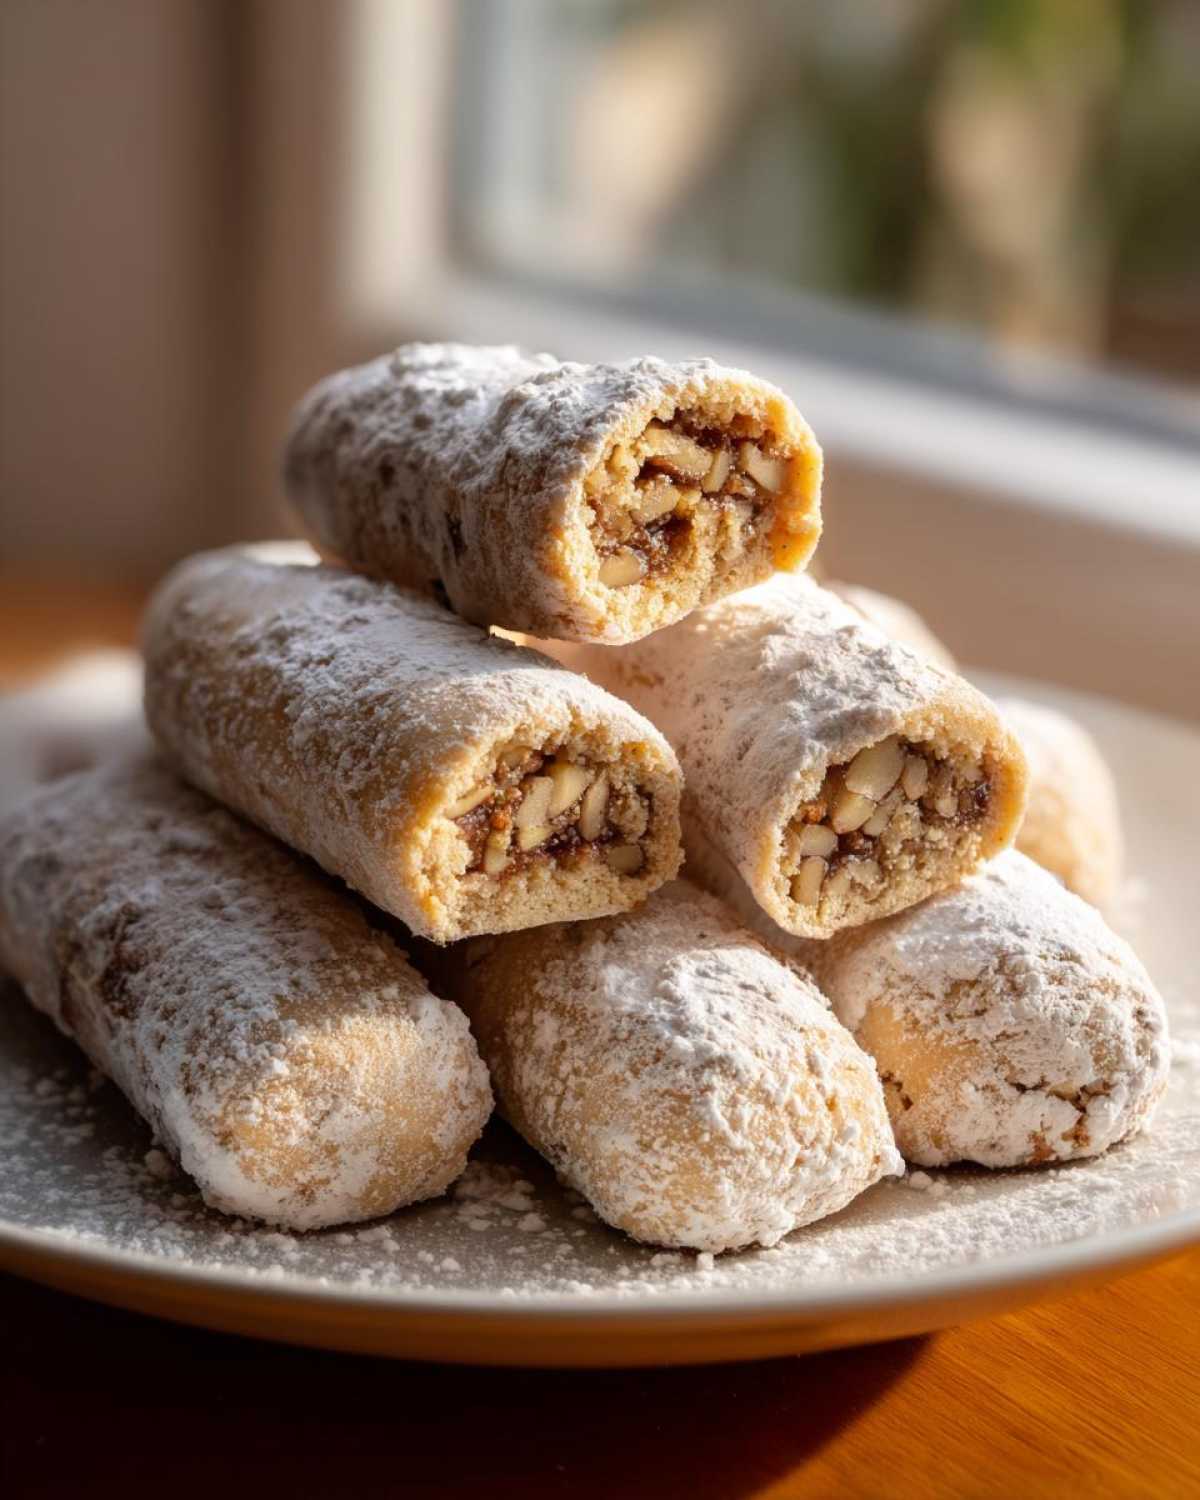
Why You Will Love These Italian Nut Roll Cookies
Seriously, you need these in your life. I know baking can feel intimidating, but these cookies follow a simple logic that makes them foolproof, even if you’re new to easy rolled cookie recipes. They are my secret weapon!
- They’re Quick! I mean, really quick. With only about 20 minutes of prep time and 15 minutes in the oven, you can have fresh, festive Italian baking done before your favorite show is over.
- The Texture is Unreal. They manage to be buttery and tender, almost melting in your mouth, which is why they are such a wonderful contrast to a crunchy biscotti. That nice, soft crumb makes them irresistible.
- Perfect Coffee Companion Cookies. These aren’t overly sweet, so they are the absolute ideal partner for your afternoon espresso or morning tea. They taste rustic and homemade—pure comfort!
- Customizable Nut Power. If you can’t find walnuts or just don’t love them (gasp!), you can easily swap them out for almonds or pecans. It’s a fantastic base for any sweet nut filling recipe.
- They Look Fancy, But Aren’t! The final dusting of powdered sugar makes them look like they came from a fancy European bakery, but they are built on a very straightforward, buttery cookie dough recipe. Nobody needs to know how easy they were!
Essential Ingredients for Authentic Italian Nut Roll Cookies
When you’re aiming for that true taste of Italy, you can’t skimp on the core components. This recipe is simple, which means every ingredient needs to be good! You’ll need just a few things to create that classic texture. Remember, the ground nuts are the star here, providing that deep, earthy flavor we love in these sweet nut filling recipes.
- 1 cup all-purpose flour
- 1/2 cup granulated sugar
- 1/2 cup ground walnuts or almonds (use what looks best!)
- 1/4 cup unsalted butter, softened to perfection
- 1 large egg
- 1 teaspoon pure vanilla extract
- 1/2 teaspoon baking powder for a little lift
- Pinch of salt to balance everything out
- Powdered sugar for that beautiful, snowy finish
Ingredient Notes and Substitutions
Listen, I totally get it—sometimes you have almonds on hand, not walnuts. That’s totally fine! You can absolutely substitute almonds for the walnuts, or just mix them together if you want a more complex flavor profile. That’s the beauty of these homemade treats.
If you want to really elevate the flavor before mixing anything, try lightly toasting your nuts in a dry skillet for just a few minutes until you can really smell them. Let them cool completely, then grind them up. It adds an extra layer of warmth that makes everyone say, “Wow, what’s your secret?”
Preparing the Buttery Cookie Dough for Italian Nut Roll Cookies
Okay, time to get our hands a little messy! Making the base for these italian nut roll cookies starts just like most classic buttery cookie dough recipes—by creaming the fat and sugar. Make sure that butter is actually softened! I always leave mine out on the counter for at least an hour before I even think about turning on the mixer.
You want to beat that softened butter with the granulated sugar until it gets genuinely light and fluffy. I mean it, beat it well! This step incorporates the air that keeps our little logs from being dense little rocks later on. Once it looks pale yellow, whisk in your egg and that lovely vanilla extract.
Now for the dry stuff: the flour, the ground nuts, the baking powder, and the salt. Add these in gradually, and this is my big secret for any rolled dough: stop mixing as soon as a shaggy dough comes together. If you keep going, you’ll develop too much gluten, and your italian nut roll cookies won’t have that beautiful tender crumb we’re after. You’re looking for a stiff dough that barely holds itself together. If it seems too sticky at this point, don’t panic—just chill it for ten minutes!
Shaping and Baking Your Italian Nut Roll Cookies Perfectly
Once that beautiful, stiff dough for your italian nut roll cookies is ready, it’s time for the fun part—shaping! First things first, get your oven preheated to 350 degrees Fahrenheit (175 Celsius). This is crucial so they start baking right away instead of slowly warming up. I always line my baking sheets with parchment paper; it’s a lifesaver for clean-up and also helps prevent sticking when you’re dealing with a delicate pastry like this.
Now, grab off a chunk of dough—you want maybe a tablespoon or so—and roll it quickly between your palms into a little log. We’re going for about 3 inches long and maybe half an inch thick. They don’t need to be perfectly uniform, trust me! That slight variation is what makes them feel so wonderfully homemade.
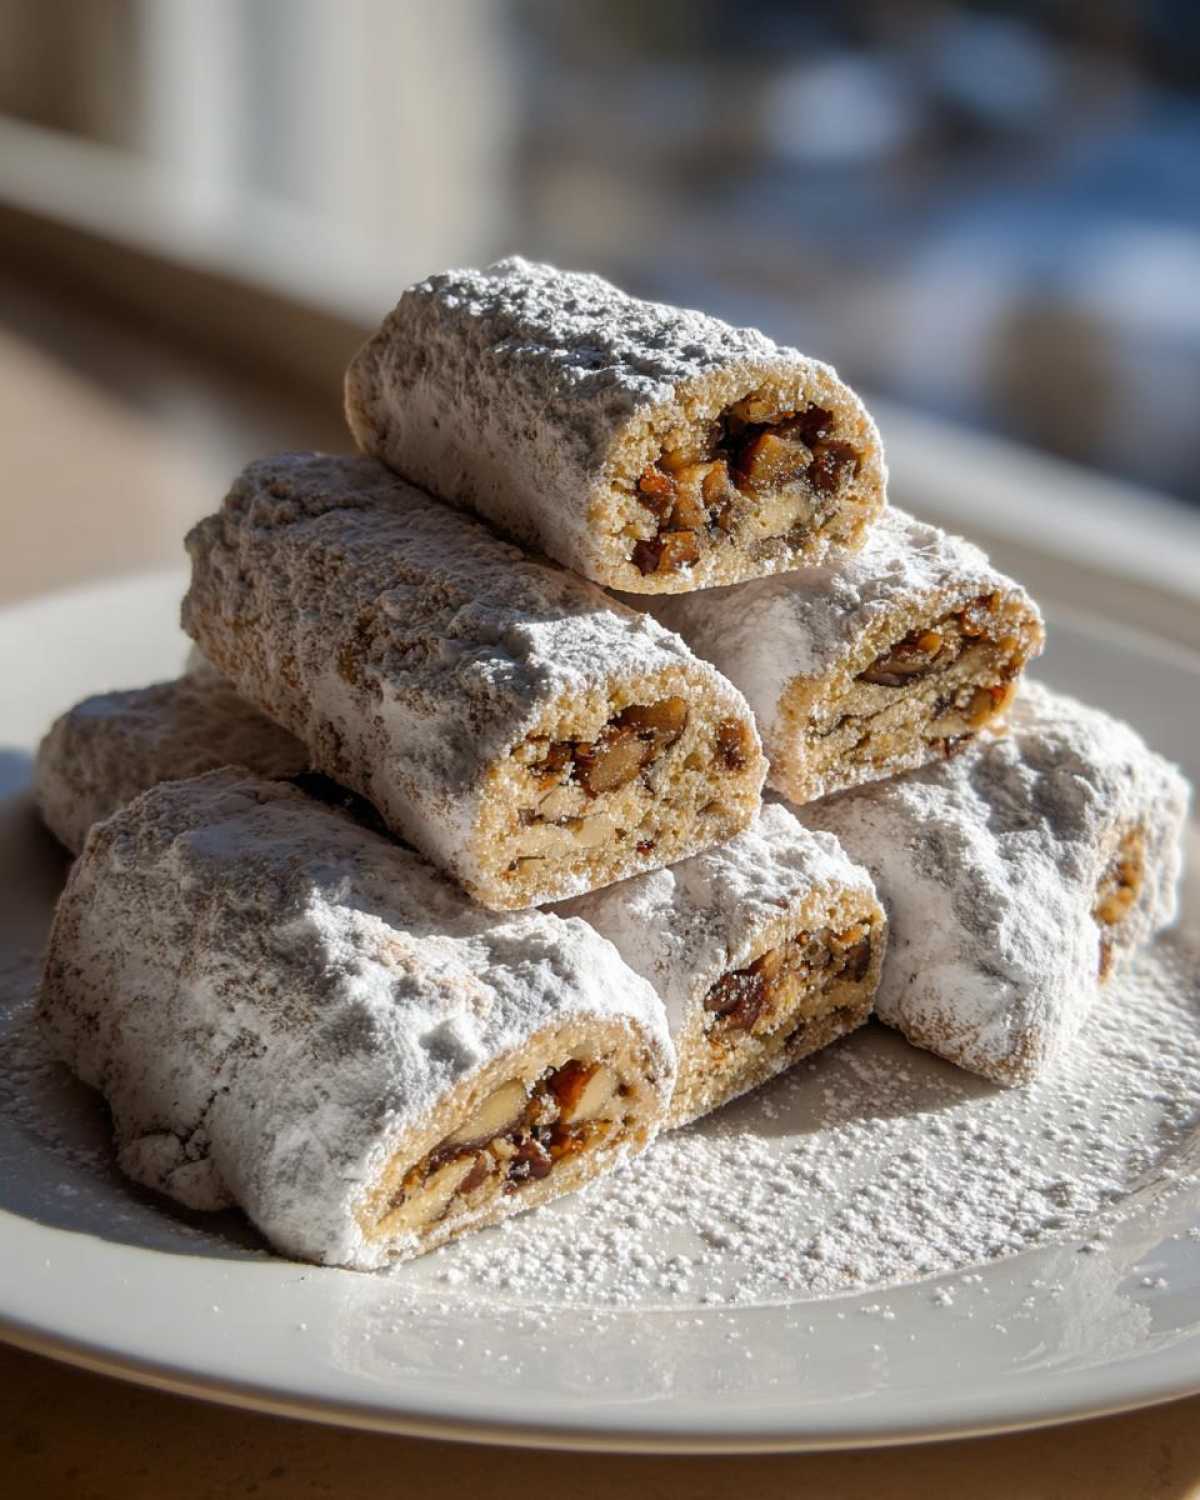
Space those logs out on your prepared sheets, leaving about an inch between each one because they will spread just a tiny bit. Pop them in the oven and set a timer for 12 minutes. You’re looking for the edges to get just lightly golden—not dark brown! Pull them out when they look this way. If you wait too long, they get hard instead of tender. We’re aiming for that sweet spot where they are cooked through but still melt-in-your-mouth soft. Don’t forget that parchment paper makes things easy, which is such a bonus for clean-up after making these great desserts!
Finishing Touches: Dusting Your Italian Nut Roll Cookies
The hardest part is over once these beauties come out of the oven, but don’t rush the finish! We need to let these italian nut roll cookies cool completely before we get out the powdered sugar. If you try to dust them while they are even slightly warm, you’ll end up with a gluey paste instead of that lovely, snowy coating we are aiming for.
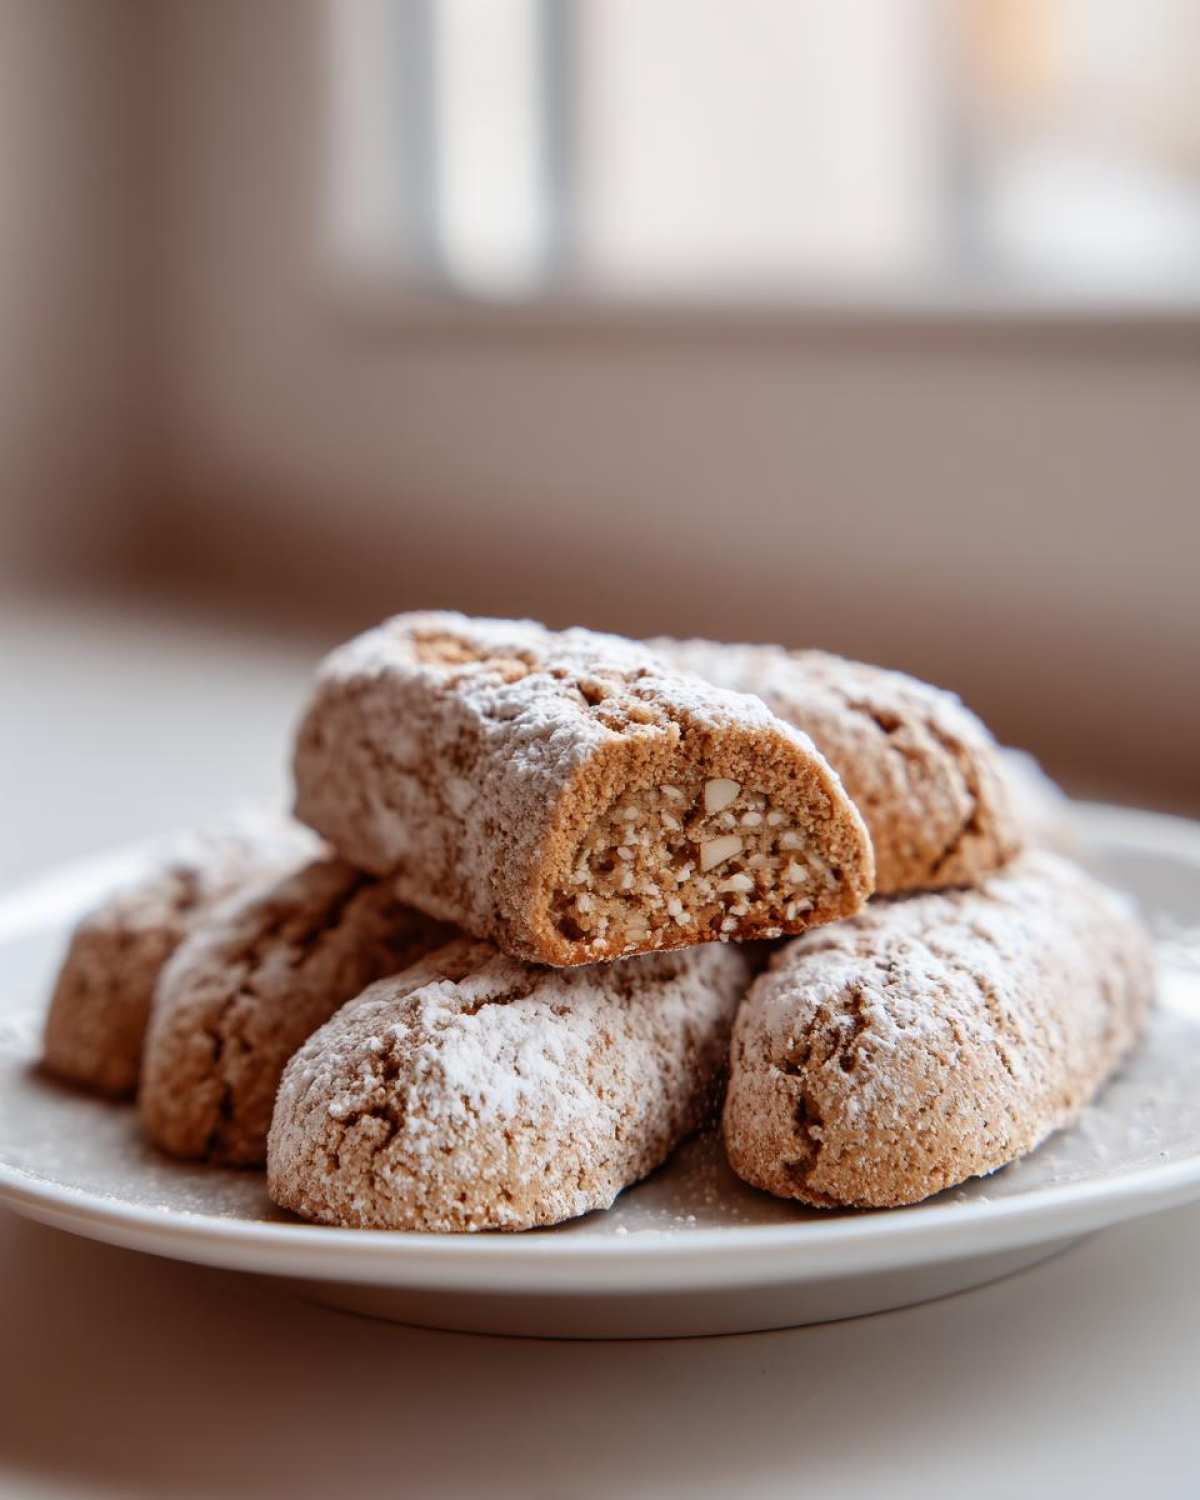
Let them sit on the baking sheet for maybe 5 minutes—just long enough to firm up so you can move them onto a wire rack without crushing that tender pastry. Once they are totally cool to the touch (give them 20 minutes, seriously), grab your sifter. Dust them generously! The contrast between the pale white sugar and the slightly darker cookie edge just screams holiday perfection. That final soft coating is what seals the deal on these italian nut roll cookies.
Tips for Success When Making Italian Nut Roll Cookies
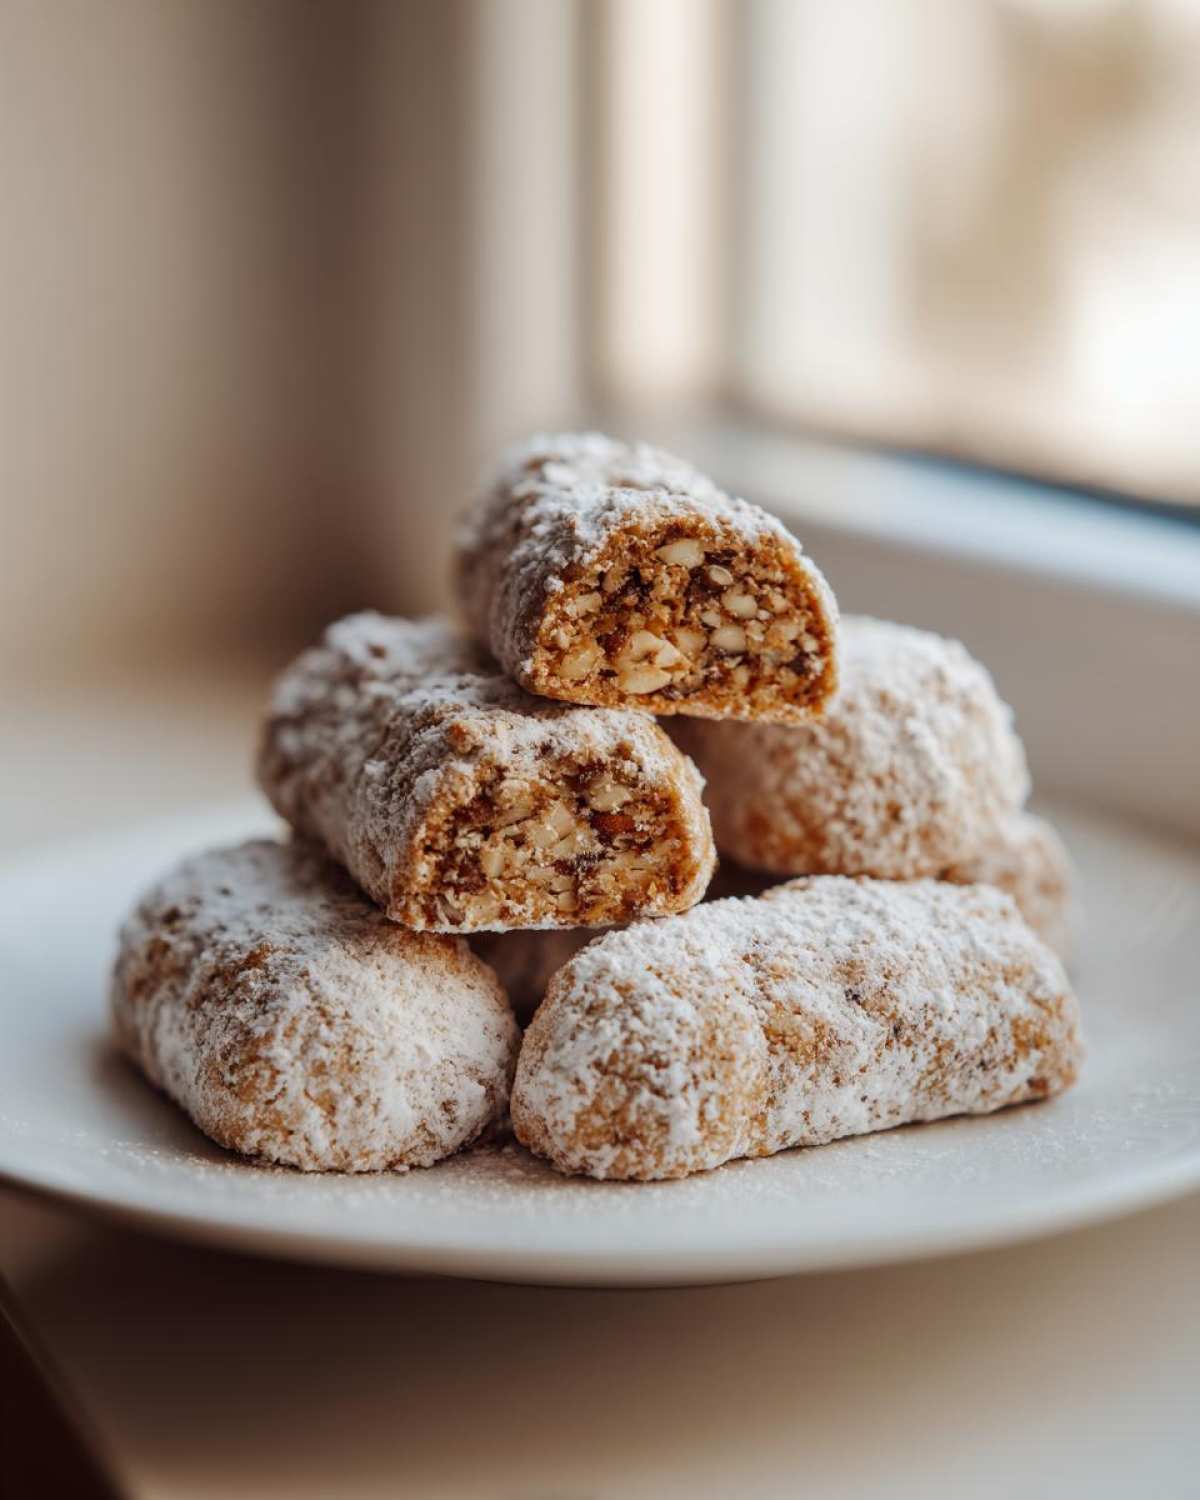
You’ve mastered the mixing and the shaping, but trust me, just a couple of little tweaks can take your italian nut roll cookies from “really good” to “I need the recipe!” These are the things I learned over years of experimentation, and they really help when you’re trying to produce a truly authentic, tender pastry every single time.
Here are a few things I always double-check before I slide my trays into the oven for my favorite bits of festive Italian baking:
- Don’t Skip the Chill Time (If Necessary!): If you find your dough is just too soft to handle after mixing—maybe your kitchen is a bit warm that day—don’t try to force it. Wrap that dough tightly and pop it in the fridge for 20 minutes. Cold dough doesn’t spread as much when baking, ensuring your little logs stay cute and plump instead of flattening out into wafers.
- Handle Them Gently—They Are Delicate! Because these are lighter and less structured than, say, a chocolate chip cookie, you have to use a gentle touch when rolling them out and moving them. They are definitely a old world cookie that requires a bit of tenderness!
- Storage is Key for Longevity: To keep these italian nut roll cookies tasting fresh for weeks (yes, weeks!), you have to treat them right after cooling. I find they actually taste even better on day two! Storing them in an airtight container at room temperature works perfectly. If you’re stacking them, put a small piece of parchment paper between the layers so that gorgeous powdered sugar topping doesn’t migrate everywhere.
- The Power of Ground Nuts: Make sure those walnuts or almonds are ground finely, but stop right before they become nut butter! If your nuts are too coarse, you risk uneven baking and the dough might crumble when you try to roll it. Finer grounds help the dough bind beautifully.
Serving Suggestions for These Traditional Italian Cookies
Part of the joy of making these incredible italian nut roll cookies is figuring out the perfect moment to enjoy them! Because they have that wonderful, mellow nuttiness and a nice buttery base, they crave something warm to cut through the richness. Honestly, they are excellent all on their own, but why stop there?
My absolute favorite way to serve these is alongside a tiny, dark cup of strong coffee. They are the ultimate coffee companion cookies! The slight bitterness of the espresso just makes the sweetness of the sugar topping and the walnut flavor pop off your tongue. They are perfect for dessert after a big Italian meal, too, especially if you’re serving something rich like lasagna or a heavy sauce.
If coffee isn’t your thing, a light, slightly floral black tea is also amazing. Skip the super sugary lemonades; lean into things that complement that rustic, *old world cookies* vibe!
Storage and Make-Ahead Options for Italian Nut Roll Cookies
One of the best things about pulling off a batch of italian nut roll cookies is that they just keep getting better! Unlike cookies loaded with jam or icing that can get gooey, these simple, nutty treats are designed to last. That’s why they are such brilliant old world cookies to make ahead of time for holiday baking sessions.
When it comes to storage, the key word here is *airtight*. As soon as they are completely cooled—and I mean stone cold, or the powdered sugar will end up melting into a weird glaze—get them into your container of choice. A simple cookie tin or a thick plastic container with a tightly sealing lid works perfectly.
You can keep these cookies sitting happily on your counter at room temperature for a good week, maybe even ten days! The butter content and low moisture help them stay fresh. If you are making them for a very big event, yes, you absolutely can freeze them! Just make sure they are fully cooled and dusted. Lay them in a single layer in a freezer-safe bag, and slip a piece of parchment paper between any layers if you have to stack them. They freeze beautifully for up to three months. Just thaw them on the counter for an hour, and they are good as fresh!
Common Questions About Rolled Pastry Cookies
I always get a flood of questions after I post pictures of my italian nut roll cookies, especially from people trying to make these traditional Italian cookies for the very first time. It’s totally normal! These little dough logs have a few quirks, but once you know the tricks, you’ll never look back. Here are the ones I hear most often about these wonderful rolled pastry cookies.
Why did my italian nut roll cookies spread out flat instead of staying in a log shape?
Oh, this is the classic woe! Nine times out of ten, it’s one of two things, honey. First, your butter was probably too warm when you were creaming it—if it’s oily instead of just soft, it melts too fast in the oven. Second, you might have overmixed the dough after the flour went in. Overmixing develops gluten, which makes your dough lose its structure under heat! Make sure that dough is just barely combined before you start rolling your logs.
Can I use something other than walnuts or almonds in this recipe?
Absolutely! That’s the flexible part of this recipe. Feel free to use pecans or hazelnuts; they make amazing buttery cookie dough recipes too! If you do use something like hazelnuts, I highly recommend giving them a quick toast first because it really deepens their flavor profile. Just ensure whatever nut you use is ground up finely enough to incorporate into the dough structure.
How long do these cookies stay fresh? Do they freeze well?
The beauty of these simple, rustic italian nut roll cookies is their shelf life! Because they don’t have a wet jam filling, they last a long time. Stored in an airtight container at cool room temperature, they easily stay delicious for about 10 days. If you need to keep them longer, they freeze like a dream. Make sure they are fully baked and cooled, then freeze them layered with parchment. They’ll be good in the freezer for up to three months. Perfect for getting ahead on your homemade holiday cookies!
Should I skip the powdered sugar dusting?
Well, you *could*, but then you’re missing out on half the charm! The powdered sugar isn’t just for looks; it adds that final touch of sweetness that balances the nutty flavor perfectly. Plus, it’s what signals to everyone that this is a true piece of old world cookies magic. If you must skip it, maybe brush them very lightly with an egg-white wash before baking instead, just to give them a little shine!
Print
Italian Nut Roll Cookies (Biscotti di Noci)
- Total Time: 35 min
- Yield: About 2 dozen cookies
- Diet: Vegetarian
Description
These are traditional Italian cookies made with ground nuts rolled into a simple dough.
Ingredients
- 1 cup all-purpose flour
- 1/2 cup granulated sugar
- 1/2 cup ground walnuts or almonds
- 1/4 cup unsalted butter, softened
- 1 large egg
- 1 teaspoon vanilla extract
- 1/2 teaspoon baking powder
- Pinch of salt
- Powdered sugar for dusting
Instructions
- Preheat your oven to 350 degrees Fahrenheit (175 degrees Celsius). Line baking sheets with parchment paper.
- In a medium bowl, whisk together the flour, ground nuts, baking powder, and salt.
- In a separate large bowl, cream together the softened butter and sugar until light and fluffy.
- Beat in the egg and vanilla extract until combined.
- Gradually add the dry ingredients to the wet ingredients, mixing until a stiff dough forms.
- Roll the dough into small logs, about 3 inches long and 1/2 inch thick.
- Place the logs on the prepared baking sheets, leaving about 1 inch between them.
- Bake for 12 to 15 minutes, or until the edges are lightly golden.
- Let the cookies cool on the baking sheets for 5 minutes before transferring them to a wire rack to cool completely.
- Once cool, dust generously with powdered sugar.
Notes
- You can substitute almonds for walnuts, or use a mix of both for a different flavor.
- For a richer flavor, toast the nuts lightly before grinding them.
- Store the cookies in an airtight container at room temperature.
- Prep Time: 20 min
- Cook Time: 15 min
- Category: Dessert
- Method: Baking
- Cuisine: Italian
Nutrition
- Serving Size: 1 cookie
- Calories: 120
- Sugar: 7
- Sodium: 30
- Fat: 7
- Saturated Fat: 3
- Unsaturated Fat: 4
- Trans Fat: 0
- Carbohydrates: 13
- Fiber: 1
- Protein: 3
- Cholesterol: 25