When life gets busy, we all need a little magic. Something sweet, simple, and totally satisfying. That’s exactly what I aim for here at 911Recipes. I’m Clara Kohn, and I truly believe the best food comes from the heart, not a fancy culinary school. These Mini Cheesecake Cups are my go-to answer for a quick party hit. They give you that rich, creamy cheesecake flavor we all adore. But in a perfect, tiny package! No slicing required, which is a total win for any gathering. This recipe holds so much of our family’s love. It’s easy enough for a weeknight treat, too. You’re going to love how quickly these come together.
Why You’ll Love These Mini Cheesecake Cups
These little treats are pure joy. Seriously, who doesn’t love a bite-sized dessert? That’s the beauty of Mini Cheesecake Cups. They bake up fast. Prep time is under 20 minutes. That speed is a lifesaver!

They are perfect for setting out at any party. Guests grab one easily. No messy cutting needed at all. You get that famous creamy texture. The graham cracker crust adds such a nice crunch. They are simple sweets that taste gourmet.
Expert Secrets for Perfect Mini Cheesecake Cups
Getting that perfect texture takes a little know-how. I learned these tips from years of baking. Trust me, these small details make a huge difference. They keep your cheesecake creamy, never grainy.
Temperature matters a lot here. Cold ingredients fight each other. They create lumps in your batter. So, plan ahead for soft cream cheese. For general food safety guidelines regarding dairy, you can refer to resources like the FDA website.
We want smooth, beautiful bites every time. Let’s look closer at the crust first. It sets the foundation for our delicious cups.
Achieving the Ideal Graham Cracker Crust for Mini Cheesecake Cups
The crust needs to hold up well. I use a ratio of about 1.5 cups of crumbs to 5 tablespoons of melted butter. This isn’t cement, but it needs structure.
After mixing, press it down hard. Use the bottom of a small glass. This compacts the crumbs tightly. A firm base prevents crumbling later. This step is key for great Mini Cheesecake Cups.

Don’t be shy with the pressing motion. You want a solid layer.
Mastering the Cheesecake Filling Texture
Once the eggs go in, slow down your mixer. Seriously, slow it way down. Overmixing whips in too much air.
Air pockets cause cracking when cooling. We want dense, smooth surfaces. Eggs bind everything tightly. Sour cream adds that lovely, tangy richness. If you are interested in learning more about the science behind baking, resources on food science can be very helpful.
Only mix until just combined. Stop right before you think you should. That’s my golden rule for creamy fillings.
Gather Your Tools for Making Mini Cheesecake Cups
You don’t need fancy gadgets for these. Good tools make baking easier.
Grab your standard mixing bowls first. A hand mixer works great here. Or, use a stand mixer if you have one ready. If you are looking for other simple baking recipes, check out my guide on chocolate orange mug cake.

You absolutely need a muffin tin. Line it with paper liners, please. This helps us make perfect Mini Cheesecake Cups.
A small glass works wonders for pressing the crust down flat.
Assembling Your Mini Cheesecake Cups
Now for the fun, hands-on part! We move from preparation to actual construction. Follow these steps closely. You’ll soon have amazing Mini Cheesecake Cups ready to bake.
This whole process moves quickly once you have your ingredients ready. Remember, speed is our friend here.
Preparing the Crust Base for Mini Cheesecake Cups
First thing, get that oven warm. Preheat it to the recipe’s temperature. I usually start mine right away.
Next, let’s make that graham cracker base. Mix your crumbs and melted butter well. They should look like wet sand. Don’t skip this mixing step!
Place paper liners in your muffin tin. Spoon the crumb mix into each liner cup. Now, press firmly down. Use that small glass bottom for a tight pack. We are building the base for perfect Mini Cheesecake Cups.
Mixing and Pouring the Cheesecake Batter
Time for the creamy heart of the dessert. Beat that softened cream cheese. Mix it with sugar until it’s completely smooth. No lumps allowed here!
Add the eggs one by one. Beat slowly after each addition. Then, stir in the vanilla and sour cream. Remember my earlier tip? Stop mixing right away. You want the batter just combined. Overmixing ruins the texture, remember that.
Gently spoon the batter over the crusts. Fill them about three-quarters full. This leaves room for a slight rise.
Baking and Setting Your Mini Cheesecake Cups
Carefully place the tin into your preheated oven. Bake them for about 20 to 25 minutes. Look for edges that look set. The very center should still wiggle a bit. It’s okay if they aren’t totally firm yet.
Cooling is crucial for these treats. Let them sit on the counter first. Then, move them to the fridge. Chilling sets the final structure. This long chill time makes the best Mini Cheesecake Cups. Don’t rush this cooling part, please!
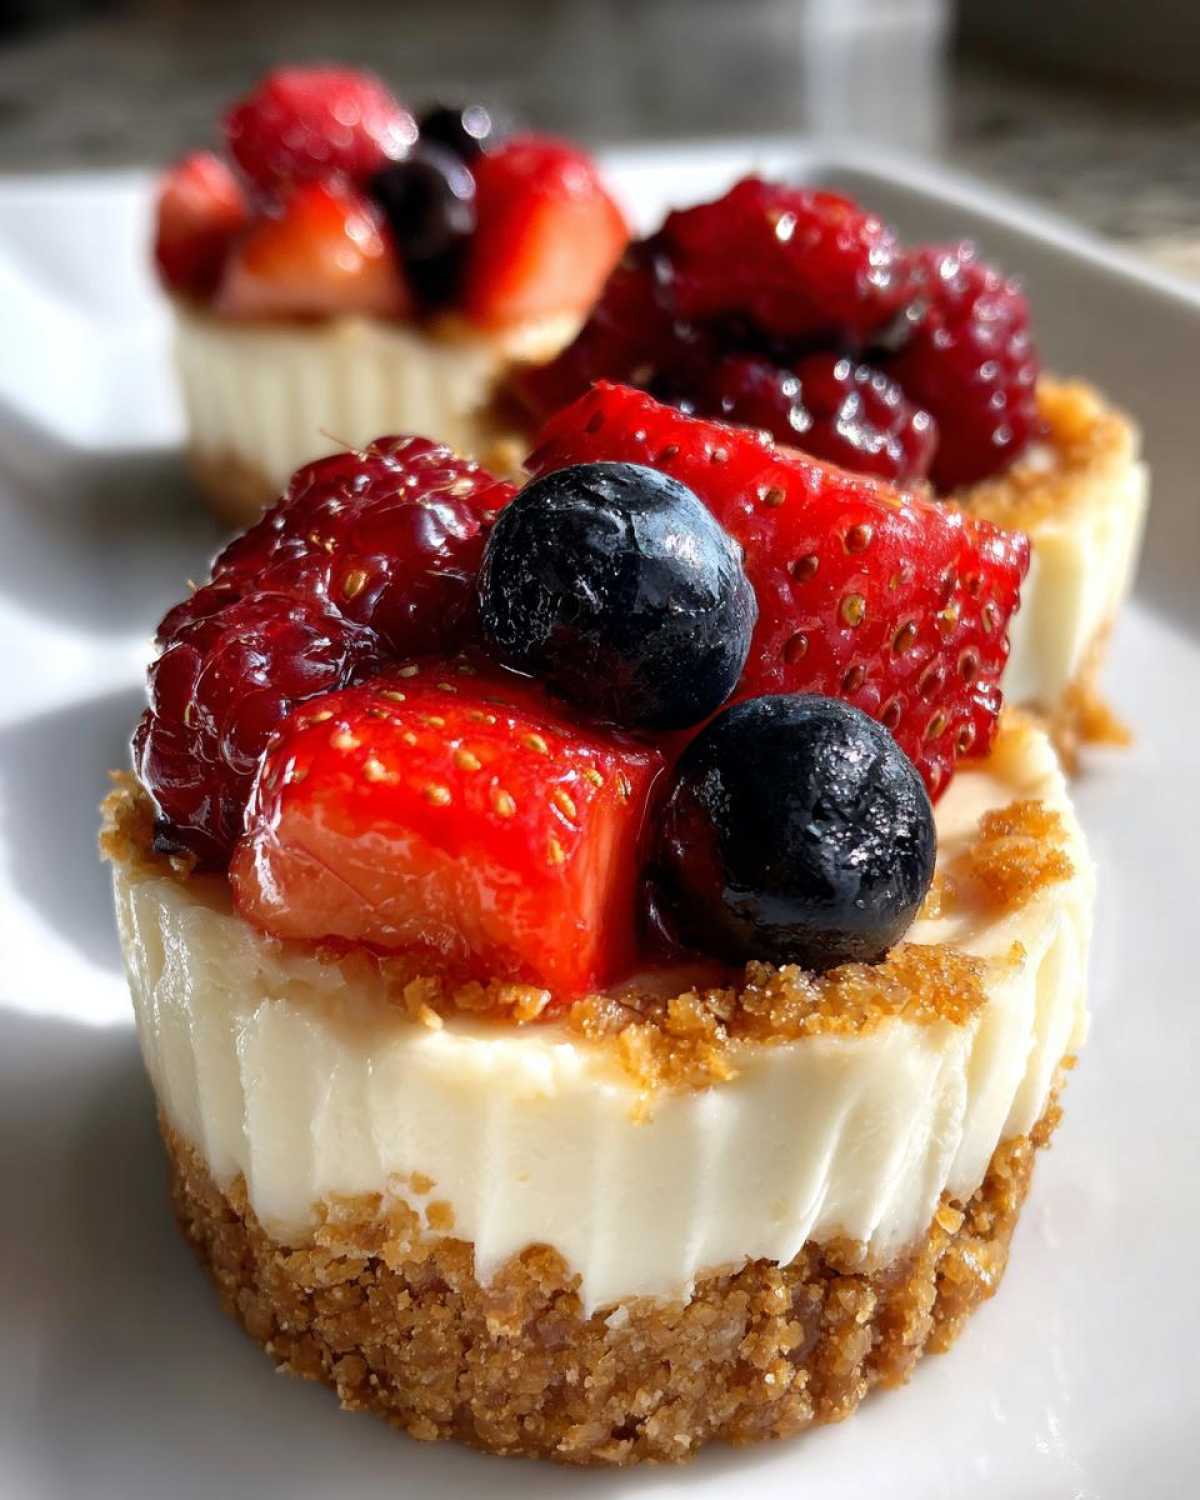
Ingredient Notes and Substitutions for Mini Cheesecake Cups
Let’s talk about ingredients for a moment. Clarity here equals success later. The cream cheese must be truly soft. Room temperature is non-negotiable for smooth filling.
If it’s cold, you get lumps. Lumps mean uneven baking later on. I leave mine out two hours minimum. This ensures creamy Mini Cheesecake Cups.
For the crust, you have fun options too. Swap graham crackers for vanilla wafers. Or try gingersnaps for a spicy twist. Use whatever cookie crumbs you like best. If you enjoy experimenting with different dessert bases, you might like my recipe for salted caramel pretzel bites.
Just keep the butter ratio similar. This simple swap changes the flavor profile. It makes your Mini Cheesecake Cups unique every time.
Serving Suggestions for Your Mini Cheesecake Cups
The best part of these little desserts is dressing them up! Toppings are easy. They make your Mini Cheesecake Cups party-ready fast. Keep it simple for the best flavor.
Fresh berries look beautiful on top. Think raspberries or sliced strawberries. They add a nice pop of color. A dusting of powdered sugar works wonders too.
Melted chocolate chips make a great drizzle. Or just sprinkle them over the top right away. These simple additions elevate your Mini Cheesecake Cups.
Serve them chilled on a nice platter. Watch them disappear quickly!
Storage and Reheating Instructions for Mini Cheesecake Cups
Proper storage keeps these treats perfect. Always keep your Mini Cheesecake Cups chilled. Store them in an airtight container in the fridge. They stay great for up to four days this way.
Do not try to reheat these at all. Cheesecake is best served cold. Heating ruins that lovely firm texture we worked hard to achieve. You want that cool, creamy snap.
If you add fresh fruit toppings, do it right before serving. Soggy fruit is a real bummer. Enjoy your perfectly chilled Mini Cheesecake Cups later!
Frequently Asked Questions About Mini Cheesecake Cups
I get so many questions about these little bites! Here are a few common ones I hear often.
Can I skip baking the crusts first?
You can skip that step for an easy cheesecake. The crust will still bake fine. It just won’t be quite as crisp. I prefer the slight pre-bake, though.
How long do I need to chill them?
Chilling is super important for texture. Chill them for at least four hours. Overnight is honestly even better for firm Mini Cheesecake Cups.
Can I make these ahead for a party?
Yes, absolutely make them ahead! They are a fantastic make-ahead option. Store them covered in the fridge. They are the perfect bite-sized dessert for busy hosts.
Why are my cups cracking on top?
Cracking usually means overmixing the batter. Or maybe you opened the oven door too soon. Cool them slowly to avoid that sudden temperature shock.
Share Your Sweet Creations
I’d love to see your baking success! Did you try these delightful Mini Cheesecake Cups? If you are looking for more dessert inspiration, check out my recipe for spiced pear crisp.
Please leave a star rating on the recipe below. Share your photos with us online. Your sweet creations brighten my day!
Print
Amazing 3-Step Secret for Smooth Mini Cheesecake Cups
- Total Time: 50 minutes plus chilling time
- Yield: 12 servings
- Diet: Vegetarian
Description
Bake delicious, bite-sized Mini Cheesecake Cups perfect for any gathering. These simple treats capture the creamy flavor of classic cheesecake with an easy-to-handle crust and topping combination. Clara Kohn shares this recipe from the 911Recipes family kitchen.
Ingredients
- Graham Cracker Crumbs
- Melted Butter
- Cream Cheese, softened
- Granulated Sugar
- Eggs
- Vanilla Extract
- Sour Cream
- Topping Ingredients (e.g., berries, chocolate chips)
Instructions
- Preheat your oven to the specified temperature.
- Prepare the crust by mixing graham cracker crumbs and melted butter.
- Press the crust mixture firmly into the bottom of a lined muffin tin or mini cheesecake molds.
- Bake the crusts briefly, if required by the recipe.
- Prepare the cheesecake filling by beating cream cheese and sugar until smooth.
- Mix in eggs one at a time, followed by vanilla and sour cream.
- Pour the batter over the prepared crusts.
- Bake until the centers are mostly set.
- Cool the cheesecake cups completely, then chill them.
- Top with your favorite toppings before serving.
Notes
- For the best texture, ensure your cream cheese is fully softened.
- Do not overmix the batter once the eggs are added.
- Chilling time is crucial for firm, perfect cups.
- Use different cookie crumbs for varied crust flavors.
- Prep Time: 20 minutes
- Cook Time: 25 minutes
- Category: Dessert
- Method: Baking
- Cuisine: American
Nutrition
- Serving Size: 1 cup
- Calories: 180 kcal
- Sugar: 15g
- Sodium: 120mg
- Fat: 11g
- Saturated Fat: 6g
- Unsaturated Fat: 5g
- Trans Fat: 0g
- Carbohydrates: 18g
- Fiber: 0.5g
- Protein: 3g
- Cholesterol: 45mg