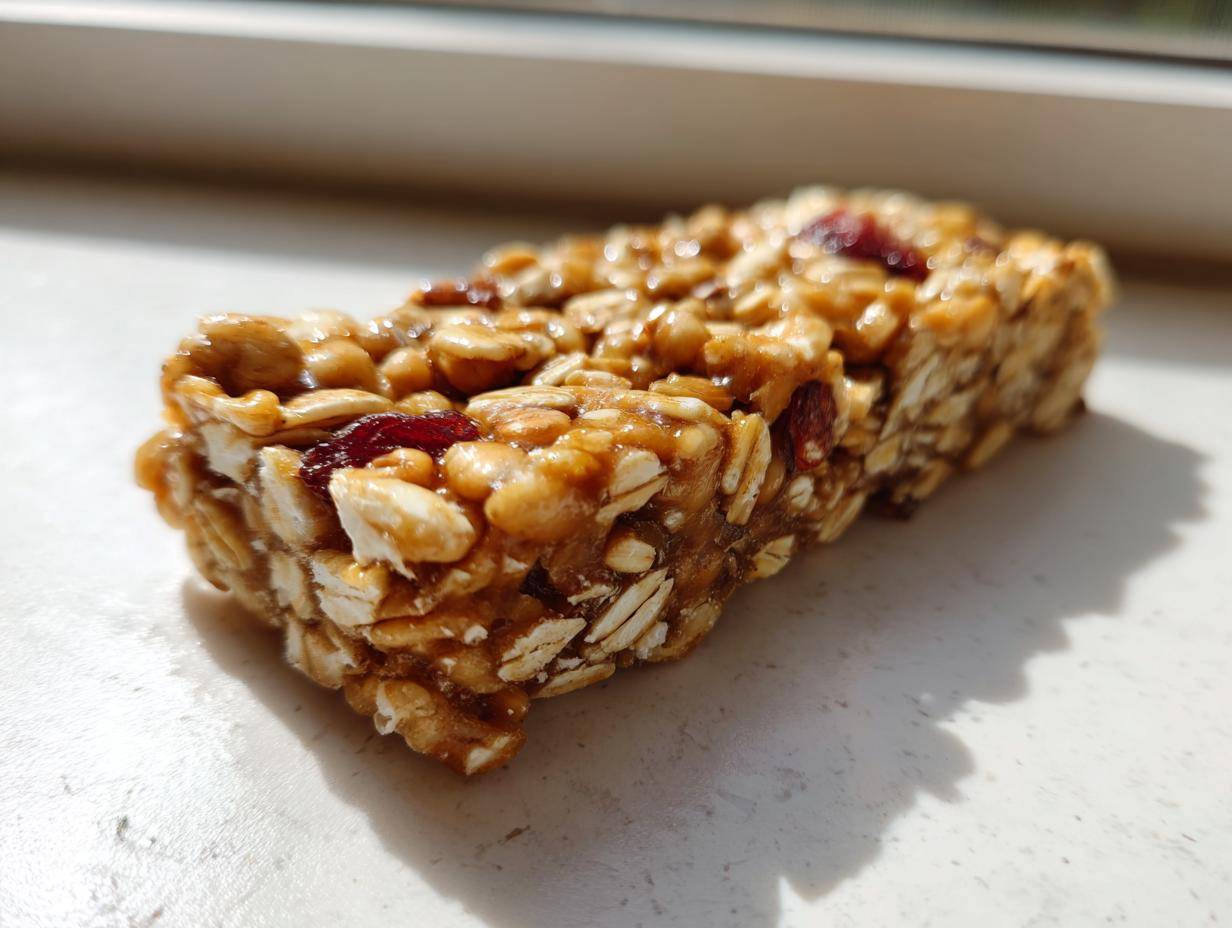
Listen, if you’re anything like me during the week, the last thing you want to do is preheat an oven and wait 45 minutes just for a snack. That’s why I am so obsessed with these no bake granola bars! Seriously, they come together in 15 minutes flat, and the only heat involved is a quick microwave zap for the binder.
These aren’t those dry, crumbly things you find in the checkout aisle, either. These are the ultimate no bake granola bars—super chewy, packed with wholesome oats, and honestly perfect for throwing into those meal prep containers on a Sunday. I developed this specific no bake granola bars recipe because my old oat bars were always coming out too hard. I wanted that satisfying, soft chewiness every single time, and finally, I cracked the code!
Why You Will Love These Ultimate 15-Minute No Bake Chewy Granola Bars
Okay, you need these in your life right now. Forget everything you thought you knew about sticky, frustrating homemade bars. These are the champions of quick grab and go snacks, and they are so simple. Honestly, if you can stir, you can make these!
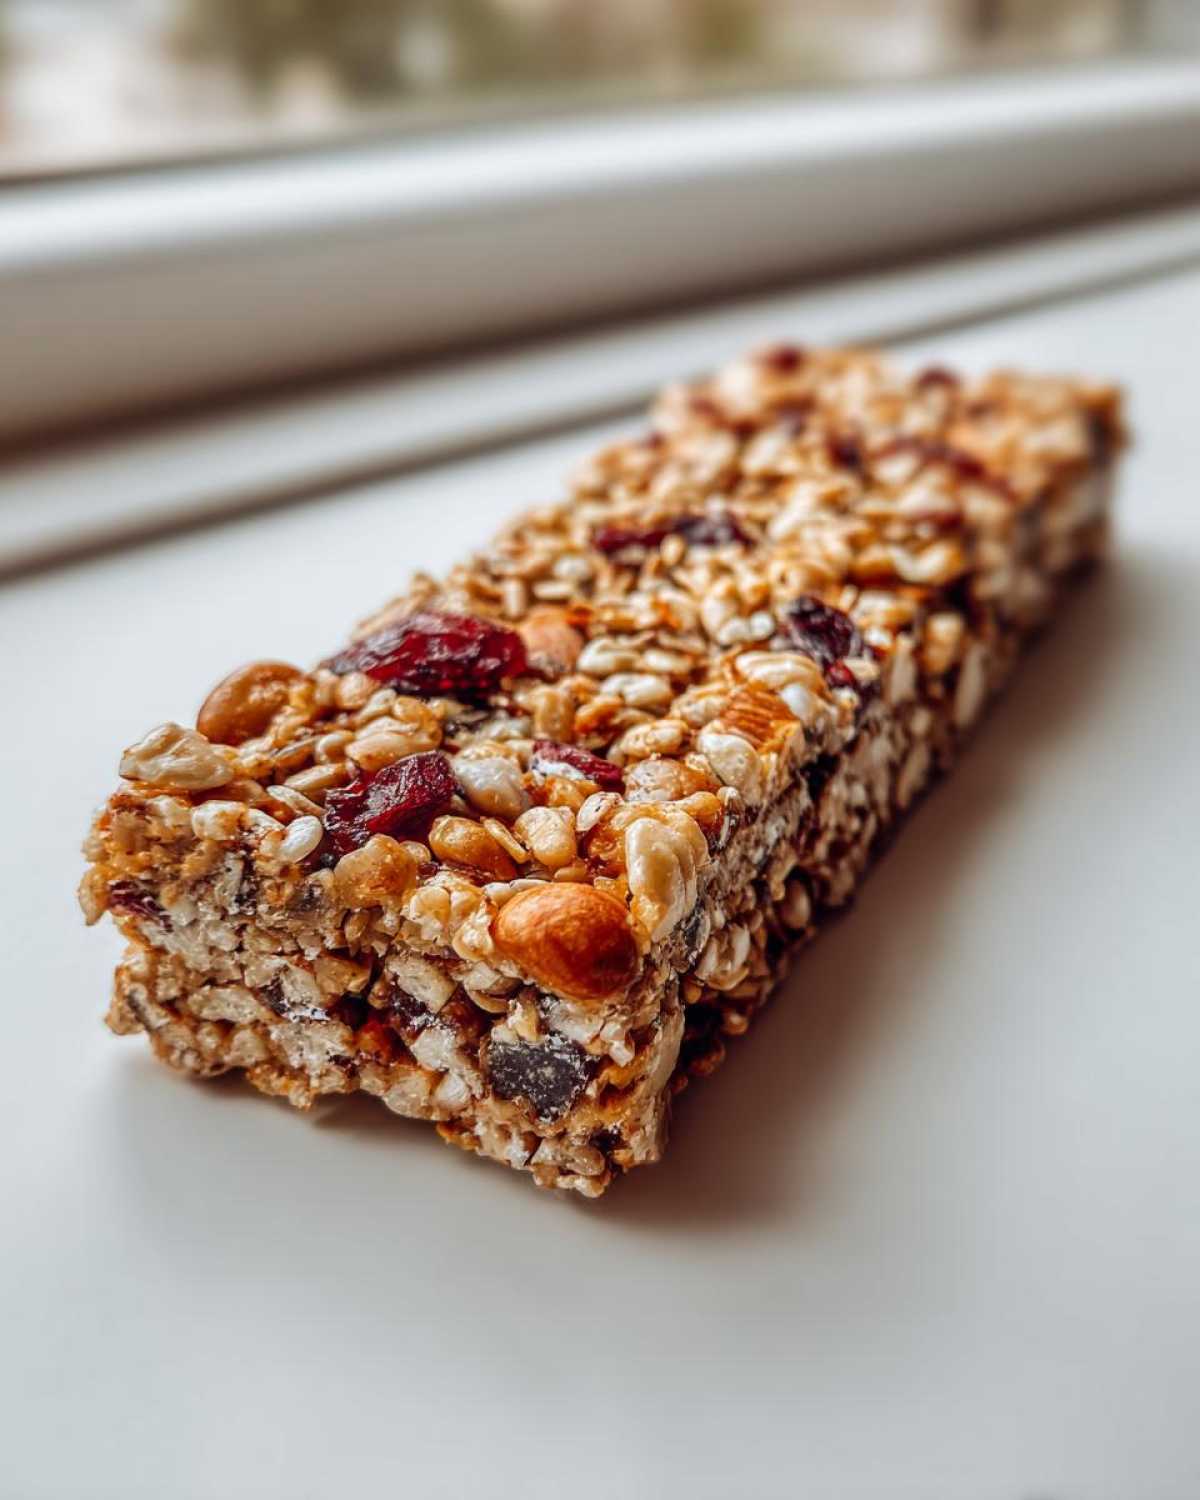
- Zero Oven Time: That’s right, they are the perfect no oven needed treats for hot days or when you just don’t want to heat up the kitchen. It’s instant gratification, almost!
- Speed Demon Prep: You’re looking at maybe 15 minutes of actual work before they hit the fridge. It’s the fastest way to get a batch of homemade granola bars ready for the week.
- The Perfect Chew: We nailed the texture here. These are satisfyingly chewy granola bars, not those brittle types that shatter when you look at them funny. That comes down to the binder ratio, trust me.
- Meal Prep Hero: If you’re trying to keep snacks healthy and ready, these are your new best friends for meal prep snacks. They hold up beautifully in the fridge and are perfect for those rushed mornings. I actually prefer making a batch so I have easy snack recipes waiting for me. If you want to boost the protein next time, check out my no-bake protein bars too!
- Kid Approval Rating 100%: My kids devour these before they even make it to the lunchboxes. They are such reliable kid friendly snacks that I don’t have to worry about weird ingredients.
Essential Ingredients for Perfect No Bake Granola Bars
I love this part because it proves just how simple and affordable these bars are. We are seriously depending on simple pantry recipes here; nothing fancy required! You probably have everything you need hiding in your cupboards right now. The whole secret to getting that perfect chewy texture relies on keeping the right ratio between the dry volume and the sticky binders.
Dry Base Components
This is where the heartiness comes from. You need that good, solid base of oats for structure. We aren’t messing around with quick oats here—you want the real chew!
- 2 cups rolled oats (Old-fashioned are best for structure!)
- 1 cup mix-ins (This is where you get fun: think chopped nuts, seeds like pumpkin or chia, or your favorite dried fruit!)
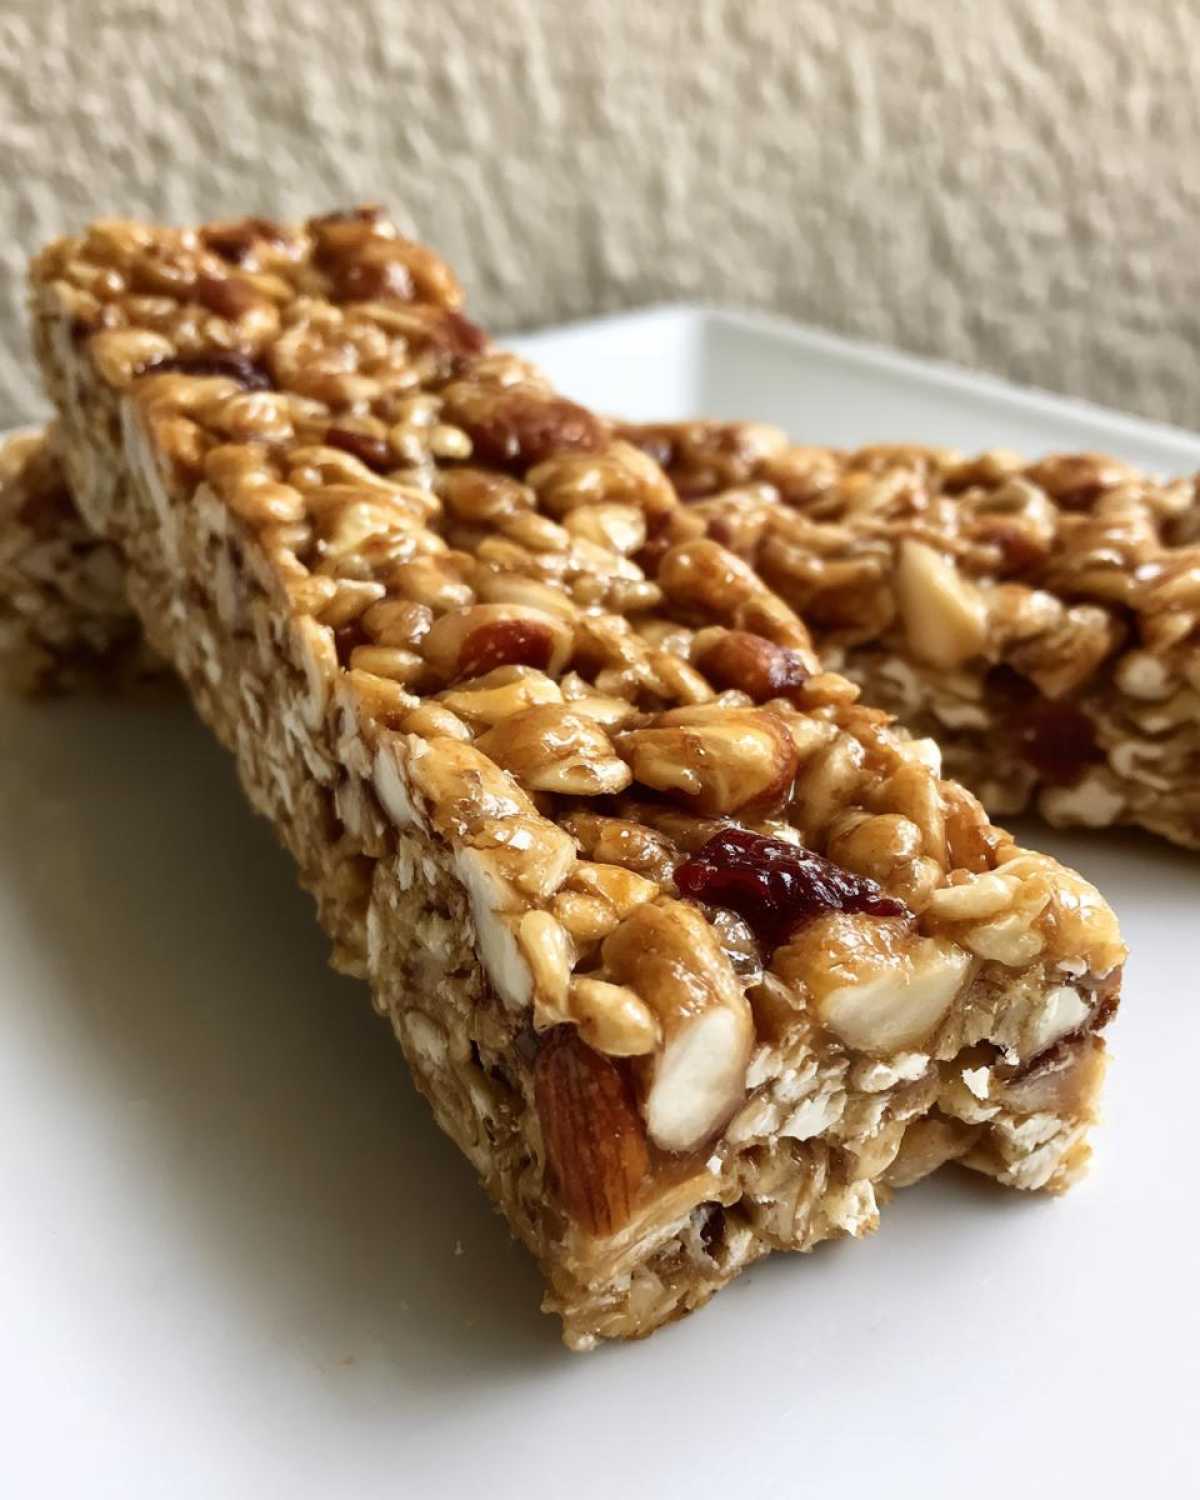
Binding & Flavor Agents
These are the elements that hold the whole thing together and give it that irresistible sweetness. Make sure your nut butter is smooth and creamy—no one likes huge lumps of hard peanut butter.
- 1/2 cup creamy peanut butter or almond butter
- 1/2 cup honey or maple syrup (depending on your preference!)
- 1 teaspoon vanilla extract
Ingredient Notes and Simple Substitutions for Your No Bake Granola Bars
When you’re making nut butter bars, ingredient swaps are just part of the game, right? I always want you to feel empowered to use what you have. This recipe uses tried-and-true ingredients, but I know sometimes you need to avoid nuts or you’re out of honey. Don’t panic! The texture will shift slightly, but we can manage it.
The key thing to remember is that you are changing the liquid content when you swap binders. We want everything to stick together perfectly, and that takes a little intuition when adapting!
Binder Flexibility: Honey vs. Maple Syrup
If you use honey, you’re going to get a slightly stronger binding power, which results in bars that are perhaps a tiny bit firmer once thoroughly chilled—which is great if you like a really solid bite. Maple syrup is wonderful because it keeps these bars vegetarian-friendly, and the flavor is a little lighter, almost caramel-like. Both are excellent, but if you find your bars are a little too soft after cooling, try reducing your syrup/honey amount by a teaspoon next time.
Making Nut-Free No Bake Granola Bars
This is a super common request, especially when making these for school lunches. If you need to keep the nut factor down, ditch the peanut or almond butter and go straight for sunflower seed butter. It works just as well as a binder because it’s smooth and creamy!
Make sure you use smooth sunflower seed butter, not the gritty kind, so it incorporates evenly with the honey or syrup. It has a slightly stronger, earthier flavor than peanut butter, but honestly, once it’s mixed with those oats and vanilla, you barely notice it. It pulls off the ‘no bake’ miracle just as well!
How to Prepare Ultimate 15-Minute No Bake Chewy Granola Bars
I told you these were fast! Once you have your ingredients lined up—and don’t forget that parchment paper—this drops together quicker than a fancy coffee order. Don’t rush the chilling time, though; that’s crucial for getting those beautiful, solid chewy granola bars you deserve.
Prep the Pan and Combine Dry Ingredients
First things first: grab your 8×8 pan and line it completely with parchment paper. You want lots of overhang on the sides—think of it as handles that let you yank the whole slab out later. That parchment is our best friend when dealing with sticky stuff! Once that’s done, dump your rolled oats and all your chosen mix-ins (nuts, seeds, fruit, whatever makes you happy) into a big mixing bowl and give them a good toss to combine.
Melting the Binder Mixture
Now for the sticky magic. Take your nut butter and your honey or maple syrup and put them into a microwave-safe bowl. I usually blast that for about 30 seconds. It doesn’t need to boil, just warm up enough so that all that thick butter becomes easily stirrable and pourable. Stir in your splash of vanilla right away while it’s warm.
Mixing, Pressing, and Chilling
Pour that warm, gooey binder right over your dry oat mixture. Use a strong spatula to mix everything thoroughly until every single oat looks coated—no dry spots allowed! If you are adding those optional chocolate chips, fold them in last. Now comes the most important step for texture: transfer the whole mess to your prepared pan. You have to press this down *really* firmly. Use the back of another spatula or even a piece of wax paper to compact it tightly. This pressure is what guarantees you get those perfectly dense, chewy granola bars later on. Toss that pan into the refrigerator for at least one full hour until it’s rock solid. Seriously, don’t peek early!
Once it’s chilled firm, use those parchment overhangs to lift the entire block out of the pan and cut it into your bars. Easy peasy! If you want another great no-fuss recipe that uses the stovetop instead of the microwave, you might want to check out this zesty vinaigrette for salad—just kidding! Stick to the chilling time, and you’ll see why this recipe is the best.
Tips for Success When Making No Bake Granola Bars
Even though we aren’t turning on the oven, mastering these no bake granola bars still requires a few tricks up your sleeve. These aren’t just random suggestions; these are the little secrets I learned after my first few batches turned out a little too gooey or sticky for transport. Follow these four points, and you’ll have perfect squares every time, making them the ultimate oat snack bars.
First up, let’s talk about temperature when mixing. Don’t let your melted binder (the nut butter/syrup mix) cool off too much before you add it to the dry ingredients. If it sets up even slightly, you’ll end up struggling to coat the oats properly, leading to dry spots and eventual crumbling. It should be warm enough to pour easily, but not so hot that it melts your chocolate chips instantly if you add them early!
My second big tip is all about patience in the pressing stage. This is non-negotiable, especially if you want chewy granola bars rather than loose clusters! You need to compact that mixture down into the pan like you are setting concrete. Get a heavy bottomed mug or the bottom of a flat measuring cup and really press down hard until the surface is totally flat and incredibly dense. Over-pressing is impossible here; under-pressing guarantees crumbs.
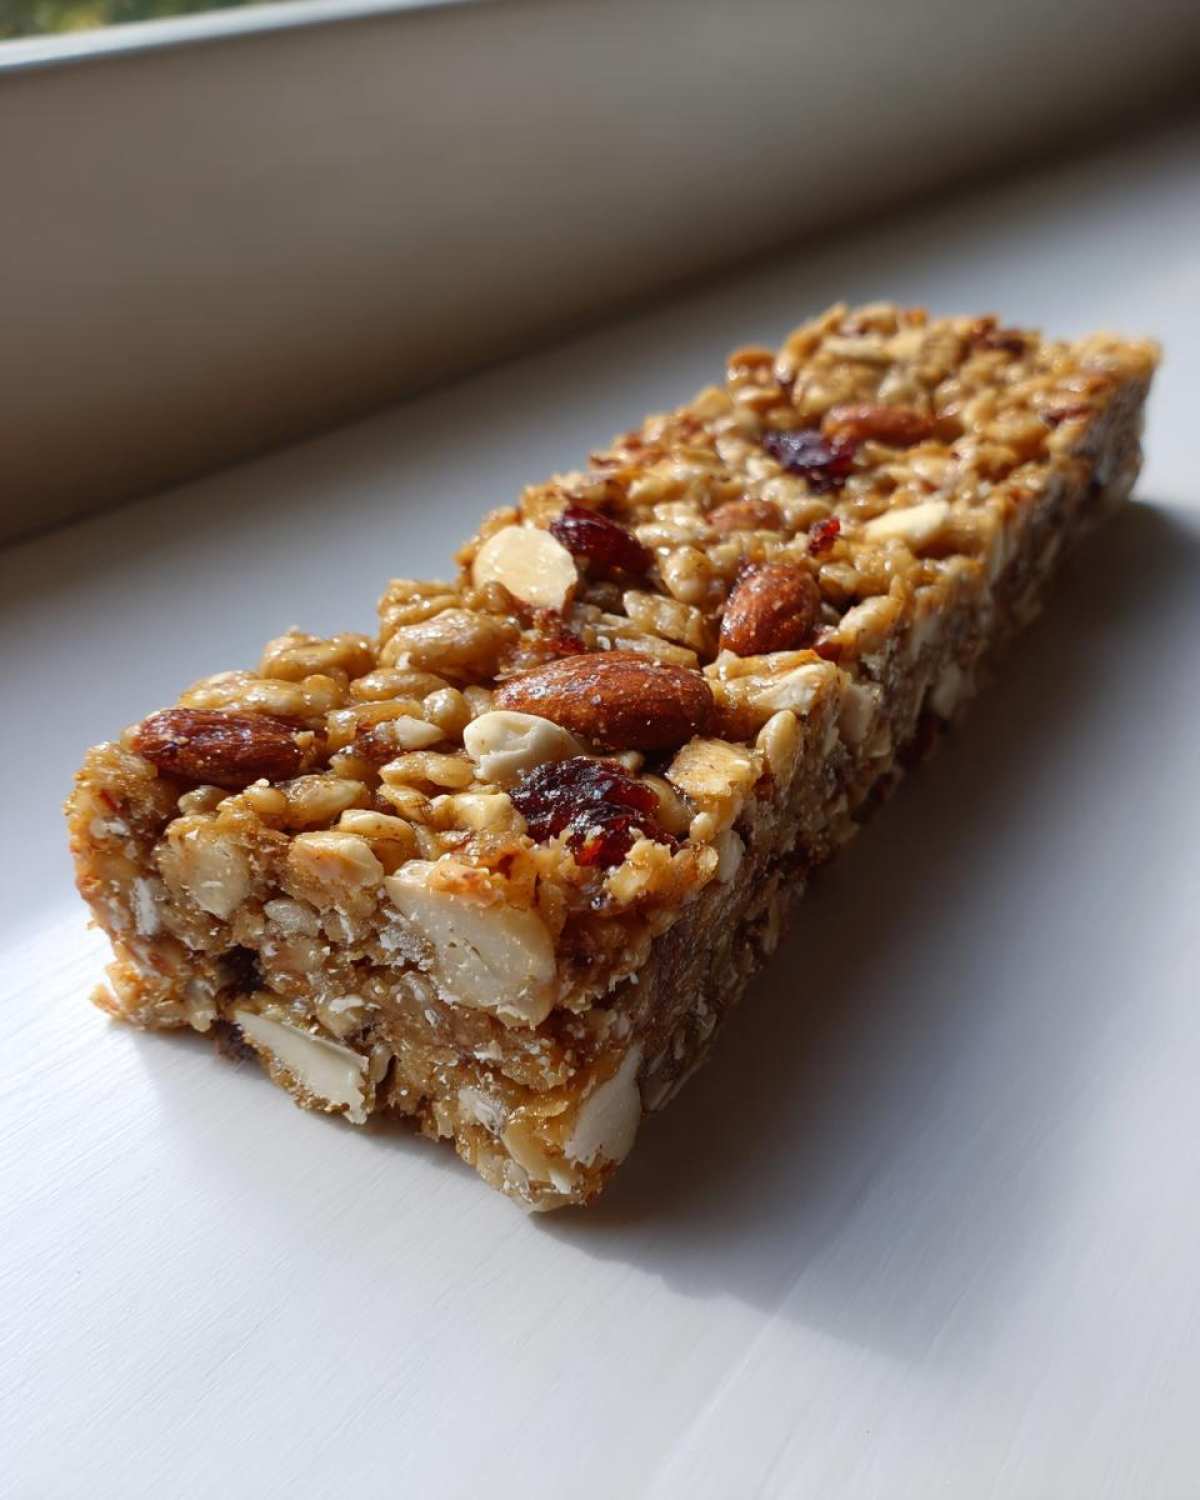
Third, when it comes time to cut them, you need a sharp knife and a bit of strategy. Trying to cut warm or room-temperature bars is a disaster; they stick and tear. Make absolute sure they are chilled until rock solid—I usually leave them for at least an hour and a half, sometimes longer. Then, very carefully lift the whole block out using the parchment handles onto a cutting board. Use a large, sharp knife and press straight down rather than sawing back and forth. A straight, decisive downward press gives you clean edges.
Finally, a small tweak for cleaner handling: if your bars feel a little too soft even after chilling, especially if you used a lot of dried fruit which holds moisture, try slightly decreasing one of your wet binders—maybe take out one extra teaspoon of honey next time. A little less sticky liquid means a firmer bar that’s easier to grab on the run. These little adjustments are what take these from good easy snack recipes to truly great grab-and-go staples. If you want to see how I get my oatmeal to blend perfectly in my famous soft cookies, sometimes checking out little tips, like the ones I use in my oatmeal cookie recipe, can help you understand ingredient interaction!
Storage and Reheating Instructions for Your No Bake Granola Bars
One of the best things about these no bake granola bars is how long they last! Since we aren’t baking them, they need a little extra TLC to keep that wonderful chewy texture intact. These are genuinely refrigerator snacks, and honestly, that’s where they shine brightest.
Once you’ve cut your chilled slab into squares—remember, cut straight down or you get crumbs!—you need to store them properly. I always line an airtight container with a small sheet of wax paper or parchment paper first. This prevents the bars from sticking to each other, which is key because they can get a little tacky when they’re room temperature for too long.
Keep the container sealed tight in the refrigerator. They will last beautifully for up to one week. If you happen to have made an enormous batch (which I often do, because they disappear fast), you’re in luck because they freeze wonderfully too! Just make sure each bar is wrapped individually—wax paper works great here—before you stack them in a freezer-safe bag or container.
If you pull a few frozen bars out, don’t worry about ‘reheating’ them; that’s the beauty of the no bake healthy bars! Just pull them out of the freezer about 15 to 20 minutes before you plan to eat them. That gives them just enough time to soften up slightly from rock-hard freezer status back to that perfect, chewy consistency we love. They take up zero counter space while thawing, making them ideal quick grab and go snacks for busy days!
Variations for Homemade Granola Bars
The beauty of these super simple no bake granola bars is how incredibly customizable they are! Once you master the binder-to-oat ratio, you can treat this recipe like a blank canvas. Honestly, half the fun is experimenting with what you can toss in there. We’re making more than just a snack here; we’re crafting custom energy bars homemade that suit exactly what the day needs. I’ve got three absolute favorite swaps that I cycle through every few weeks.
First up, let’s talk flavor profile change. If you want something amazing for autumn but don’t want to turn on the oven, try the Harvest Spice version. Swap out half of your dried fruit for dried cranberries and add about one teaspoon of pumpkin pie spice right into the dry mix along with all the other spices. That warm scent while you’re mixing is just heaven! It makes these oat snack bars taste like cozy dessert.
Next, for when you need an extra muscle boost—maybe before a big workout or just a super long afternoon—you need a protein upgrade. You can easily sneak in about 1/4 cup of unflavored or vanilla protein powder right along with the rolled oats in the dry mix. Be warned: protein powder tends to suck up moisture, so if you add this, make sure your binder mixture is stirred really well and use every last drop. If you’re looking for other incredible ways to get protein into your morning routine, you absolutely have to check out my recipe for healthy protein waffles!
Finally, my favorite way to switch these up for a truly wholesome dessert feel is to go tropical. Swap out most of your dried fruit for chopped dried mango and pineapple, and then instead of chocolate chips, fold in some toasted coconut flakes. OMG. It’s like a vacation in a bar! For this version, I always use almond butter as the base binder. It gives those tropical flavors the perfect nutty background without overpowering them. It’s the best way to create fun healthy sweet treats that satisfy that craving without any guilt or baking stress!
Frequently Asked Questions About No Bake Granola Bars
Can I make these no bake granola bars vegan?
Oh, absolutely you can! That’s one of the great things about this base recipe—it’s super adaptable for plant-based diets. If you need these to be totally vegan, the easiest swap is skipping the honey. We found that using maple syrup works perfectly as the binder replacement. It keeps the mixture sticky, adheres to the oats just as well, and gives you that nice, firm set once they chill down. So yes, switching to maple syrup makes these magnificent vegan no bake granola bars!
Why are my homemade granola bars crumbly?
If your lovely homemade granola bars dissolved into a pile of oats instead of holding their shape, I can usually point to one of two culprits, and it almost always has to do with the binding power. Did you press them down hard enough? I mean, really press them! You need serious force to compact the oats so they stick together when you cut them. If you only gently spread the mixture, it won’t hold. The second reason might be your liquid ratio was slightly off—maybe your nut butter was drier than mine, or you accidentally used too much honey. Next time, warm the binder slightly longer so it coats every single oat perfectly.
Are these considered healthy lunchbox ideas?
They are the best! If you are trying to pack nutritious, whole-ingredient snacks that aren’t loaded with processed sugar, these fit the bill perfectly. Because we use whole rolled oats as the base, they offer great fiber and sustained energy. Plus, the “healthy” factor is entirely up to you! You load them up with seeds and nuts for healthy fats, or lean into dried fruit like apricots and dates. They are much better than those sugary options, making them fantastic components of healthy lunchbox ideas. See? These are wonderful easy snack recipes you can feel good about giving the kids!
If you’re looking for a fun fruit treat that doesn’t require any chilling or special equipment, you have to check out my recipe for easy berry cobbler—no fancy chilling needed for that one!
Share Your Ultimate No Bake Granola Bars Experience
I truly hope you’ve already gathered your peanut butter and rolled oats because these no bake granola bars are just waiting for you to try them out! Don’t let another day go by wishing you had a quick, chewy snack ready for lunch or that afternoon slump.
Once you’ve tried this recipe—maybe you went full chocolate chip, or maybe you got adventurous with the dried cherries and pumpkin seeds—please come back and tell me what you thought! I’m always tinkering, and your feedback helps me keep these recipes strong. Rate this recipe with five stars right here on the blog if it saved your busy week!
And if you bring these amazing homemade granola bars to life in your own kitchen, snap some pictures! Tag me on social media using #HomemadeChewyBars so I can see your beautiful creations. I absolutely love seeing your finished products. Happy mixing, and enjoy those easy, no-fuss moments!
Print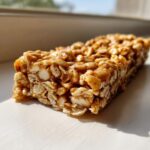
Ultimate 15-Minute No Bake Chewy Granola Bars
- Total Time: 1 hour 15 min
- Yield: 12 bars
- Diet: Vegetarian
Description
Make these simple, chewy granola bars without turning on your oven. They are perfect for quick meal prep and grab-and-go snacking.
Ingredients
- 2 cups rolled oats
- 1 cup mix-ins (e.g., chopped nuts, seeds, dried fruit)
- 1/2 cup creamy peanut butter or almond butter
- 1/2 cup honey or maple syrup
- 1 teaspoon vanilla extract
- 1/4 cup mini chocolate chips (optional)
Instructions
- Line an 8×8 inch baking pan with parchment paper, leaving an overhang on the sides for easy removal.
- In a large bowl, combine the rolled oats and your chosen mix-ins.
- In a small, microwave-safe bowl, combine the nut butter and honey (or maple syrup). Microwave for 30 seconds until slightly softened and easily stirrable.
- Stir the vanilla extract into the nut butter mixture.
- Pour the wet mixture over the dry ingredients. Stir well until everything is evenly coated.
- If using, fold in the chocolate chips.
- Press the mixture firmly and evenly into the prepared pan. Use the back of a spatula or a piece of wax paper to compact it tightly.
- Refrigerate for at least 1 hour, or until firm.
- Use the parchment paper overhang to lift the block out of the pan. Cut into 12 or 16 bars.
Notes
- For firmer bars, reduce the liquid binder slightly.
- Store leftovers in an airtight container in the refrigerator for up to one week.
- Substitute sunflower seed butter for a nut-free version.
- Prep Time: 15 min
- Cook Time: 0 min
- Category: Snack
- Method: No Bake
- Cuisine: American
Nutrition
- Serving Size: 1 bar
- Calories: 220
- Sugar: 12g
- Sodium: 50mg
- Fat: 11g
- Saturated Fat: 2g
- Unsaturated Fat: 9g
- Trans Fat: 0g
- Carbohydrates: 28g
- Fiber: 3g
- Protein: 7g
- Cholesterol: 0mg