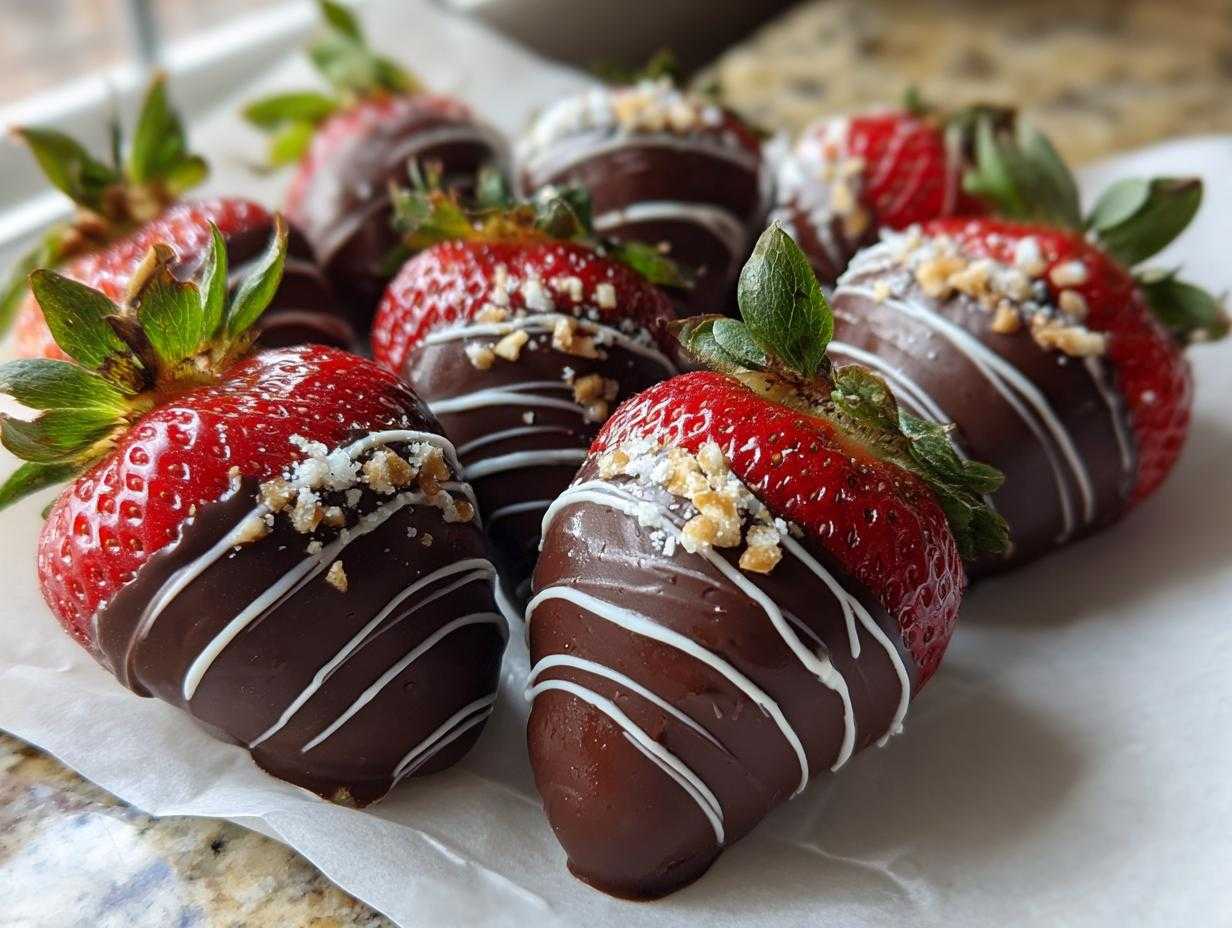
Oh my gosh, if you think making those gorgeous, glossy chocolate covered strawberries you see in fancy bakeries is impossible at home, stop right there! I used to think that too. I mean, who wants to spend hours fussing only to end up with cracked or grainy chocolate? Not me! That’s why I finally perfected this recipe for the ultimate **chocolate covered strawberries**.
Trust me, achieving that smooth, professional dip takes just a tiny bit of insider knowledge—and I’m sharing every single secret I’ve gathered over years of trying everything. This is the easy guide you need to make impressive, restaurant-quality fruit in practically no time. You’ll nail that perfect shell on your first try, I promise! If you love quick, elegant treats, you might also want to check out my recipe for heart-shaped strawberry hand pies.
Why You Will Love This Easy Chocolate Covered Strawberries Recipe
Honestly, what’s not to love about these? They look incredibly fancy, but they are truly one of the fastest, most impressive things you can whip up. If you’re looking for show-stopping results without the fuss, this is it. Seriously, the total time is only about 20 minutes!
- Lightning Fast: We’re talking about a beautiful dessert ready in about 20 minutes total. Perfect for last-minute romantic gestures or sudden cravings.
- Totally Foolproof: I give you the secrets to avoid seized chocolate and ensure that coating sticks perfectly every single time. No more chocolate messes!
- Gourmet Look, Home Kitchen Ease: These homemade dipped strawberries look like they came straight from a high-end chocolatier, but you just need a microwave and some strawberries. If you want more ideas for amazing treats, take a peek at my guide on simple gourmet sweets while you wait for your chocolate to melt!
- Completely Customizable: Use milk, dark, or white chocolate—and the toppings are all up to you. They work for Valentine’s Day, a party, or just a Tuesday night treat!
Essential Ingredients for Perfect Chocolate Covered Strawberries
Okay, ingredient selection is where a lot of people mess up, but it’s actually super simple if you know what to grab. We only need three main players here, plus whatever fun stuff you want for toppings. For the best results, you absolutely must start with high-quality chocolate. Don’t skimp here; cheap chocolate melts terribly and won’t give you that beautiful, glossy finish we’re aiming for. You’ll need about a pound of the freshest strawberries you can find.
We are using 12 ounces of good quality melting chocolate—so that’s dark, milk, or semi-sweet, whatever your heart desires. And for that extra shine, I always toss in just one teaspoon of coconut oil or vegetable shortening. If you want to jump straight to learning about premium chocolate choices, definitely check out my thoughts on the best chocolate for dipping strawberries!
Ingredient Notes and Substitution Tips for Chocolate Covered Strawberries
Let’s talk about that tiny bit of oil or shortening. That’s my trick, my little secret weapon for achieving that super smooth coating that looks like it was done by a machine. It thins the chocolate just enough so it flows beautifully off the berry, giving you that super high gloss finish. Don’t skip it if you want that professional look!
And remember, I harp on this because it matters: the quality of your chocolate dictates the quality of your final product. If you use anything less than good melting wafers or a good bar, you risk the chocolate seizing up—turning grainy and thick—the moment you try to work with it. We want smooth dipping action, not a lumpy disaster!
How to Make Chocolate Strawberries: Step-by-Step Instructions
Alright, this is the fun part! Don’t let the steps intimidate you; we’re making this process super smooth. Just follow these few simple actions in order, and you’ll have gorgeous, homemade dipped strawberries before you know it. I always put my toppings out on a little tray right next to me before I even start melting the chocolate. Preparation is everything when you are working fast!
The Crucial Step: Preparing Your Strawberries for Dipping
Listen to me: this is the make-or-break moment. You have to wash your strawberries gently, but then you must dry them until they are absolutely, positively bone dry. If there is even a single drop of water lingering on that berry, your chocolate will hate you! It will seize up—it gets grainy and thick—and you won’t be able to dip anything smoothly. Keep those cute green stems on, too! They work as perfect little handles for dipping.
Melting Chocolate: Achieving the Best Consistency for Chocolate Covered Strawberries
We’re melting this gently in the microwave because honestly, who wants to deal with a double boiler? Put your chocolate (plus that teaspoon of coconut oil if you’re using it) into a microwave-safe bowl. You want to heat it in short bursts—30 seconds at a time—and stir enthusiastically in between each burst. It will look chunky, then suddenly glossy. Stop heating the second it looks mostly smooth; the residual heat finishes the job. Overheating is a disaster!
Dipping and Decorating Homemade Dipped Strawberries
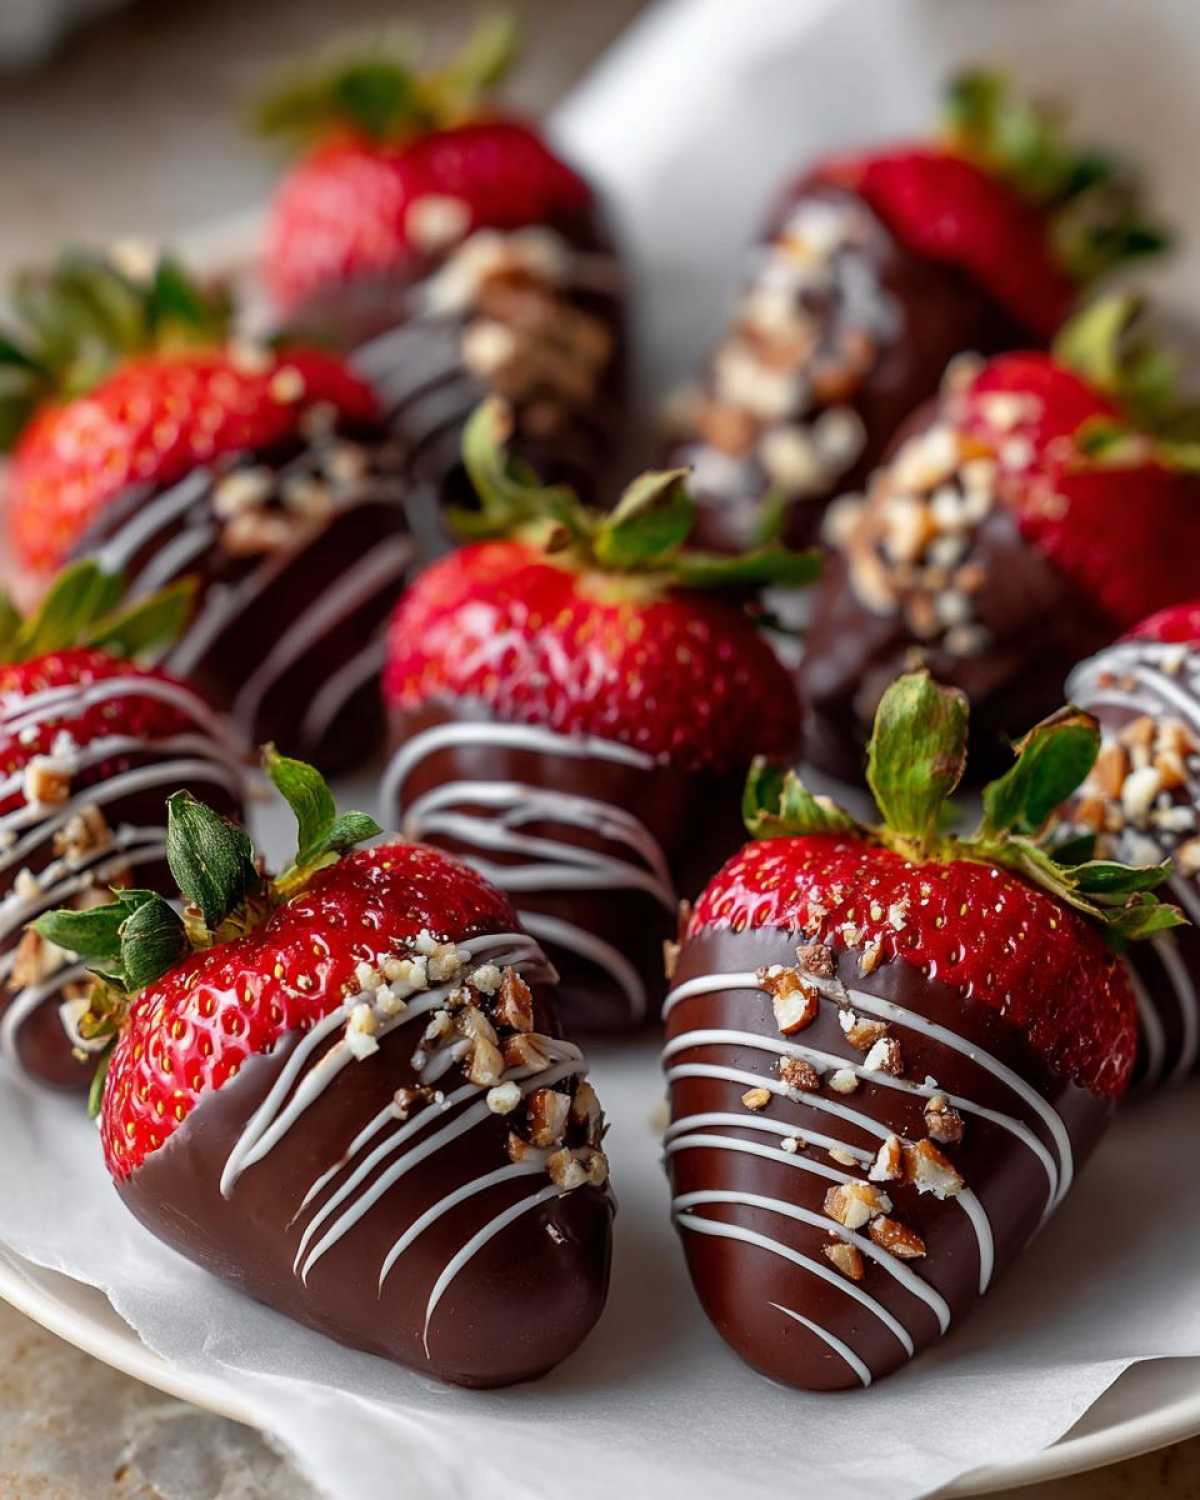
Now, pick up your berry by the stem! Dip it right into that smooth chocolate pool and swirl it around until about two-thirds of the strawberry is covered. Lift it straight up and hold it over the bowl for a second so all the extra drips fall back in. If you don’t let the excess drip, you’ll end up with big chunky blobs at the bottom. Immediately after you lift it out, you need to quickly sprinkle on your nuts or sprinkles, or whatever you’ve chosen! They need to stick while the chocolate is still liquid.
Setting Your Chocolate Covered Strawberries Perfectly
Once decorated, gently lay the strawberry down on a baking sheet that you’ve prepped with parchment paper or wax paper. Don’t crowd them! They need space so they don’t stick to each other. Pop that tray into the fridge for about 15 to 20 minutes until the chocolate shell is totally firm to the touch. If you chill them, you ensure that fantastic, crisp shell. For more tips on getting that perfect shine, check out my guide on glossy chocolate coating tips.
Gourmet Chocolate Strawberries Decorating Ideas and Toppings
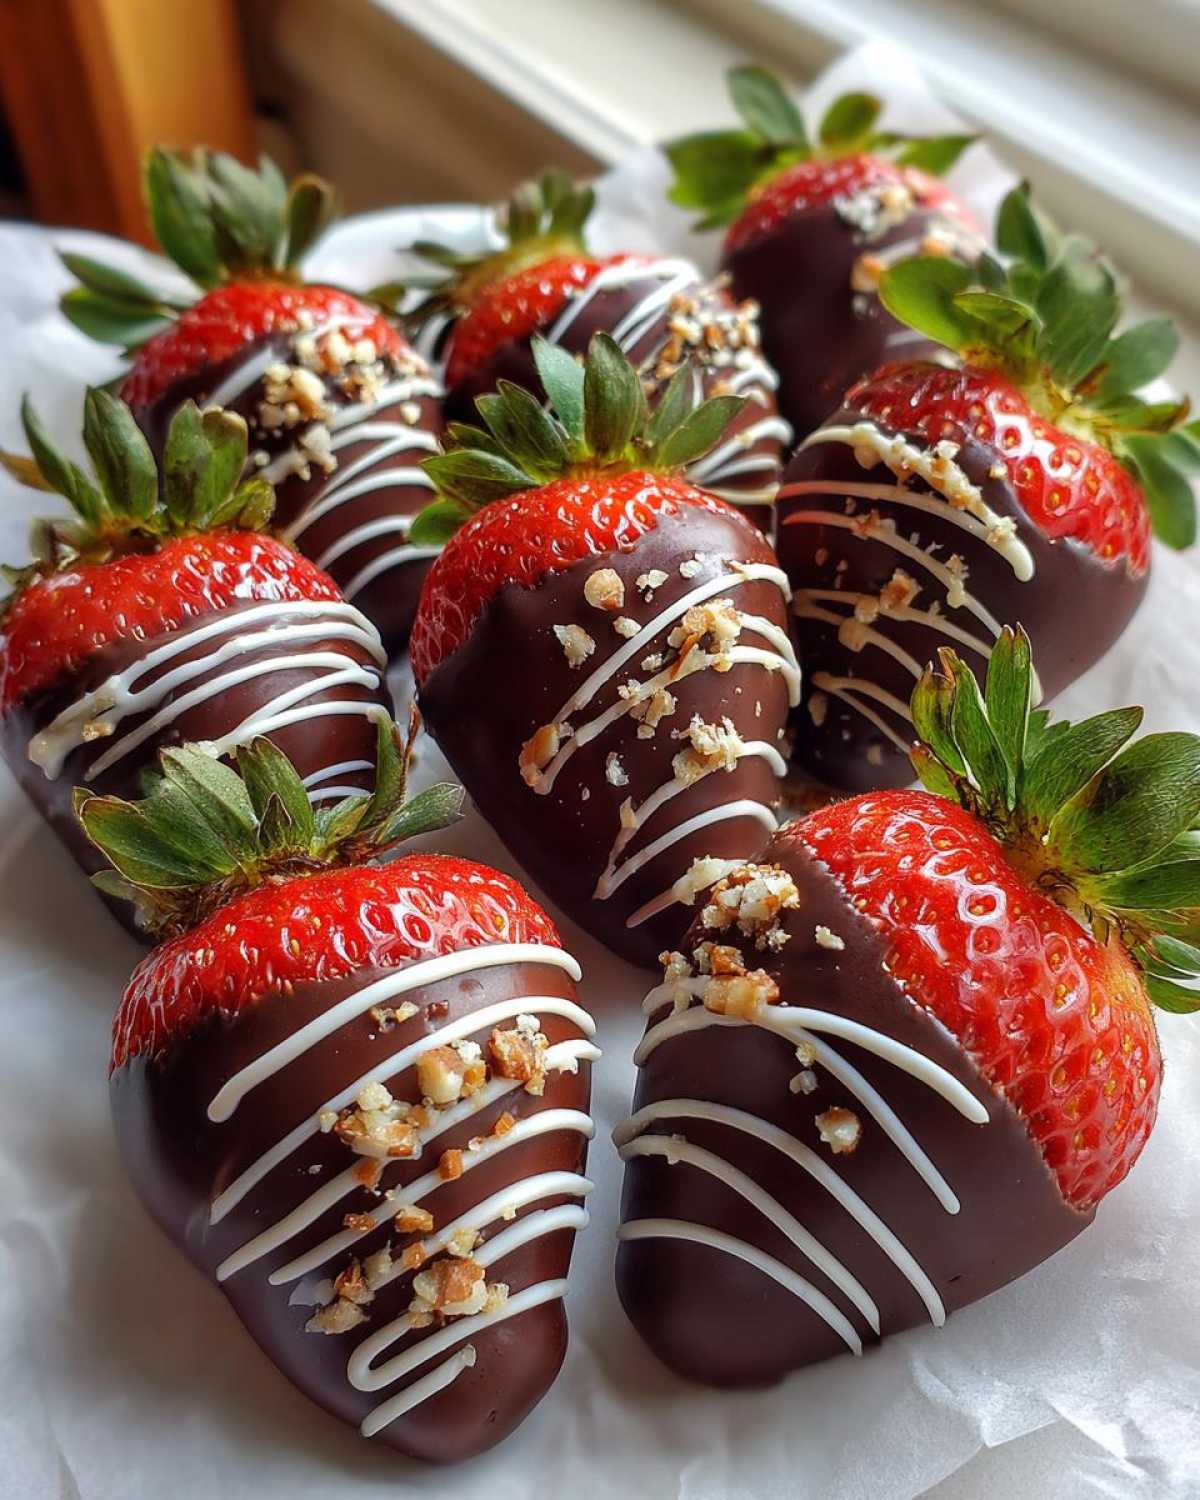
Okay, once you’ve mastered the perfect dip, the real fun begins: decorating! This is where your **chocolate covered strawberries** go from a simple dessert to something truly show-stopping. Forget just throwing on some primary-colored sprinkles—we’re aiming higher.
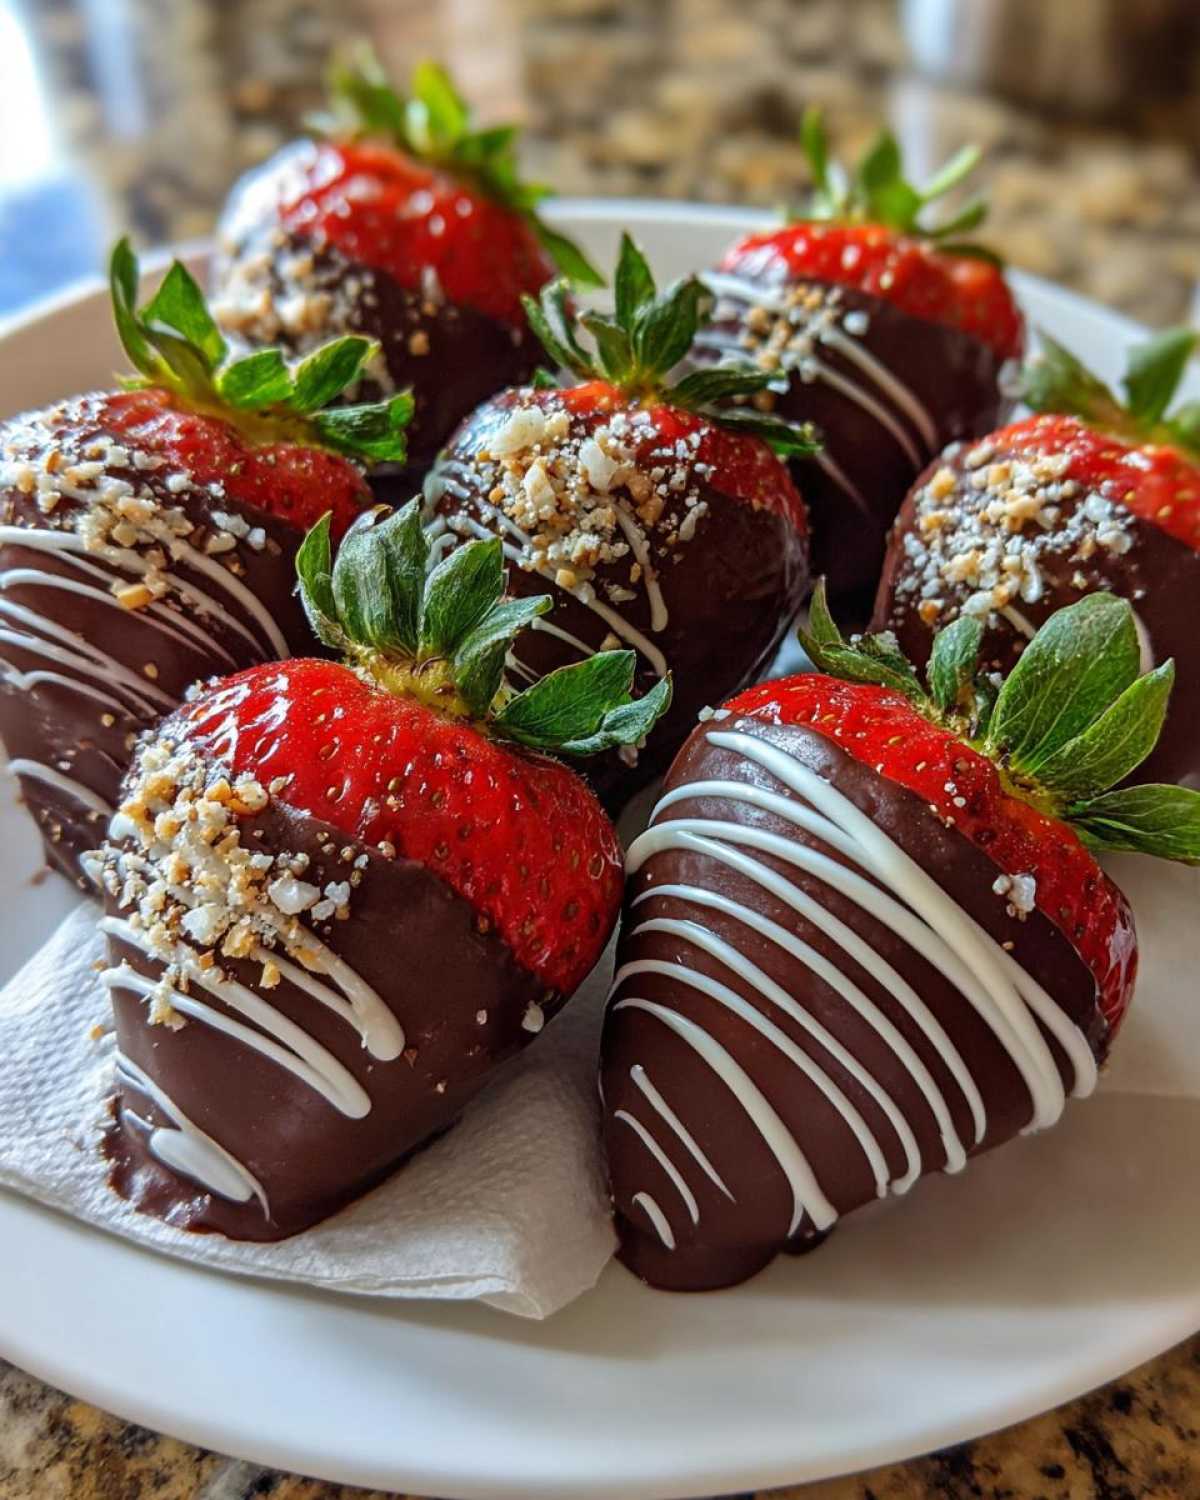
For a truly elegant homemade candy look, try crushing up freeze-dried raspberries or shortbread cookies and gently rolling the wet chocolate edge in those crumbs. It adds amazing texture and flavor. For contrast, you have to try drizzling. Melt just a small amount of white chocolate completely separately, put it in a little Ziploc bag, snip the tiniest corner off, and drizzle thin, messy-yet-artistic lines across your set dark chocolate base. You can see exactly how I do fancy drizzles over at my guide on chocolate covered strawberry decorating ideas.
And speaking of contrast, if you made a milk chocolate batch, you absolutely need some **white chocolate covered strawberries** mixed in for color balance! For a completely different vibe, try pairing these with a fizzy drink; I have a fantastic white chocolate strawberry martini recipe if you’re feeling celebratory!
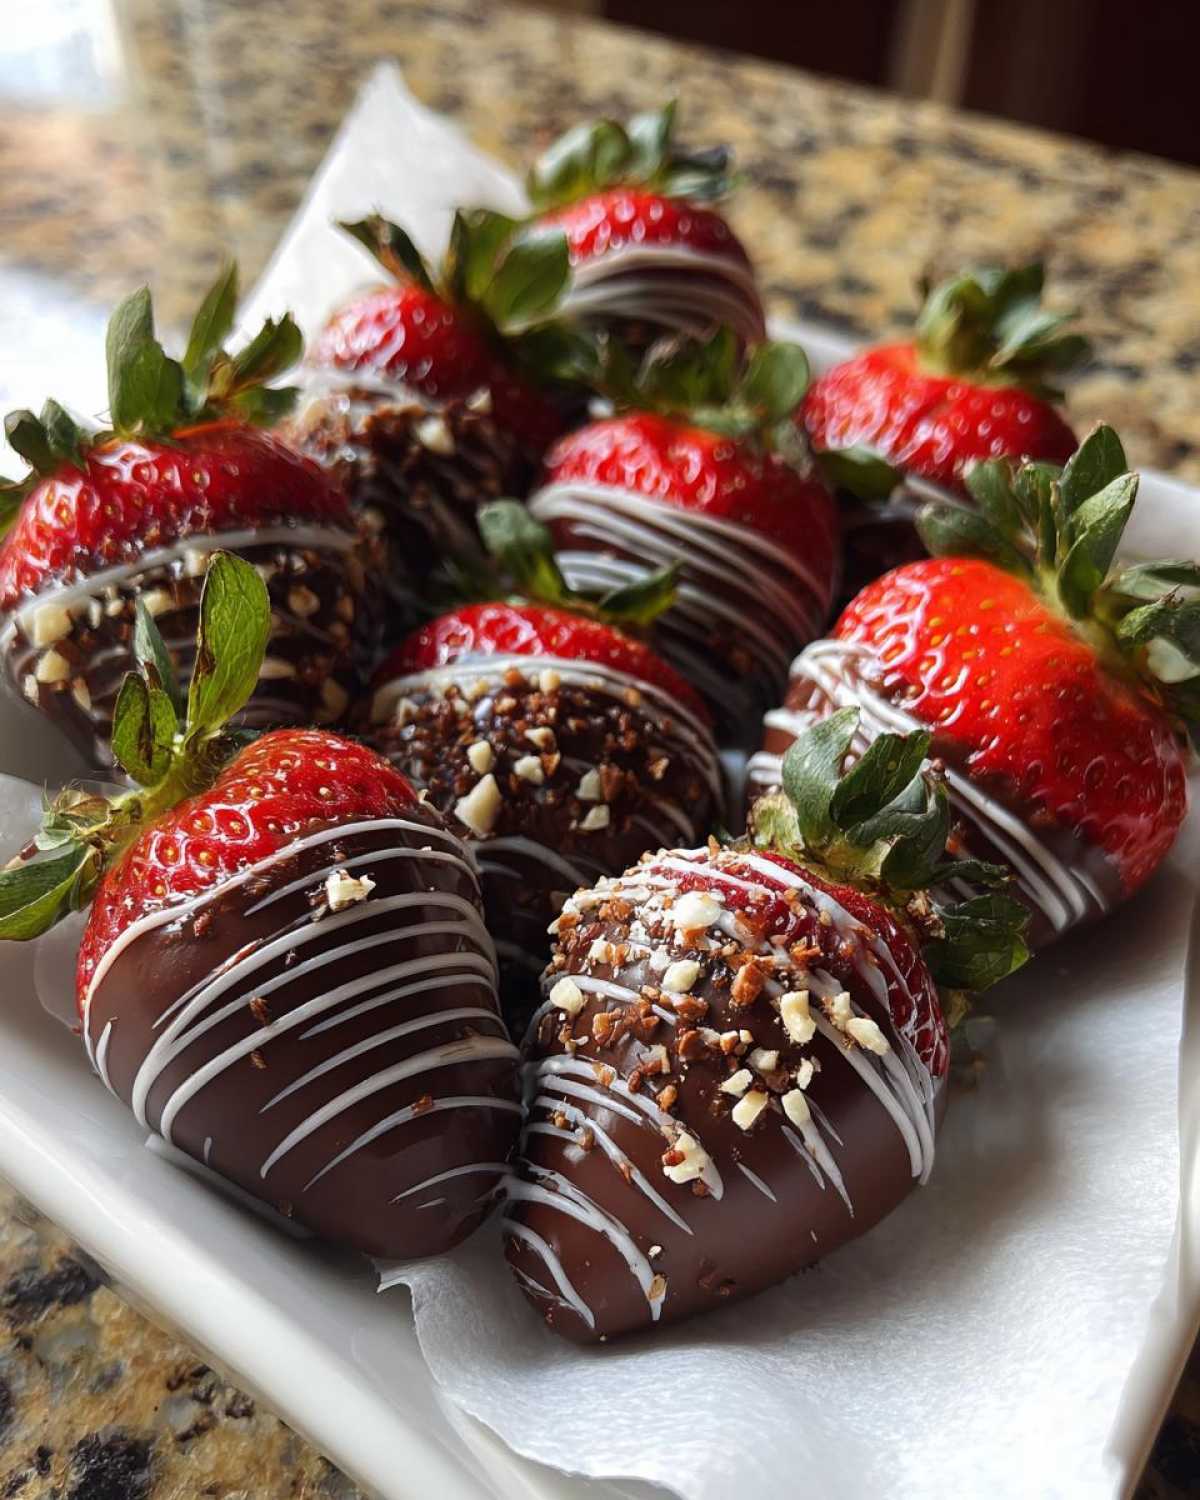
Tips for No-Fail Chocolate Shell Strawberries
If you’ve ever had your chocolate turn into a crusty, grainy mess right in the bowl, you know the panic! That’s called seizing, and we are going to avoid it like the plague. Making a truly perfect, shatteringly crisp chocolate shell on these fruit treats comes down to controlling two main enemies: water and temperature.
First things first, I know I’ve said it a hundred times, but I’m saying it a hundred and one: your strawberries must be bone dry. If you think you’ve dried them enough, grab another dozen paper towels and dry them twice! Any trace of humidity or rinse water will cause the chocolate to get instantly thick and unusable. It’s just science, folks!
Second, quality matters hugely here, which is why I stress using good melting chocolate or high-quality tempered bars. Cheap chocolate often has stabilizers that prevent it from becoming shiny and smooth when melted. If you try to save a few bucks on the chocolate, you’re going to pay for it later when you’re trying to fix a lumpy dip. For the very best troubleshooting answers, I put everything I know about preventing disaster dips over here in my complete no-fail chocolate shell strawberries guide.
Another pro tip to get that wonderfully thin coating? Remember that teaspoon of coconut oil I mentioned? That really helps thin the chocolate so it doesn’t glob up too thick when you dip. You coat it, lift it, give it a little gentle swirl as it drips, and trust the process until it sets hard in the fridge. They truly come out looking flawless every time if you respect those two rules!
Storage and Reheating Instructions for Chocolate Covered Strawberries
Once you’ve gone to all the effort of getting that gorgeous, glossy coating on your fruit, you definitely want to keep them looking perfect! These are really best eaten the day you make them, honestly. That’s when the chocolate is crispest and the strawberries are at their peak juiciness. Since we are dealing with fresh fruit here, they don’t have the shelf life of, say, a hard candy.
The very best way to store any leftover **chocolate covered strawberries** is in the refrigerator, but you have to be careful. Pop them into a single layer inside an airtight container—don’t stack them on top of each other, or you’ll smash the chocolate coating or have them stick together! They should stay good for about two to three days max. After that, the fruit starts releasing moisture, and you might notice the chocolate getting a tiny bit hazy or soft.
Now, the reheating question: absolutely not! We aren’t reheating these. Your goal is a crisp chocolate shell holding a cool, sweet interior. If you try to microwave them or warm them up to soften the chocolate, you’ll just end up with sad, melted fruit pudding. Since these are made for instant gratification, I highly recommend making just what you plan to serve that day. If you’re looking for other great fresh options for serving later, I’ve gathered tons of great fresh strawberry dessert ideas that might suit your needs better for advance prep!
Frequently Asked Questions About Chocolate Covered Strawberries
I know you might still have a few lingering questions! It’s normal when you are trying to make something that looks this fancy! I’ve pulled together the common things I hear from people before they try dipping their first batch of homemade dipped strawberries. Hopefully, this clears up anything holding you back from making these!
Can I use candy melts instead of real chocolate for chocolate covered strawberries?
Oh, that’s a classic question! Yes, you absolutely *can* use candy melts if you want. They are super popular for beginners because they are designed to melt easily and set up hard without any tempering fuss. Candy melts give a really bright, hard shell, which is fun. However, if you are aiming for a truly gourmet experience, real chocolate (even just good quality chips melted expertly) will always taste richer and have a better melt-in-your-mouth quality than those waxy melts. It’s a trade-off between ease and pure flavor, but for this easy chocolate covered strawberries recipe, I started with real chocolate for the best taste!
How do I prevent the chocolate from looking streaky on my homemade dipped strawberries?
Streaky chocolate almost always comes down to one of two things: moisture or temperature, usually moisture! If you see streaks—or worse, those sandy-looking patches—it means water accidentally got into your chocolate, causing it to seize up prematurely. Remember what I stressed earlier? Those berries need to be dryer than a desert bone! Pat, pat, pat them dry, leave the stems on, and make sure the bowl you melt the chocolate in is also perfectly dry.
If you followed my instruction about adding that tiny bit of coconut oil to thin the chocolate, that also helps prevent streaking because it keeps the chocolate smooth and flowing beautifully. If your chocolate seems thick or streaky *before* you even dip, keep it moving gently over very low heat or put it back in the microwave for 10 seconds, but never let it get hot enough to burn. For more foolproof tips, you can always check out my detailed guide on easy chocolate covered strawberries!
Serving Suggestions for These Simple Gourmet Sweets
These **chocolate covered strawberries** aren’t just fruit; they are instant elegance! For a romantic evening, just arrange them simply on a platter with some fresh cream and champagne. They look amazing piled high on tiered serving plates.
If you’re making these for a party, turn them into a full dessert bar! Have little bowls of extra toppings like crushed pretzels or shredded coconut nearby so guests can customize their own. They pair wonderfully with any of my other impressive party desserts. For more romantic inspiration, check out my ideas on romantic strawberry treats!
Share Your Perfect Chocolate Covered Strawberries Creations
Now comes the moment of truth! I genuinely want to know how your batch of **chocolate covered strawberries** turned out! Did you go with dark chocolate and crushed almonds? Did you manage that tricky white chocolate drizzle?
Please, please leave me a rating right below this section. Hearing what worked for you—or if you have a last-minute decorating idea I didn’t cover—helps me keep making this recipe better for the next person who needs a quick, elegant dessert fix. Don’t be shy about showing off your handiwork either!
If you snap a picture of your gorgeous, glossy beauties, tag me on social media! It absolutely makes my day when I get to see your kitchen creations. Seriously, seeing your results reminds me why I share all these messy kitchen secrets in the first place. Happy dipping, and I can’t wait to see what you made!
Print
Easy Chocolate Covered Strawberries: Smooth Dip and Topping Ideas
- Total Time: 20 min
- Yield: About 20 strawberries
- Diet: Vegetarian
Description
Make perfect, glossy chocolate covered strawberries with this simple recipe. Learn the best chocolate and dipping techniques for a professional look.
Ingredients
- 1 pound fresh strawberries, washed and completely dried
- 12 ounces good quality melting chocolate (milk, dark, or semi-sweet)
- 1 teaspoon coconut oil or vegetable shortening (optional, for smoother coating)
- Optional toppings: sprinkles, chopped nuts, white chocolate for drizzling
Instructions
- Prepare the strawberries: Wash the strawberries gently. Pat them completely dry using paper towels. Moisture prevents the chocolate from sticking. Leave the green stems attached for easy handling.
- Melt the chocolate: Place the chocolate in a microwave-safe bowl. Microwave in 30-second intervals, stirring well after each interval, until the chocolate is mostly melted and smooth. Do not overheat.
- Add oil (optional): If using, stir in the coconut oil or shortening until fully incorporated. This helps create a thinner, glossier coating.
- Dip the strawberries: Hold a strawberry by the stem. Dip it into the melted chocolate, swirling to coat about two-thirds of the berry. Lift it out, allowing excess chocolate to drip back into the bowl.
- Add toppings: Immediately after dipping, sprinkle on your desired toppings before the chocolate sets.
- Set the chocolate: Place the dipped strawberries on a baking sheet lined with parchment paper or wax paper.
- Chill: Refrigerate the strawberries for 15 to 20 minutes, or until the chocolate is completely firm.
Notes
- Ensure your strawberries are completely dry; water causes the chocolate to seize or become grainy.
- For a professional look, use high-quality melting wafers or chocolate bars designed for dipping.
- If you want white chocolate covered strawberries, melt white chocolate separately using the same method.
- To create a drizzle effect, melt a small amount of contrasting chocolate and use a fork to drizzle thin lines over the set coating.
- Prep Time: 15 min
- Cook Time: 5 min
- Category: Dessert
- Method: Dipping
- Cuisine: American
Nutrition
- Serving Size: 1 strawberry
- Calories: 80
- Sugar: 10
- Sodium: 5
- Fat: 4
- Saturated Fat: 2.5
- Unsaturated Fat: 1.5
- Trans Fat: 0
- Carbohydrates: 11
- Fiber: 1
- Protein: 1
- Cholesterol: 5