
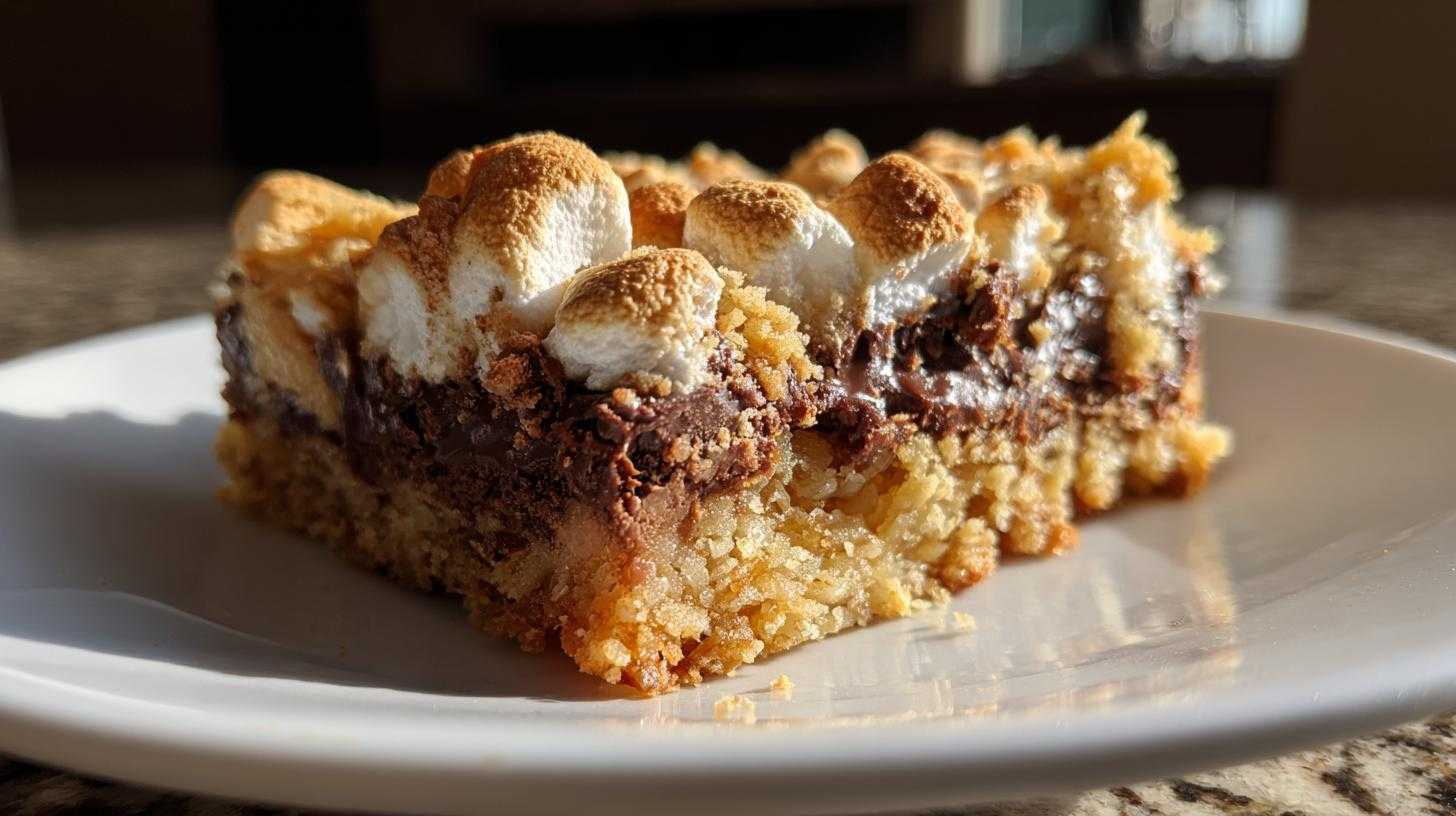
Why You Need These S'mores Bars
That smoky, gooey campfire taste is pure magic, right?
But let’s be real. Sometimes you just can’t have a fire pit.
Maybe it’s raining outside. Maybe you live in an apartment.
I get it. That’s why I developed these S’mores Bars.
I’m Savana Loyal. I focus on comfort food that skips the fuss.
These bars bring that classic flavor right to your oven.
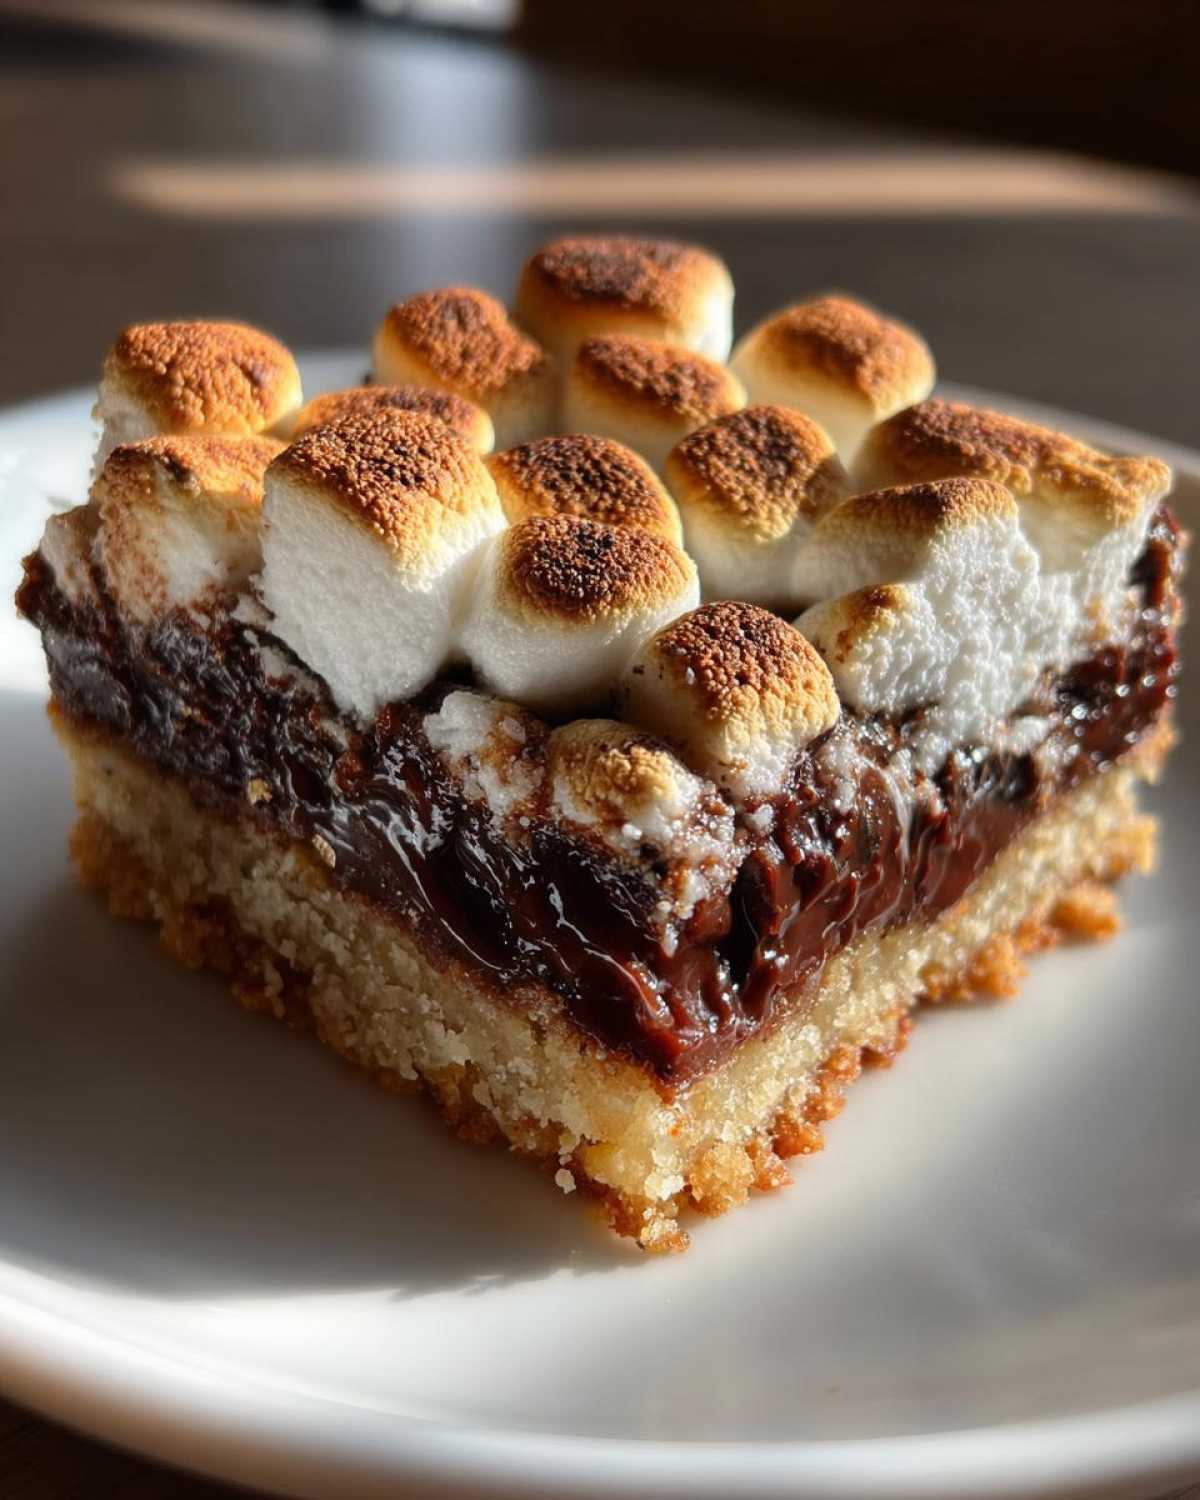
You get all the chocolate. All the marshmallow goodness.
No bugs. No wet firewood. Just pure, easy baking.
They are the ultimate easy summer dessert.
Gather Your Ingredients for Perfect S’mores Bars
Ready to make some magic happen?
Making these chocolate marshmallow bars is simple.
You just need a few pantry staples.
Gather everything before you start mixing.
It makes the whole process smoother.
Essential Components for S’mores Bars
- One cup of softened unsalted butter.
- One and a half cups of all-purpose flour.
- Half a teaspoon of salt.
- One cup of packed light brown sugar.
- Half a cup of white granulated sugar.
- One teaspoon of vanilla extract.
- One large egg for binding it all.
- One and a half cups of graham cracker crumbs.
- One cup of semi-sweet chocolate chips.
- Two cups of mini marshmallows needed for the top.
Equipment Needed for Baking S’mores Bars
You don’t need a giant kitchen setup here.
These simple tools get the job done fast.
Having these ready saves time later on.
- One 9×13 inch baking pan.
- Parchment paper is a must-have.
- A large mixing bowl for the dough.
- A medium bowl for dry items.
- Your electric mixer helps cream the butter.
Step-by-Step Instructions for Easy S’mores Bars
This is where the fun truly begins!
Follow these steps closely for perfect campfire free s’mores.
We are building layers of deliciousness.
Don’t rush the cooling step later on.
Preparing the Base Dough for Your S’mores Bars
First things first, get that oven hot.
Preheat your oven to 350°F (175°C) right away.
Line your 9×13 inch pan with parchment paper.
Make sure the paper hangs over the sides.
In one bowl, whisk the flour and salt together well.
In a bigger bowl, cream the softened butter with both sugars.
Add the vanilla and the egg next.
Mix until everything is just combined for you.
Slowly add the dry flour mix to the wet stuff.
Mix until a soft dough forms up nicely.
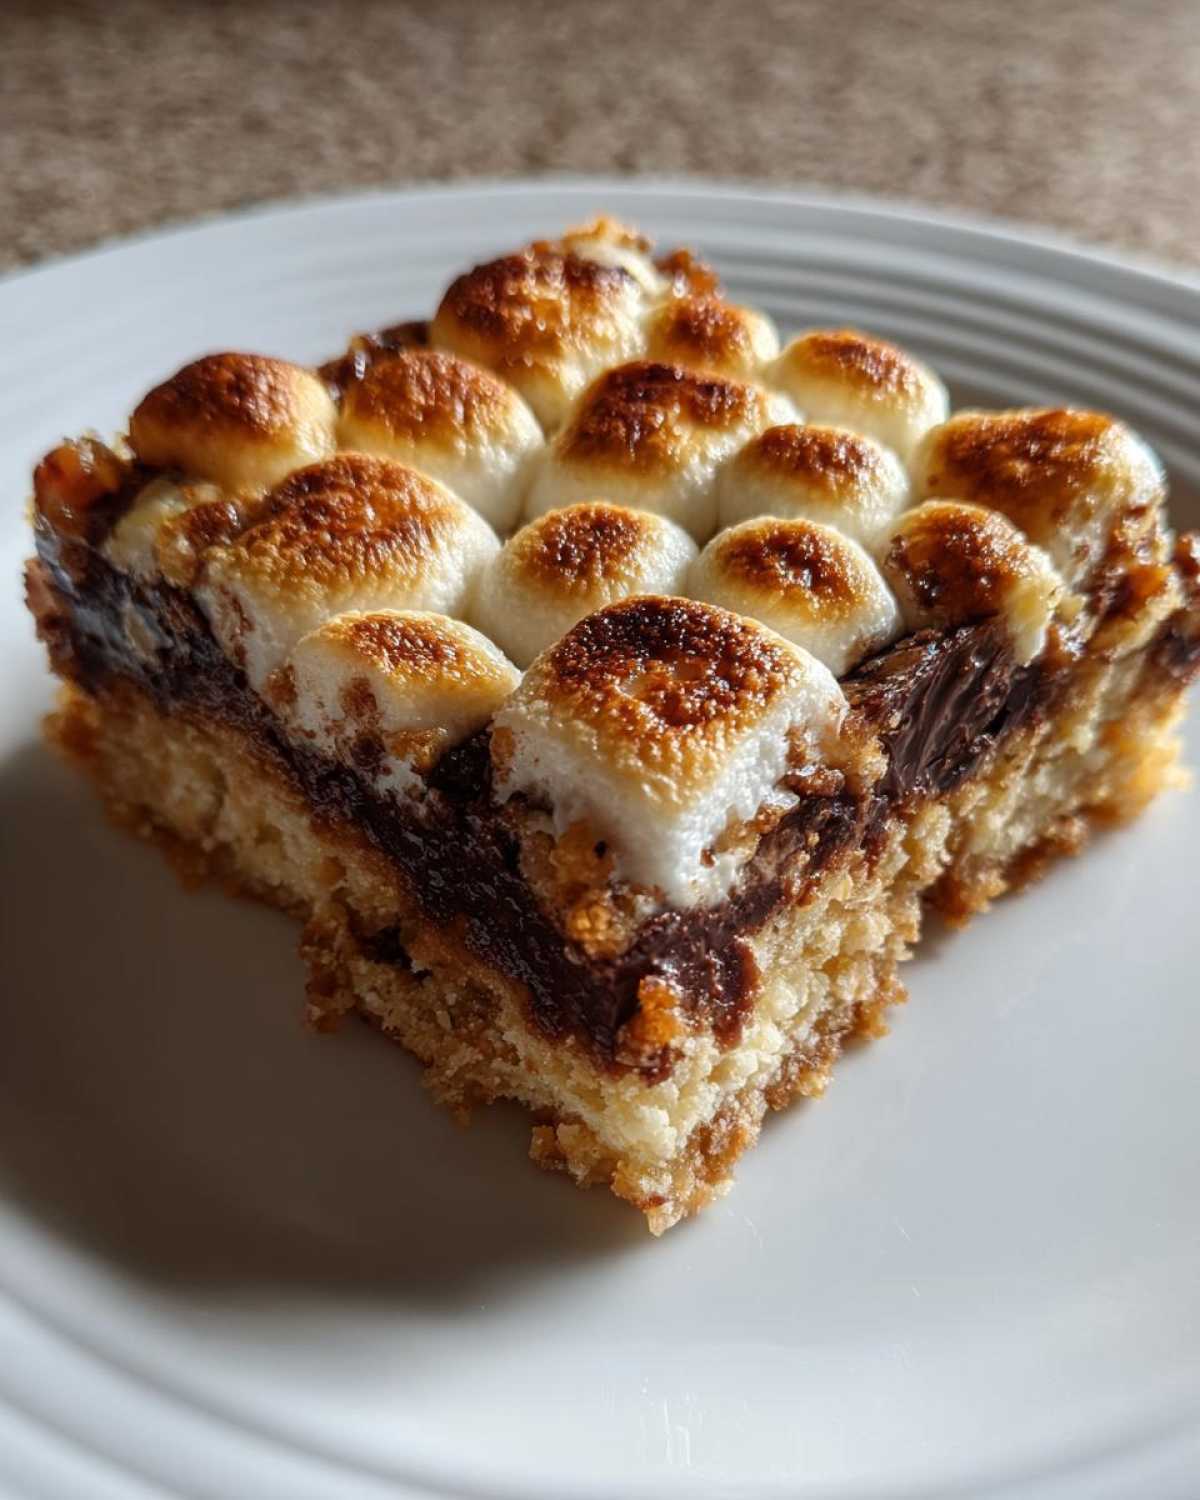
Take two-thirds (2/3) of this dough now.
Press it firmly into your prepared pan bottom.
This forms the bottom base layer.
Layering the Classic S’mores Bars Components
Now we build that iconic flavor profile.
Sprinkle all your graham cracker crumbs evenly over that dough base.
Next, scatter the chocolate chips across the crumbs.
Use the last one-third (1/3) of the dough here.
Crumble this remaining dough over the chocolate chips.
Make sure the topping is mostly spread out.
This creates a lovely, crumbly top layer.
Baking and Finishing Your Gooey S’mores Bars
Time for the first bake, folks.
Pop the pan into the hot oven for 20 minutes.
The base should look set and lightly golden.
Carefully take the pan out of the heat source.
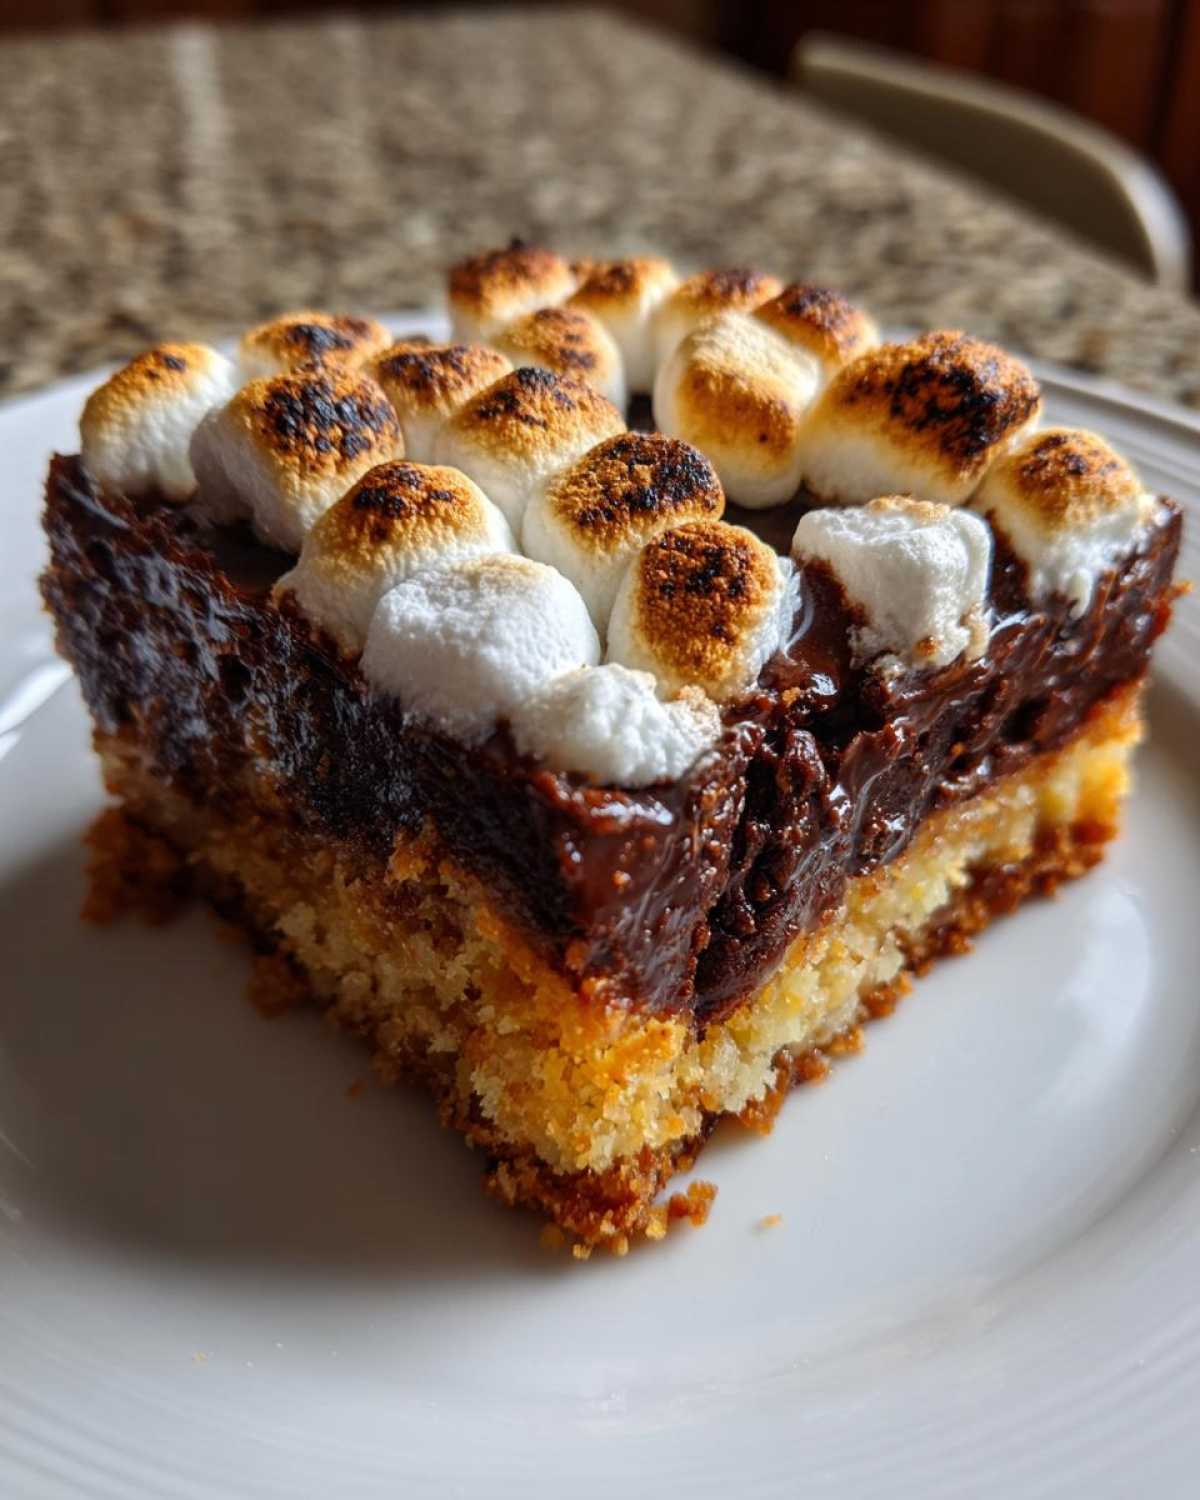
Sprinkle those mini marshmallows evenly over the top now.
Return the pan back to the oven quickly.
Bake for just 5 to 7 minutes more.
Watch those marshmallows closely, please. They burn fast!
You want them puffed and just lightly browned.
Let the bars cool completely in that pan.
Cooling makes for very clean cuts later on.
Lift them out using the parchment overhang.
Cut into squares and enjoy your homemade treat!
Tips for Success Making S’mores Bars
I’ve made these many times now.
I learned a few little tricks along the way.
These small changes really boost the flavor.
They also help you control the final texture.
Follow these tips for bakery-quality results.
You’ll love the results these simple tweaks give.
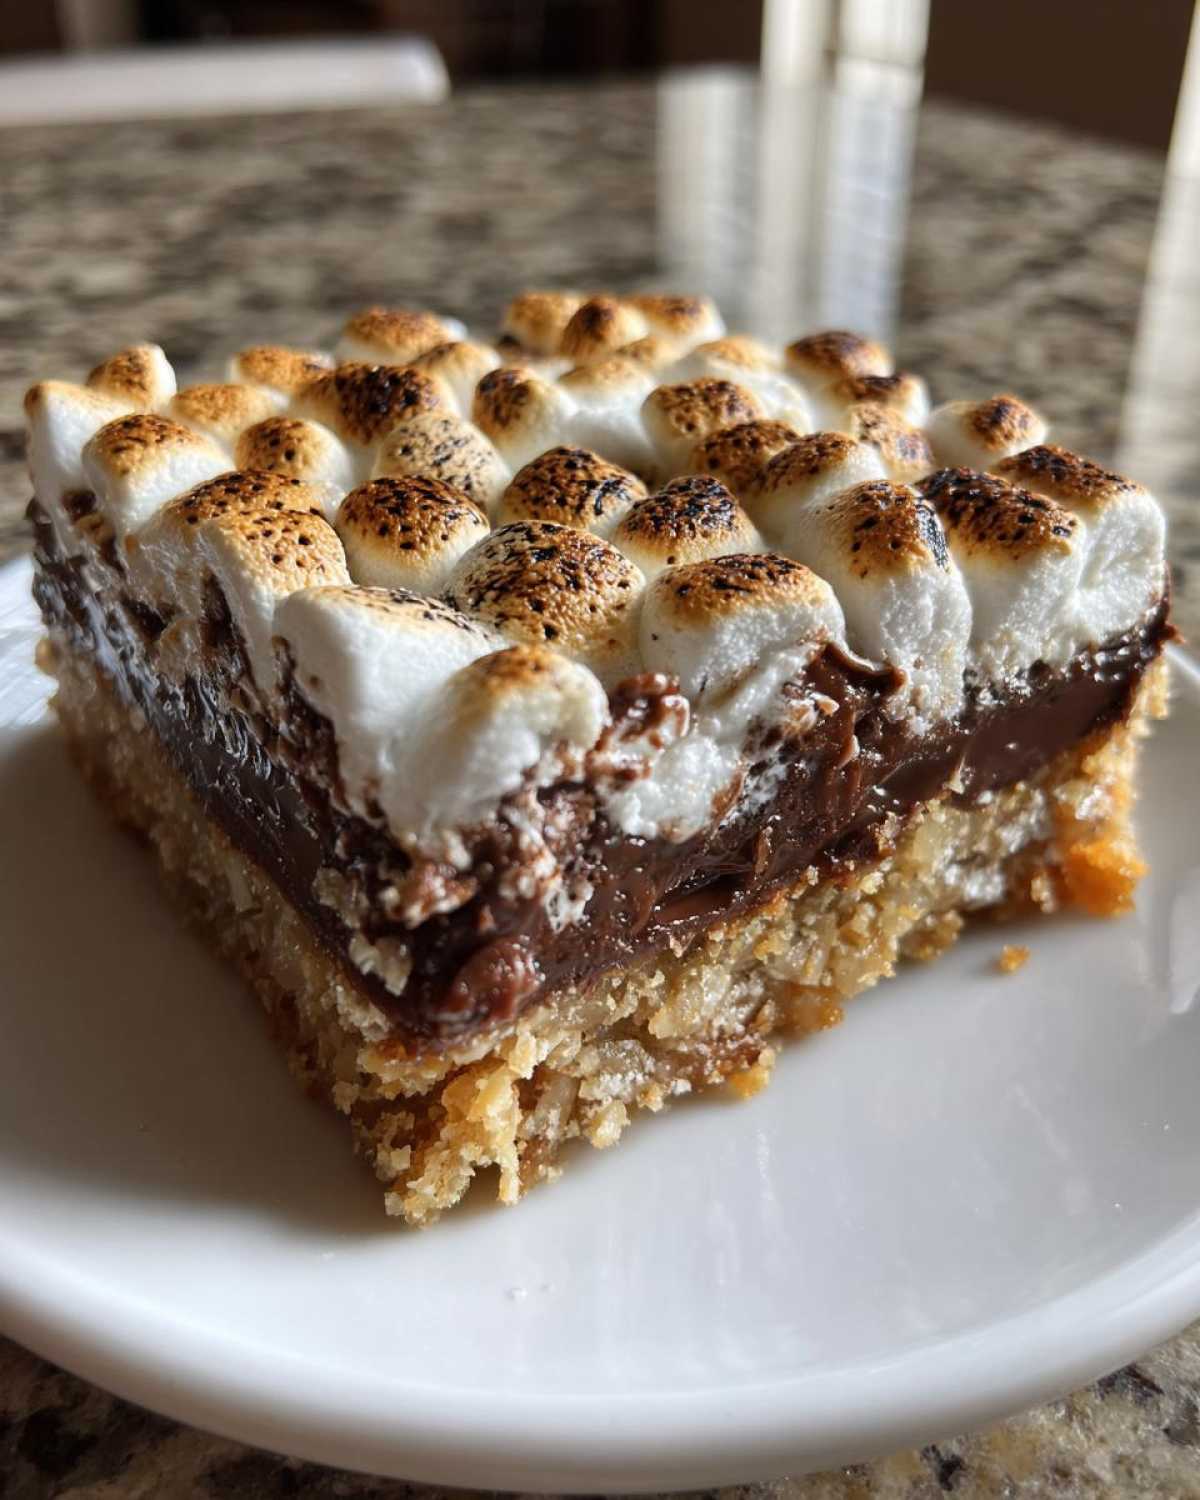
Ingredient Adjustments for the Best S’mores Bars
Want an even deeper, richer base flavor?
Try swapping softened butter for melted butter.
This changes the texture slightly, making it fudgier.
It adds a lovely depth to the crust.
Chocolate choices are totally up to you.
I sometimes use dark chocolate chips for contrast.
Milk chocolate makes them sweeter, which is great too.
If you only have large marshmallows, chop them small.
Remember, bigger pieces brown much faster.
For more inspiration on easy baking projects, check out this guide on quick and easy recipes.
Storing and Serving Your S’mores Bars
These sweet treats disappear fast here!
But sometimes we have leftovers, thank goodness.
Proper storage keeps them tasting fresh.
You want that marshmallow top just right.
Serving them slightly warm is nice.
But room temperature works best overall.
Keeping Your S’mores Bars Fresh
Remember that cooling step I stressed?
It’s key for storage too.
Let them cool completely before cutting them.
Store your cut squares tightly covered.
I use an airtight container at room temp.
They stay great for about three days.
Don’t refrigerate them if you can avoid it.
Cold air makes the marshmallow stiff.
If you are looking for other great dessert options, consider trying these sweet treats.
Frequently Asked Questions About S’mores Bars
We all have questions when trying new baking projects.
I want to help you feel totally confident.
These commonly asked questions show up a lot.
Let’s clear up any last bits of confusion now.
Getting these chocolate marshmallow bars right is easy.
Can I Make S’mores Bars Without an Oven?
That is a great question for a quick summer dessert!
This specific recipe does need the oven, though.
Baking helps set the base dough properly.
It also ensures the chocolate melts just right.
The baking process creates that perfect bar texture.
A true no-bake s’mores version needs different steps.
For reference on no-bake options, you might look into general guidelines for safe food handling temperatures.
How Long Do S’mores Bars Last?
These are best eaten the day you make them.
However, they keep well for a few days.
Keep them covered at room temperature only.
They usually last about three days this way.
Cooling fully before storage helps them keep shape.
This prevents your squares from getting too sticky.
Share Your Family’s S’mores Bars Experience
I truly hope you enjoyed making these!
Did these S’mores Bars hit that campfire craving?
Tell me how yours turned out in the comments below.
Did you try the melted butter tip?
I’d love to see your gooey results.
Share your star rating too, please!
Print
3 Amazing S’mores Bars Layers
- Total Time: 42 minutes
- Yield: 24 bars
- Diet: Vegetarian
Description
Make campfire flavor without the fire! These S’mores Bars give you that gooey, chocolatey, marshmallow delight in an easy-to-bake square. Perfect for a quick summer treat when you want the classic taste without the hassle.
Ingredients
- 1 cup (2 sticks) unsalted butter, softened
- 1 1/2 cups all-purpose flour
- 1/2 teaspoon salt
- 1 cup packed light brown sugar
- 1/2 cup granulated sugar
- 1 teaspoon vanilla extract
- 1 large egg
- 1 1/2 cups graham cracker crumbs (about 10 full sheets)
- 1 cup semi-sweet chocolate chips
- 2 cups mini marshmallows
Instructions
- Preheat your oven to 350°F (175°C). Line a 9×13 inch baking pan with parchment paper, leaving an overhang on the sides for easy removal.
- In a medium bowl, whisk together the flour and salt. Set aside.
- In a large bowl, cream together the softened butter, brown sugar, and granulated sugar until light and fluffy. Beat in the vanilla extract and egg until just combined.
- Gradually add the dry ingredients (flour mixture) to the wet ingredients, mixing on low speed until a soft dough forms.
- Press two-thirds (2/3) of the dough evenly into the bottom of the prepared baking pan to form the base layer.
- Sprinkle the graham cracker crumbs evenly over the base layer of dough.
- Distribute the chocolate chips over the graham cracker layer.
- Crumble the remaining one-third (1/3) of the dough over the chocolate chips.
- Bake for 20 minutes.
- Remove the pan from the oven. Carefully sprinkle the mini marshmallows over the top layer.
- Return the pan to the oven and bake for another 5 to 7 minutes, or until the marshmallows are puffed and lightly golden brown. Watch closely to prevent burning.
- Let the bars cool completely in the pan on a wire rack before lifting them out using the parchment paper overhang.
- Cut into squares and serve.
Notes
- For a richer flavor in the base, use melted butter instead of softened butter in step 3.
- You can use milk chocolate or dark chocolate chips based on your preference.
- If you do not have mini marshmallows, you can chop up larger marshmallows, but they may brown faster.
- Allowing the bars to cool fully makes cutting much cleaner.
- Prep Time: 15 minutes
- Cook Time: 27 minutes
- Category: Dessert
- Method: Baking
- Cuisine: American
Nutrition
- Serving Size: 1 bar
- Calories: Estimate Unknown
- Sugar: Estimate Unknown
- Sodium: Estimate Unknown
- Fat: Estimate Unknown
- Saturated Fat: Estimate Unknown
- Unsaturated Fat: Estimate Unknown
- Trans Fat: Estimate Unknown
- Carbohydrates: Estimate Unknown
- Fiber: Estimate Unknown
- Protein: Estimate Unknown
- Cholesterol: Estimate Unknown

