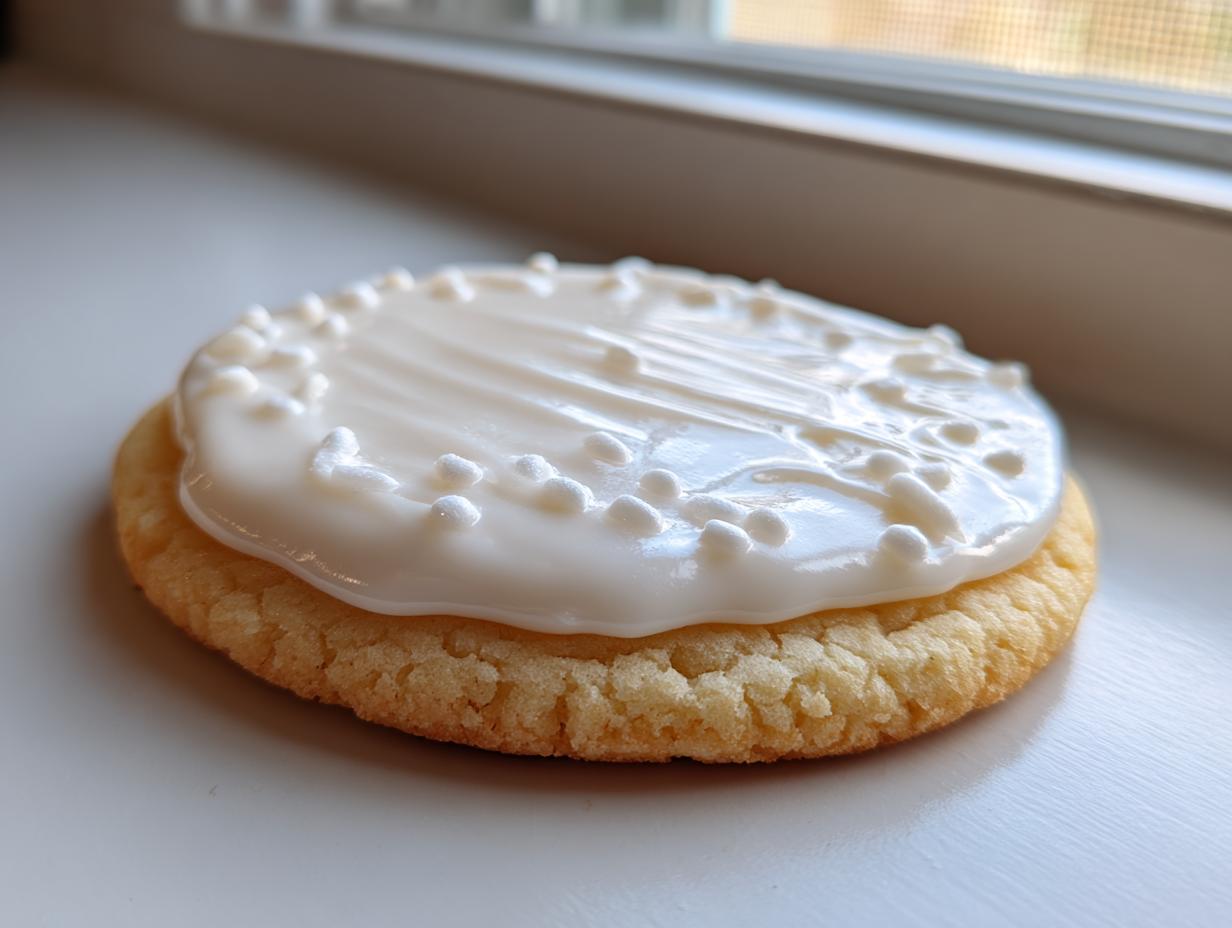
Oh, friends, if you’re here, you know the pain! You spend hours cutting out perfect little shapes—stars, Santas, maybe even little dinosaurs—and then you drown them in icing that refuses to dry! It ends up sticky, sloppy, and you can’t stack them for gifting, which is the *best* part. Well, stop stressing! I finally cracked the code on **sugar cookie icing** years ago, and it’s thanks to one tiny optional ingredient that makes all the difference. Trust me, this simple powder and liquid concoction dries rock hard, gives you that beautiful, high-gloss finish, and makes your cookies absolutely stackable.
I remember the first time I tried to make a batch for Christmas; the icing looked amazing while pouring, but by morning, it was still tacky! I thought I needed meringue powder, but nope! This recipe—which is basically the easiest cookie glaze you’ll ever make—just needs a little adjustment in technique (and that optional corn syrup I’m obsessed with).
Why This is the Best Sugar Cookie Icing Recipe (No More Sticky Cookies)
You are going to love this because it saves you so much heartache, especially when you’re trying to get those holiday cookies ready for gifting. Forget those runny, dull icings that just sit there refusing to set. This **sugar cookie icing** formula is my absolute go-to because it delivers exactly what professional bakers promise.
Here’s what makes this my **best sugar cookie icing recipe**, hands down:
- It dries hard! Seriously, you can stack these cookies right on top of each other without smearing. This is what we mean when we talk about the **icing that hardens** perfectly for cutout cookies.
- The texture is always smooth. If you follow the mixing instructions, you skip all the lumps that plague beginner decorators.
- That little bit of corn syrup means you get a gorgeous, professional-looking gloss without using complicated egg white techniques.
It’s fast, it’s easy, and it works with the simple powdered sugar base. I even use this same process when I’m whipping up something quick, like a simple glaze on my cream cheese frosting, just adjusted for thickness!
Ingredients for Foolproof Sugar Cookie Icing
Okay, this is the fast part! Seriously, you can probably mix this up faster than it takes your oven to preheat. When gathering your components, the quality really matters, even in something this simple. Remember, if you skip sifting the powdered sugar, you’re just asking for little gritty clumps, and we are aiming for super smooth results here, right?
Essential Components for Smooth Sugar Cookie Icing
Gather these four things right now. You’ll notice the corn syrup is optional—I truly urge you to include it because that’s where you get that high-end, glossy snap! This forms the base for what I call my **powdered sugar icing recipe** that just refuses to fail.
- Two cups of powdered sugar. And listen to me: you have to sift it!
- Three tablespoons of liquid—I usually go with whole milk for a richer flavor, but water works too!
- One teaspoon of vanilla extract for that classic background taste.
- A tiny ¼ teaspoon of light corn syrup. Don’t skip this if you want that beautiful shine!
That’s it! No eggs, no meringue powder needed for this basic, lovely **easy cookie glaze**.
How to Make Sugar Cookie Icing: Achieving Smooth Flood Consistency
This is where the magic actually happens, and honestly, it’s so much less scary than people make it out to be! The goal when learning **how to make sugar cookie icing** is not just mixing; it’s achieving that magical ‘flood consistency.’ This is the consistency you need so the icing pours smoothly into the outlines you piped, resulting in that perfect, flat surface.
Before you start whipping, make sure your powdered sugar is thoroughly sifted. That’s the secret to skipping the lumps right off the bat. Then, add your liquid ingredients—the milk/water, vanilla, and that shiny corn syrup—all at once to your dry ingredients.
Step-by-Step Mixing for Perfect Sugar Cookie Icing
You want to whisk this gently at first, just until everything is incorporated. My biggest tip here, and this saved me tons of headache when I was learning **beginner cookie decorating**, is to add the liquid very slowly. Seriously, start with just two tablespoons instead of pouring in all three tablespoons they call for in the recipe! You can always add more liquid, but fixing icing that’s too thin is a total pain.
- Place the sifted powdered sugar in a medium bowl.
- Add most of your milk/water, vanilla, and the optional corn syrup.
- Whisk the mixture together until it’s smooth and you don’t see any dry pockets.
- Now test it! You are looking for a **smooth flood consistency icing**. Drizzle some icing off the whisk back into the bowl. If that drizzle line disappears back into the surface in about 8 to 10 seconds, you’ve nailed it! That’s the sweet spot for flooding.
- Too thick? Add liquid, just a half teaspoon at a time, whisking well after each addition. Too thin? Add sugar, one tablespoon at a time, until those lines start taking just a bit longer to melt away.
- Use this right away, or cover it tightly. If you’re not using it immediately, press plastic wrap directly onto the surface—this stops that crusty skin from forming on top, which is the worst!
That’s the perfect flood consistency! 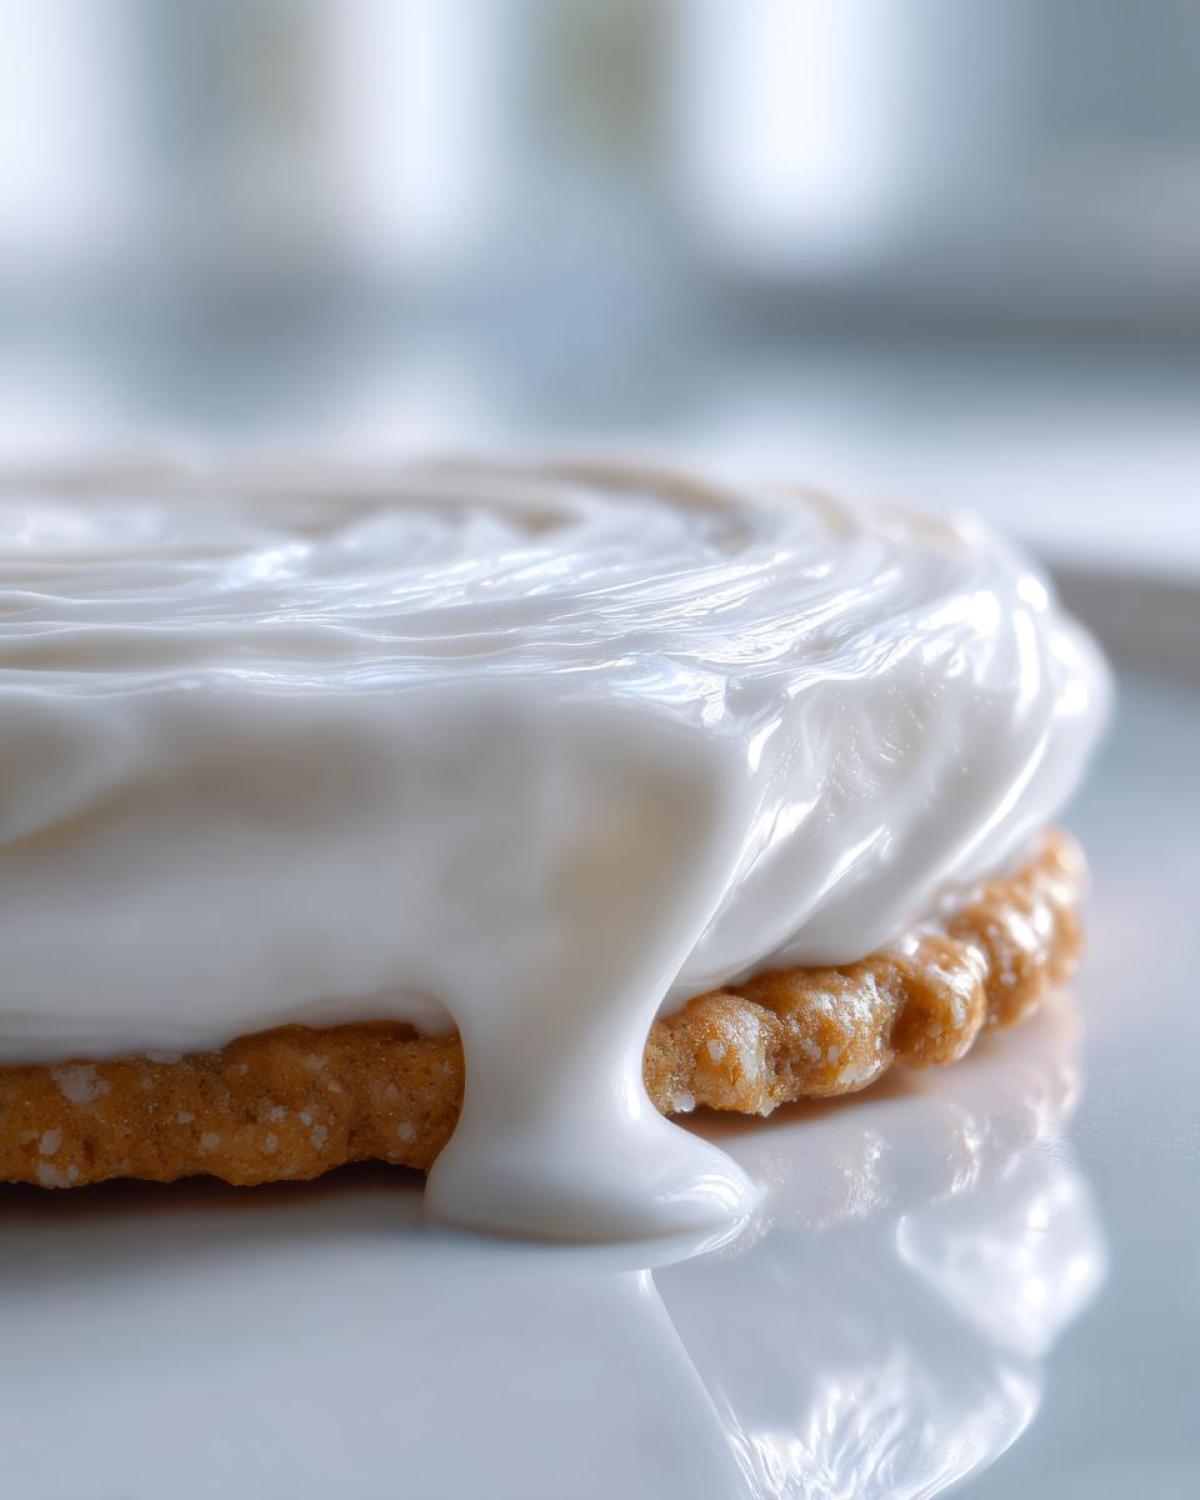 That’s when you know you’re ready to fill in those cookies. If you want to see what that perfect flow looks like, check out this
 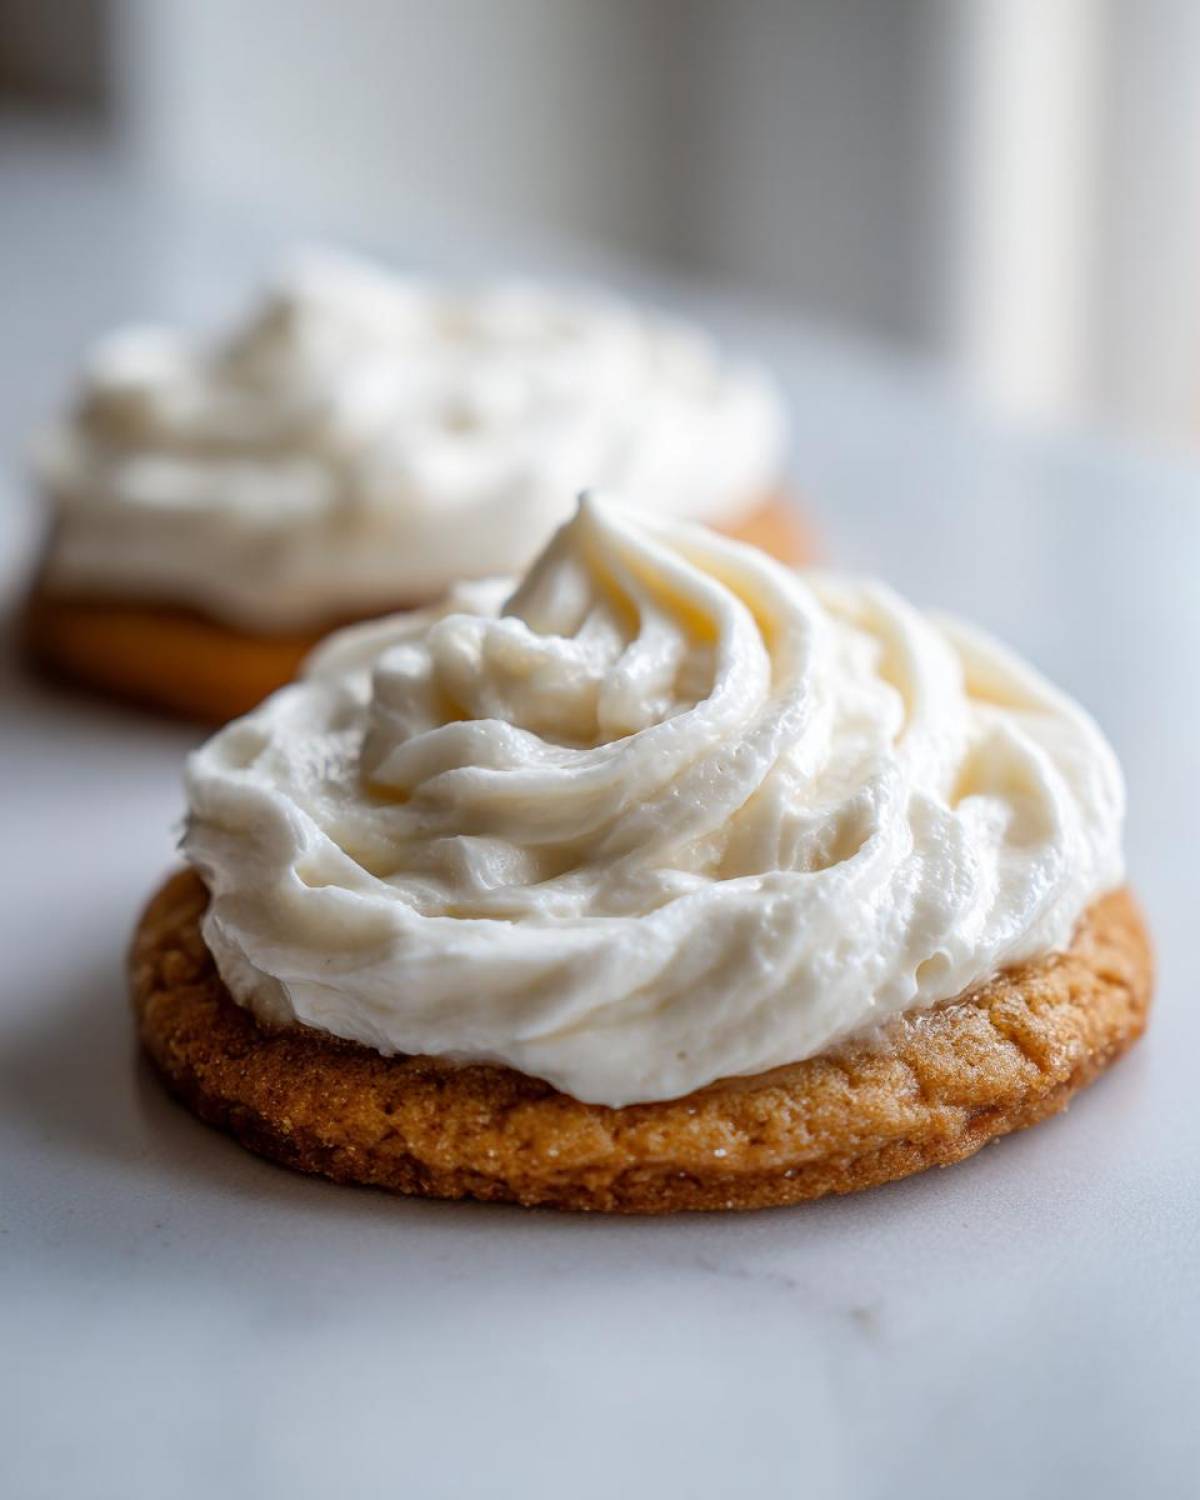 . It’s beautiful!
You can peek at how I do things with my cobbler topping just to see how it flows. Perfection!
Troubleshooting Your Sugar Cookie Icing Consistency
So, you’ve done the whisking, but maybe you weren’t totally sure about that ribbon test? Don’t panic! Even with a **no fail sugar cookie icing** recipe like this, sometimes the humidity throws things off, or maybe I added a touch too much vanilla. It happens to the best of us! The great thing about this simple glaze is that it’s incredibly forgiving, meaning you almost never have to throw out a batch.
If your icing ended up way too thick—think paste, not pourable—you just need more liquid. Add milk or water, literally just half a teaspoon at a time, whisking fully between additions. You want it to flow again, not slump sadly off the spoon. Keep going until it passes that 10-second ribbon test we talked about.
Now, what if the opposite happened and it’s too runny? Maybe you were too generous with the milk! That’s an easy fix too. Just grab a tablespoon of sifted powdered sugar and mix it in. Keep adding sugar, one spoonful at a time, until you get that beautifully smooth, glossy mixture that holds a line for a few seconds before sinking back in.
And for the dreaded crusting—if you step away for five minutes and come back to find a skin on top? Just stir it! Seriously. Stirring it back in usually incorporates the crust. If it’s really bad, add a couple of drops of water and stir vigorously until it smooths out again. See? Nothing to worry about!
Coloring and Decorating with Your Sugar Cookie Icing
Once you have that amazing, perfect **sugar cookie icing** consistency—that 8 to 10-second line—it’s time to make things FUN! This is the part where your cookies go from being plain baked goods to little pieces of art sitting on your holiday platter. My biggest tip for beginners is to try color gently. You want vibrant colors, right? But if you reach for the liquid food coloring, you’ll end up adding way too much liquid and ruining your consistency!
Stick to gel food coloring, always! You only need the tiniest dot of gel to get intense color, which means you aren’t adding extra moisture to your icing. It’s a game-changer, especially if you’re aiming for that beautiful, **stackable cookie icing** finish. If you have a bunch of different colors, make sure you whip up a small batch of each color you plan to use right away, because once you start working, you want to keep that flow going!
Tips for Beginner Cookie Decorating with Sugar Cookie Icing
When you decorate, you generally need two consistencies, even with this simple recipe. First, you need a stiffer icing—we call this the ‘outline consistency’—for drawing the borders around your cookie shapes. If you try to flood immediately, the icing will just run right off the edge. Pipe your design, and then let that outline dry for about 15 minutes until it forms a slight crust. 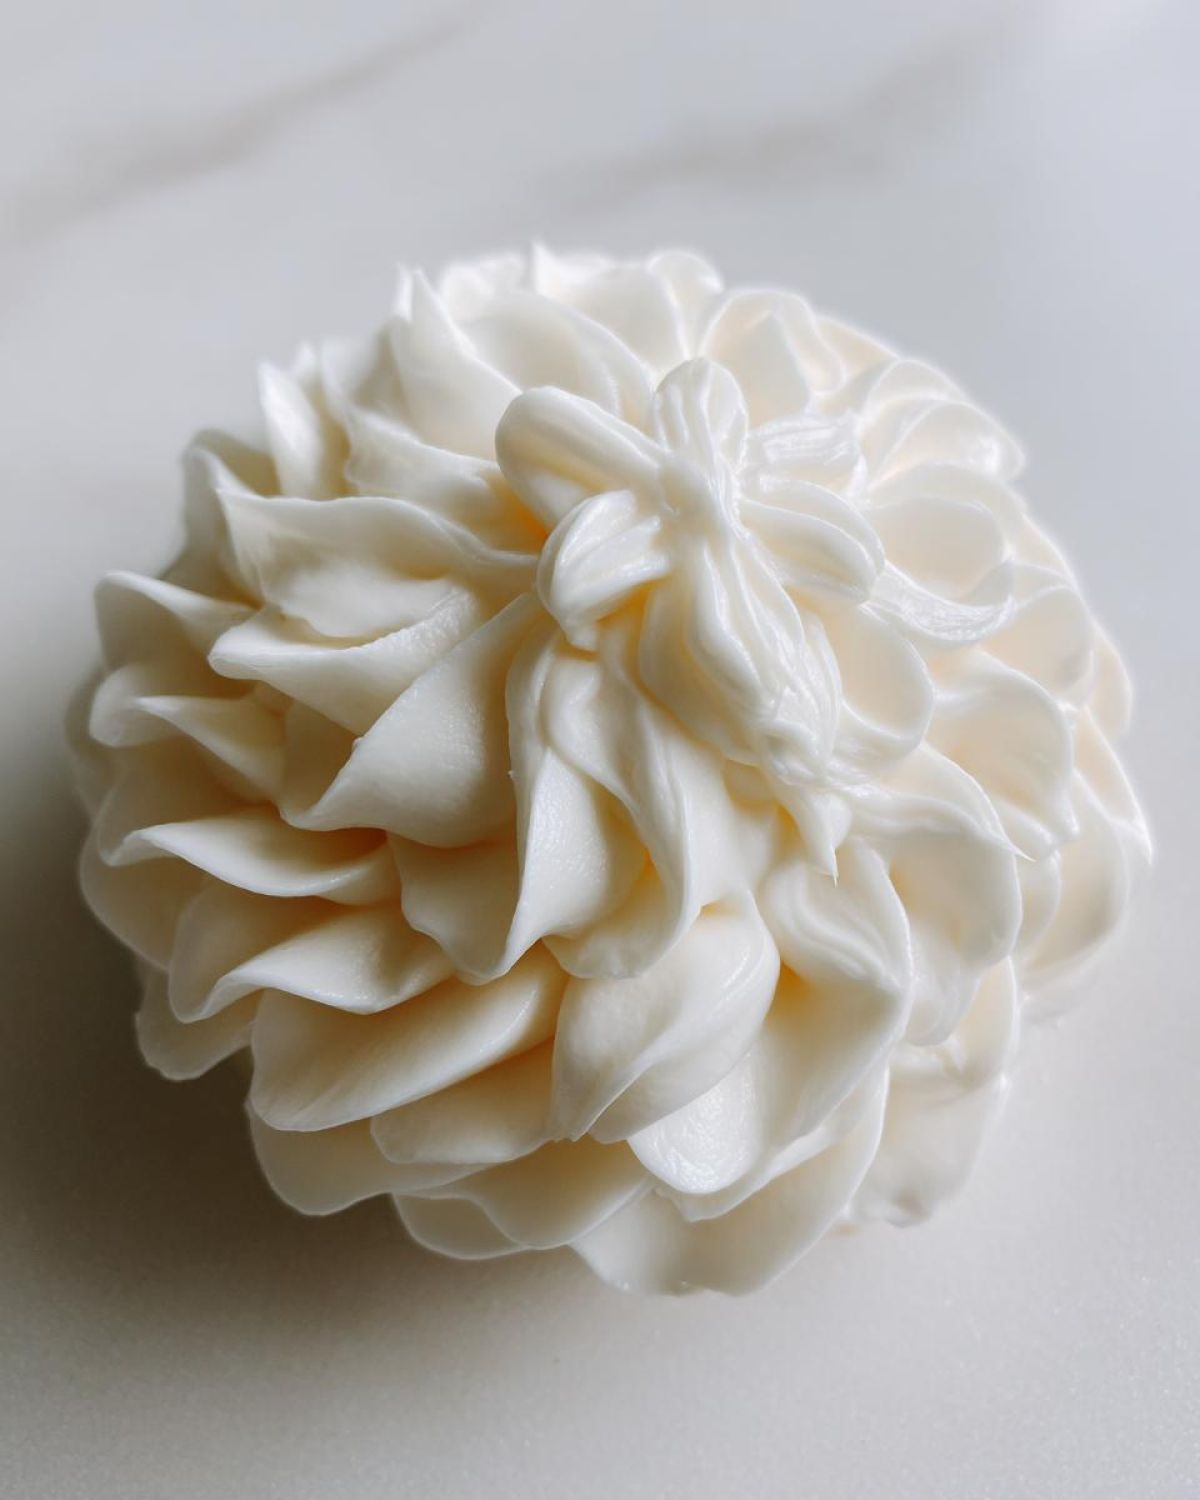 This stiffer icing holds its shape beautifully!
Once the border is set, use your main, thinner flood consistency icing to fill in the middle space. Because the flood icing is thinner, it naturally levels itself out flat over the border. 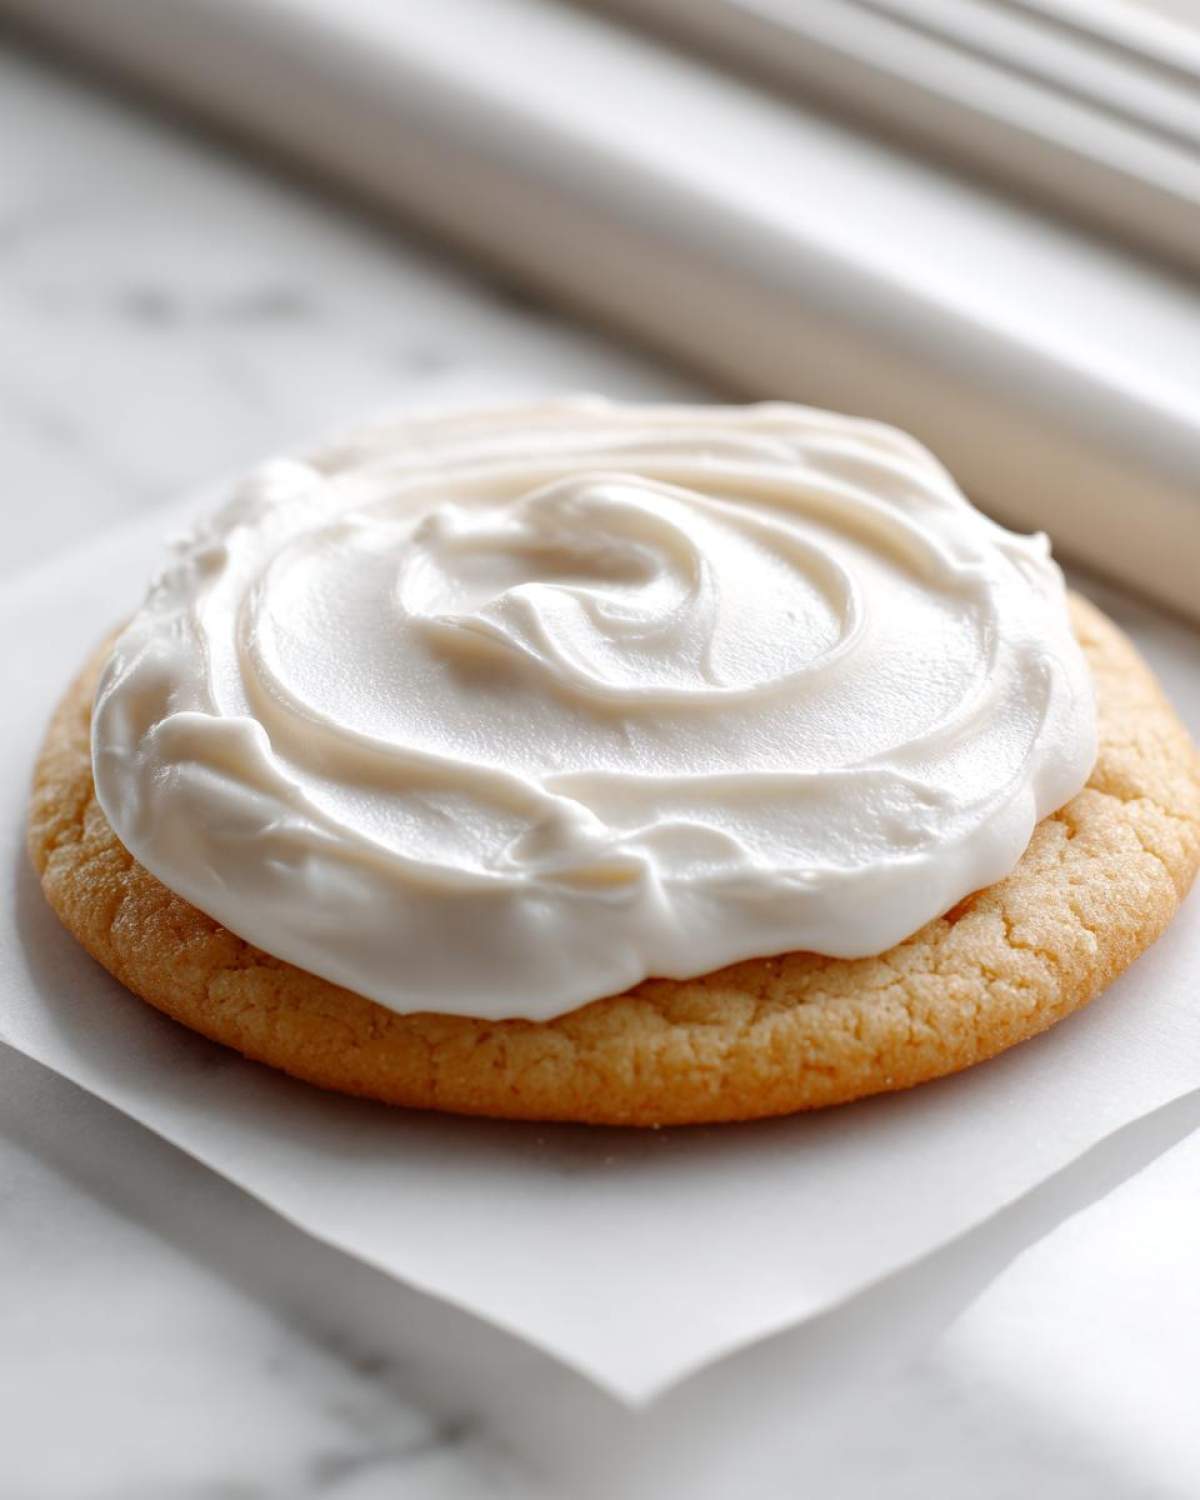 You can peek at how I do things with my cake pop coatings sometimes; the smooth application is key there too! Just be patient while the outline sets, and you’ll have professional-looking results every single time.
Ingredient Notes and Substitutions for Sugar Cookie Icing
Let’s talk about the building blocks here for a minute, because while this is a forgiving **sugar cookie icing**, cheating on the core components can still ruin that perfect, glossy finish. We already talked about sifting the powdered sugar, which is non-negotiable if you want smooth results. But what about the other bits? It’s important to know what they do so you can modify things if you get stuck!
That little bit of corn syrup? It acts like insurance. If you skip it, your icing will still dry hard, but it might come out looking a little dull under harsh kitchen lights. The corn syrup boosts that beautiful shine you’re looking for. If you don’t have it, don’t stress—just know you might have a matte finish instead of a high-gloss one.
For the liquid, I almost always reach for milk because I secretly love that tiny bit of richness it adds, which complements the buttery cookies underneath. But if you are out of milk or need to keep things completely dairy-free, water is perfectly fine! It results in a slightly clearer icing. You can even swap the vanilla for a teaspoon of fresh lemon juice if you want a slightly tangy **sugar cookie icing**—it’s delicious on lemon-flavored sugar cookies, by the way! You can find some neat flavor combinations when you look at recipes like Italian herb bread, where ingredient tweaks completely change the profile!
The key takeaway is that as long as you keep the powdered sugar ratio correct, you have some wiggle room with the liquid and flavoring!
Storage and Make-Ahead Tips for Sugar Cookie Icing
The great news about this simple **sugar cookie icing** is that if you have leftovers (which rarely happens in my house!), cleanup is easy. You definitely don’t want to leave this sitting out uncovered, though. That beautiful, smooth surface will turn into a hard, unusable crust faster than you can grab a glass of water!
The absolute number one rule for storage is to prevent air contact. Take a piece of plastic wrap and press it *directly* onto the surface of the icing in the bowl. No air gap allowed! If you do that, it stays perfectly workable for hours. If you need to keep it overnight, seal the bowl tightly and put it in the fridge. It will firm up, but don’t worry! Just let it come back up to room temperature for about 30 minutes, then stir in a few drops of milk to bring back that perfect ribbon consistency.
You can totally make this ahead of time, maybe while you’re baking a batch of honey-bran muffins the day before. Just store it securely in the fridge, and bring it back to life the next day. It saves so much time on busy decorating days!
Royal Icing Recipe Easy Variations for Your Sugar Cookie Icing
Okay, I know I just gave you a super simple, quick **sugar cookie icing** recipe based on powdered sugar and milk, and honestly, that glaze is tough to beat for fast results. But let’s talk real talk for a second: sometimes you need that professional, rock-solid, almost porcelain-like finish. That’s when you need true Royal Icing, and trust me, it’s not that hard to whip up!
The biggest difference is that traditional Royal Icing uses either egg whites or meringue powder, which creates a much stronger bond when it dries. If you plan on shipping your cookies overseas or stacking them five high in a tin for gifting, this is the way to go. If you want to see an example of something light and airy made with that base ingredient, check out my meringue cookie recipe!
The basic structure is the same: powdered sugar is the main ingredient, but the liquid binder changes everything. Where my fast glaze used milk or water, the **royal icing recipe easy** version calls for egg whites or, for safety and consistency, powdered meringue powder mixed with cool water. This creates the firm structure needed for those super crisp outlines and detailed work that doesn’t budge.
Honestly, while this glaze recipe is my day-to-day favorite, getting comfortable with the meringue approach will take your cookie game to the next level. It dries clearer, shinier, and honestly, it lasts forever!
Frequently Asked Questions About Perfect Sugar Cookie Icing
I know you might have a few lingering doubts, especially about achieving that perfect, hard finish we talked about. That’s totally normal when you’re trying out a new **sugar cookie icing** recipe! I’ve gathered the questions I get asked most often at holiday cookie swaps. Don’t worry, we’ll clear everything up so you can get back to decorating those beautiful cutouts!
How long does it take for sugar cookie icing to dry completely?
This is where humidity plays a HUGE role, and I have to be honest: this simple glaze takes longer than proper Royal Icing. If your kitchen is dry, give it about 4 to 6 hours before you even *think* about stacking them. If it’s a rainy day or you live somewhere humid, prepare for an overnight dry time. If you were going for an ultra-thin flood coat, it might be okay sooner, but if you want that truly hard, **stackable cookie icing** finish, just be patient and let it cure overnight.
What is the difference between this sugar cookie icing and royal icing?
Great question! This recipe is a super simple, **easy cookie glaze** made with powdered sugar and milk (or water). It sets up hard enough for general purposes, especially with the corn syrup boost. True Royal Icing uses a protein binder—either egg whites or meringue powder—which creates a much stronger, faster-setting, and often slightly whiter finish. Think of this recipe as your 10-minute workhorse, and Royal Icing as the heavy-duty option for super detailed, high-altitude shipping!
Can I use this quick cookie icing recipe for piping detailed designs?
You *can*, but you have to make a modification for piping! Remember how we talked about getting the **smooth flood consistency**? Well, for piping, you need it much, much stiffer. Take this base recipe, and use just enough liquid to make it thick almost like paste. It should hold its shape when you lift the whisk and fall off the spoon in lazy ribbons that stack on top of themselves for at least 30 seconds. If you’re doing intricate lace work, you might be better off making a true Royal Icing, but for simple outlines, just stop adding liquid early!
If you’re looking for inspiration on what to bake next after you master the icing, you should definitely check out how I make my soft chewy chocolate chip cookies! Happy decorating!
Print
Simple Sugar Cookie Icing
- Total Time: 5 min
- Yield: Enough icing for 2 dozen cookies
- Diet: Vegetarian
Description
A basic recipe for smooth royal icing perfect for decorating sugar cookies.
Ingredients
- 2 cups powdered sugar, sifted
- 3 tablespoons milk or water
- 1 teaspoon vanilla extract
- 1/4 teaspoon light corn syrup (optional, for shine)
Instructions
- Place the sifted powdered sugar in a medium bowl.
- Add the milk or water, vanilla extract, and corn syrup (if using) to the sugar.
- Whisk the mixture until it is smooth and lump-free.
- If the icing is too thick, add more liquid, one half teaspoon at a time, until it reaches your desired consistency for outlining or flooding.
- If the icing is too thin, add more powdered sugar, one tablespoon at a time.
- Use immediately or cover tightly with plastic wrap pressed directly onto the surface to prevent drying.
Notes
- For coloring, add gel food coloring one drop at a time until you reach the desired shade.
- This icing dries hard, making it suitable for stacking cookies.
- If the icing crusts over while you are working, stir in a few drops of water to revive it.
- Prep Time: 5 min
- Cook Time: 0 min
- Category: Dessert Topping
- Method: Mixing
- Cuisine: American
Nutrition
- Serving Size: 2 tablespoons
- Calories: 95
- Sugar: 24
- Sodium: 2
- Fat: 0
- Saturated Fat: 0
- Unsaturated Fat: 0
- Trans Fat: 0
- Carbohydrates: 25
- Fiber: 0
- Protein: 0
- Cholesterol: 0