I swear, there’s nothing in the world like biting into a truly perfect slice of dessert. You know the texture I mean—that rich, dense, melt-in-your-mouth creaminess that only a baked cheesecake can deliver? For years, I fought with my oven, constantly ending up with ugly cracks on my beautiful oreo cheesecake. It was so frustrating! But I finally cracked the code, blending old-school patience with a few modern science tricks. This recipe isn’t just good; it’s the guide to creating The Ultimate Baked Oreo Cheesecake with a Perfect Crack-Free Top. Forget the simple no-bake versions; this is the showstopper you need for your next big gathering!
Why This Baked Oreo Cheesecake is the Ultimate Dessert
If you’ve ever been let down by a shaky, soft, or sour-tasting dessert claiming to be the best, I promise you this one is different. We aren’t relying on gelatin or simply whipping heavy cream here. This oreo cheesecake is rich, sturdy, and deeply satisfying. It’s the real deal, way better than those quick cookie inspired desserts you throw together in a hurry!
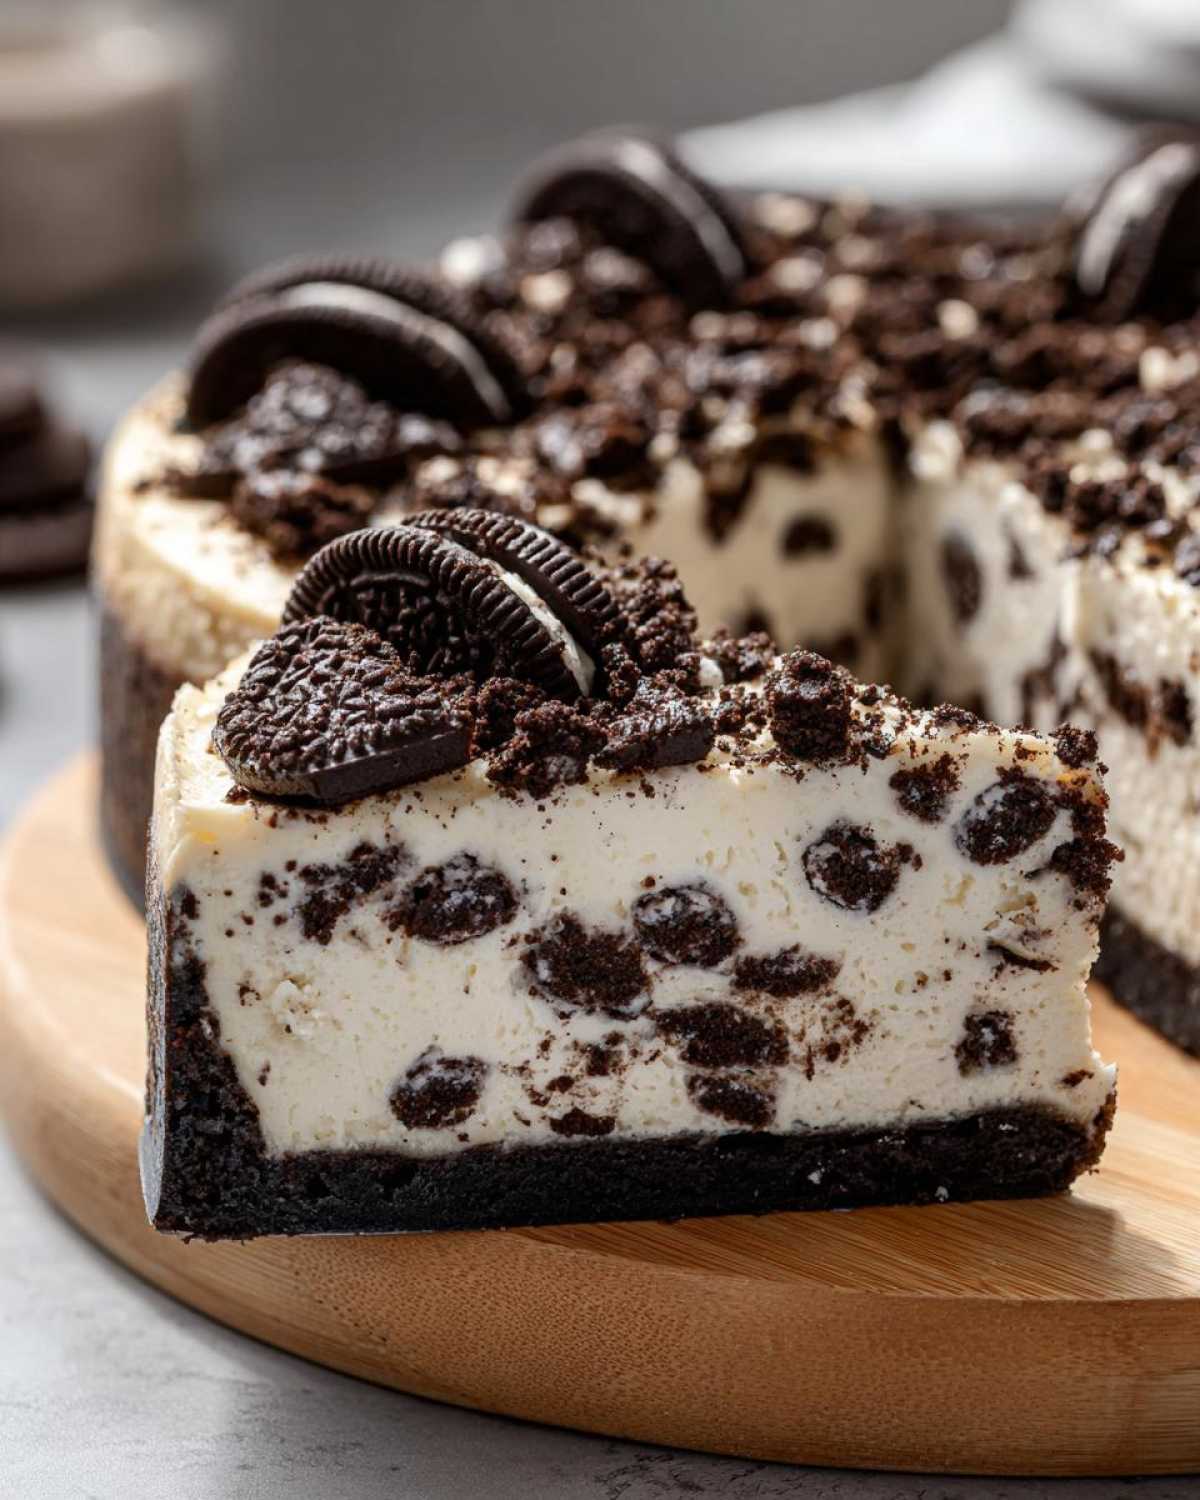
- It boasts a flawless, smooth top—seriously, no cracks!
- It has twice the amount of Oreos you’d expect in the filling.
- It sets up perfectly over time, making it a fantastic make-ahead party dessert.
Achieving Rich and Velvety Texture
This is where baked beats no-bake every time. No setting powders or quick chills can replicate the mouthfeel coming from oven-baked dairy and eggs. I’m talking about true Creamy Cheesecake perfection. The sour cream we sneak in adds a lovely, subtle tang that balances the sweetness. It’s luxurious, friends, truly luxurious.
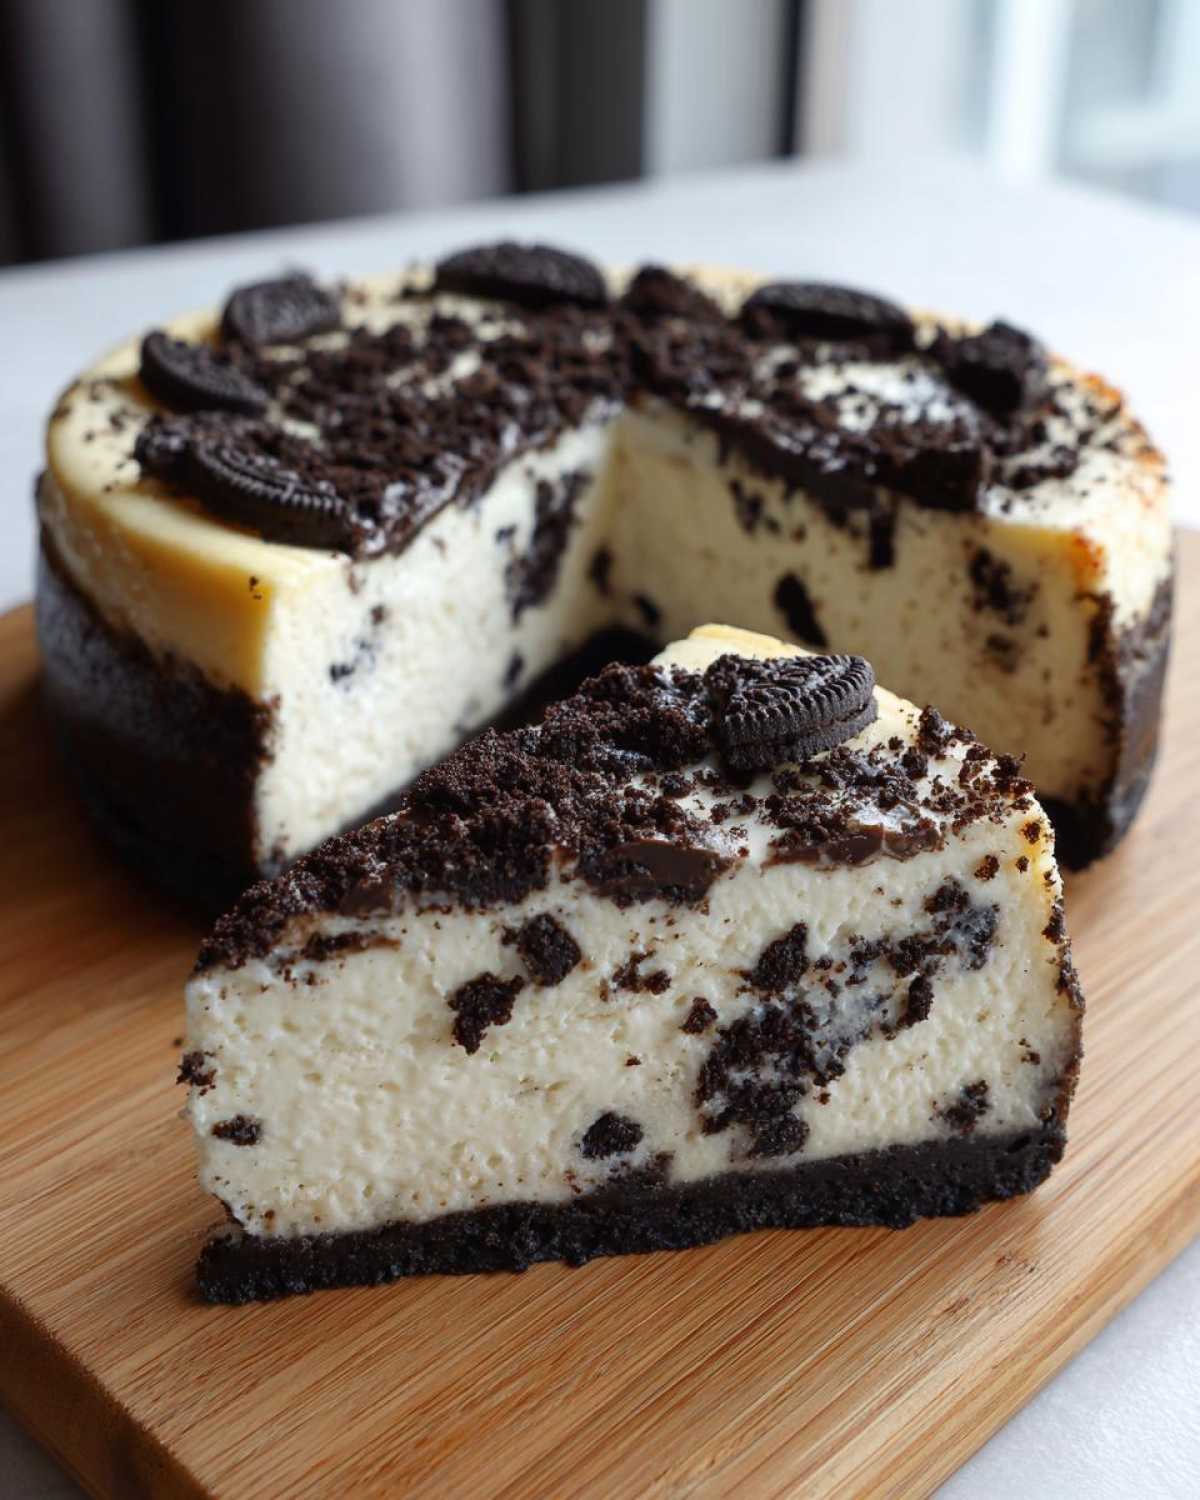
The Perfect Oreo Cheesecake Crust: Crushed Cookie Ideas
A great layer of filling needs an even better base, right? This recipe uses the whole cookie, cream filling and all, because why waste flavor? When making your oreo cheesecake, be sure you are using full-fat Oreos—the cheap knock-offs just don’t have the same texture when crushed! Check out some extra Crushed Cookie Crust Ideas if you decide to skip the water bath next time.
Ingredients for Your Ultimate Baked Oreo Cheesecake
Okay, let’s talk about what goes into this masterpiece. You absolutely need clarity here because rushing the prep is how you invite lumps and cracks! For the crust, we’re using about twenty-five Oreos, crushed super fine, which is mixed with melted butter. That’s it! Simple, strong, and chocolatey.
Now for the filling of your beautiful oreo cheesecake. Please—and I mean this—make sure your cream cheese, eggs, and especially your sour cream are totally at room temperature. This is rule number one for lump-free mixing. We’re using four large eggs, which is why this bakes up so beautifully dense.
- Crust: 1 1/2 cups crushed Oreo cookies (about 25 cookies)
- Crust: 1/4 cup unsalted butter, melted
- Filling Base: 3 (8 ounce) packages full-fat cream cheese, softened
- Sweetness & Flavor: 1 1/2 cups granulated sugar, 1 teaspoon vanilla extract, 1/4 teaspoon salt
- Structure: 4 large eggs, room temperature
- Texture Booster: 1/2 cup sour cream, room temperature
- The Extra Bite: 1 cup crushed Oreos, added right at the end
Step-by-Step Instructions for Perfect Oreo Cheesecake
This is the moment of truth! Don’t rush these steps, especially the cooling. We’re looking for a truly professional result here, so setting up your surroundings properly makes everything much easier. Remember, we preheat everything to 325 degrees F, but we’re going to take our time cooling this baby down to make sure our gorgeous oreo cheesecake stays flawless.
Preparing the Crushed Cookie Crust
First thing: wrap that 9-inch springform pan on the outside—bottom and sides—with heavy-duty foil. This is your defense against the water bath! Mix your crust cookies and melted butter and press it down hard into the base. You want it packed so tight it feels like granite! Pop it into the preheated oven for just 10 minutes, then pull it out to cool while you handle the main event.
Mixing the Creamy Cheesecake Filling
Grab your mixer, but keep that speed on low! We are trying to incorporate air gently, not whip up a meringue. Beat your softened cream cheese until it’s silky smooth—no lumps allowed. Then slowly stream in the sugar, vanilla, and salt. Mix in those four room-temperature eggs one at a time, mixing only until each one disappears. This gentle folding technique is what earns you that Rich and Velvety Desserts texture. Finally, softly fold in the last cup of crushed Oreos. If you want help with similar techniques for balancing texture, check out my guide on sour cream coffee cake!
Baking the Oreo Cheesecake in a Water Bath
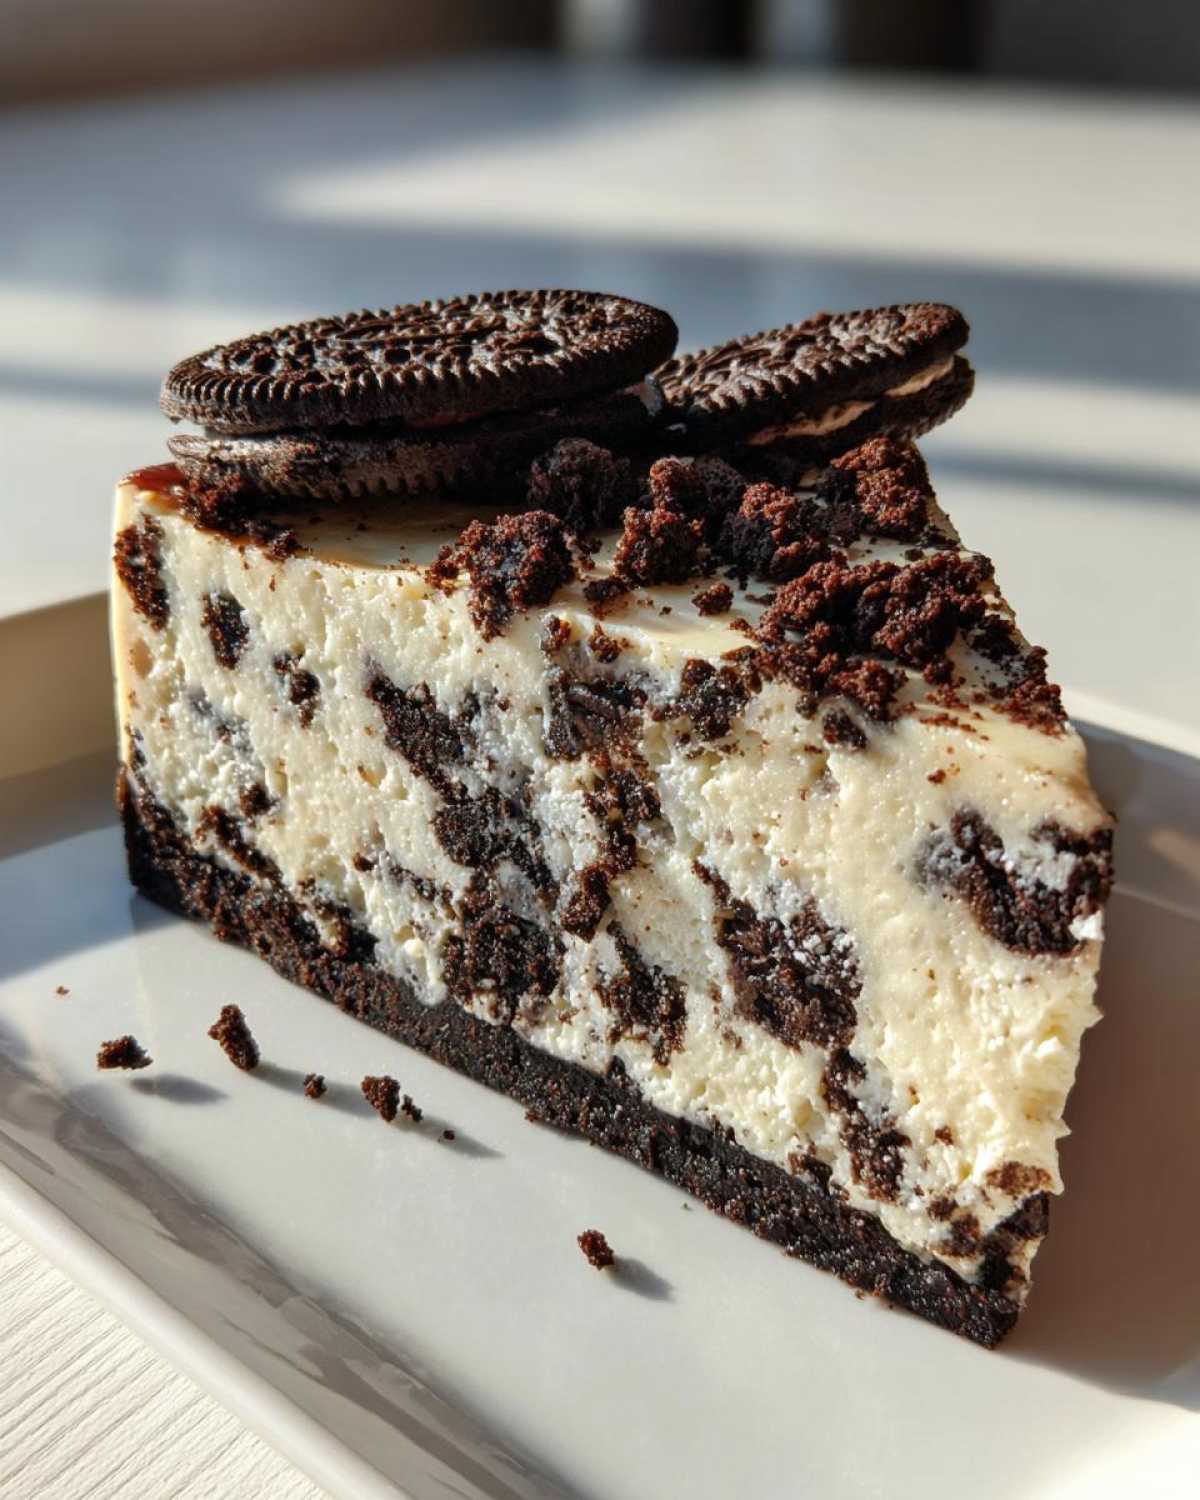
Time for the life-saving water bath, or bain-marie! Place your foil-wrapped pan inside a larger roasting pan. Now, carefully—and I mean carefully—pour hot water into the outer roasting pan until it reaches about halfway up the sides of your springform pan. Bake this setup for about 60 to 75 minutes. The best test? The edges must look set, but the center two inches should still wobble just a little bit when you nudge the pan. This wobble is the secret to a crack-free oreo cheesecake!
Tips for a Crack-Free Oreo Cheesecake Success
Look, I know the water bath sounds like a hassle, but if you skip it or rush the cooling, that top is going to split wide open. We are doing everything humanly possible to make this oreo cheesecake perfect! These tips are non-negotiable if you want that envy-inducing, smooth surface that looks like it came straight from a fancy bakery counter.
The Slow Cooling Method is Non-Negotiable
When the baking time is up, don’t pull it out! If you move it too fast from 325 degrees to room temperature, the sudden temperature shock makes the top contract too fast—crack! Instead, just shut the oven off, prop the door open using a wooden spoon, and just let it sit in that gradually cooling environment for a solid hour. Trust me on this transition time.
Why Room Temperature Matters for Your Oreo Cheesecake
If I find one cold block of cream cheese in my bowl, I stop everything and wait. Cold ingredients mix unevenly, forcing you to overbeat the batter trying to smooth it out. Overbeating whips in too much air, which expands in the oven and then collapses on cooling, causing cracks in your Homemade Oreo Cheesecake. To get the best texture for this oreo cheesecake, those dairy components need to be relaxed and ready to incorporate smoothly.
Variations on the Classic Oreo Cheesecake
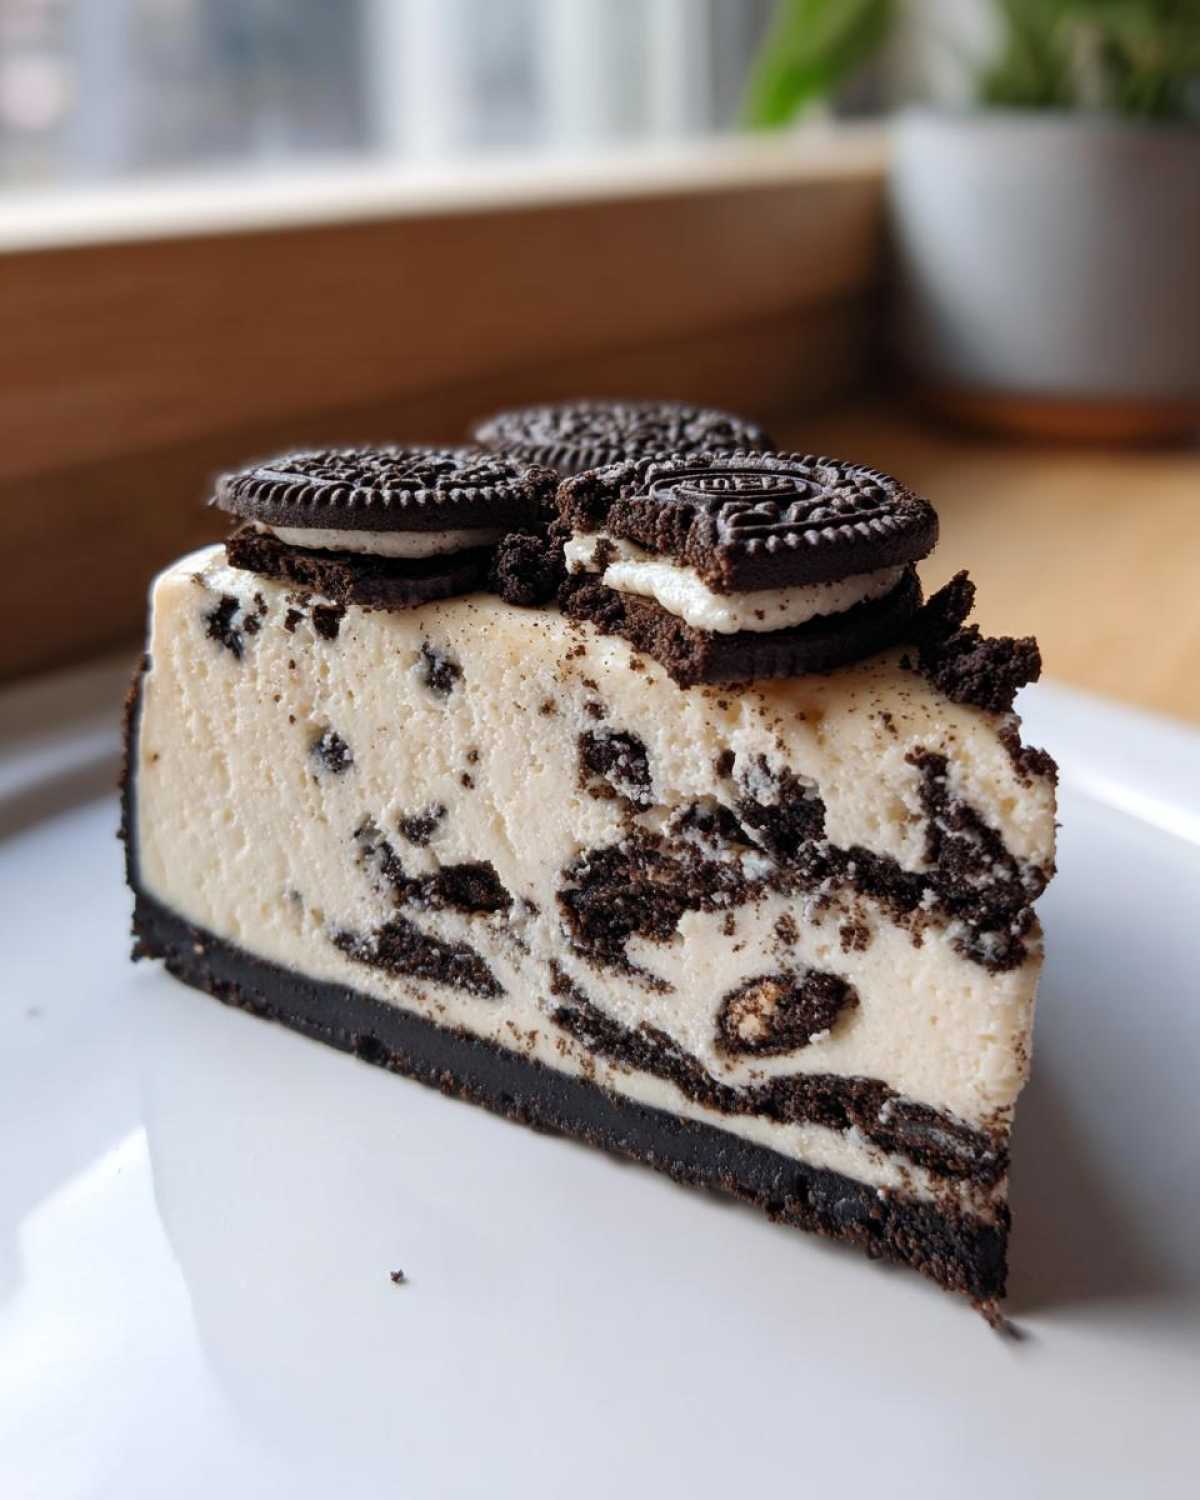
Even though this recipe is the absolute pinnacle of baked perfection, sometimes you need a different format, right? Maybe you’re planning a huge party and dealing with a 9-inch springform pan feels daunting. Good news! You can totally adapt this flavor profile.
For a super easy, portable option, pour the entire filling into a 9×13 pan. You’ll bake it a little shorter—watch that jiggle!—and cut it into squares the next day. Those are fantastic for potlucks. If you love chocolate layers, try adding a thin swipe of red velvet cake batter underneath the crust first for a fun surprise in your oreo cheesecake!
If you prefer smaller bites, pouring the mix into muffin tins makes amazing mini cheesecakes. Just line them well and reduce your oven time significantly. They bake up fast and are perfect grab-and-go desserts!
Serving Suggestions for Your Decadent Chocolate Dessert
The beauty of this cheesecake is that it honestly doesn’t need much help, but presentation makes it feel extra special! Since this is one of the ultimate Decadent Chocolate Desserts, I like to offer a few contrasting toppings to cut through that richness. Simple is always best here.
A light drizzle of salted caramel contrasts beautifully with the dark cookie crust. Or, if you want to embrace the chocolate darkness, grab some fresh raspberries or even a swirl of ganache made from good quality dark chocolate. Even a simple dust of powdered sugar makes it look restaurant-ready!
If you happen to have some lovely vanilla cupcakes ready to go, the leftover whipped cream you might use for those pairs perfectly beside a slice of this cheesecake for texture variation!
Storage and Make-Ahead for Your Oreo Cheesecake
One of the very best parts about this dessert is that it needs to chill! You can’t rush perfection—or proper texture stabilization—in a cheesecake. So, plan ahead because you absolutely MUST chill your oreo cheesecake for a minimum of 6 hours. Seriously, overnight is where it shines and completely firms up, making those slices clean and beautiful.
When you store leftovers, cover it loosely with plastic wrap but make sure the plastic isn’t touching the surface, or you might stick to your beautiful top! It keeps really well in the fridge for about five days. Because it’s made with full-fat dairy, it freezes like a dream too! Slice it first, then freeze the slices individually so you can thaw one whenever that oreo cheesecake craving hits.
Frequently Asked Questions About Making Oreo Cheesecake
I get so many questions after I post pictures of this baked beauty! People always ask how it compares to the quick versions I sometimes whip up for a weeknight treat. Here are the big things folks always want to know when they’re looking for Easy Cheesecake Recipes.
Is this baked version really better than a No-Bake Oreo Cheesecake?
That’s the million-dollar question! Honestly, they are different desserts. The no-bake version is fantastic when you need a Party Dessert Inspiration in two hours, but it relies on whipped cream and setting agents for structure. This baked oreo cheesecake? It’s denser, ultra-rich, and has that classic tangy flavor profile that only comes from proper baking. It’s worth the extra hour!
Why did my cheesecake bake up with bumps or cracks?
Usually, it’s temperature shock or over-mixing! If your cream cheese or eggs were cold, you had to beat it too long to get it smooth, whipping in too much air. That air expands, then contracts when it chills, causing cracks. Also, pulling it out of the oven too fast is a baking sin!
Can I make this recipe in a different pan size, like the small 6-inch springform?
You totally can, but you’ll need to adjust the time! If you use a smaller pan, the heat penetrates faster, so start checking it after about 45 minutes. If you want to see my specific conversion notes for smaller batches, I detailed them over in my no-bake post, but the principle of watching for the center jiggle is the same for this oreo cheesecake!
Do I have to use the water bath for this recipe?
If you want a perfectly smooth, professional top—yes, you absolutely do. It creates steam in the oven, which cooks the edges gently while keeping the top moist and preventing that surface dryness that leads to cracking. It’s the biggest insurance policy for a gorgeous oreo cheesecake!
Estimated Nutritional Data for This Oreo Cheesecake
Now, let’s talk numbers, though I always recommend remembering that baking is done with love, not spreadsheets! These figures are based on standard measurements and using full-fat ingredients. I’m not a nutritionist, so consider this a fun estimate rather than a strict dietary guideline. Calories, fat, sugar—it all depends a little bit on the exact brand of Oreos and cream cheese you go with, but it gives you a good ballpark!
- Serving Size: 1 slice
- Calories: 450
- Total Fat: 30g
- Carbohydrates: 40g
- Protein: 8g
- Sugar: 35g
The Ultimate Baked Oreo Cheesecake with a Perfect Crack-Free Top
- Total Time: 140 min
- Yield: 12 servings
- Diet: Vegetarian
Description
Follow these steps to make a rich, creamy baked Oreo cheesecake featuring a thick Oreo crust and a smooth, crack-free cream cheese filling loaded with crushed cookies.
Ingredients
- 1 1/2 cups crushed Oreo cookies (about 25 cookies)
- 1/4 cup unsalted butter, melted
- 3 (8 ounce) packages full-fat cream cheese, softened
- 1 1/2 cups granulated sugar
- 1 teaspoon vanilla extract
- 1/4 teaspoon salt
- 4 large eggs, room temperature
- 1/2 cup sour cream, room temperature
- 1 cup crushed Oreos, for filling
Instructions
- Preheat your oven to 325 degrees Fahrenheit. Wrap the outside of a 9-inch springform pan tightly with heavy-duty aluminum foil, covering the bottom and sides completely.
- Combine the 1 1/2 cups of crushed Oreos and melted butter. Press this mixture firmly into the bottom of the prepared springform pan to form the crust. Bake the crust for 10 minutes. Remove from the oven and let it cool slightly.
- In a large bowl, beat the softened cream cheese with an electric mixer until completely smooth. Scrape down the sides of the bowl.
- Beat in the sugar, vanilla extract, and salt until just combined. Do not overmix.
- Add the eggs one at a time, mixing on low speed after each addition until just incorporated. Mix in the sour cream until the batter is smooth.
- Gently fold in the 1 cup of crushed Oreos for the filling.
- Pour the filling over the cooled crust. Place the springform pan inside a larger roasting pan. Carefully pour hot water into the roasting pan until the water reaches halfway up the sides of the springform pan (this creates a water bath).
- Bake for 60 to 75 minutes. The edges should look set, but the center 2 inches should still jiggle slightly when gently nudged.
- Turn off the oven, prop the door open slightly with a wooden spoon, and let the cheesecake cool inside the oven for 1 hour. This slow cooling prevents cracking.
- Remove the cheesecake from the water bath and foil. Cool completely on a wire rack, then chill in the refrigerator for at least 6 hours, or preferably overnight, before serving.
Notes
- Use room temperature ingredients for the filling to prevent lumps and ensure a smooth texture.
- The water bath (bain-marie) is essential for even baking and preventing the top from drying out or cracking.
- For the best flavor, use full-fat cream cheese.
- Prep Time: 25 min
- Cook Time: 75 min
- Category: Dessert
- Method: Baking
- Cuisine: American
Nutrition
- Serving Size: 1 slice
- Calories: 450
- Sugar: 35g
- Sodium: 320mg
- Fat: 30g
- Saturated Fat: 18g
- Unsaturated Fat: 12g
- Trans Fat: 0.5g
- Carbohydrates: 40g
- Fiber: 1g
- Protein: 8g
- Cholesterol: 95mg