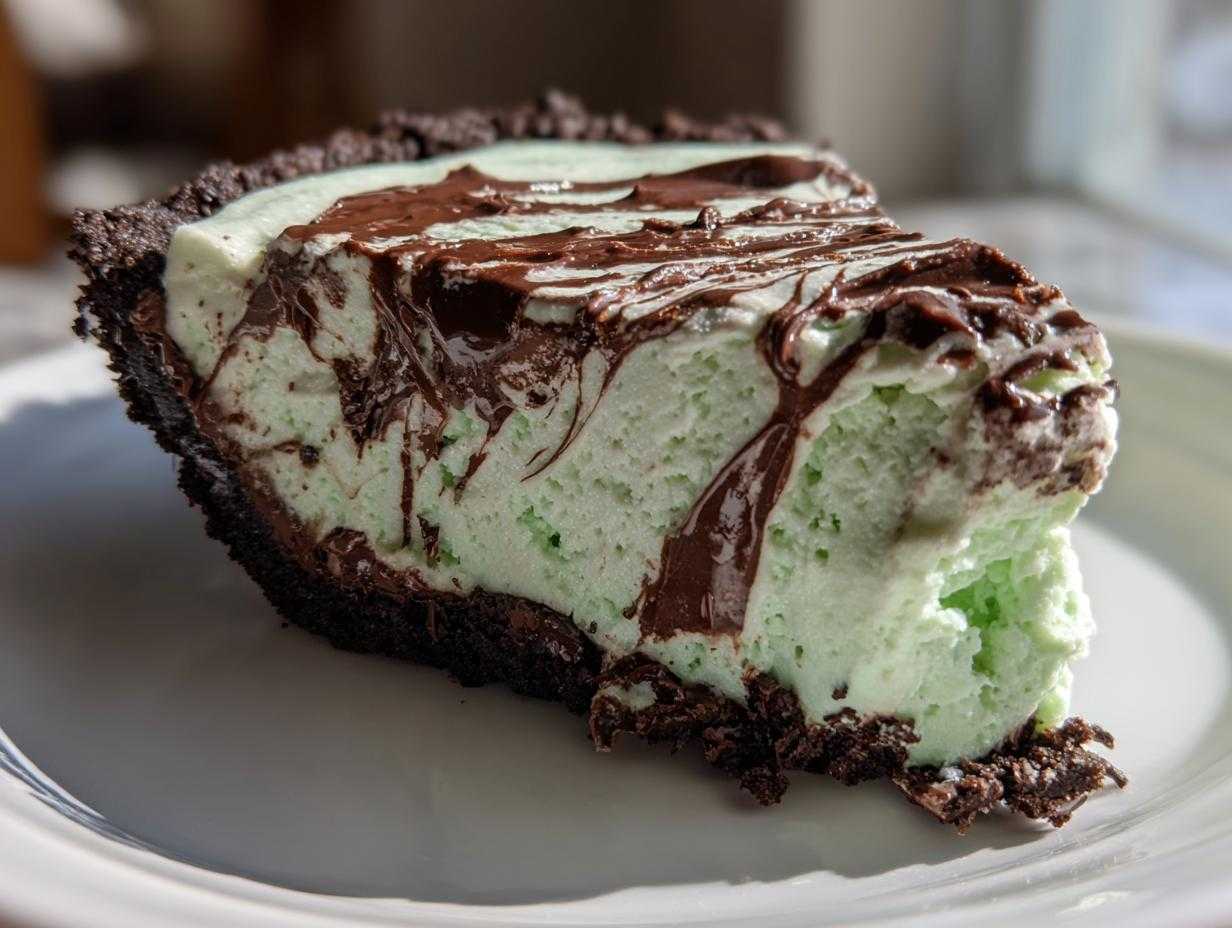
When the weather gets warm, or frankly, whenever I just need a serious chocolate fix, I skip the oven completely. There’s just something magical about a dessert that comes together chillingly fast. I’m talking about Grasshopper Pie, folks! This isn’t just any pie; it’s the ultimate combination of cool mint and rich chocolate hiding under an easy chocolate cookie crust. Trust me on this, my version of this No Bake Grasshopper Pie is absolutely foolproof and it’s perfect for everything from a casual summer night to when you need a stunning last-minute St. Patrick’s Day showstopper.
I’ve made this retro classic dozens of times—I think I have the rhythm for getting that perfect fluffy mint filling locked down in my sleep. You won’t need any tricky techniques or high heat. We’re keeping it simple, refreshing, and totally crave-worthy!
Why You Will Love This No Bake Grasshopper Pie Recipe
Seriously, who needs to turn on the oven when this pie exists? This recipe checks all the boxes for an easy, impressive dessert. You’ll be begging to make it all year round, not just for holidays.
- It’s genuinely No Bake—just mix, pour, and chill!
- It tastes like a sophisticated, Easy Mint Dessert without the effort.
- It’s the best kind of Make Ahead Dessert; just set it and forget it.
- The filling is wonderfully Creamy Mint Pie perfection.
Essential Ingredients for the Perfect Grasshopper Pie
Okay, let’s look at what you need to pull this masterpiece together. Since this is a No Bake Grasshopper Pie, we are leaning hard on texture, so make sure your cream cheese blocks are truly softened, okay? I always leave mine out for at least an hour.
You’ll need cookies and butter for the crust—I use Oreos for that deep chocolate flavor. The filling needs cream cheese, powdered sugar, vanilla, that crucial shot of peppermint extract, and just a little green food coloring if you want that classic bright color. And since my family finds the real crème de menthe too strong, remember this is a fantastic Alcohol Free Grasshopper Pie because the extract gives us all the mint flavor we crave!
We finish it off with heavy whipping cream whipped up stiff, and some semi-sweet chocolate chips that you melt down and let cool just a touch before folding in.
Crafting the Chocolate Cookie Crust Pie Base
The first step in creating this incredible dessert is setting up a sturdy base. If your crust flops, the party’s over, right? Don’t worry, this chocolate cookie crust is so simple it practically builds itself! Grab those chocolate sandwich cookies—I’m partial to Oreos for that extra layer of chocolate goodness—and crush them up until they look like fine, dark sand.
Mix those crumbs really well with the melted butter. You want everything coated evenly. Then, press that buttery mixture firmly into your 9-inch pie plate. I use the bottom of a measuring cup to really pack it down tight along the bottom and up the sides. This compaction step is key to preventing cracks later! Once it’s nicely formed, pop that crust into the fridge for a solid 15 minutes to set completely. While it chills, you can start whipping up the main event! If you need more inspiration on no-bake bases, check out my no-bake Oreo cheesecake crust.
Creating the Creamy Mint Pie Filling
Now for the fun part—making the vibrant, fluffy filling that gives this dessert its name! We build this in stages so everything stays light and gorgeous. First, take that softened cream cheese and beat it until it’s beautifully smooth. No lumps allowed! Then, you’re going to gradually mix in that powdered sugar, followed by the vanilla and that wonderful peppermint extract. If you want that classic bright green look for your Grasshopper Pie, this is where you add just a couple of drops of green food coloring. Mix it until it’s all uniform in color and perfume.
This next step is where we build the airiness. You can’t just dump the cream in, or you’ll end up with soup! We need to treat the heavy cream separately so it can support the whole mixture. Fold everything gently after that to keep all those air bubbles trapped inside. That gentle folding is my big secret to making sure this is truly a light and Fluffy Mint Filling, not a dense brick!
Whipping the Cream for the Fluffy Mint Filling
You absolutely must whip your very cold heavy whipping cream in a separate, clean, chilled bowl. Beat it until it forms stiff peaks. I mean really stiff—when you pull the whisk out, the peak should stand straight up and not droop over at all. This is absolutely crucial because it’s what gives your final grasshopper pie that amazing, melt-in-your-mouth mousse quality instead of just collapsing into a puddle. Once it’s stiff, gently fold about a third of it into your cream cheese mixture to lighten it up before folding in the rest. Patience here pays off in texture!
Marbling Chocolate into Your Grasshopper Pie
This is the final fold, and it’s all about aesthetics, my friend! We aren’t aiming for a solid brown mixing bowl here. You’ll gently fold in the slightly cooled melted chocolate chips. I really stress *slightly* cooled—too hot and it melts the lovely whipped cream structure we just built!
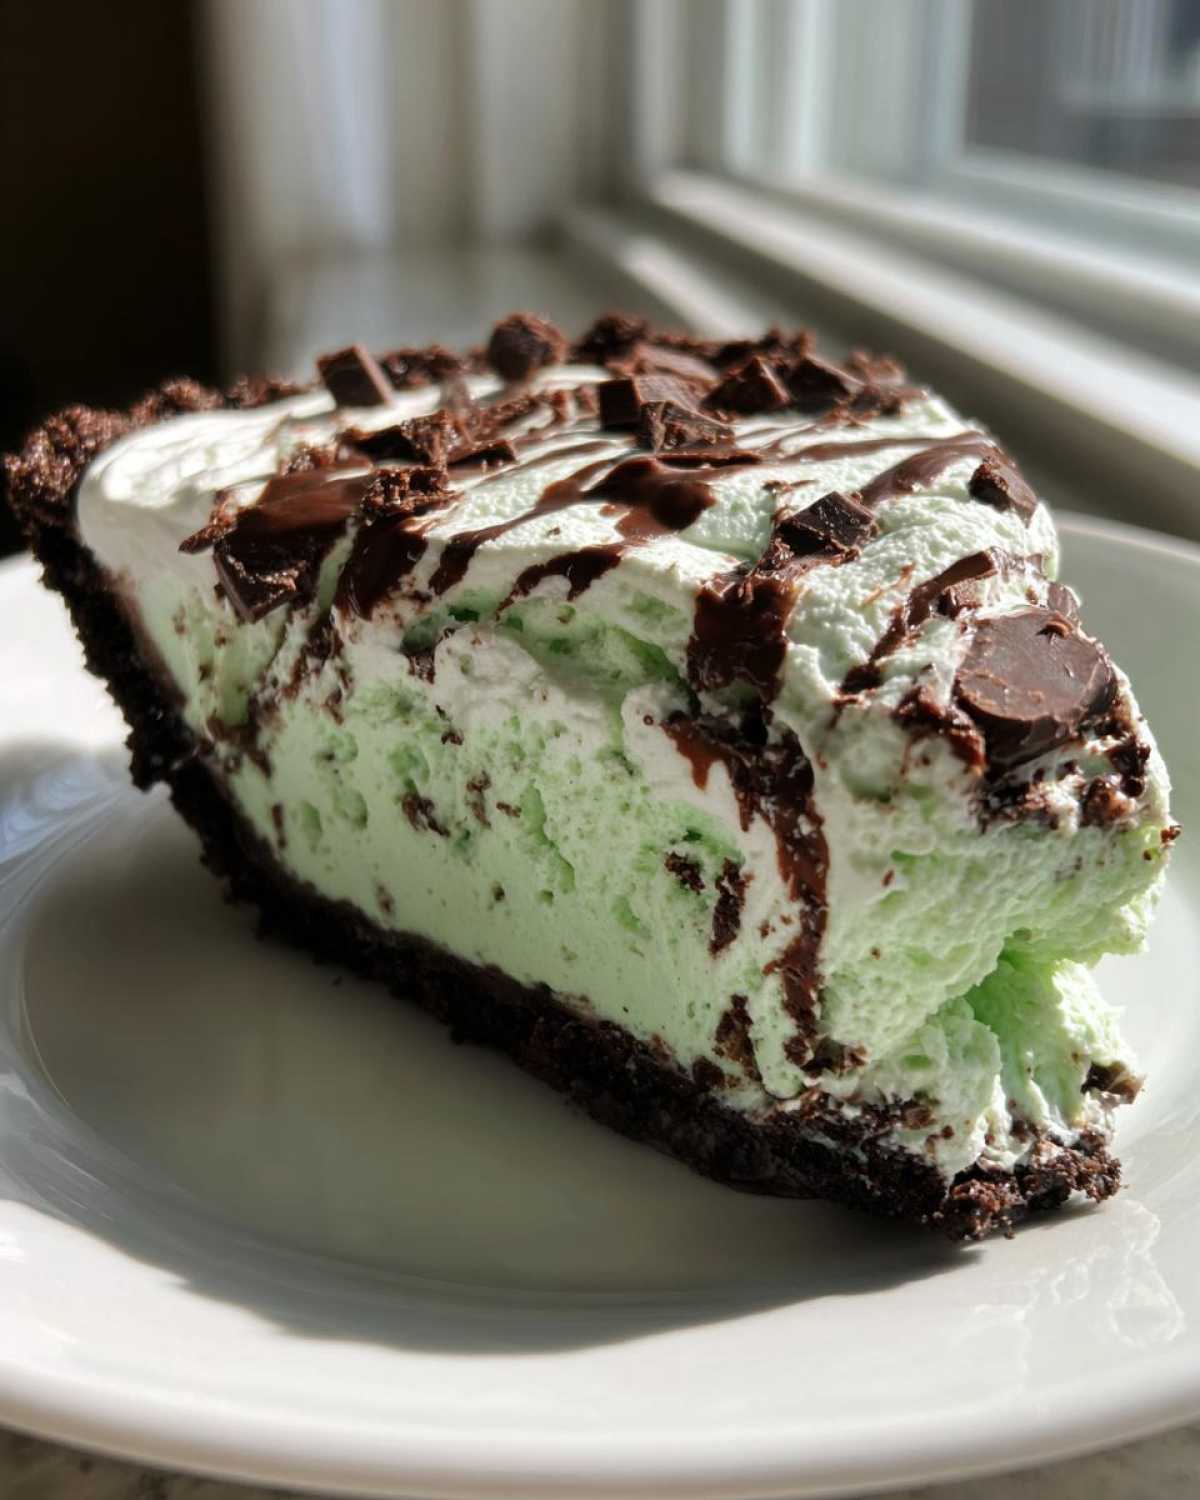
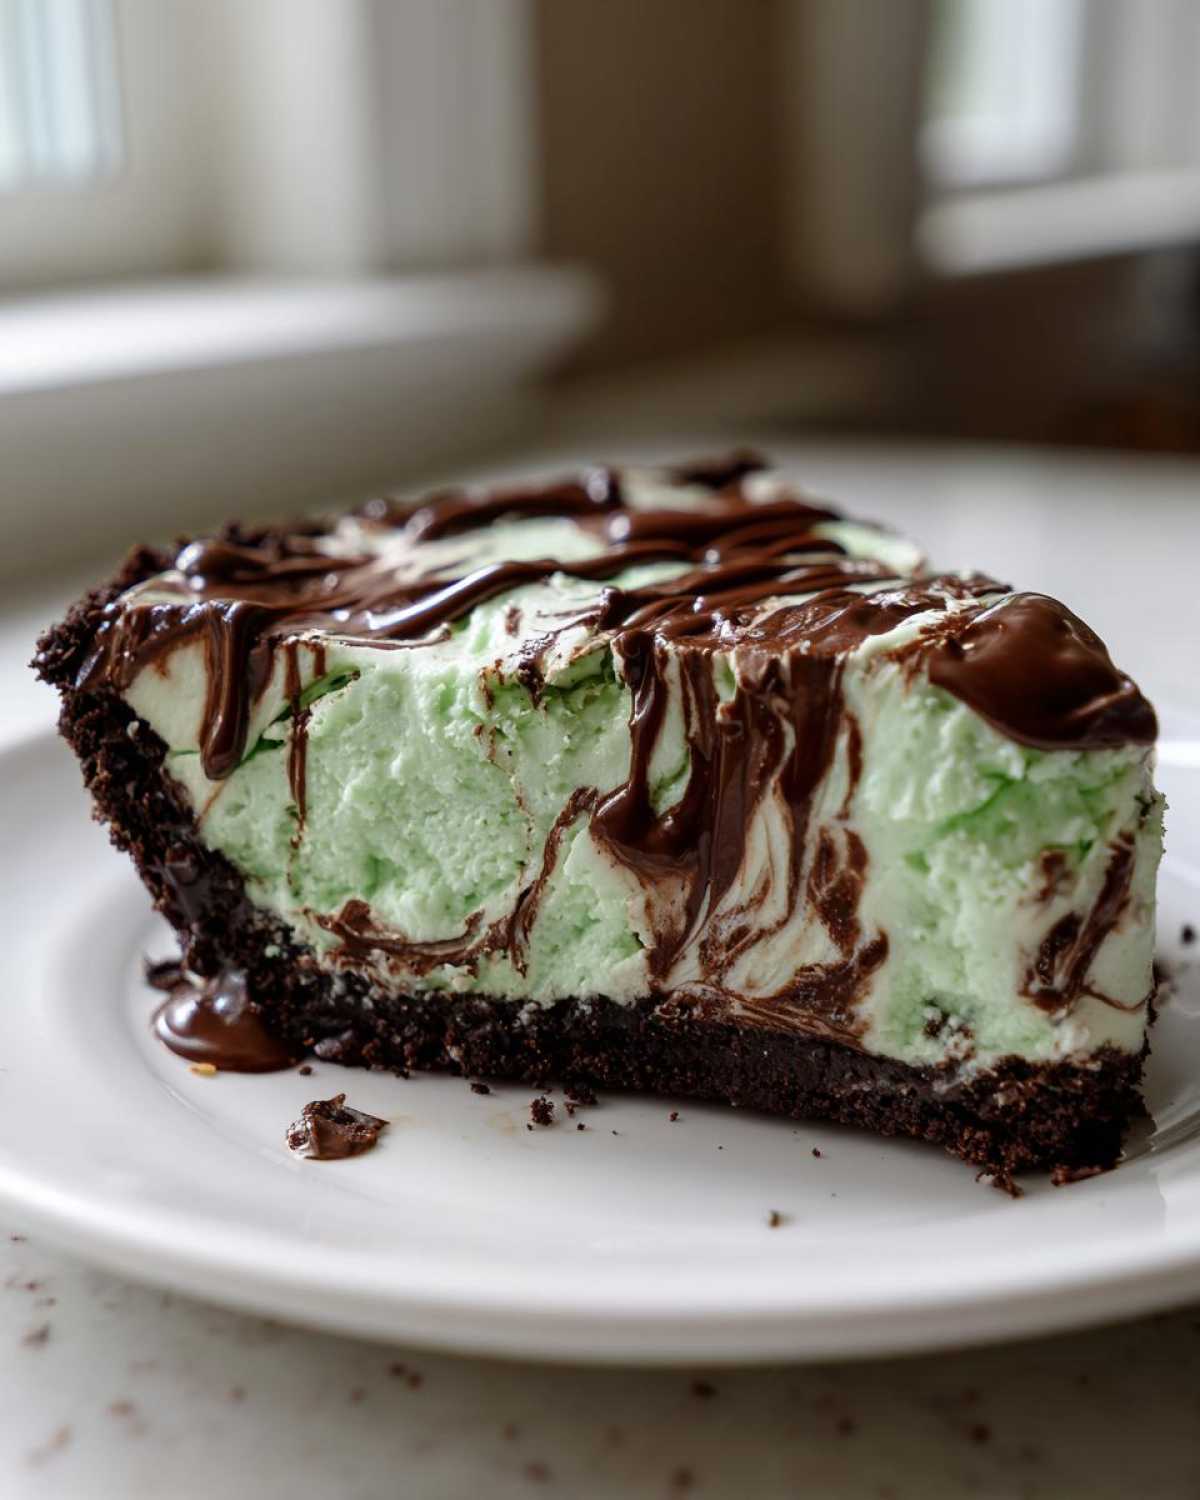
The goal is to stop folding just when you start seeing those beautiful, dark chocolate streaks running through the mint green filling. That marbled look is what makes this pie so pretty once you slice into it. Don’t try to make it uniform; those swirls are the mark of a perfect Grasshopper Pie!
Chilling and Serving Your Easy Mint Dessert
We’ve done the hard work—now it’s time for the pie to do *its* work in the cold! Take that beautiful, minty creation and spread it evenly into your chilled chocolate crust. Then, it has to go into the fridge to allow that creamy filling to firm up properly. You need at least four hours of chill time, minimum, to make sure it slices nicely.
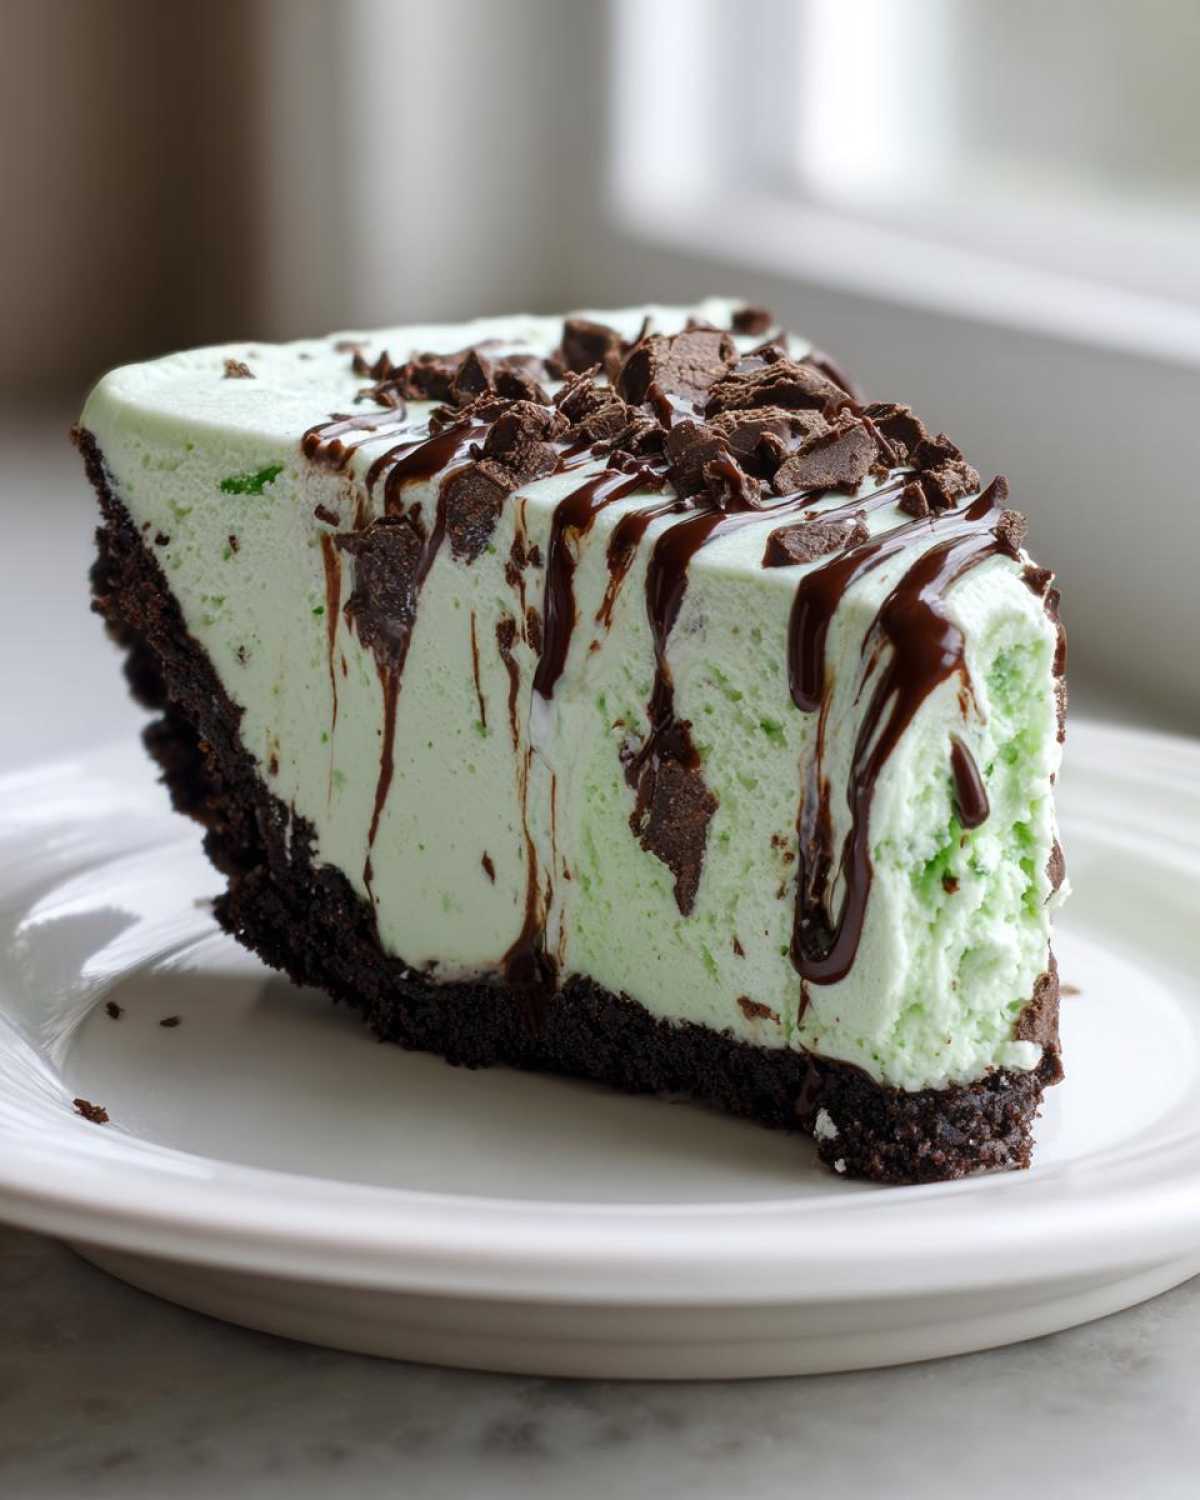
If you’re in a real rush, or if you prefer a slightly firmer, almost ice-cream-like texture, pop it into the freezer! Even two hours in the freezer will help it set up nicely, turning it into a lovely Frozen Grasshopper Pie, which is also fantastic on a hot day. Remember, this makes 8 generous wedges, hitting that ‘serves a crowd’ mark perfectly. It’s the ultimate Make Ahead Dessert because the harder it sets, the better it tastes the next day!
When you’re ready to serve this Refreshing Dessert, a tiny dollop of whipped cream on top never hurts, though honestly, it’s gorgeous all by itself. If you’re looking for other quick, no-bake ideas, you should see how I make my easy no-bake bars!
Tips for Making the Best Grasshopper Pie
Even though this is a no-bake recipe, the temperatures of your ingredients matter a ton if you want that incredible texture! My number one tip is making absolutely sure your cream cheese is fully softened. If there are even tiny cold lumps, you’ll end up fighting them when you try to fold in the whipped cream later, and things won’t be airy enough.
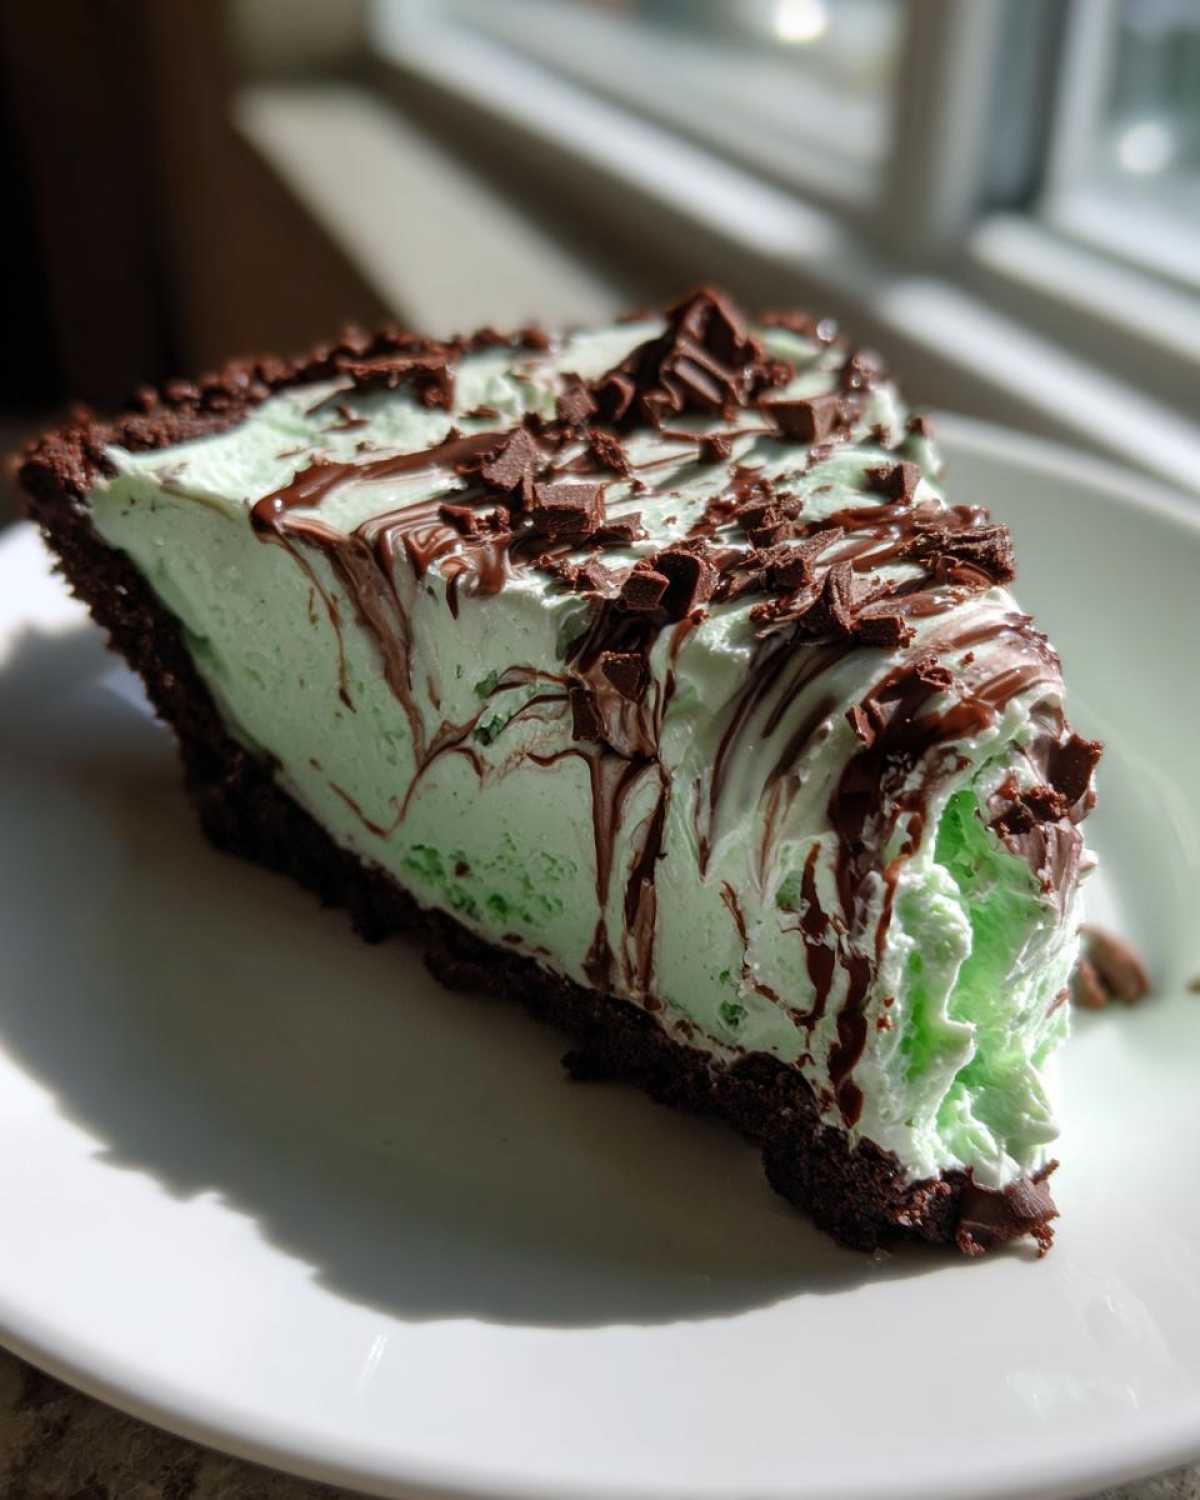
For the chocolate swirl, pay attention to those melted chips! They can’t be hot, or they melt your beautiful mint structure instantly. Let them cool down on the counter for about five to ten minutes before adding them in. You want them almost room temperature.
Finally, when folding that chocolate in, use a large rubber spatula and use big, sweeping motions. Stop as soon as you see those pretty dark streaks mixing with the mint green. Over-mixing here guarantees an even, dull color and sacrifices that airy texture we worked so hard to achieve!
Frequently Asked Questions About Grasshopper Pie Recipe
I get so many questions because everyone wants their Creamy Mint Pie to turn out perfectly! I tried to answer the most common ones here, but if you’ve got another burning question, feel free to ask!
Can I add actual crème de menthe liqueur to this Grasshopper Pie Recipe?
That’s a great question, especially since traditional versions sometimes have alcohol! My recipe here is designed to be an Alcohol Free Grasshopper Pie using extract so everyone (including the kids) can enjoy it. If you really want that liqueur instead of the peppermint extract, you can substitute maybe half of the extract amount with the liqueur, but be careful! Alcohol doesn’t whip up like the extract does, so you might end up with a softer filling that needs even longer chilling time to set firm. Proceed with caution!
What is the best cookie to use for the Chocolate Cookie Crust Pie?
Hands down, my favorite choice for that dark, rich base is commercially available chocolate sandwich cookies, you know the ones with the white cream filling! If you use those, you actually don’t need to scrape out the filling, which saves so much time. The small amount of filling melts right into the butter and acts almost like extra binder. If you are using plain chocolate wafers, make sure you use enough butter to get a nicely damp sand consistency for your base.
How long can I keep this No Bake Grasshopper Pie in the refrigerator?
This is such a fantastic Make Ahead Dessert! You can keep this No Bake Grasshopper Pie covered tightly in the refrigerator for up to four days. It actually stays really fresh because of the high fat content. If you notice it starting to soften slightly by day four, just pop it back into the freezer for about an hour to firm things right back up. For reference, if you’re looking at other make-ahead recipes, check out my thoughts on making berry cobbler ahead of time!
Storage and Reheating Instructions for Your Creamy Mint Pie
The best part about this Creamy Mint Pie is that it’s built to last (if you have any leftovers, that is!). Since it’s a No Oven Dessert, you don’t have to worry about reheating it at all. In fact, trying to reheat it would be a disaster, so let’s stick to keeping it chilled!
For storage, keep your Grasshopper Pie tightly wrapped in the refrigerator. Plastic wrap works fine, but if you want to be extra diligent about keeping out any fridge smells, an airtight cake dome or container is perfect. It holds up beautifully in the fridge for several days, which is why I always suggest making it a day ahead of any party!
If you ended up freezing your pie to get that extra firm texture, just pull it out about 30 to 45 minutes before you plan to serve it. You want it slightly thawed so it slices without cracking the crust, but still very cold and refreshing. Honestly, I think it tastes even better the second day once all those minty flavors have really settled into the chocolate crust! If you’re interested in other delicious chilled treats, you should see how I make my frozen hot chocolate when I need something quick!
Print
No-Bake Grasshopper Pie
- Total Time: 4 hr 20 min
- Yield: 8 servings
- Diet: Vegetarian
Description
Make this easy, creamy, no-bake grasshopper pie featuring a chocolate cookie crust and a refreshing mint chocolate filling. This recipe is alcohol-free.
Ingredients
- 1 1/2 cups chocolate cookie crumbs (about 30 cookies)
- 1/4 cup unsalted butter, melted
- 1 package (8 ounces) cream cheese, softened
- 1 cup powdered sugar
- 1 teaspoon vanilla extract
- 1/2 teaspoon peppermint extract
- 2 drops green food coloring (optional)
- 1 cup heavy whipping cream, cold
- 1/2 cup semi-sweet chocolate chips, melted and cooled slightly
Instructions
- Combine the chocolate cookie crumbs and melted butter in a bowl. Press the mixture firmly into the bottom and up the sides of a 9-inch pie plate. Chill the crust for 15 minutes.
- In a large bowl, beat the softened cream cheese until smooth. Gradually beat in the powdered sugar until fully combined.
- Mix in the vanilla extract, peppermint extract, and green food coloring, if using.
- In a separate bowl, whip the cold heavy whipping cream until stiff peaks form. Gently fold the whipped cream into the cream cheese mixture until just combined.
- Gently fold in the slightly cooled melted chocolate chips until streaks of chocolate remain, creating a marbled effect.
- Spoon the filling into the chilled crust and spread evenly.
- Chill the pie for at least 4 hours, or until firm. For a firmer texture, you can freeze it for 2 hours before serving.
- Slice and serve cold.
Notes
- Use Oreos or similar chocolate sandwich cookies for the crust. Do not over-process the filling when folding in the chocolate chips if you want a marbled look.
- If you prefer a firmer, frozen pie, allow it to set in the freezer for 4 hours before slicing.
- Prep Time: 20 min
- Cook Time: 0 min
- Category: Dessert
- Method: Chilling/No-Bake
- Cuisine: American
Nutrition
- Serving Size: 1 slice
- Calories: 350
- Sugar: 25
- Sodium: 210
- Fat: 24
- Saturated Fat: 14
- Unsaturated Fat: 10
- Trans Fat: 0
- Carbohydrates: 32
- Fiber: 1
- Protein: 4
- Cholesterol: 65